Spring will soon be here, so better hurry to finish those pants I bought fabric for in the fall! After making the standard crotch depth adjustments dictated by my flexible ruler, I sewed two pair along side a student who was making her first pair in black. After our first session, the waistband and hems were all that remained to be done. I thought I would try something a little bit different. I chose the waistband labeled “contoured”. The ends of the rectangles were at a slight angle. Pattern instructed me to cut four. I sewed each pair into a loop. When sewing the last side seam, I left an inch long gap in the seam.

Sew from the top edge to an inch past center. Skip one inch and sew the remainder of the seam.
The loop with the hole will be your lining piece. Clean finish the longer edge of this one.

The waist band lining is the loop with the gap. Finish the bottom (longer) edge of that loop.
Sew both loops right sides together at the top edge (the shorter edge). Measure a length of elastic around your waist, where the top of the pants will go. Make sure this is tight enough to keep your pants up, but not so tight to be uncomfortable. Sew it in a loop, and mark the half and quarter points. Mark the half way points between the seams on your waist band.

After the two loops are sewn together (rst) around the top edge, attach the elastic to only the seam allowance with a stretch stitch. In this photo, I overlapped 1/4 inch and zig zagged.
You can see in the photo above that I used grey serger thread. In order to keep the lighter thread from showing on the right side, I added a short narrow zig zag in a thread that more closely matches.

Elastic in any width can be used. This is 1 inch wide, and slightly longer than the fabric waistband. This causes a little rippling on the hanger, but is smooth and comfortable when worn.
Fold the elastic towards the lining piece of your waistband and stitch it down to the lining with a wide serpentine stitch.

Elastic needs to be secured to the lining. In a big understitch fashion, using the widest serpentine stitch, I sewed the elastic to the waist band lining in two rows. From the inside it looks like this.

From right to left, zig zag stitch that secured the elastic band to the seam allowance, first row of serpentine, second row of serpentine.
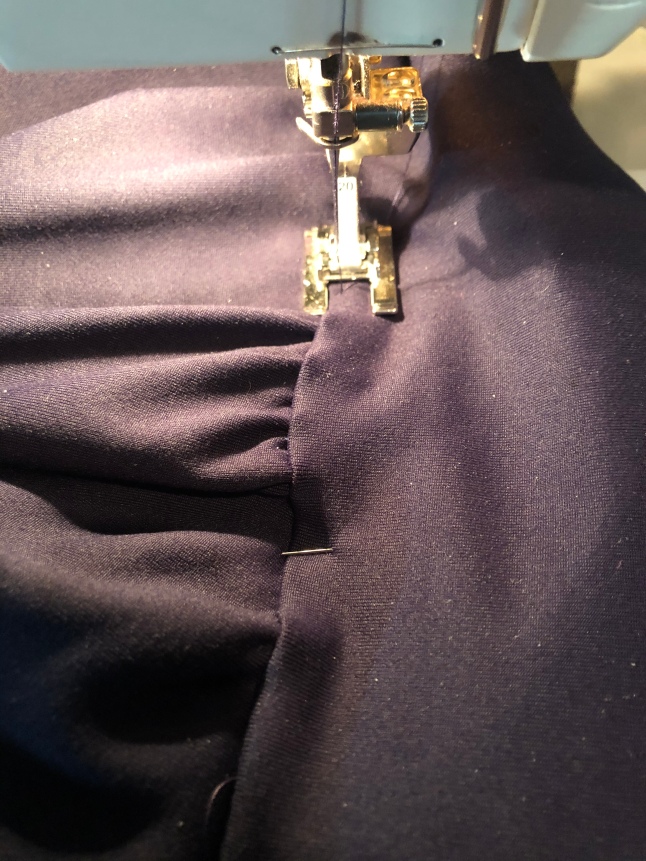
Pin or clip your waistband in quarters, attach the right (unfinished side) of the waistband to the right edge of the pants, aligning the side seams. Divide these sections in half again and pin or clip. Stitch the waistband to the pants with a stretchy stitch and a half inch seam allowance all around the circle. I was surprised at how much easing was needed.

With the seam you just made tucked up under the waistband, lay the facing over top with the previously finished edge down towards the pants. Pin so that the seam allowance is secured and pointing up.

With the seam allowance tucked under the waistband, lay the lining over top, and pin around the circle through the seam allowance. Flip the pants over and top stitch along the bottom of the waistband.
 I used a short narrow zig zag and stretched while I sewed. Remove each pin as you get to it.
About that small gap in the lining side seam we left earlier… if your waistband ends up not quite tight enough, that is an excellent spot to thread another piece of elastic through just enough to snug them up.

Secret area left open to add more elastic later if needed.
Dubious about the gathers while sewing. I put them on and by magic the gathering went away!
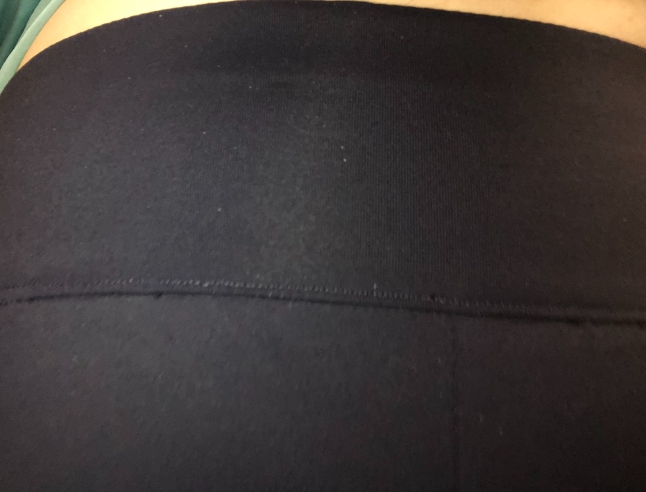
By overlapping the facing, the multiple layers of waistline are dispersed and reduced at the point where waistband meets pants which reduces bulk. Those small details add up to a nicer garment.
For these pants, I took photos of both the navy and purple Supplex I used.
The pattern used is here. Another pattern that works would be this one.
These are my affiliate links for patterns. At no cost to you, the designer may compensate me with a small commission when people use them to purchase a pattern. Thank you for using these links.
Thanks for reading, and happy sewing! Joan

H owdy-ho everybody! Today I want to talk about options for finishing elastic waistbands. I played around with a few options when I was making samples for the Carolyn Pajamas, but obviously you can apply this information to any garment with an elastic waist.
LikeLike