Three years ago I found out about a practice called Winter Sowing. The premise is that you start seeds in specially prepared milk jugs in winter, and let nature take over.
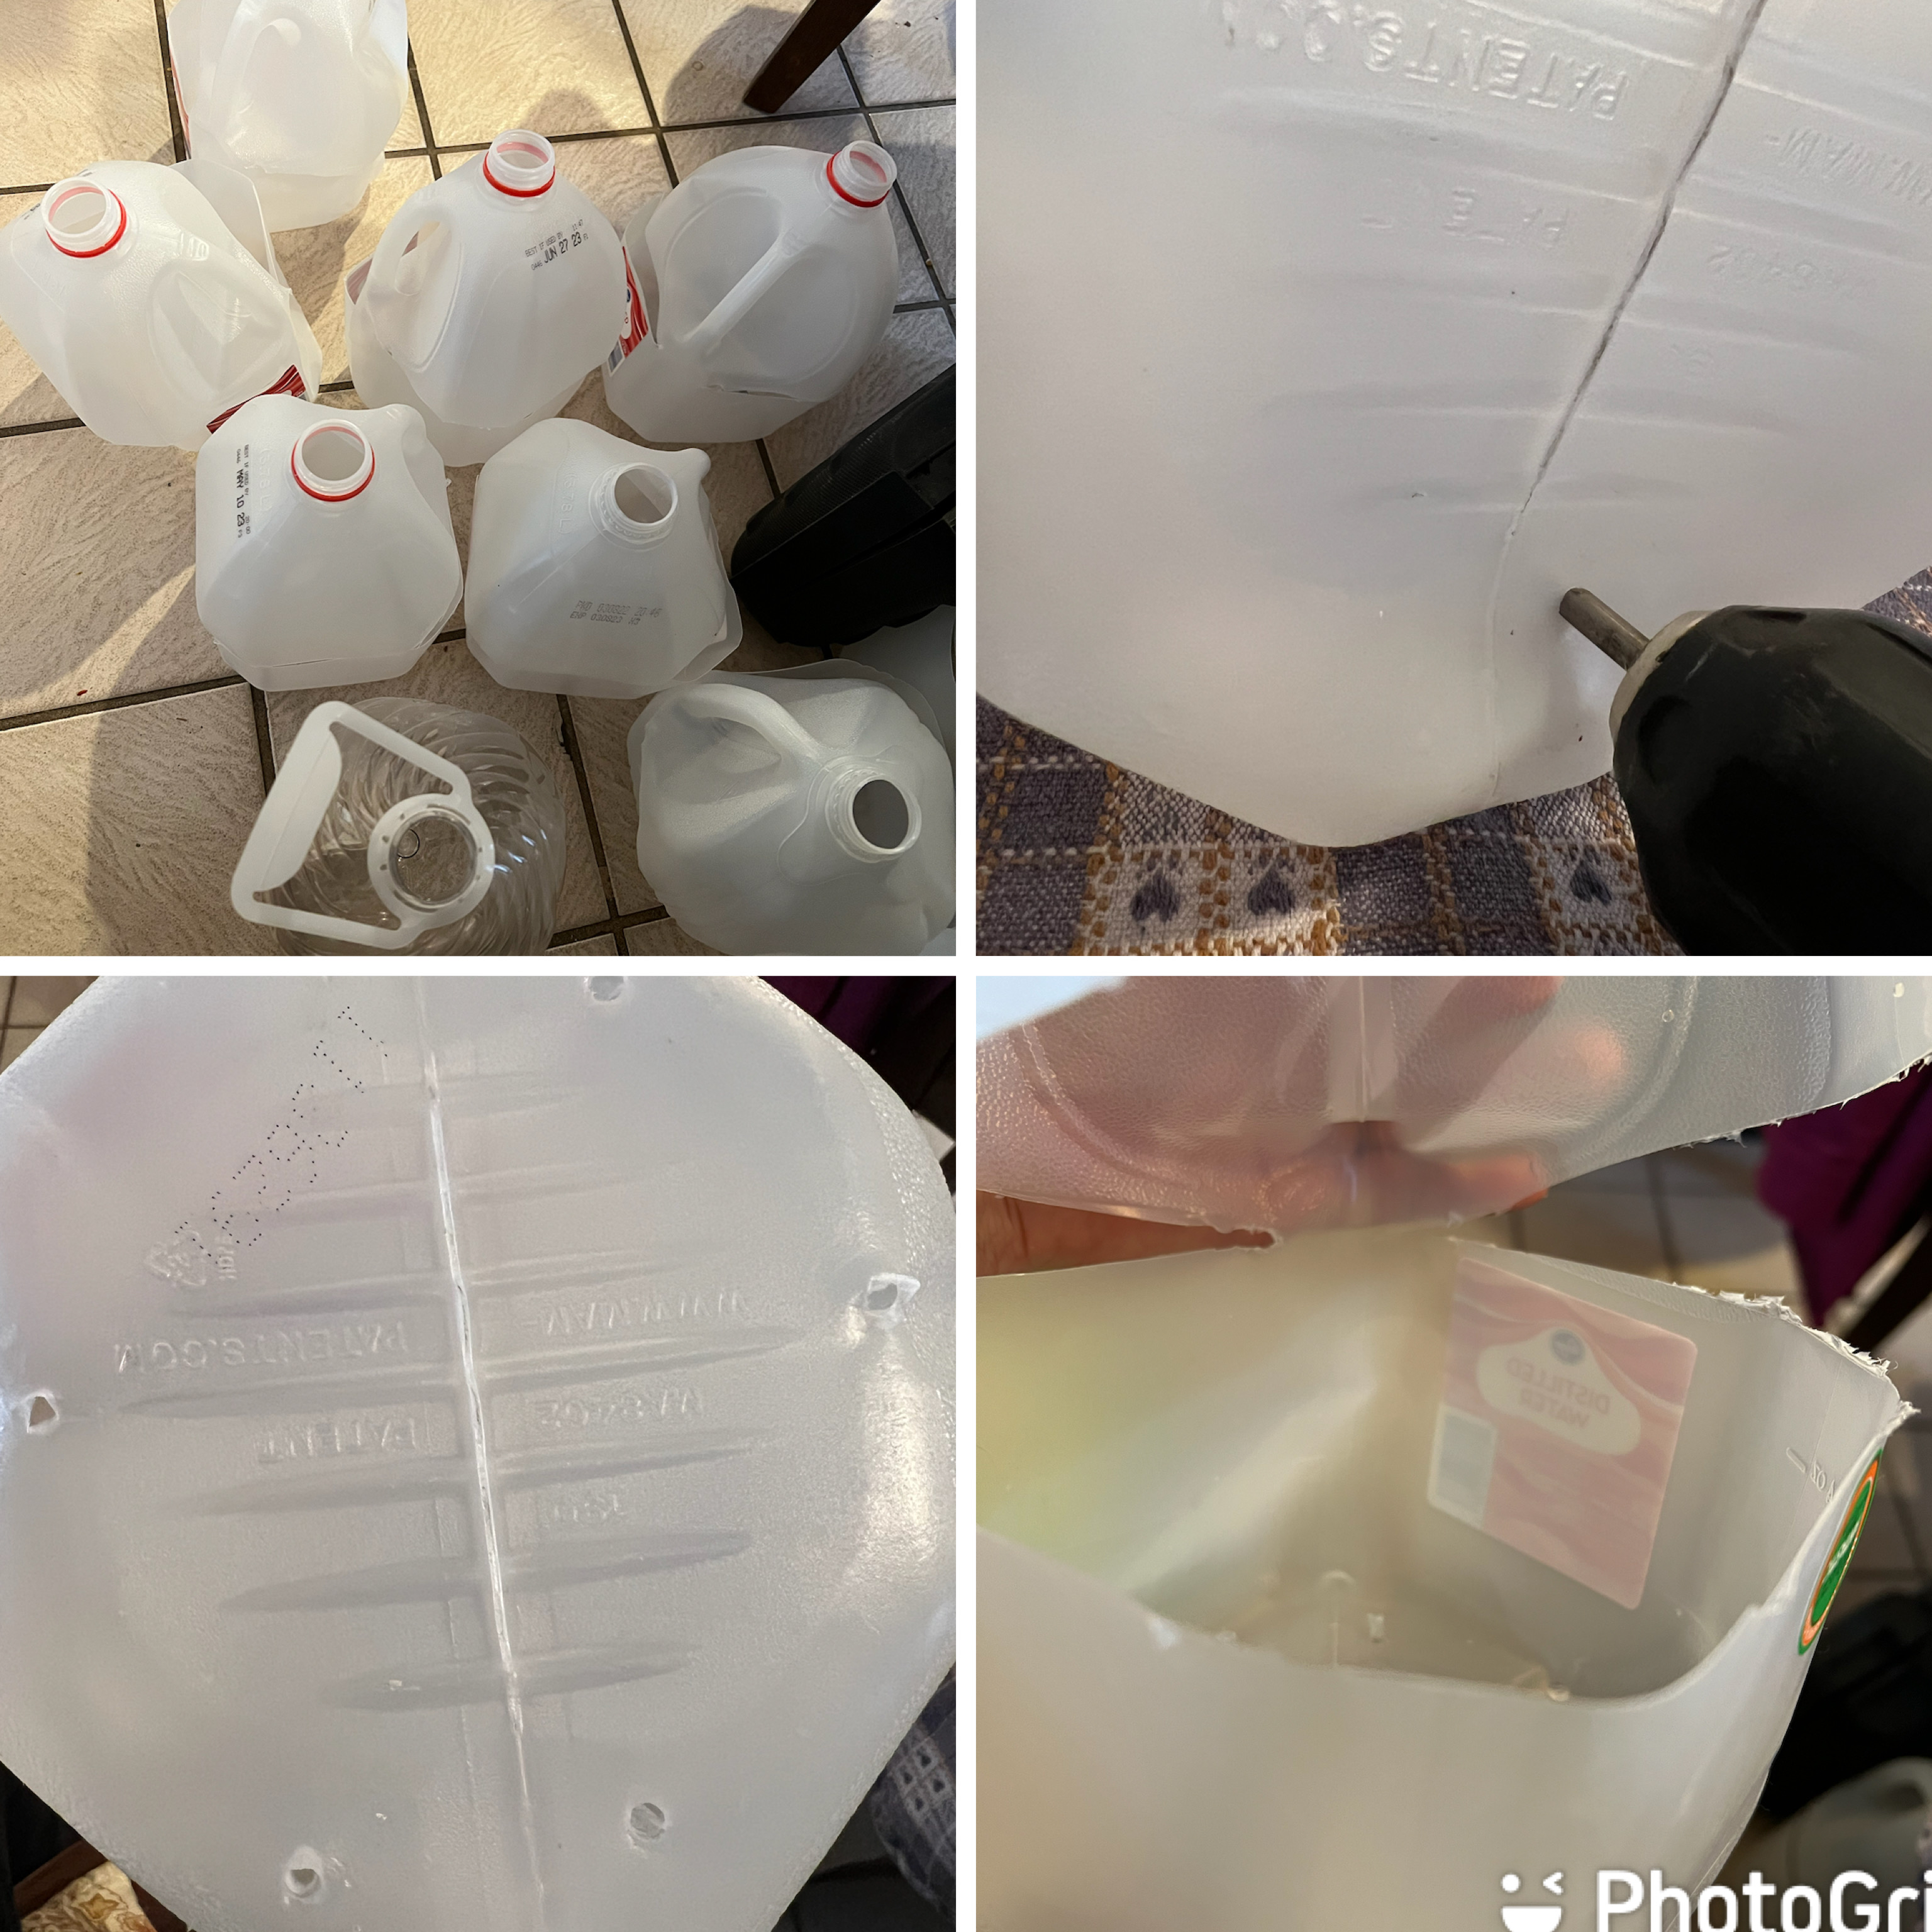
Start with clean milk jugs that are translucent or clear. These held distilled water at one point. Drill 1/4 inch holes in the bottom of each jug. A large awl, Phillips screwdriver or sharp scissors will work too. 6-8 holes is usually sufficient.
Last year I drilled a hole in the lid, and used them as plant labels. It is important that the lids are removed for ventilation purposes.
Leave a 1-2 inch “hinge” about 5 or 6 inches up from the bottom of the jug. And cut a horizontal opening almost all the way around. I leave my hinge at the bottom of the handle.

Last year I drilled holes across from the handles so I could use wire, string, or in this case a paper clip to hold the jug closed. Duct tape also works.
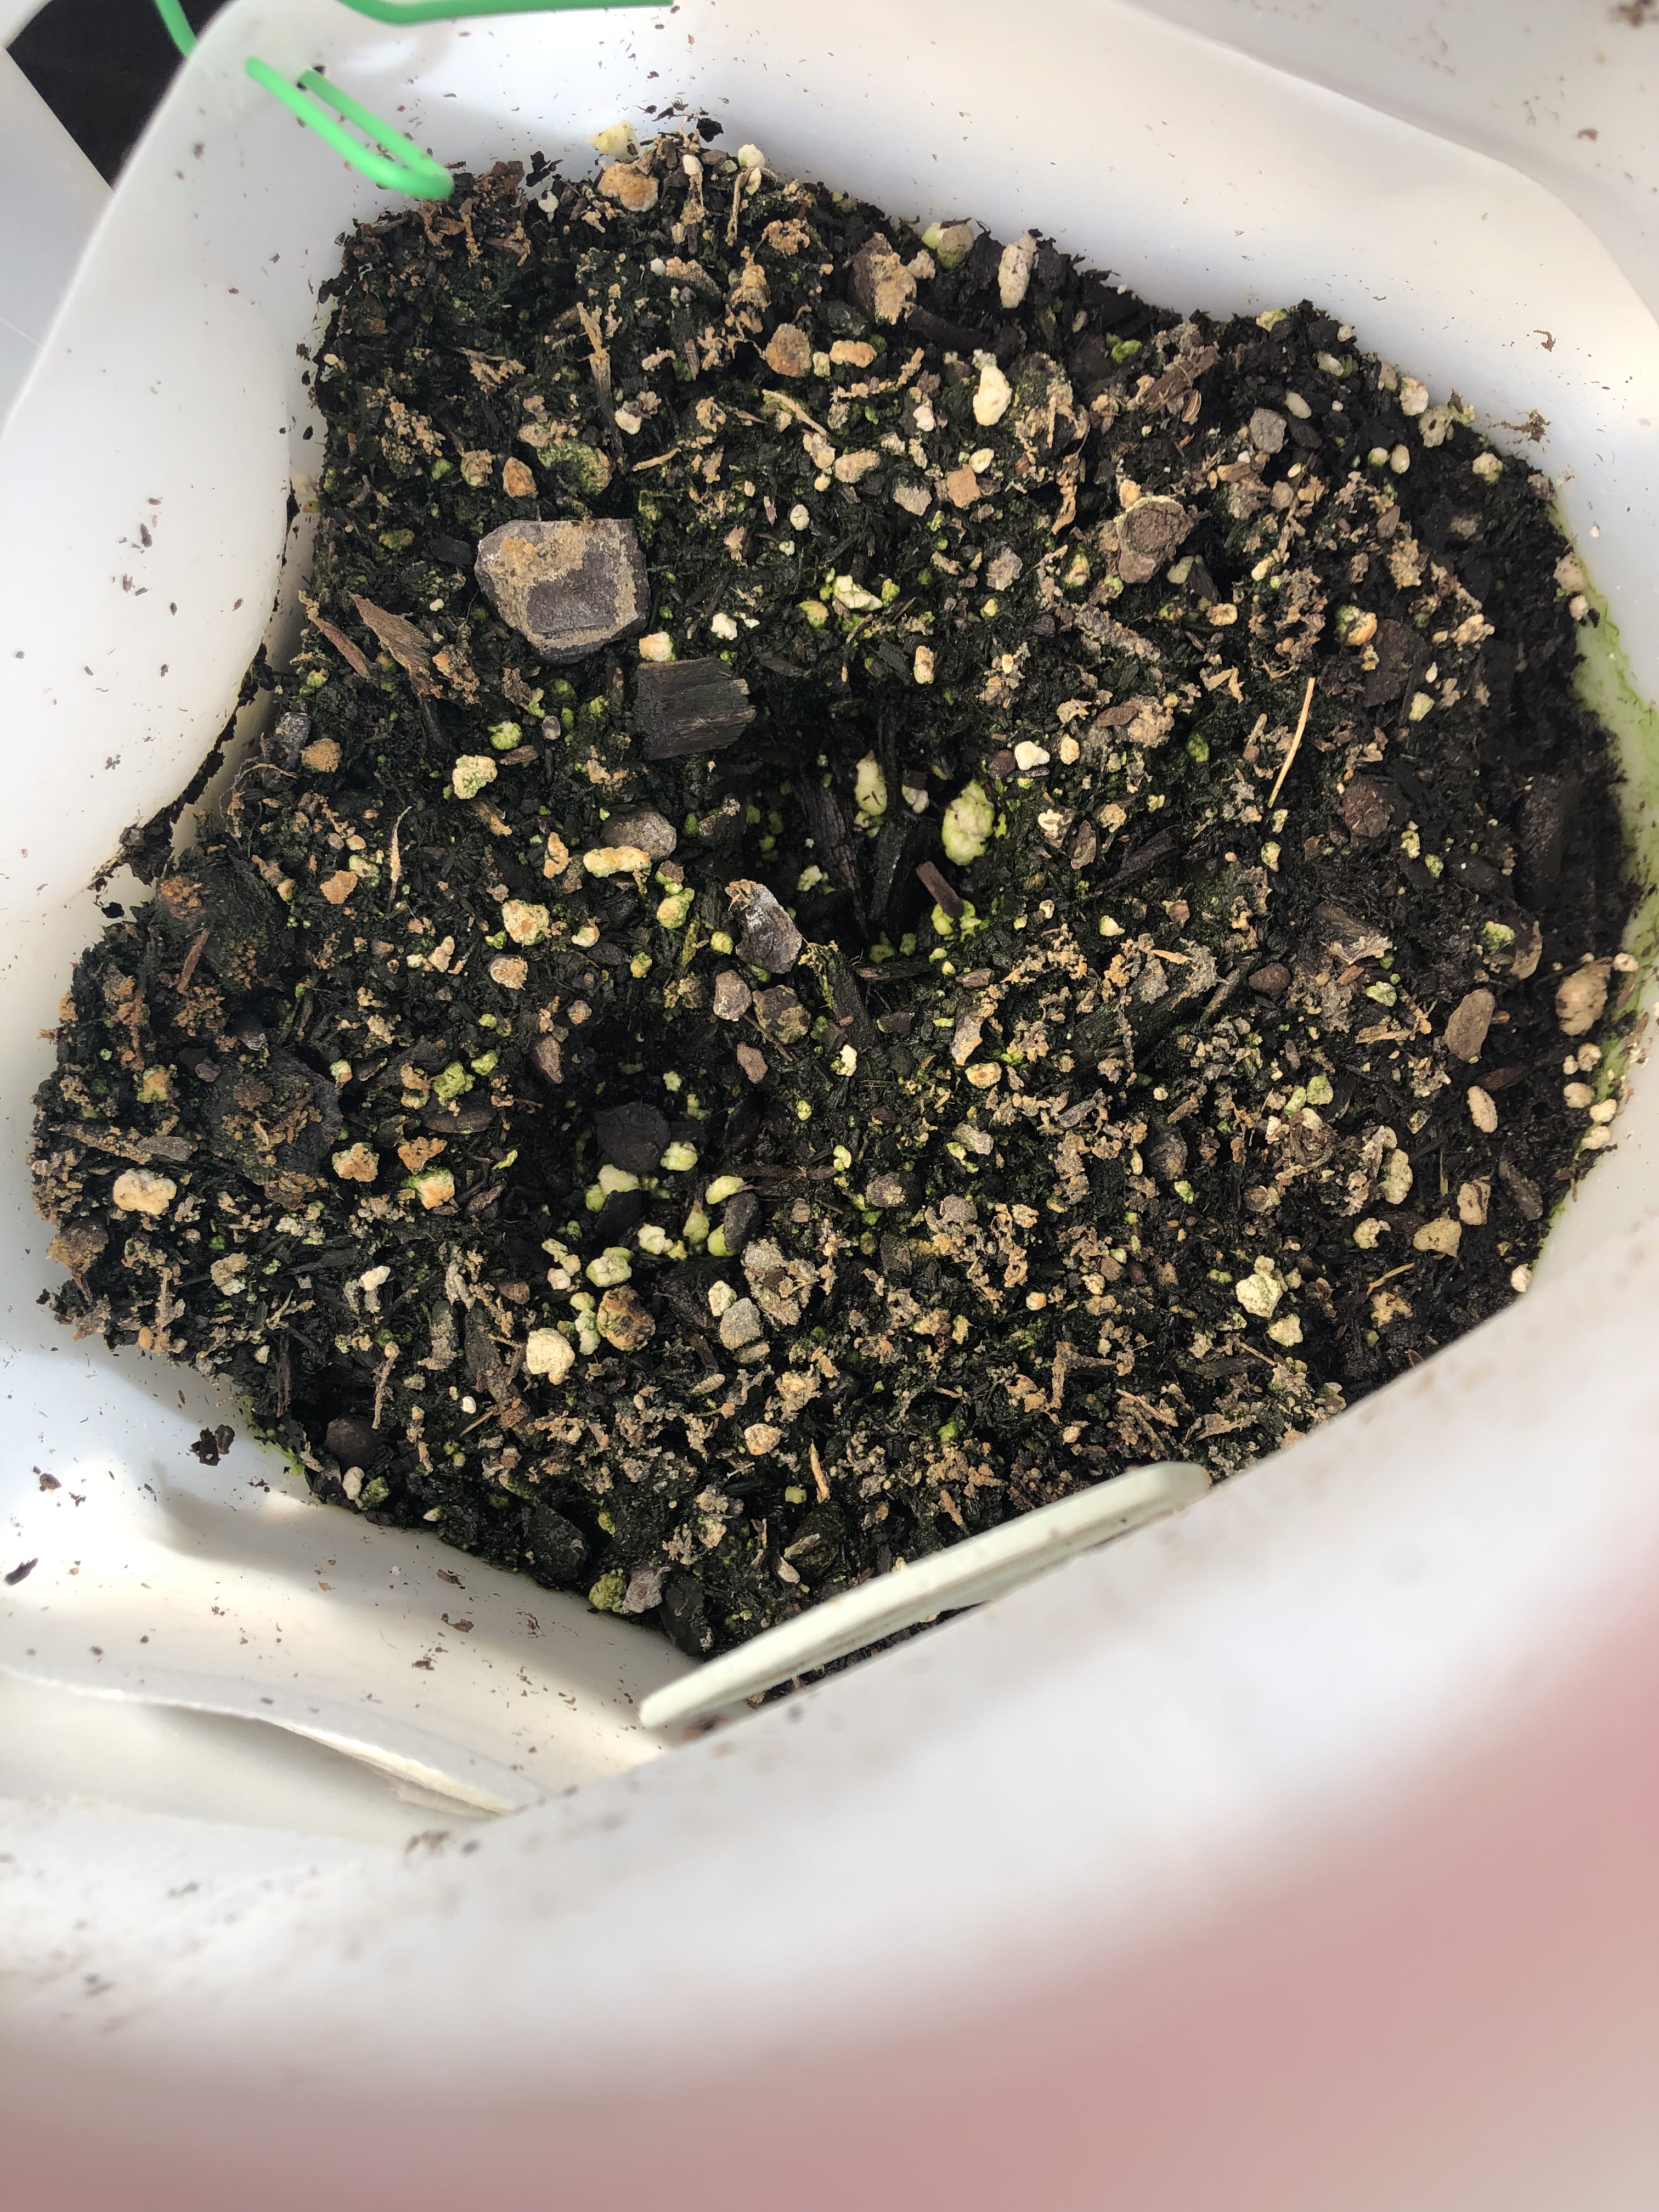
Fill your jug with moistened potting soil. I use Happy Frog potting soil. It contains what seedlings need to grow. The plants can be in these containers for months.
Larger seeds – like sunflower or cucumber will need spacing, so maybe 6 to 9 seeds per jug. Smaller seeds like lettuce can be scattered across the top. You can likely get a 4×4 or 5×5 grid of spinach, beet, radish seed in each jug.
I particularly like planting seeds that require cold stratification, like native perennials, or things that take a while, like parsley or coriander. Cold hardy plants are especially suited for Winter Sowing!
Be sure to label the inside and outside of your jugs. Sharpie will fade in the sun. Paint pens or China Markers have worked for me.
Watering:
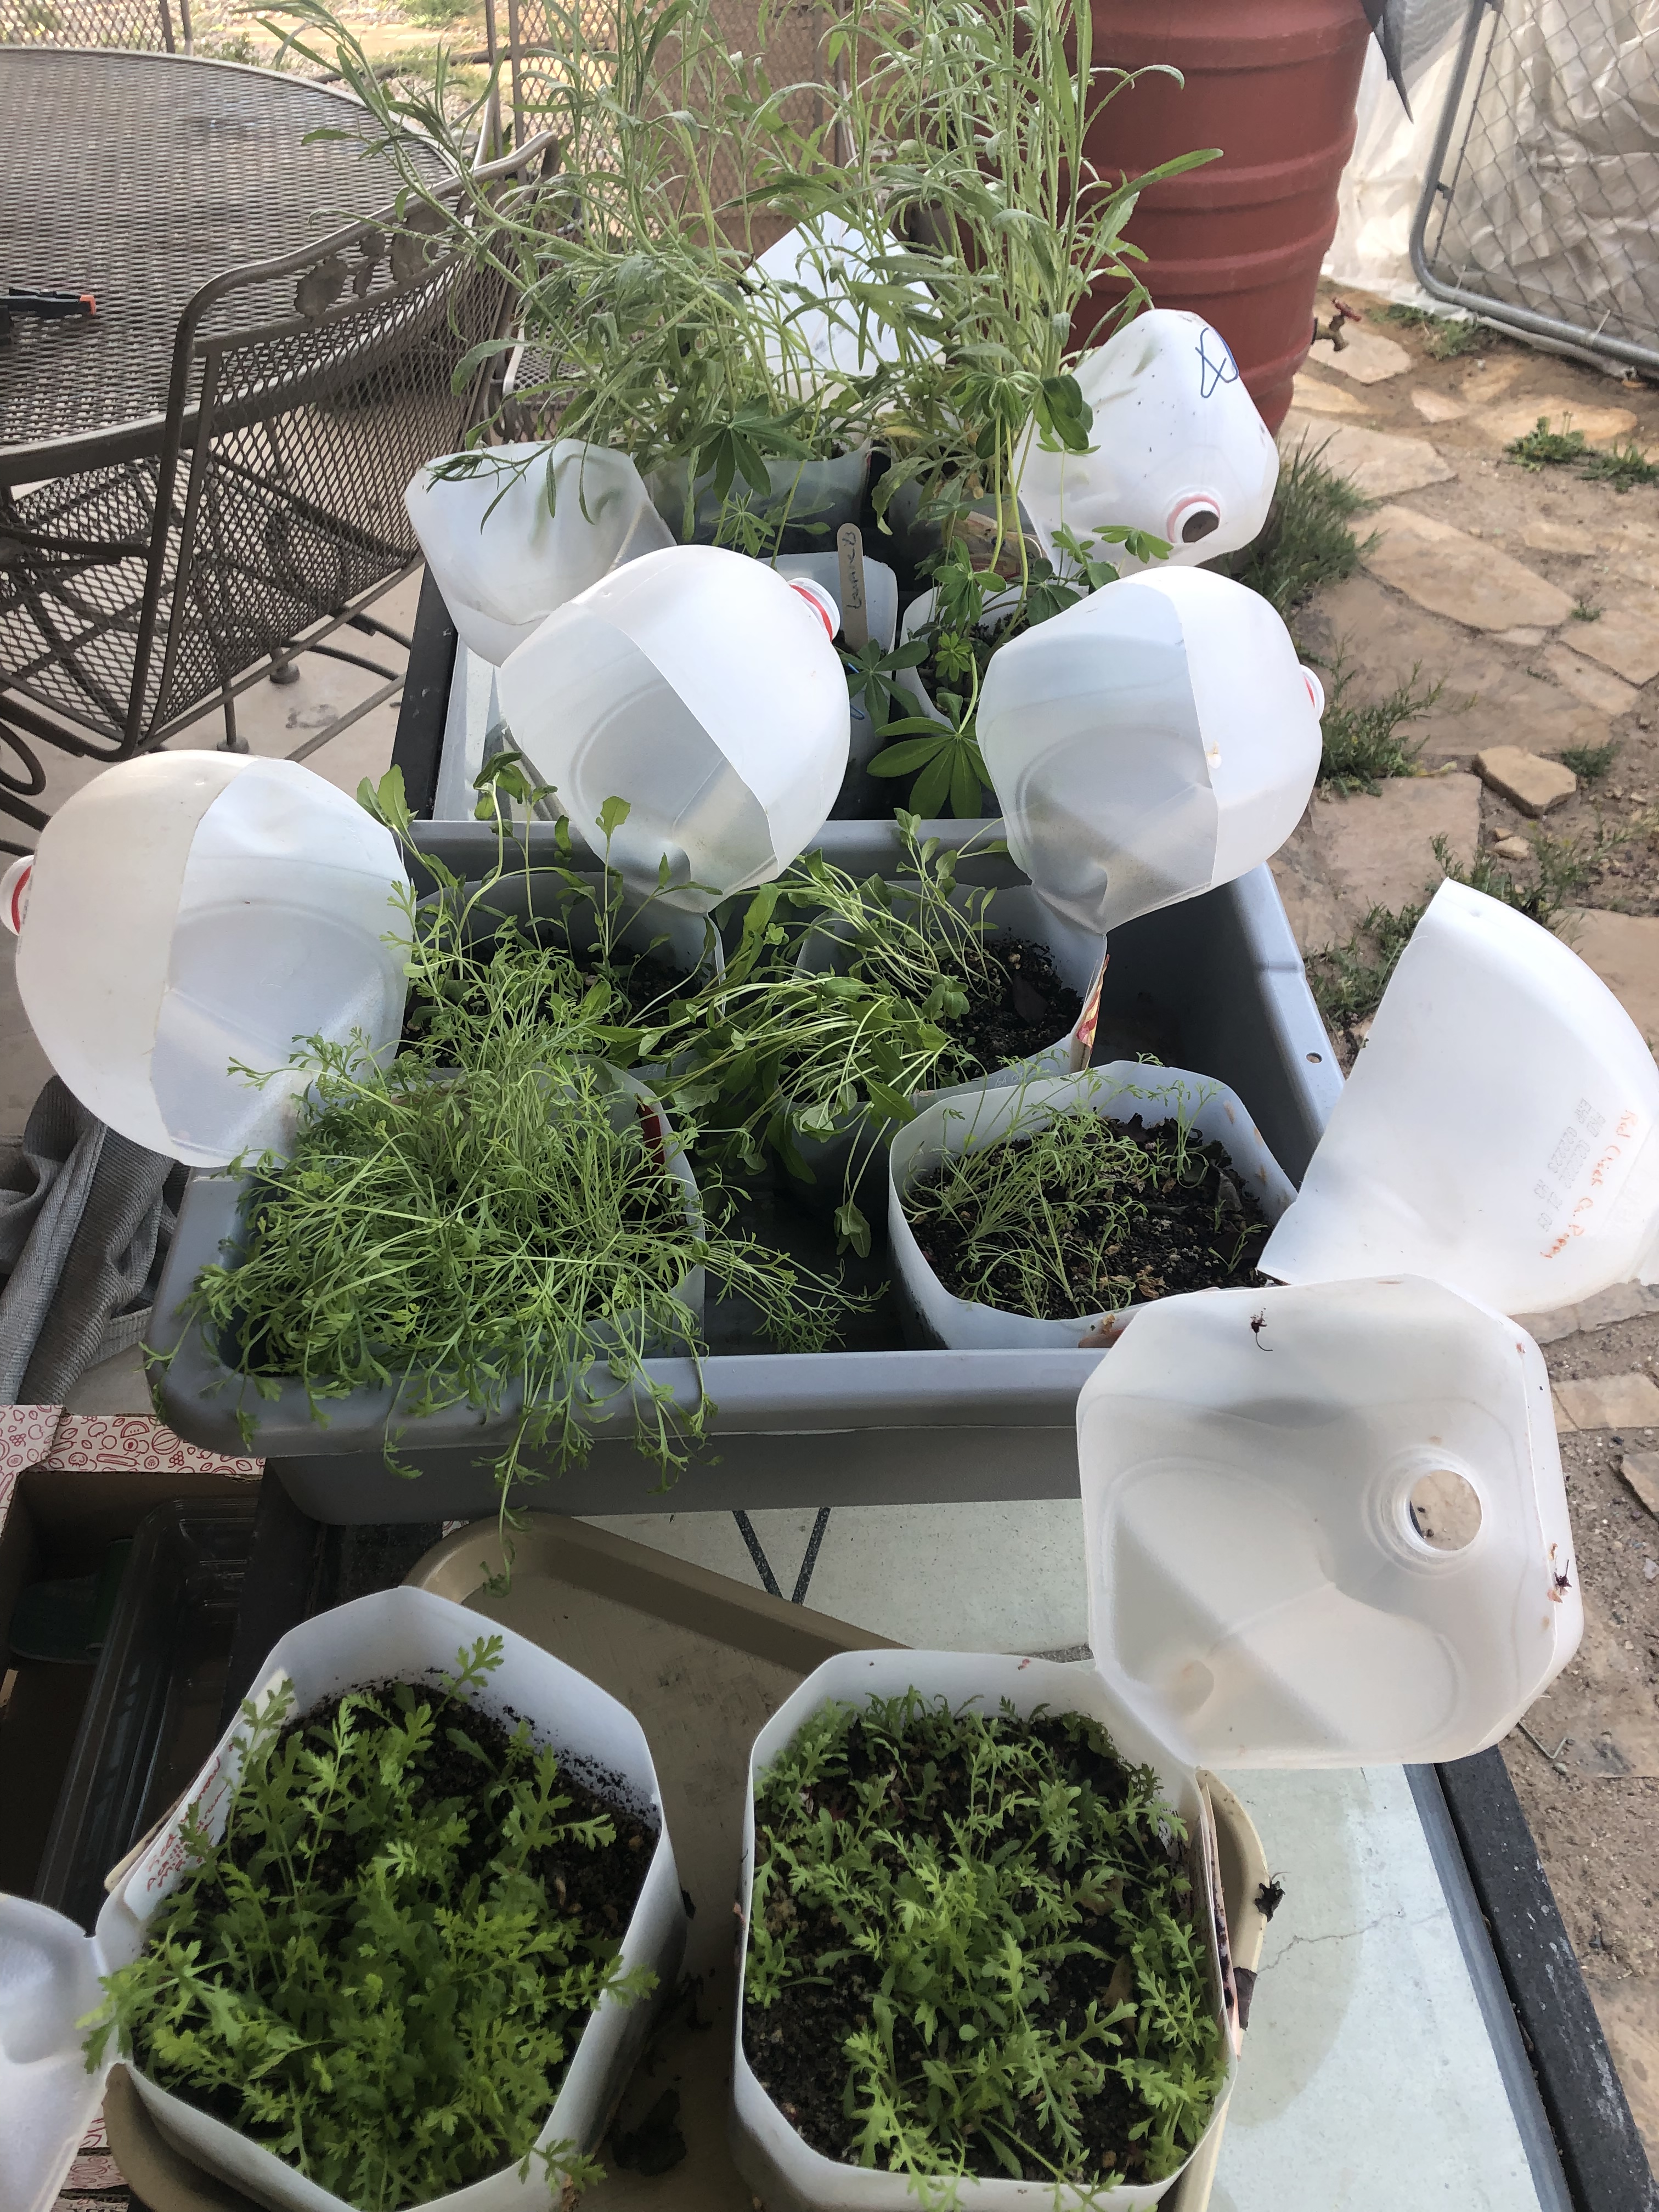
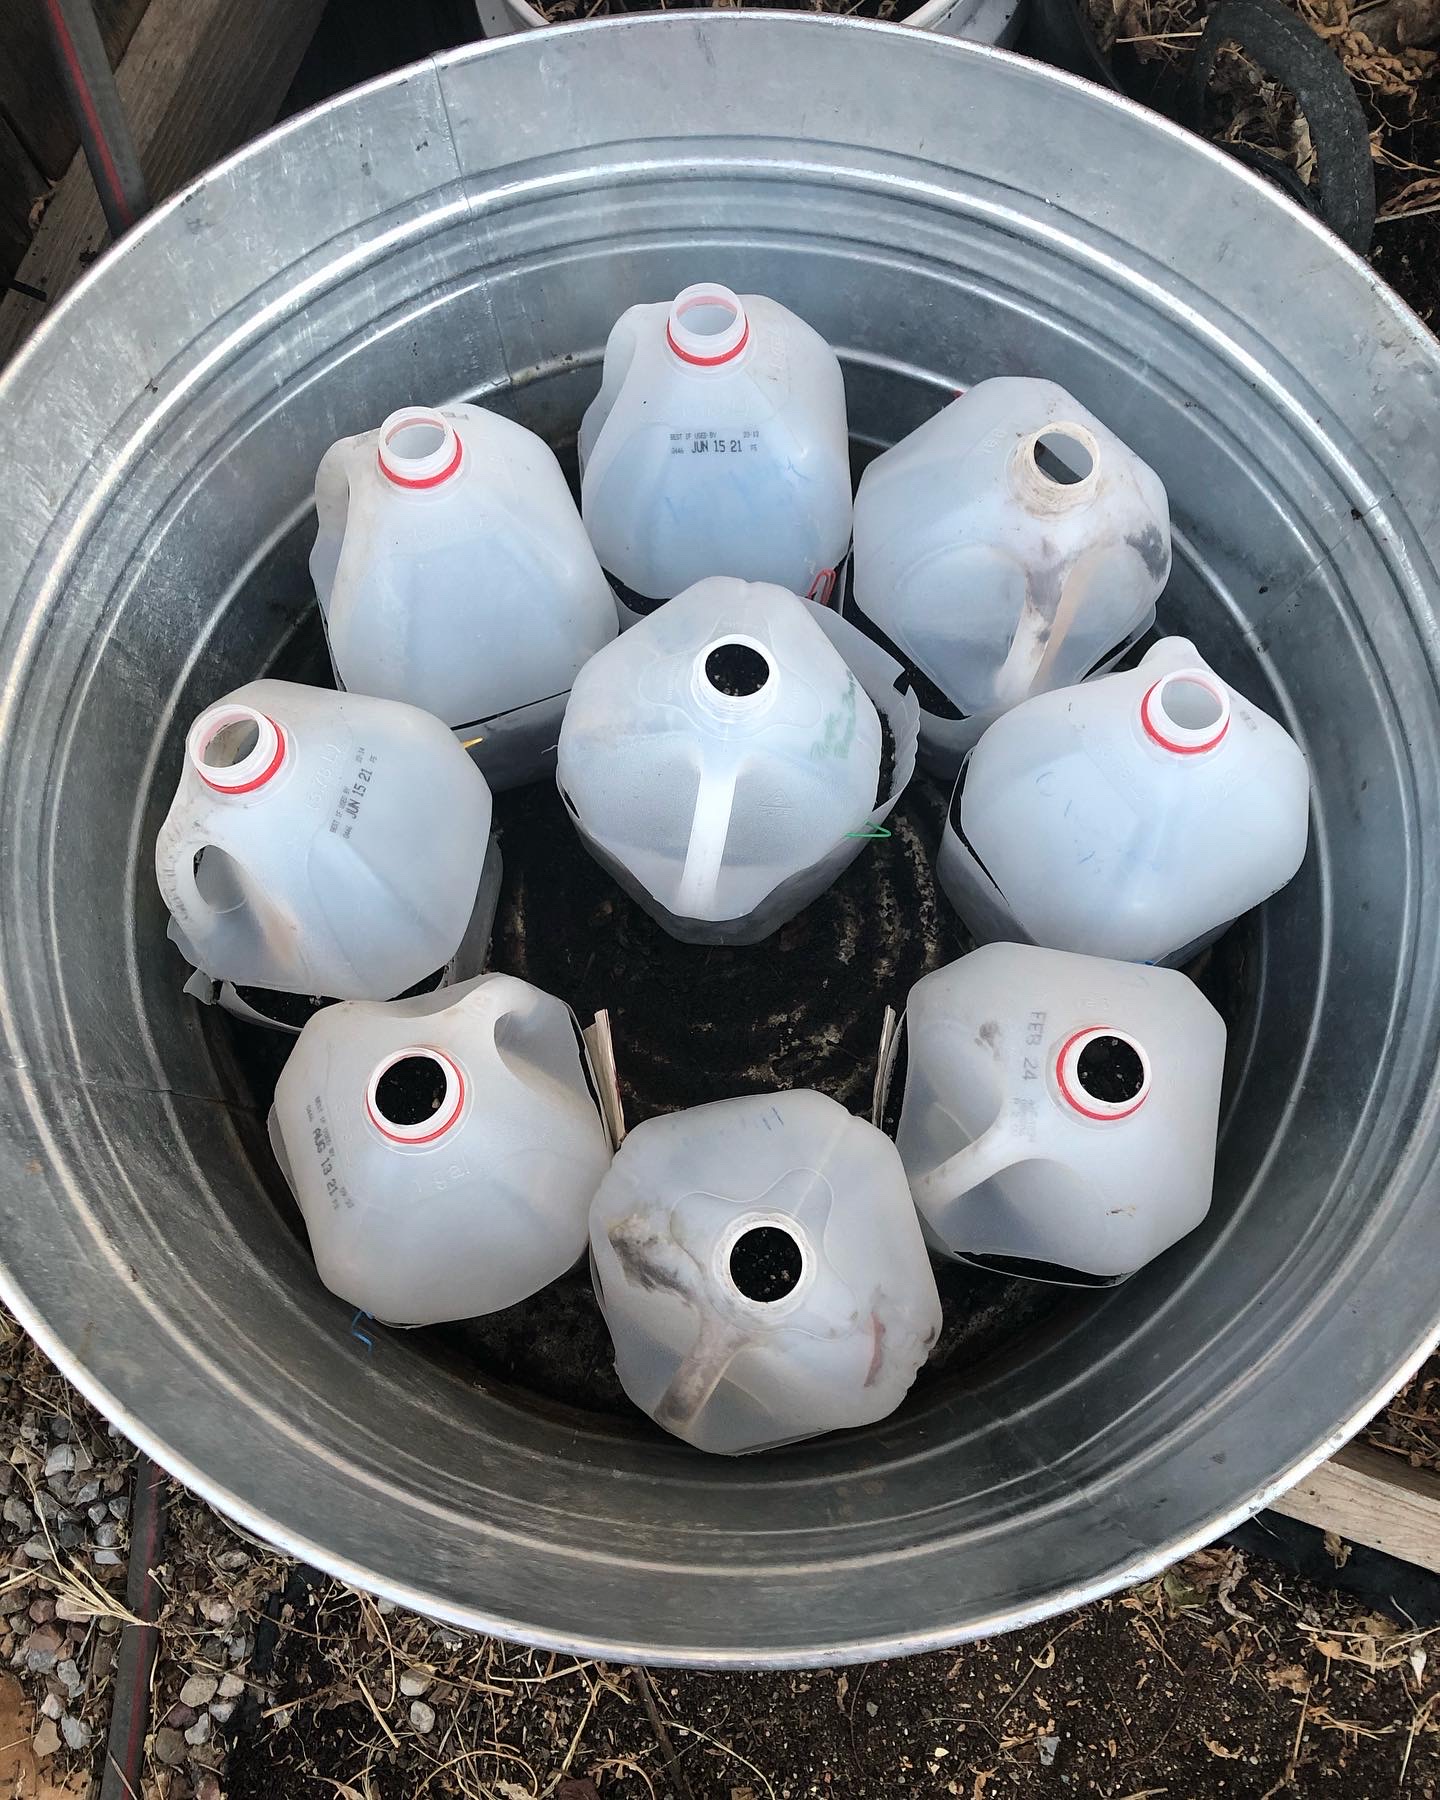
Here in the high desert precipitation can be sparse in the winter. I got a pair of galvanized tubs from our farm store. In the winter, they hold my jugs, summer – grow bags. For drainage, there are 1/2 inch holes drilled about 2 inches up from the sides. 2 or 4 holes will work.
This allows rainwater (or hose water) to gather at the bottom, so that the soil in the jugs can wick it up. This is called bottom watering. I check them a couple times a week. If there is condensation on the inside of the jugs, and they are heavier, then great. If the jugs are light, and no condensation, time to water.
Watering from the top tends to swoop the seeds to the lowest point in the jug, and crowd them. Some folks use spray bottles and a fine mist.

This photo shows a bus box that also has holes drilled on the sides, an inch or two from the bottom. Empty Happy Frog bags are the perfect size to line the bottom of these crates from the garden center. They only come up a few inches from the bottom, allowing water to be absorbed by the soil in the jugs, without overwatering them.
In this photo, Collards, Hyssop, Hollyhocks, and native perennials are getting used to being in the open air before transplanting.
a friend gave me a quantity of ripple bottles that work well.
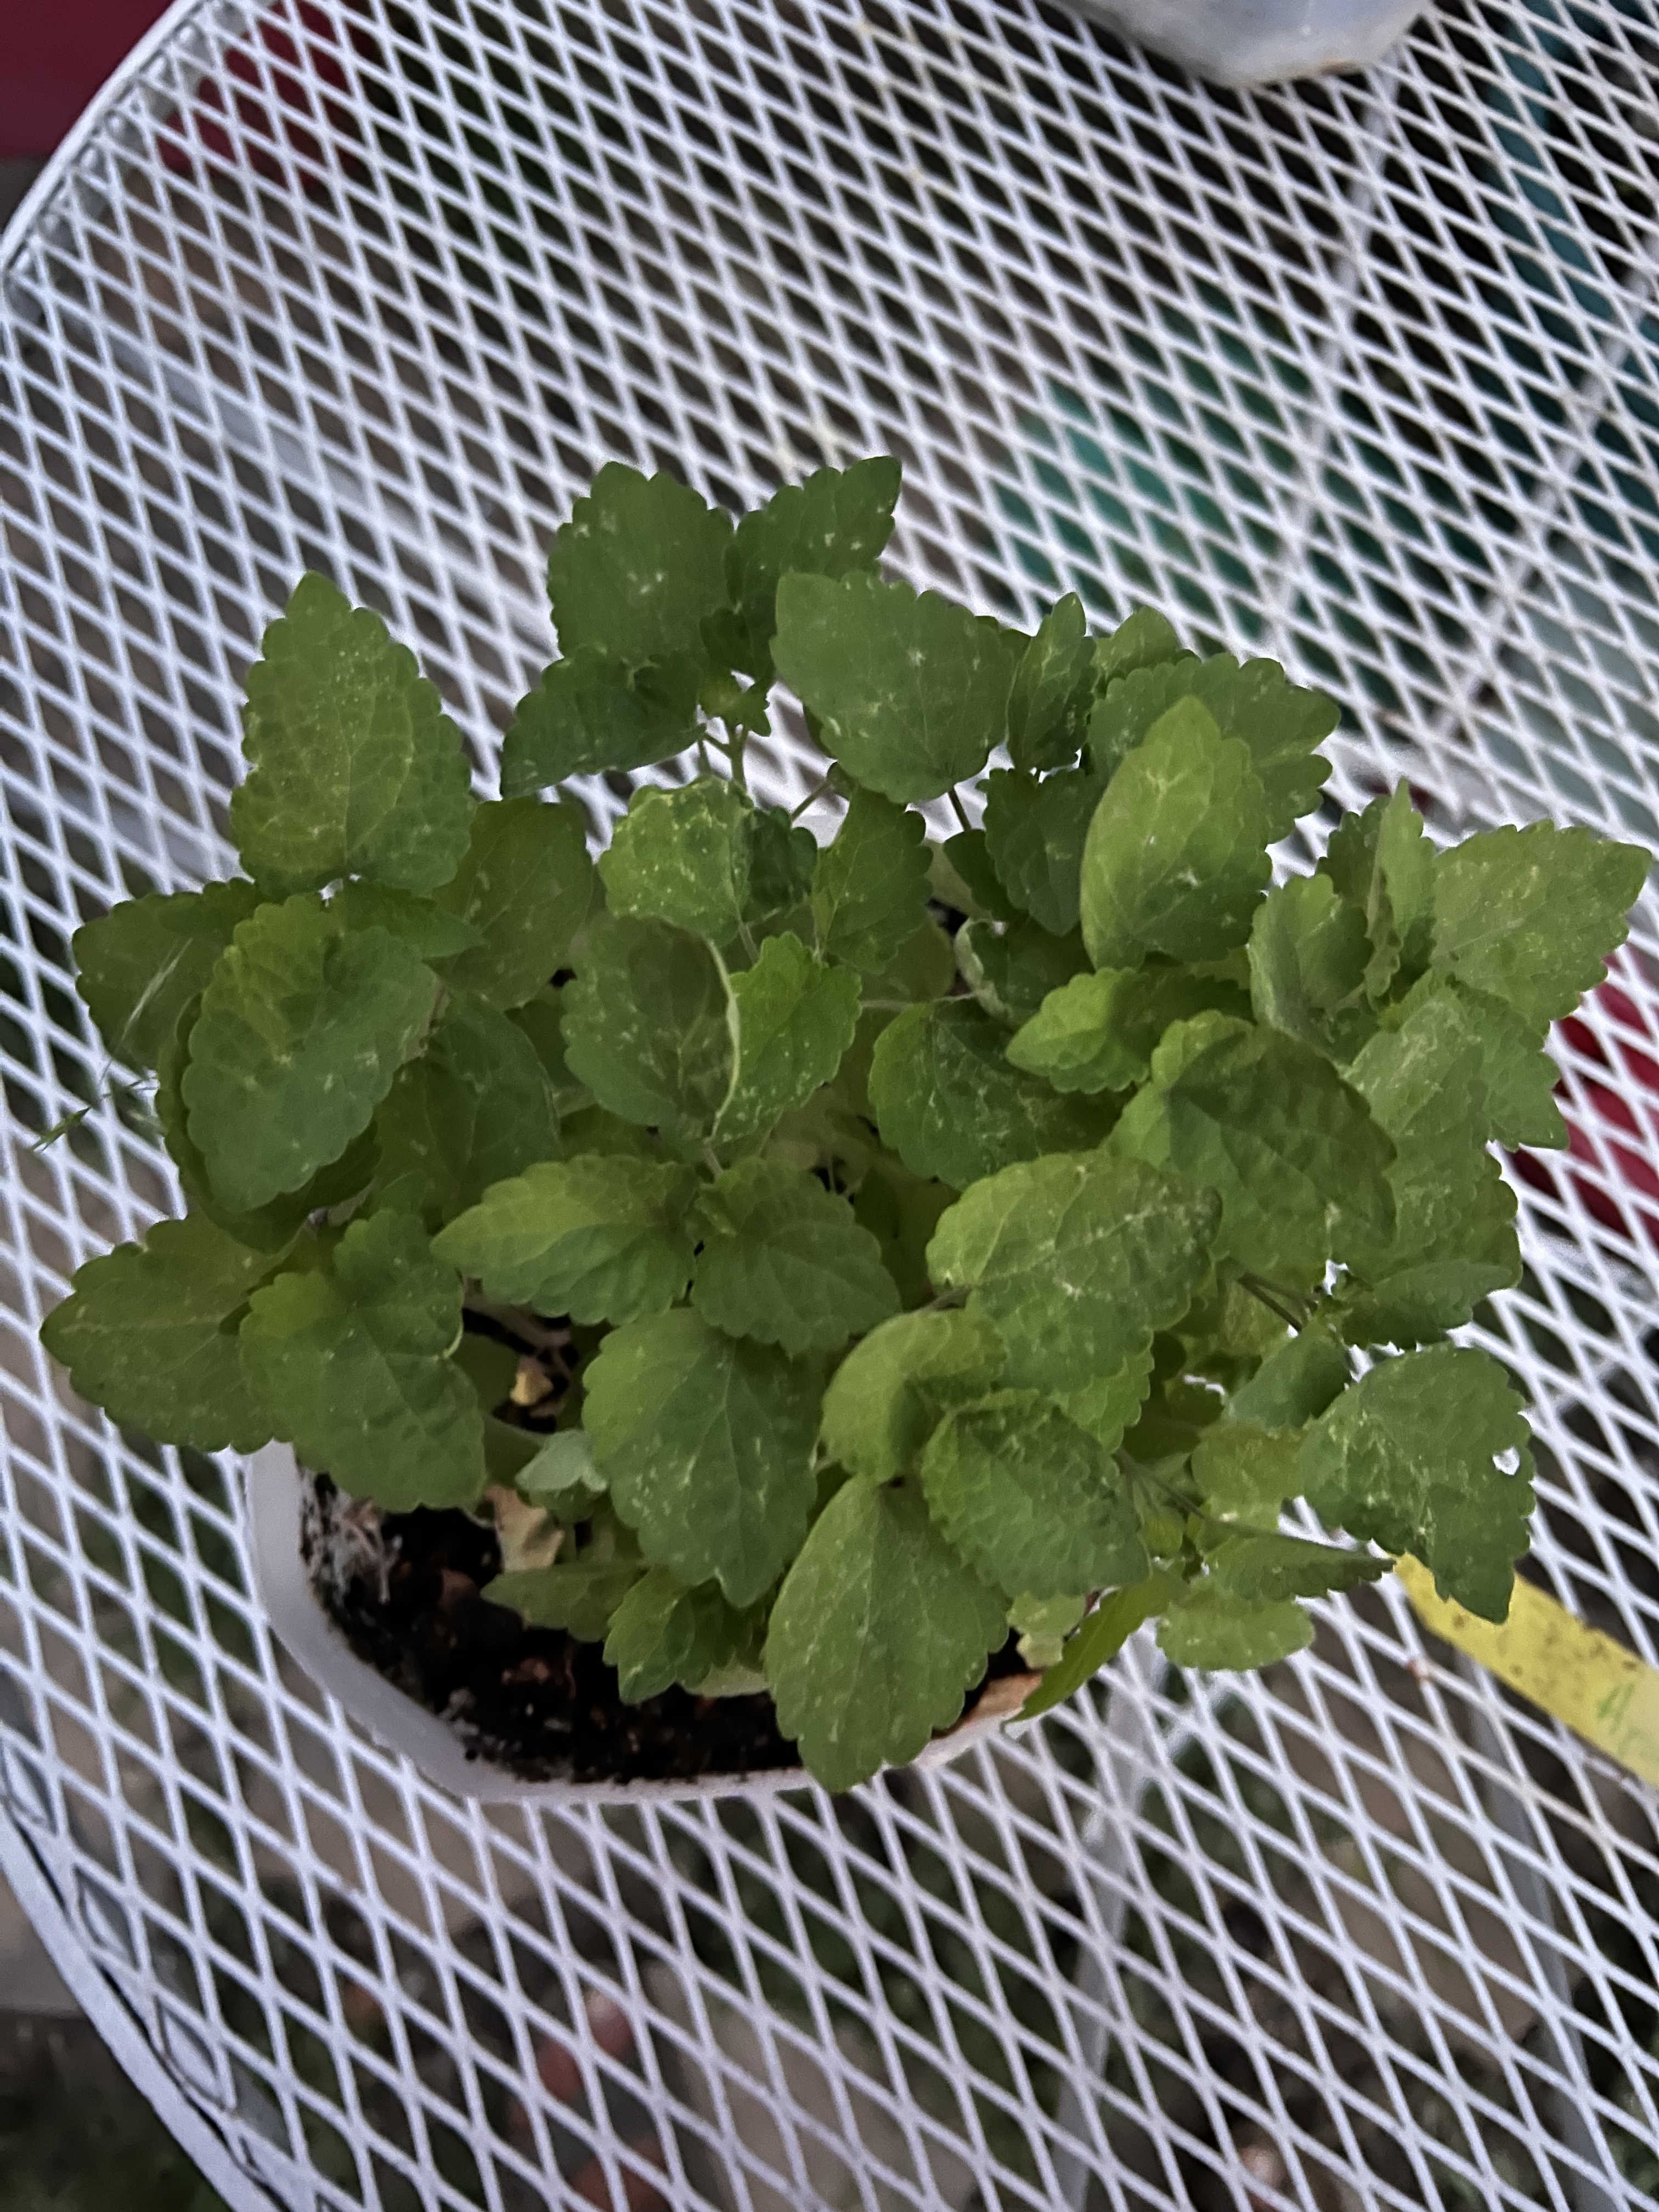
While these plants have never been indoors, they still need hardening off. In a spot that is protected from intense sun and wind leave the cover off for a week or so, then carefully divide and plant out when the soil temperature and weather is appropriate. Anise Hyssop in this jug enjoying the dappled shade of a leafing out apple tree.
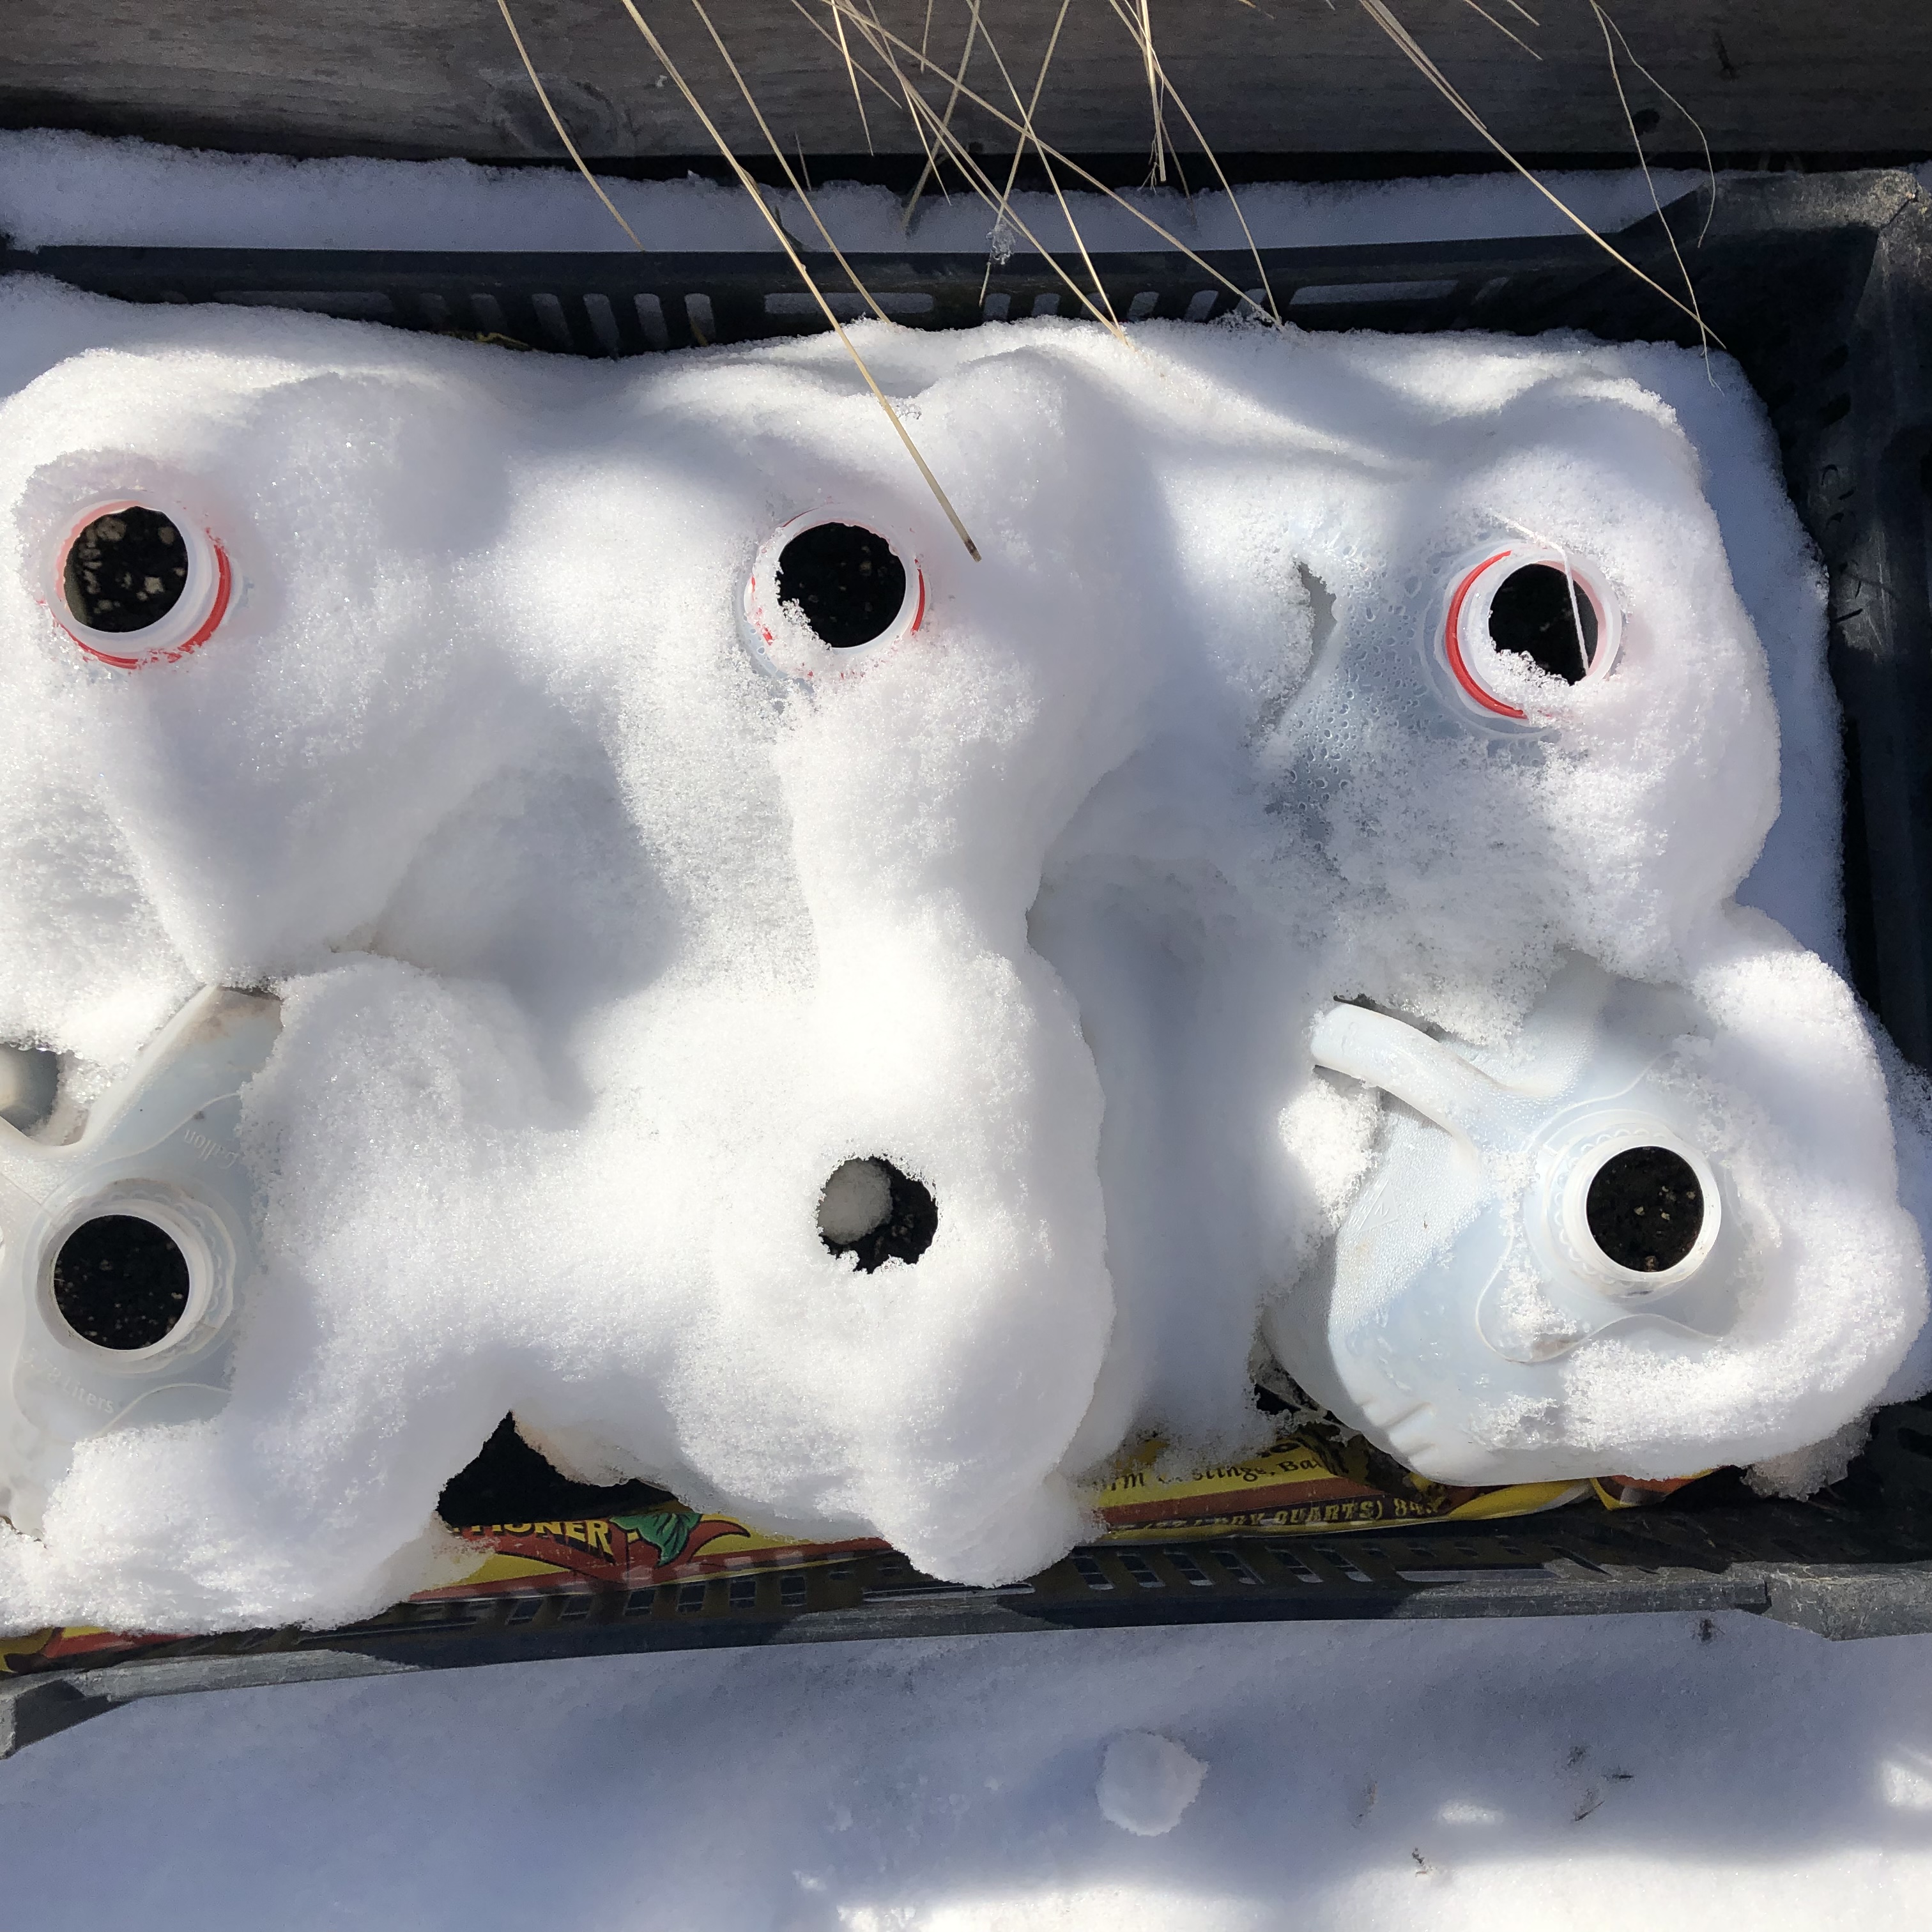
Snow is a great insulator! If you are expecting single digit temperatures and are concerned about sprouted jugs, a frost blanket is a good idea. Just be sure to secure it against the wind.
One year a polar vortex brought temps down close to zero. I brought sprouted jugs into my garage at night, then back out during the day. Never bring them into a heated space.
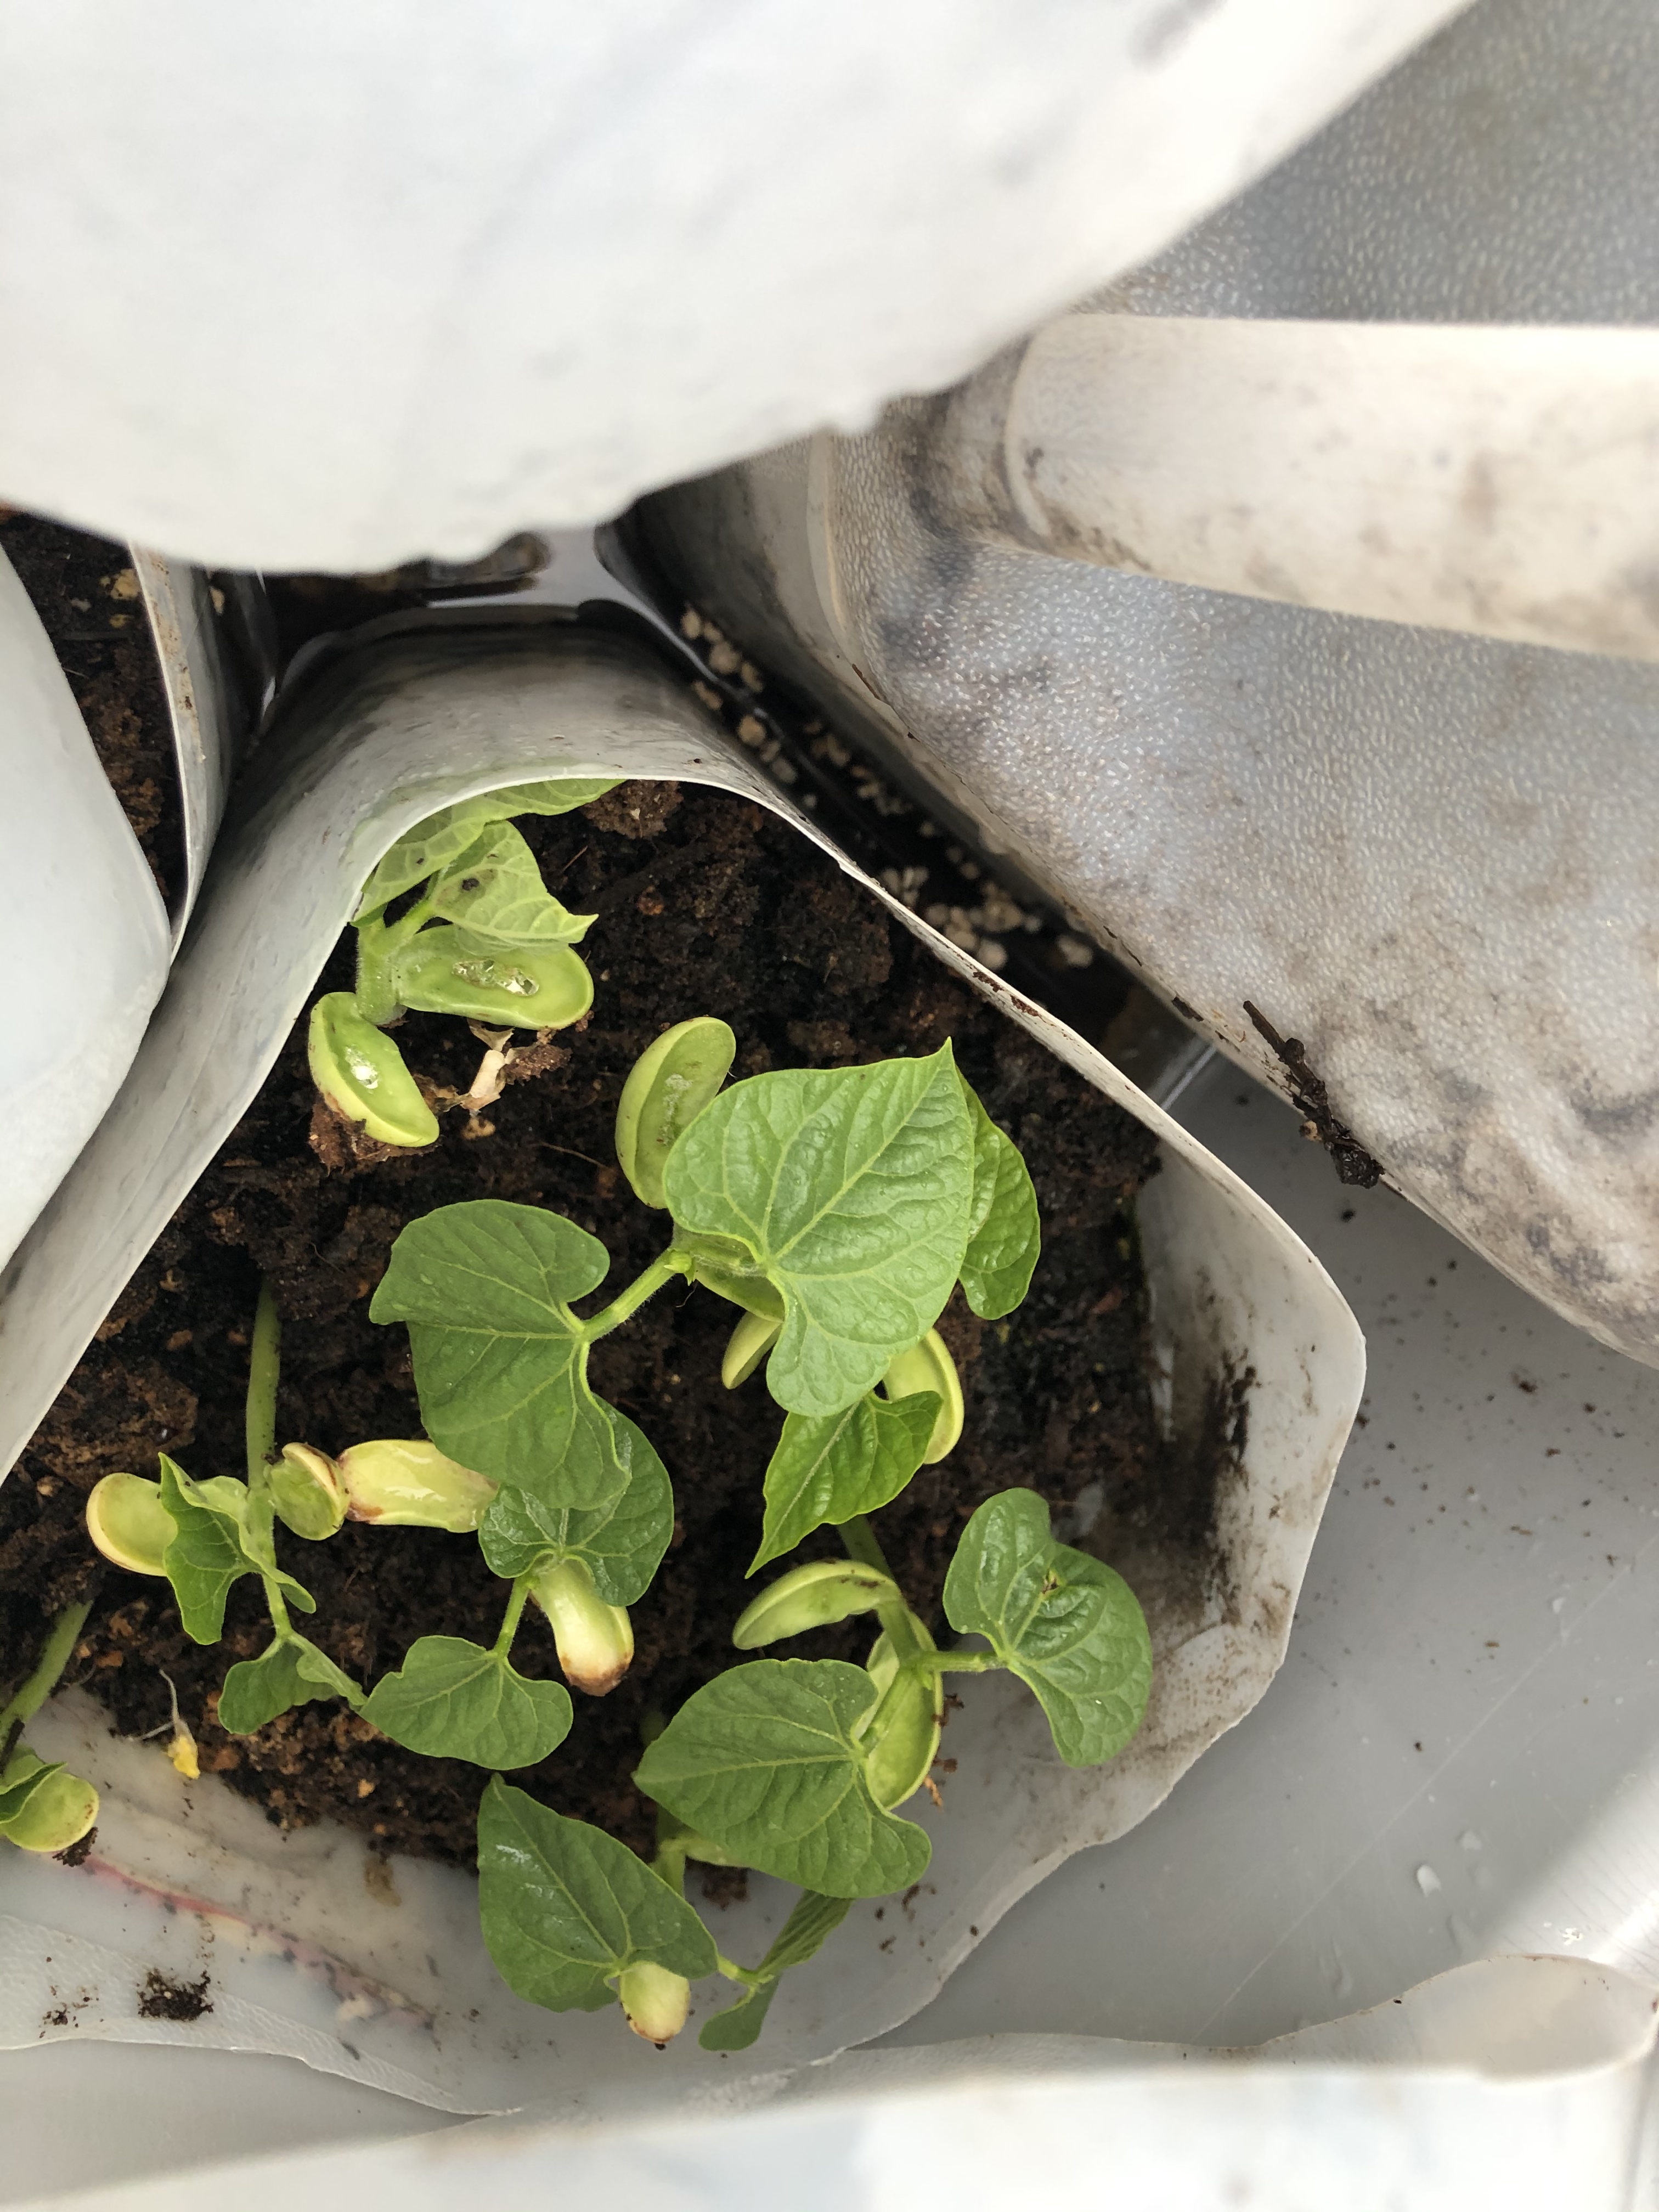
Heat loving plants, like pole beans should be easy enough to direct sow. Hungry birds and rodents enjoy them. I like to plant out the perennials and cold hardy seedlings in late April, or early May. Then reuse the containers to start pole beans, okra and cucurbits.It helps to get them past the “tasty morsel” stage.
Since beans are picky about germination temperatures, I set the jugs in dappled shade, plant seeds as densely as I would if direct sowing. When they are ready, I dig a trench at the base of the trellis that is as wide as the jugs. Then plop the whole contents of the jug upside down in one hand then flip that over into the pre-dampened trench. Stack the contents of each jug side by side, water well, provide some shade and keep on.
Cucurbits are more agreeable to being separated for planting.
Hope this helps you get an early start with your garden. Happy growing! Joan