 My earliest memories of Ambrosia were from Thanksgiving, when it was the most delightful part of the meal. According to Wikipedia:
Ambrosia is an American variety of fruit salad. Most ambrosia recipes contain: canned or fresh pineapple, canned mandarin orange slices or fresh orange sections, miniature marshmallows, and coconut
We have always made ours with pineapple, bananas, oranges, and coconut. Maraschino cherries were added when our middle child became aware of them.
Intrigued by the pattern name, and impressed by the affordability, and two sizes (most apron patterns I have seen are only one size) I was totally convinced by the princess seams. Princess seams are rather magical in the lines they can create. Oh, did I mention it has pockets. And it does not hang on the back of my neck. As far as aprons go, this one ticks all the boxes. I had been meaning to make one since it was released.
This apron will make an amazing gift, and is a super use of scraps of fabric for the eight or so different pieces. Once you have your pattern traced, and pieces cut, the sewing part is quick! It is fun to experiment with the color blocking aspect of this apron! Please read the designer’s instructions before making your Ambrosia. This is how I made mine.
Important tips. Mark the tops of your pockets and be sure to cut the notches of the pattern outwards (inwards notches will weaken a seam).
Ambrosia #1 included some Frida Kahlo fabric, which makes me happy. Thank you Alexander Henry, and some Tula Pink purple skulls which are non directional since they tessellate, and a hot pink blender that was on sale. I had planned to make a shop sample, but fell hard for this one.
Ambrosia #2, was intended to be the apron made in the demo I had scheduled. I had my eye on the bees fabric forever, and could not figure what to make with it. I opted to include it in my Ambrosia, and to mix it with a batik, that was involved in a Style Arc Lacey dress I planned to wear when weather cooled enough for sleeves.
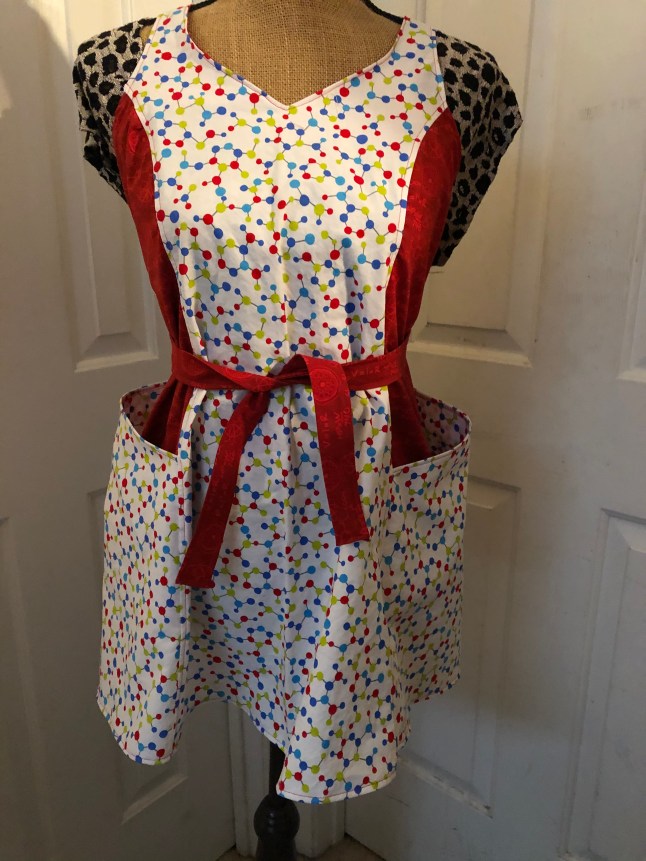
Ambrosia #3 was totally unplanned, until I ran across this fabric from Studio E that was the perfect match to the molecule fabric. My son and his girlfriend had spent a bit of time trying to solve the math equations on a print on a dress I made for my first grand child. I can totally identify with Ms. Frizzle from the Magic School Bus, and wearing something super fun and geeky. I think she can too, and it would be nice to make an Ambrosia in the smaller size. So a yard of each went home with me. I took photos of the construction of this one, and will share them with you.


The Ambrosia is constructed back to front. Yes, I had to read the directions. First I serged the back to the side pieces, and then top stitched that with my Bernina. Top stitching reinforces the serging and helps to make everything lay flat.


Next, I sewed the tops of the pockets together, those markings and notches you made earlier will really help with this, as the deeper part of the pocket is in the back of the apron. Pull the shorter pocket (lining) up and under stitch that seam. Under stitching helps to roll the lining/facing towards the back so that it does not show on the front side. It stitches the layers as follows. Lining on top, and seam allowances on the bottom.
 Those can be pressed before under stitching and pressed before top stitching for a really professional look. Both top stitched pockets below.
 Next stitch the bottom of the pocket to the bottom of the side/back piece. This can be french seamed, sewn and zig zagged, or sewn and serged. Just a single row of serging will need reinforcement here if you plan to put heavy stuff in your pockets. You may notice that I serged across the bottom hem of the outer pocket already. Wasn’t sure which would need white and which would need red serging, so I serged as I went.
  Pin the sides of the pockets so that they are flat with the side/back piece, and stay stitch on the edge of either side of the pocket, so that the layers behave on the next step.
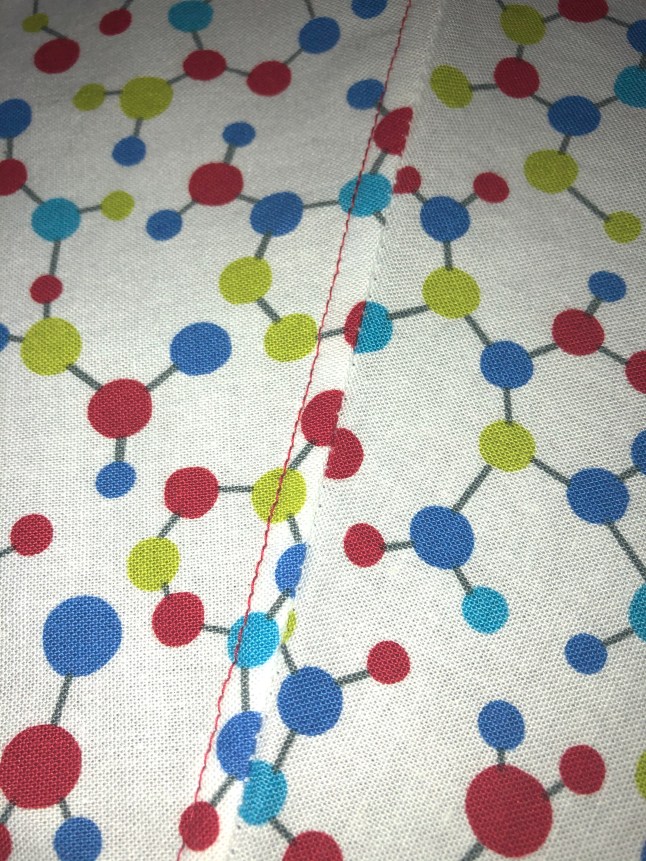
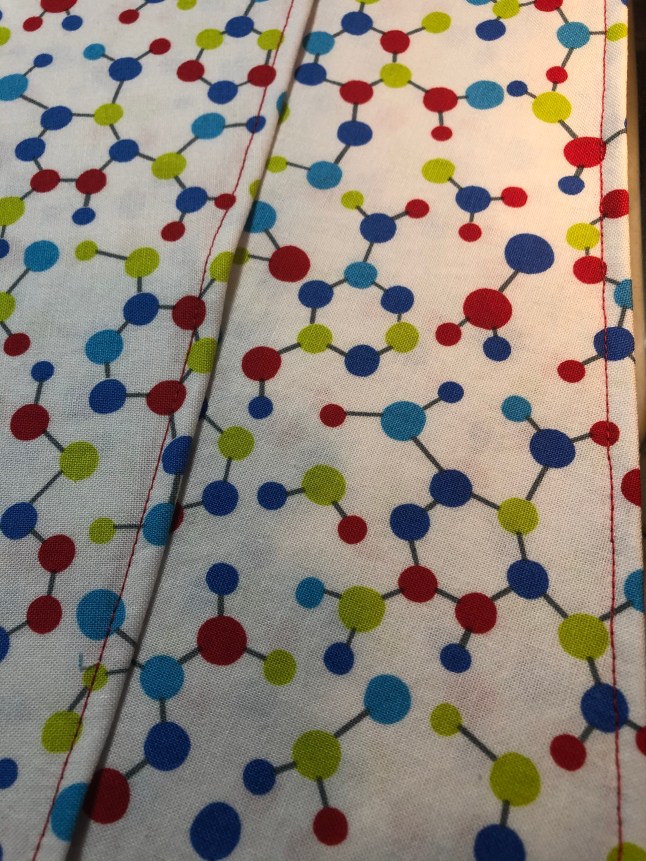
 Next comes the tricky part. the curved princess lines of the assemblage above is attached to the center front. You can baste this first on a sewing machine, but I just went for it, and matched up my seams at the hem and serged away (left photo). When I got to the part where the con curve meets the convex pieces, I had to stop (center photo). I had more red fabric than molecules, so I turned my fabric over, and started from the top and serged till I met my previous stitching (right photo). The feed dogs did the easing of the longer piece into the slightly shorter piece.


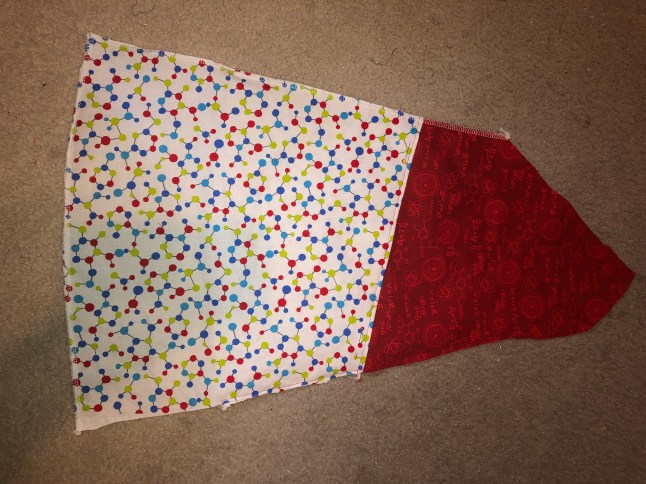
Then I top stitched. Because the pocket makes a lot of layers, I top stitched towards the center panel, so that those layers could lay a bit flatter. 
Straps. Learn from my initial mistake. The pattern piece is on the fold, and the smaller size has a narrower strap. I cut this strap the width of fabric, serged the edge with the selvage folded back on itself, turned then top stitched. On the small apron, I cheated a bit, and cut four inches off the end of each strap to use as my loop. I used a foot with a guide to create tidy top stitching on my apron straps.


Either a separate piece or just a bit of the strap. It is time to attach the loop to the side of the apron. I put the selvage edge up, and raw edge down, so it it is less noticeable. Stitched it back and forth just inside the serging. 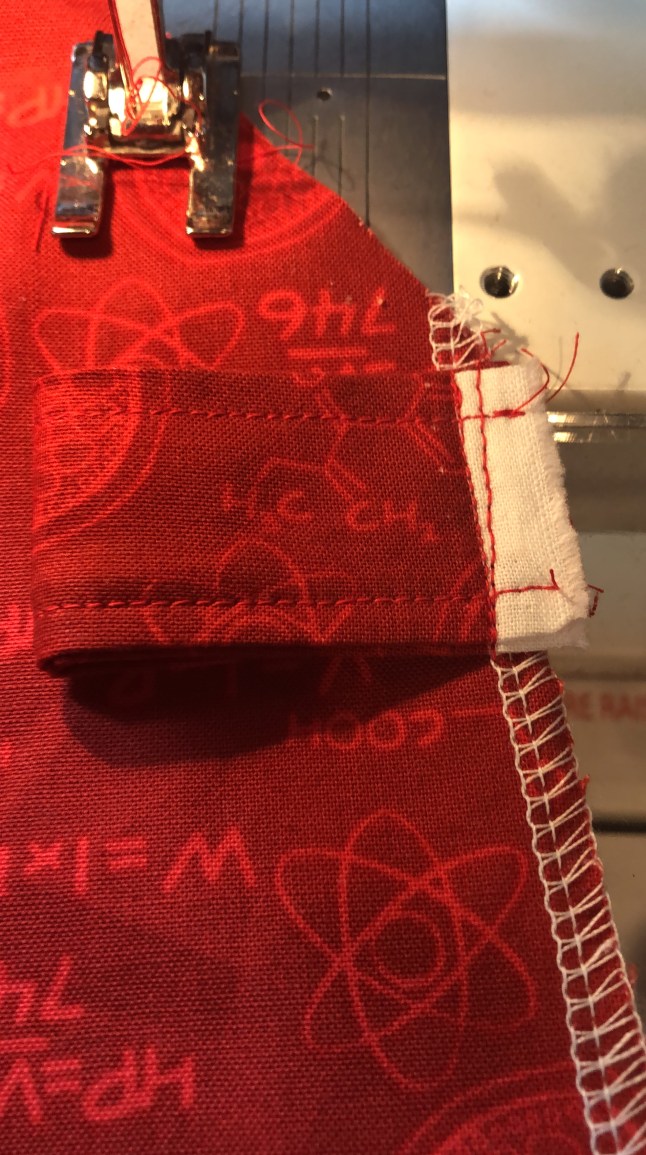
Well, darn, I did not get a lot of photos of the facing assembly. What I did, was first to clean finish the bottom edge of the facing. Then aligned the facing to the apron top right sides together. I serged the outer edges of each side of the facing from the top of the shoulder to the armpit, where the facing fades away, and kept serging till I got to the end of that underarm curve. Then I made sure all of my raw outer edges were serged.
I under stitched the facing to the seam allowance on this outer edge. Then I took the raw edge of my strap and sandwiched it in between the right sides of the shoulders and sewed as per pattern instructions. Take care to shorten your stitch length just before and after the v. Then clip to a few threads of your seam line.  Hopefully, you can pull on your straps and the apron will turn right side out. If you got a little edge of strap caught up in your seam, like I did, just pull out those few stitches, press, and top stitch close to the edge and no one will be the wiser.


Press all of the raw (serged) edges towards the inside of the apron, and top stitch. One last press, and you are ready to channel your inner Nigela Lawson, and make (or eat) pie. Or maybe some Ambrosia.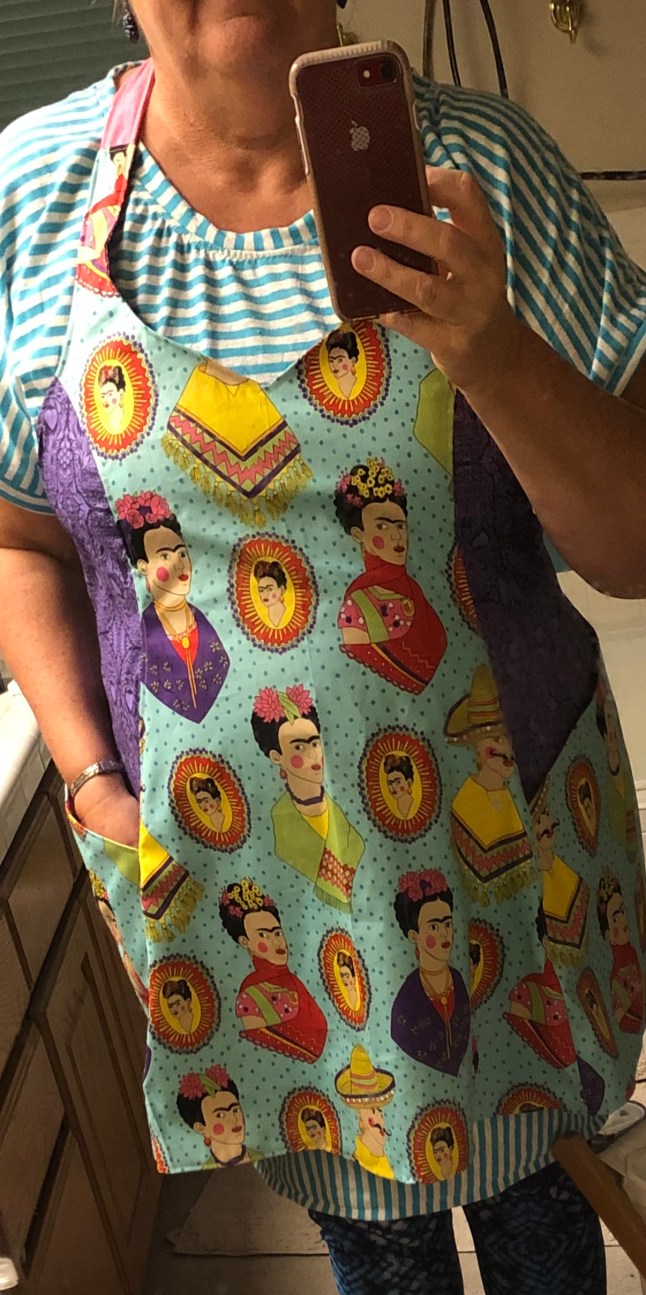
This post contains affiliate links. It costs you no more to use them, and I may receive a small commission if you do. Thank you. Happy Sewing! Joan
 Just yesterday was my youngest’s birthday. On the phone they lamented that their last good solid tee had seen better days, and that they would be glad of a replacement or two for their birthday, but Christmas would be good too. They specified that they like the shirts with the 3/4 sleeves that are a different color. I remember picking some of these up years ago, and they were favorites forever.

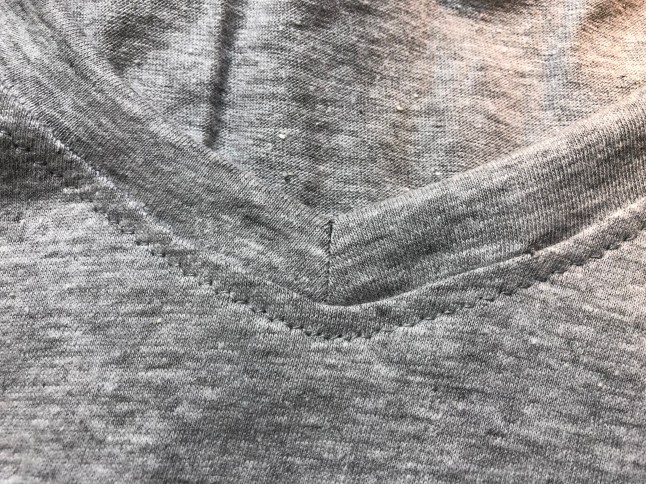
 Here we are with both sides of center front sewn. I used a shorter stitch length (2 on my Bernina). Next step is to flip this assemblage over, and snip into that v on the front of the shirt, just a few threads from your stitching line. After that, fold that band in half so that the center front seams line up. Match up center back of band and shirt, match up quarter marks, and serge around as normal. This is where the underside of the band is caught in the seam!
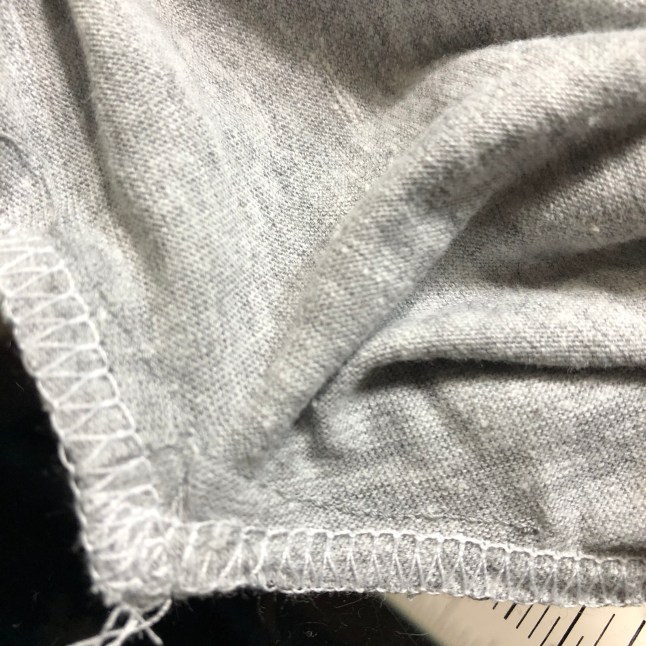 In this photo, you can see that my snip was not exactly center, but it works to spread out the front, I serge from point, around back to point. I might go back and even out the machine stitching line with the serging line so it looks even on the front.
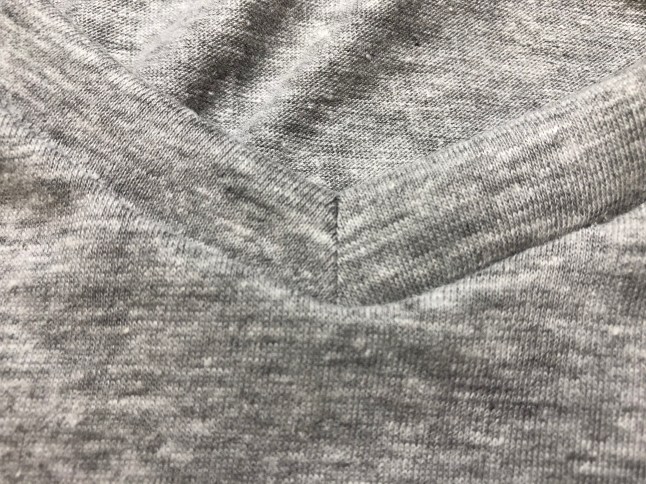 Just a press and a top stitch away from being finished. I love that I can have control over the front side.
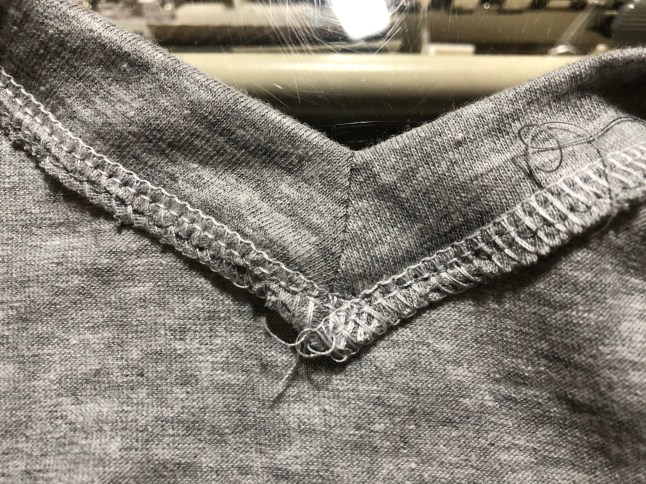 Just a note about the pattern. There are a ton of great raglan patterns out in the PDF world of sewing.