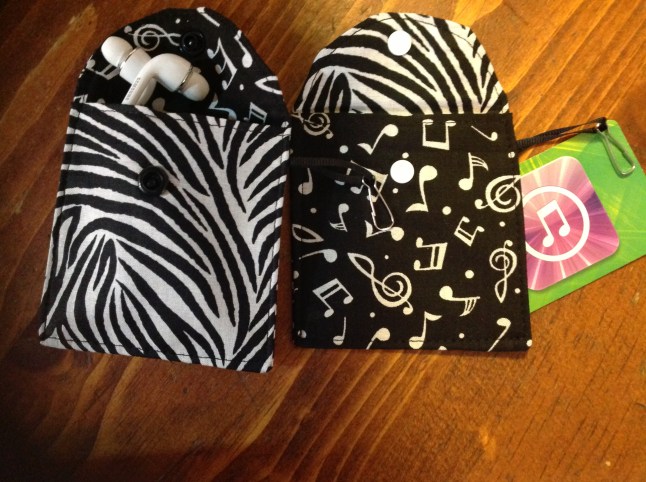
Looking for a fun and useful project for my beginning sewing students, I found a bag similar to this online, and decided to create a set of instructions that allowed for creative fun and interfacing/batting options. Make some as part of a holiday gift, or party favor. School colors for a lunch bag would be fun too!
Ingredients: Makes two
Two coordinating fat quarters, two yards coordinating ribbon or twill tape for handles, and 12 to 14 inches of narrow ribbon, button and 6.5 x 7.5 scrap for optional pocket. Optional interfacing/fleece/insulbright 9 x 21 inch for each bag.
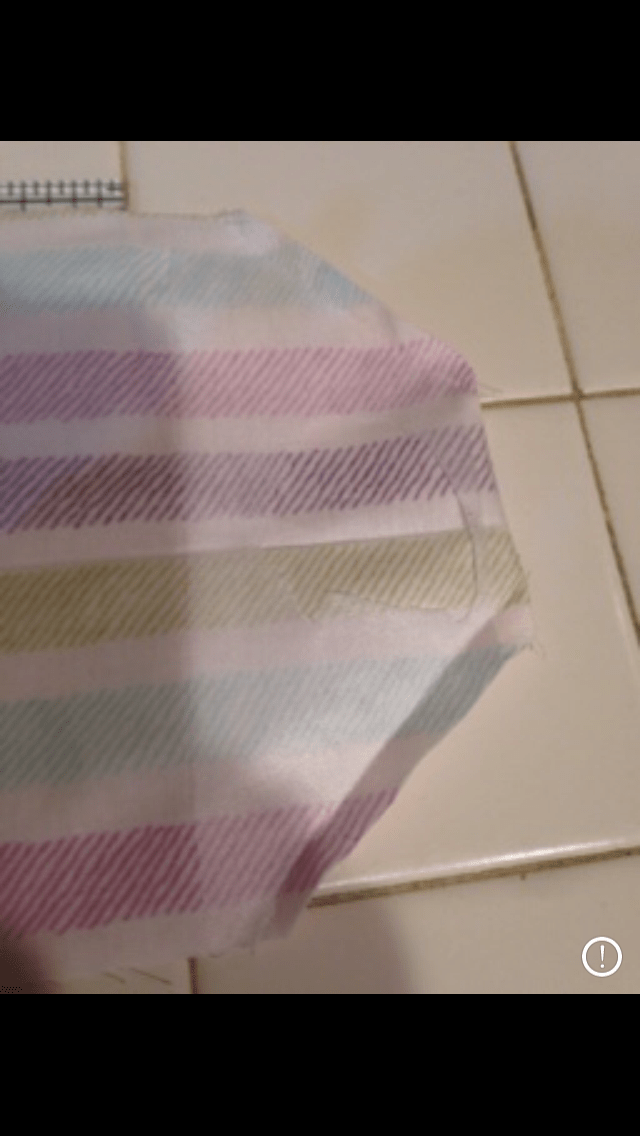
First, trim off those selvages (look for selvage projects and keep them in your stash for later). Cut your fat quarters in half to make two rectangles that are 9 x 21 inches. Fat quarters are cut into 22 x 18 inch rectangles, and you will want to start with fabric that does not have an up and down direction. Or do not mind if your people are all on their sides 🙂 What is most critical here is that your bag and bag lining are cut the same size as each other.
Choose an interior. Add interfacing/fleece/insulbright to your bag. They all have wonderful and different qualities that will help the ultimate purpose of your bag. Want to keep a baby bottle (or your water bottle/lunch/snack) cool or warm, choose insulbright, it is amazing. First time project, fusible fleece is a little easier to handle once it has been fused to your fabric. Just a bag for books, a few diapers/wipes/change of clothes, makeup to take you into evening, perhaps a nice interfacing will do the trick. Experiment and have fun with it!
Cut your interior. InsulBright the same size as one of your bag rectangles. Any fusible can be cut 1/2 inch smaller, and centered before fusing. This will eliminate bulk in the seams.
Mark the strap placement. On the short ends of one rectangle, measure in 2 inches and mark that spot on both sides. Then mark the center line on one end. This is where your straps will go.
Optional pocket. I was lucky to have a nice sized scrap of a coordinating fabric. Start with a rectangle 6.5 x 7.5 inches. Fold down the top 6.5 inch across edge 1/4 inch and again 3/4 inches and press, then top stitch on the edge. Then press in 1/4 inch on the remaining three sides.
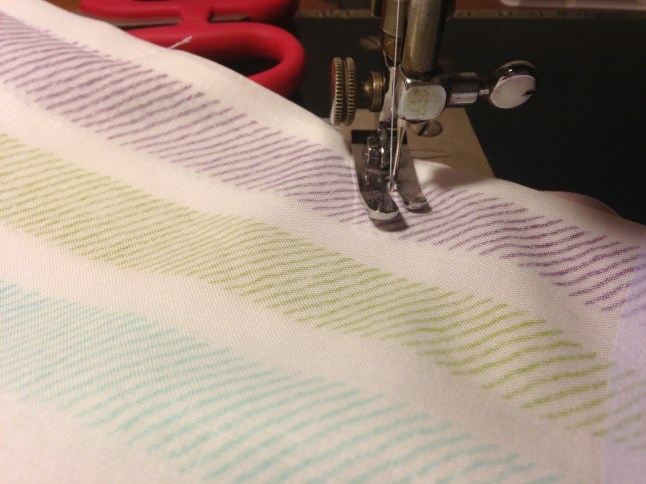
Center the pocket on the body of the bag with the fusible, and top stitch a line on the very edge and another a presserfoot’s width inside of that one. The two lines of stitching will keep the top from pulling out.
Optional double ribbon. place one yard of ribbon against another yard of the same width of ribbon wrong sides t and edge stitch both long sides. Makes for a sturdier strap. Cut into two 18 inch lengths and pin two inches in from each side of the top of either end of the bag. Baste this with a 1/4 inch seam.
On the other side, add the 6-7 inch narrow ribbon to the center of the bag and baste across the raw edge.
Place the rights sides of the interfaced bag and the bag lining together and stitch across the side with the ribbon in the center with a 1/2 inch seam allowance. On the other side, stitch from the edge to just past the first strap, and then pivot and stitch off the edge of the bag making an “L” shaped seam. Make a similar seam on the other side, starting from the edge, and coming into the bag to the 1/2 inch seam allowance and pivoting to finish off the seam. This leaves a nice opening for turning the bag right side out later.
Open the bag so that the seams you just made are in the middle and the interfaced bag is on one side, and the lining on the other. Pin the seams together so that one goes left and the other right, and the actual seam nestles into the other seam.
Box Bottom measure up from the bottom fold 1.25 inch and in from the raw edge on the side 1.75 inches on all four corners of the bag. Clip these lines. This made my bag bottom 3×5 inches. If you want a more slender but wider bag, try cutting out the bottom squares one inch from the bottom fold and side seam line instead of one and a quarter inches.
On either long side of the bag, make a seam with a 1/2 inch allowance. Then on each corner, bring the bottom fold to meet the center of the seam, closing off the corners.
Make a seam to close this opening with a 1/4 inch allowance. Your bag will look like this when you are done.
Turn the bag right side out. Pull the bag lining through first.
Then the remainder of the bag. Slip the interfaced part of the bag inside the lined part and edge stitch all the way around to fully close off the opening. The “L” seam you made earlier makes this job go more smoothly.
Hand sew a button on to either side opposite the area where the center ribbon is, so that you can close your bag. Snaps would also be fun here too. It is always a good idea to prewash, or use Color Catchers the first wash!
Now go forth and make the second bag. They make great gifts! Think small essentials bag. Perhaps a project in progress bag. Consider bags in different sizes.