 Noticed a Sew Along with one of my favorite sewing groups for a swim bottom called Riptide Reversible Shorties. The first time I made these was teaching a couple 8 year olds to sew swim wear. They came out super cute, so I thought I would try a pair. After all, reversible! How versatile is that? I was at the beginning of sewing a swimwear capsule with 4-5 tops and bottoms that worked together in coordinating fabrics.
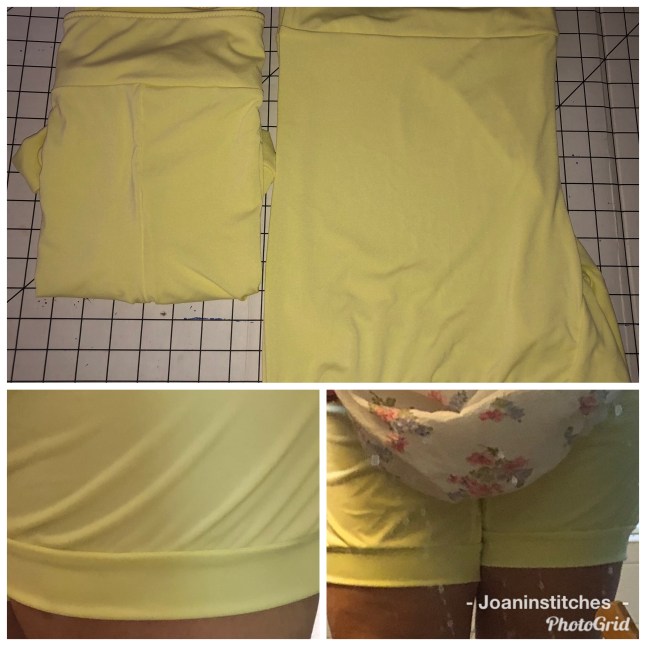
I should have tried mine on before finishing up the last seam. Too loose for public swimming.
Later, I joined in testing the Tidal Wave Swim Shorts. I have lost count of how many I have made from this pattern. They are great lined or reversible. I discovered wicking fabric and made several pair specifically to wear under dresses or as PJ’s.
Seeing an extended gusset while shopping ready to wear on vacation several years back gave me ideas. I added 3 inches to the length of the gusset (or bridge) and the legs of the shorts. Worth trying, right?
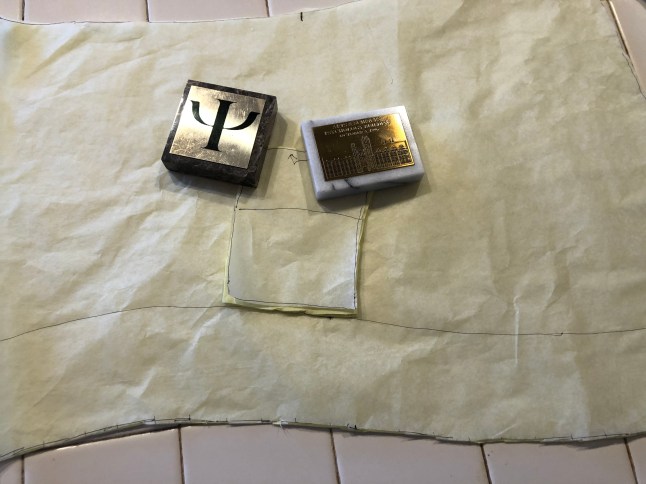 The order of construction needed to be a little different. Front, back seams serged, then burrito the bridge. I cut a notch in the center front of the bridge, to be sure I got it on correctly.
To burrito, stack as follows: 1. Gusset right side up, 2. shorts right side down, and 3 second gusset right side down. Pin or clip at edges and in center. Sew from one edge to center. Re organize fabric to eliminate bunching, then sew the other half.
Second half of the bridge is stacked same as first. Start with outer bridge And shorts right sides together with pants, then “burrito roll” the top of the shorts, so that the second part of the bridge or gusset can be wrapped around and pinned to the wrong side of the shorts. Sandwiching the shorts between two gusset pieces. In other parts of the world, this may be referred to “hot dog” roll. Anyone hungry yet? Carefully sew from one side to center, Re organize the fabric to avoid bunching, then finish the seam.
Add waist band per instructions.
Pull the fabric out from between the gusset, and voila! Fully enclosed inner leg seams!
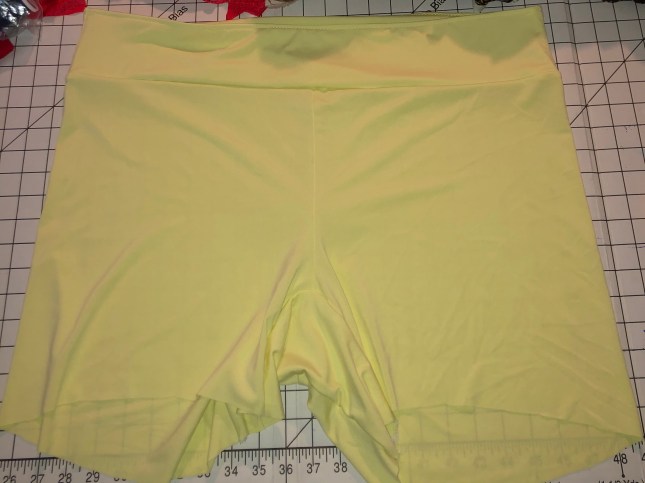
Loved how the leg bands on the tidal waves keep the legs from creeping up. So I added those here.
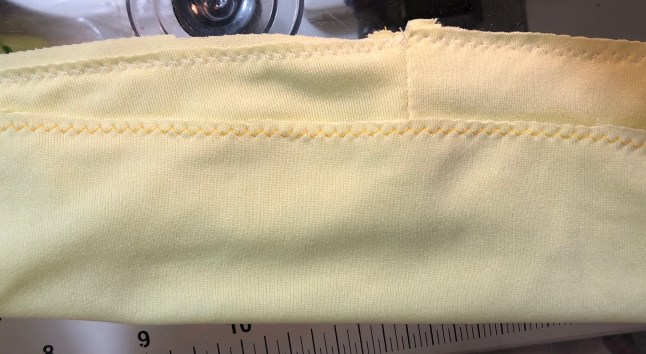 Cut bands at 4 inches wide, and the exact width of my thigh measurement. Slippery fabric bands work nicely when zig zag basted together before attaching to the shorts.
Since these are not lined, they will not be worn publicly, but make great under dresses and Pj shorts. I am really happy with them!
This post contains affiliate links, which may pay me a small commission if you use them! Thank you for doing so!
Happy Sewing! Joan
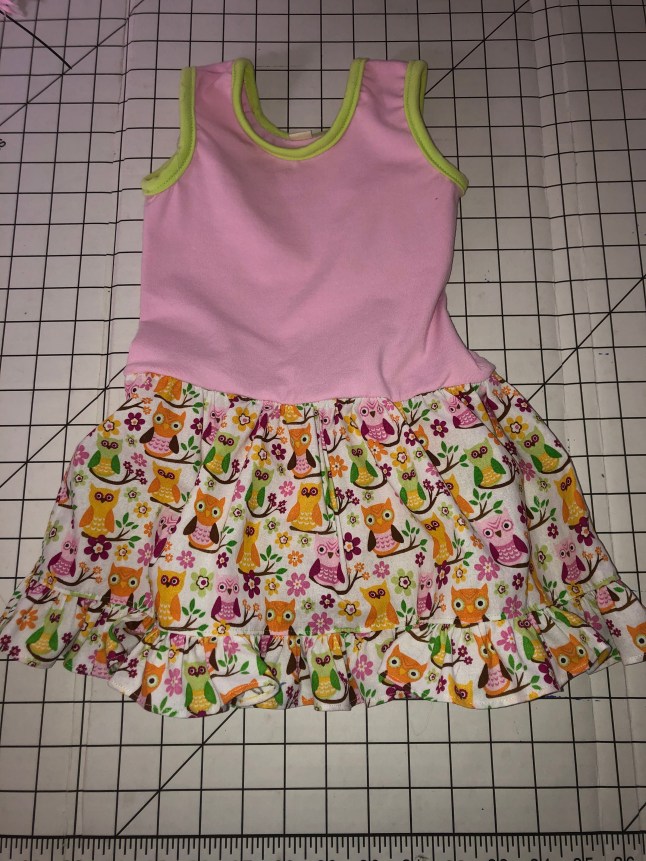 I was pleased to test 5 out of 4’s most recent pattern for a
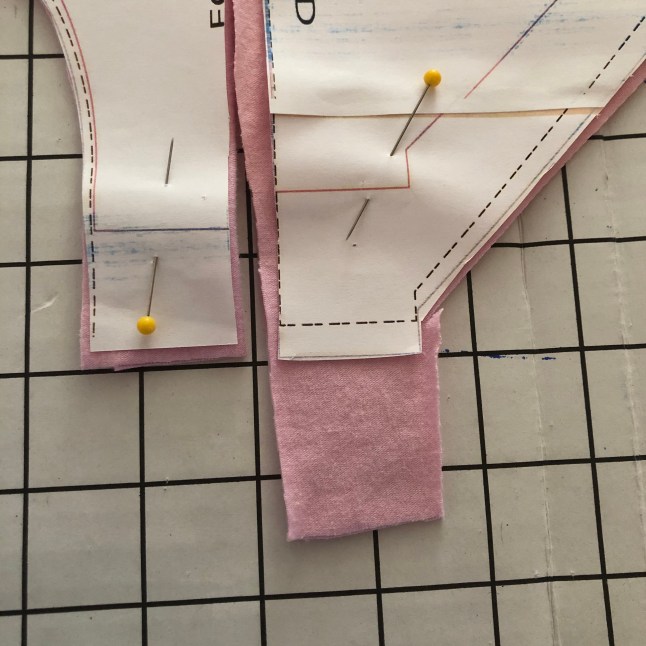


 Folded the snap tabs back on them selves with right sides facing the right side of the garment. Stitched side seams, and ready for elastic!


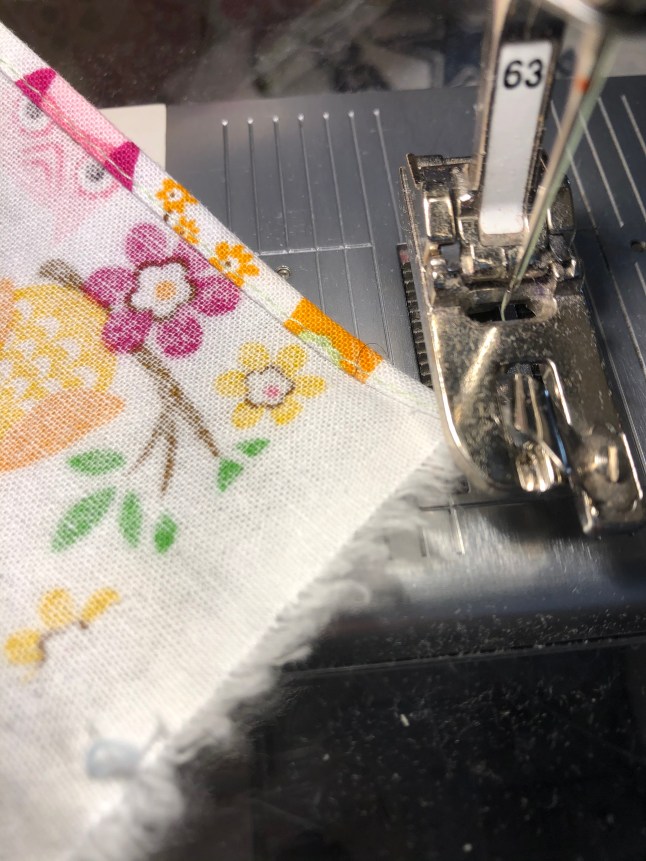 Then I took my rolled hem foot and hemmed 10 feet or more of ruffle. This one takes practice.
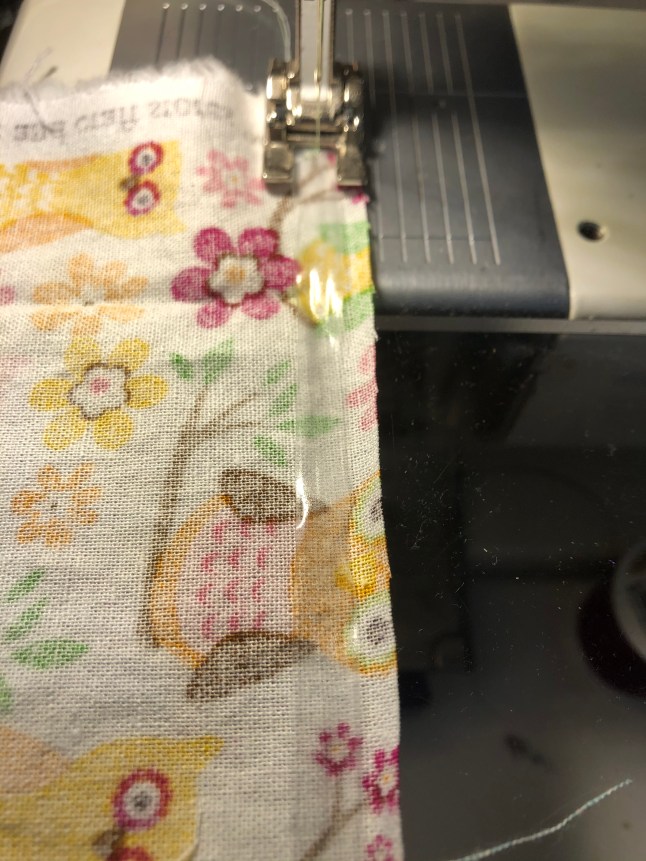 To gather the top edge of the skirt I measured a length of 1/4 inch clear elastic, and wide zig zagged that to the end of the skirt panel which I had sewn together. Luckily I marked the middle of the elastic and the seam marked the middle of the skirt, so this is more even than the leg openings.
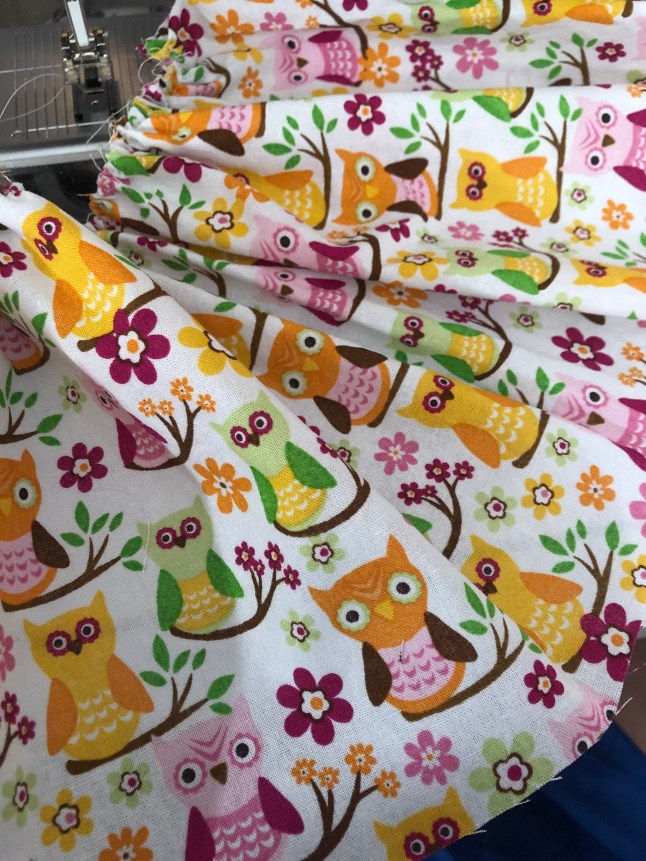 Like magic, one gathered (and still stretchy) skirt. I used a different foot for the ruffle.
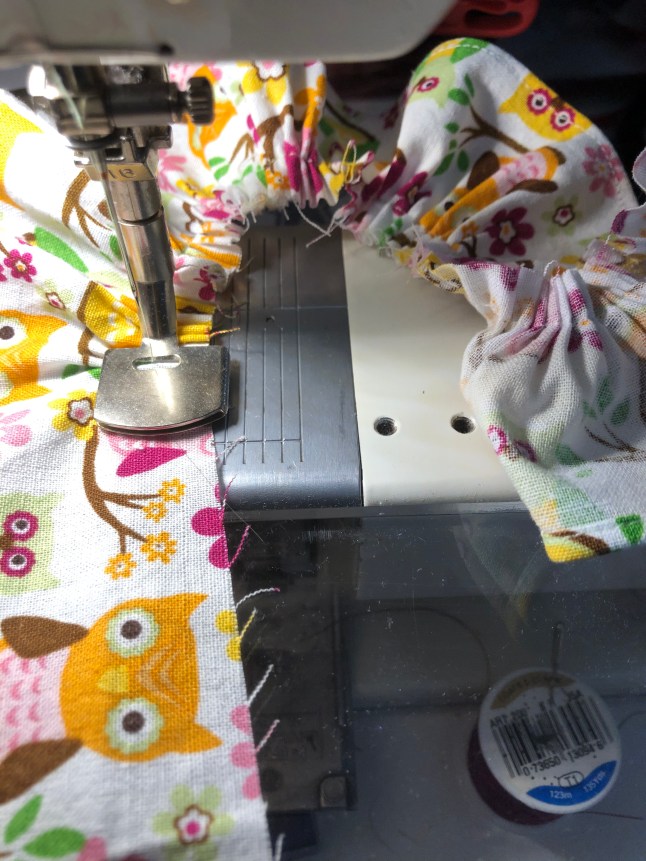 Meet BERNINA #16. The gathering foot. I marked off 10 inches of strip, gathered, and it ended up being almost 5 inches. I had 5 ruffle strips and 2 skirt strips so the math was in my favor. I ruffled on.


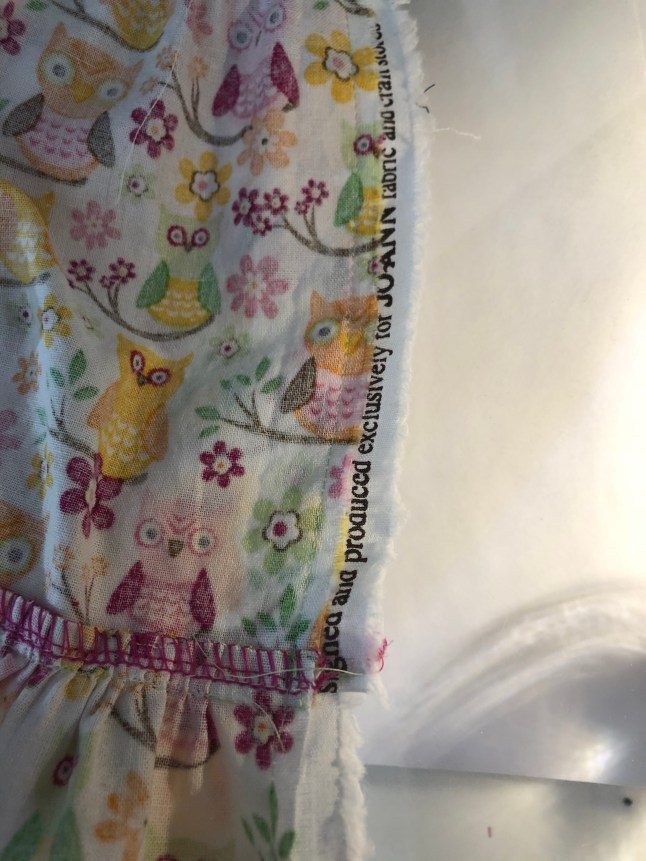 Aligned the skirt side edges, After I cut off extraneous ruffle, and stitched the side seam!
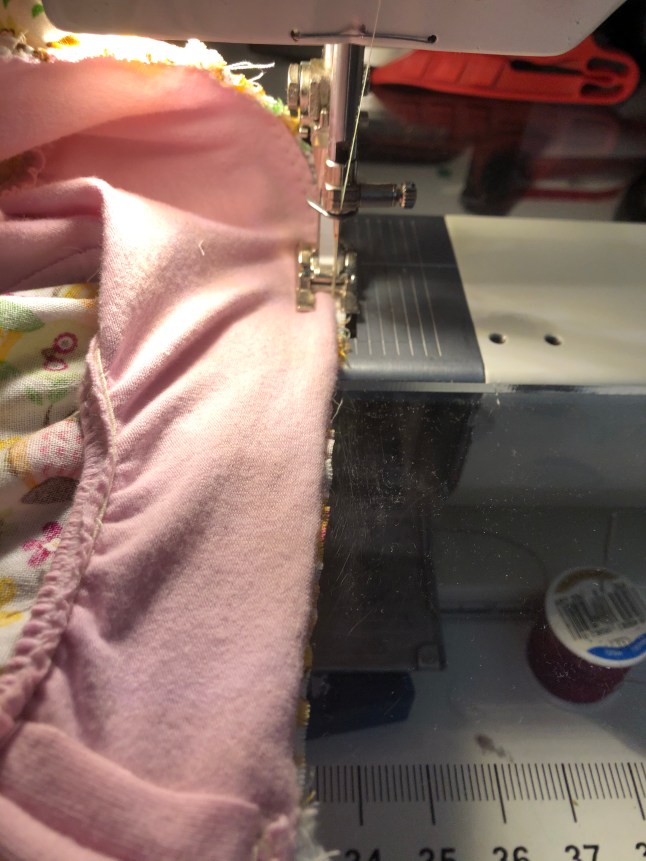 With the skirt right side down and the panty portion right side down, I stitched the two together matching side seams. I used a 3×3 zig zag.
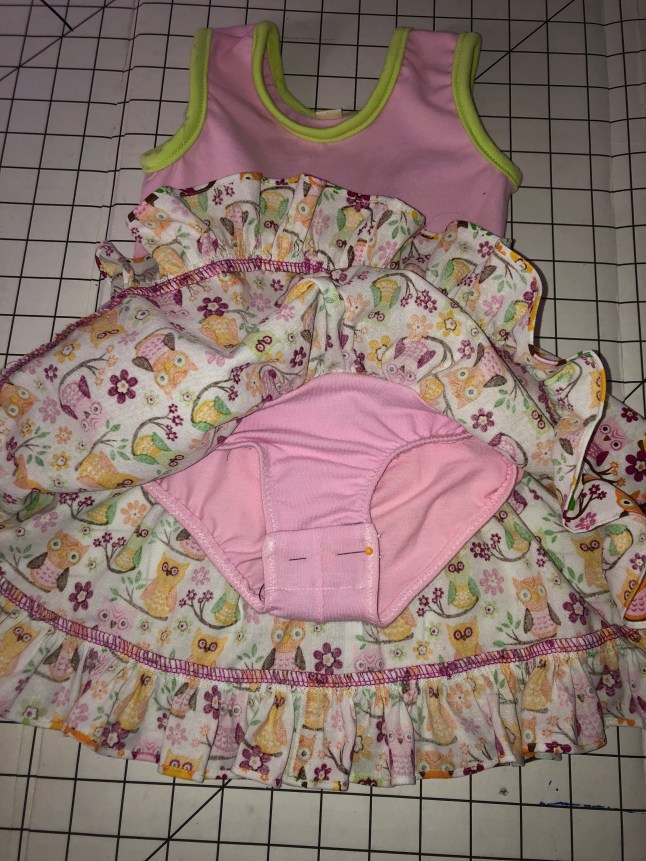 Oops no photo of sewing the right side of the skirt to the right side of the bodice, but that was also sewn with a 3×3 zig zag, after I was sure I had front matched to front and side seams together.