100 years before I was born, a genius mathematician came up with the idea of a Mobius strip. August Ferdinand Mobius created it, but M.C. Escher made it more famous in his picture of ants crawling on the one side of a strip, infinitely marching Red Ants. You may remember this from art class, perhaps.
I am a great fan of reversible items, especially garments. So many fun combinations of color can be used. In this case, I used the same color for both sides, and changed the order of sewing, so that there is no inside or outside. For the next one, I plan to use two different colors.
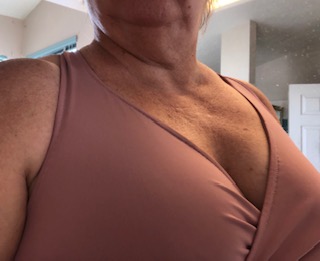
This is Stitch Upon A Time’s Brazi pattern. I used a wonderful wicking fabric from Phee.

Lay out your pieces, so that your back-strap edges match up to the front-strap edges, and that the center front crossover of the Brazi is facing outwards. I had to think about this several times as it looks wrong, but once the straps are crossed to form the famous keyhole back, all will be well. Sew the short shoulder seams right sides together on main and lining fabric.
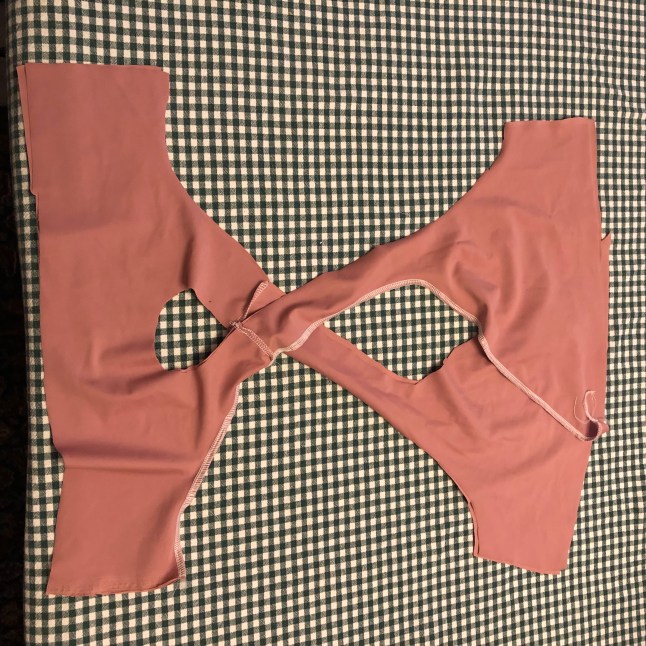
For seams that cross, I like to borrow a tip from our quilting sisters. Nestle the two seams together so one seam goes left and the other goes right. It may be good to clip, fabric glue or pin those in place along the edge, and prepare to go slowly over the seam or lift the presser foot a little to get it over the hump.
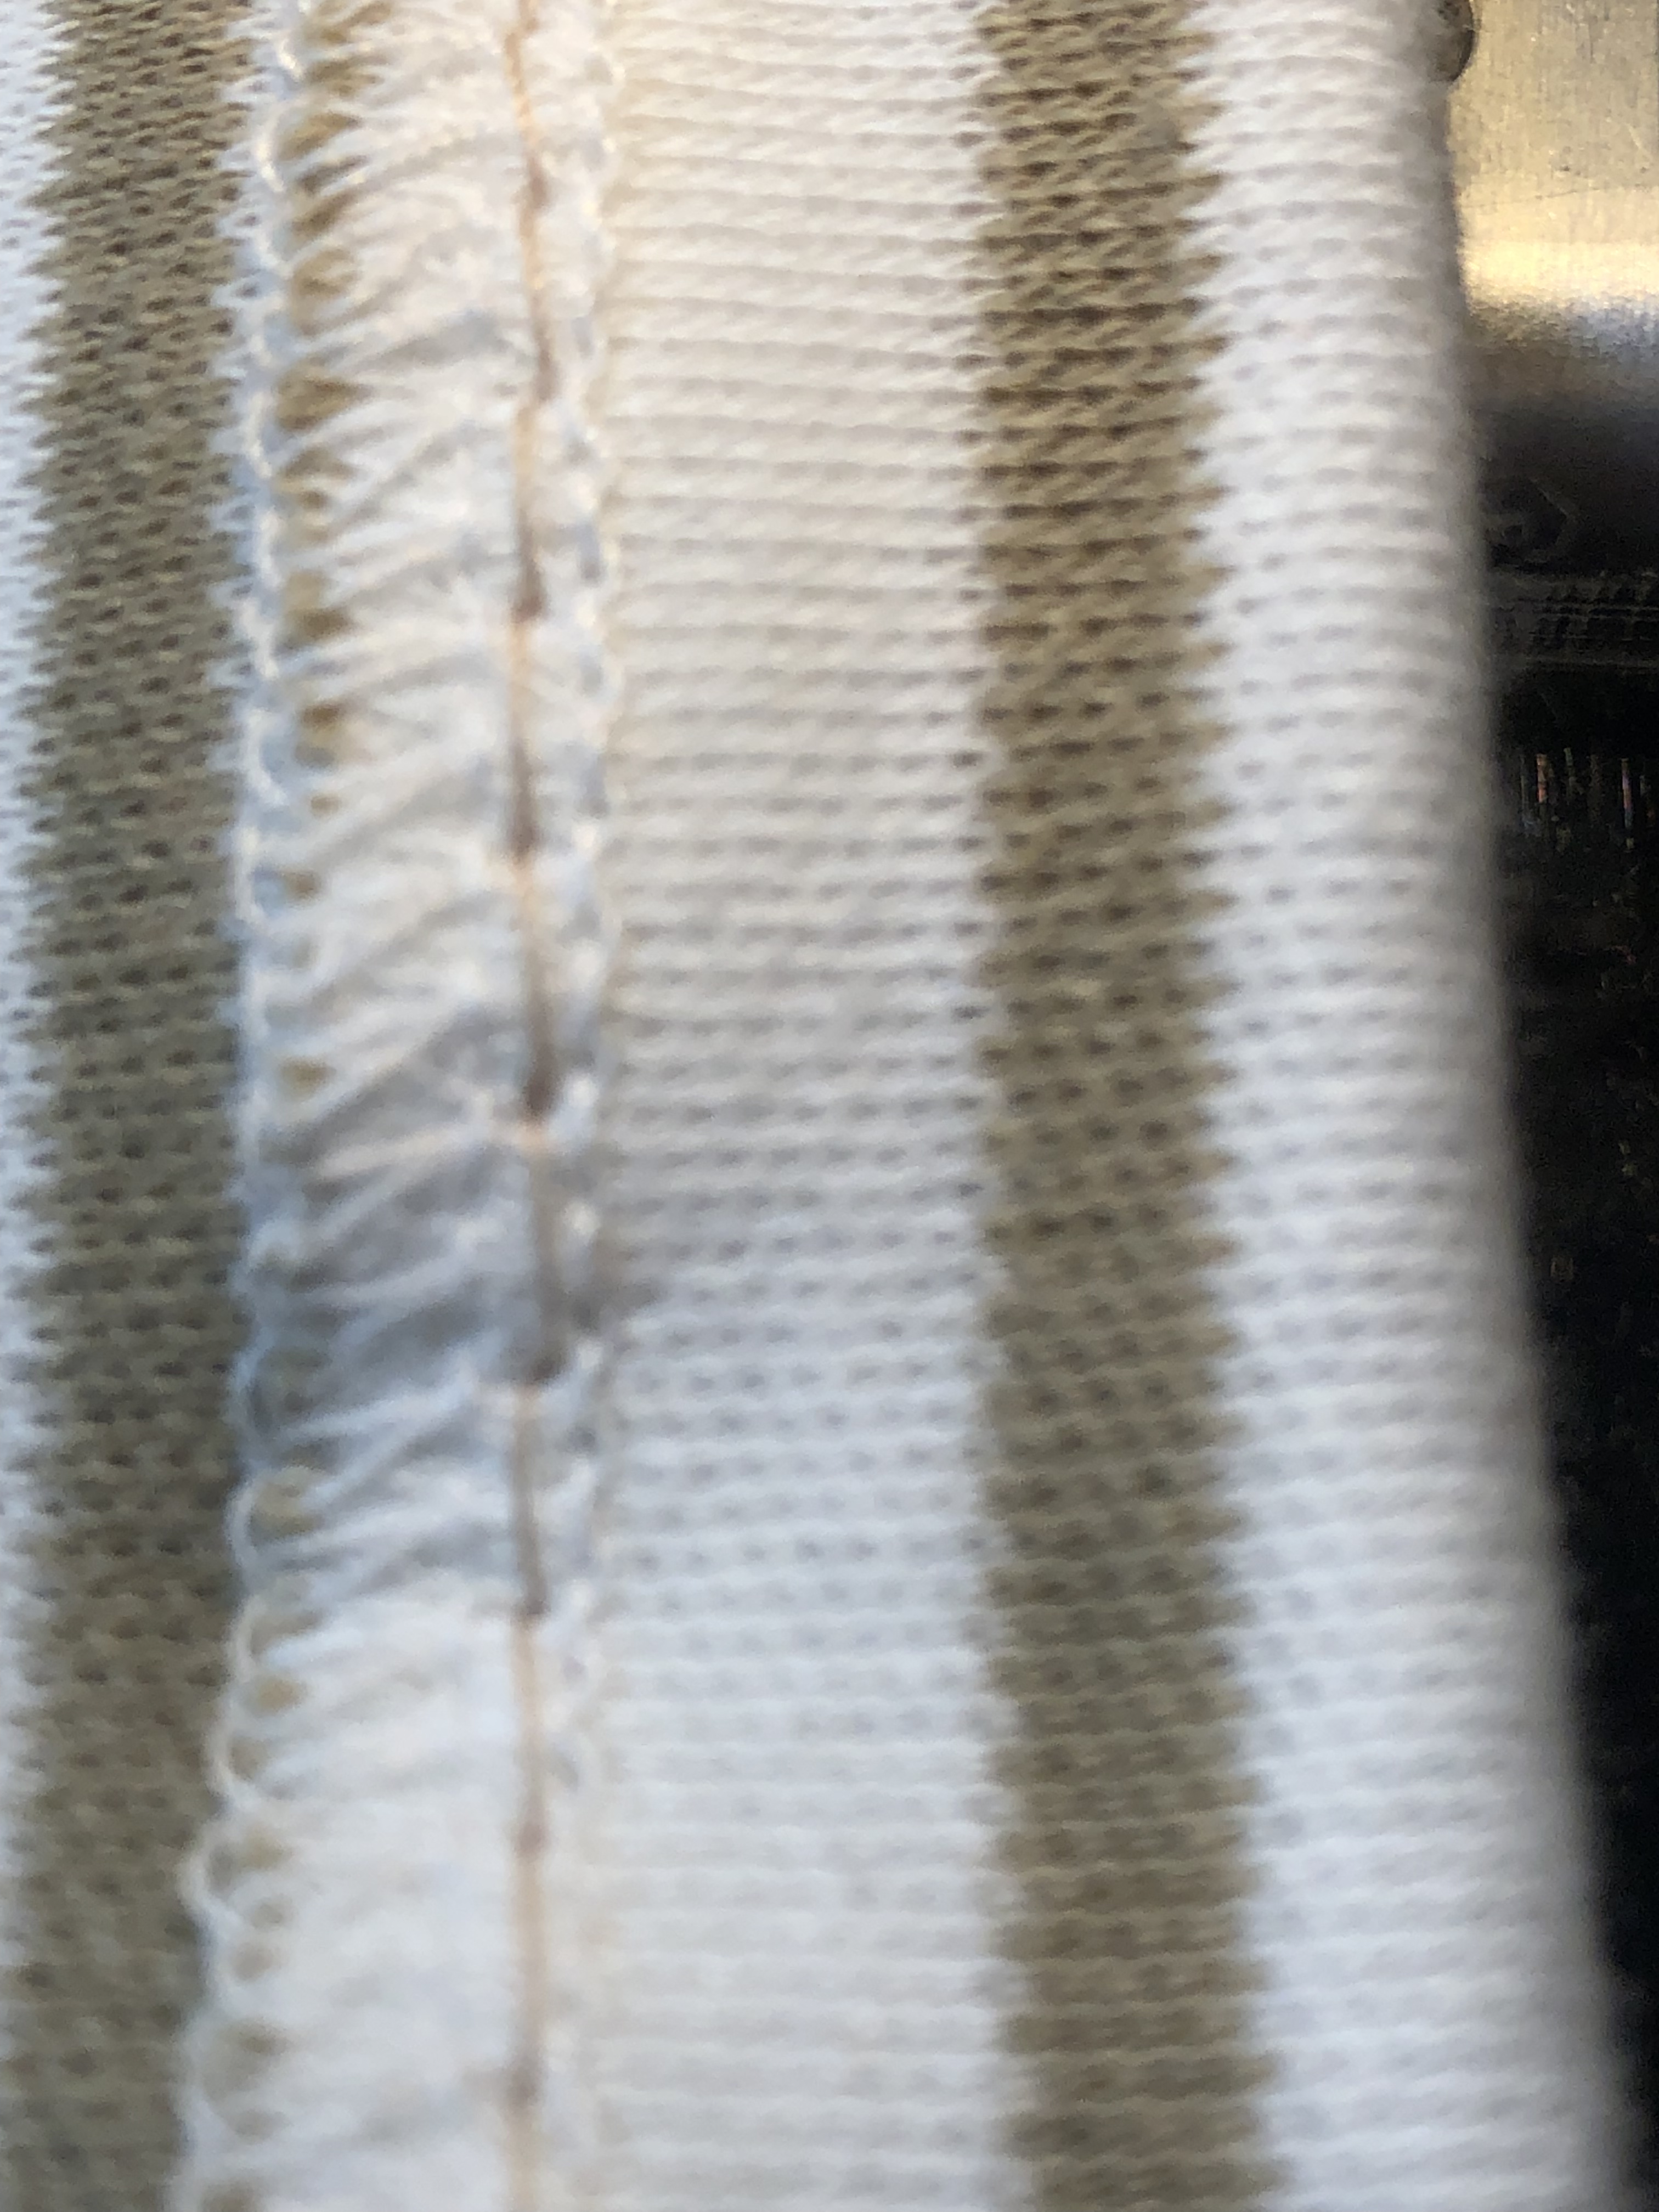
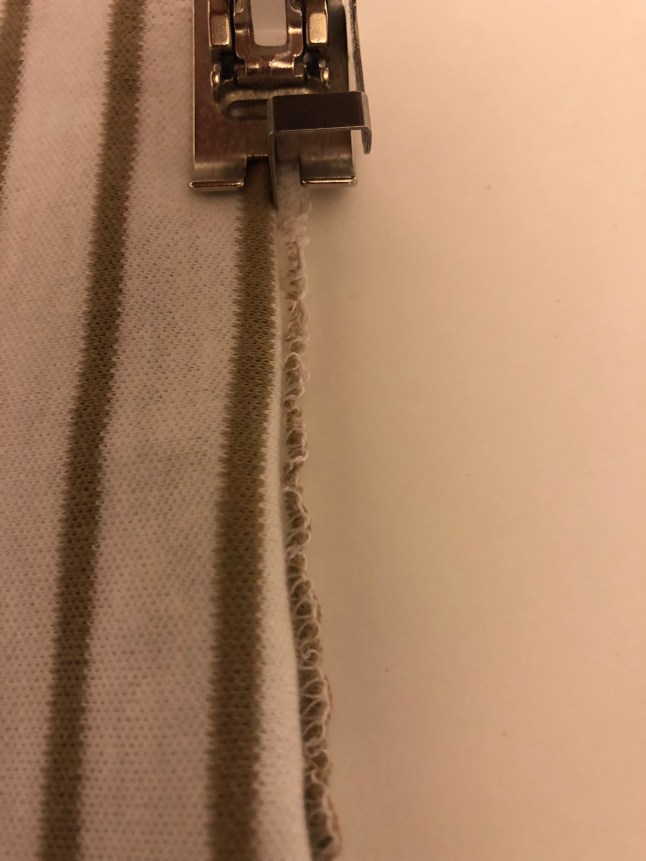
With right sides together, I serged the front crossover to back under arm in one long seam simultaneously adding ¼ inch clear elastic, repeated for the other side, and center, from underarm to underarm. A note about serging elastic, do not stretch the elastic other than to keep it straight on the fabric.

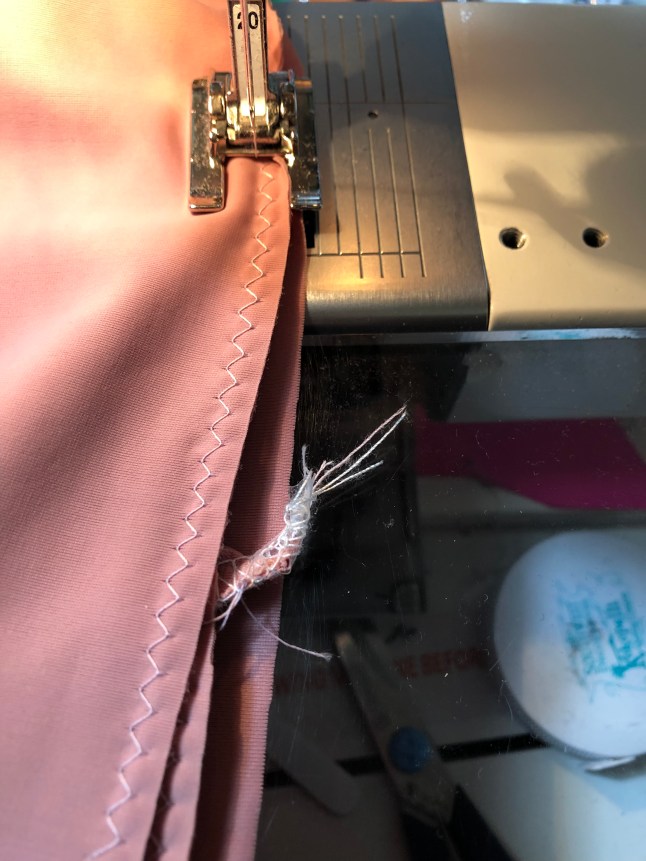
I love that the elastic can thread like dental floss through this opening on top of the foot, and feed under it. I learned at Albuquerque Fashion Incubators to hold my sewing in two hands independently. For example, the elastic in my left hand to keep it far from the blade and the fabric in my left hand to keep it close to the blade.
I started and finished about ½ inch from the edge of each arm pit, and let it go over a little bit on the center fronts. No over locker/serger, no problem! Just use a good wide stretch stitch that will go through the elastic and give you a stretchy seam that does not pop. Practice on scraps so you know for sure.
Here you can pull the center fronts through the strap seams to turn your Brazi right side out. Depending on your skill and fabric, it could be a good idea to press with a low iron at this point. We will be crossing those straps to form the famous keyhole back, then sewing our side seams.

Brazi turned right side out. To press or not to press?
Next, we will be nestling seams together, one pointing left and the other pointing right,

Seam allowances pinned together so that they face opposite directions, and reduce bulk.
Sew right and left side seams from bottom of main fabric bra across the previously sewn seam then to the bottom of the lining. Opened up, it looks like the picture below.

Configure your Brazi so that it looks like this.

Can you see the infinity symbol yet?
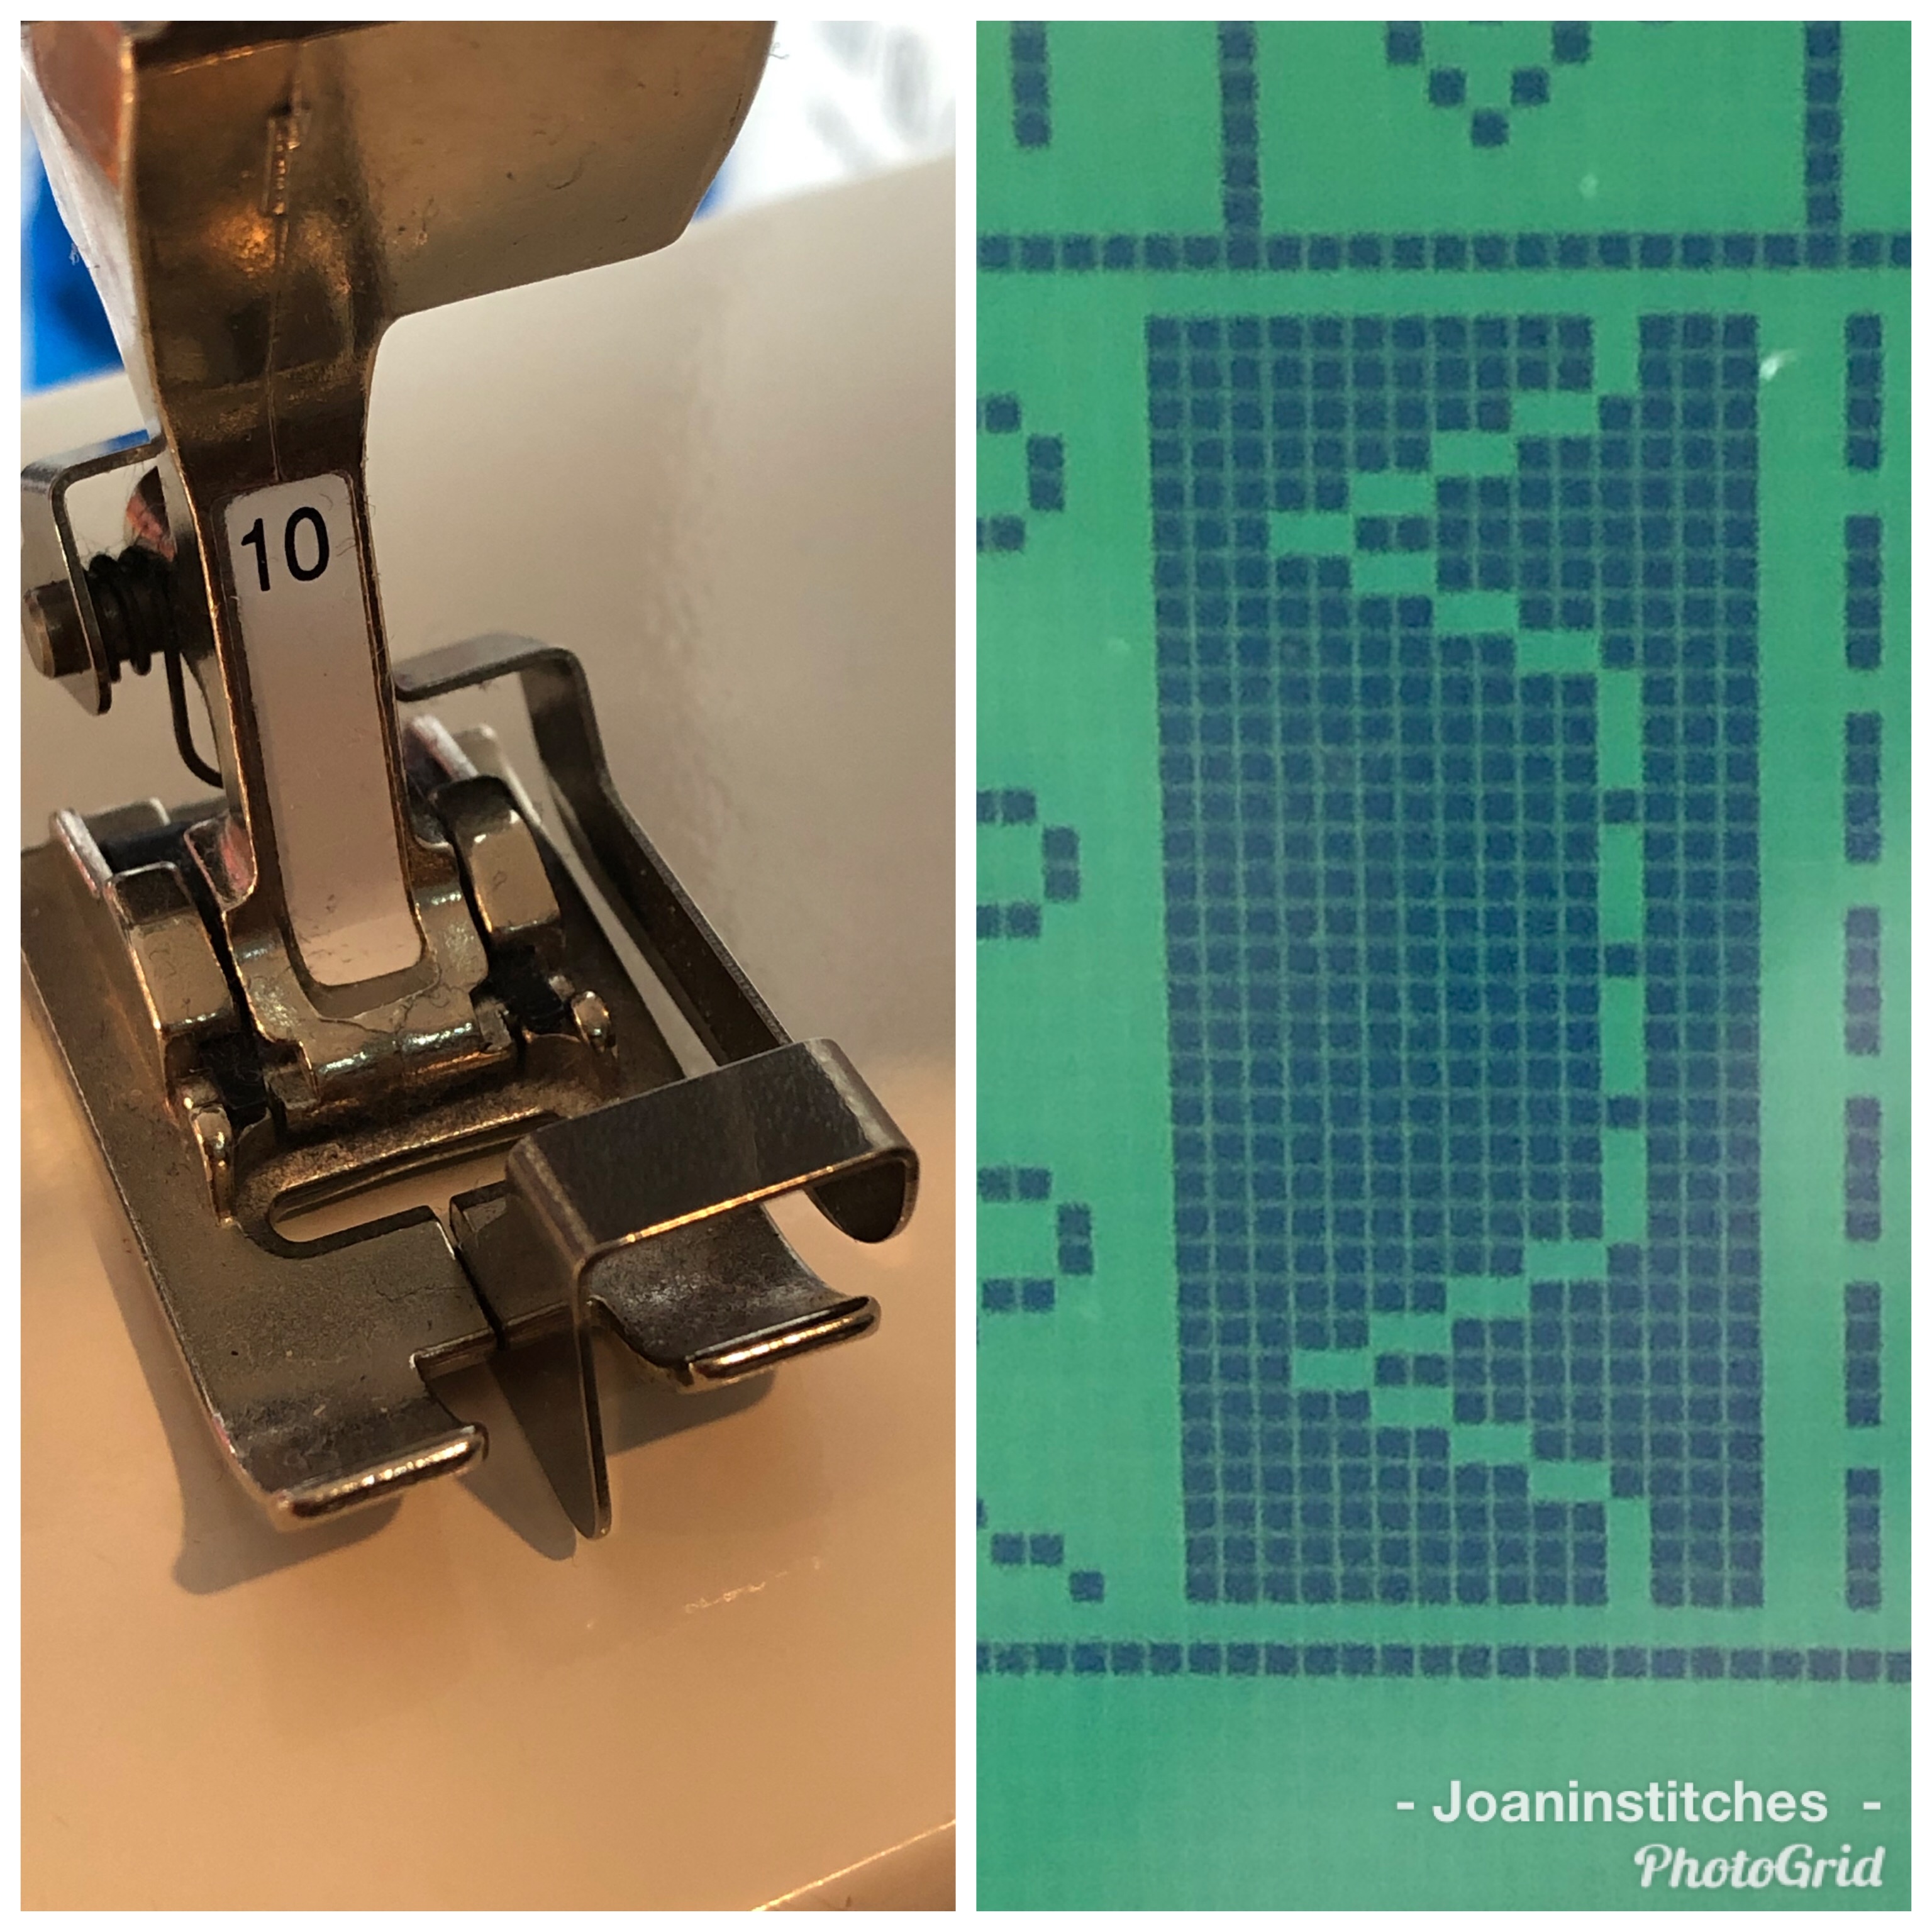
Next, I used a triple stitch to top stitch the edges of the Brazi. A regular or triple zig zag, serpentine or lightening stitch or your favorite stretch stitch works here. Check it to be sure it stretches without popping the seam. The three parallel straight stitch icon is really two forward and one back. Not fun to remove, but oh so stretchy!

Some of my favorite stitches in this photo!
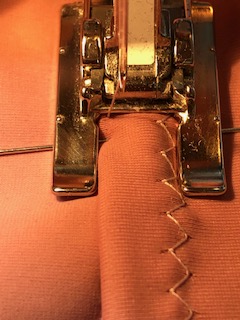
#20 Bernina foot with the needle to the left is one of my favorites for top stitching. The inside of the toes of the foot give me a nice wall to guide the edge of my fabric against. Starting at one front edge, you will surprisingly find yourself finishing at the other front edge in one infinite seam. Or at least it seems infinite. This is where the Mobius reference is coming from.

You can see the triple stitch in action behind the foot. Other brands may have an open toed embroidery foot that will work.
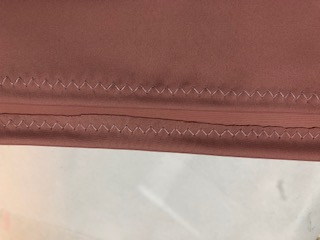
I used a safety pin to pin the actual center fronts together, by matching up the notches. Try it on now, and make sure you have the coverage you like. As well as the crossover. Try right over left and left over right. I have read that it makes a difference. Once you get it how you like it, make a nice wide zig zag baste around the raw edges at the bottom of your bra. Make this on the very edge, so that it will be included in the seam allowance, and you will not need to remove it later. I used 3 wide and 3 long on my machine. This will stretch and should not pop.
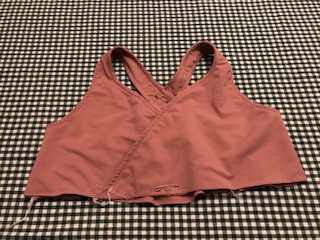
Brazi ready to be tried on, then basted around the raw edges with a 3 wide 3 long zig zag.
I have learned after decades of fast sewing and skipping the basting steps, that it is more efficient to baste, than to take out stitches and sew again. I am currently a bigger fan of basting than I am of ripping.
Mark the center point of your band by folding it in half. Here I used a black sharpie. Don’t use ball point pens they can run and ruin your garment.
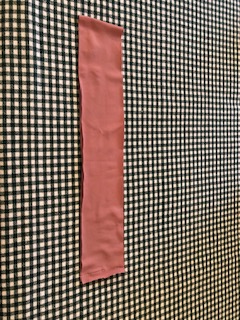
Band folded in half ready for marking.
Also mark the center point of your short edge. Make a first partial seam that is back tacked on either end and is about ½ inch long. Second portion of that seam on the short edge starts at the center dot and goes to the other end. Back tack at beginning and end.
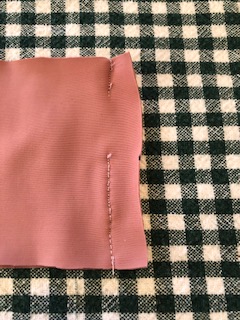
Stop and go stitches leaves an opening to insert elastic later.
Here comes that zig zag basting stitch again. On one long edge, fold the band to the wrong side about 3/8 inch and zig zag that down with a 3 wide and 3 long seam (that can be removed easily later). Alternatively, if you are a fan of wash away wonder tape, that could be used here.
Band that has been folded up 3/8 and zig zag basted to stay in place.
With right sides together, pin or clip the center front and center backs of the band and bra together, pin or clip again at the quarter marks and perhaps at the 1/8 marks. Sew this seam with a triple stitch, or your favorite stretch stitch, all round the circle.
Stitch the band to the bra. here we are just getting to the crossover. Line up the edges as you sew.
Next, fold up the band so that the edge of it just covers the stitching in the previous step.
Pin at halves, quarters, eighths, as you like, and top stitch the edge down. Here I used my favorite foot, moved the needle to the left, and sewed all round with a 2 wide 2 long zig zag so that the edge is firmly sewed down. This time I am using the other toe as my guide. I really love this foot. Here I sewed up to (but not over) the pins. Go slowly, you are almost done!
Top stitching the band and sewing right up to a pin.
Pull out that last zig zag baste if you are planning to wear this for swim or want to show off either side. If you feel like you need more support, or want a tighter band than just the fabric alone provides, thread some non-roll elastic through the opening we left in the band, try on, sew together, and hand stitch the opening closed.
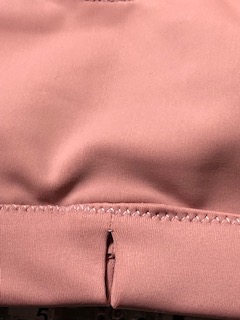
Here is the band with the opening we made earlier. Easy to add elastic later if needed.
This color is really close to my sun kissed shoulders (thank you garden) I could wear it to swim in public, and will be fantastic under my light colored Spoxxy! The wicking nature of the fabric will make it comfortable to wear as either a bra or swim top. I plan on making more that have different colored front and backs! If your fabric needs a bit more recovery, or you want more support, consider sandwiching power mesh or techsheen in between the layers.

This post may contain affiliate links. Thank you for using them!


