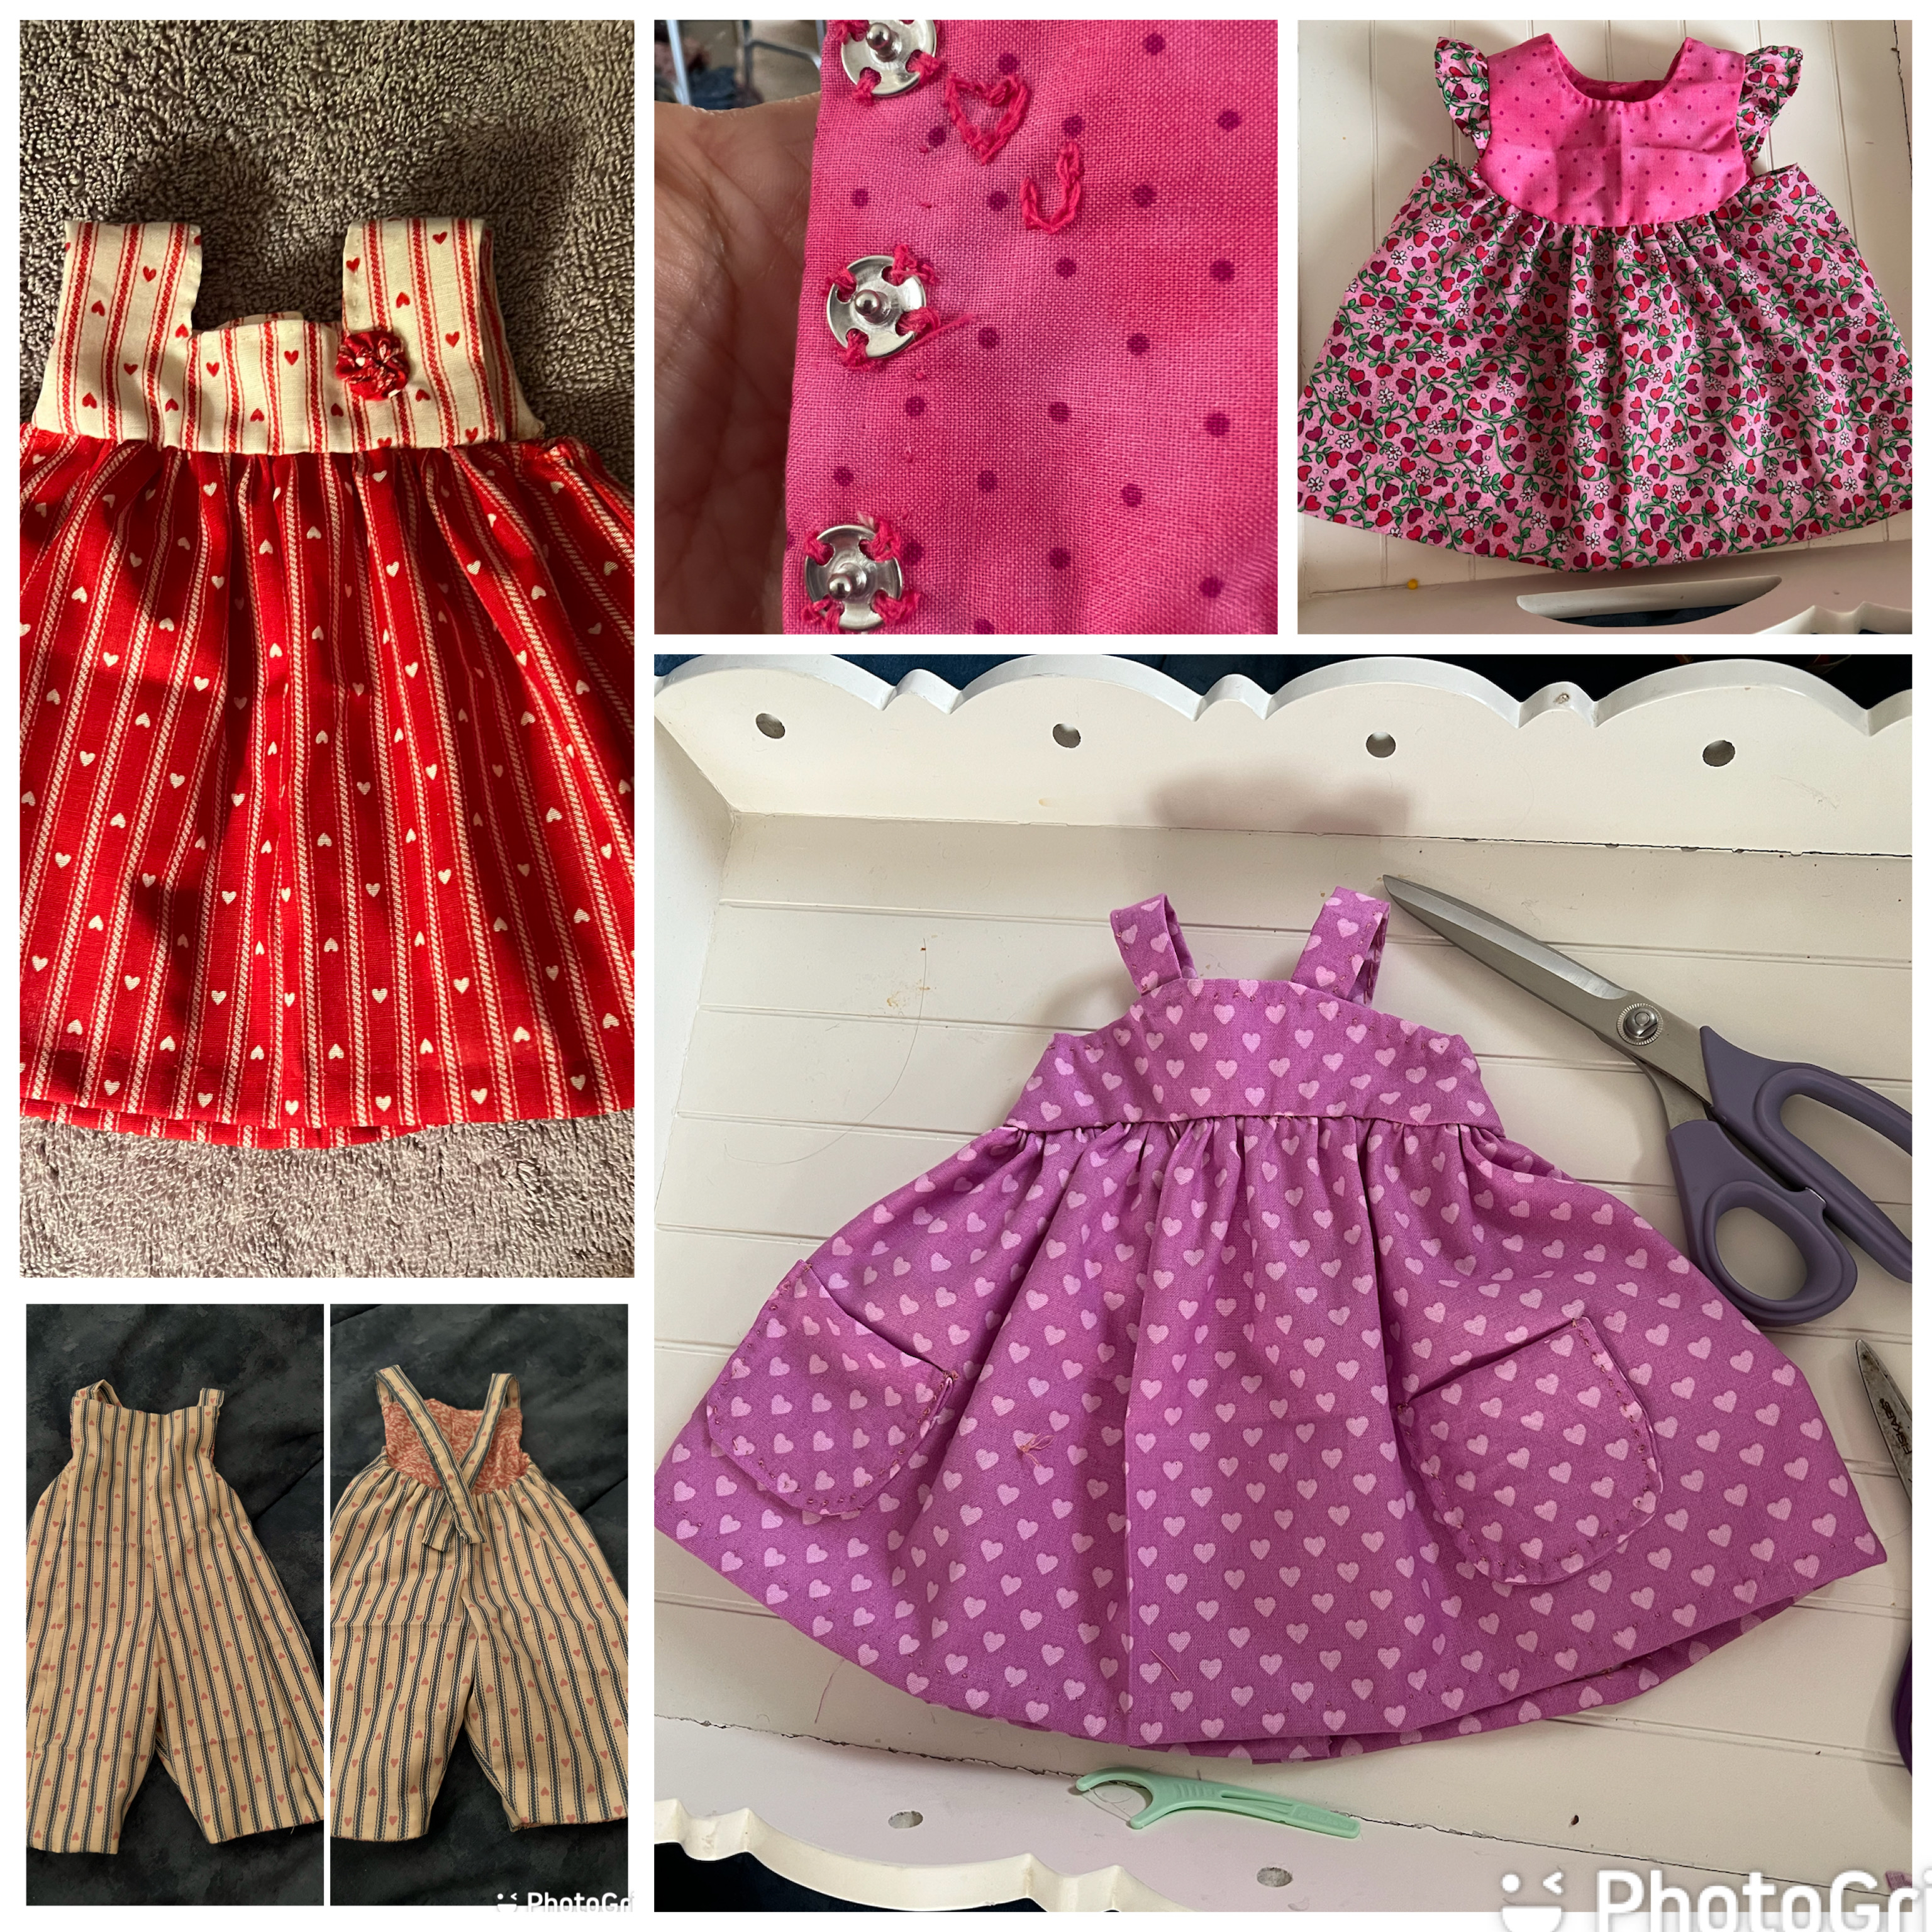
Grounded by a recent ankle injury and a need to ice and elevate, I was looking for something to pass the time. I had been wanting to make some clothes to fit an 18 inch doll I gave to my grand daughter last year.
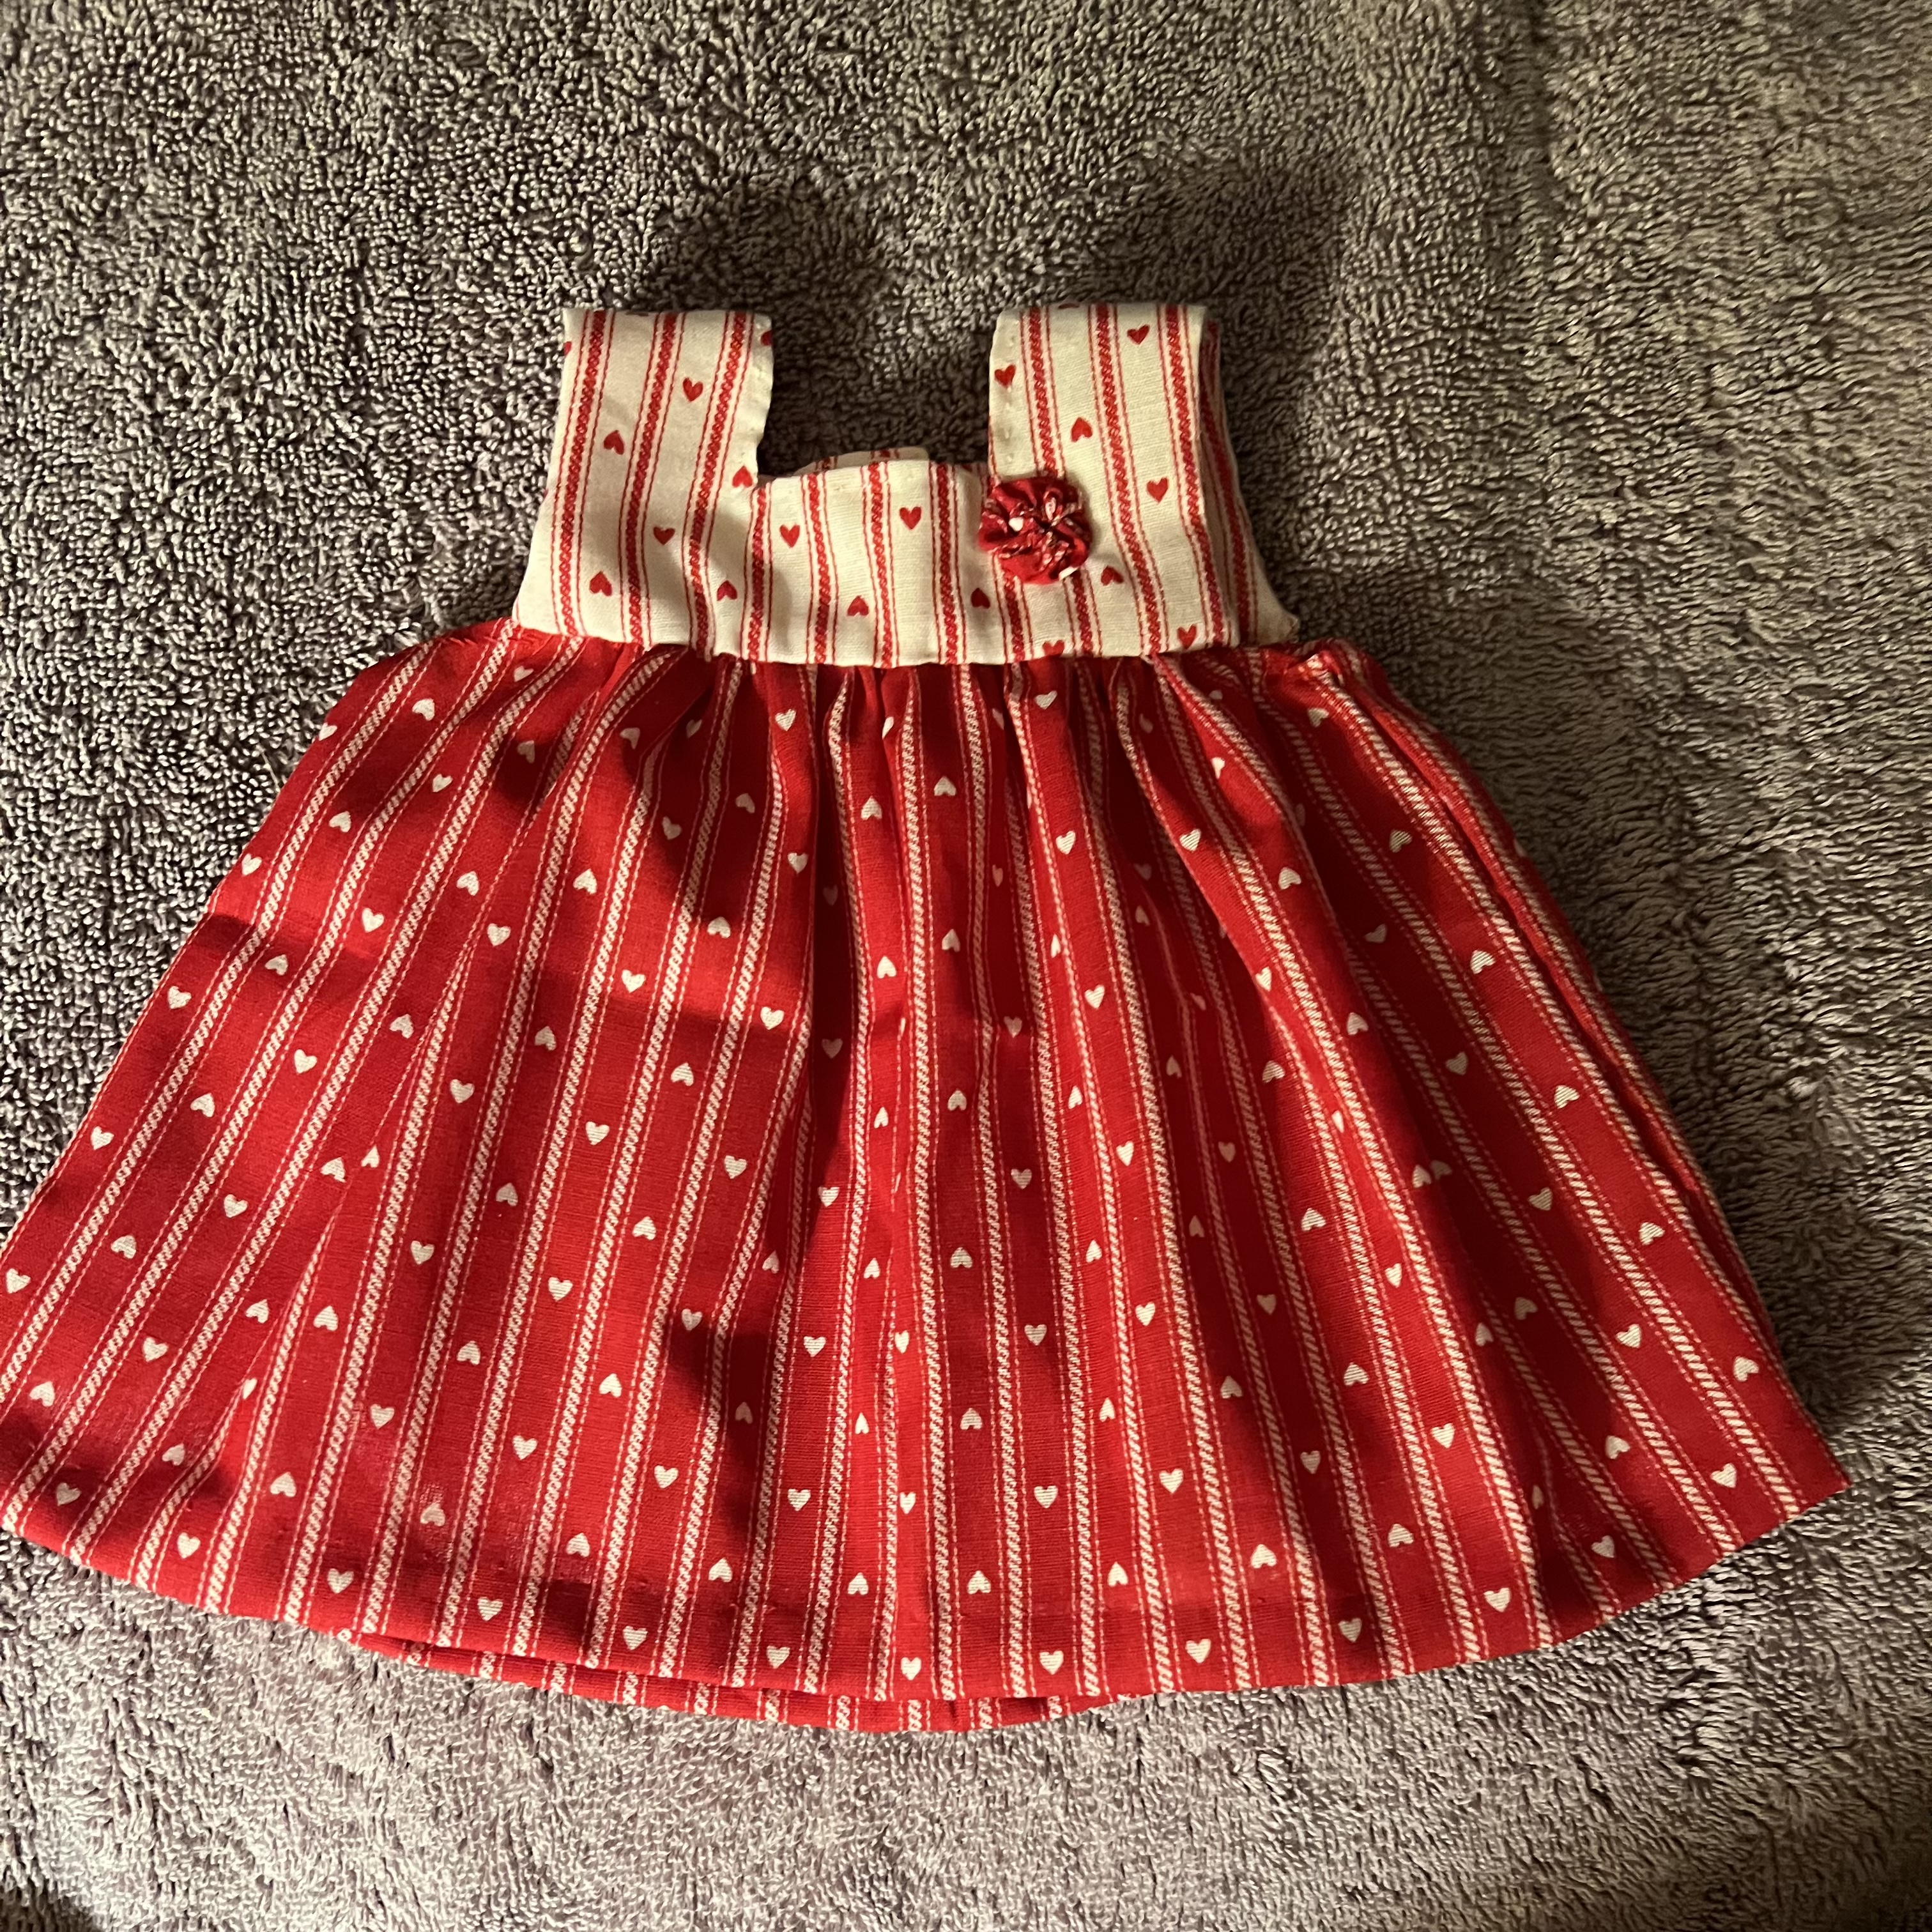
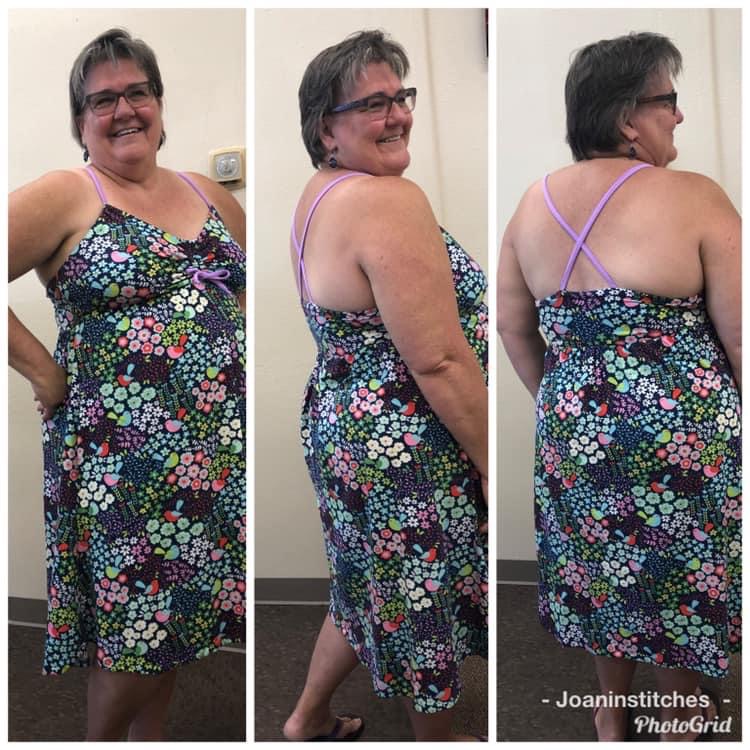
This is the Fair & Square Dress from Tie Dye Diva, who has a shop on Etsy. I made a few child size dresses and adore the pattern.
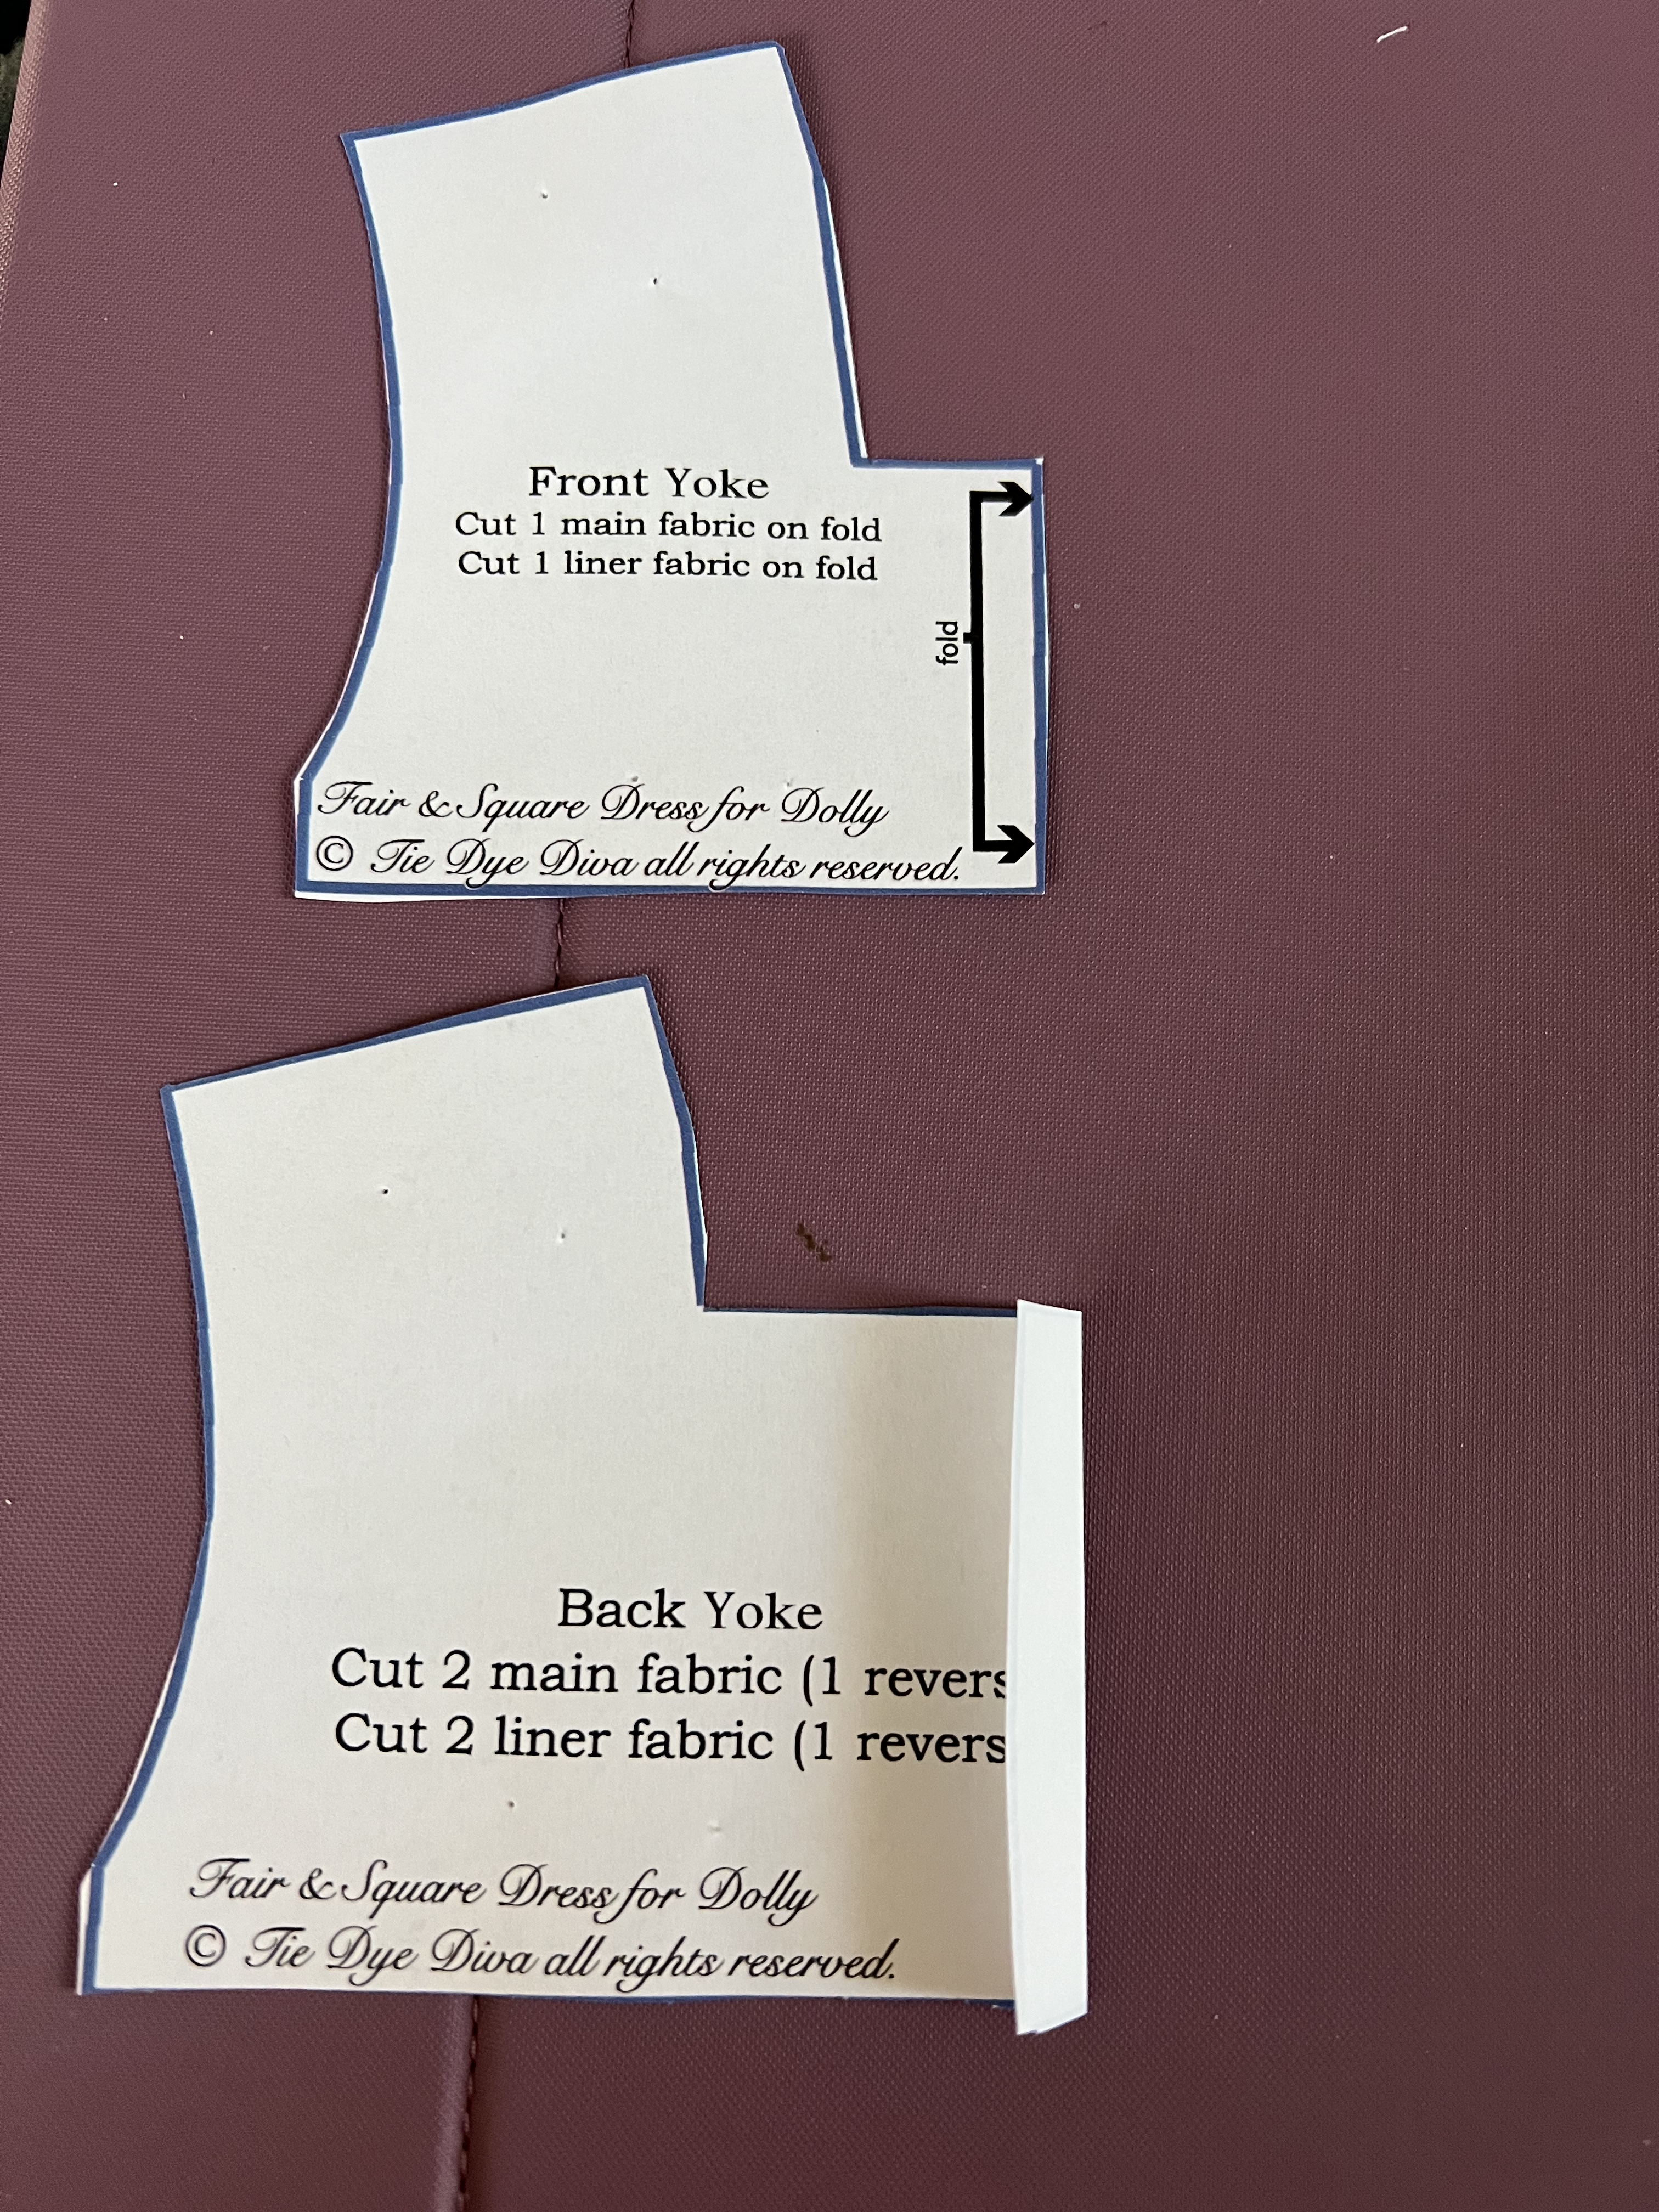
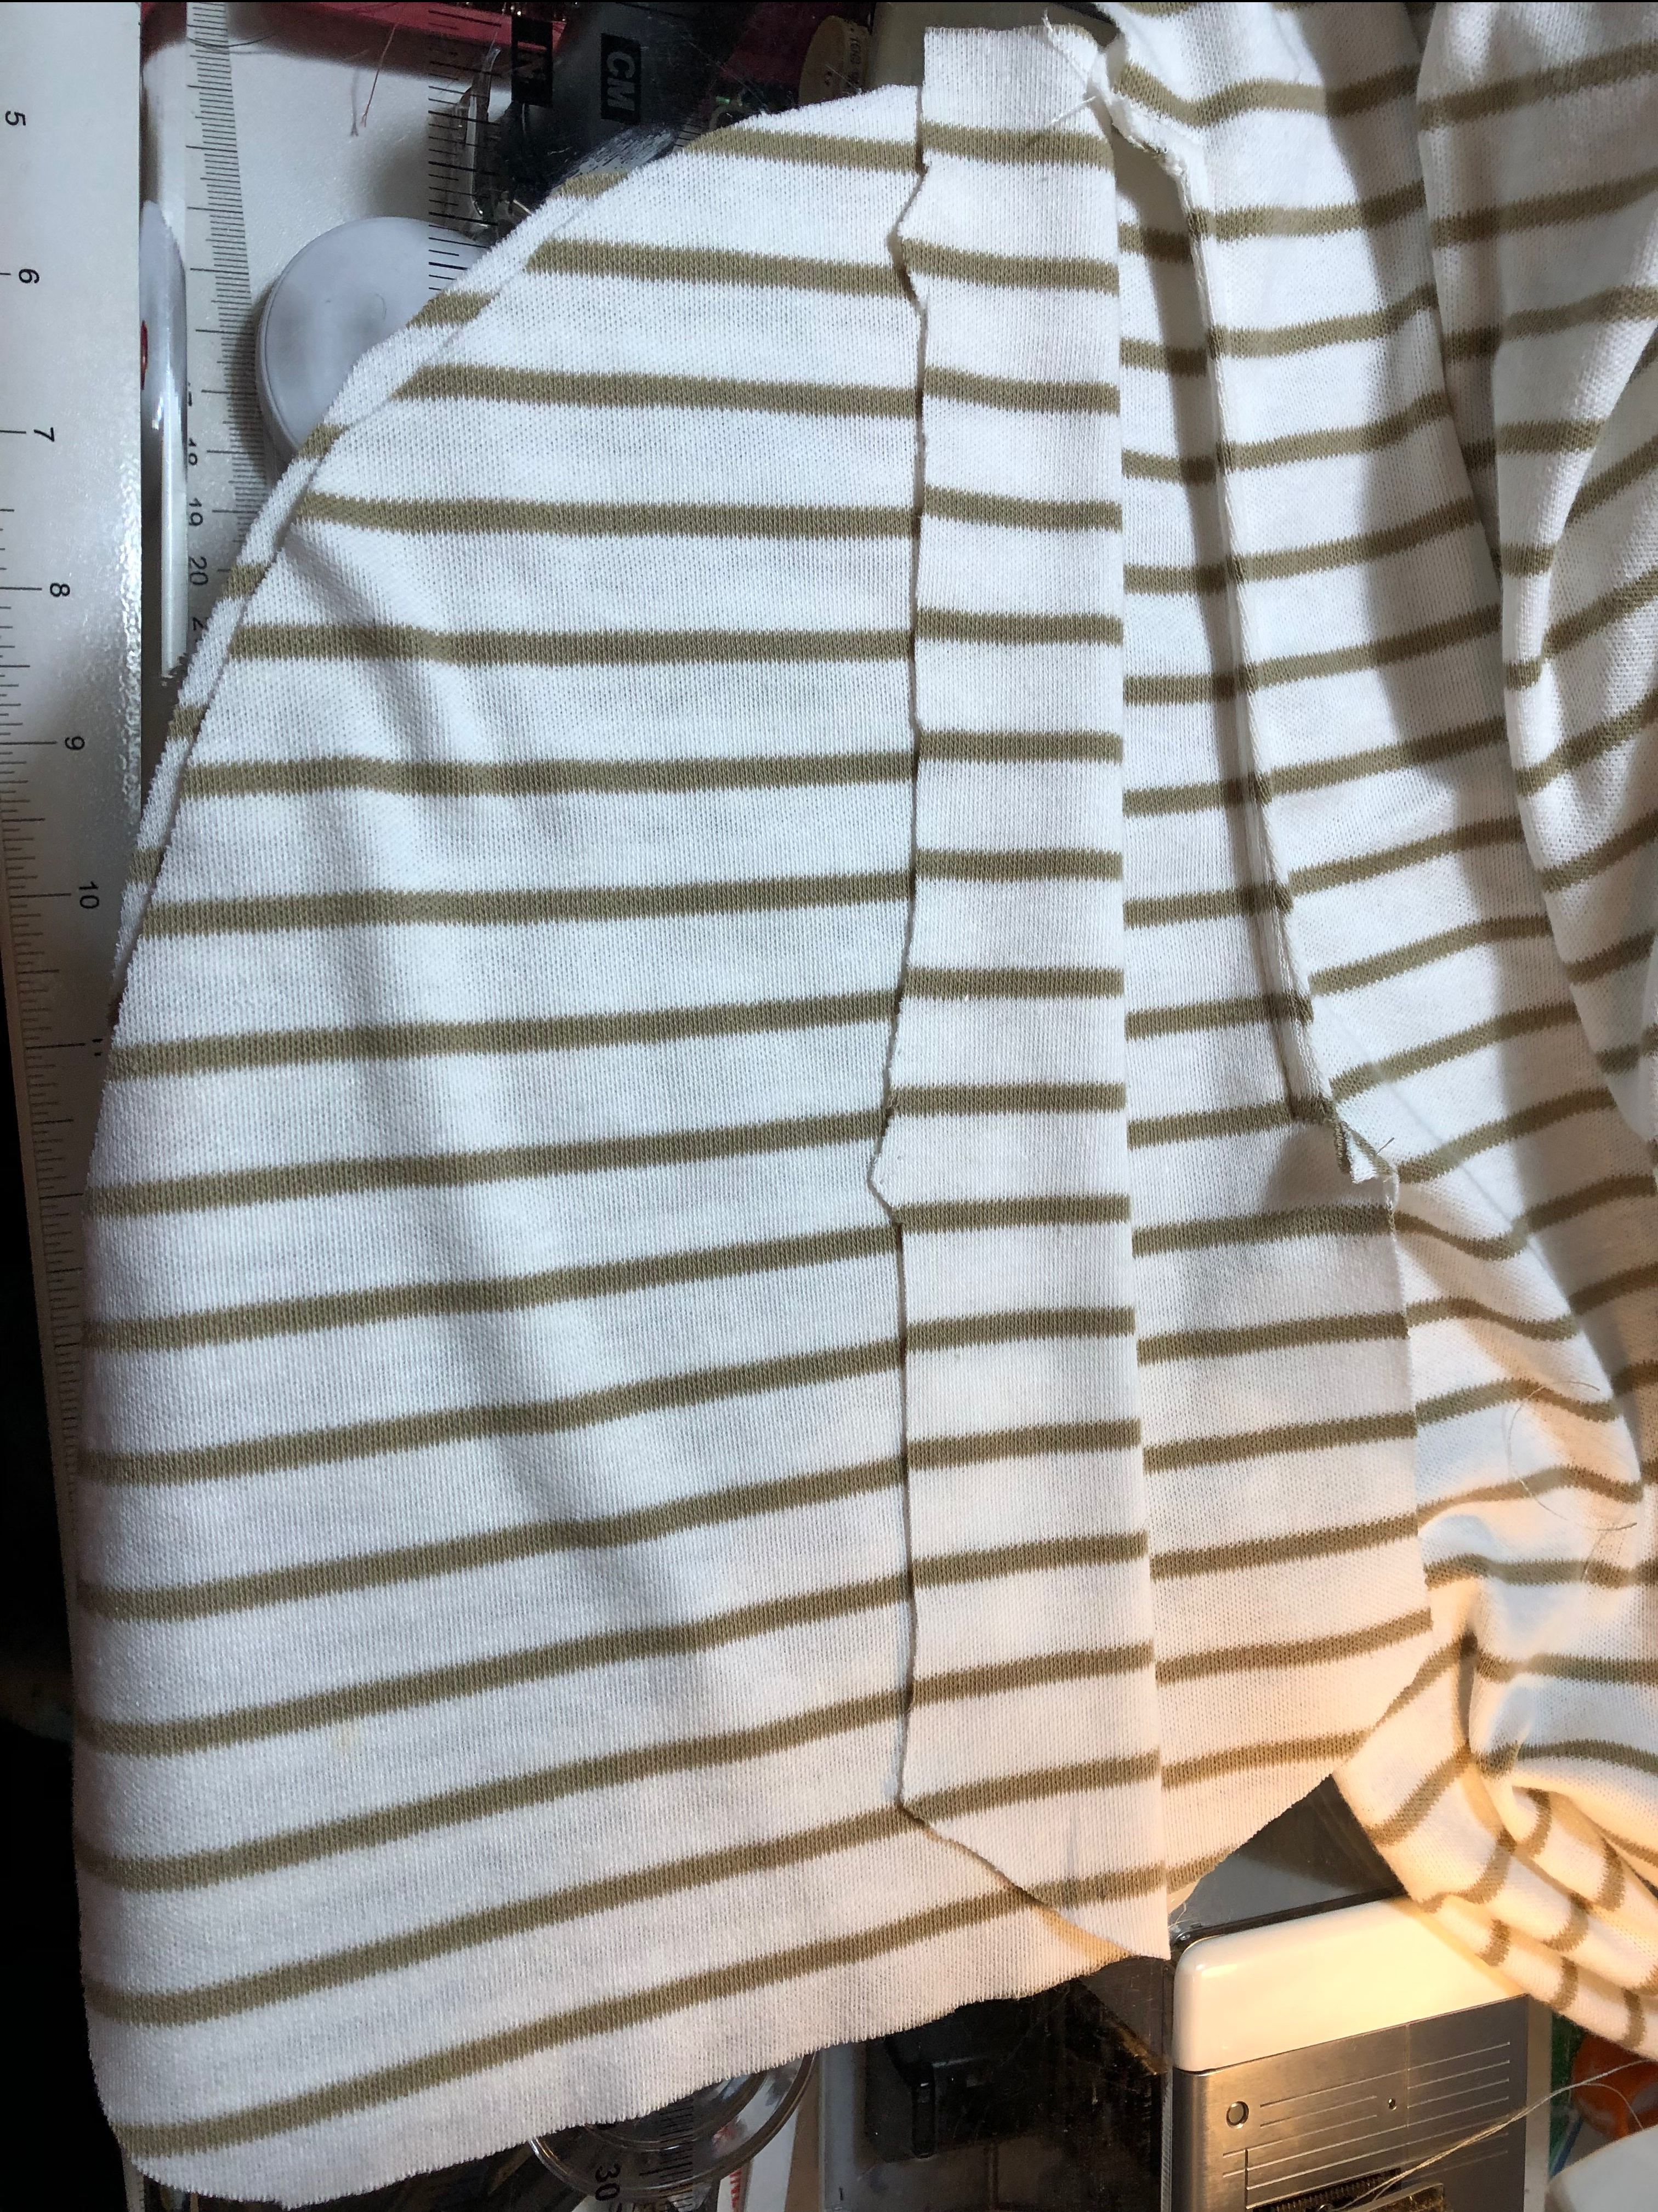
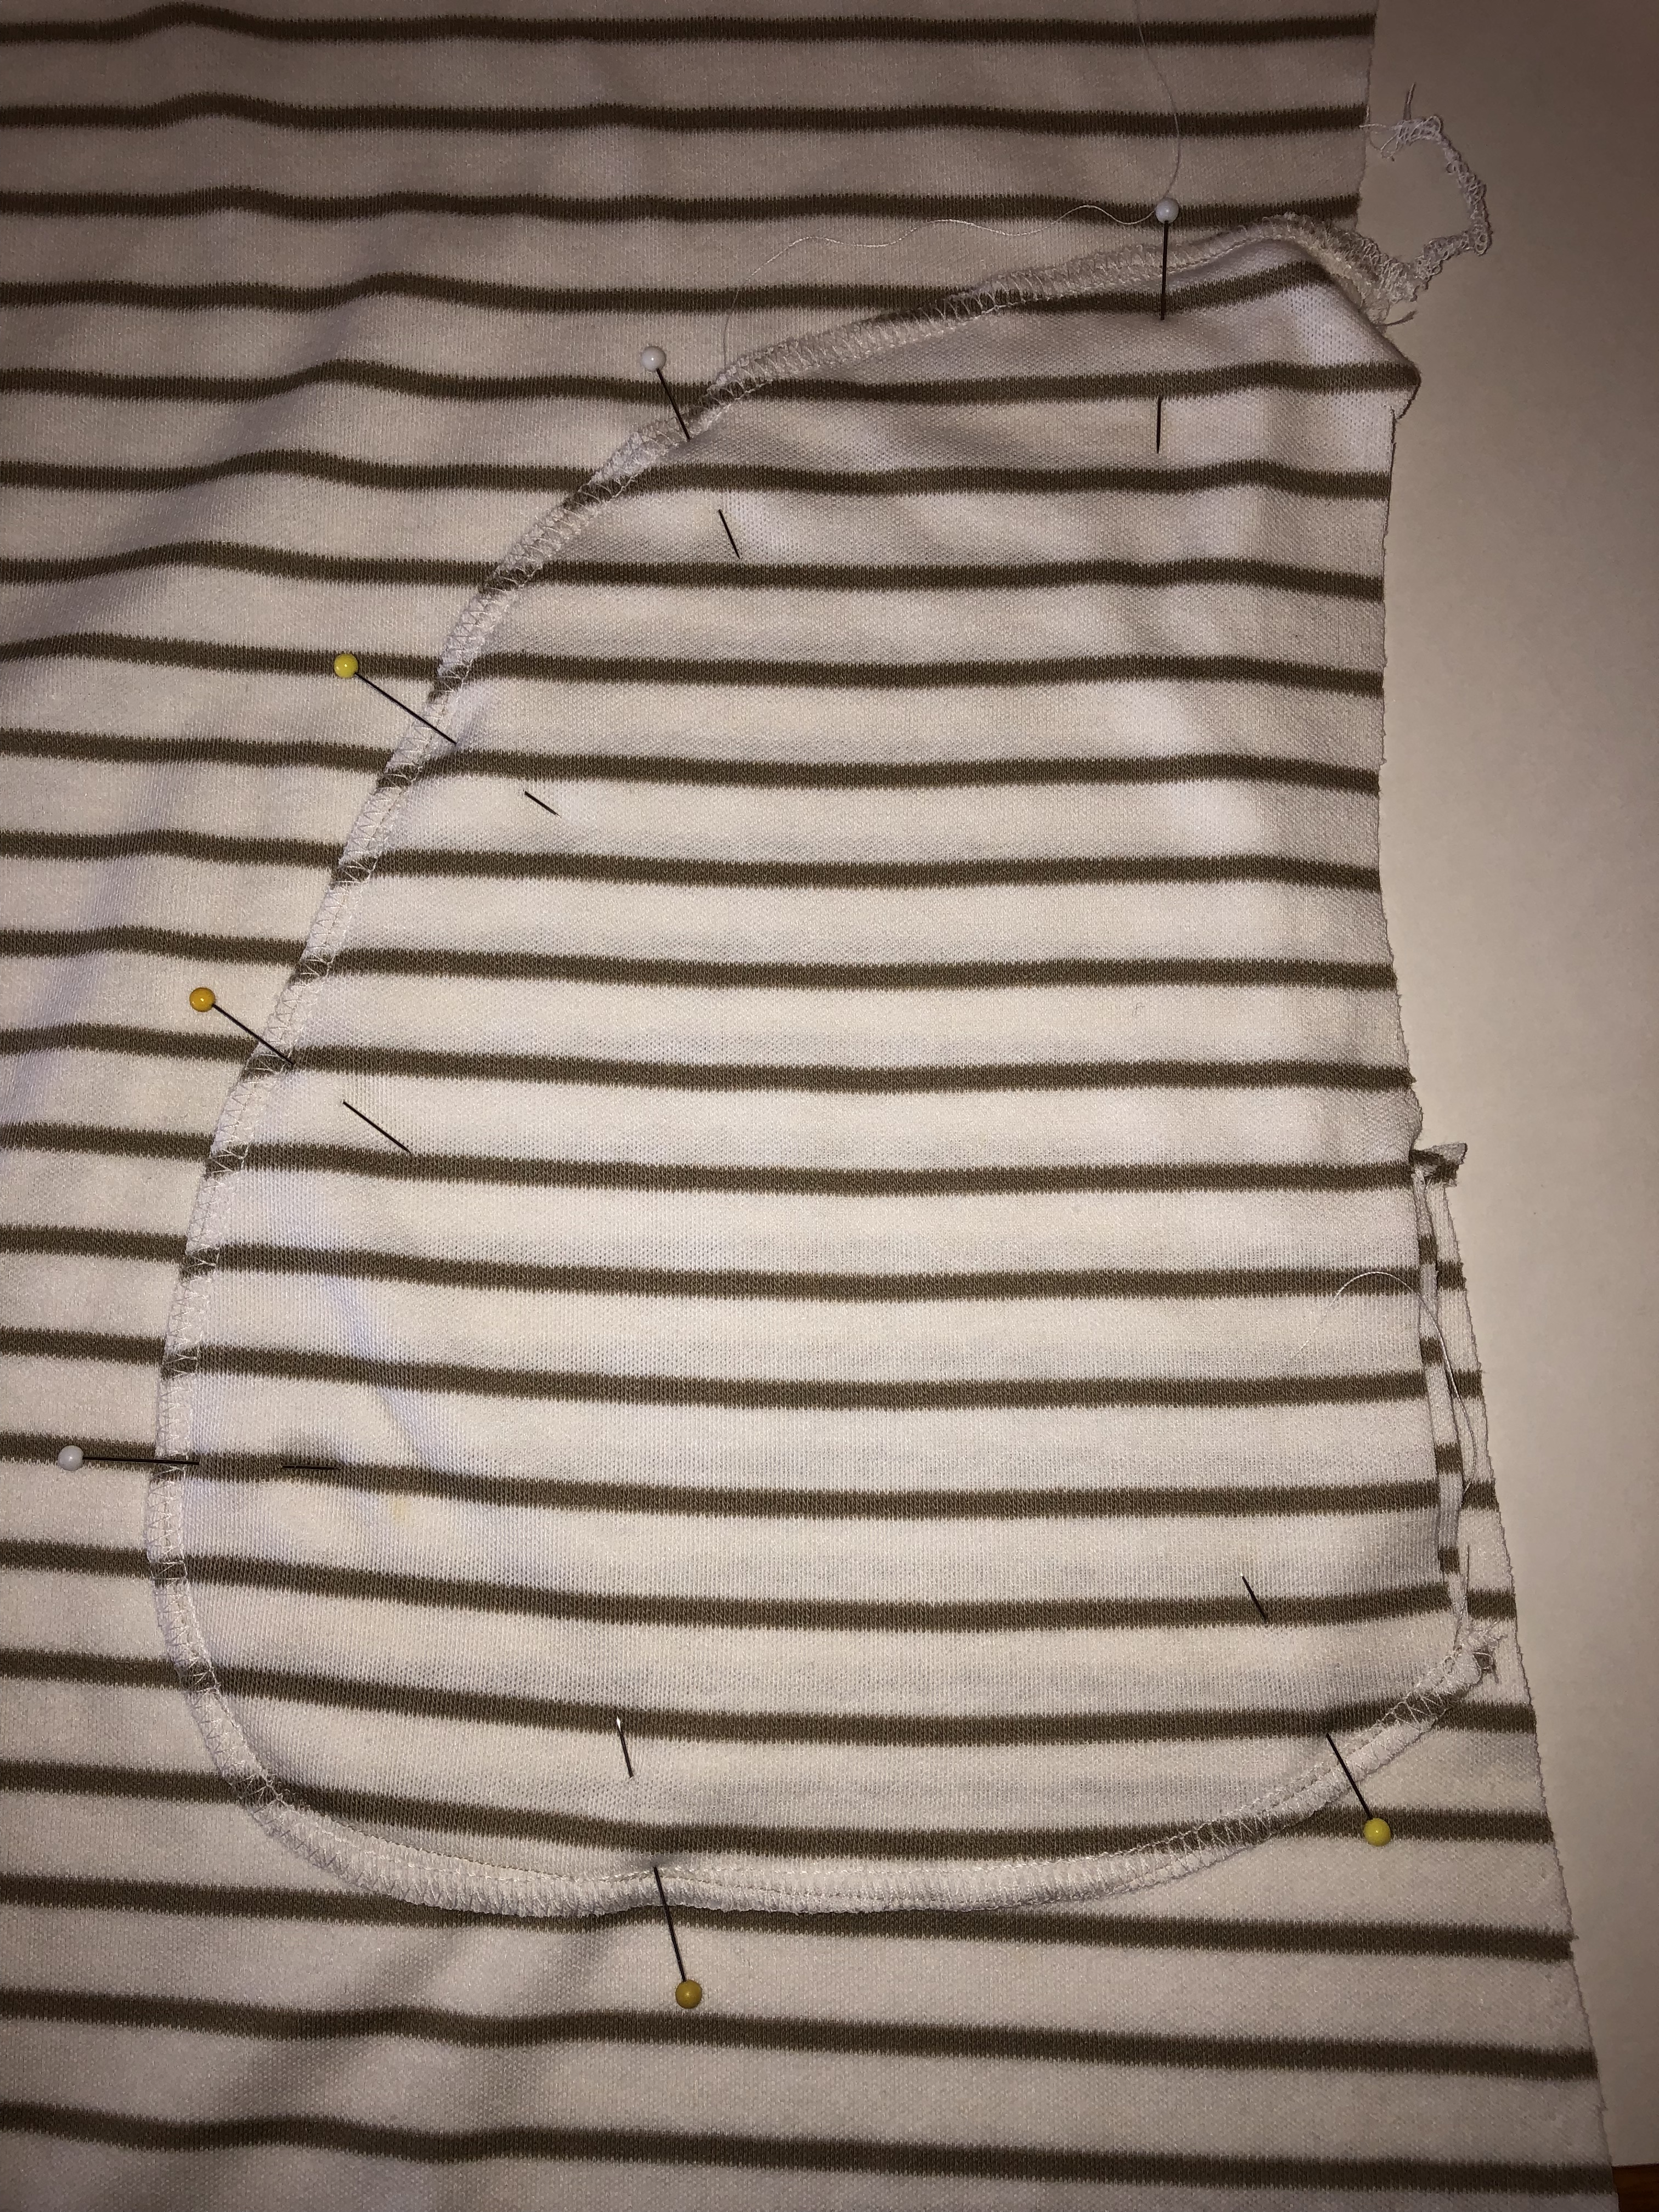
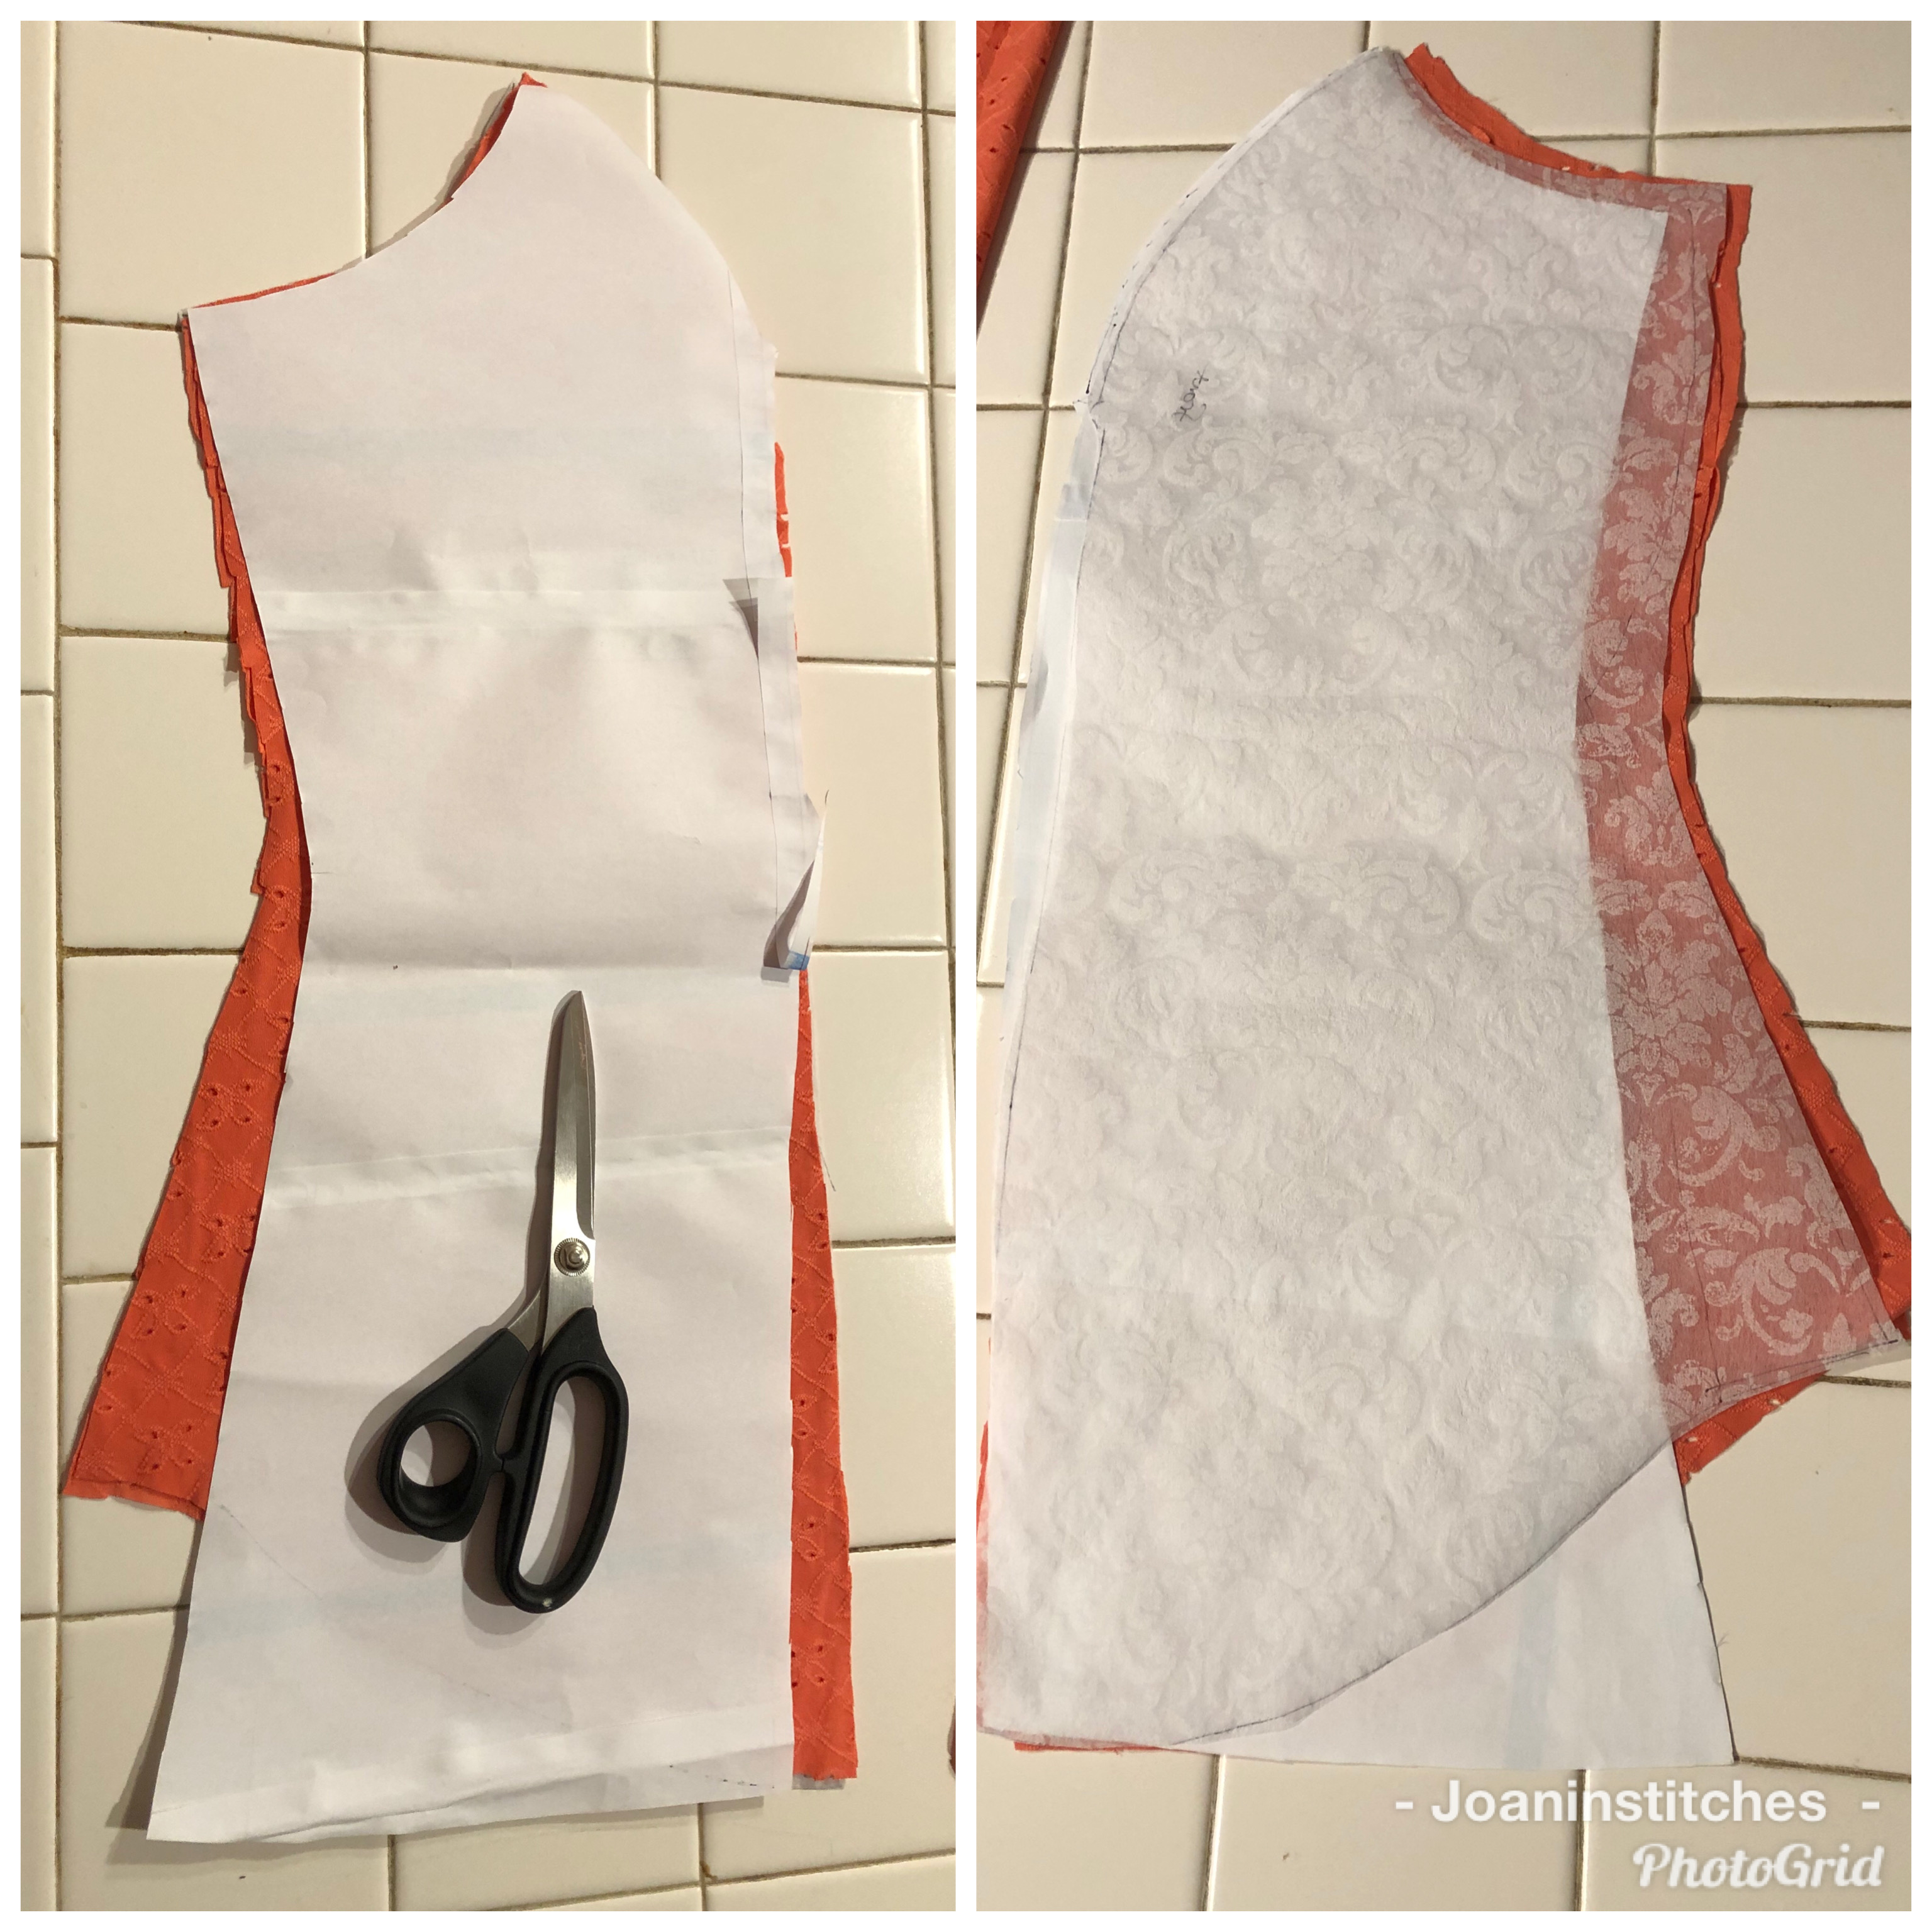
The trick is to cut both the front and back yokes on the fold. Since I was using the main bodice fabric as a lining, I folded the seam allowance of the back bodice out of the way and cut two of each on the fold.

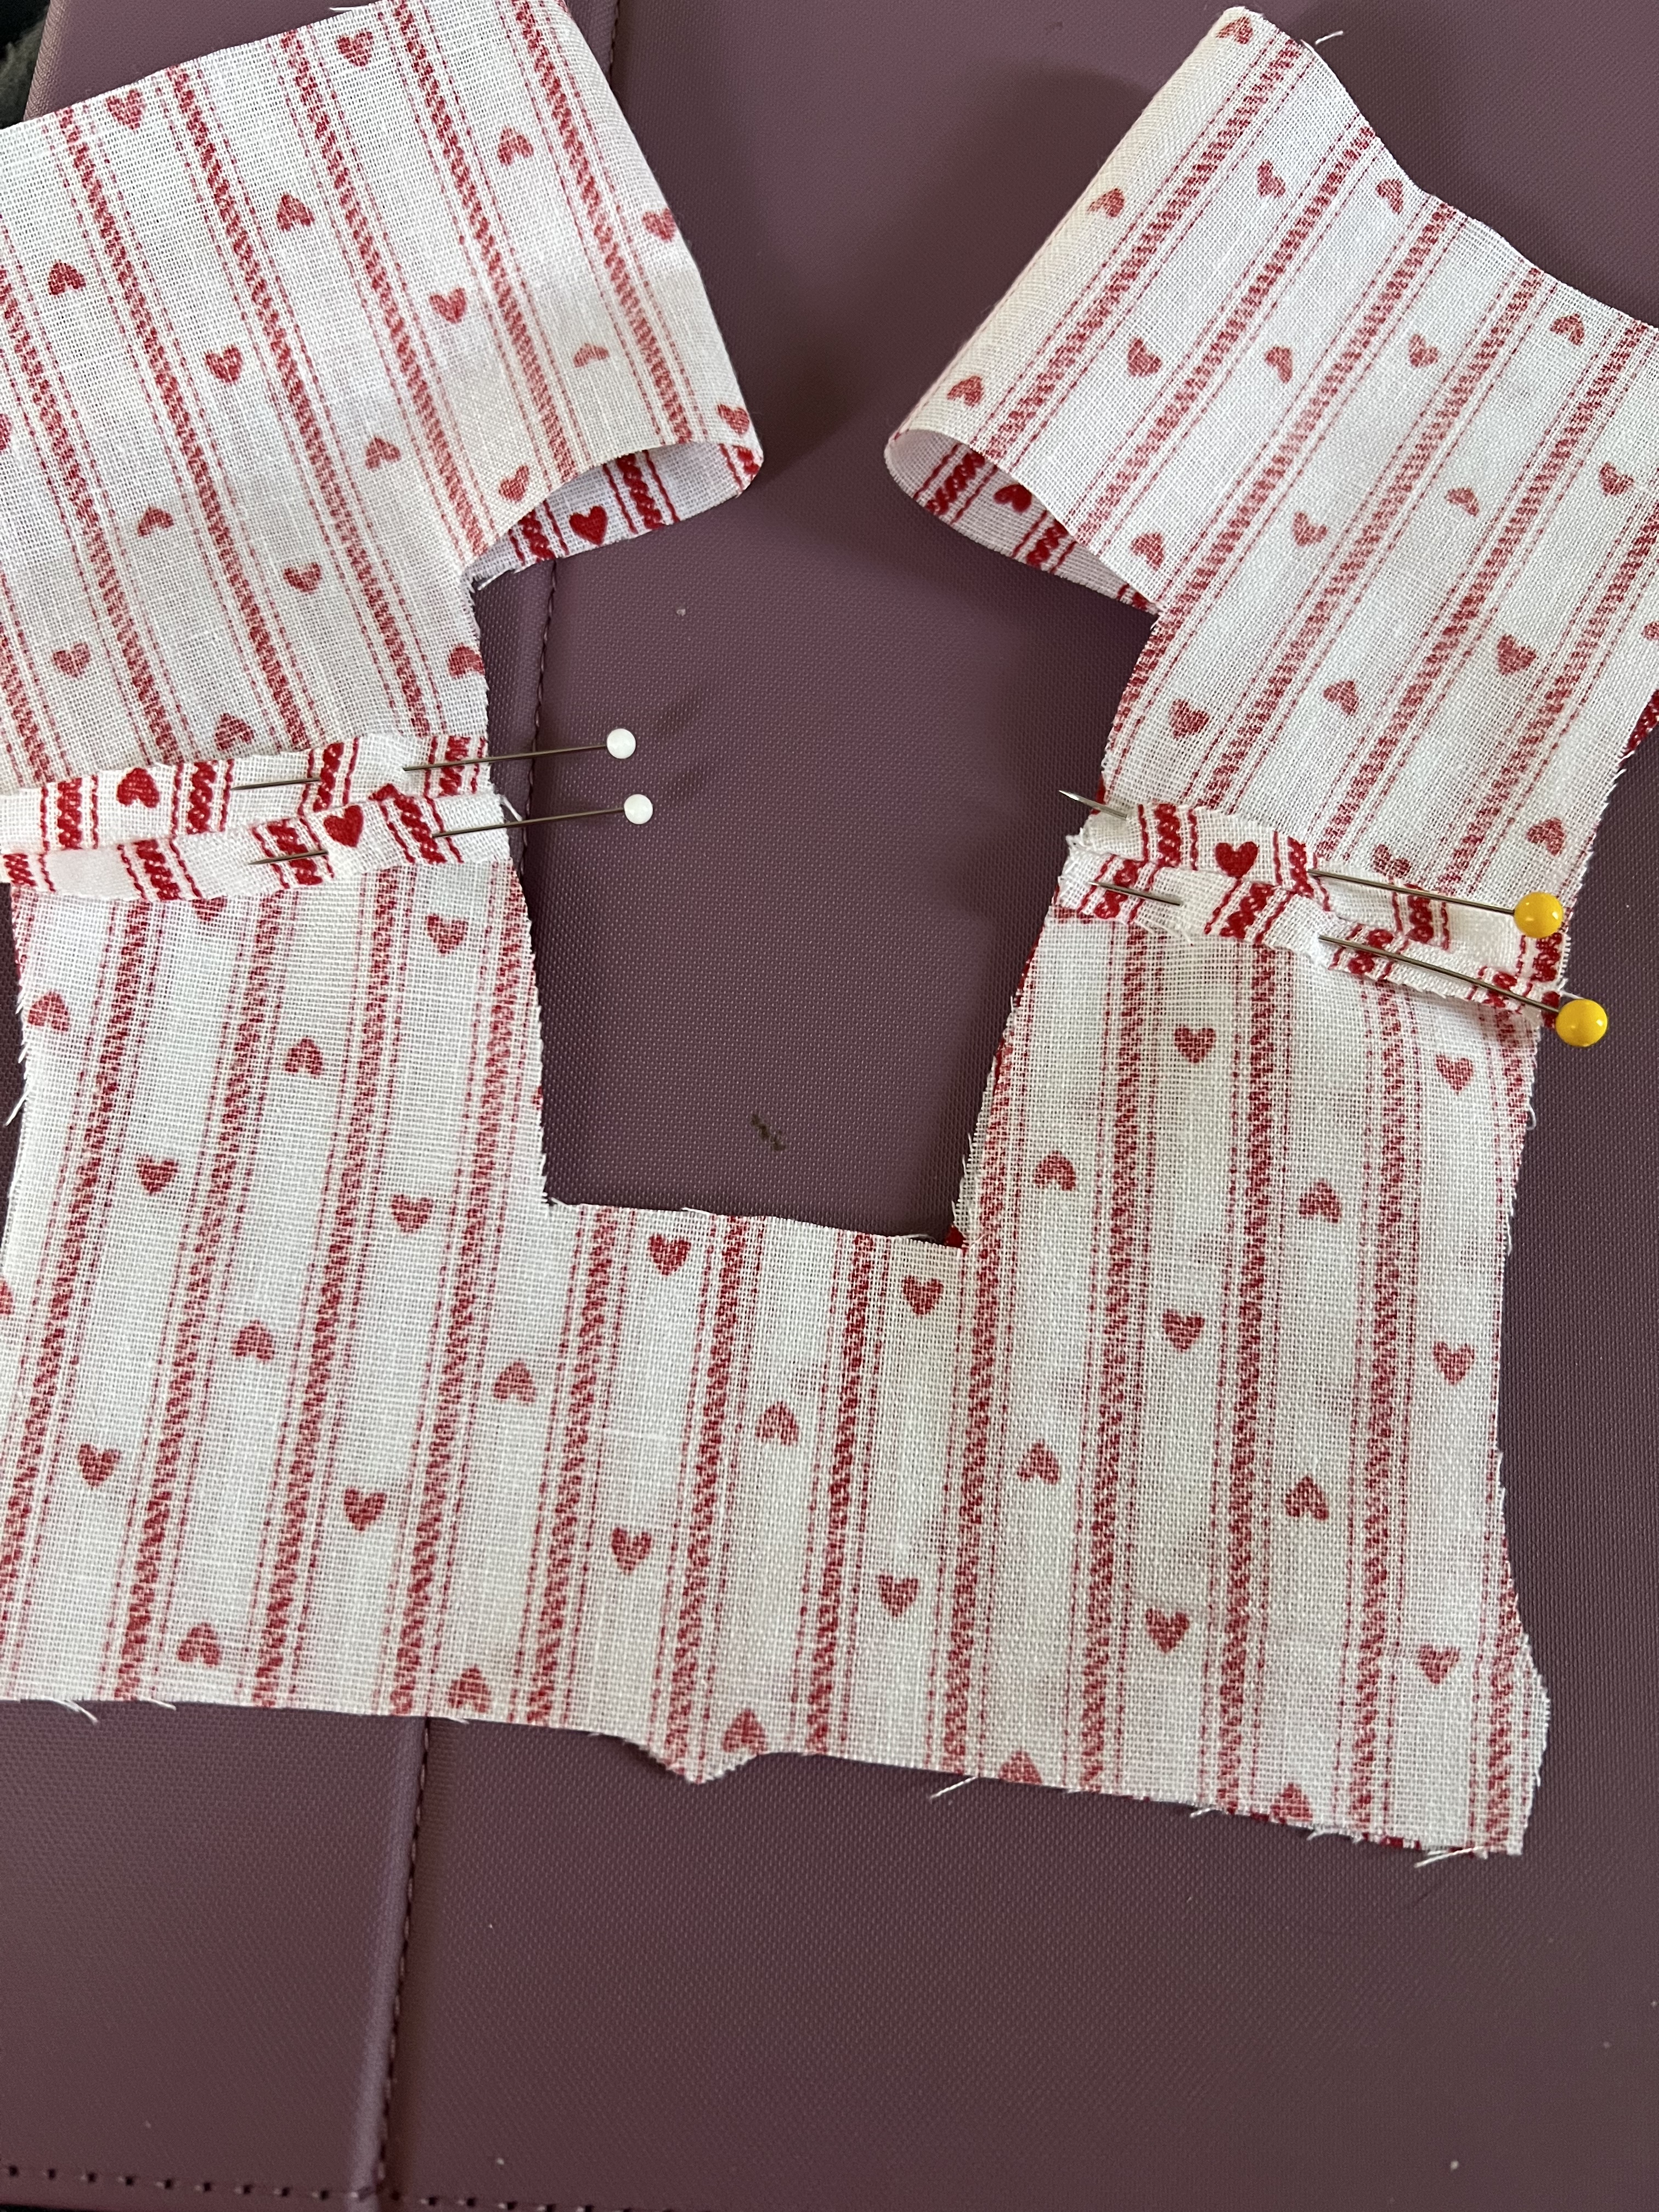
Stitch one front to two backs at the shoulder seams and press (I finger pressed) the seams open. Then stitch the second front shoulder seams to the remaining back shoulder seams. In the photo above, the narrow front openings are top and bottom and the backs are either side.
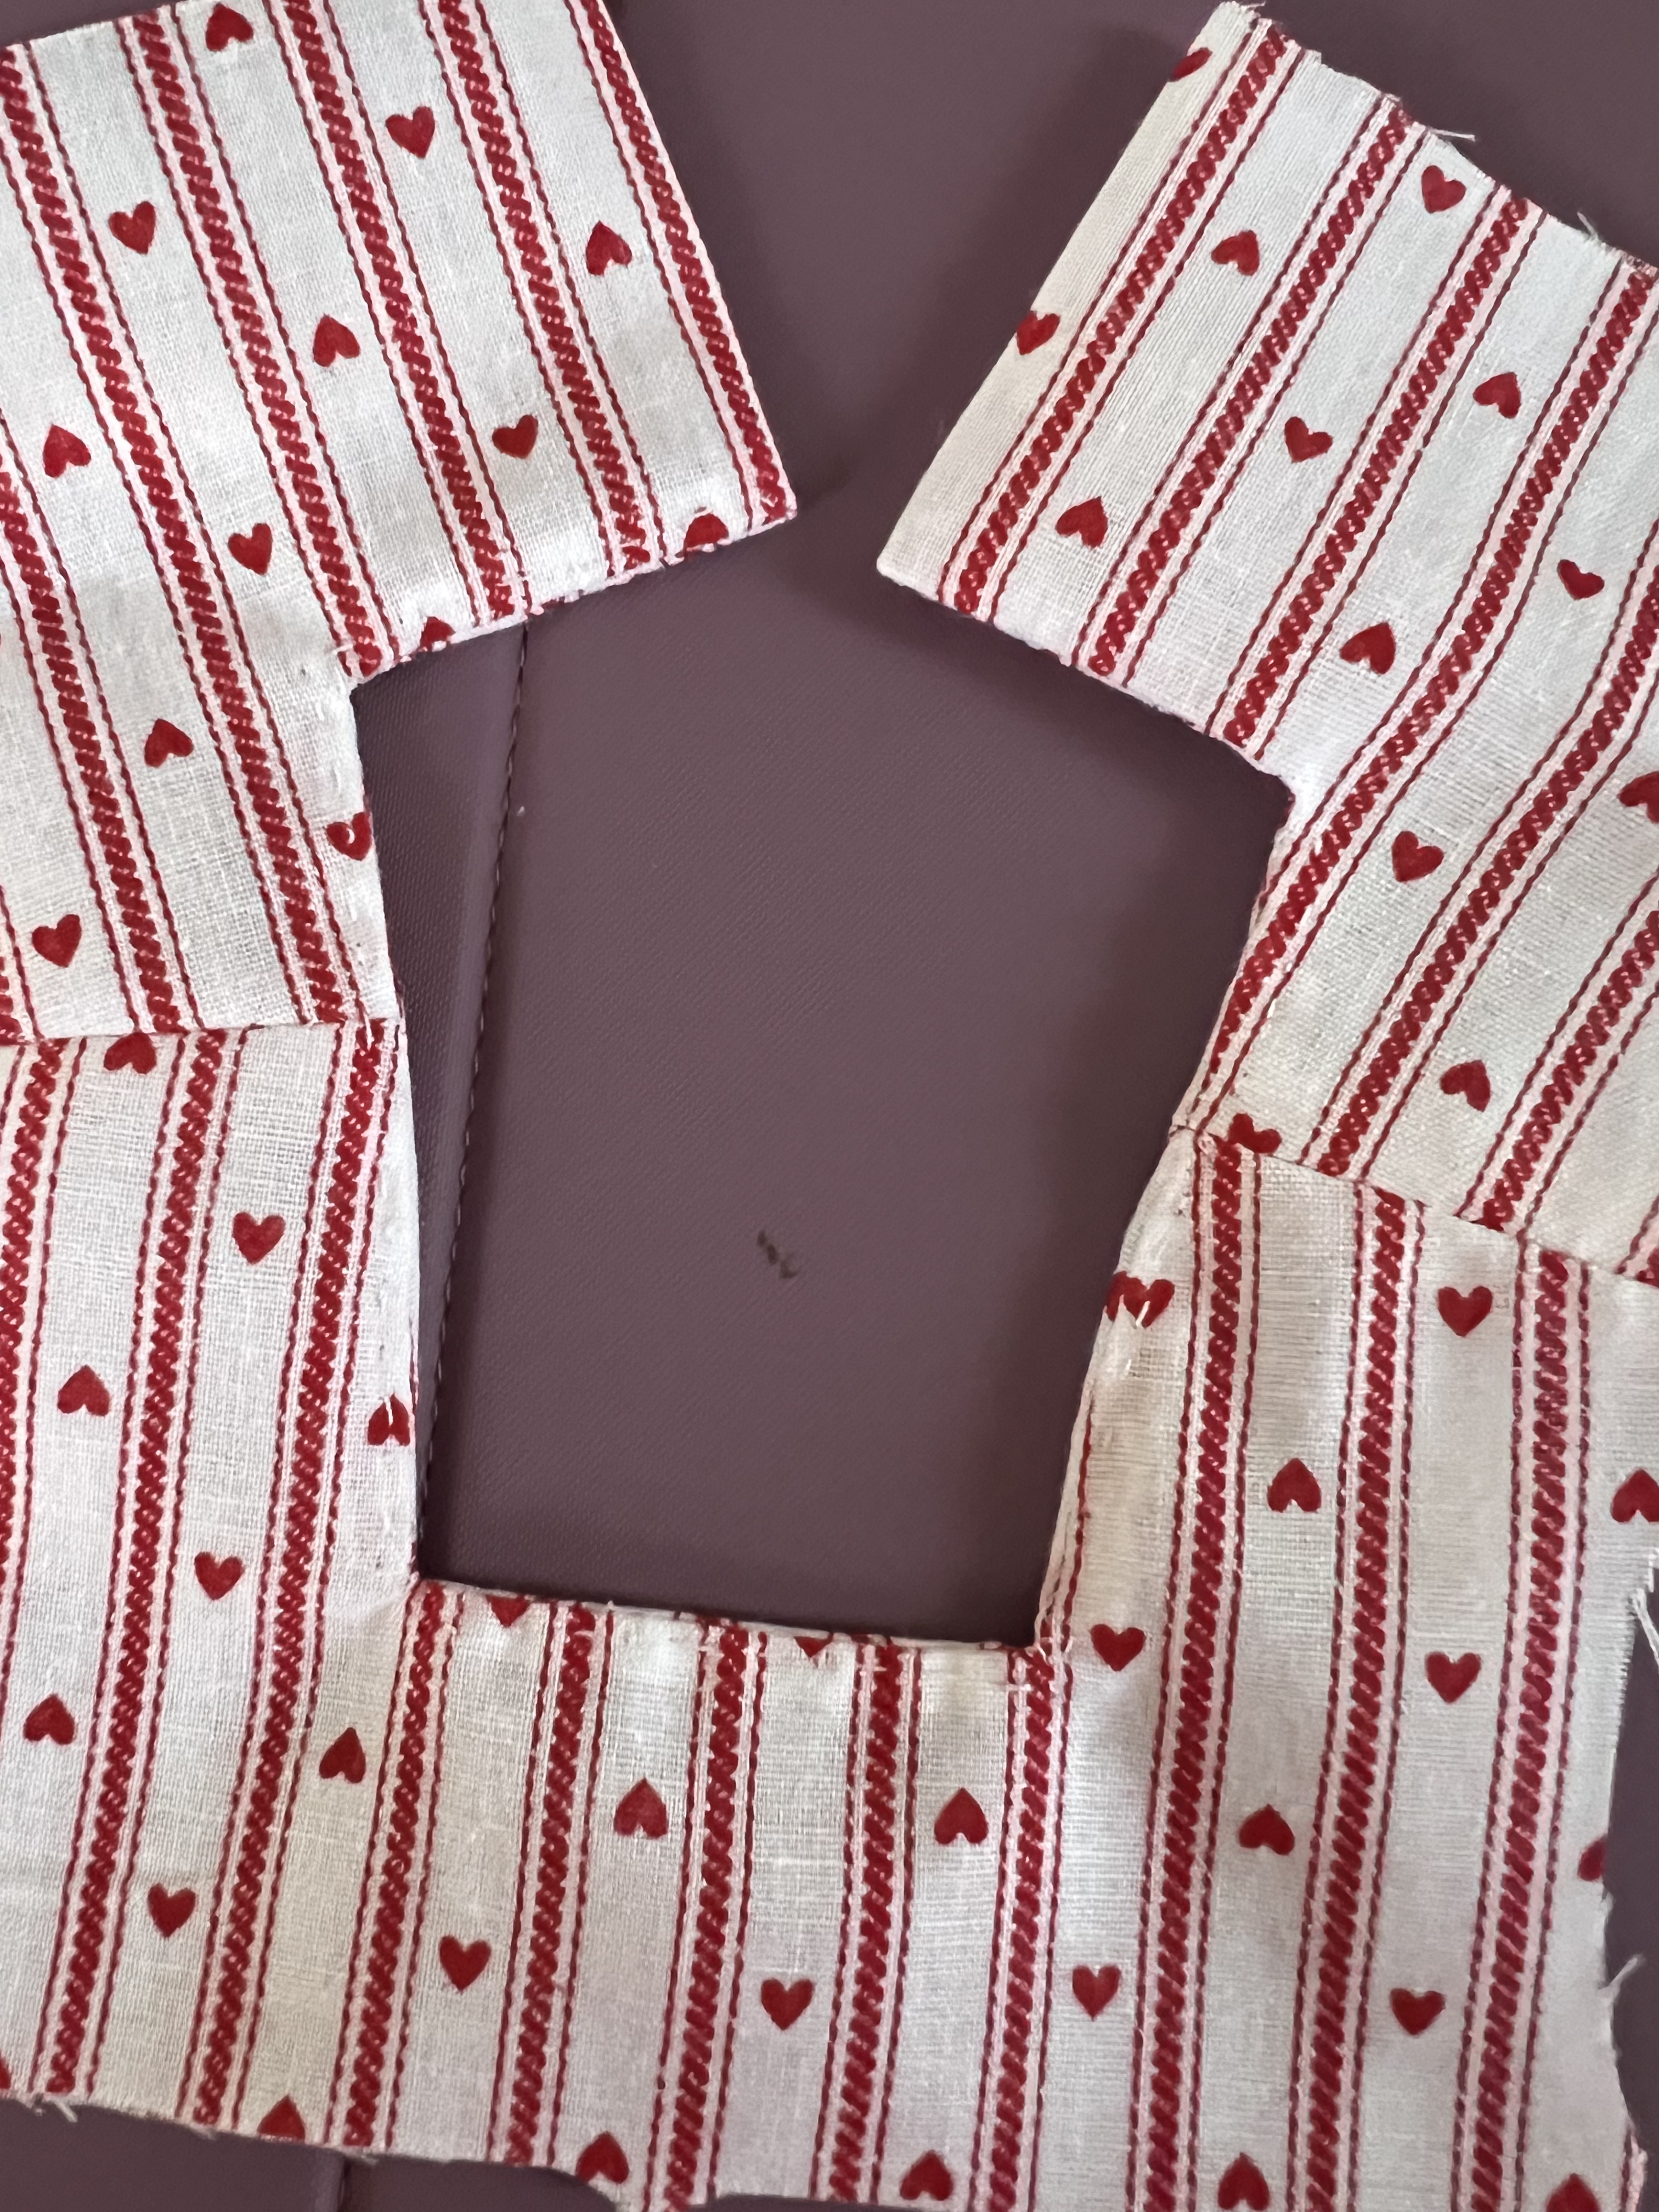
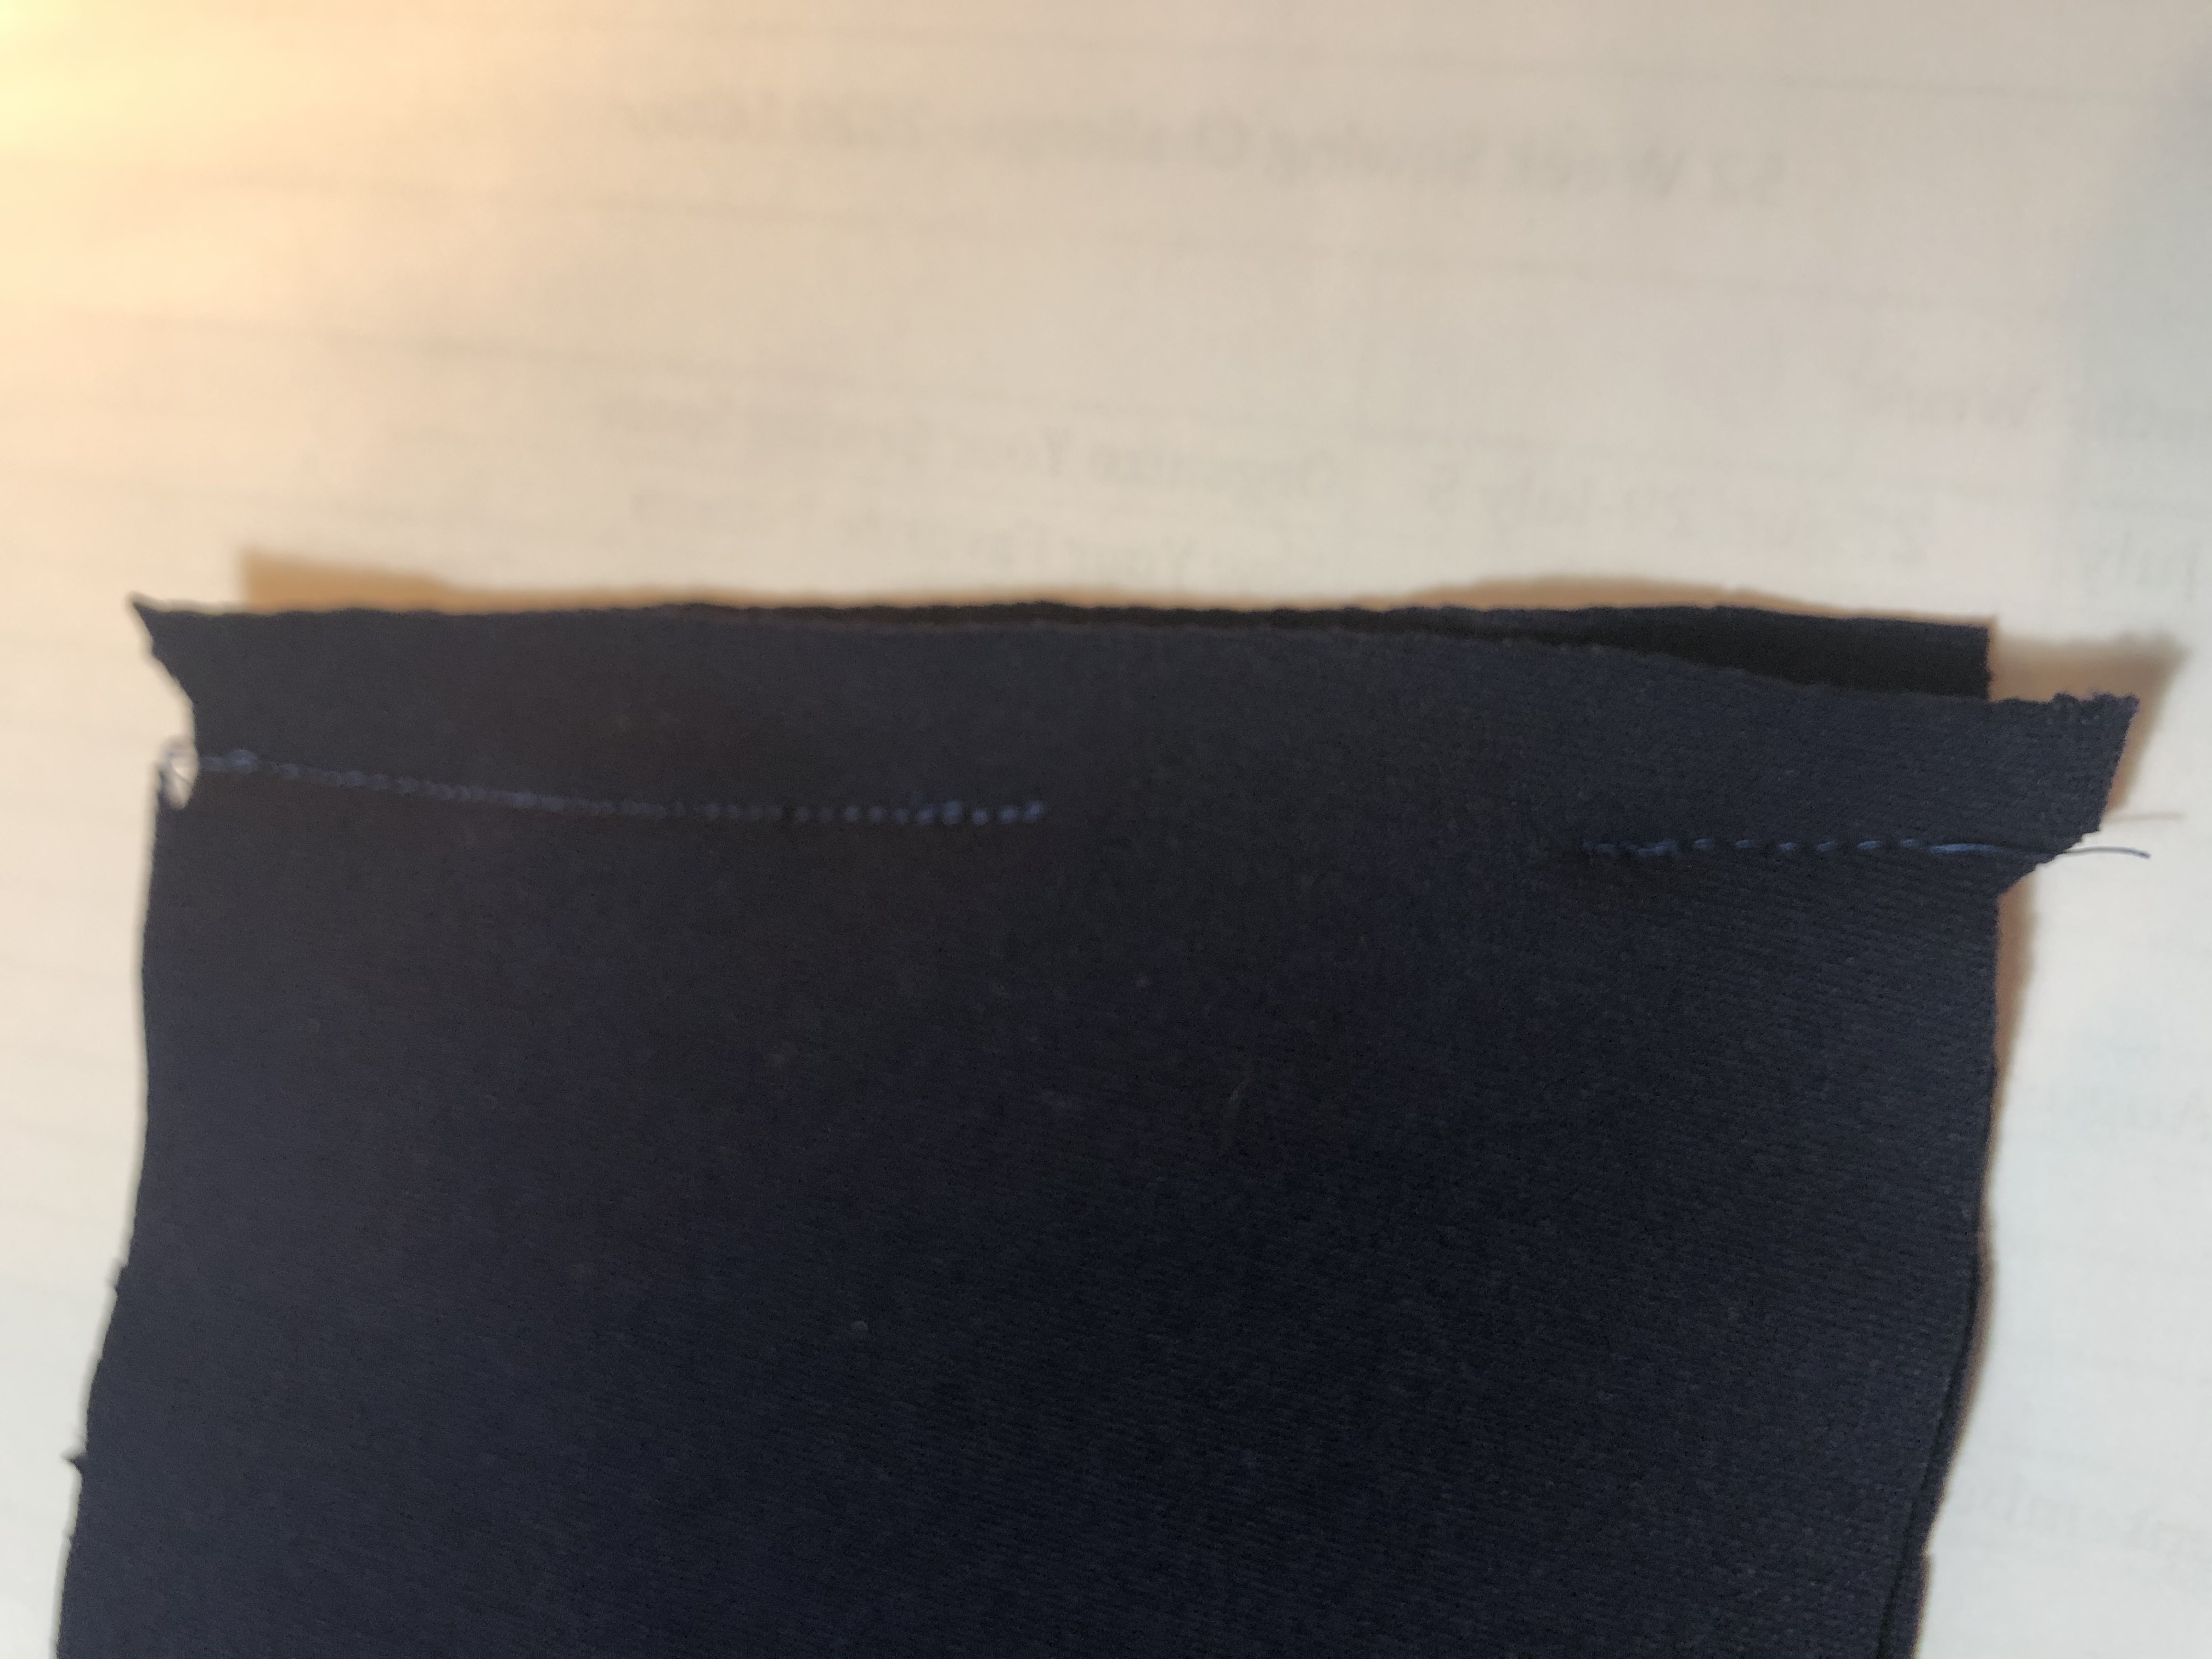
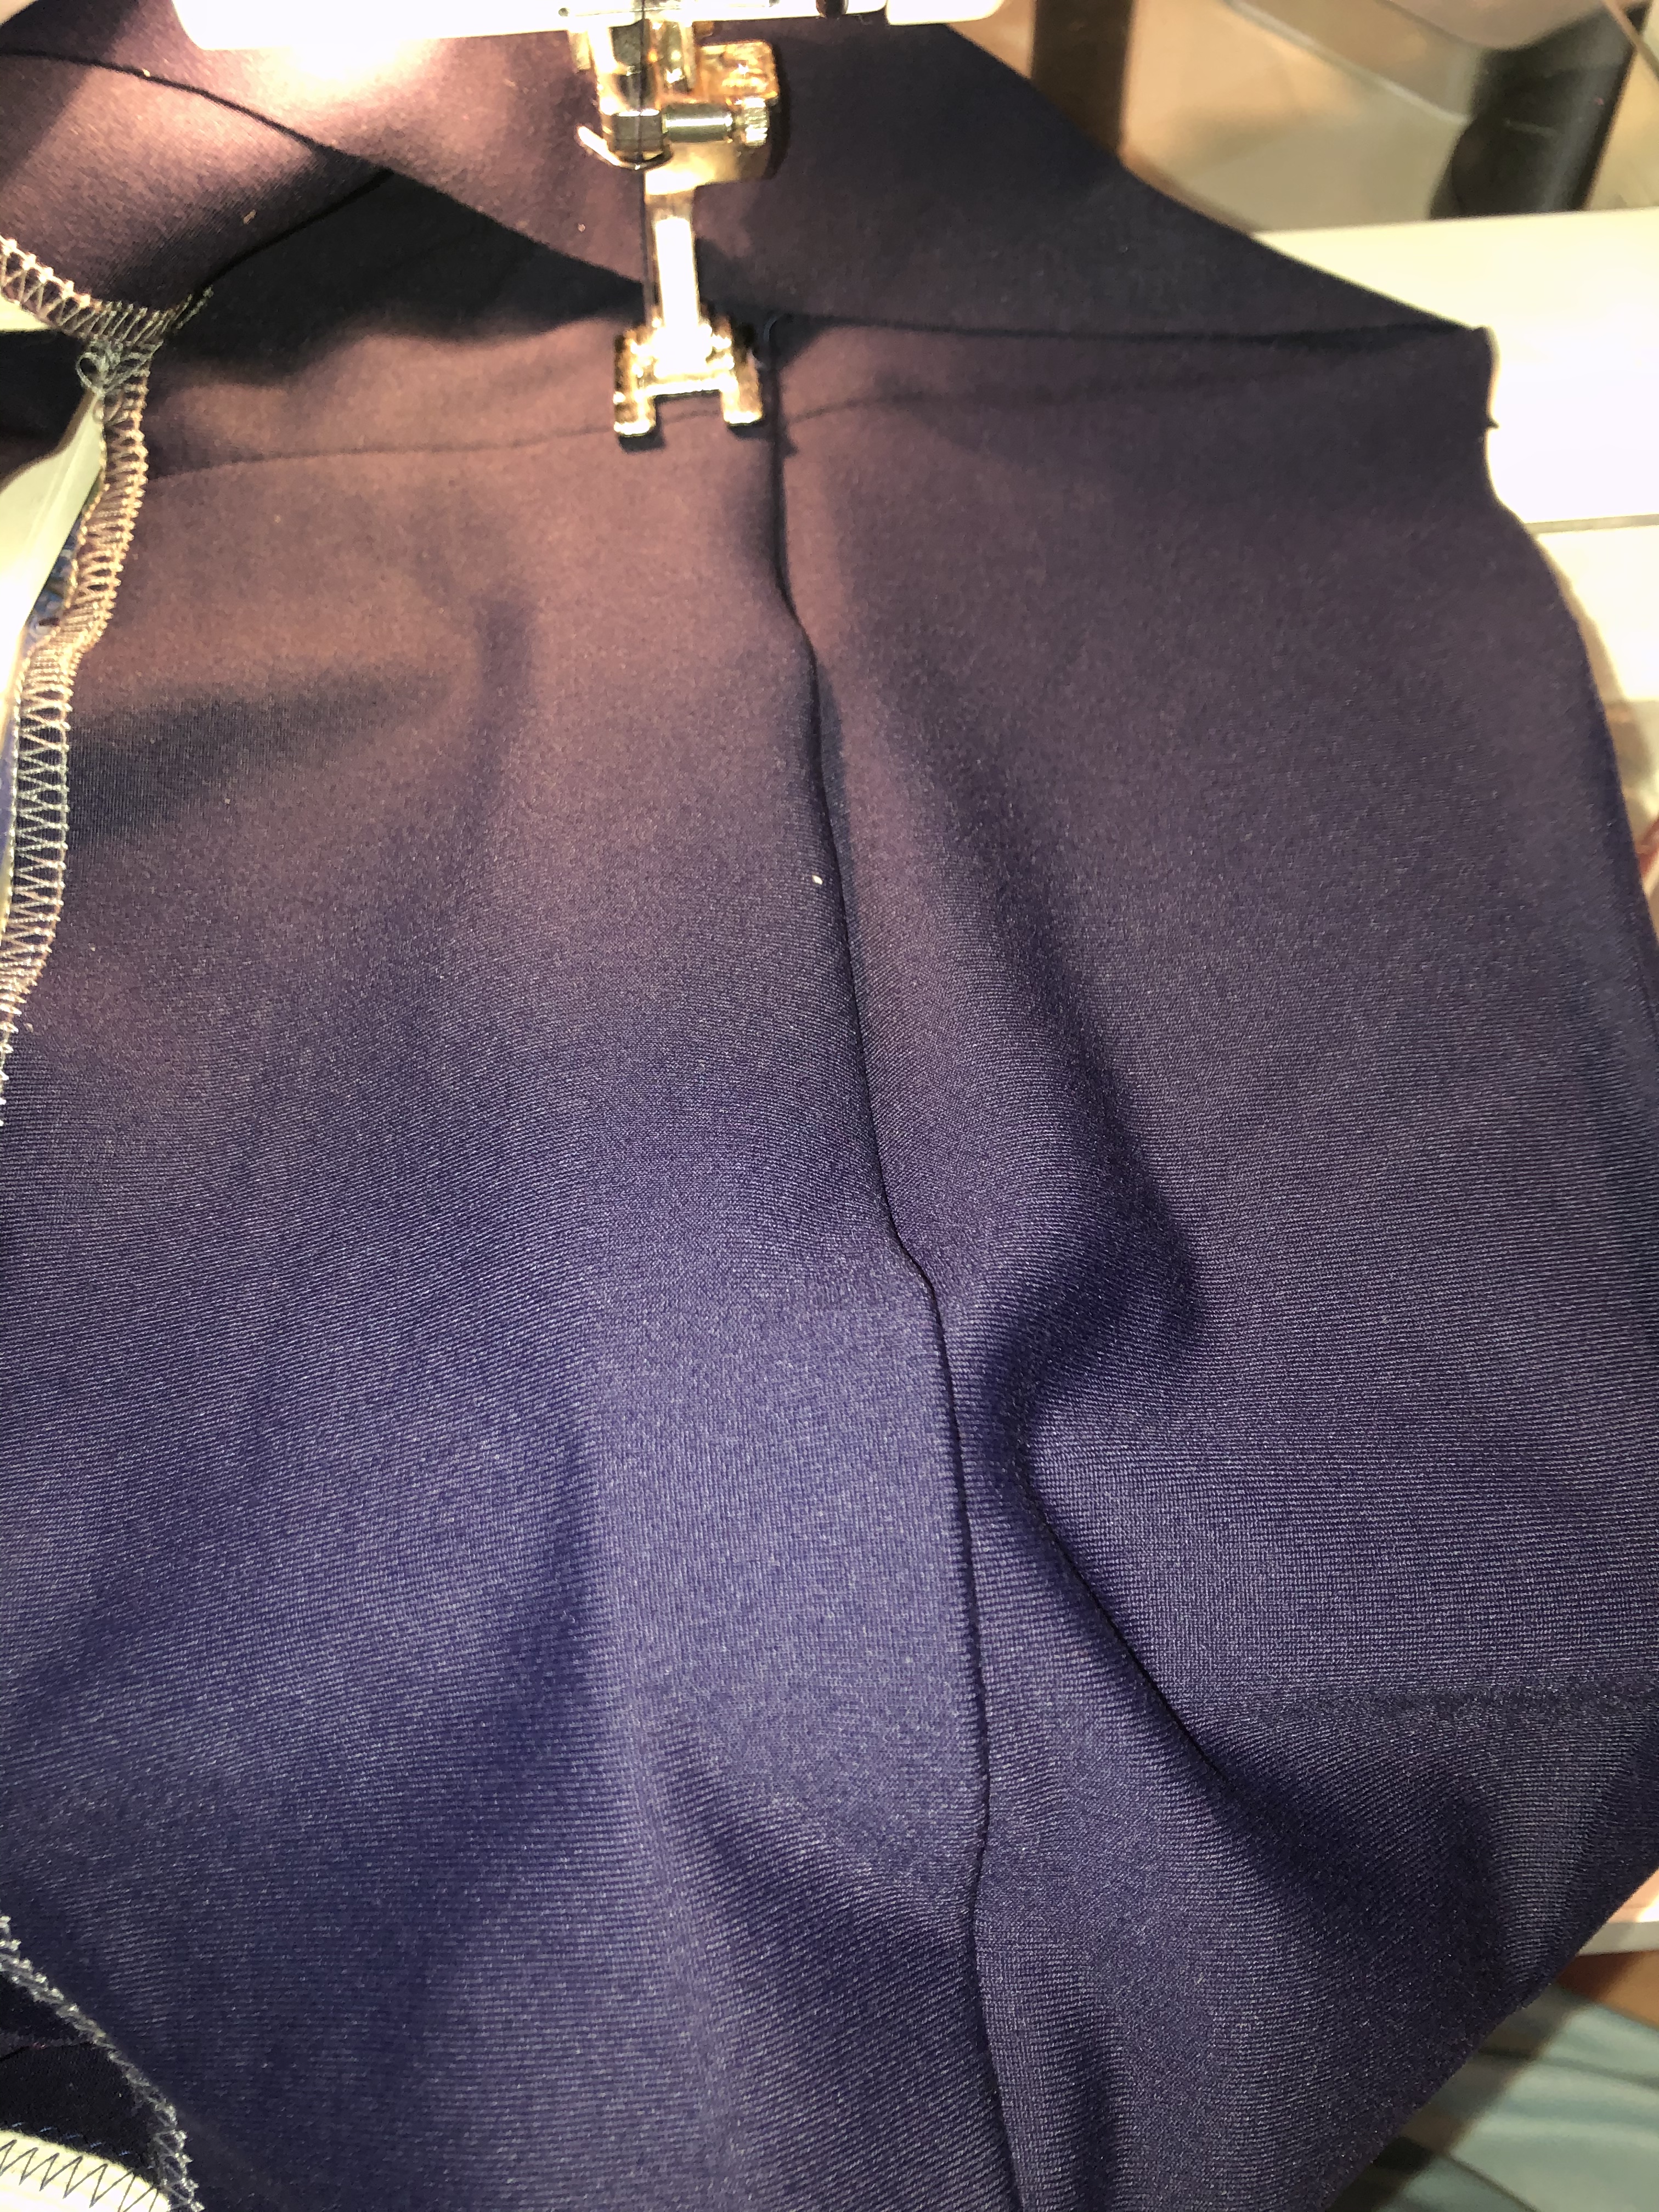
Place the two front bodices right sides together. You can see that I gave myself a center front notch. Sew the neck opening seam. I found I could get a smaller stitch with a between needles and single thread. Pinning the shoulder seams open helped.

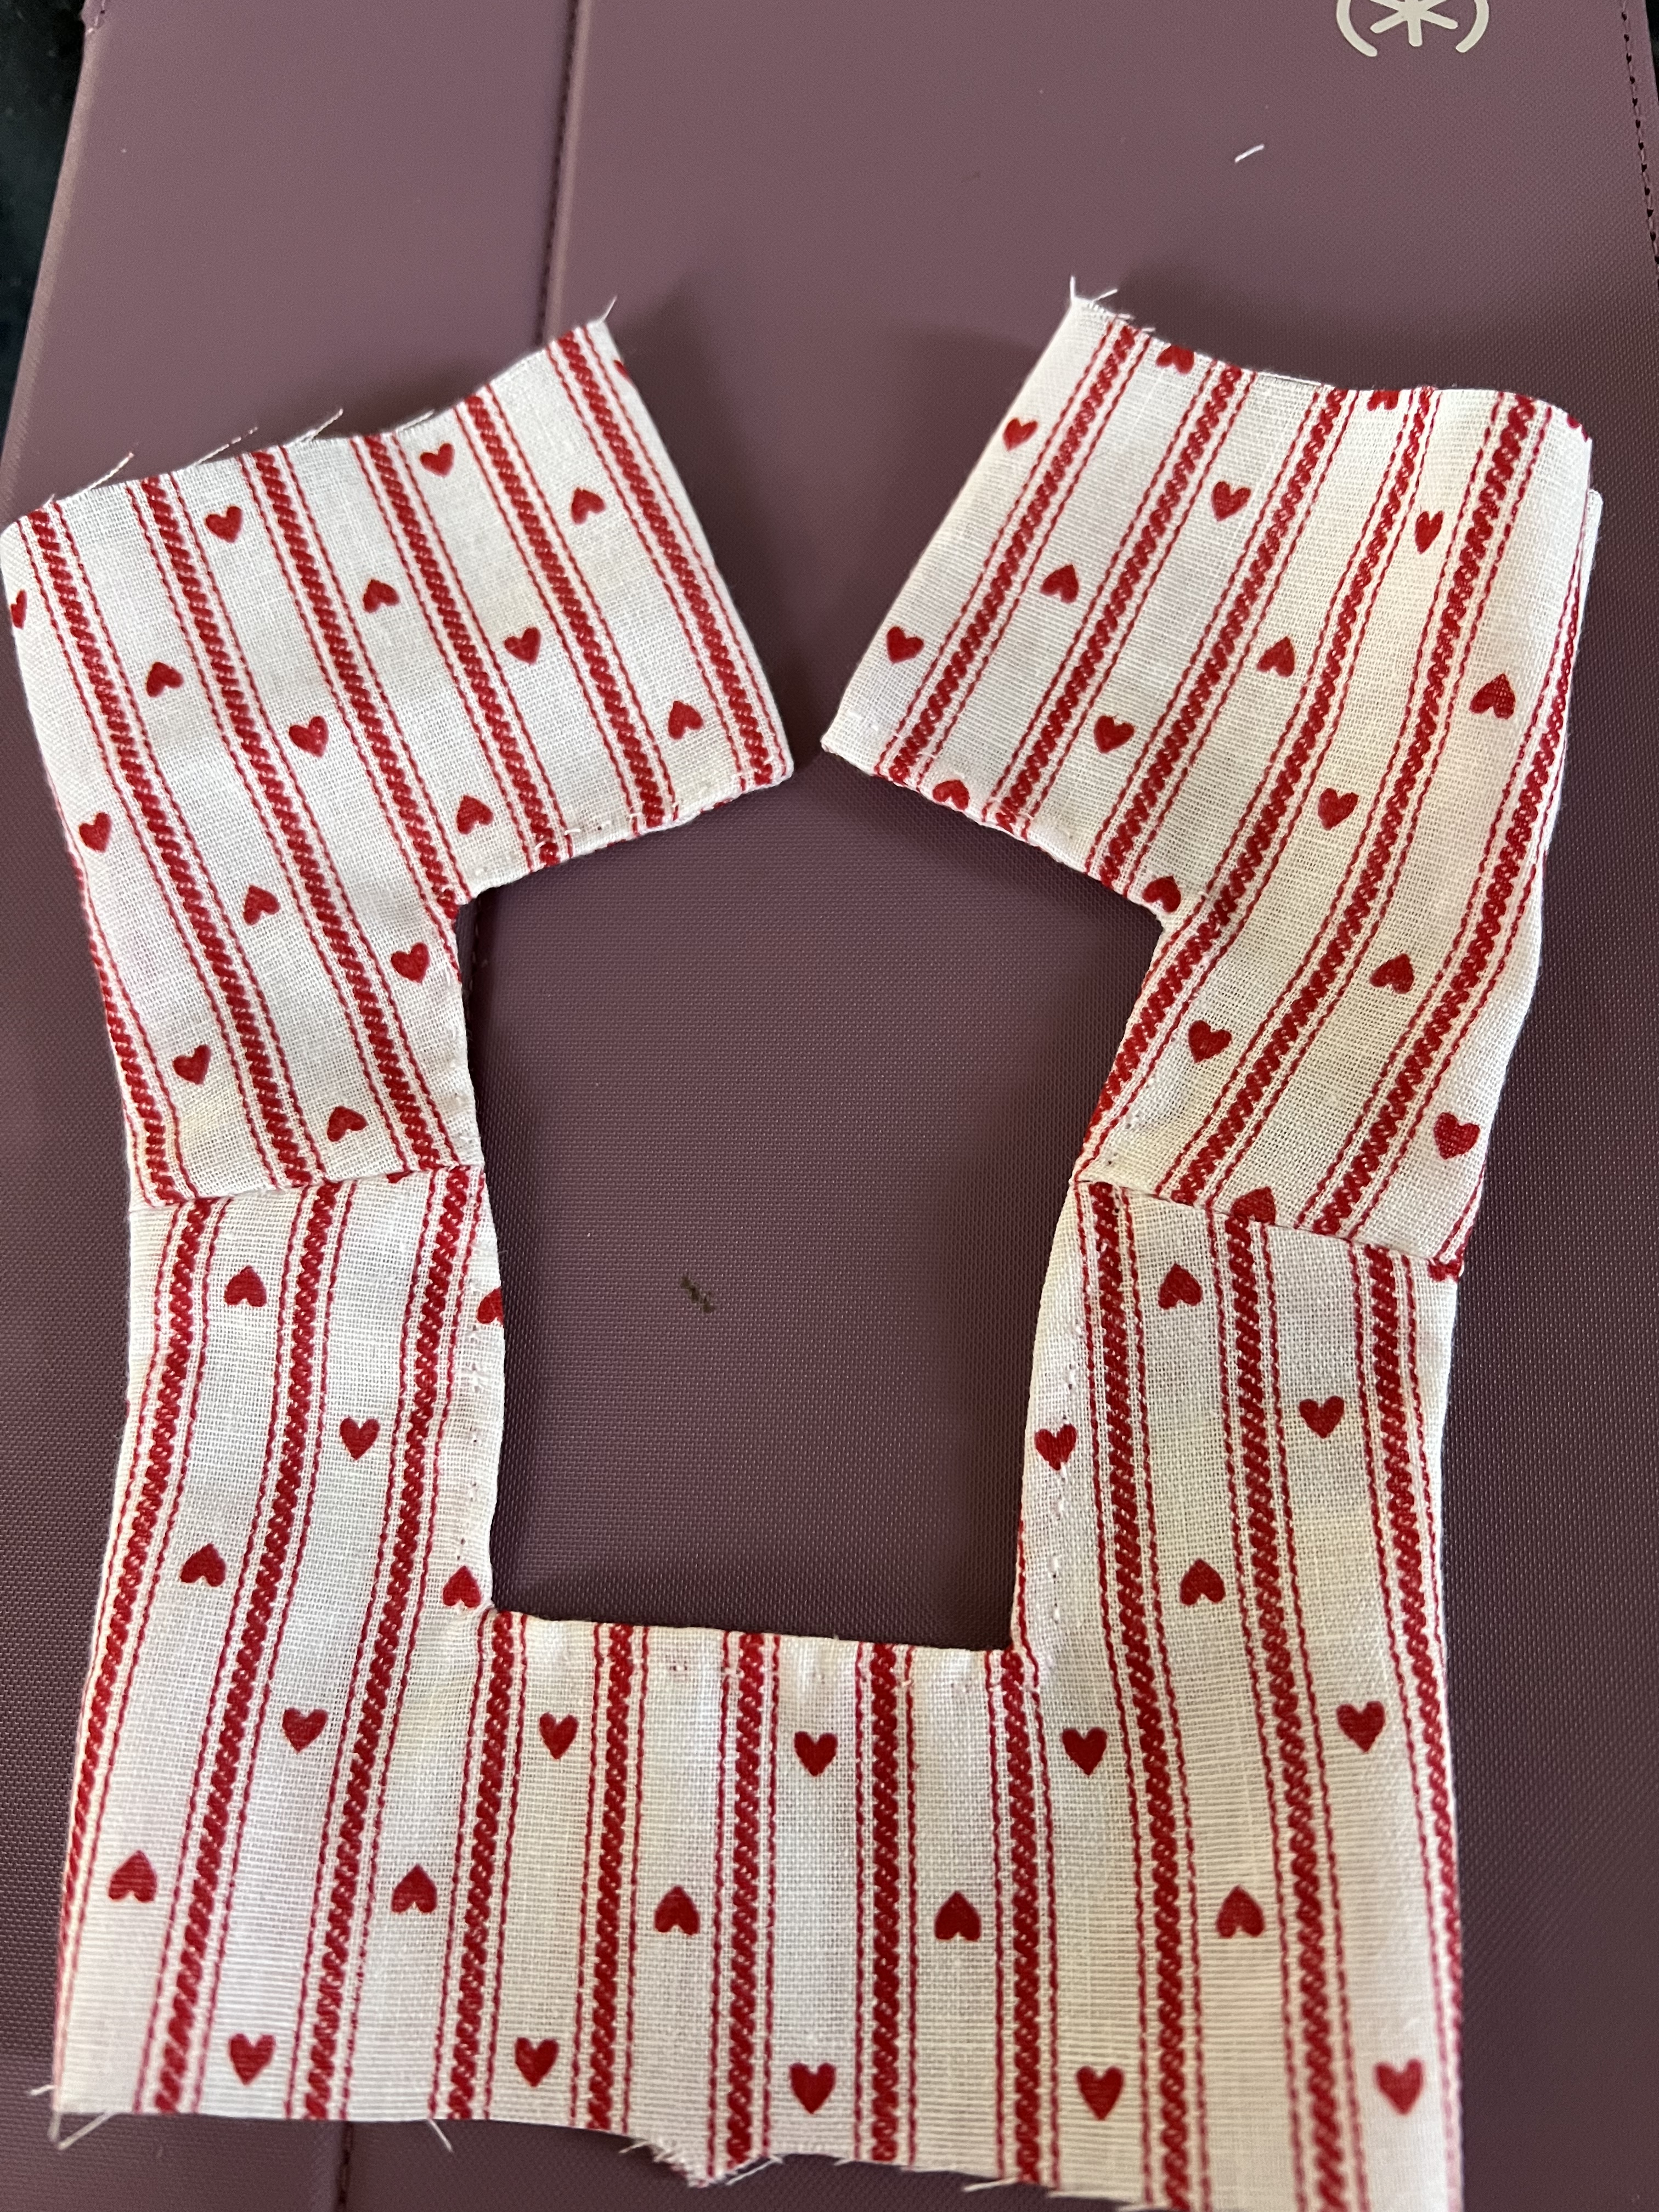
This photo shows the neckline seam sewn and two of the four inside corners clipped.

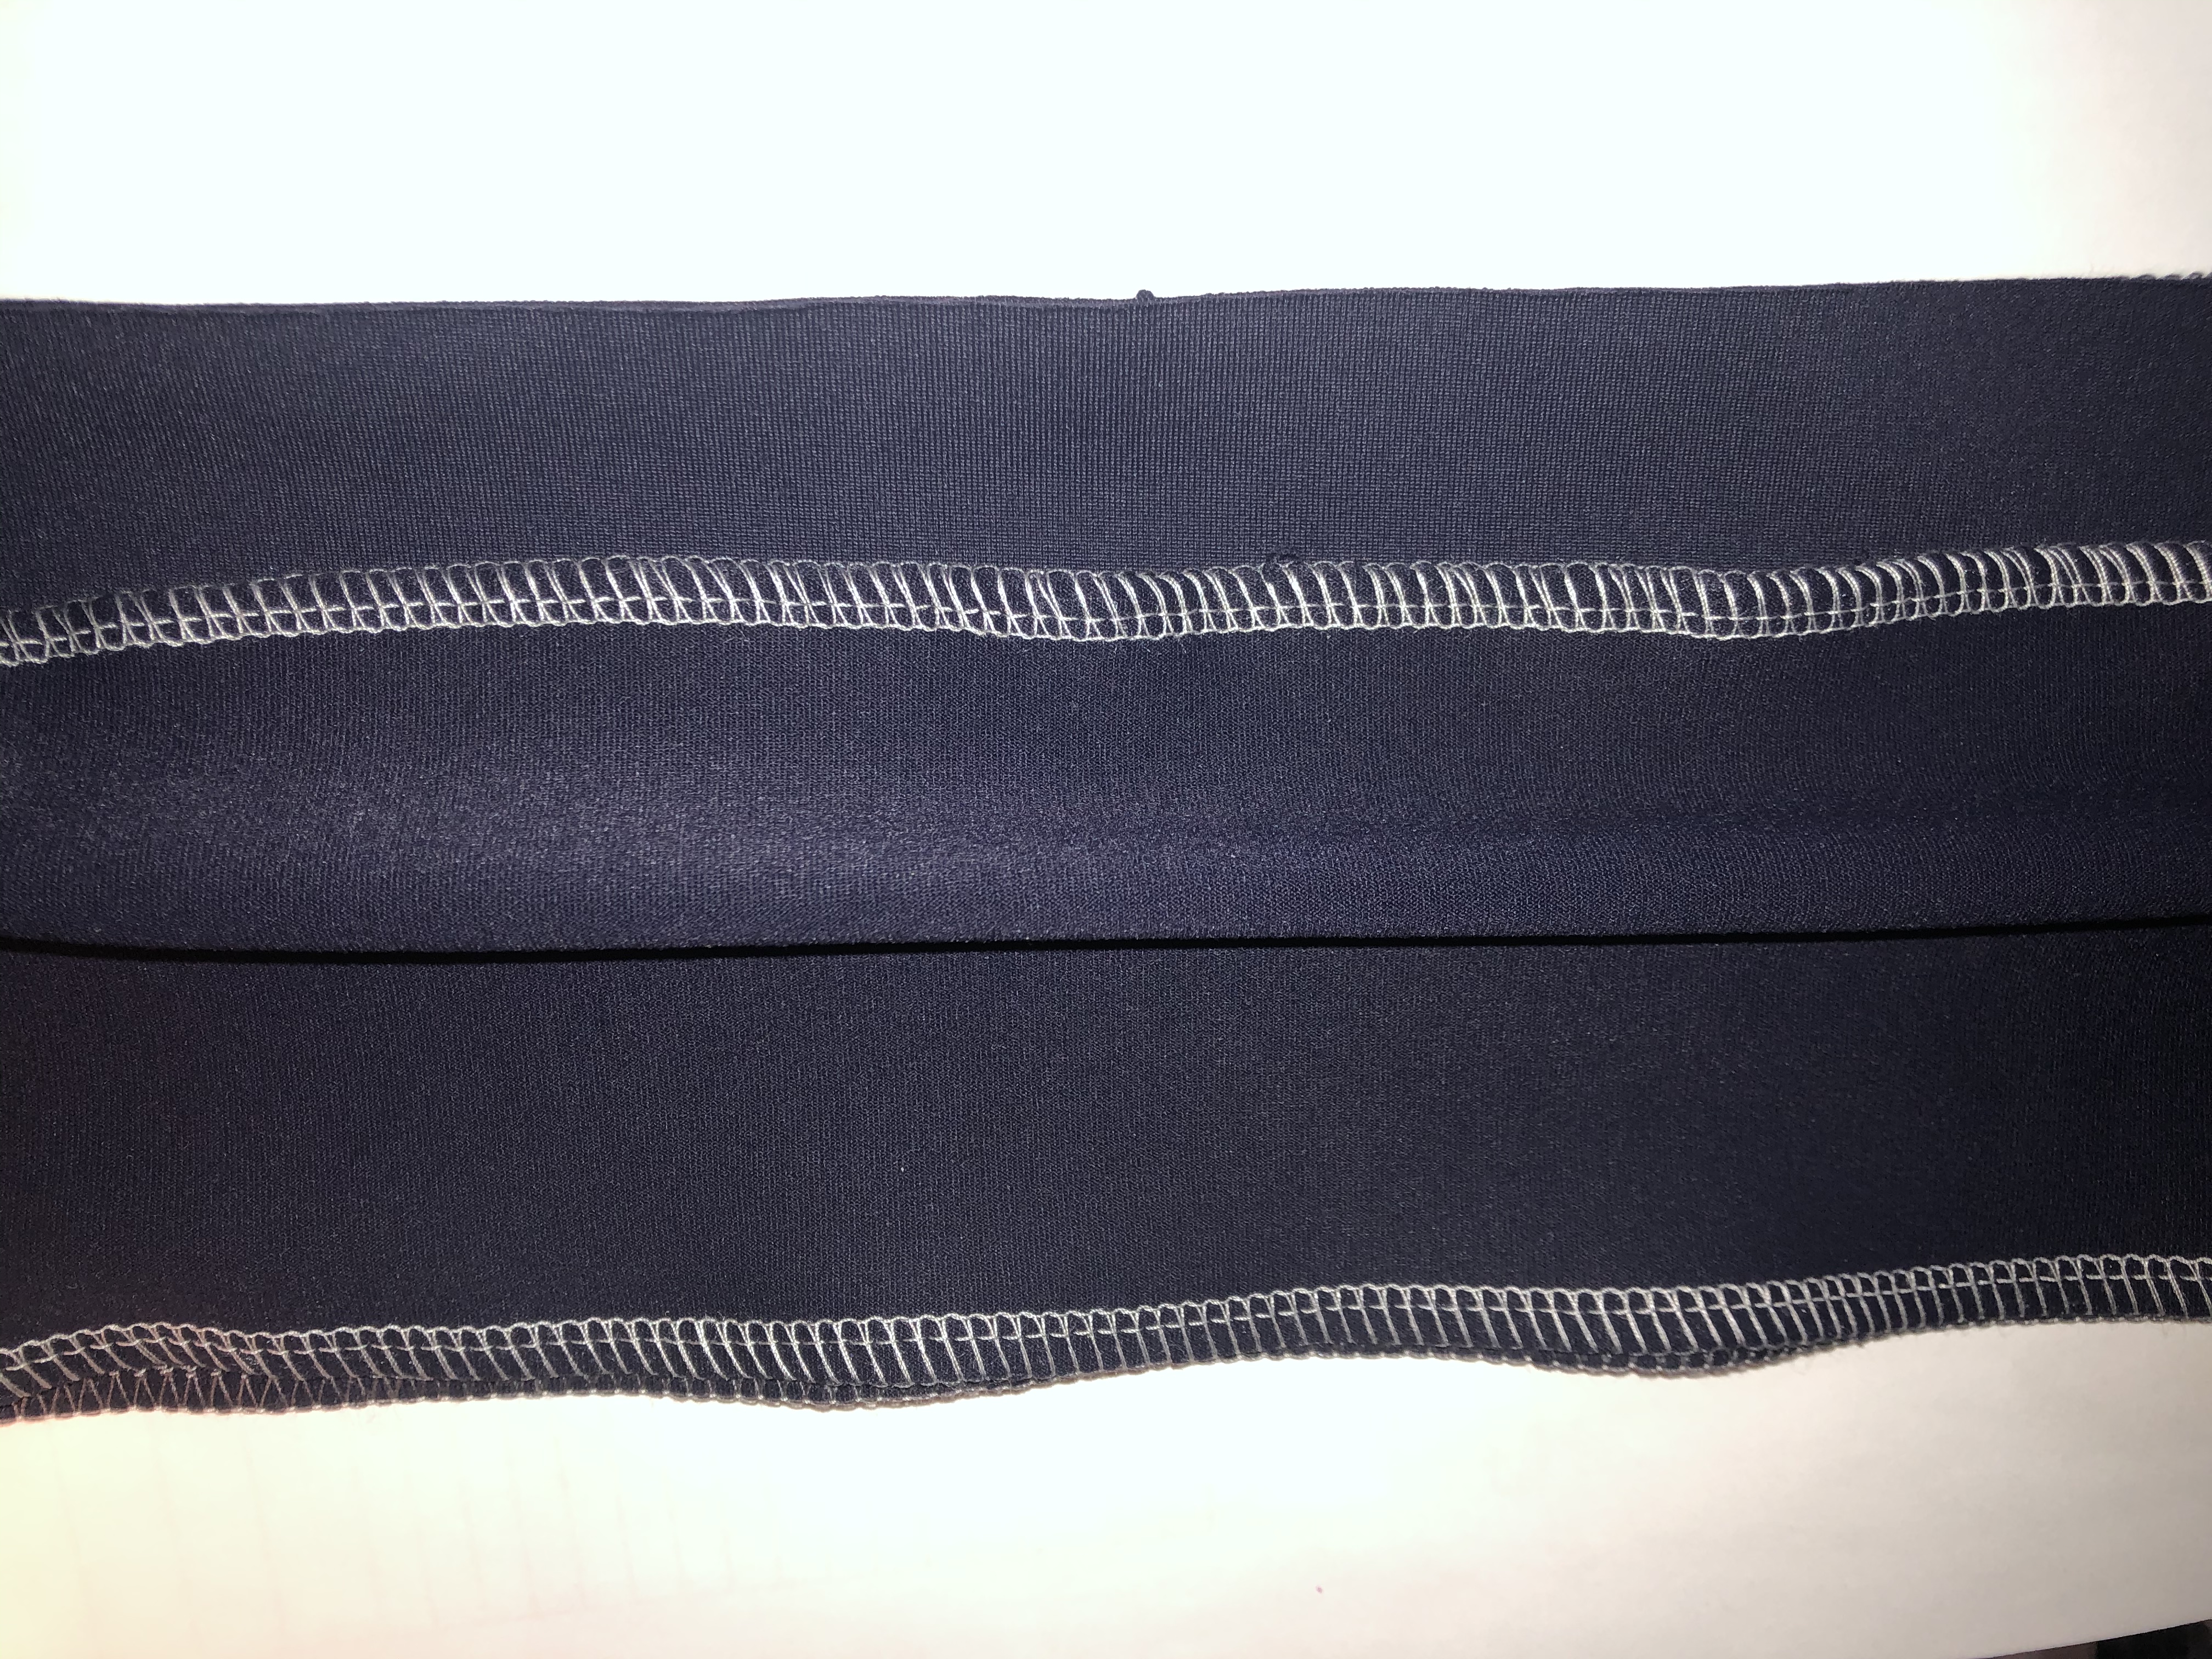
As an option, understitching is IMHO understated. It helps to roll the seam allowance to the back and crisp up the edges.
Under stitches from wrong side.
And top stitched! Who would have guessed top stitching by hand would bring me this much joy?
I have several garments hand stitched by my mother’s grandmother, so that hand stitching bar was set pretty high over 100 years ago!
Also in this photo, the armscyes were also sewn, not yet under or top stitched.
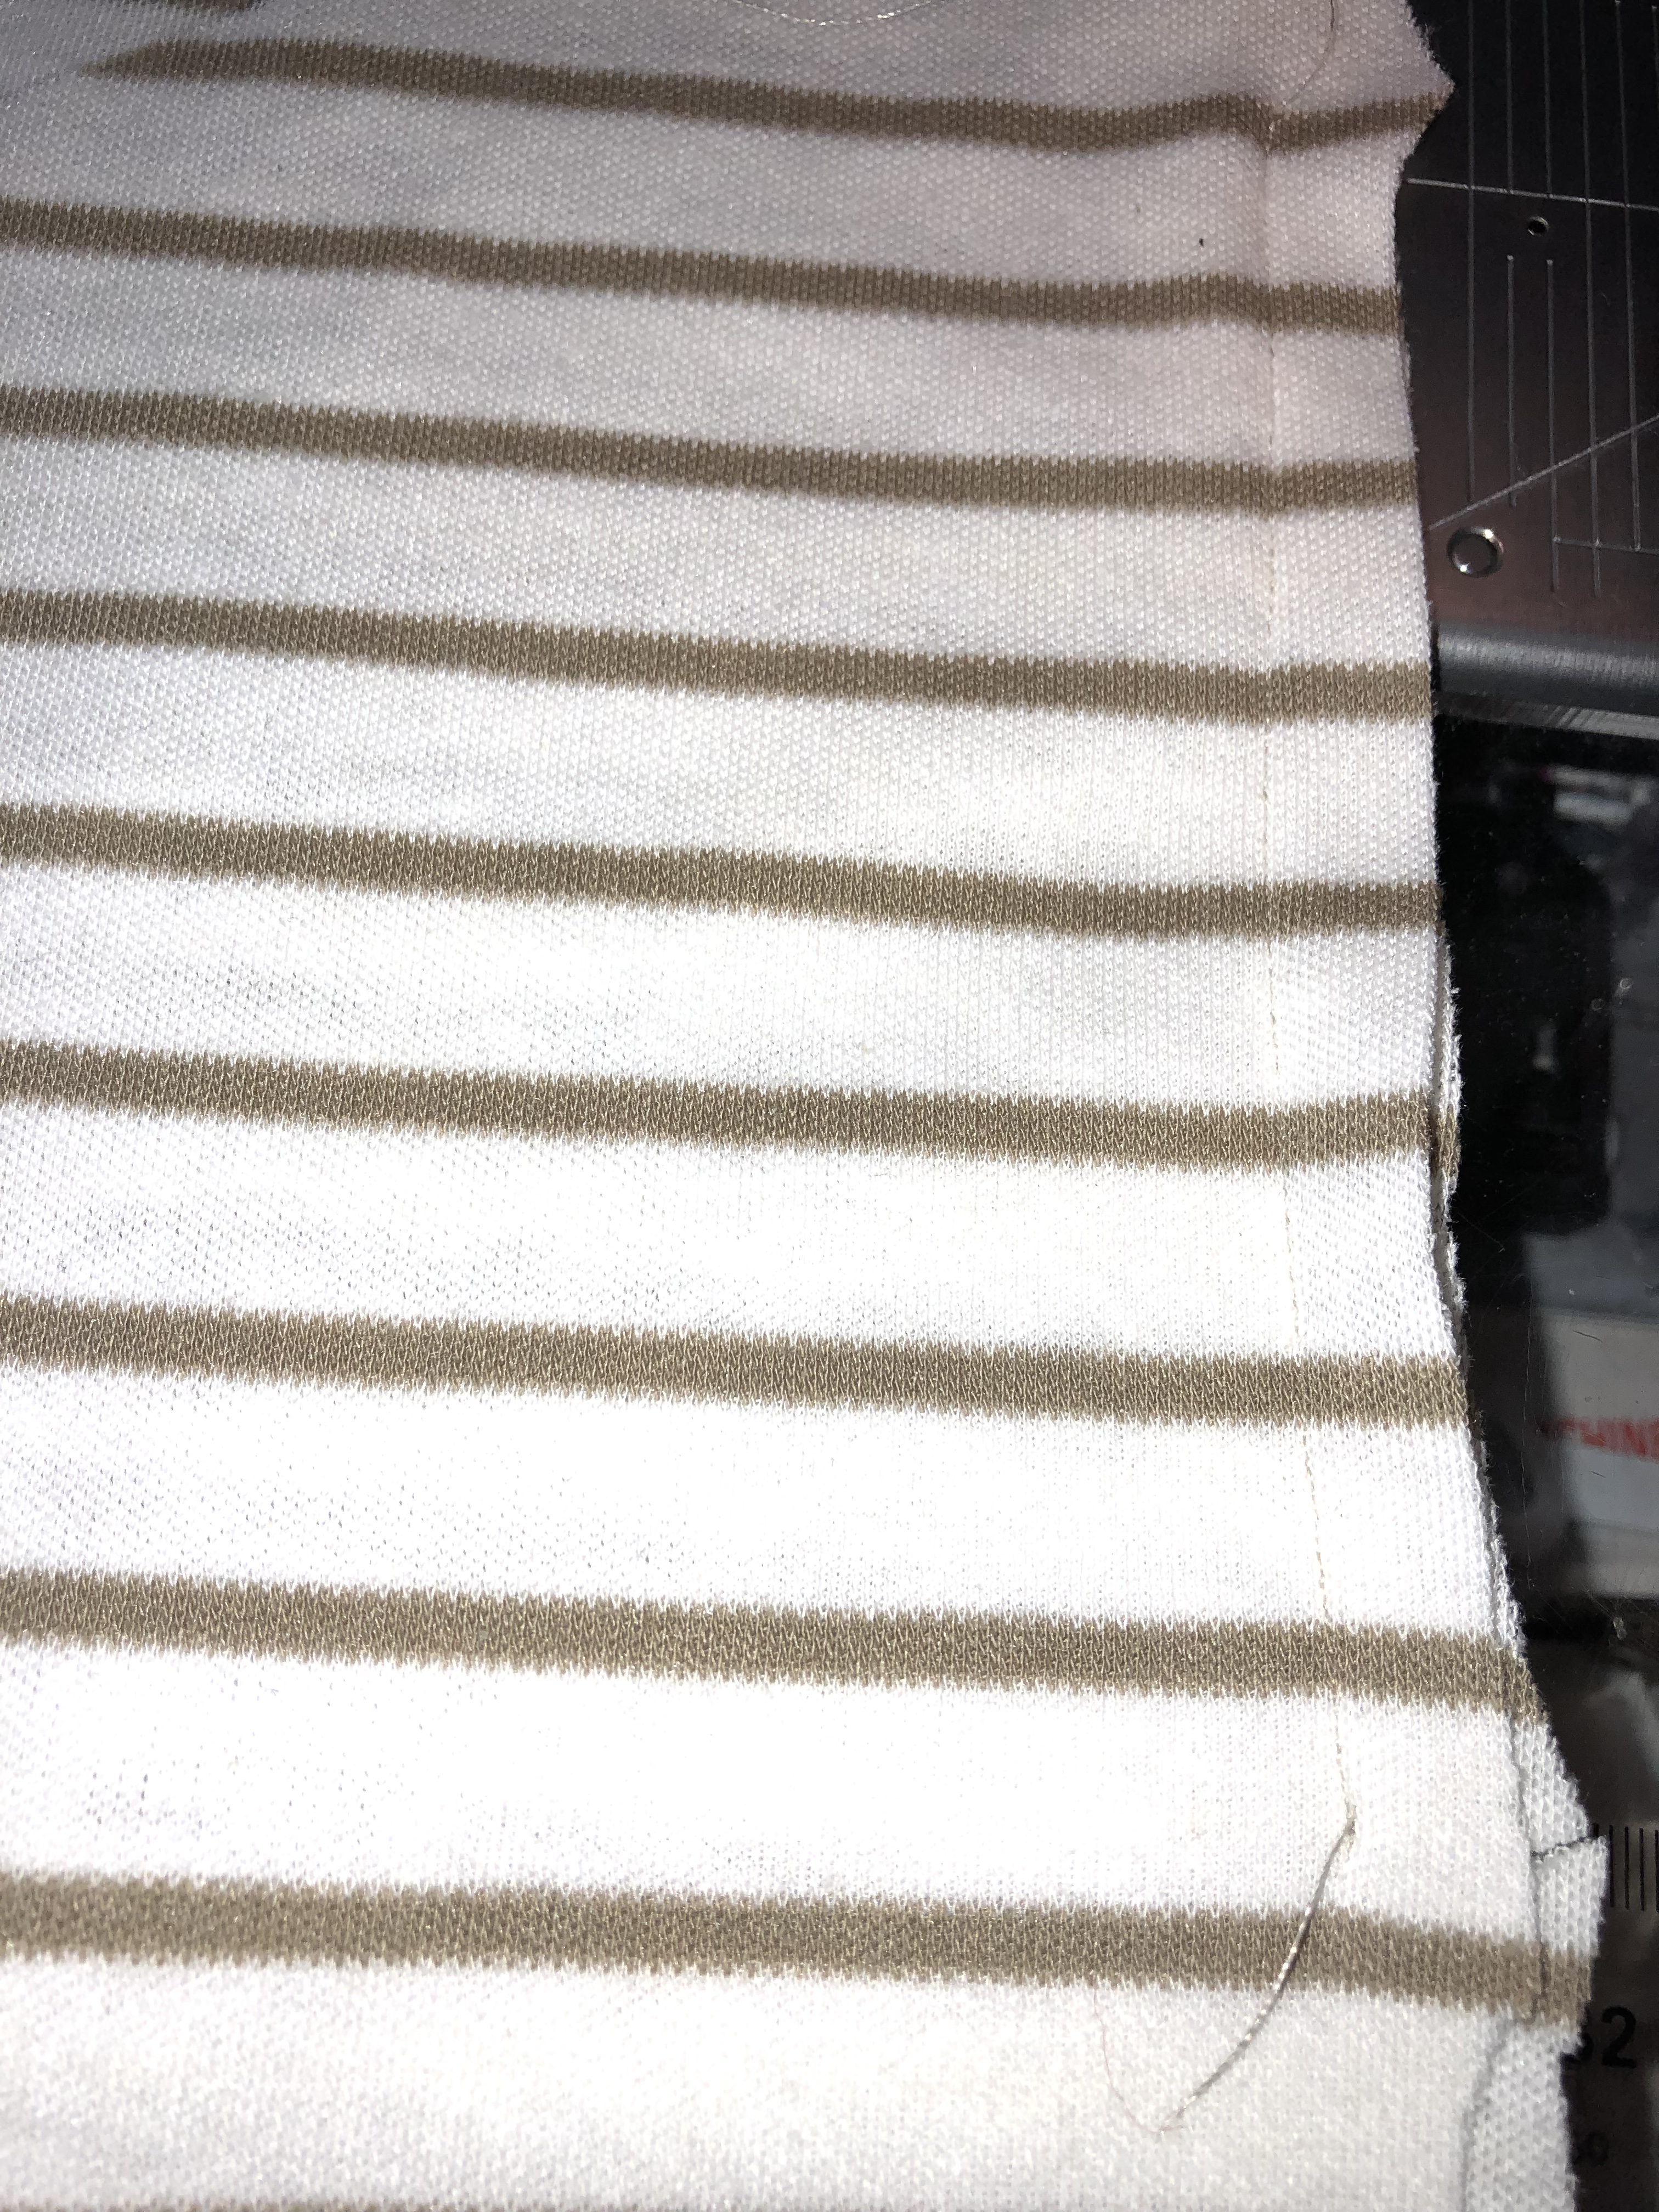
Sew the side seams of the skirts, on a couple, they were straight seams, so I overlapped pattern pieces, eliminating the need for a side seam. Finish the underarm. Gather and attach the skirts to the bodice front, stitch down the linings and add closures.
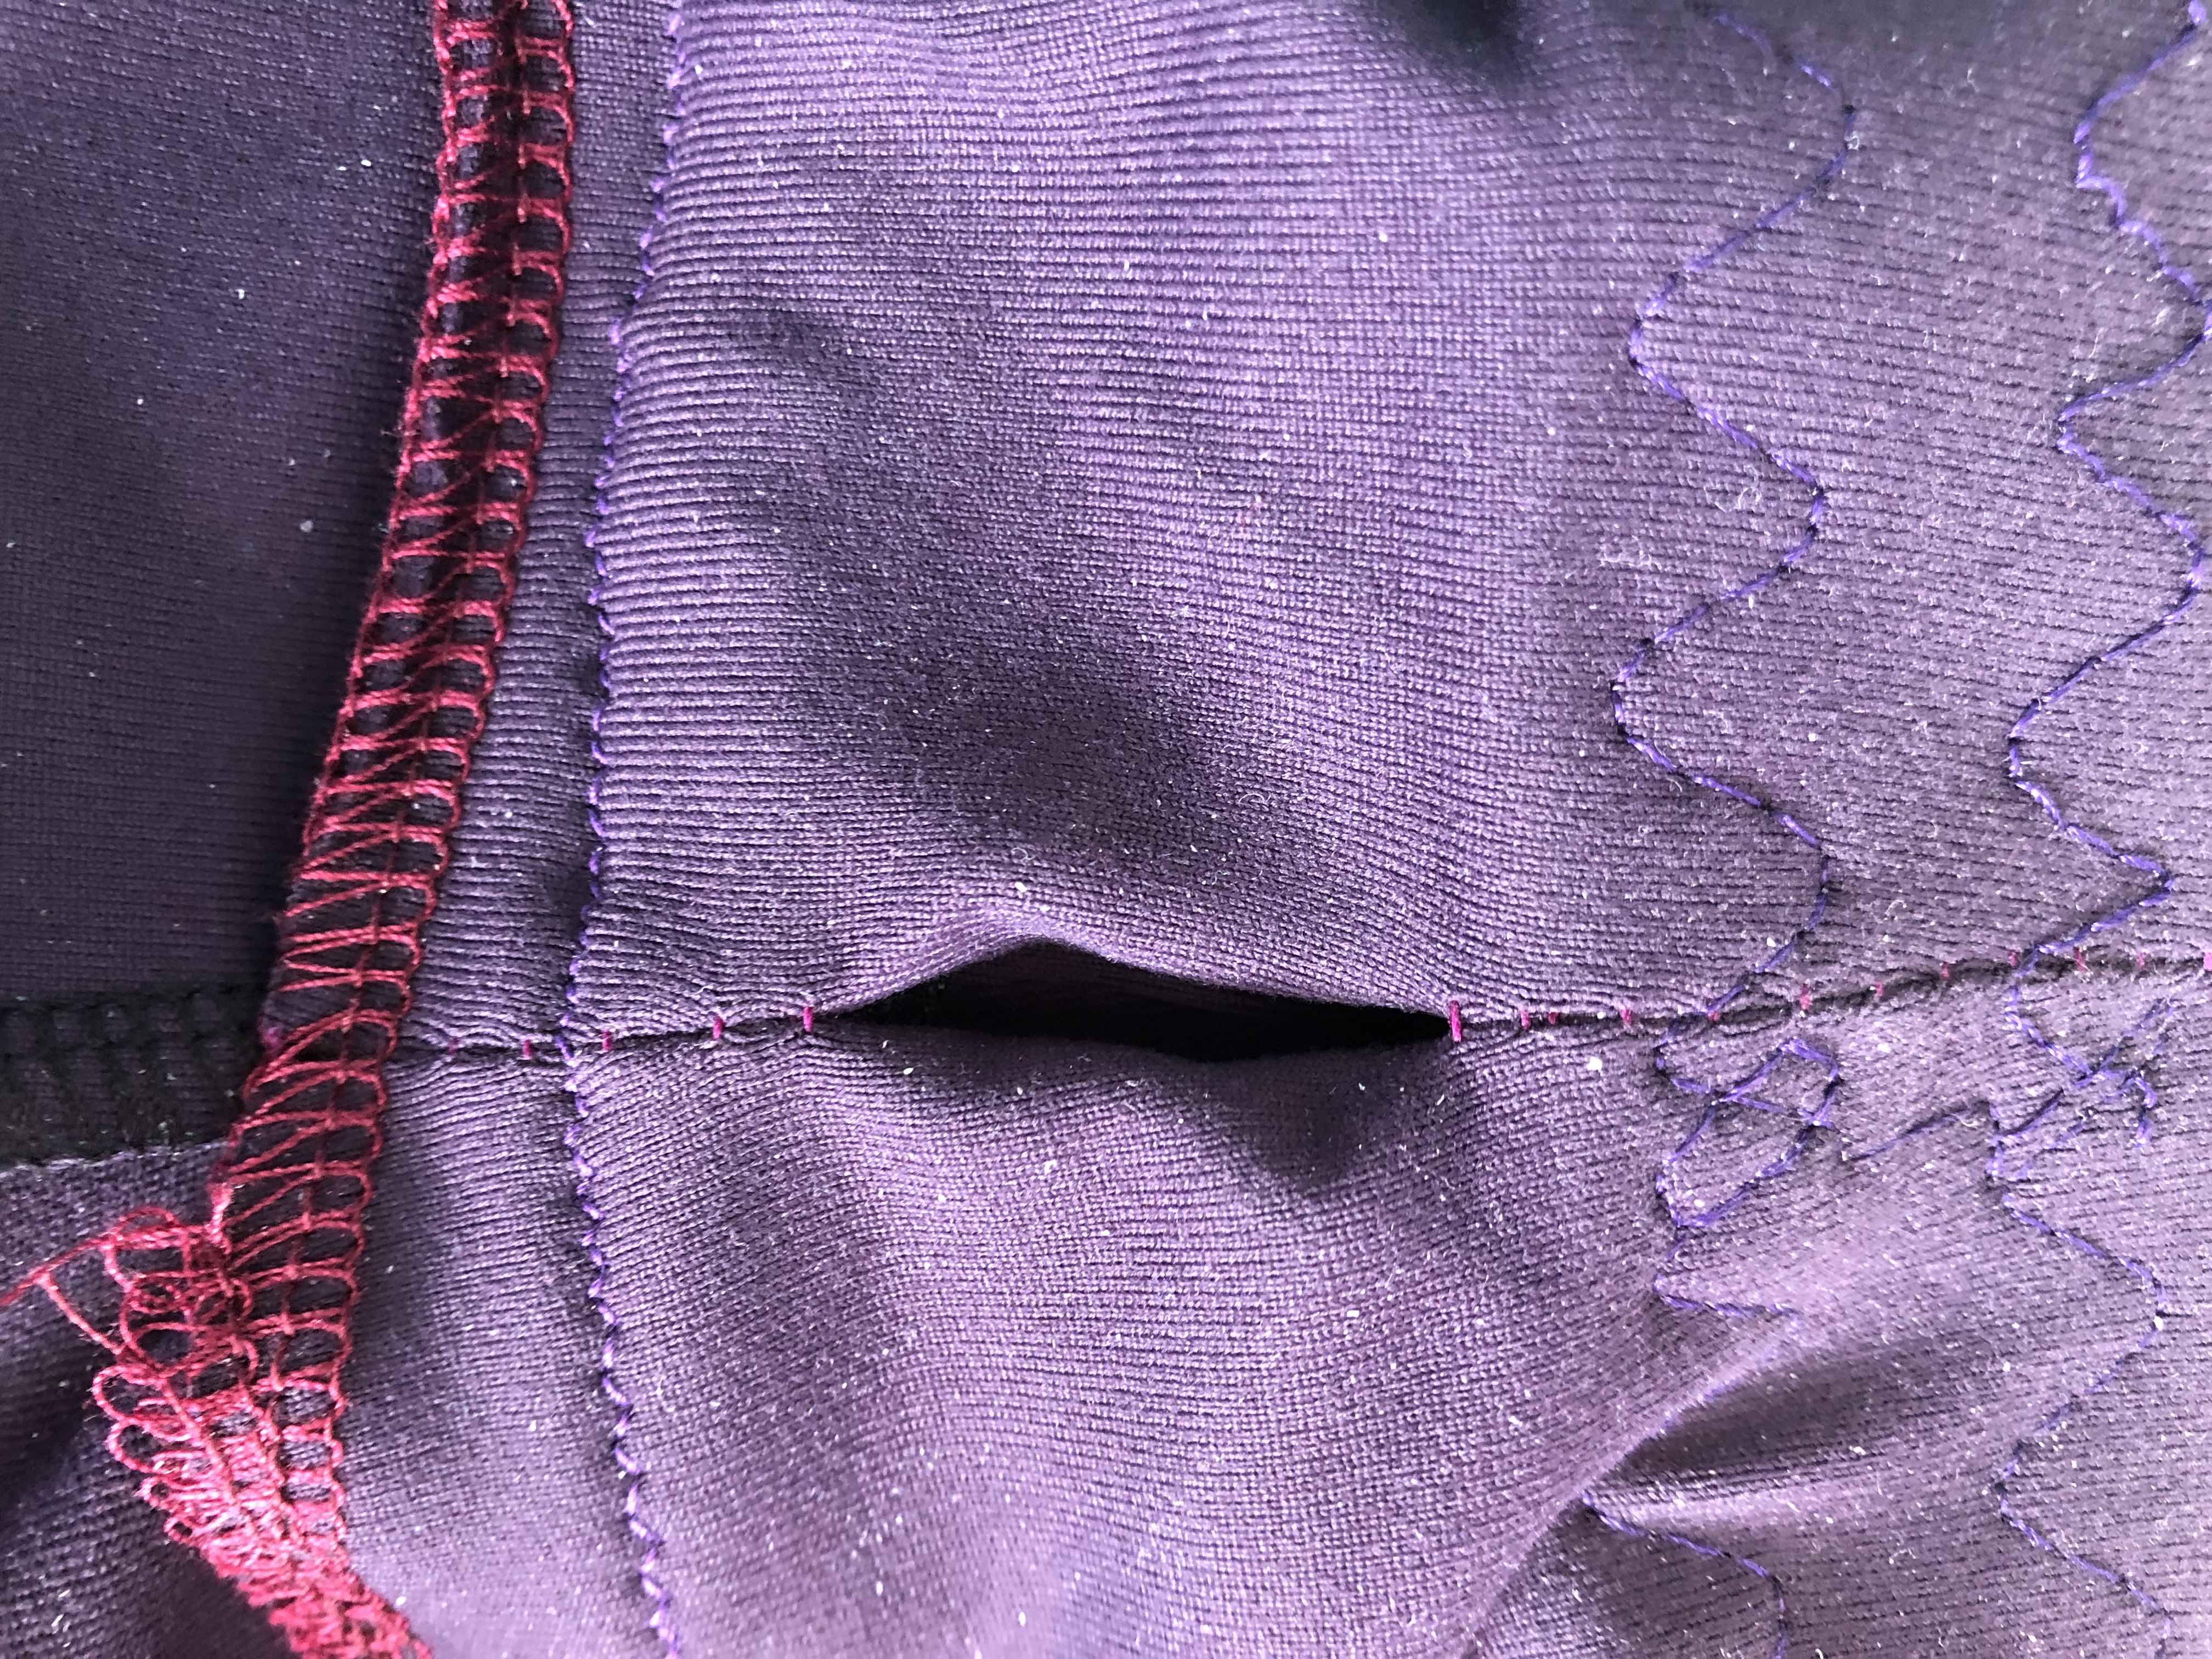
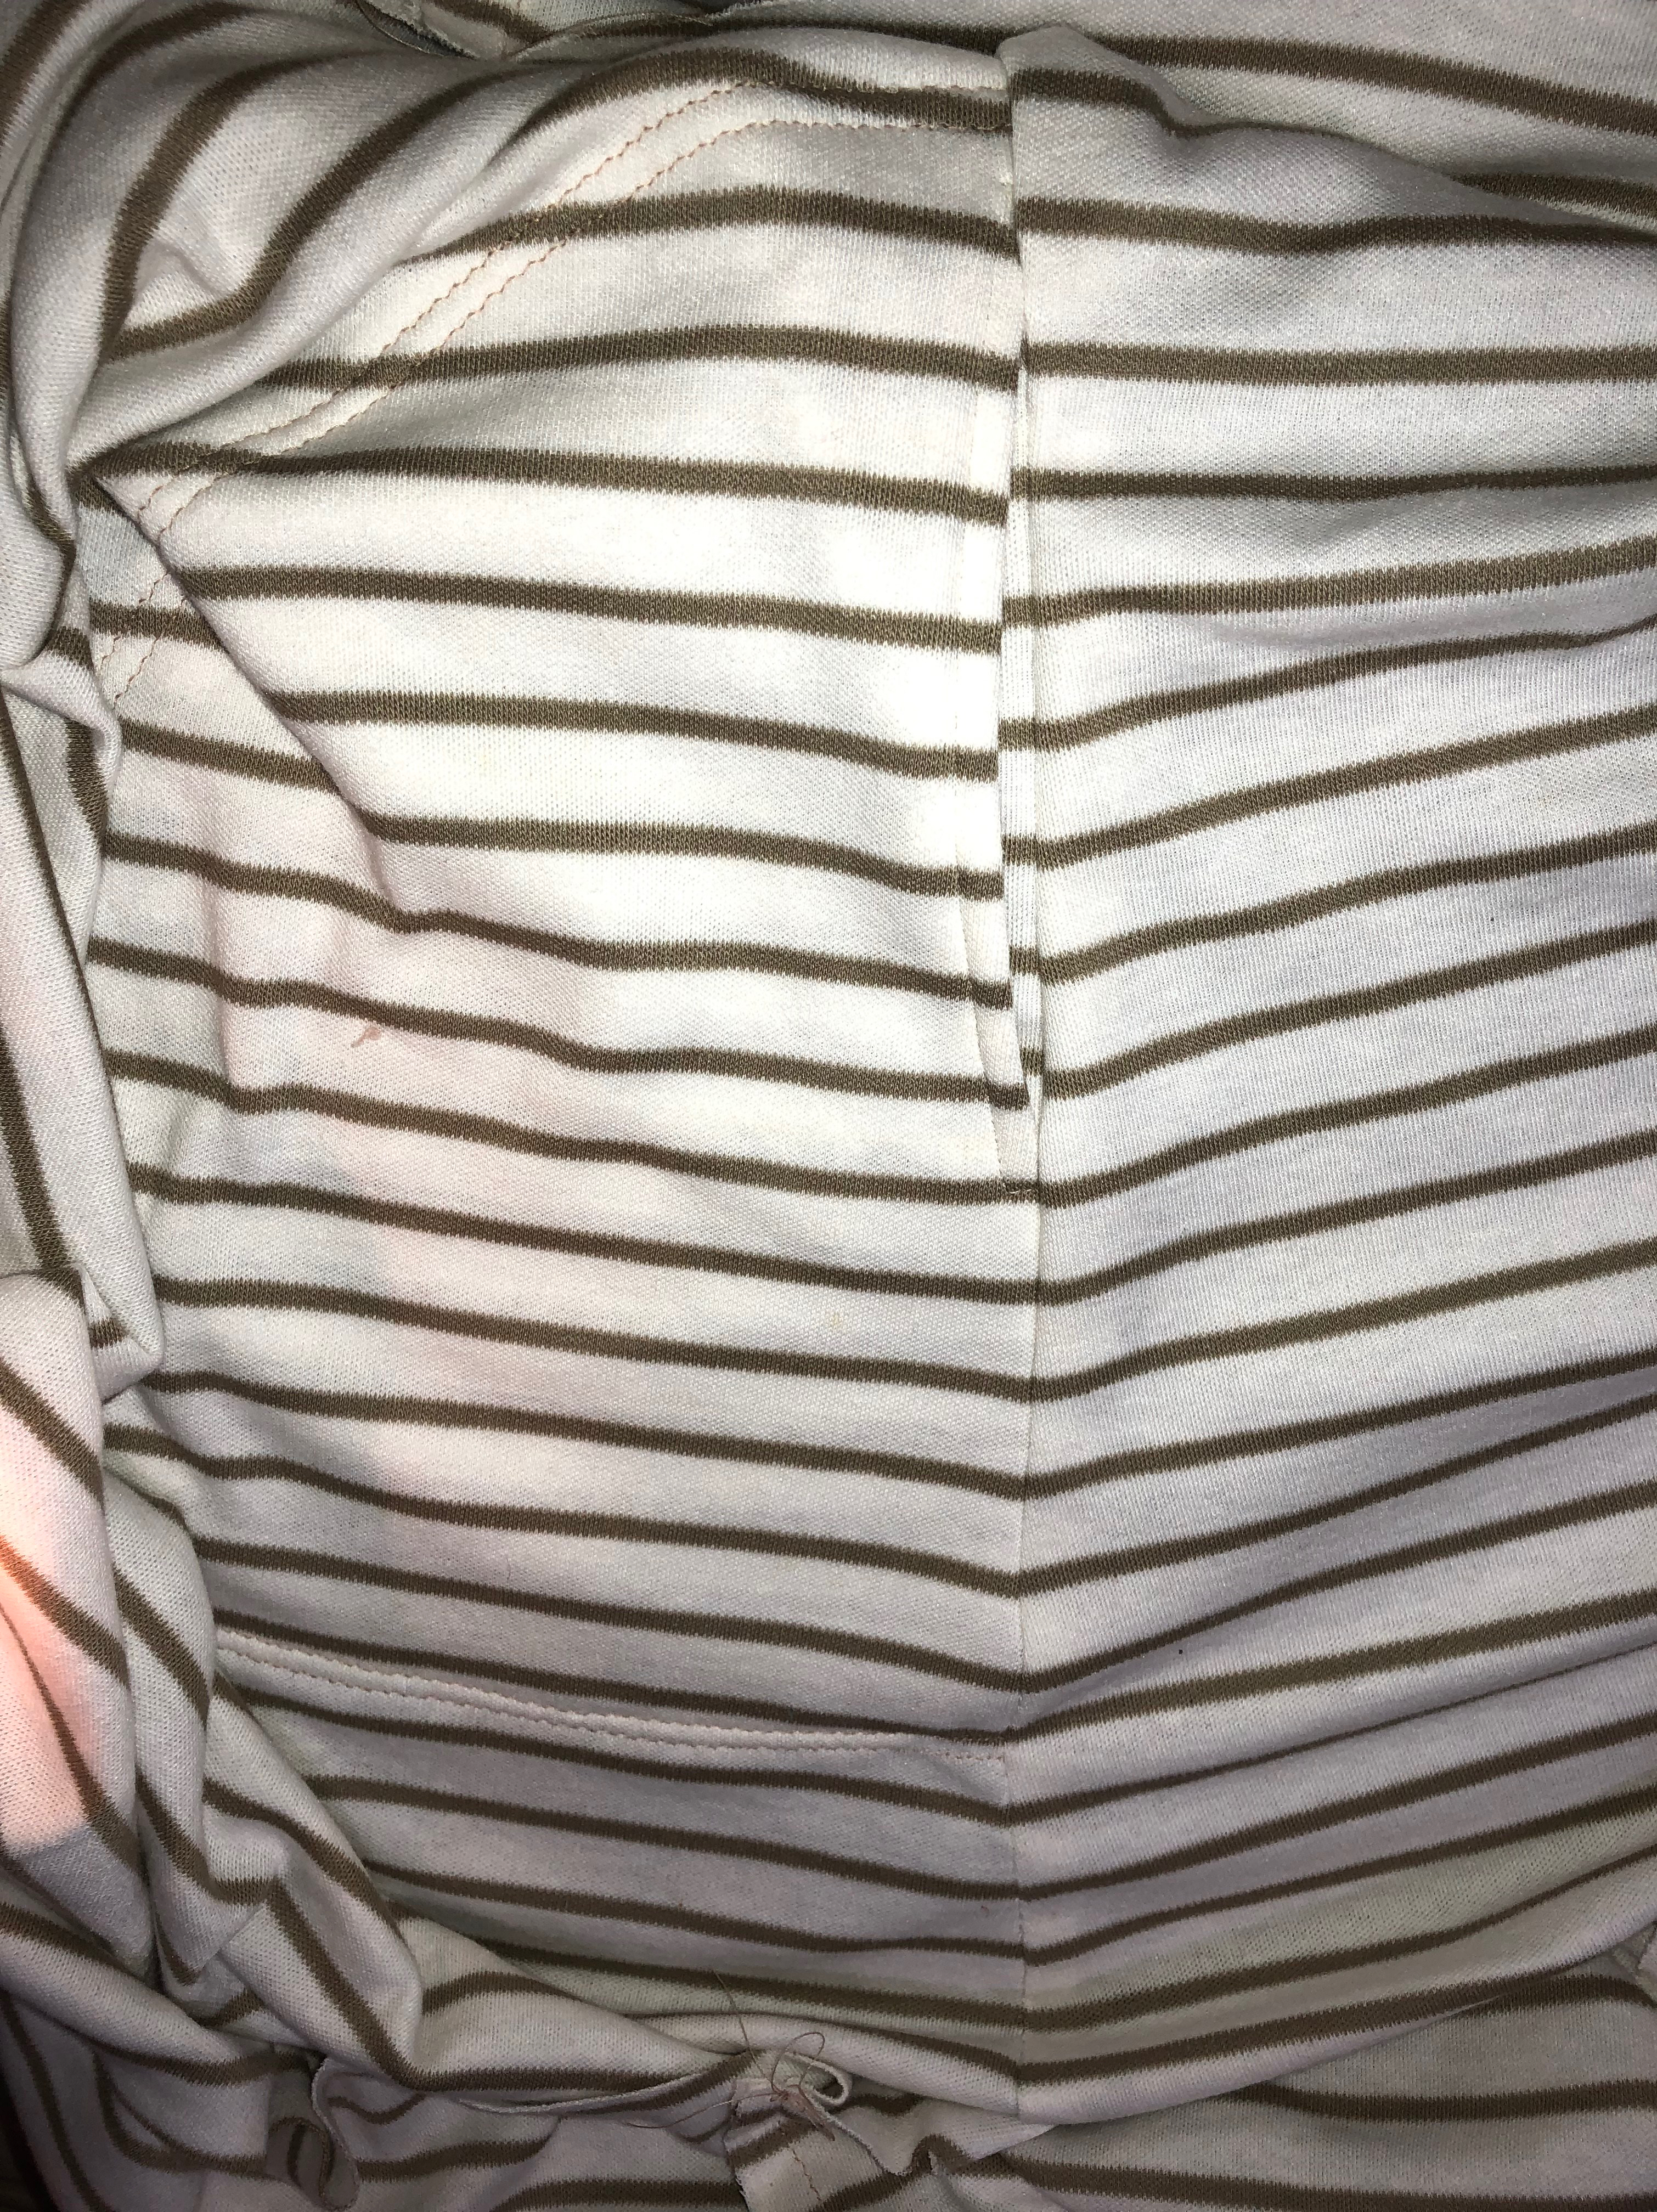
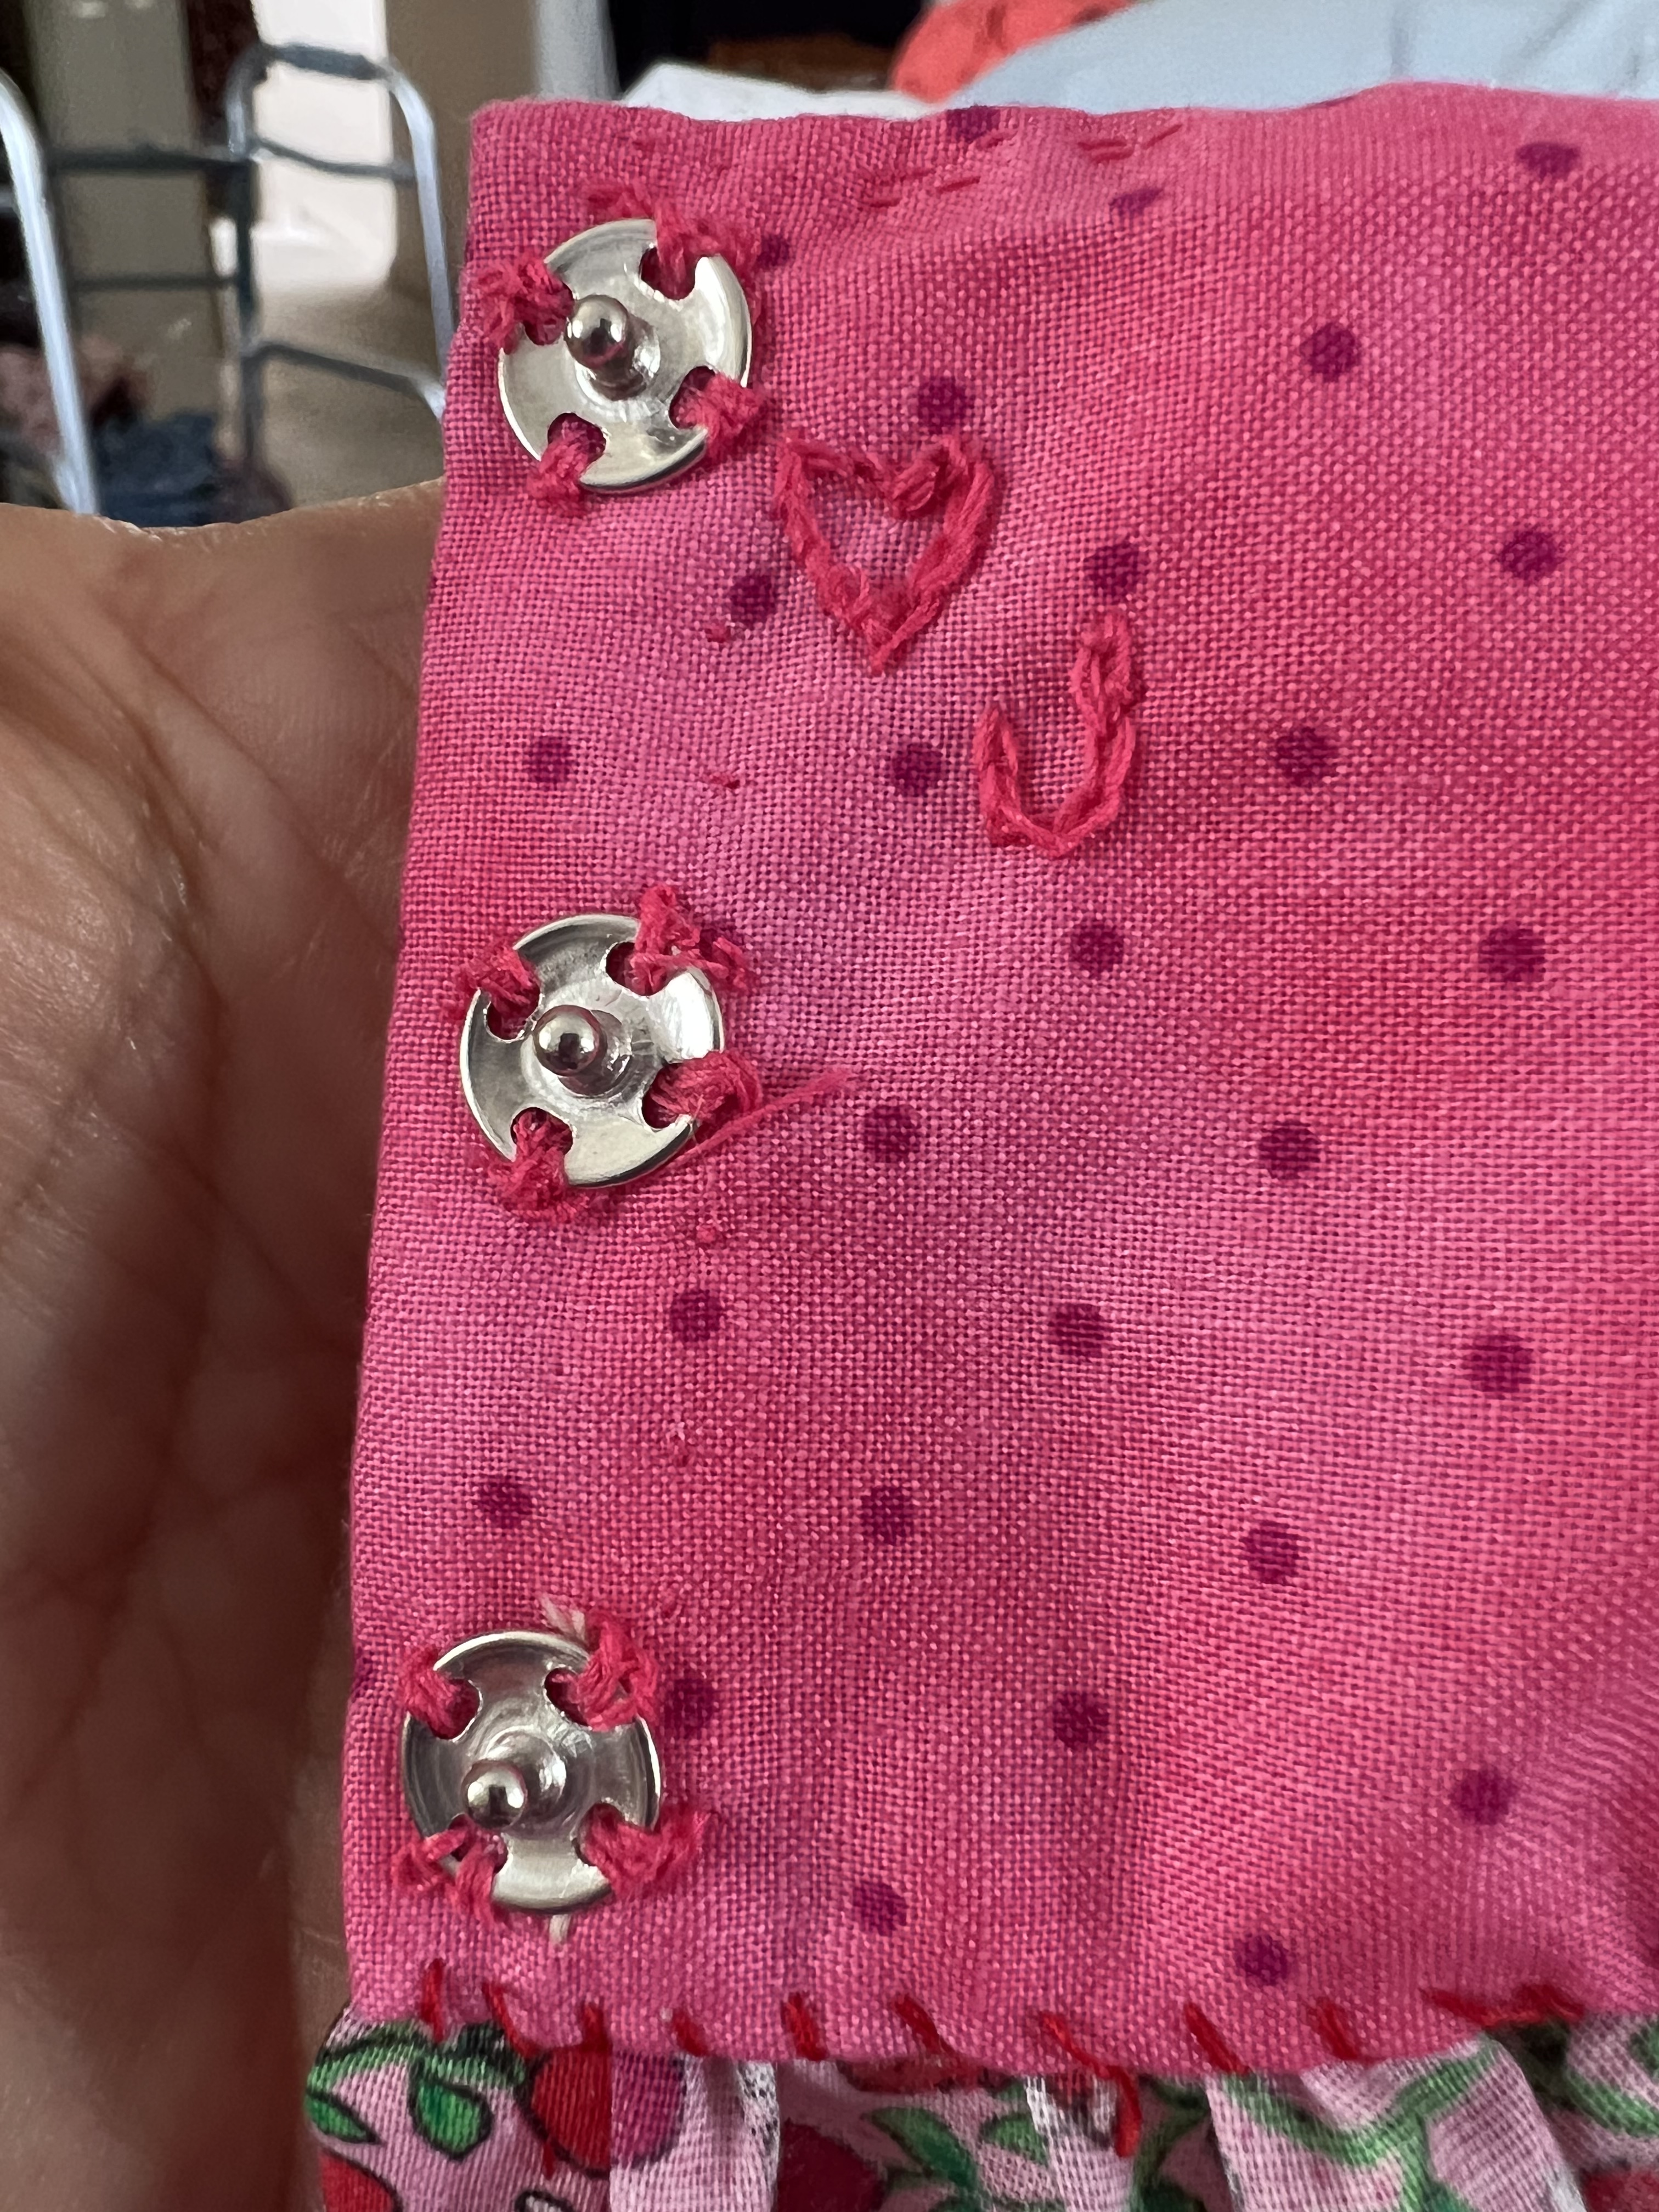
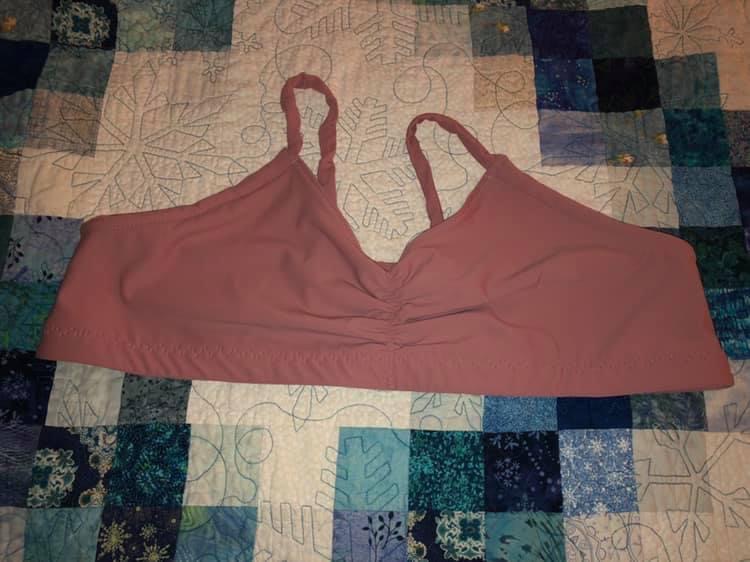
Here, I added sew in snaps to help build up fine motor skills. The absence of the seam allowance in the back bodice reduces the bulk. In the pink bodice below, I enclosed a strip of selvage to give me a second layer to stitch the snaps to. For a human garment that may get more wear, a strip of fusible interfacing is recommended to stabilize the area.
Kam Snaps, buttons and buttonholes or Velcro would work too!
Happy Sewing! Joan
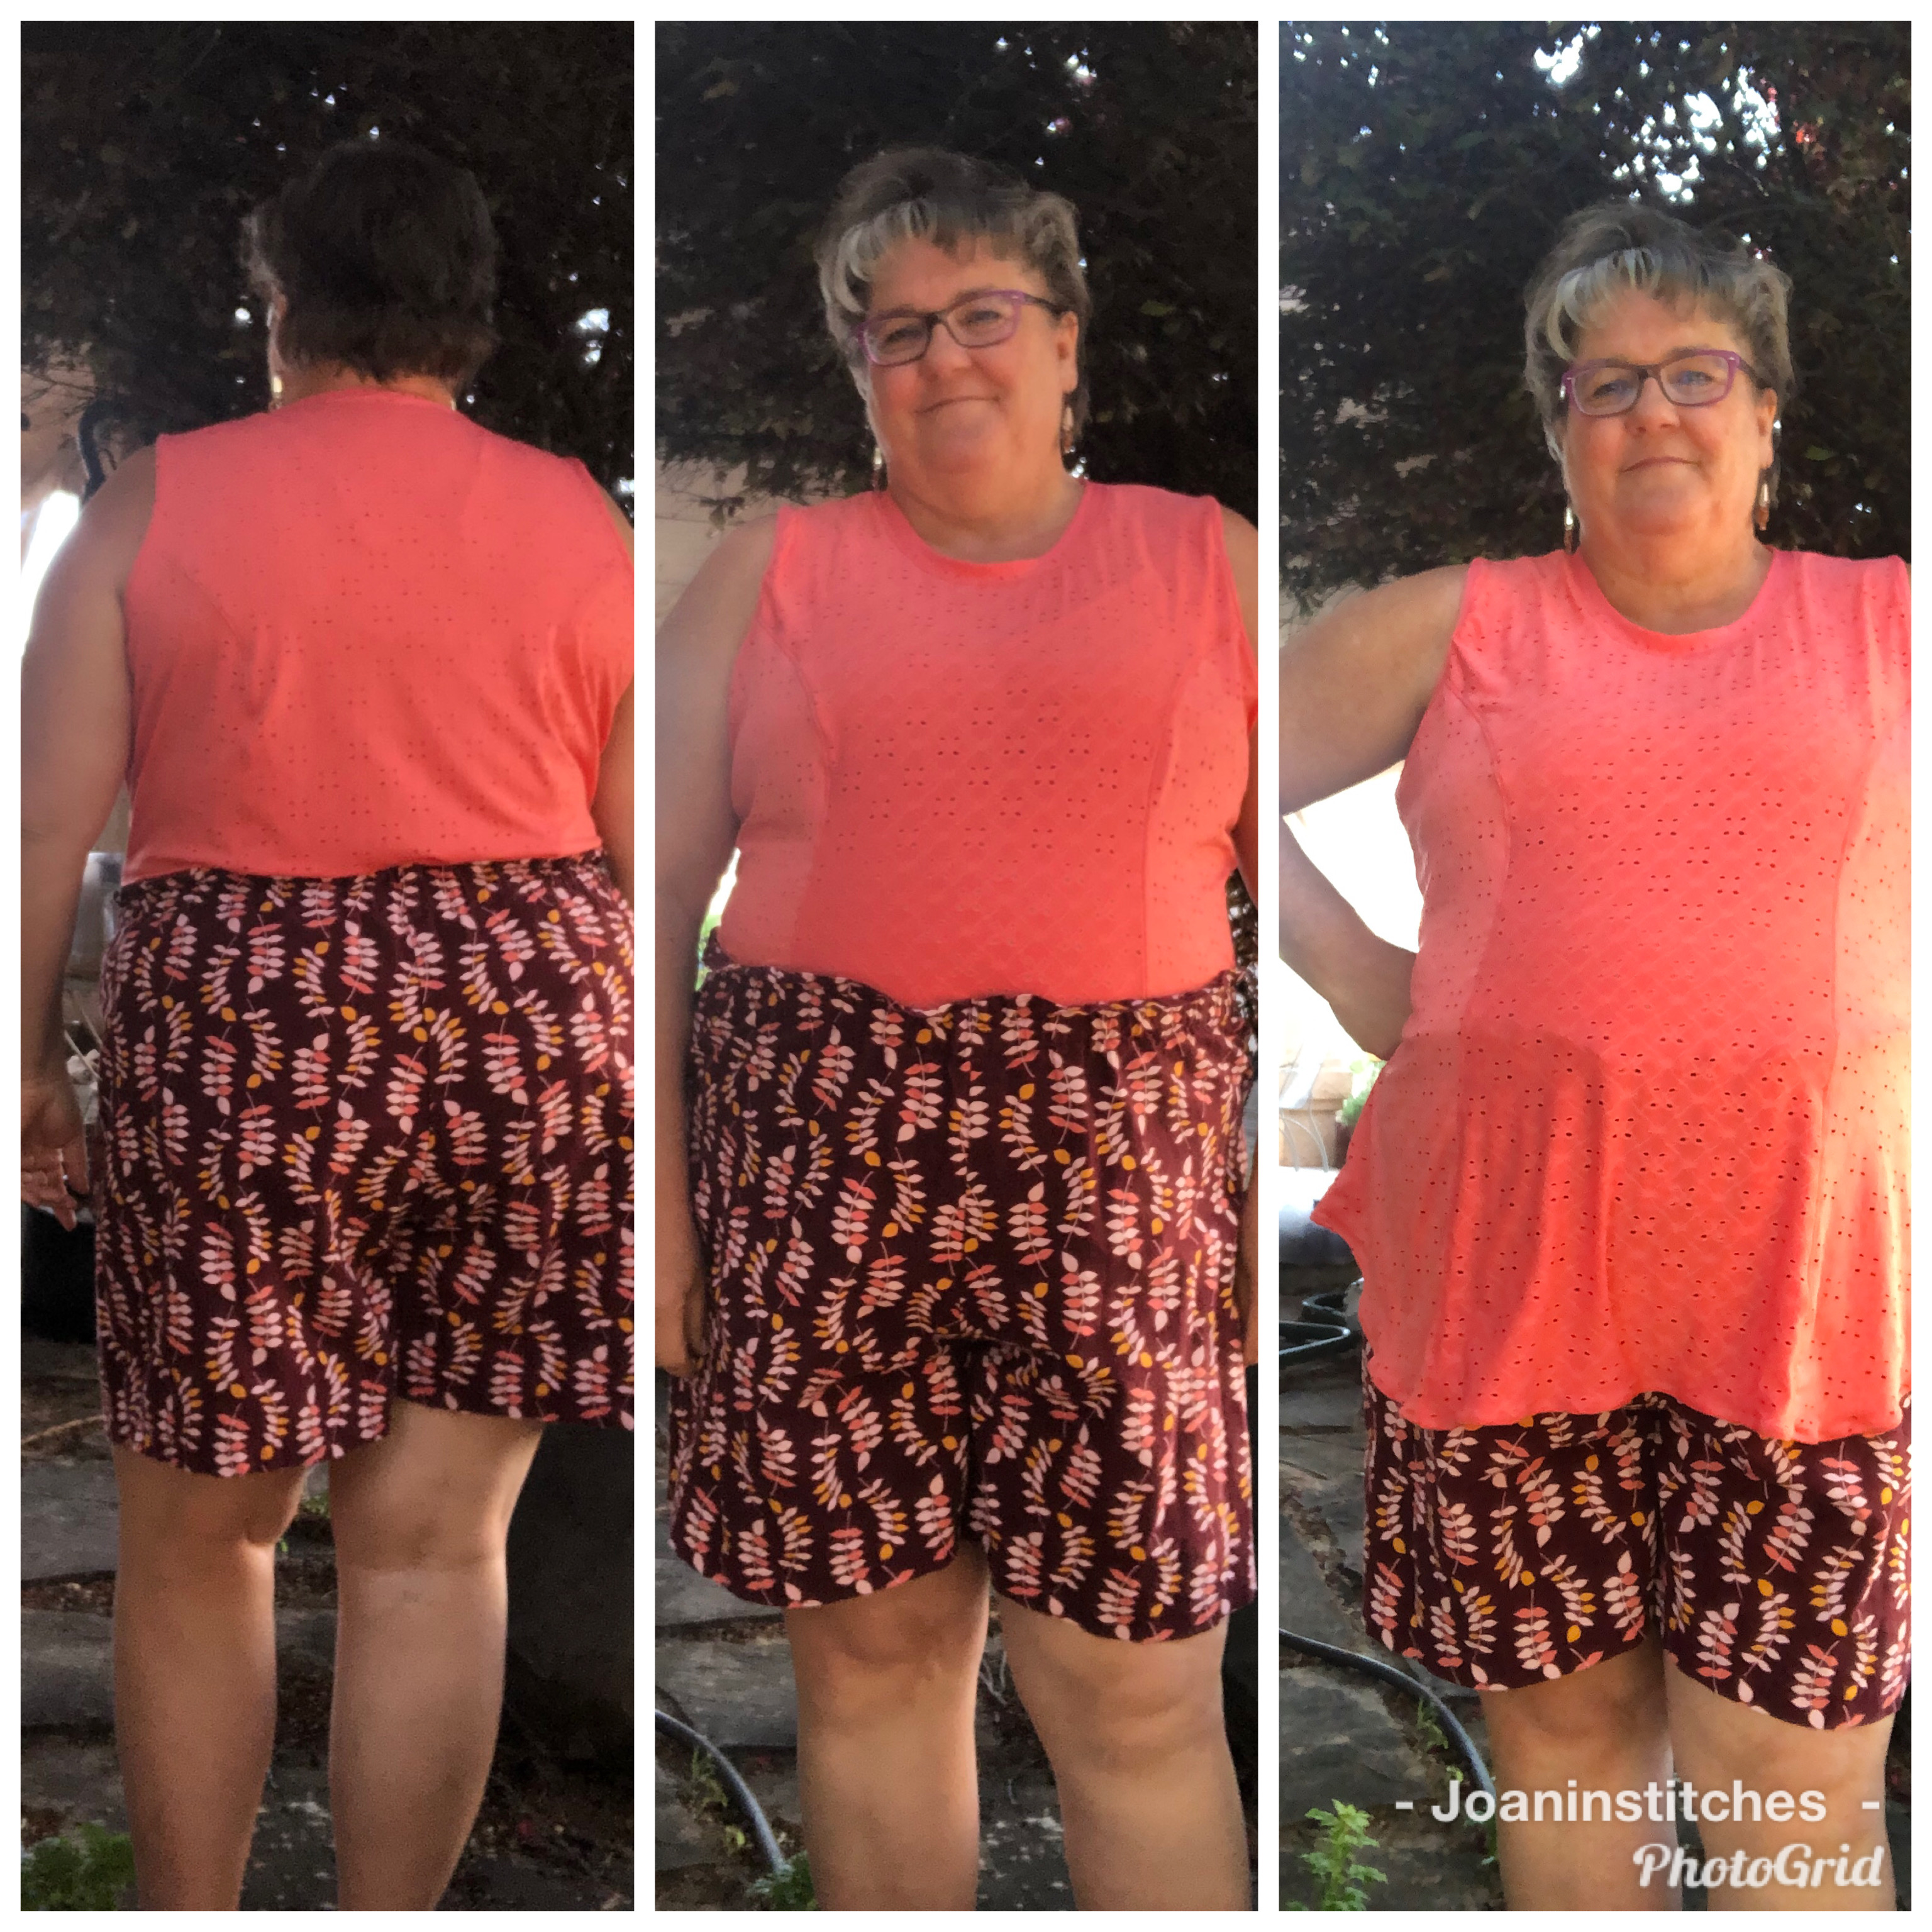
Thank Jen from Tie Dye Diva Patterns, for outfitting my granddaughters and now their Dollys♥️
pictured: Fair & Square, Butterfly, One and Done and Lemon Drop.


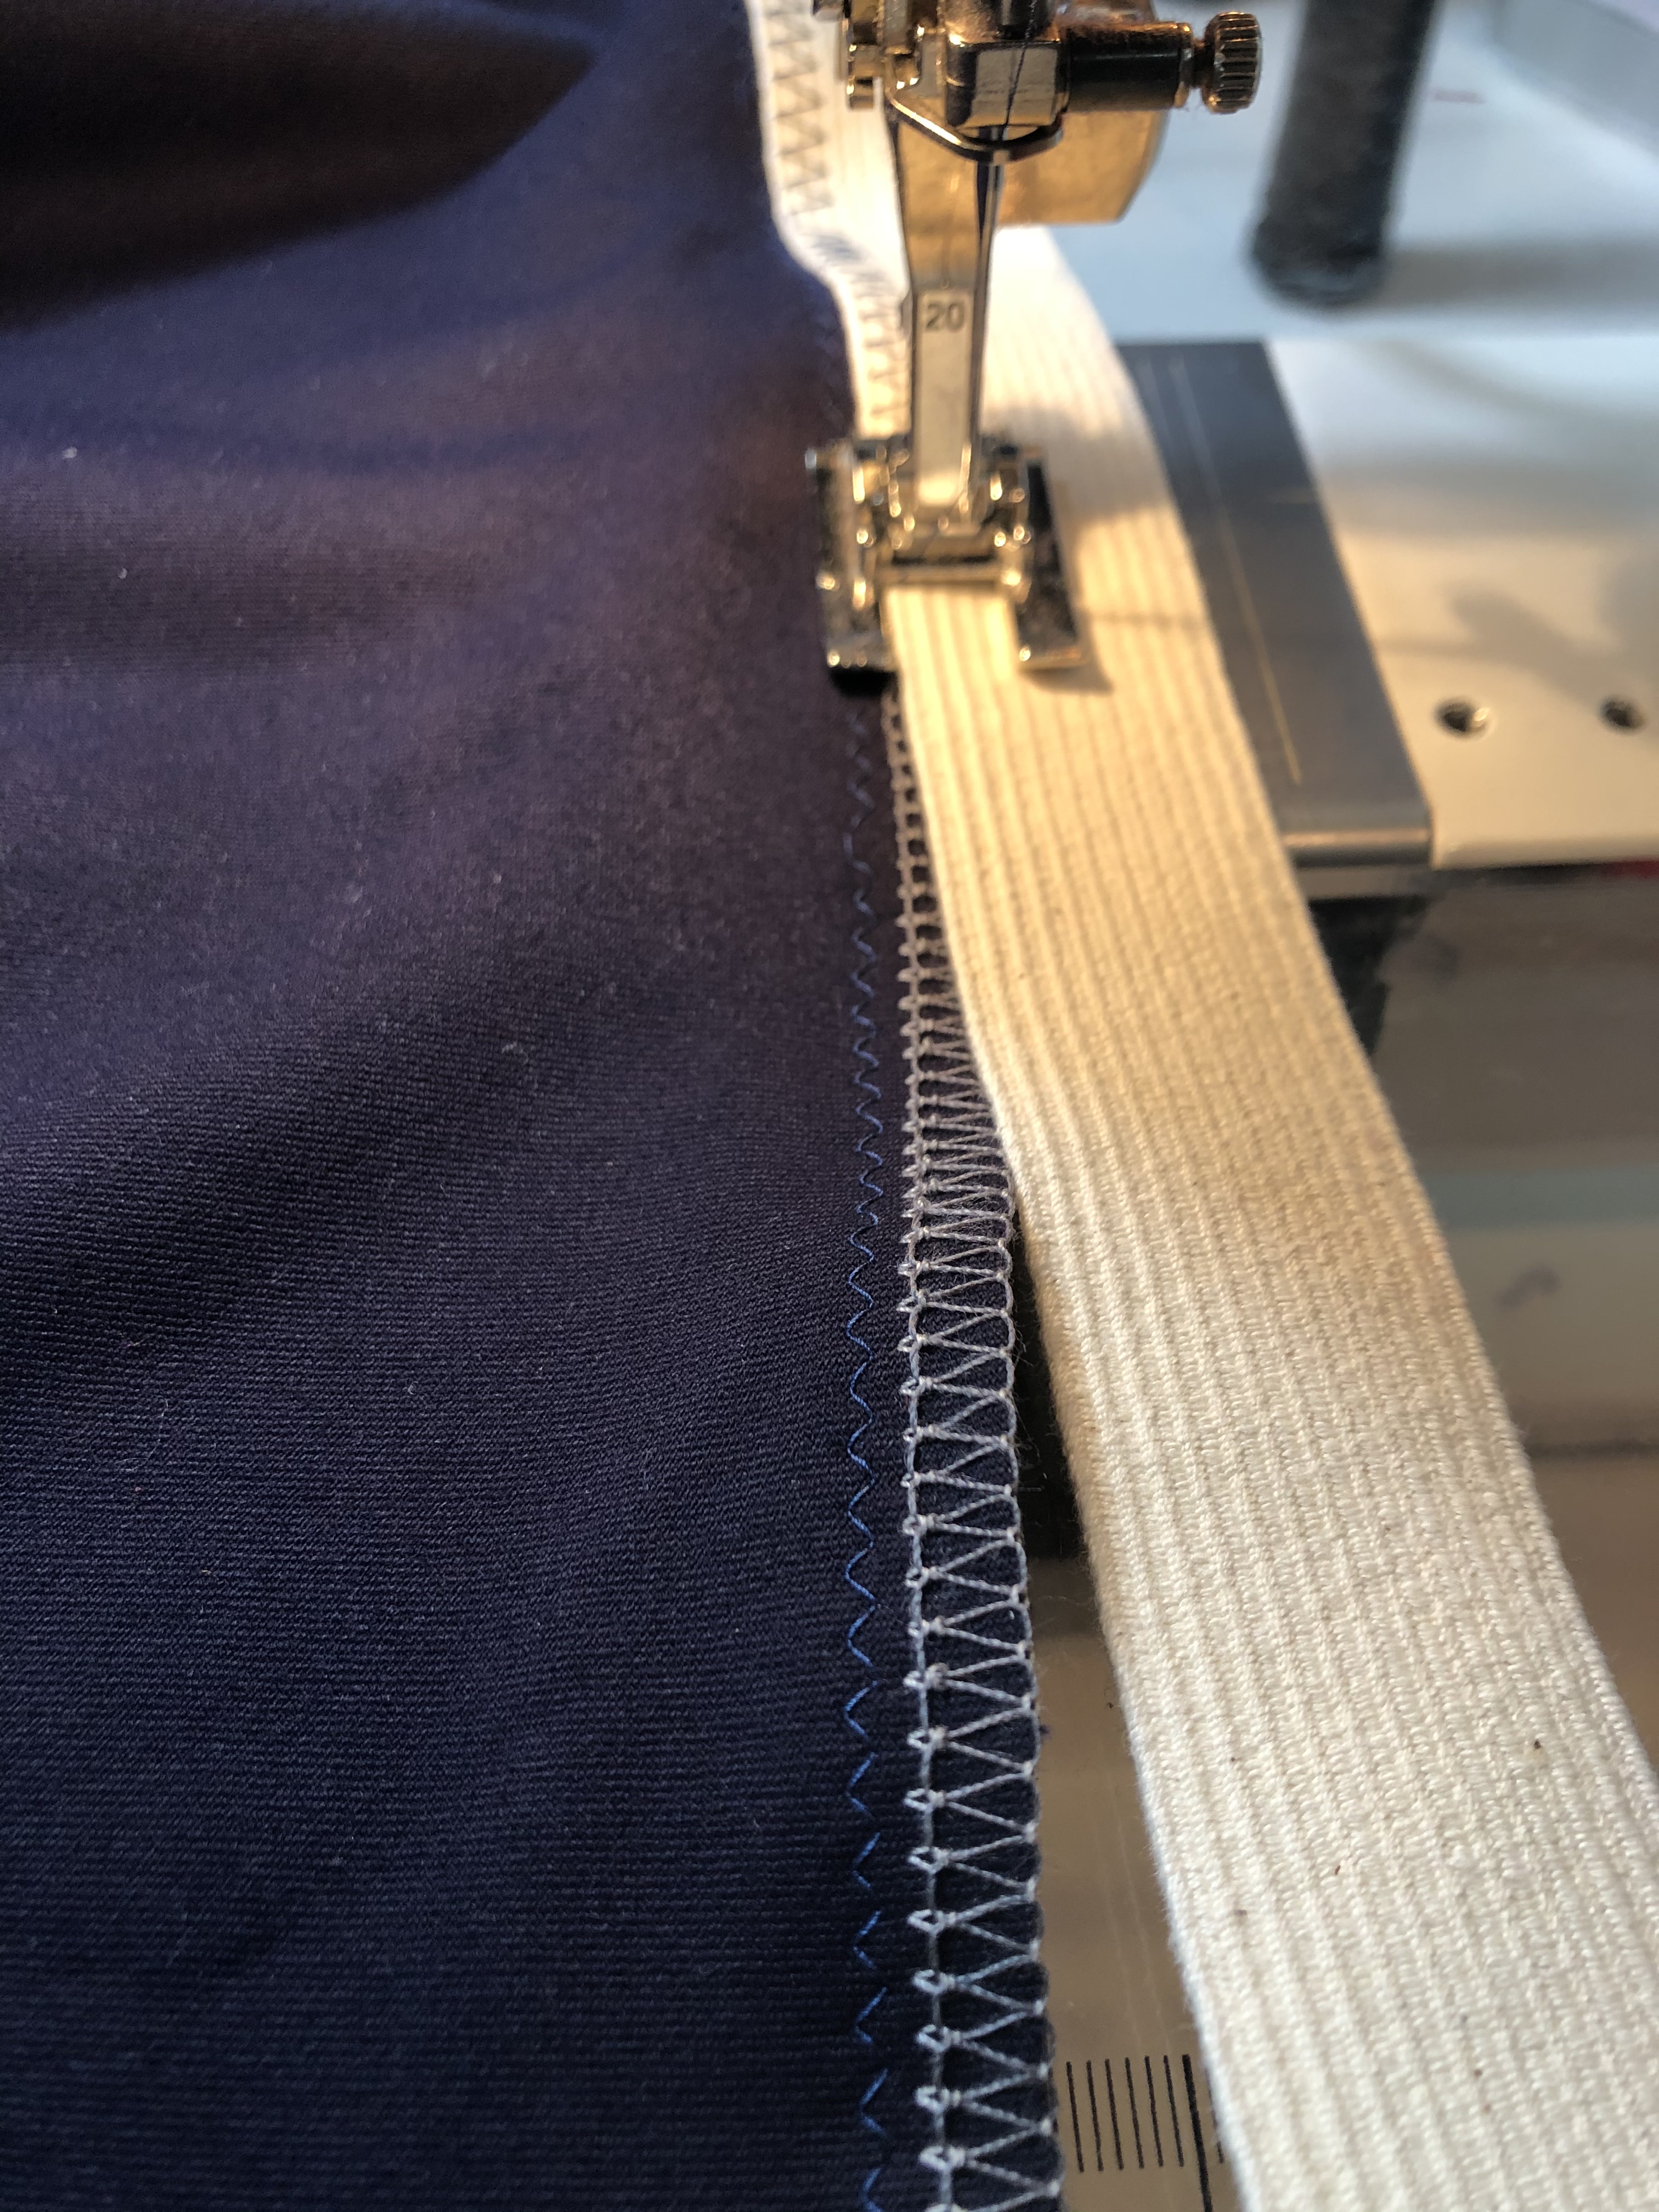

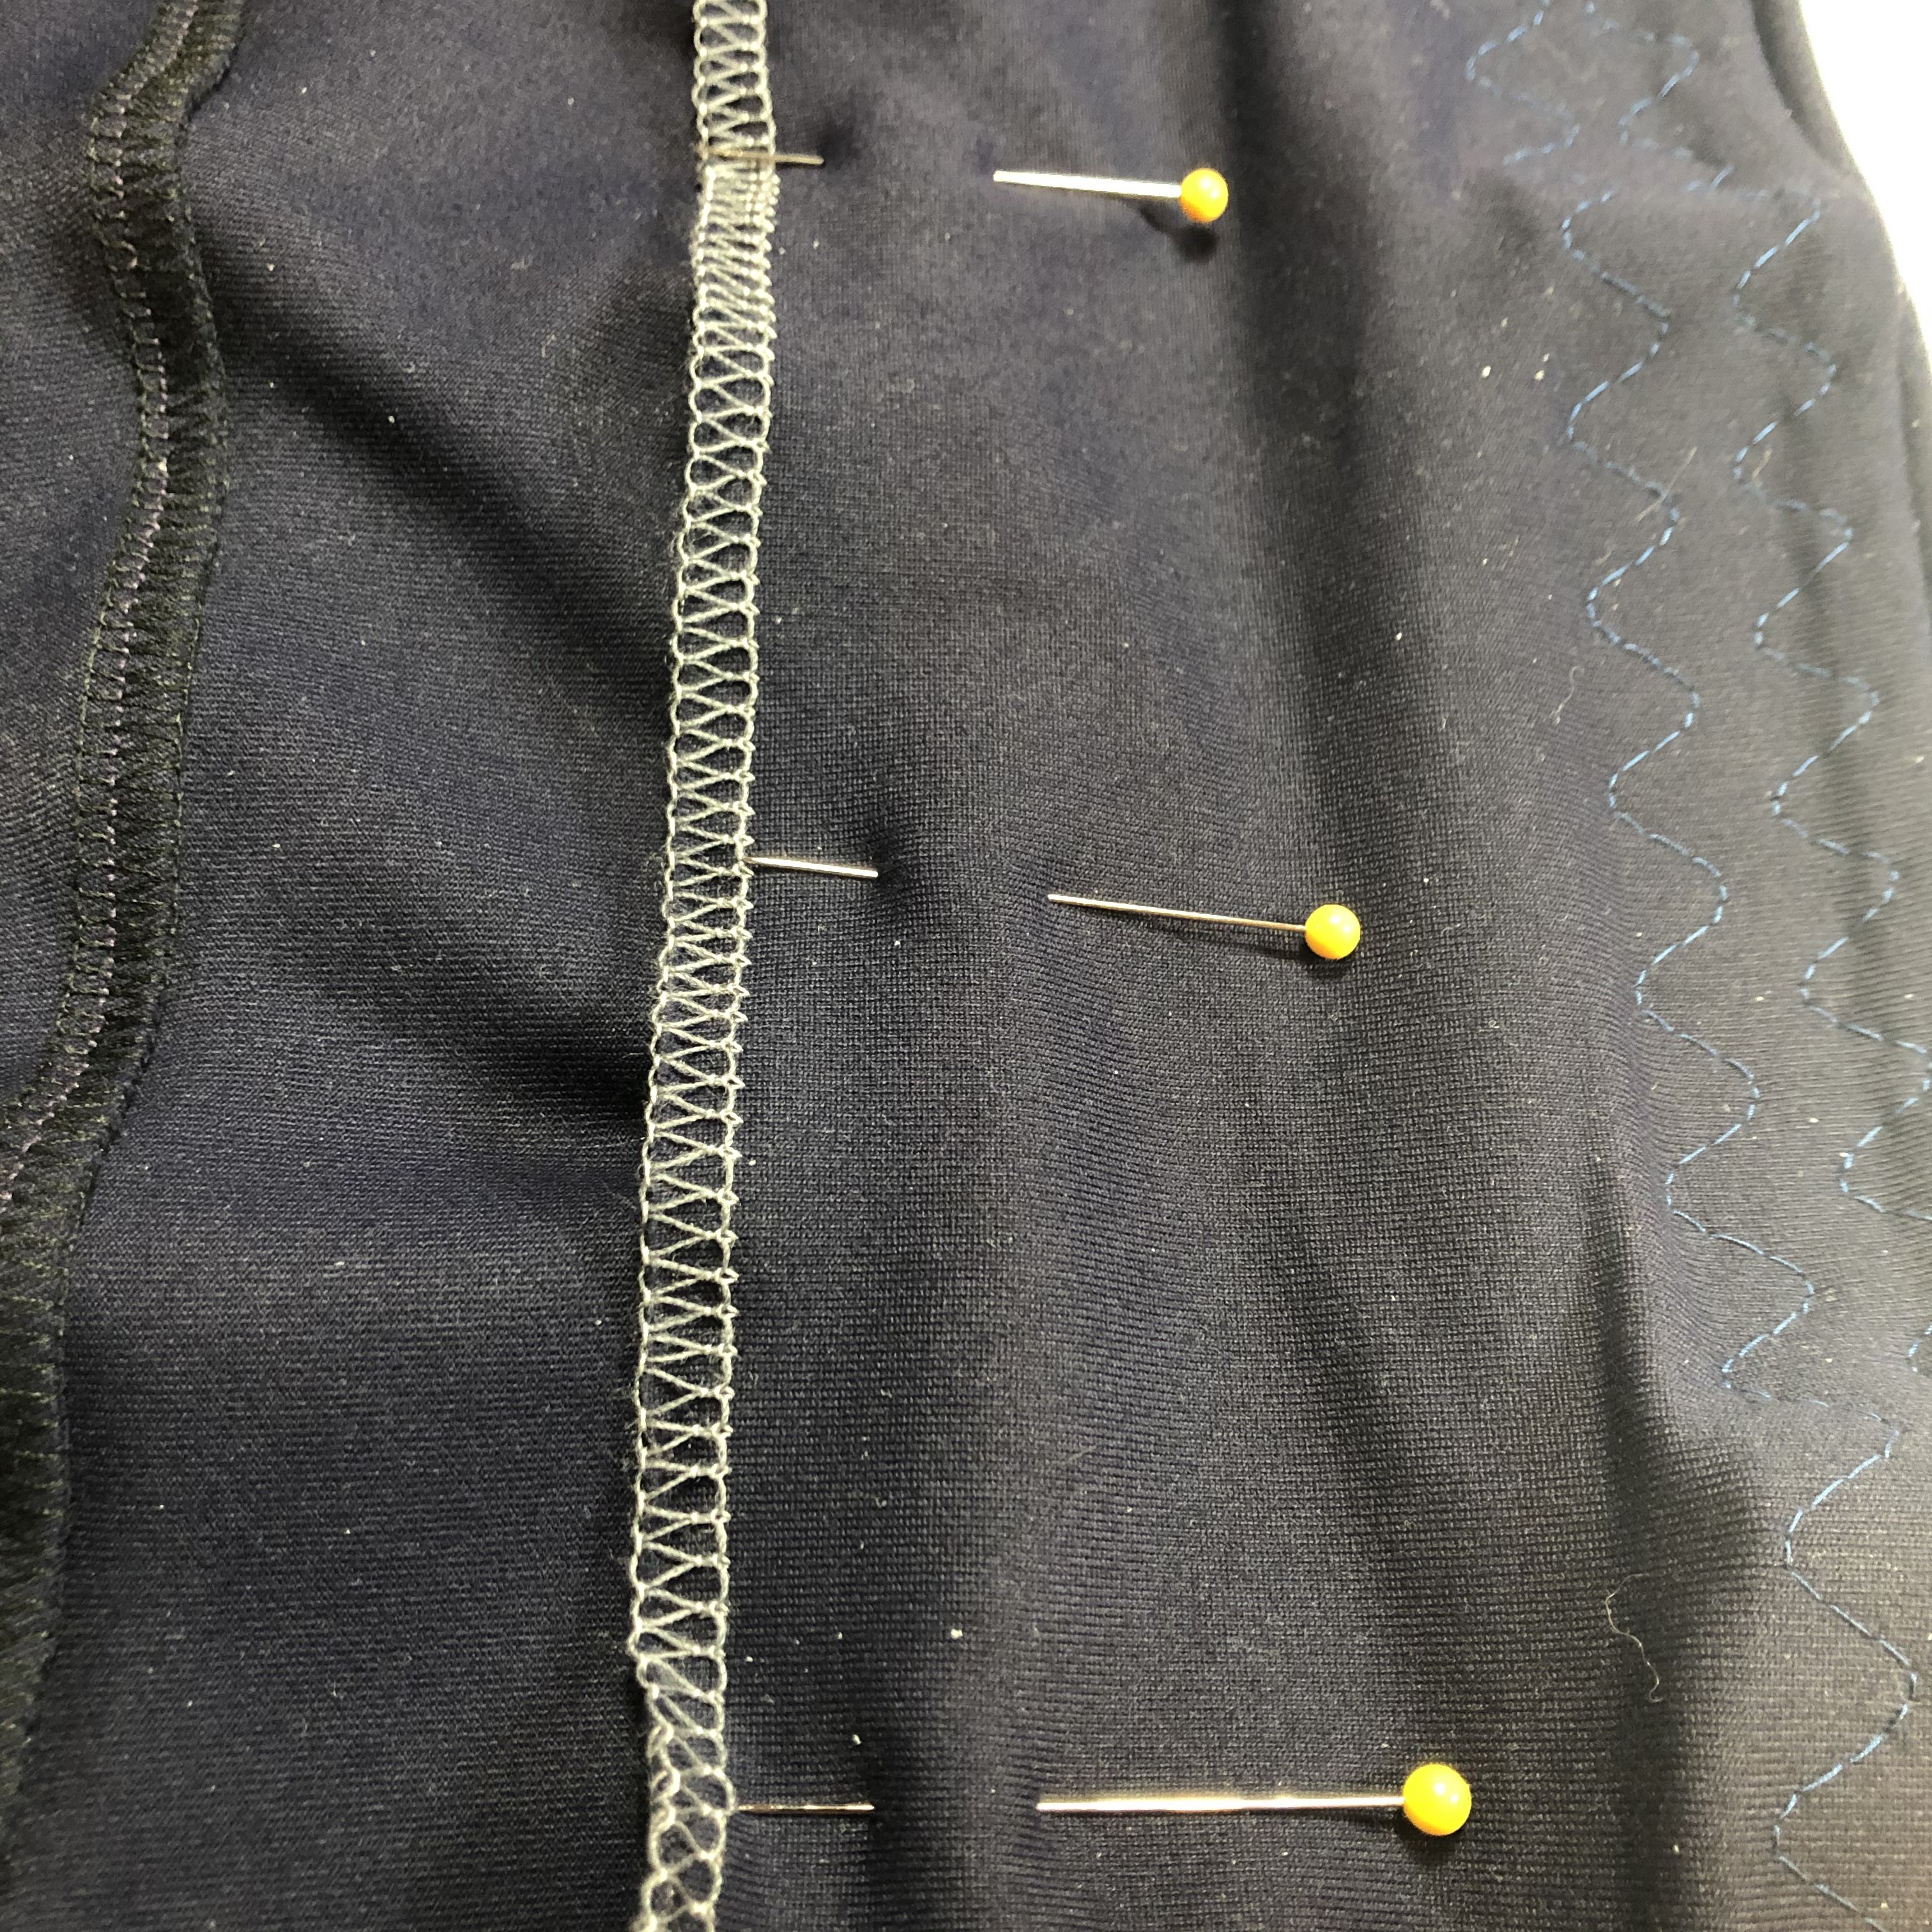
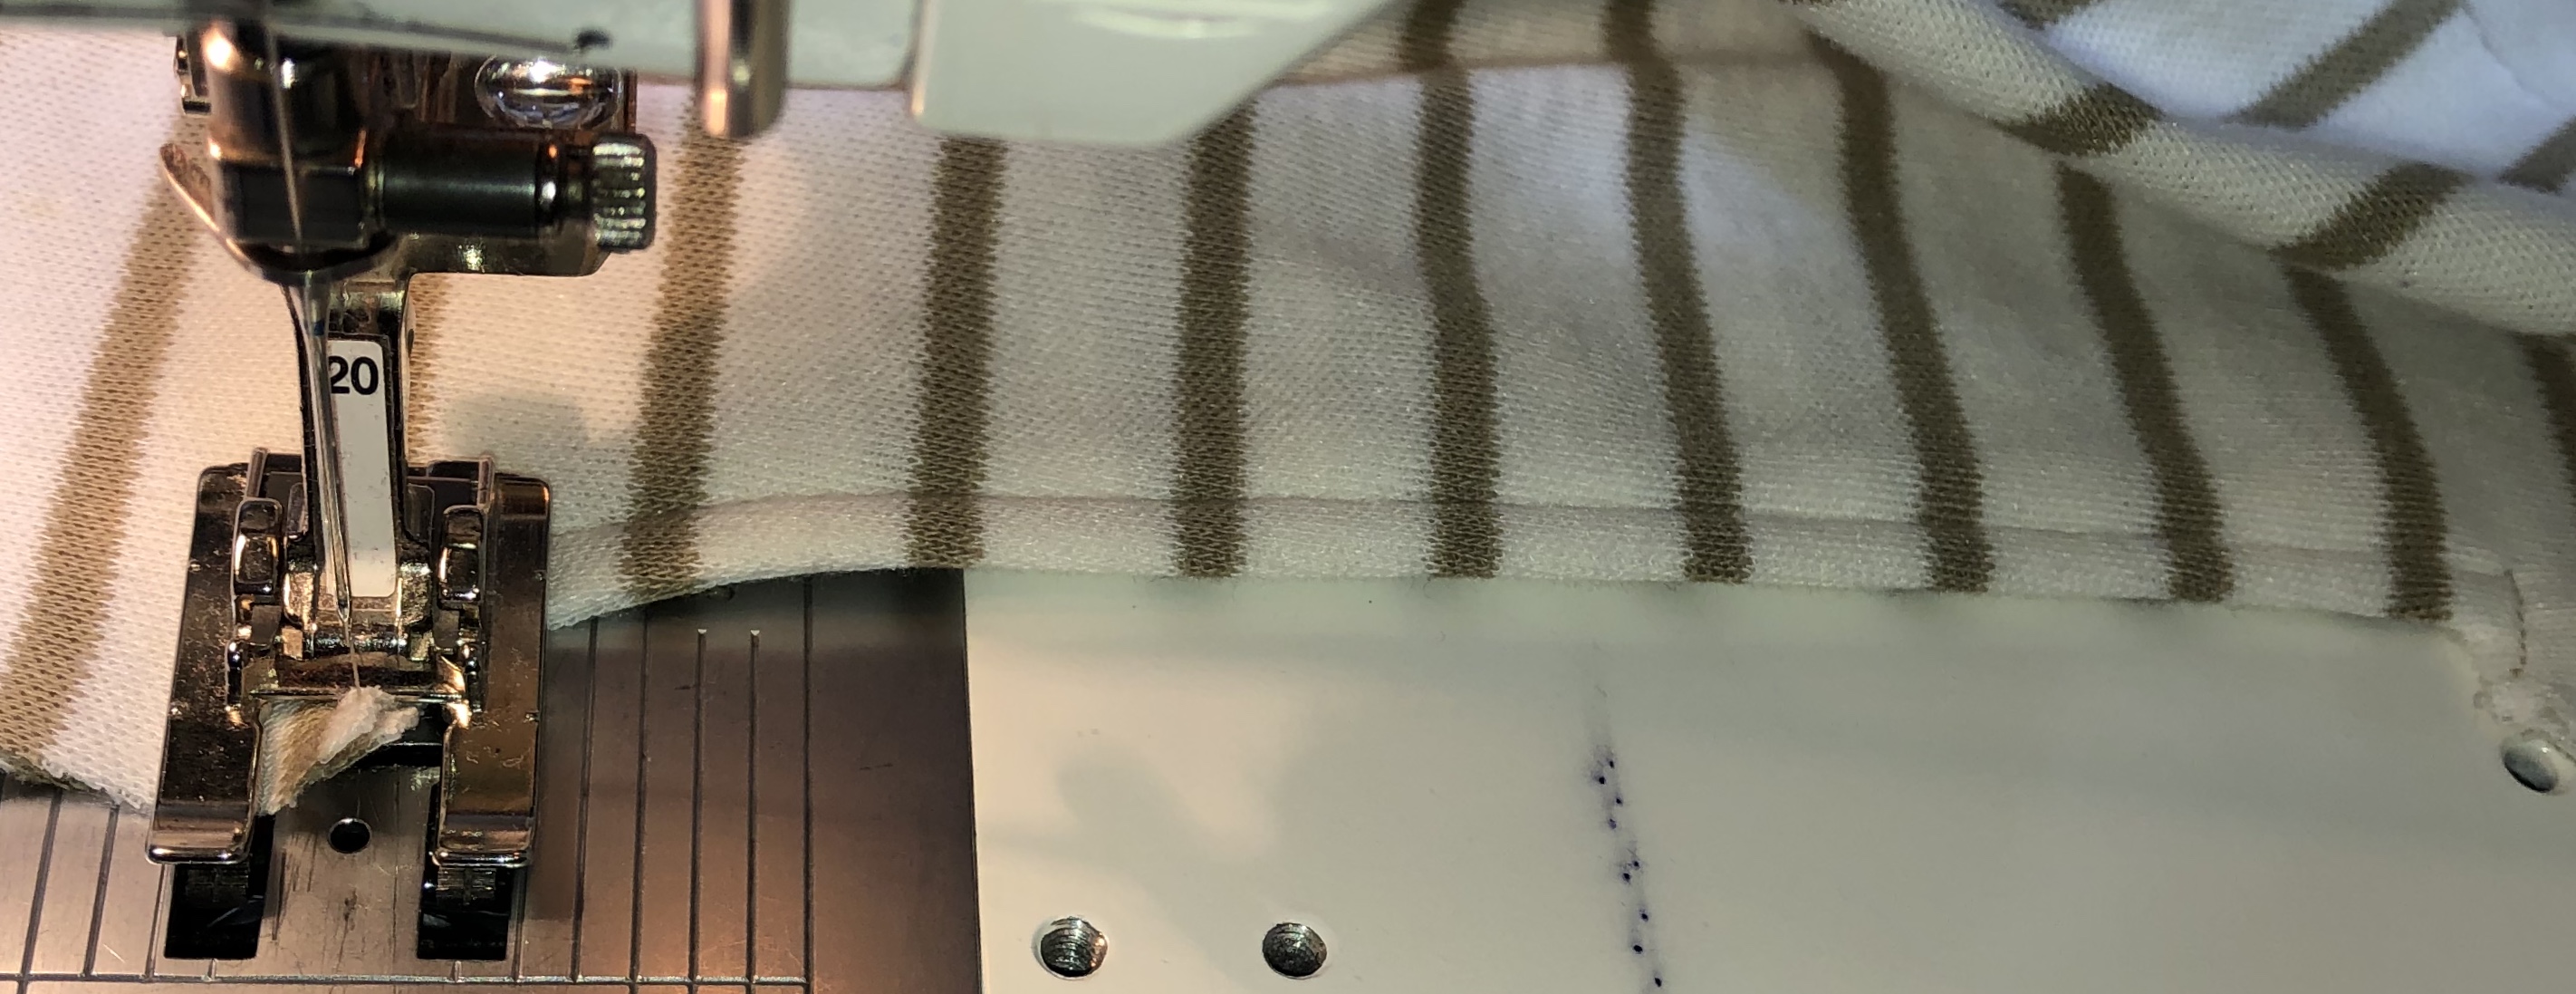
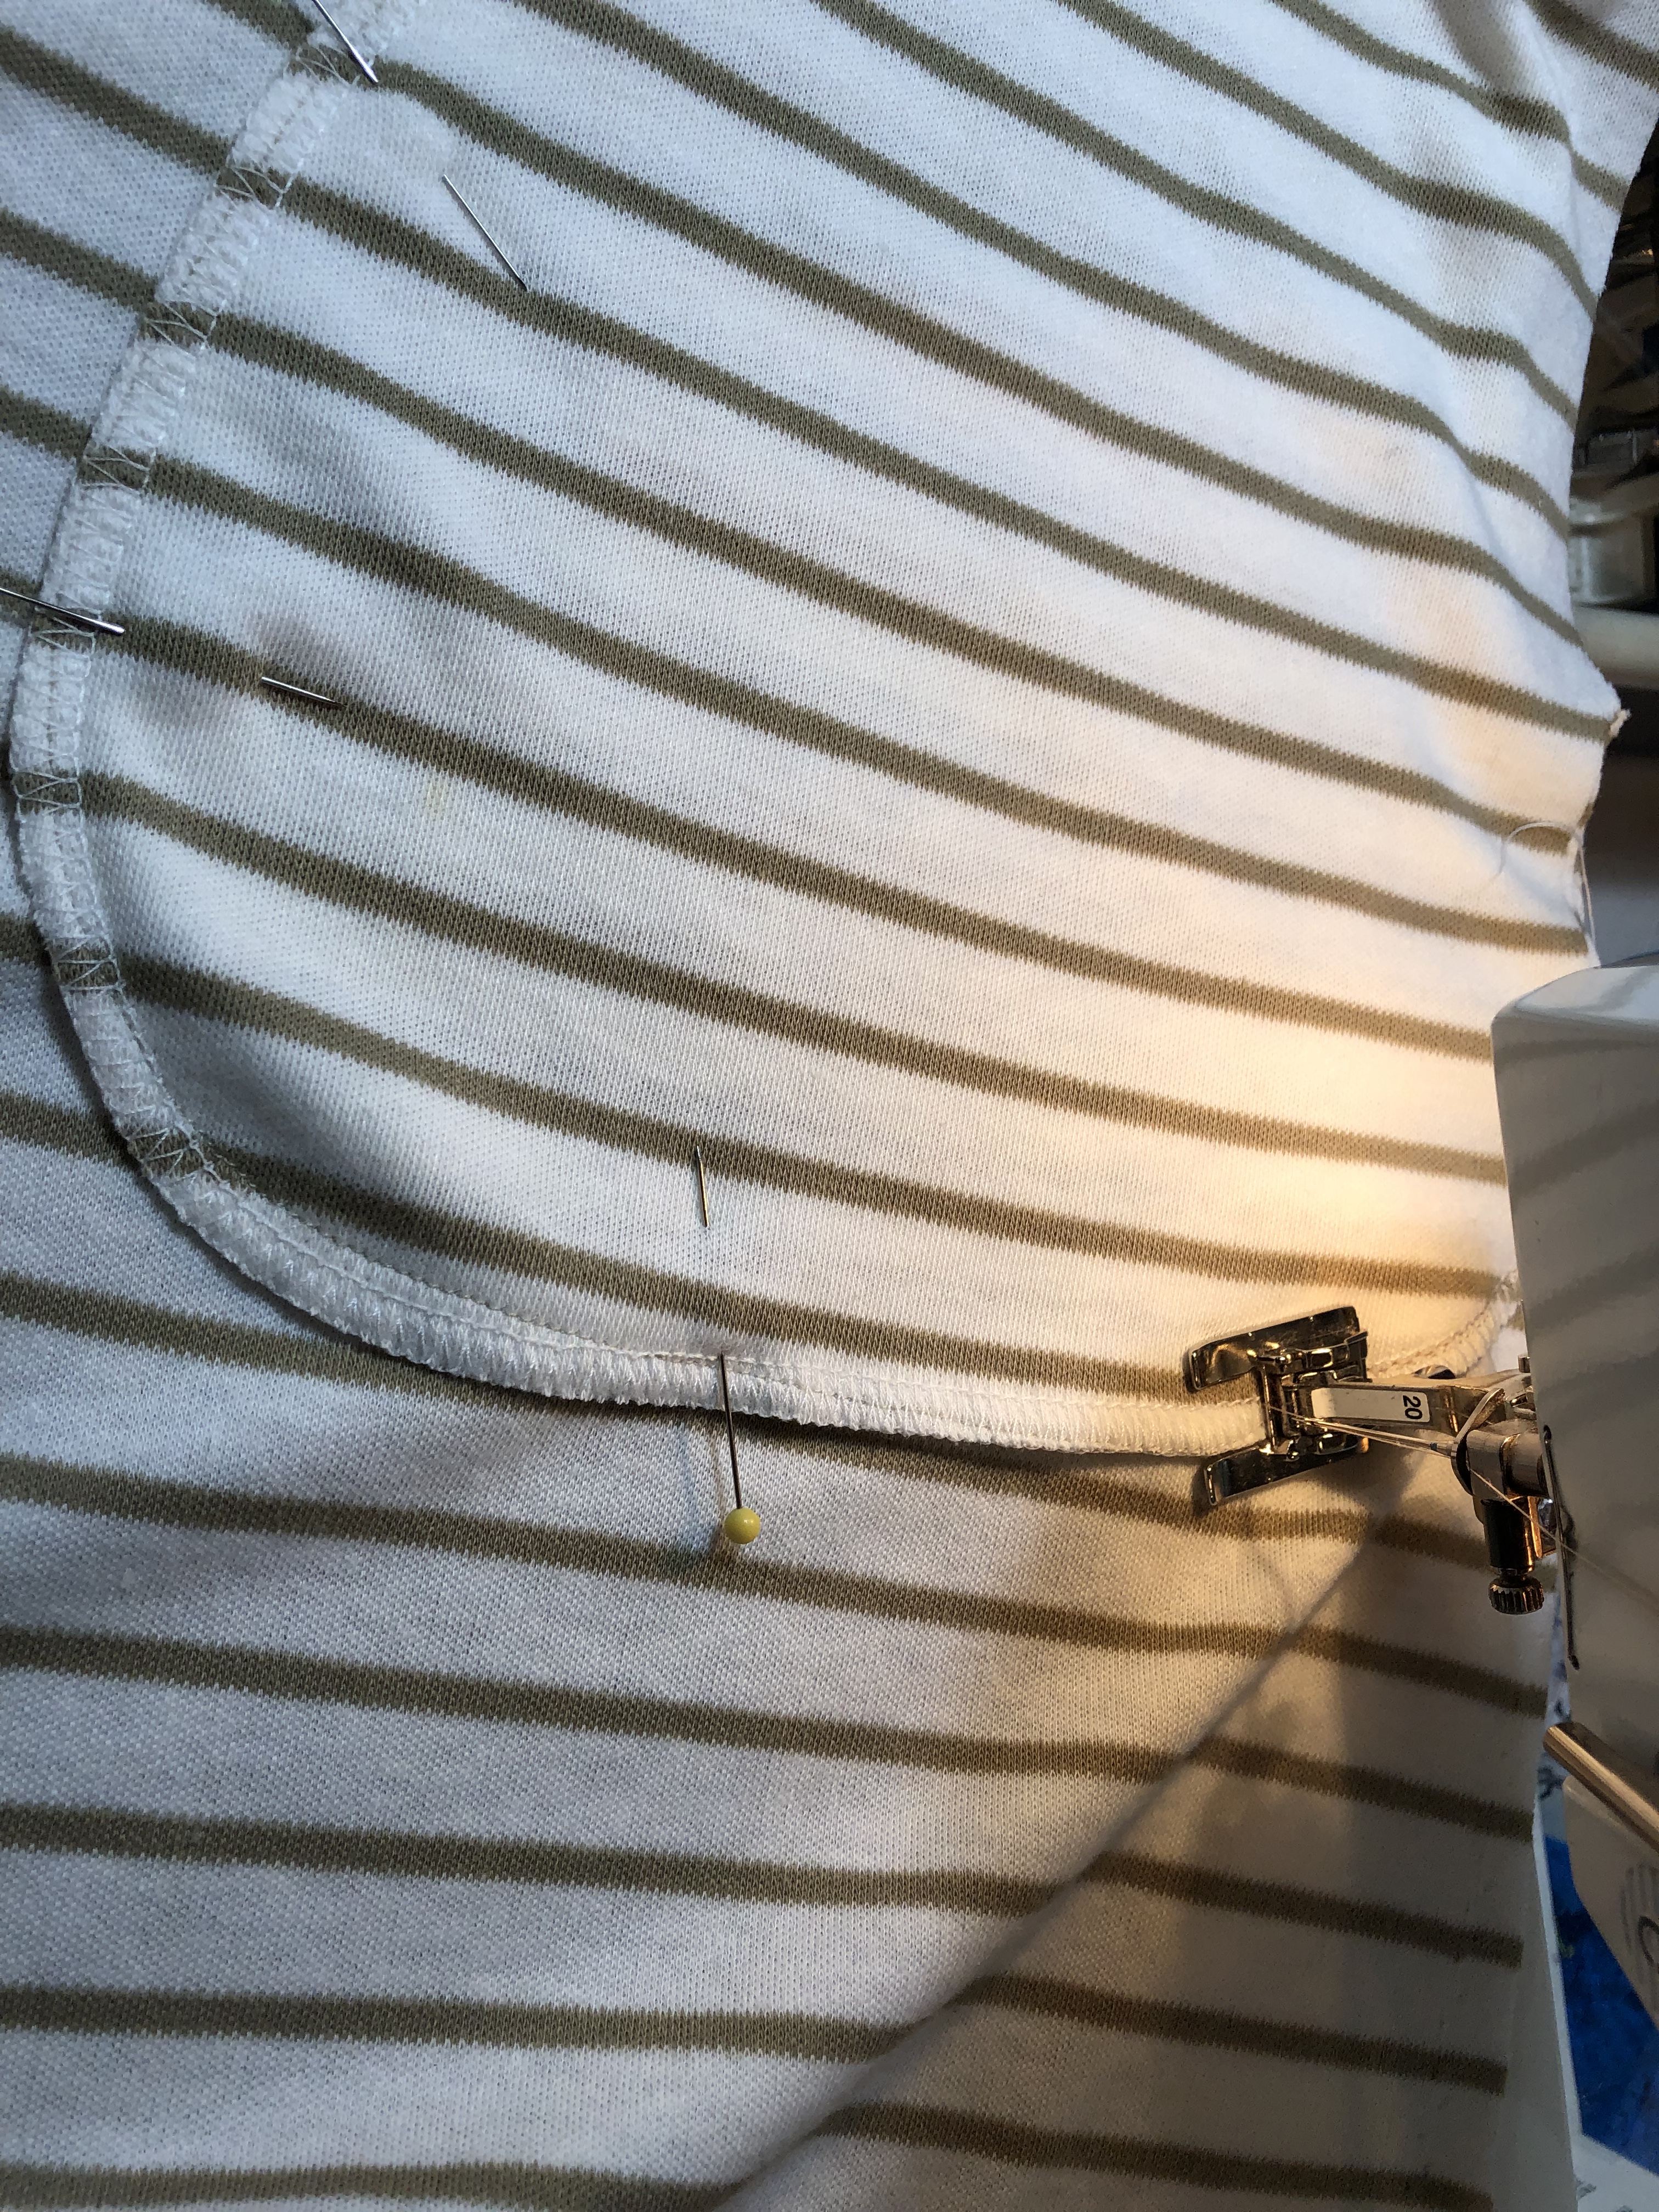
 I used a short narrow zig zag and stretched while I sewed. Remove each pin as you get to it.