The many faces of Escapade

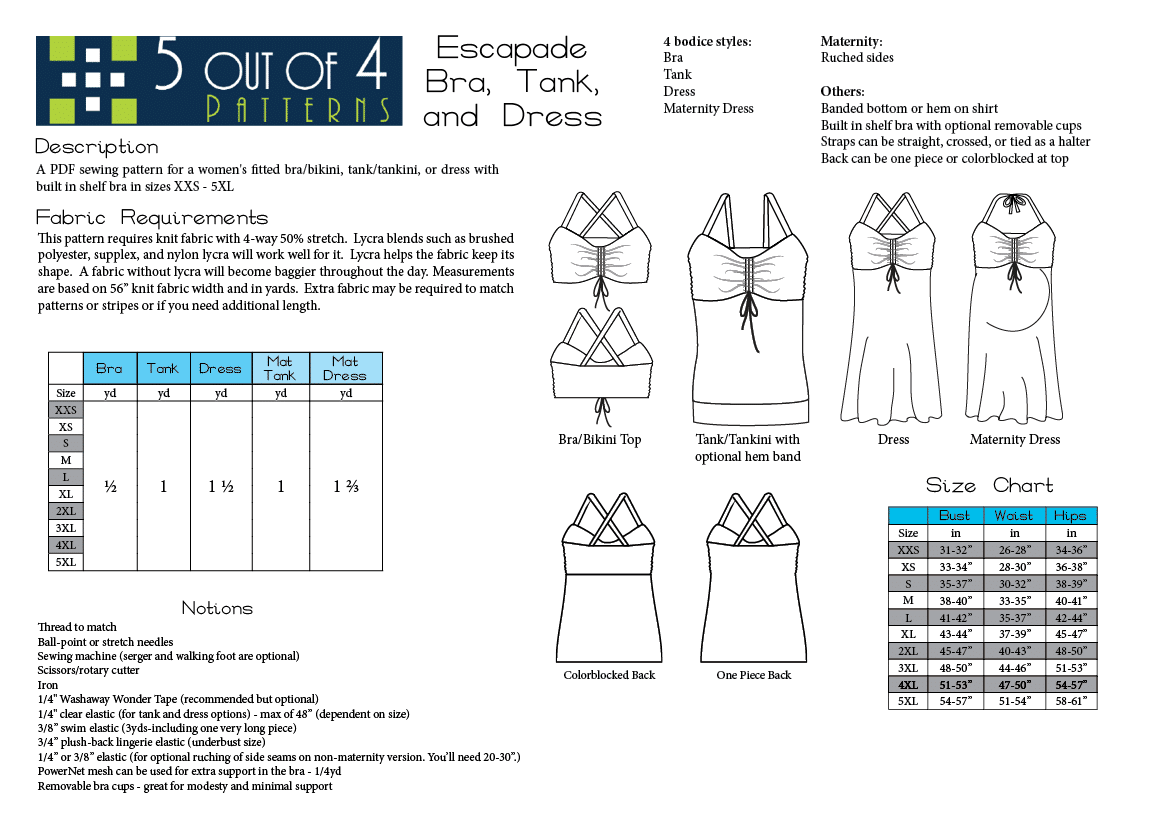
After I retired from the corporate world, I had a lot of fun testing sewing patterns. One that really caught my attention is the Escapade from 5 out of 4 patterns. It is simple, and very cleverly designed. Sews up quickly and is pretty fabric conservative. Swim top, casual bra (or both) nightgown, dress (or both) or cami/tank top, love the versatility that this pattern offers. You can have fun with the straps too. What follows are a lot of photos of me in the variations of escapade. You’ve been warned!

5 out of 4 Patterns Escapade info

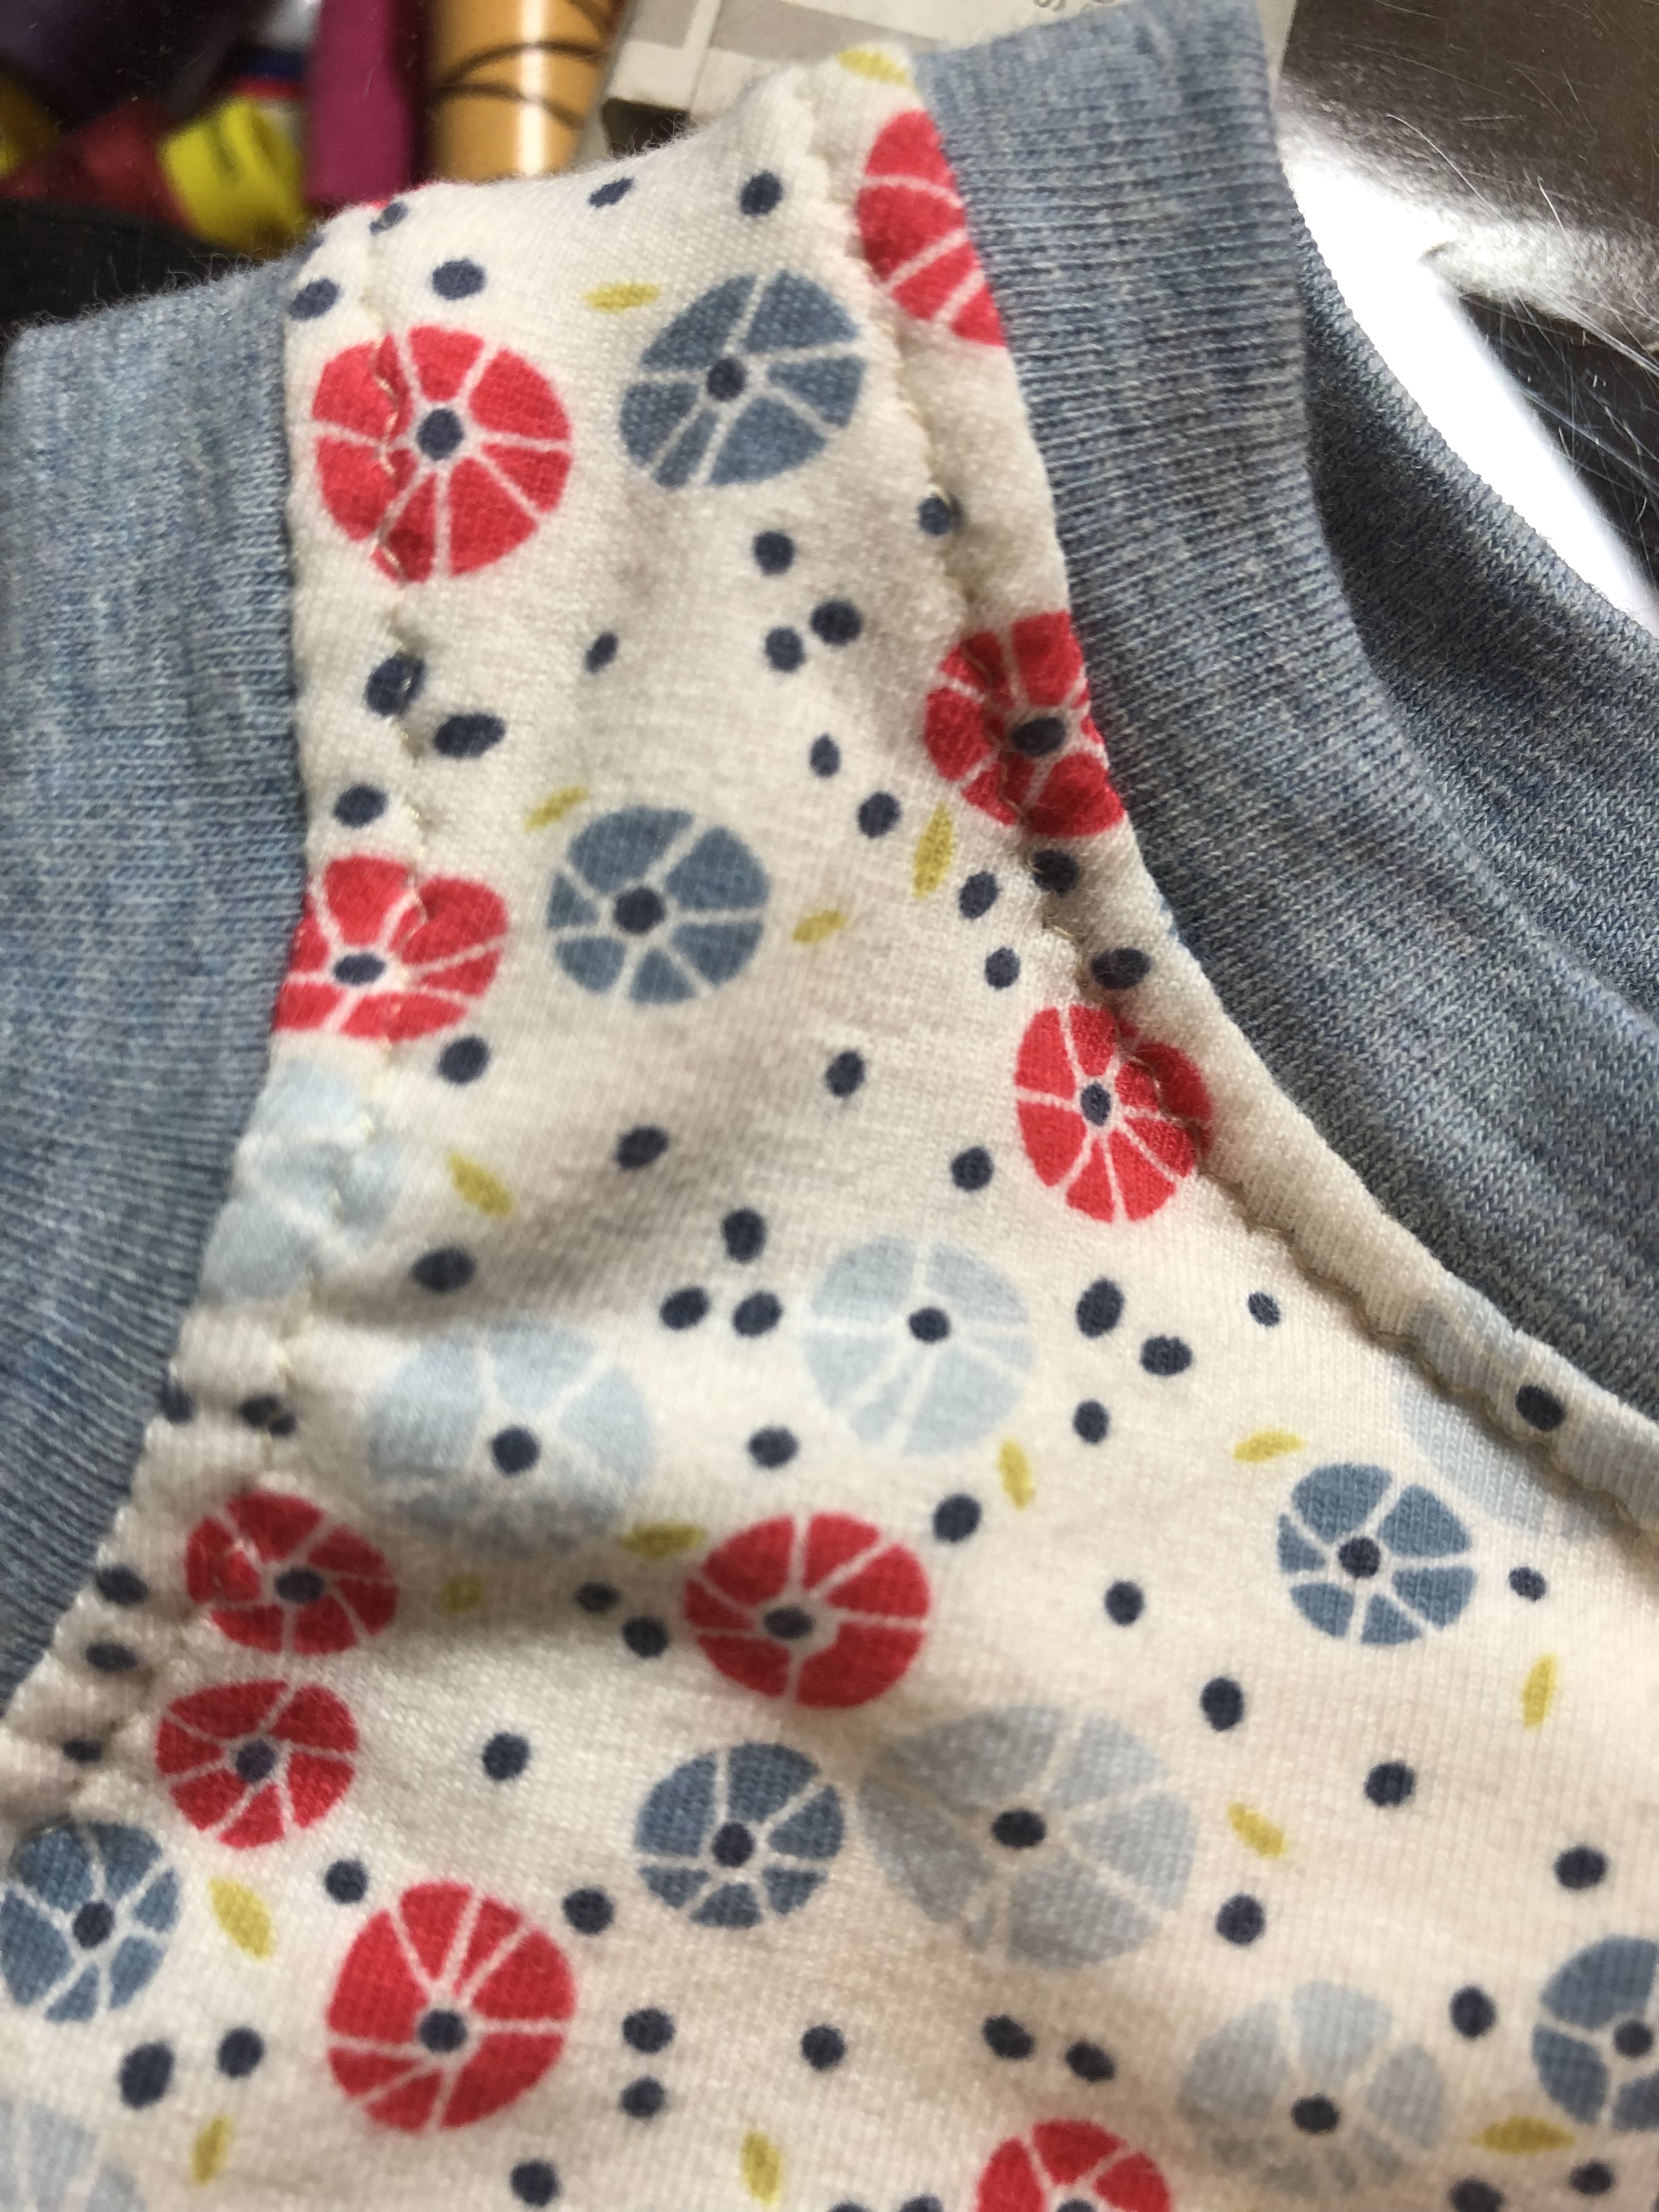
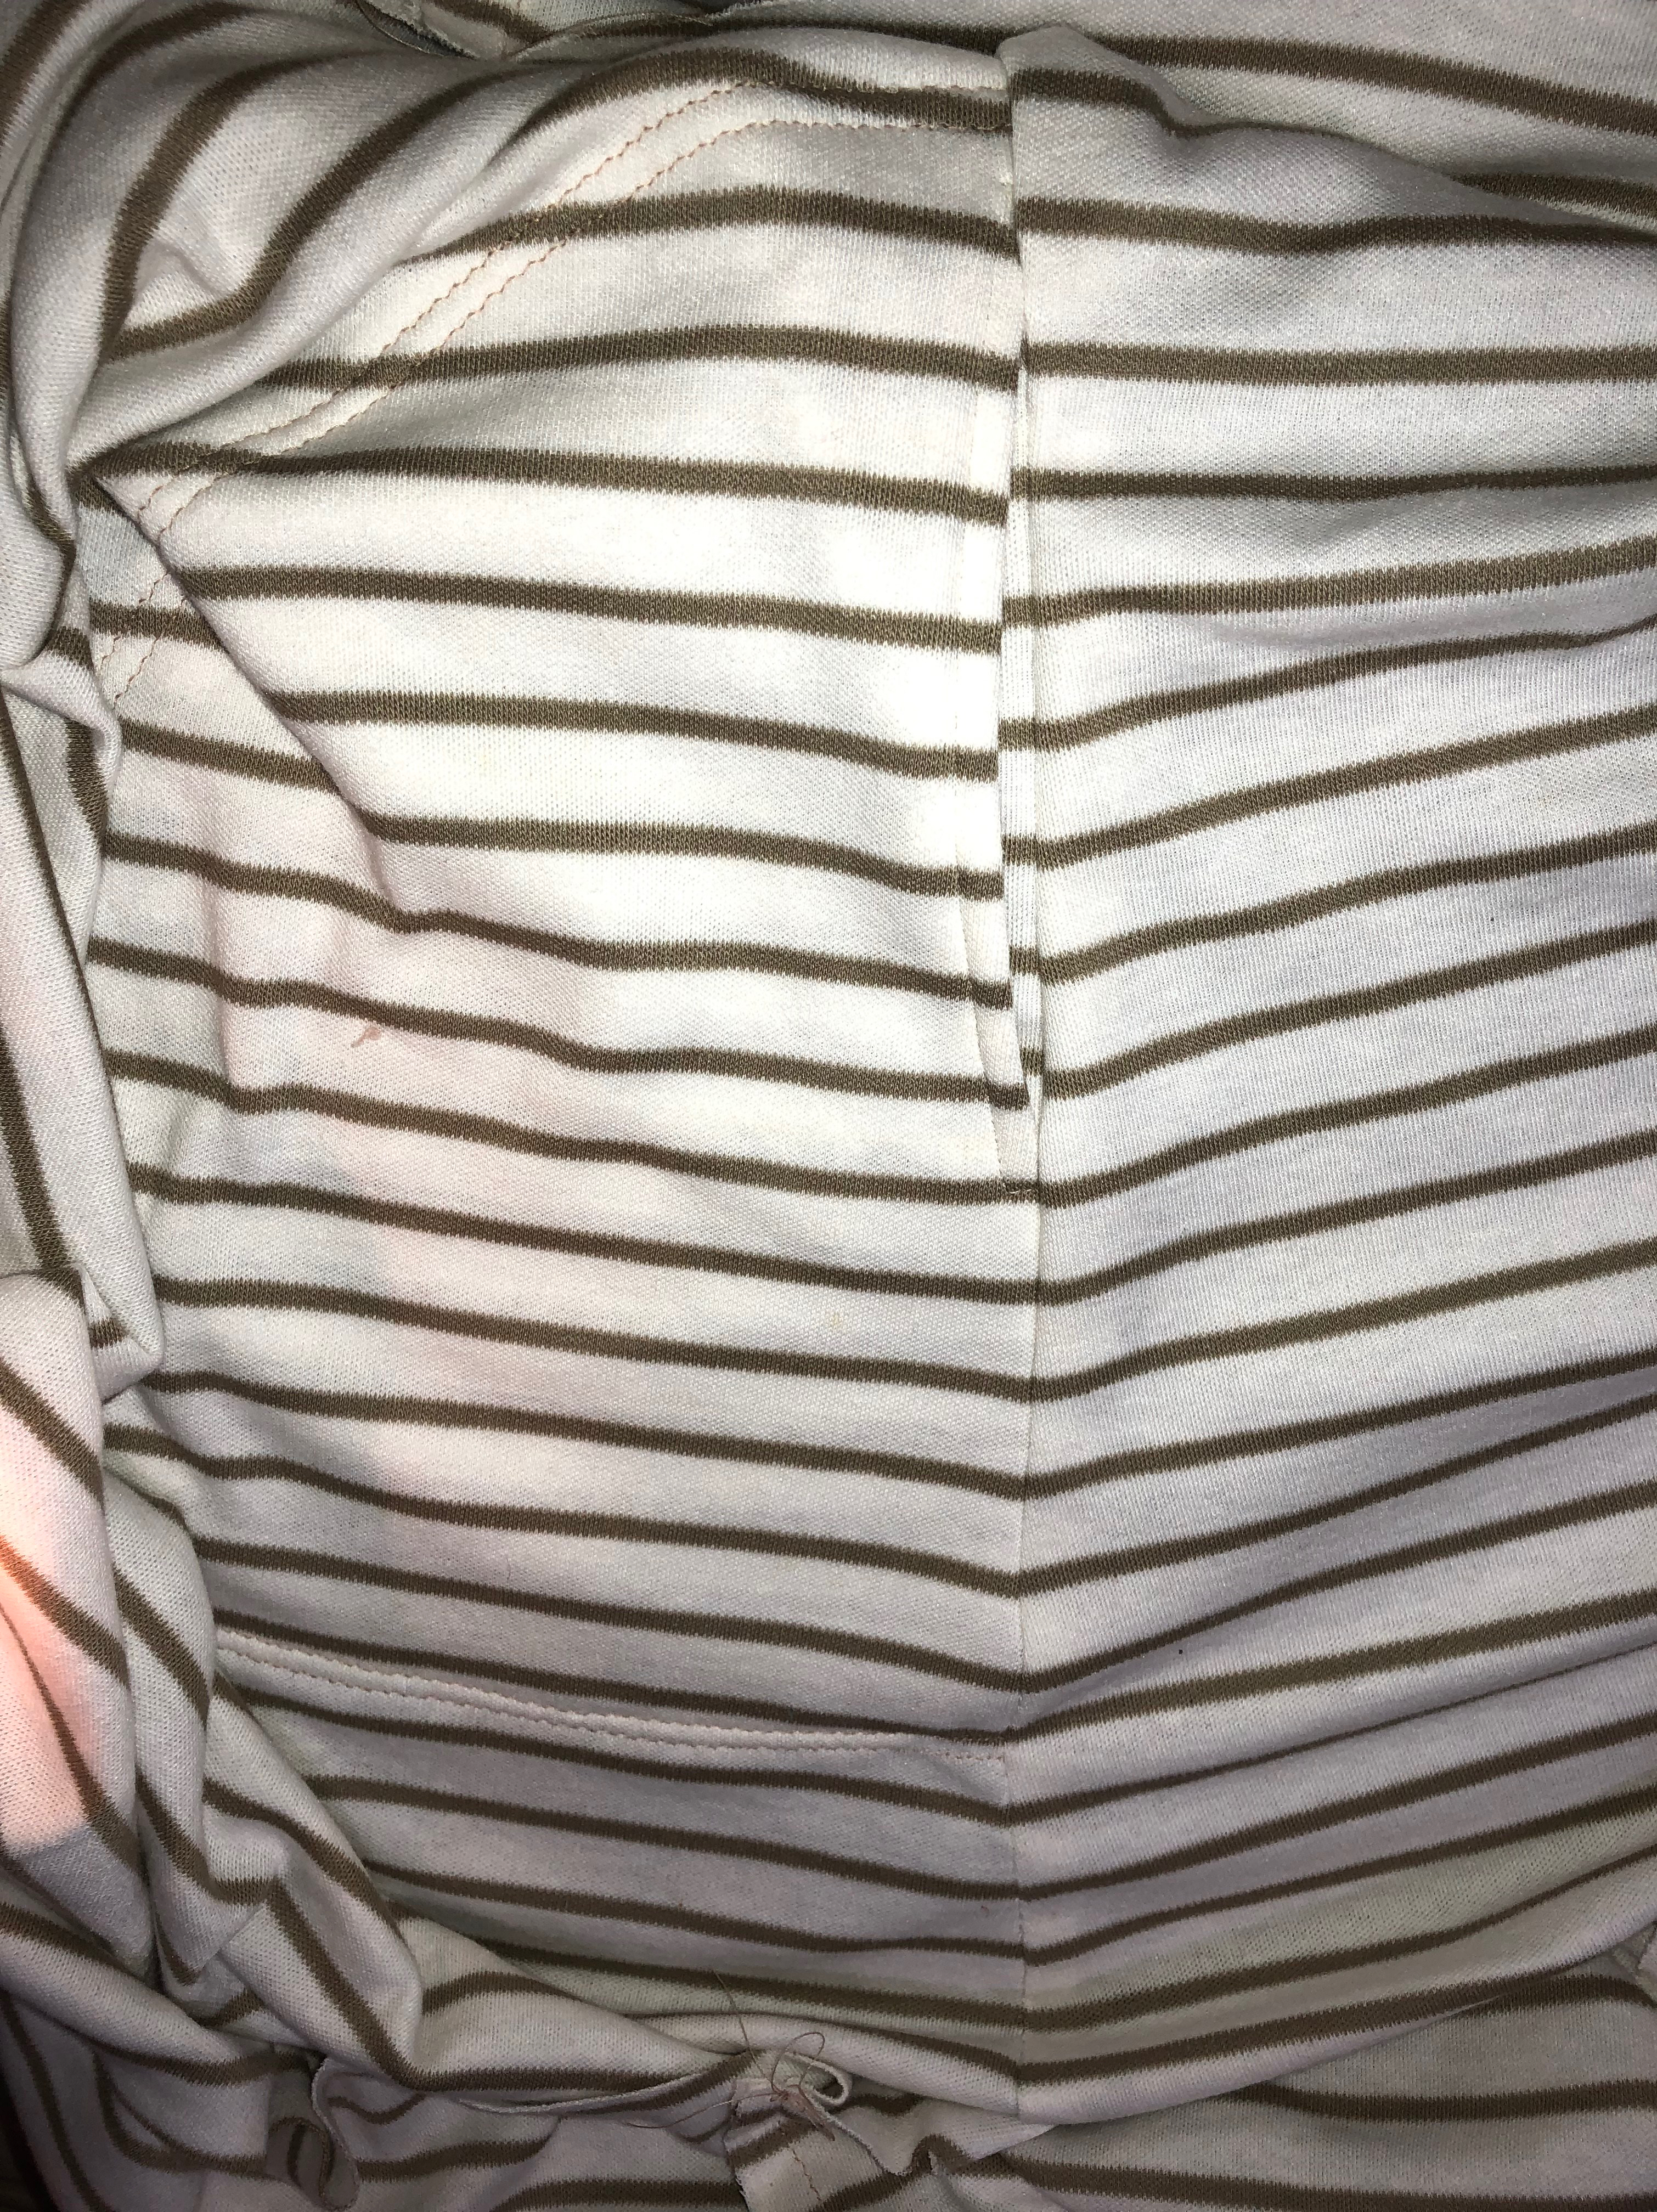
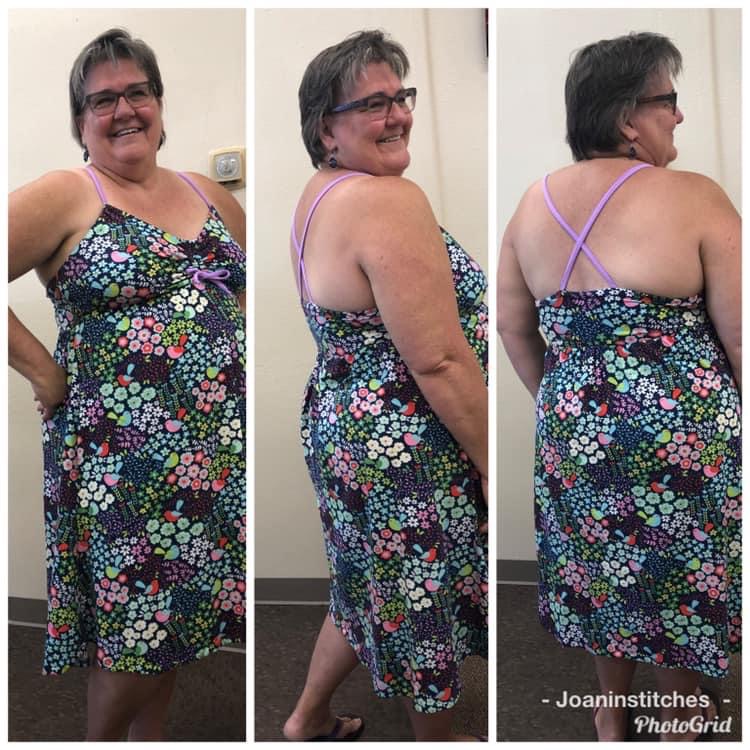
The first one I made in testing was from a thrifted jersey sheet and a bit of polka dot cotton lycra I had in my stash. This is a very casual fit photo of that one. I wear it as a night gown. Turns out the Flamingo print is from a sought after print designer. I often water the garden first thing in the summer. Hope that the neighbors assume this is a cute summer dress.

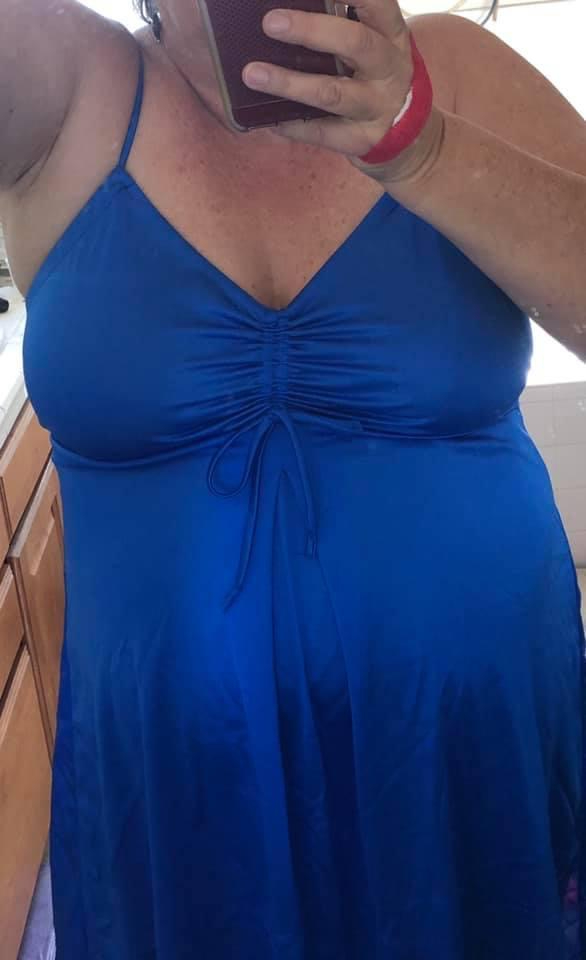
In keeping with the night gown theme, I used Tricot to make this blue one, with a slightly fuller skirt. Just added a few inches to the front and back of the skirt and pleated center front and either side of the back.

Nylon Tricot Escapade with additional width added to “skirt” to form pleats. I need more colors of this style!

With a little more length in a light weight cotton lycra and contrast ties, a fun summer dress. There is a light purple athletic knit dress version somewhere in the closet.

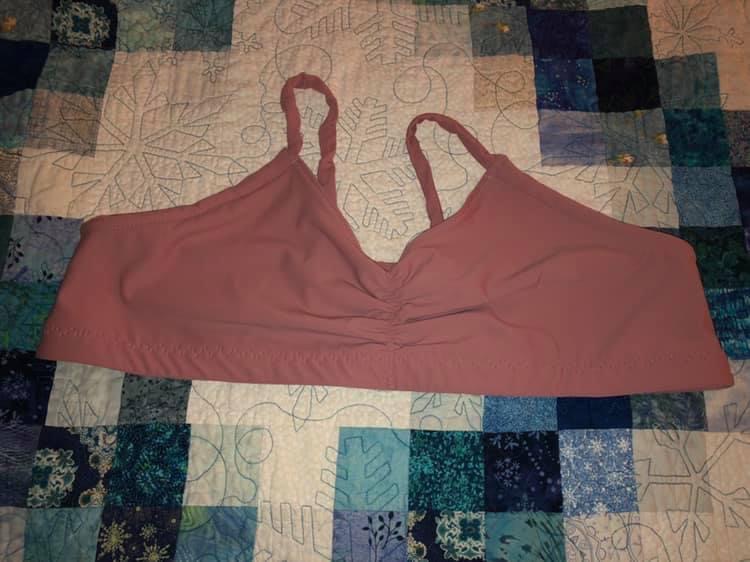
Nick of Time Fabrics has a 92/8 Cotton Lycra that made a great layering/set with the Ultimate Bikini Bottoms. I like the upward curve of the bikini bottoms for extra tummy coverage. I modified the top to have just elastic shirring, without ties, and fixed straps. I bought a few colors to make this with, and could only find this photo. There is a hot pink version that saw a lot of wear with Annabeth over when the weather was cooler.

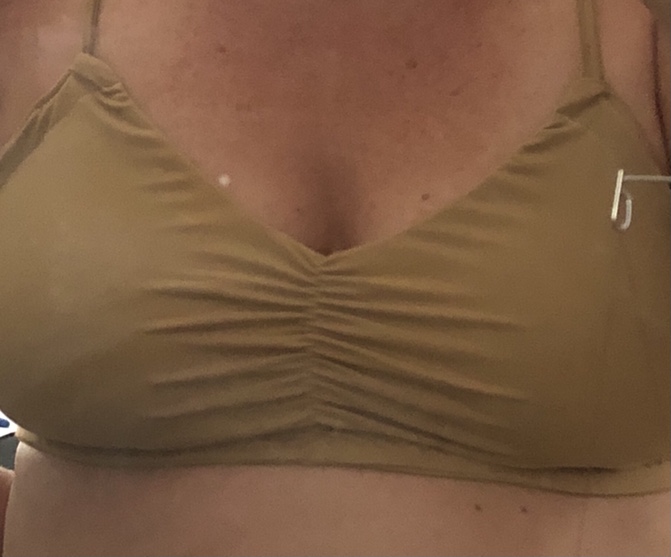
This is a simple version with elastic shirring made from supplex perfect under summer whites.

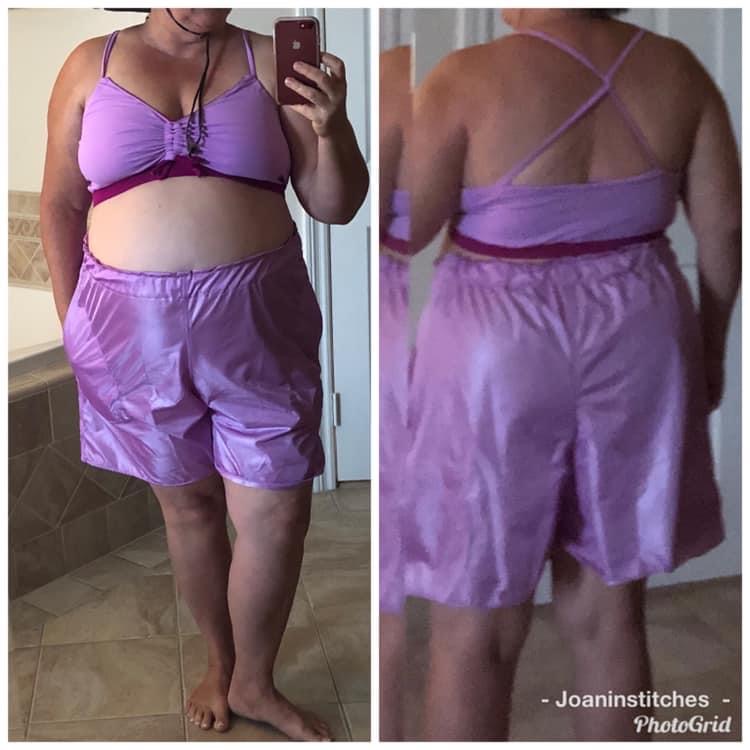
Inspired by the Ultimate Bikini Bottoms that are reversible, I wrote about making this Nylon Spandex Tricot Version reversible too.

I stitched up some matching tricot Lola shorts to wear as a coverup to the pool.

And a Nylon Spandex Tricot version for more summer white tops.

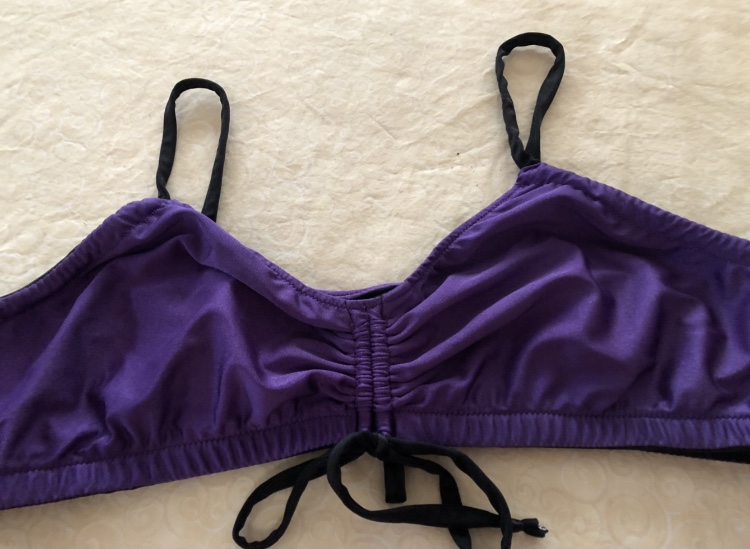
The swim version made in testing from purple black and red swim scraps.

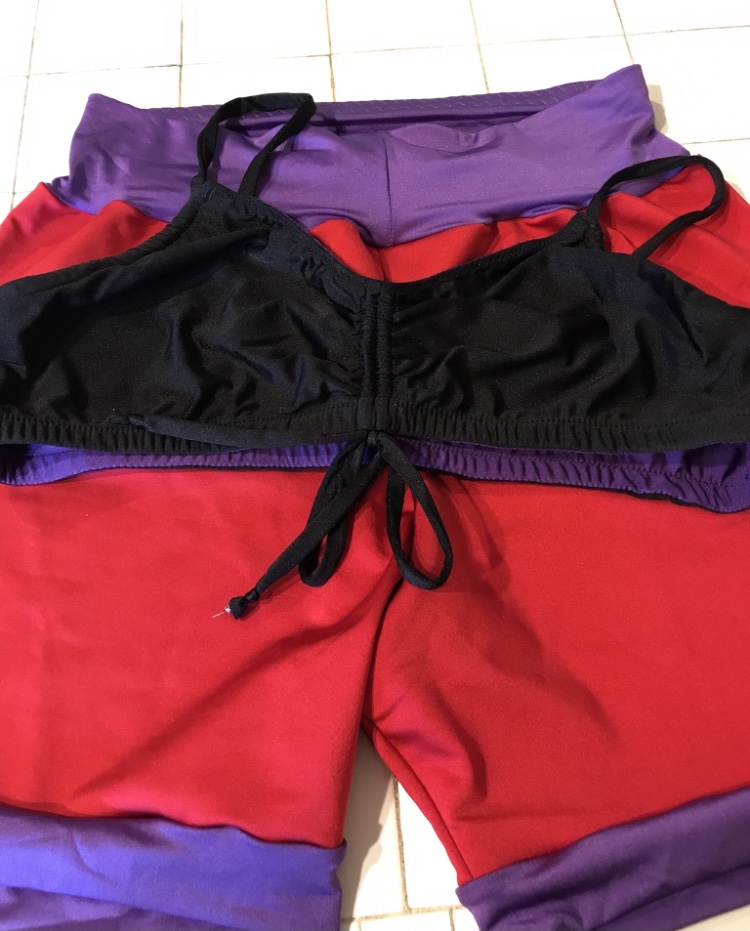
With a reversible top.

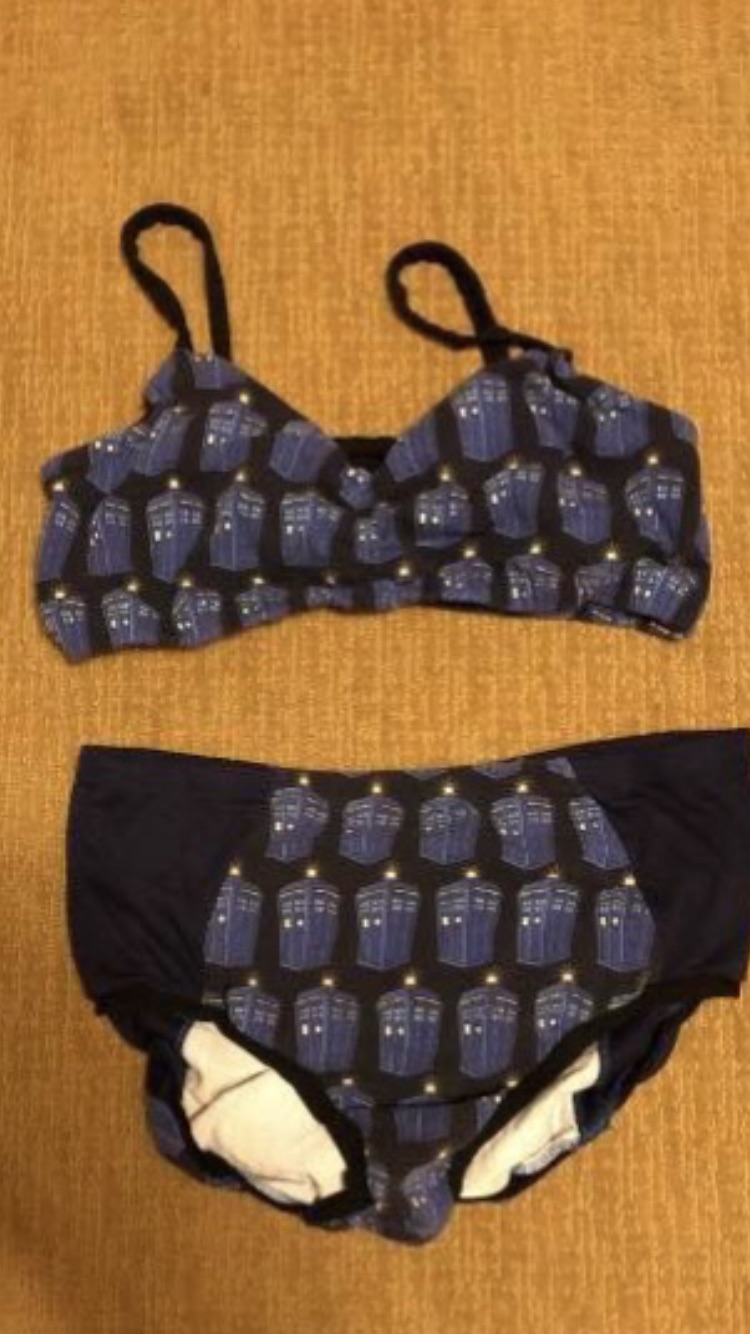
The Cotton Lycra Tardis version with Rad Panel Undies for fun.

And most recently, an athletic space dyed knit to go with Candy Shorts. As a mothers day gift for my daughter. Cause hanging out at the pool in an escapade and Candy Shorts will be the thing to do once school is out.

I sure have had fun making and wearing my Escapades since testing. You should try one too! The links in this post are my affiliate links. I may receive a small commission from the pattern designer if you use them to purchase a pattern. I appreciate your support, and happy sewing!

Adding bands to tiny armscyes

I have a new grand baby.   I am smitten.  I want to make her all the things.  She has a ton of 3-6 month size clothing that were received as gifts, so I jumped on the opportunity to test a new tank pattern in her next size!  I learned a bit about sewing small that I would like to share.  There are several patterns here and several different kinds of fabrics.  It was a good learning experiment.

On this armscye I zig zag basted the band to the body of the top, on the edge, then serged and top stitched.  On later garments, I used the stretch stitch on my machine, and it worked much better.  Serging stretches out this rib knit.  I hope it recovers in the laundry!

Those armscyes are tiny.  With regular arm bands that measure about 8 inches, that is a less than a3 inch diameter.   It will be much easier to get round them with a sewing machine.  Experiment on scraps to find the best stretch stitch that works with your fabric.  I ended up happy with this one, which may be called an overcast stitch.

8DC5EE19-F8F0-410D-88C4-B59071711CDC

It looks like a straight stitch from the outside, but those jags off to the right will add to the stretch and contain any seam allowance neatly.806415E0-783B-4A7A-8060-F80BFE698AB1

  1.  After sewing shoulder seams, top stitch them with the seam allowance towards the back.  It is my secret message to myself and parents, so we know which is the front and back of the garment.  It is often hard to tell and tags on a baby are not a place I want to go.D73538B4-2E41-4756-931D-E5FD682DFC02

2.  Figure the center of the armscye  location.  Hold the ends together, and walk them both to the fold.  Mark the center.  On a traditional tank, this could be really close to the shoulder seam.  On the example here, which is a racer back.  It is not at or even near the shoulder seam, but about an inch back.  Match up the center points, and sew a partial seam.  Start the partial seam about an inch to an inch and a half back from the center point.  Sew across the center point and about an inch to an inch and a half past that.  no need to stretch the band here, or maybe stretch slightly.  This will avoid that shoulder bubble that sometimes happens with tank tops. If you are using this technique for an adult size, you can make this partial seam longer, two inches on either side of the top of the shoulder will work fine.

Neckband sewn in the round, shoulder band partially attached.

3.  Then take those band ends, match them up right sides together (without twisting) and sew a seam across the ends (right sides together) to make the partially attached band into a loop.  I prefer to sew this with a machine, so that the seam can be opened to reduce bulk.  On this example I was using a performance knit for the bands, and my serger handled it much better.  The performance knit did not conform to the round shape as nicely as a cotton would.

4.  Sew the side seam of your garment.   I am happy to use a serger, but a regular machine stretch stitch will work here too.

5.  I like to sew one side seam then serge around the hem before sewing the next side seam.  makes the beginning and end of the serged edge less visible.

Yellow head pin holds body seam allowance to the back. Button headed pin holds band seam allowance to the front. actual seam is matched.

6.  Pin the folded band to the right side of the garment and finish sewing the armscye.  If both body and band seams are serged, move the seam allowances one way on the band, and the other on the garment.  I like the garment seams pointing back to follow the shoulder seam.  Since we did not stretch the band much on the top of the shoulder, take care to stretch without puckering round the rest of the circle.  Start your seam just a little before the last one ended, and overlap about a half inch before they meet up again.

Fuly sewn circle.


I serged one of the test garments afterwards, and that really stretched out the fabric.  It could bounce back after a trip to the laundry.  On an adult sized garment, serging the armscye might be a good idea. Can you tell which garment was stretched out with serging?

7.  Lastly top stitch the seam allowance to the body of the tank or tee.  It will help make that seam lay flat, and create less chafing on a little baby. I used my Bernina#20 foot here,  perhaps you have a foot with a guide?


I sewed a fun hem on one of the rib knit versions, and will try to write a post on that one later.  It is a favorite hemming technique with stretch. If you are interested in learning how to make a blind hem on the machine, check out this post.96DC9513-C715-48F6-818B-822E29FFE911

I used multiple patterns to experiment with this process.  And several fabrics, which is your favorite?

Affiliate links for favorite patterns that could employ this technique are below, if you are interested in supporting the cause, at no cost to you. I appreciate it!

Sara everyday tank and dress

Mandy fitted tank

Kids Taylor racerback

Adult Taylor racerback

Virginia tank

Spoxxy

Artemis

Happy sewing! Joan


Adding pockets

I recently tested the Sheila top  and dress from 5out of 4 patterns.  It is part of their basics line, and has very detailed instructions.  A well drafted T shirt dress is a great layering piece, easy to accessorize.

One thing.  I need pockets.  Life hands you keys or a wallet, or something else that needs a spot to be.  Purses are great, but I like to travel light. I sew pockets in everything.  This is my new favorite method.

I drafted my own pocket here, but if you have Taylor, that pocket will work just fine.

  1.  Cut 4 pockets. Two sets of two mirrored pieces.

2.  On the wrong side of your dress front, mark where you would like the top of your pocket opening.  I made this one about 8 inches from the armcye.  I think that ended up just a tad high.  Somewhere between 9 to 10 inches would be more comfortable.  Make your top mark or notch at this point, and the next mark will be 5.5 inches below that.

3.  Align one pocket so that the top of the pocket is one inch above that start mark with the right side of the pocket facing the right side of the dress front.

4.  Stitch from mark to mark, being sure to secure your stitches at each mark with 3-4 back stitches.

5.  Clip into the seam allowance just to the end of the stitches.

49C89CB0-86C6-457A-931C-A704FDD73279

The top and bottom of the stitching is marked with a notch.

6.  Open out that pocket and under stitch.  Understitching helps to roll the pocket to the back so it looks tidy in the next step.

7.  Fold the pocket and seam allowances to the right, and stitch parallel to the seam line 1/4 inch away, catching the pocket and seam allowances in your seam. Start and stop your seam parallel to the first seam made in step 4.   The pins mark the stop and start spots below.

3F177B02-544E-41A5-B103-1992A9E965F8

Pocket seam opened and understitched on pocket side, with seam allowances included. Stitching is 1/4 from the seam.

8.  Fold the pocket back to the wrong side of the dress front.  Pull the seam allowances out at the top and bottom of your pocket opening.  You will have a sweet 5.5 inch indentation in the side of your dress front that looks like the photo below.  This is your pocket opening!


8639201B-47C2-4FA5-9DDF-3DDE956BC4E1

9.  Top stitch that indentation starting at the edge of the fabric sew in about 1/2 inch, and turn, so you are stitching about 1/4 inch from the 5.5 inch opening of the pocket, then turn again and stitch off the edge.  Your seam will look like this [.

26E43E8A-8238-42B7-A2C2-8CC99B3AF4FB

Top stitching on the pocket opening.

10.  Next align the second pocket with the first.

97E30F2F-6075-4001-B9E2-FD28E696EA8A

Second pocket placed on top of the previously sewn pocket.

10.  Stitch the edges of the two pockets together around the bottom around the side and over to the top.

D14EF44C-A61B-4BA5-A1C9-BFA245D2988F

Serged edges of pocket ready to be top stitched.

11.  Pin or use wonder tape to adhere the pocket to the front of the dress and top stitch around the edge of the pocket where the serging is in the above photo. Use a stretch stitch, consider a double row of stitches!

00024006-4AB6-43D6-A5C4-00F117E3F1DE

The open toe embroidery foot works great for maintaining an even edge.

12.  Baste along the side seam, so that the edges of the top and bottom of the pocket are secured, and the opening is still open.

13.  Make the other pocket.  Tip:  lay your dress flat to be sure pockets are even and symmetrical before top stitching the second one.

D859A695-11A3-4F8C-BCA8-3F7BCA497C0E

Finished pocket secured into side seam and front of garment.

14.  When you are ready, stitch your side seams as you normally would, making sure to sew right up to the opening without closing it.

Enjoy wearing your garment with stitched down pockets.  Want to continue sewing fancy?  Try out a blind hem.

This post may contain affiliate links.