Reversible Reticule by Joan.in.stitches@gmail.com
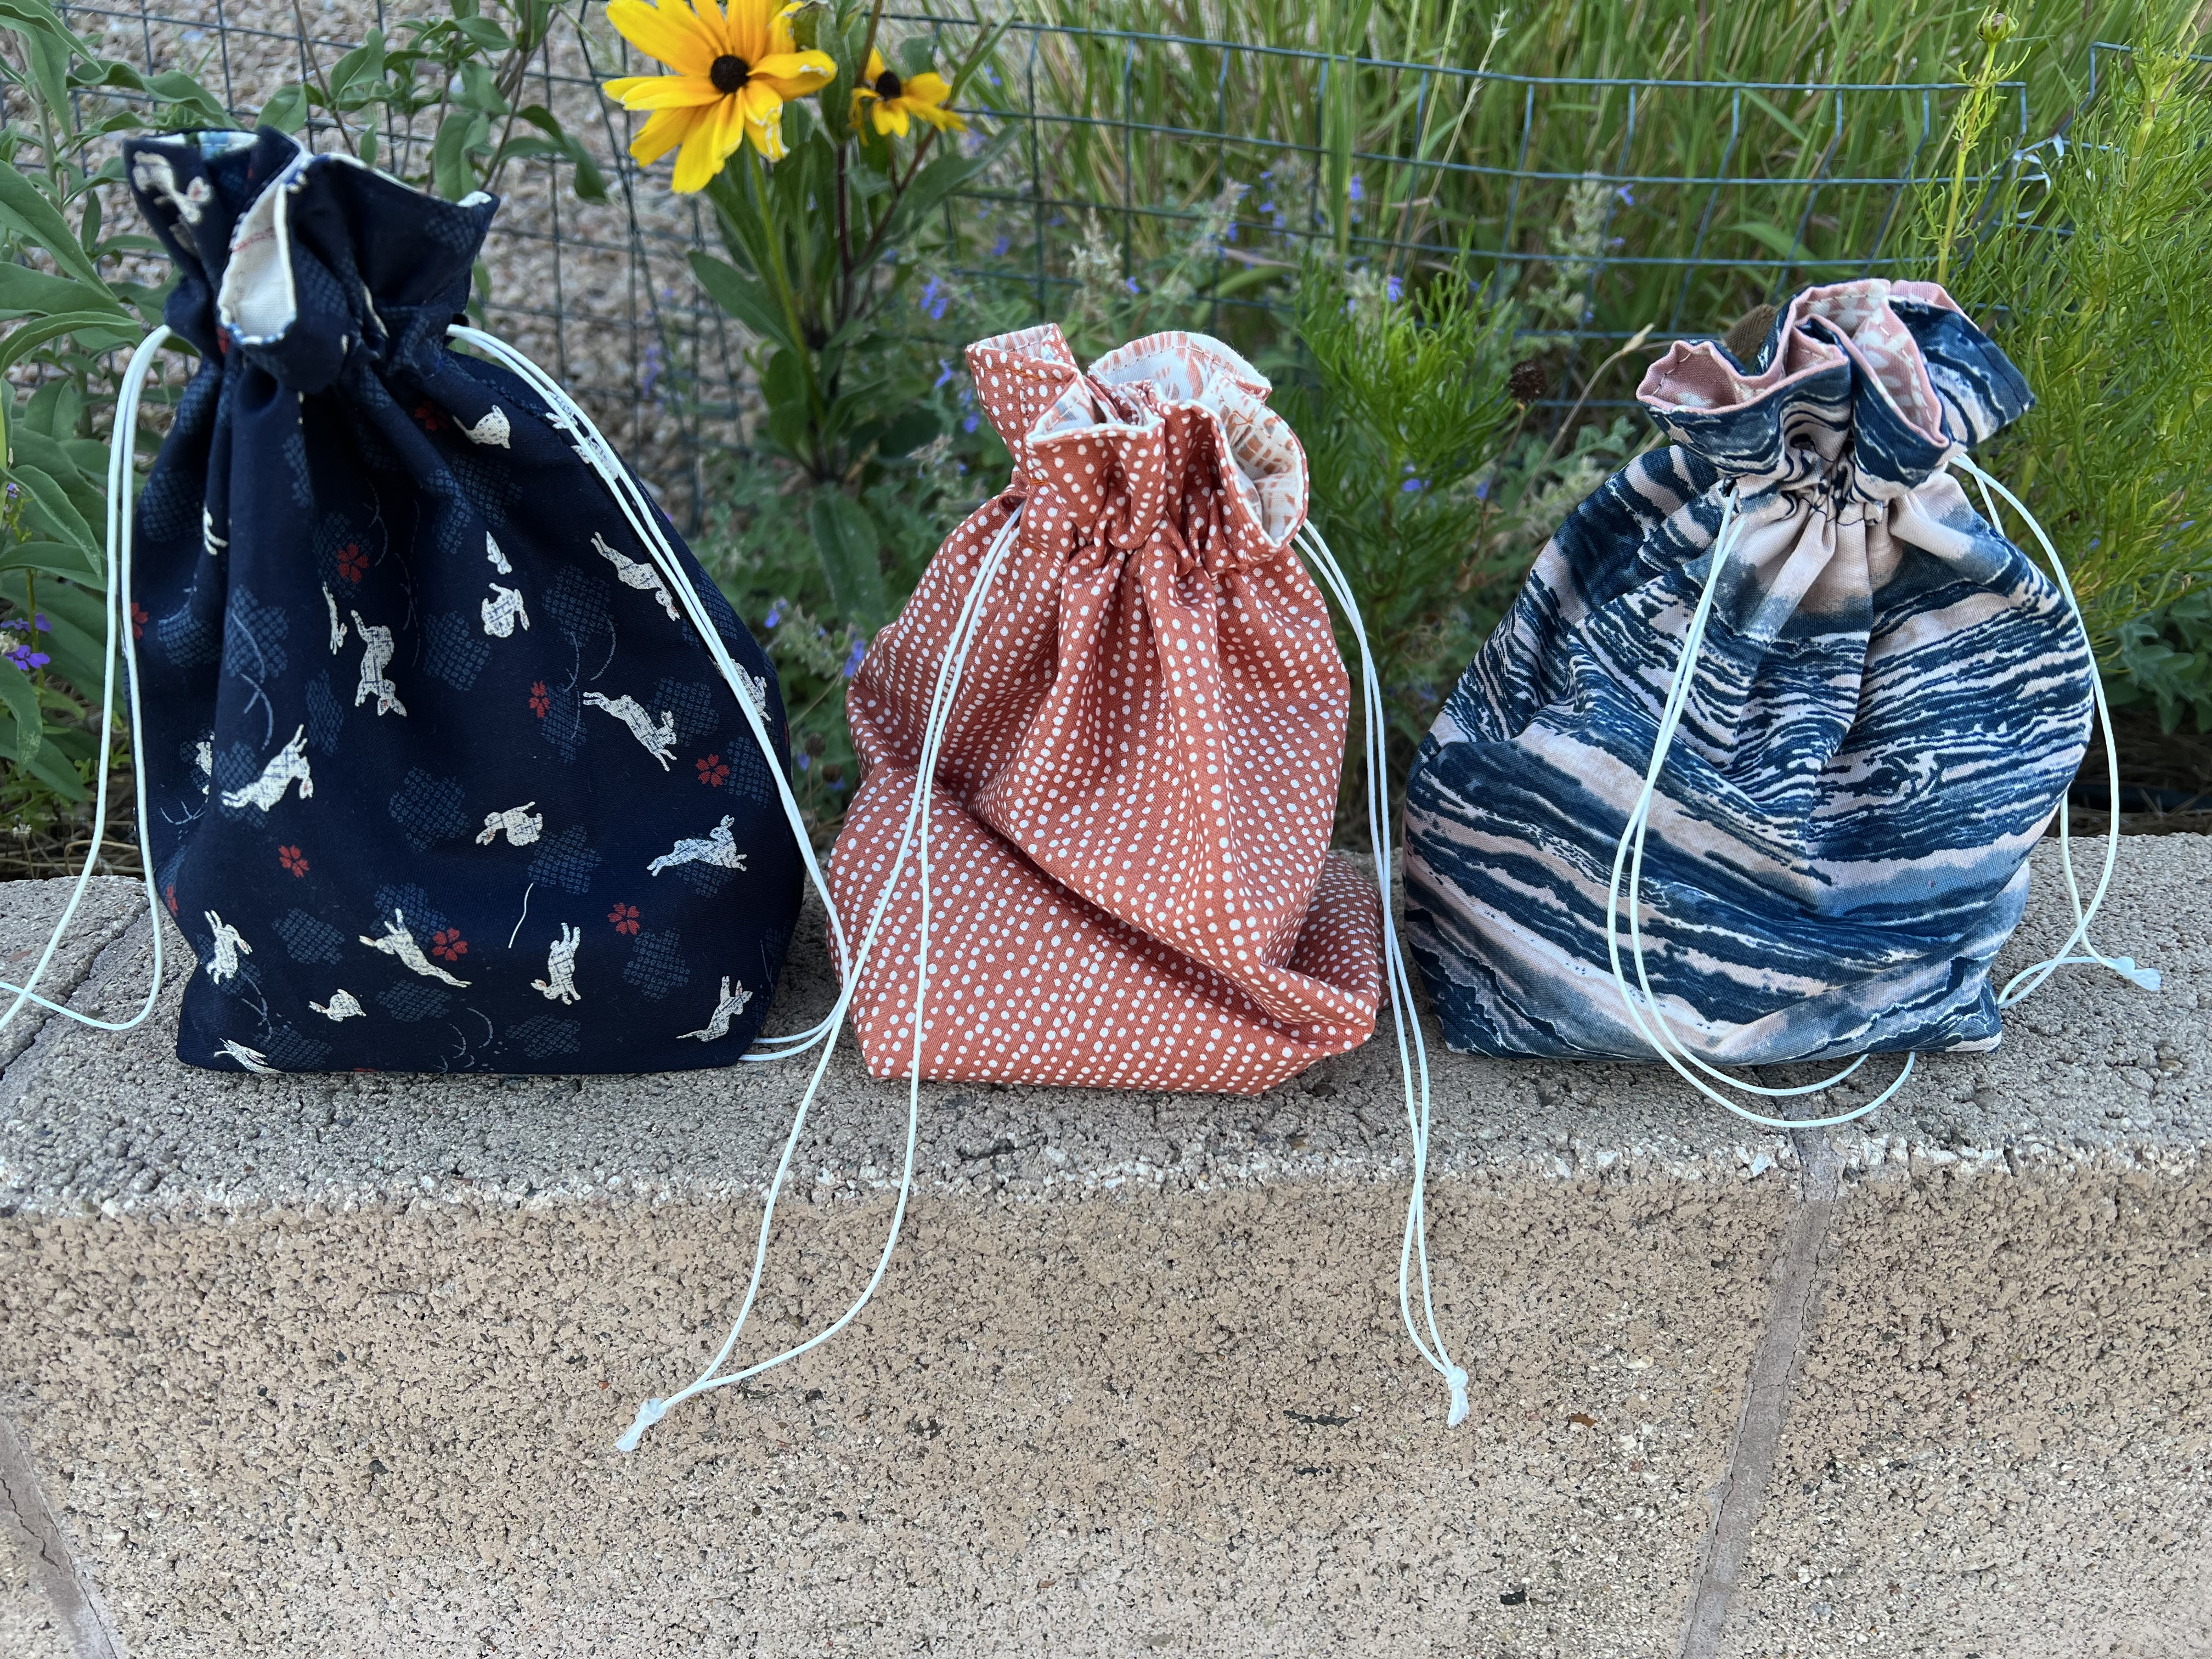
This project started with a largish garlic harvest. In the theme of “If you Give a Mouse a Cookie” it wandered from the need for garlic print fabric to store the garlic heads in to writing a post. Garlic heads like cool dark places, and to breathe. Gift bags to present the garlic in would likely be reused. That is the point of a reusable gift bag, right? Thinking that my dearest friends may not want to walk around with a garlic print reticule, I decided to make them not just lined, but reversible. Kudos to my LQS for having coordinates to the two garlic prints I ordered from Etsy. Choices. Thanks to Nob Hill Fabrics for the six lovely prints used in the photos.
Materials: 2 Fat Quarters Quilting Fabric, 8 feet drawstring, coordinating thread, glue stick and safety pin or bodkin, ruler.
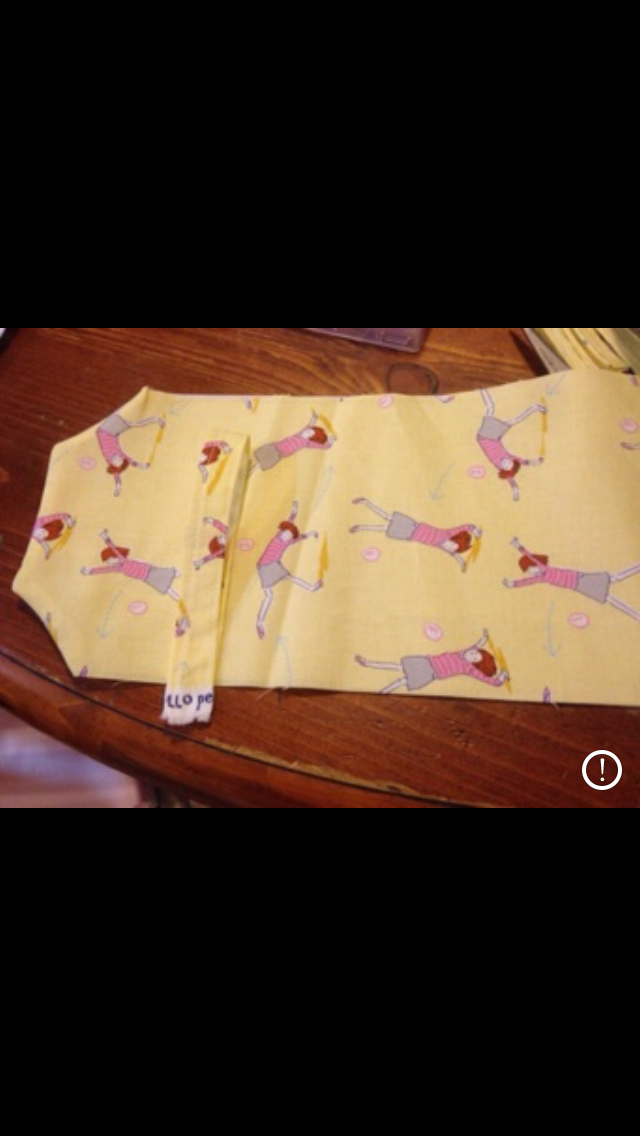
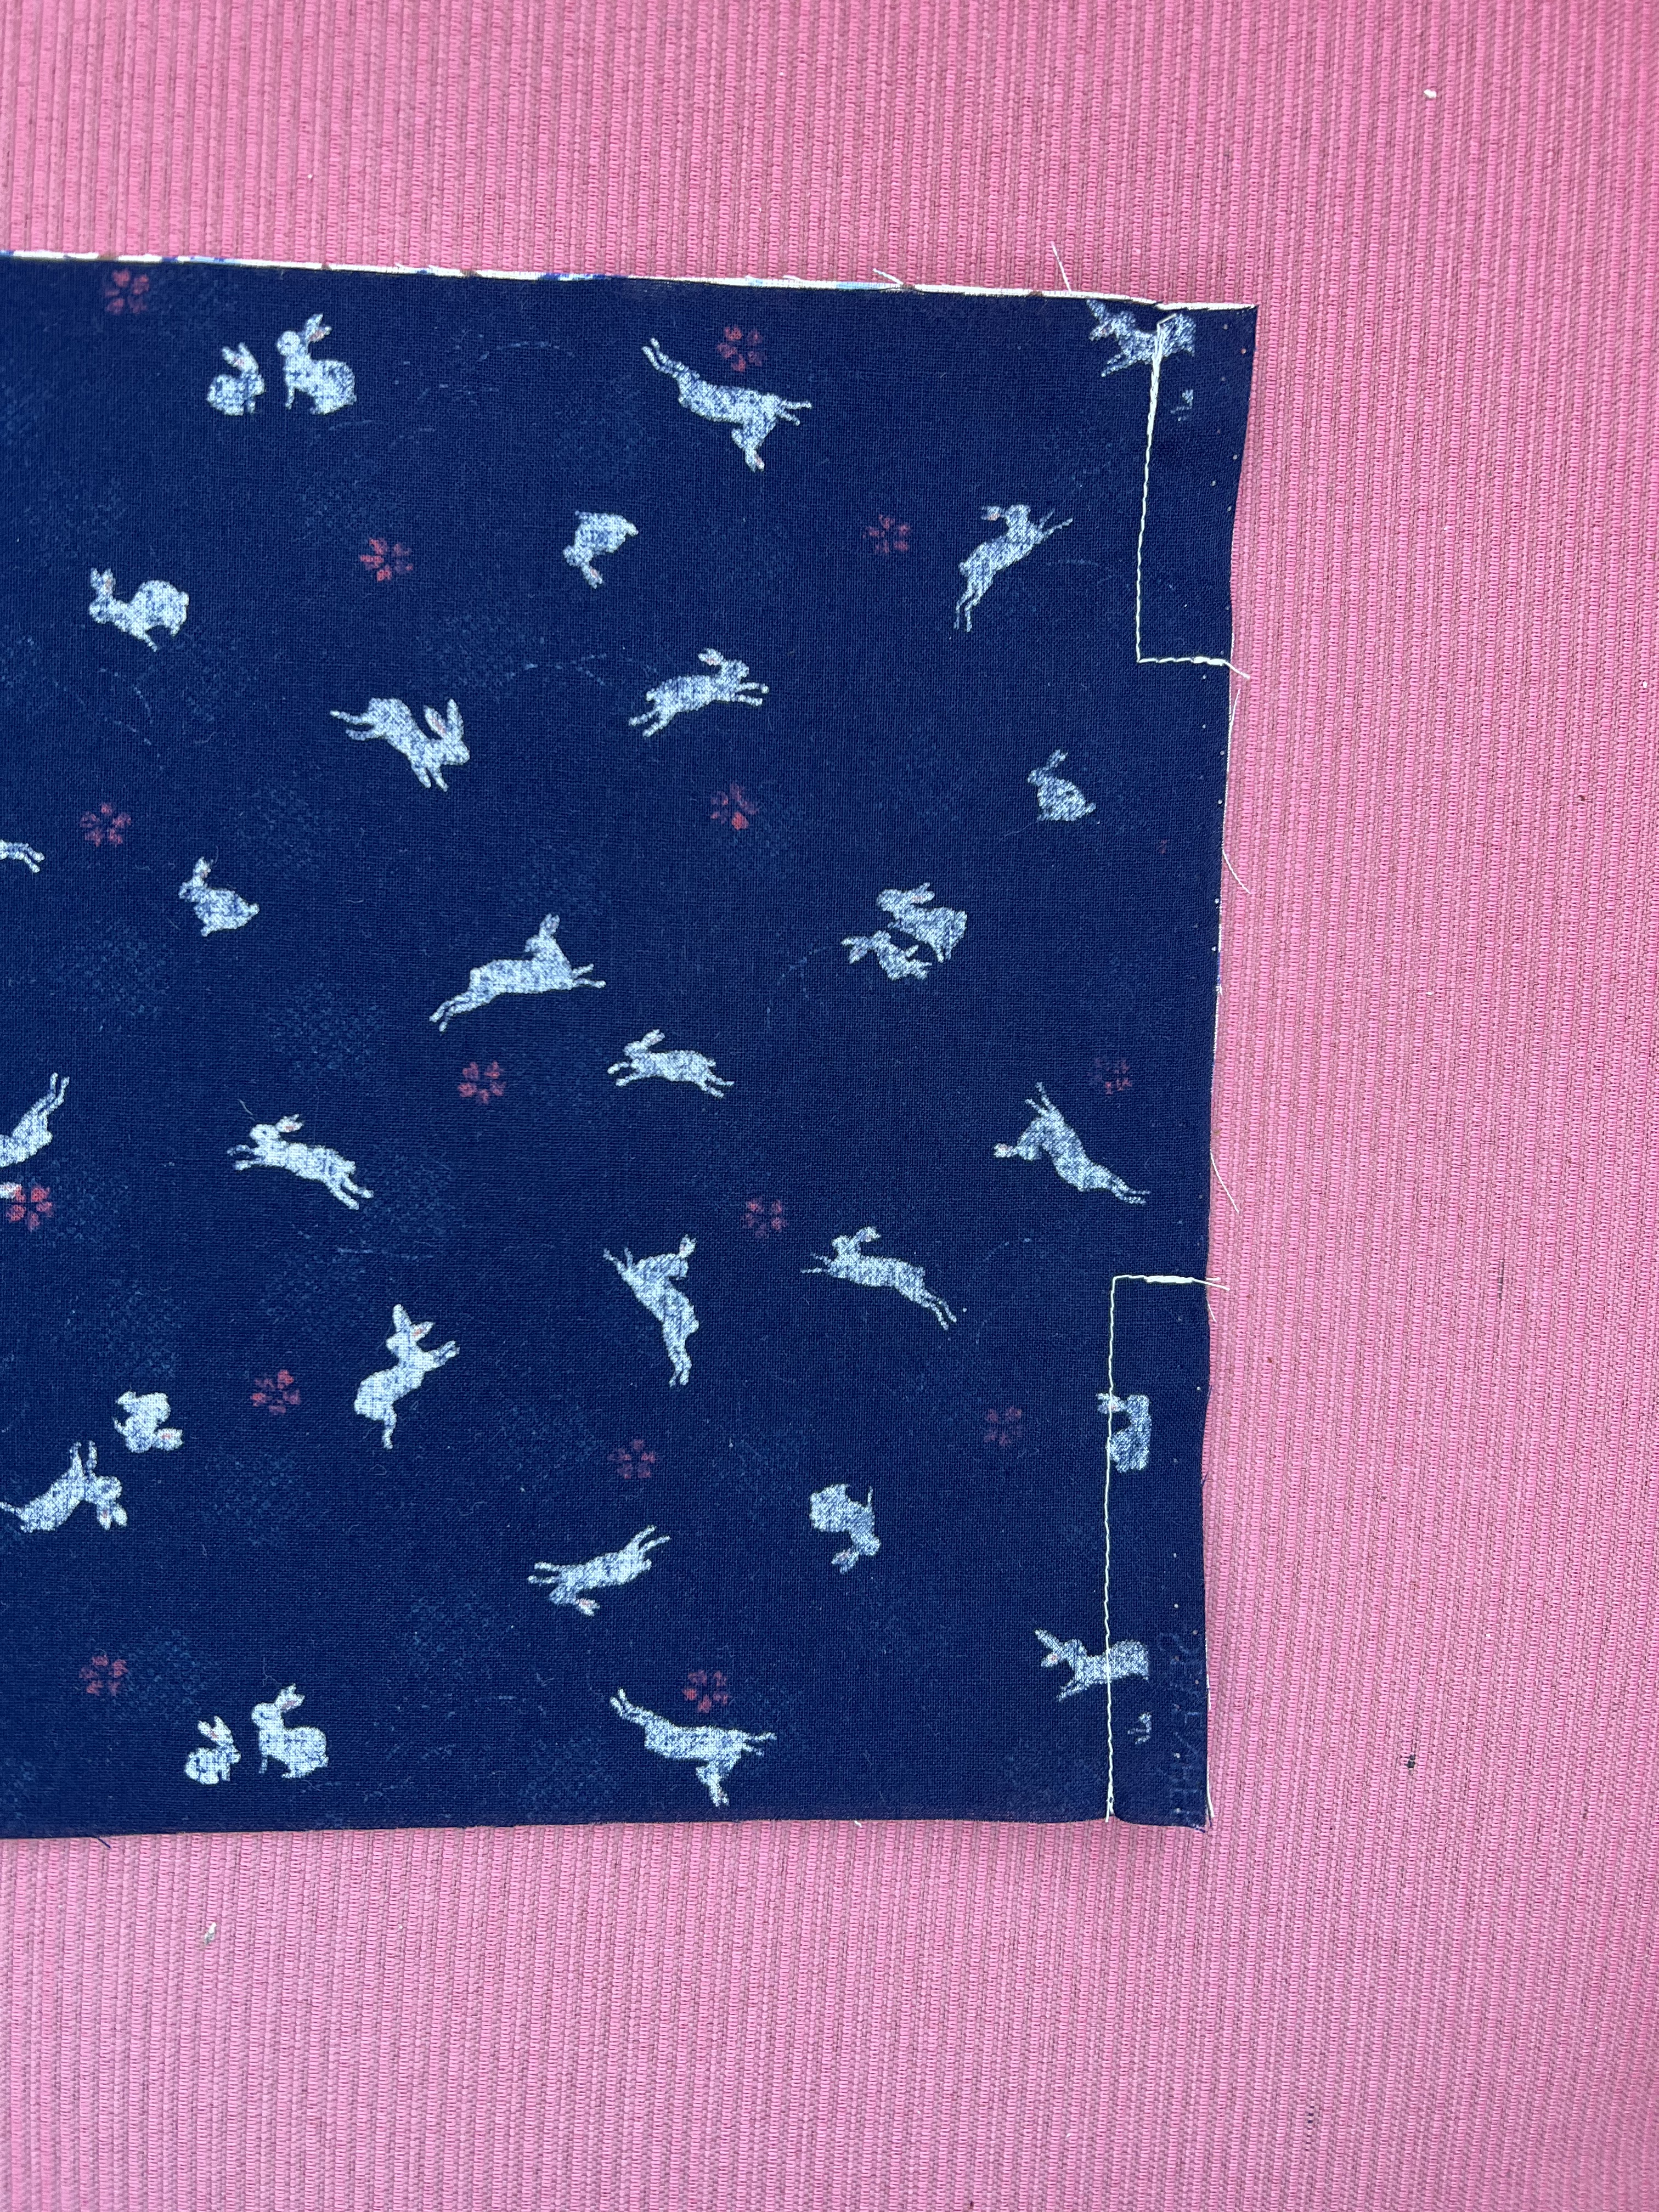
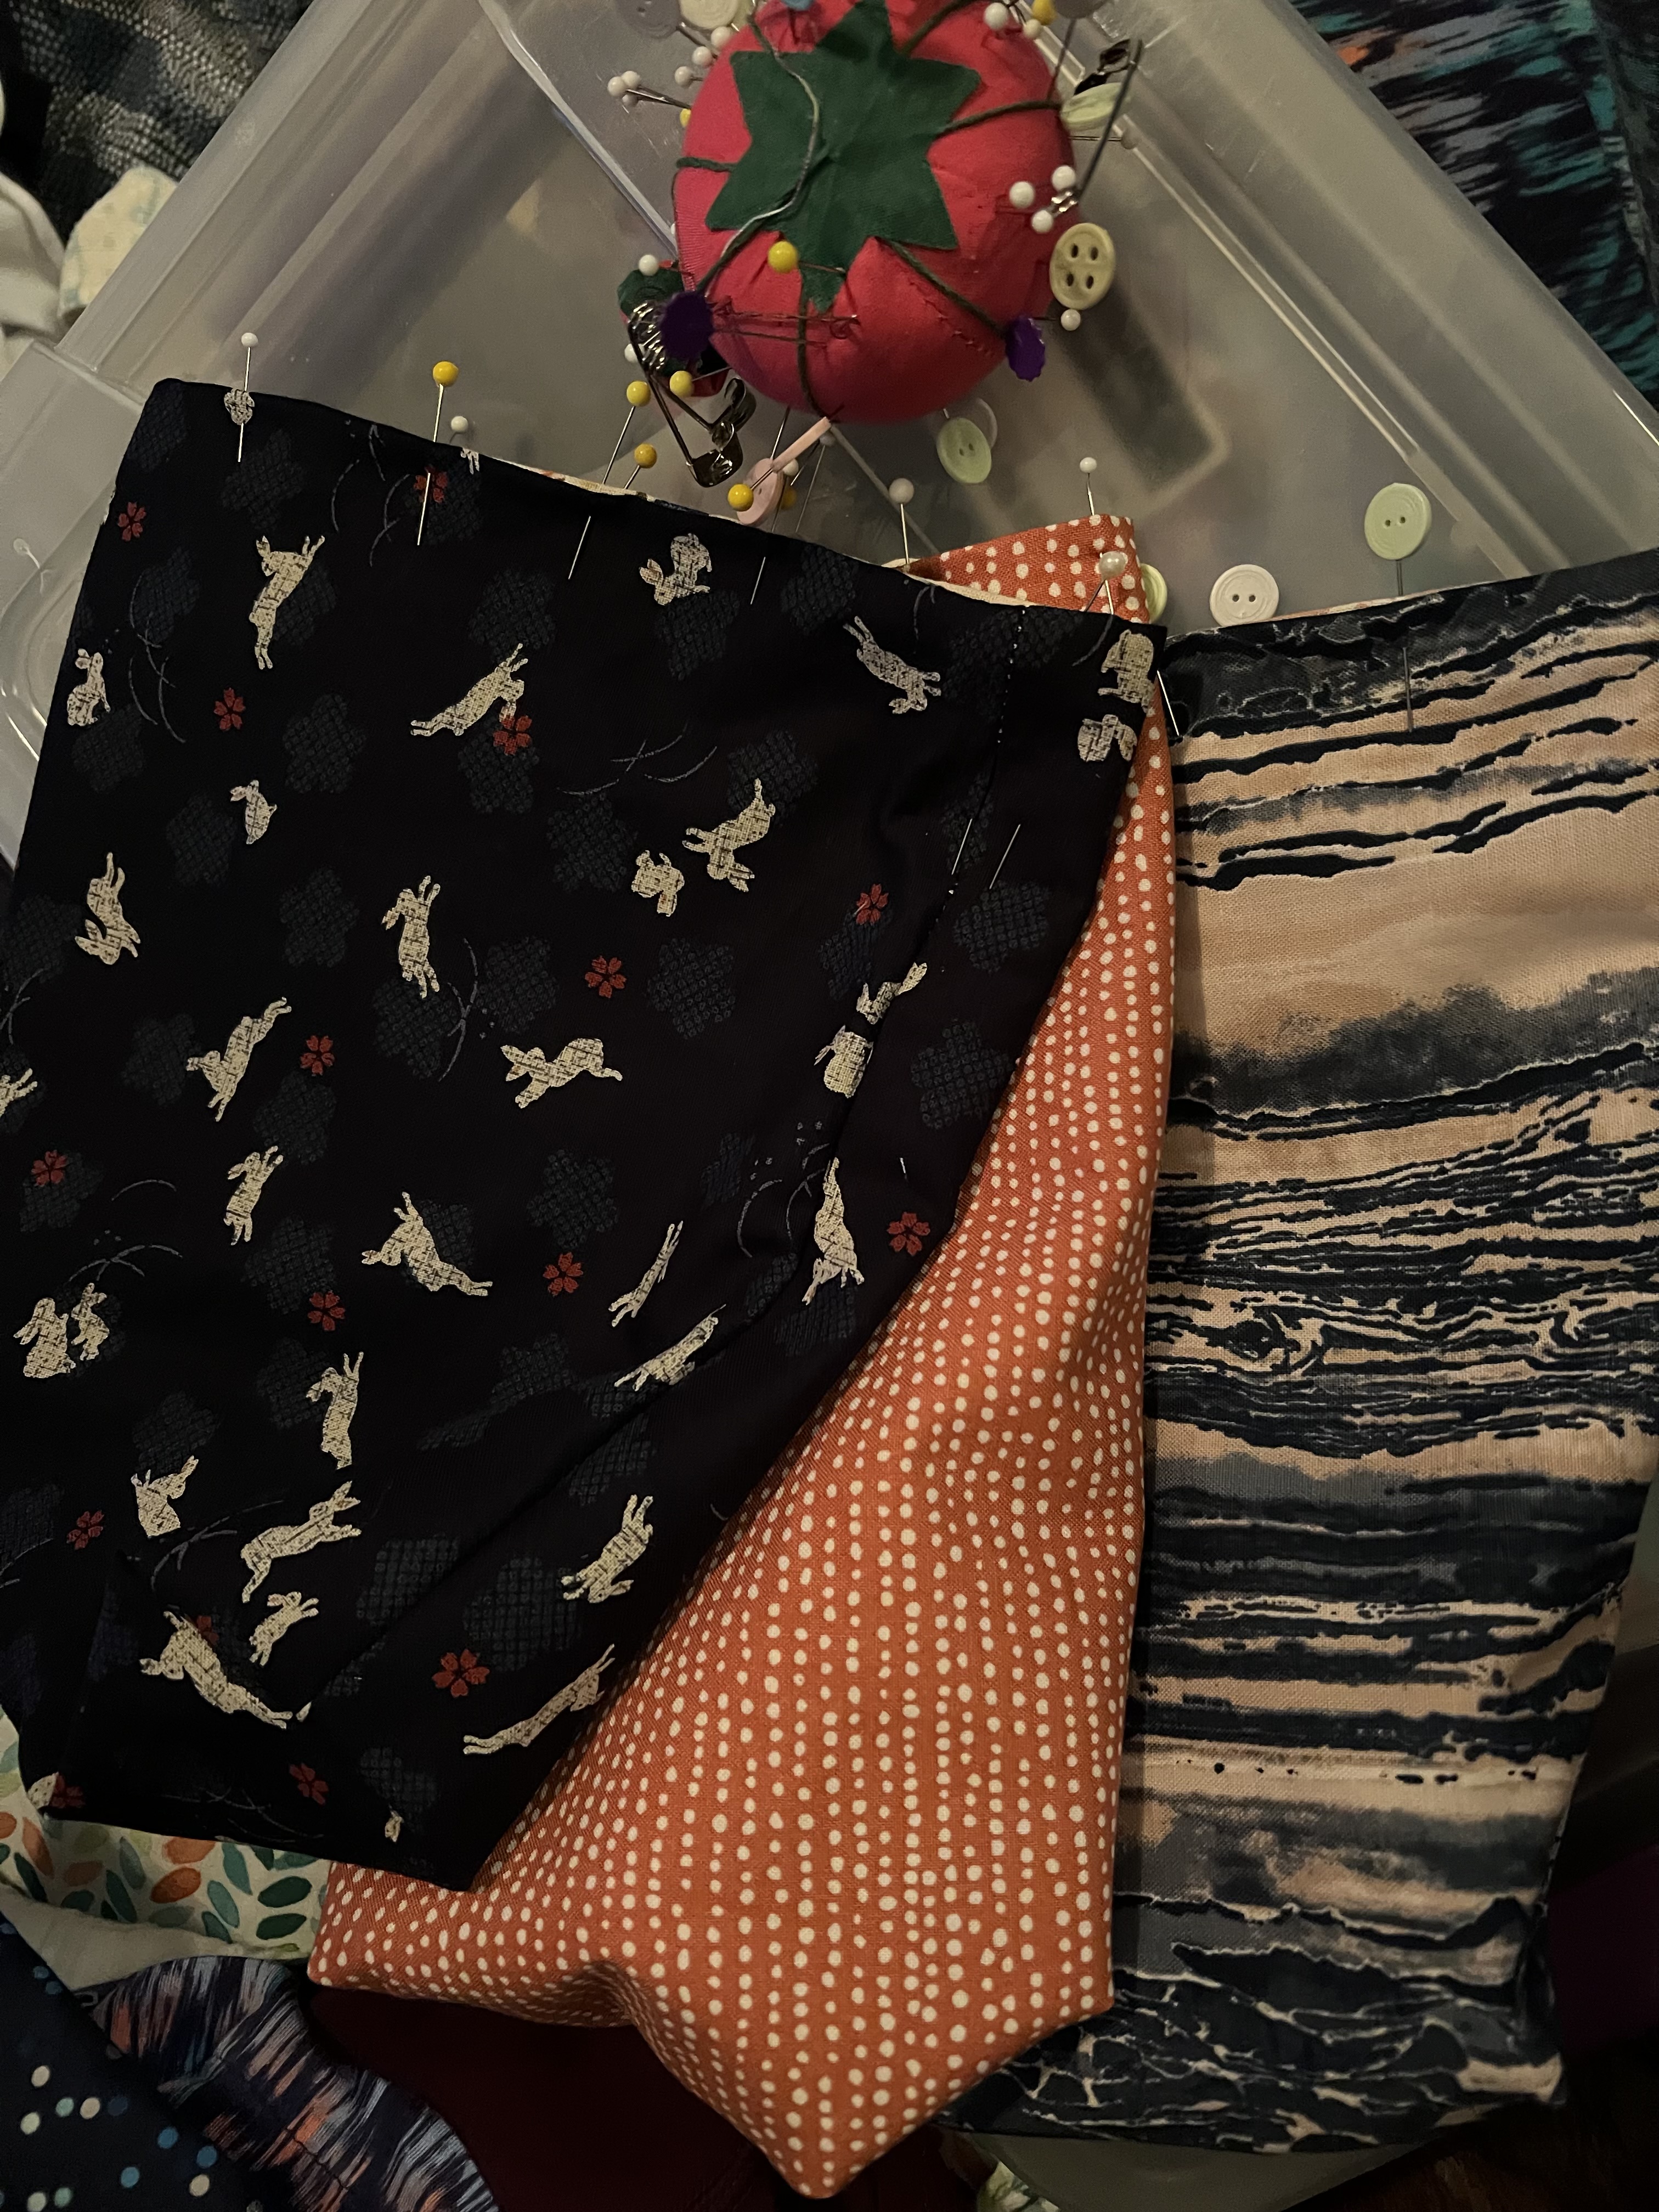
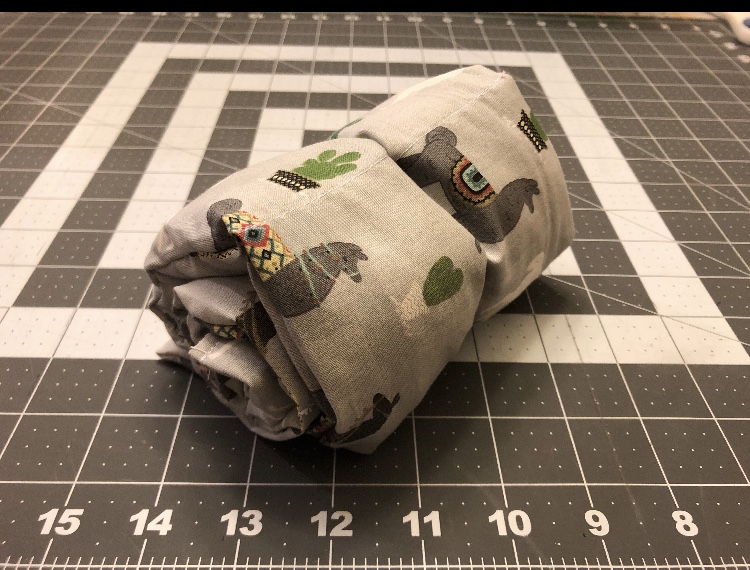
- Cut two coordinating rectangles of quilting or other similar fabrics. Here, I used 9” x 21”. Non directional prints work best.
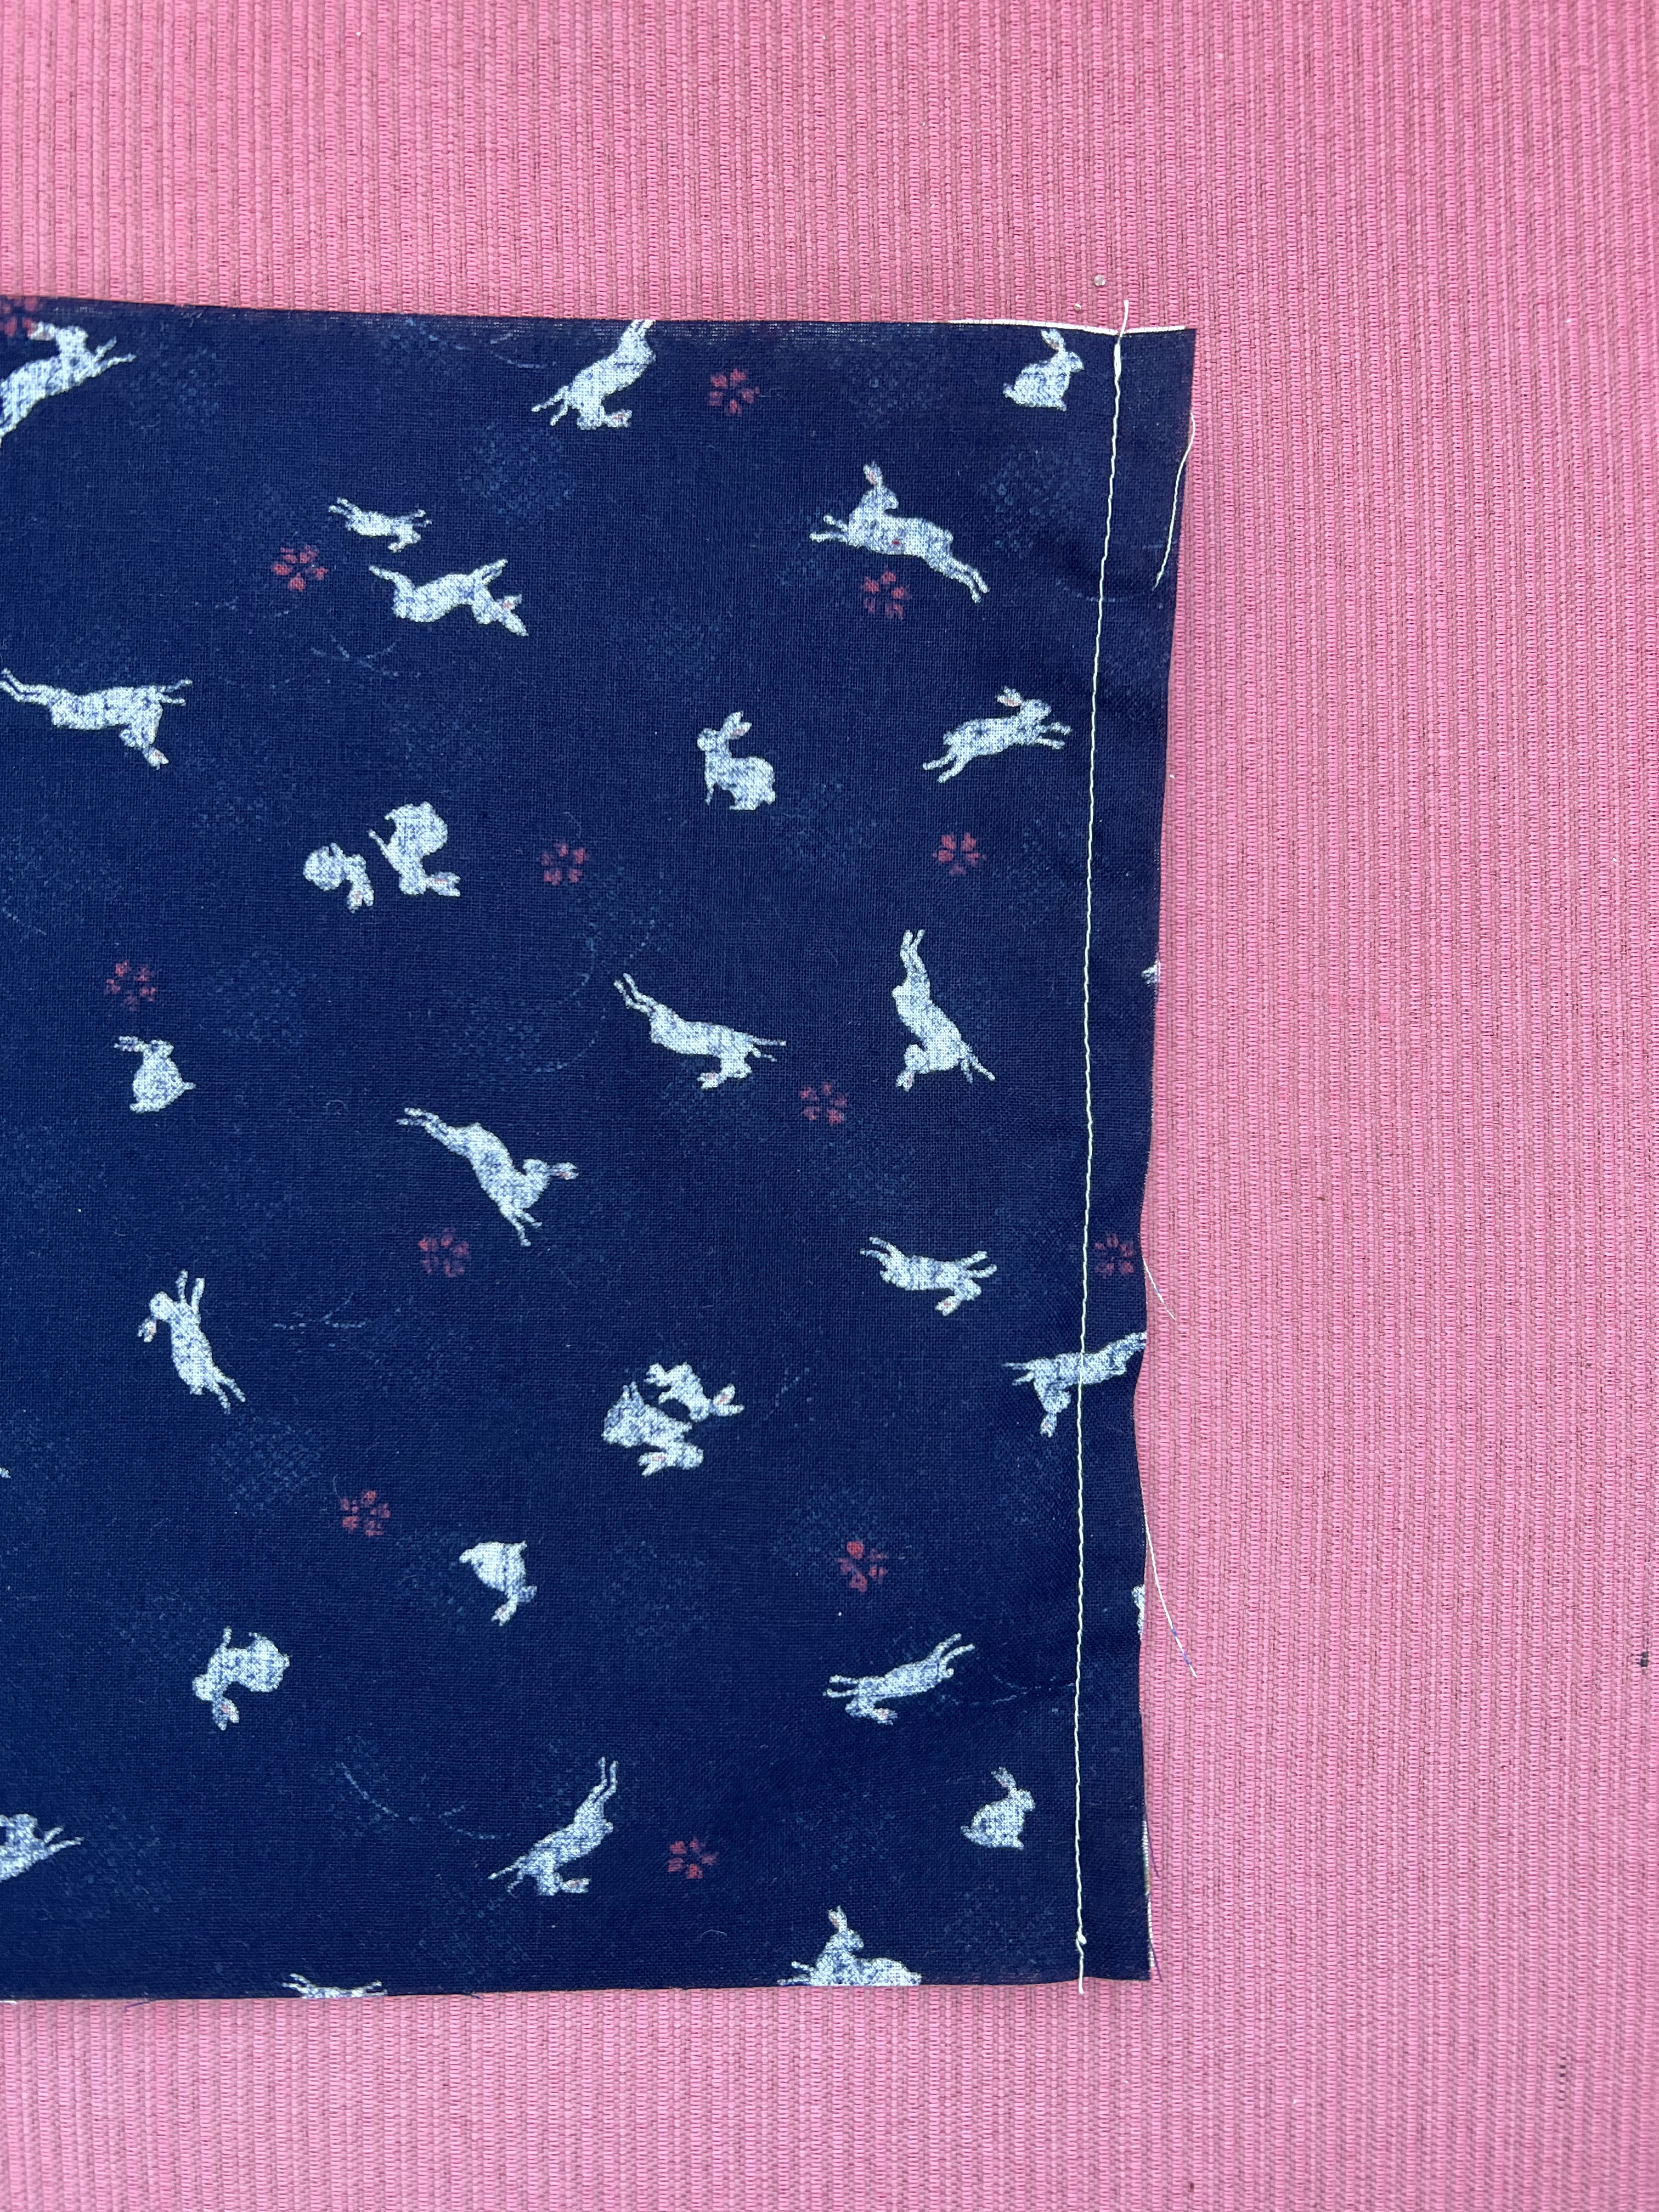
- Sew the short edges with a 1/2-inch seam allowance with the right sides together. Leave a 3-inch opening in the center of one edge for turning the bag later. (Step 2 is leaving the opening)
- Open the two pieces, so that the seams you just made are facing each other, right sides together. Nest and pin those seams, so that one seam allowance faces left, and the other right. Pin both sides.
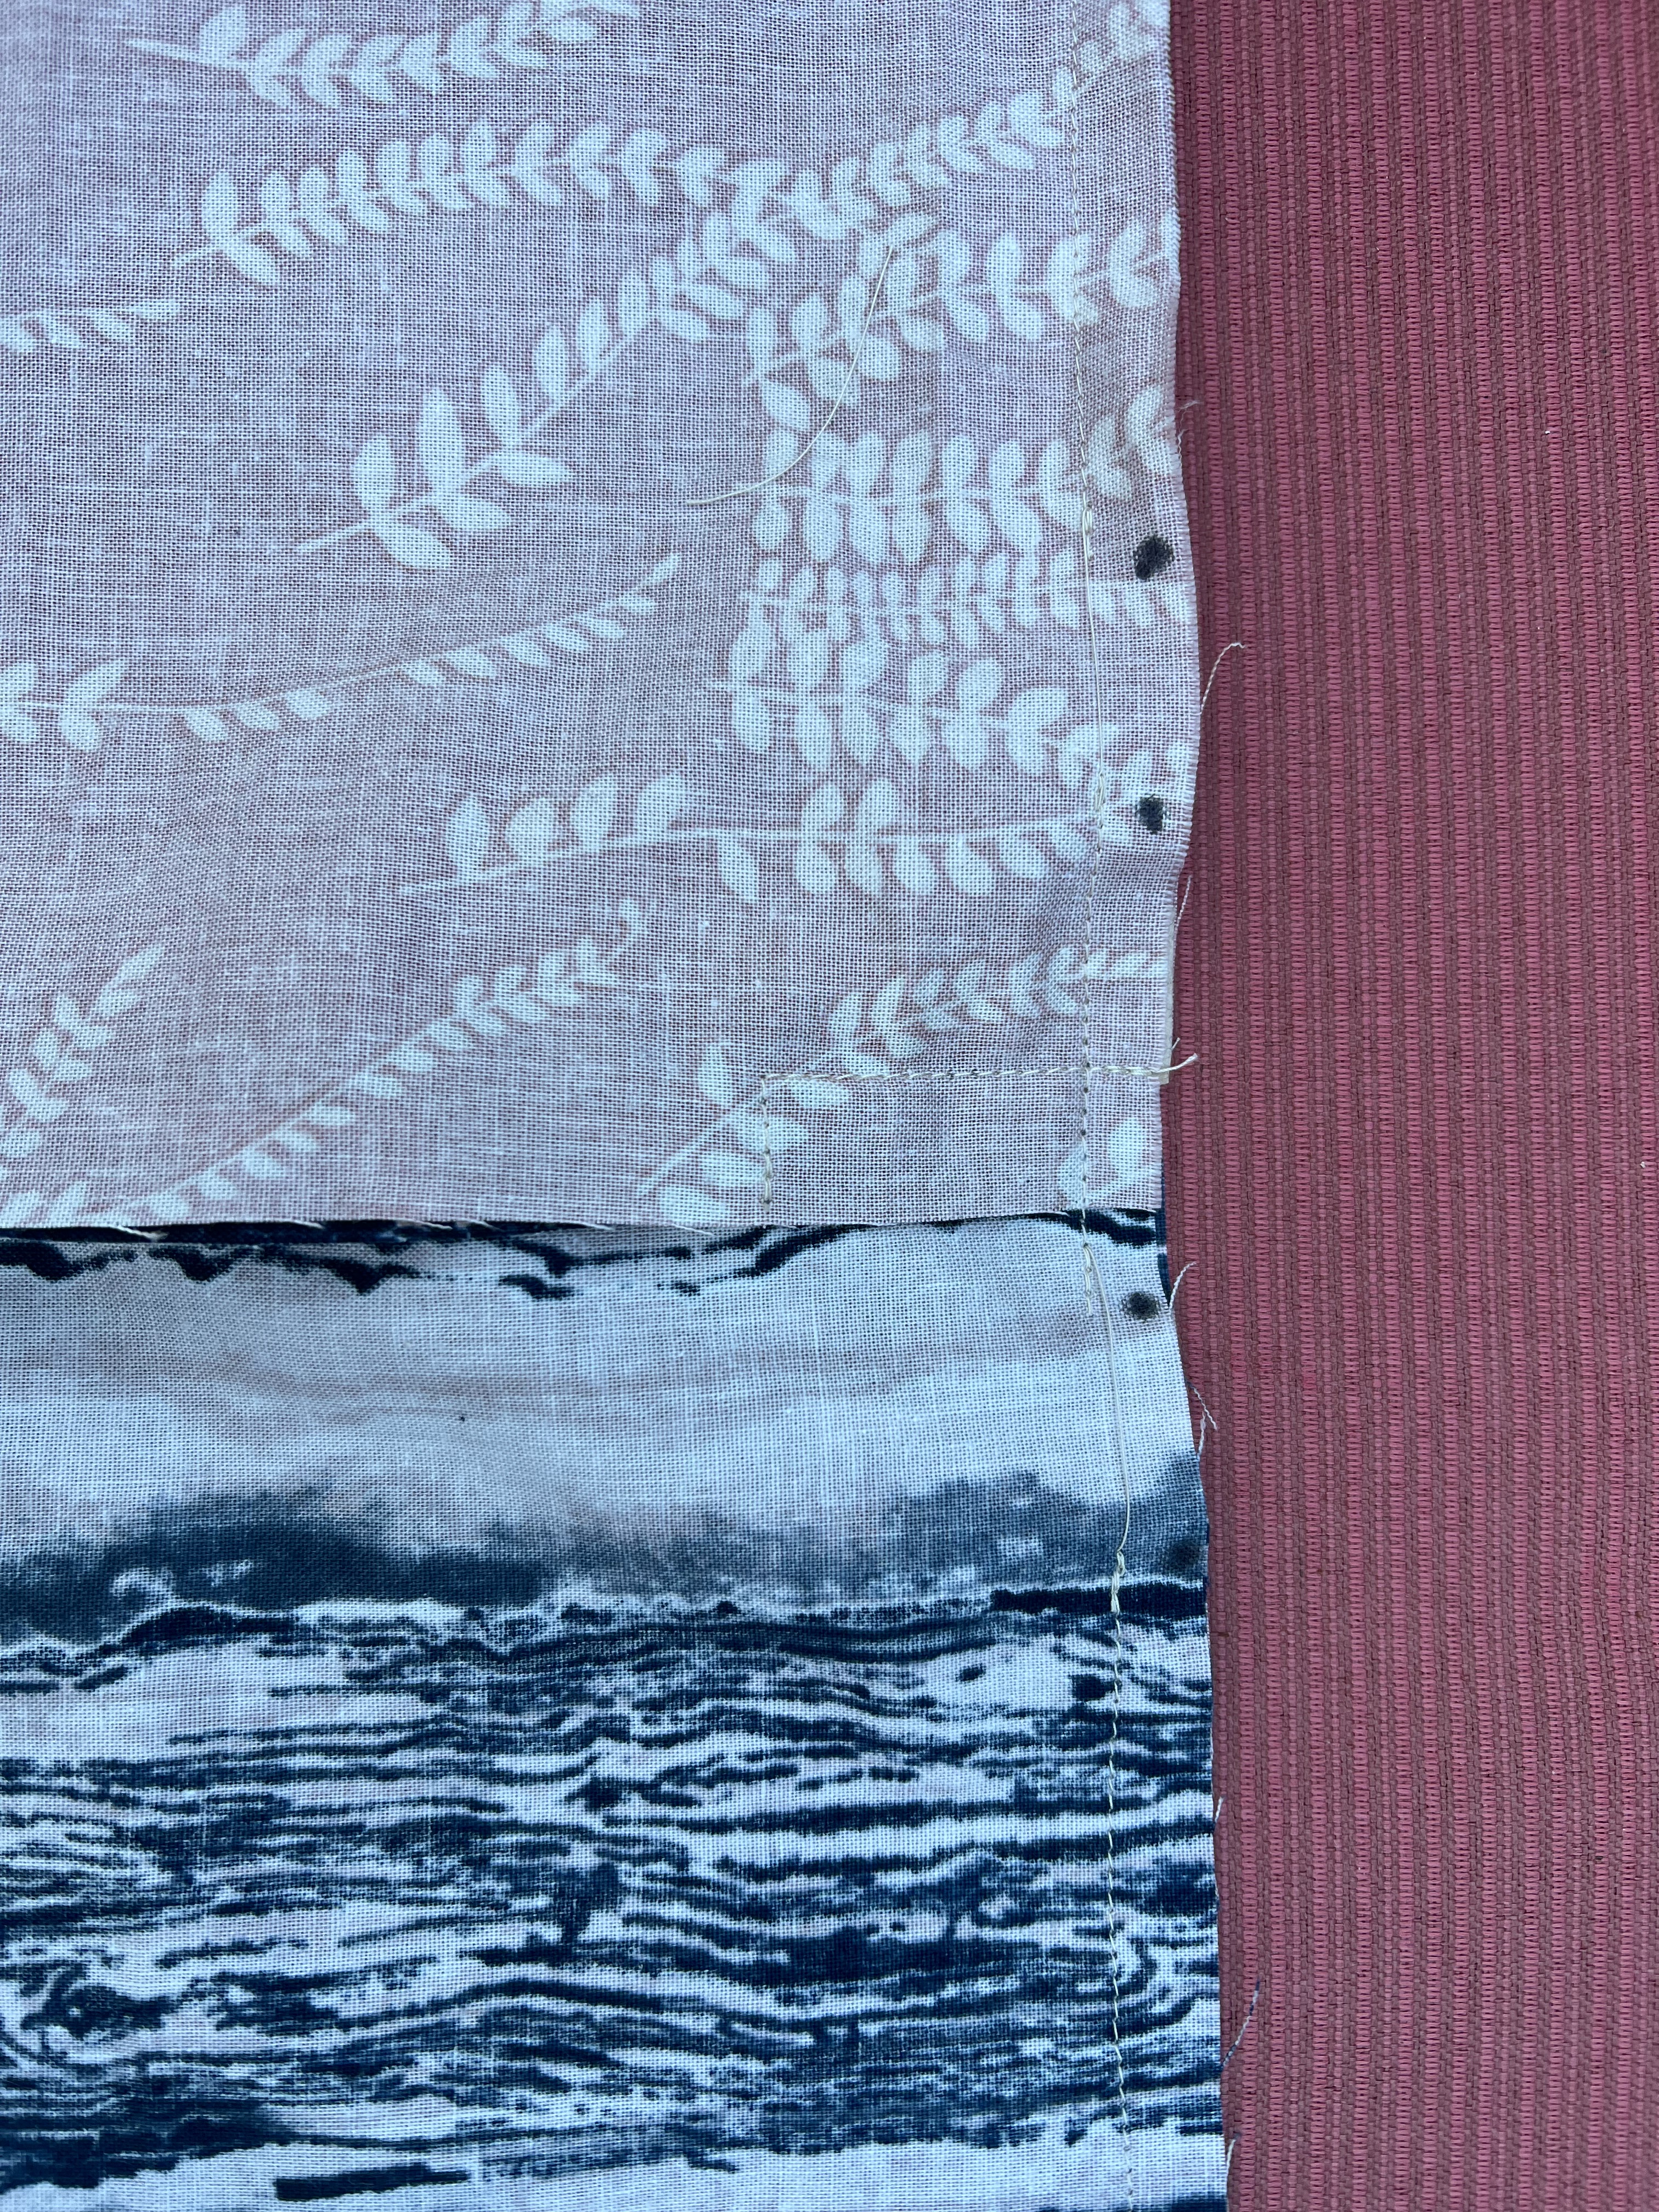
- Mark your fabric as follows: With the center of the seams on the 2-inch line of a ruler, mark at 0, 1, 3 and 4 inches. This will create the opening for the casing. Mark each side.
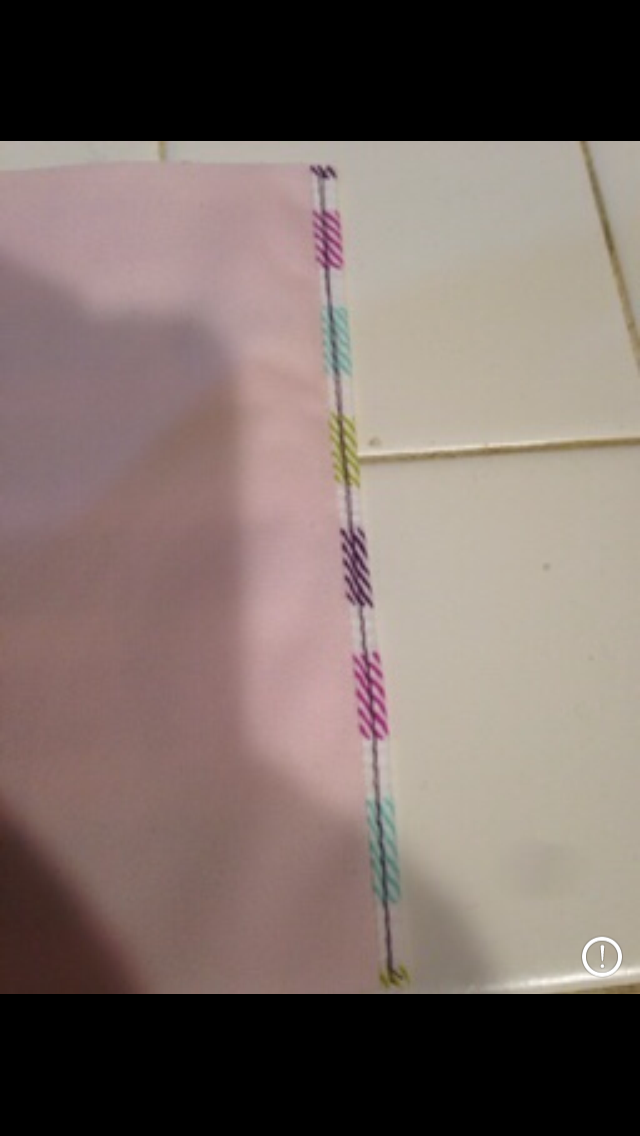
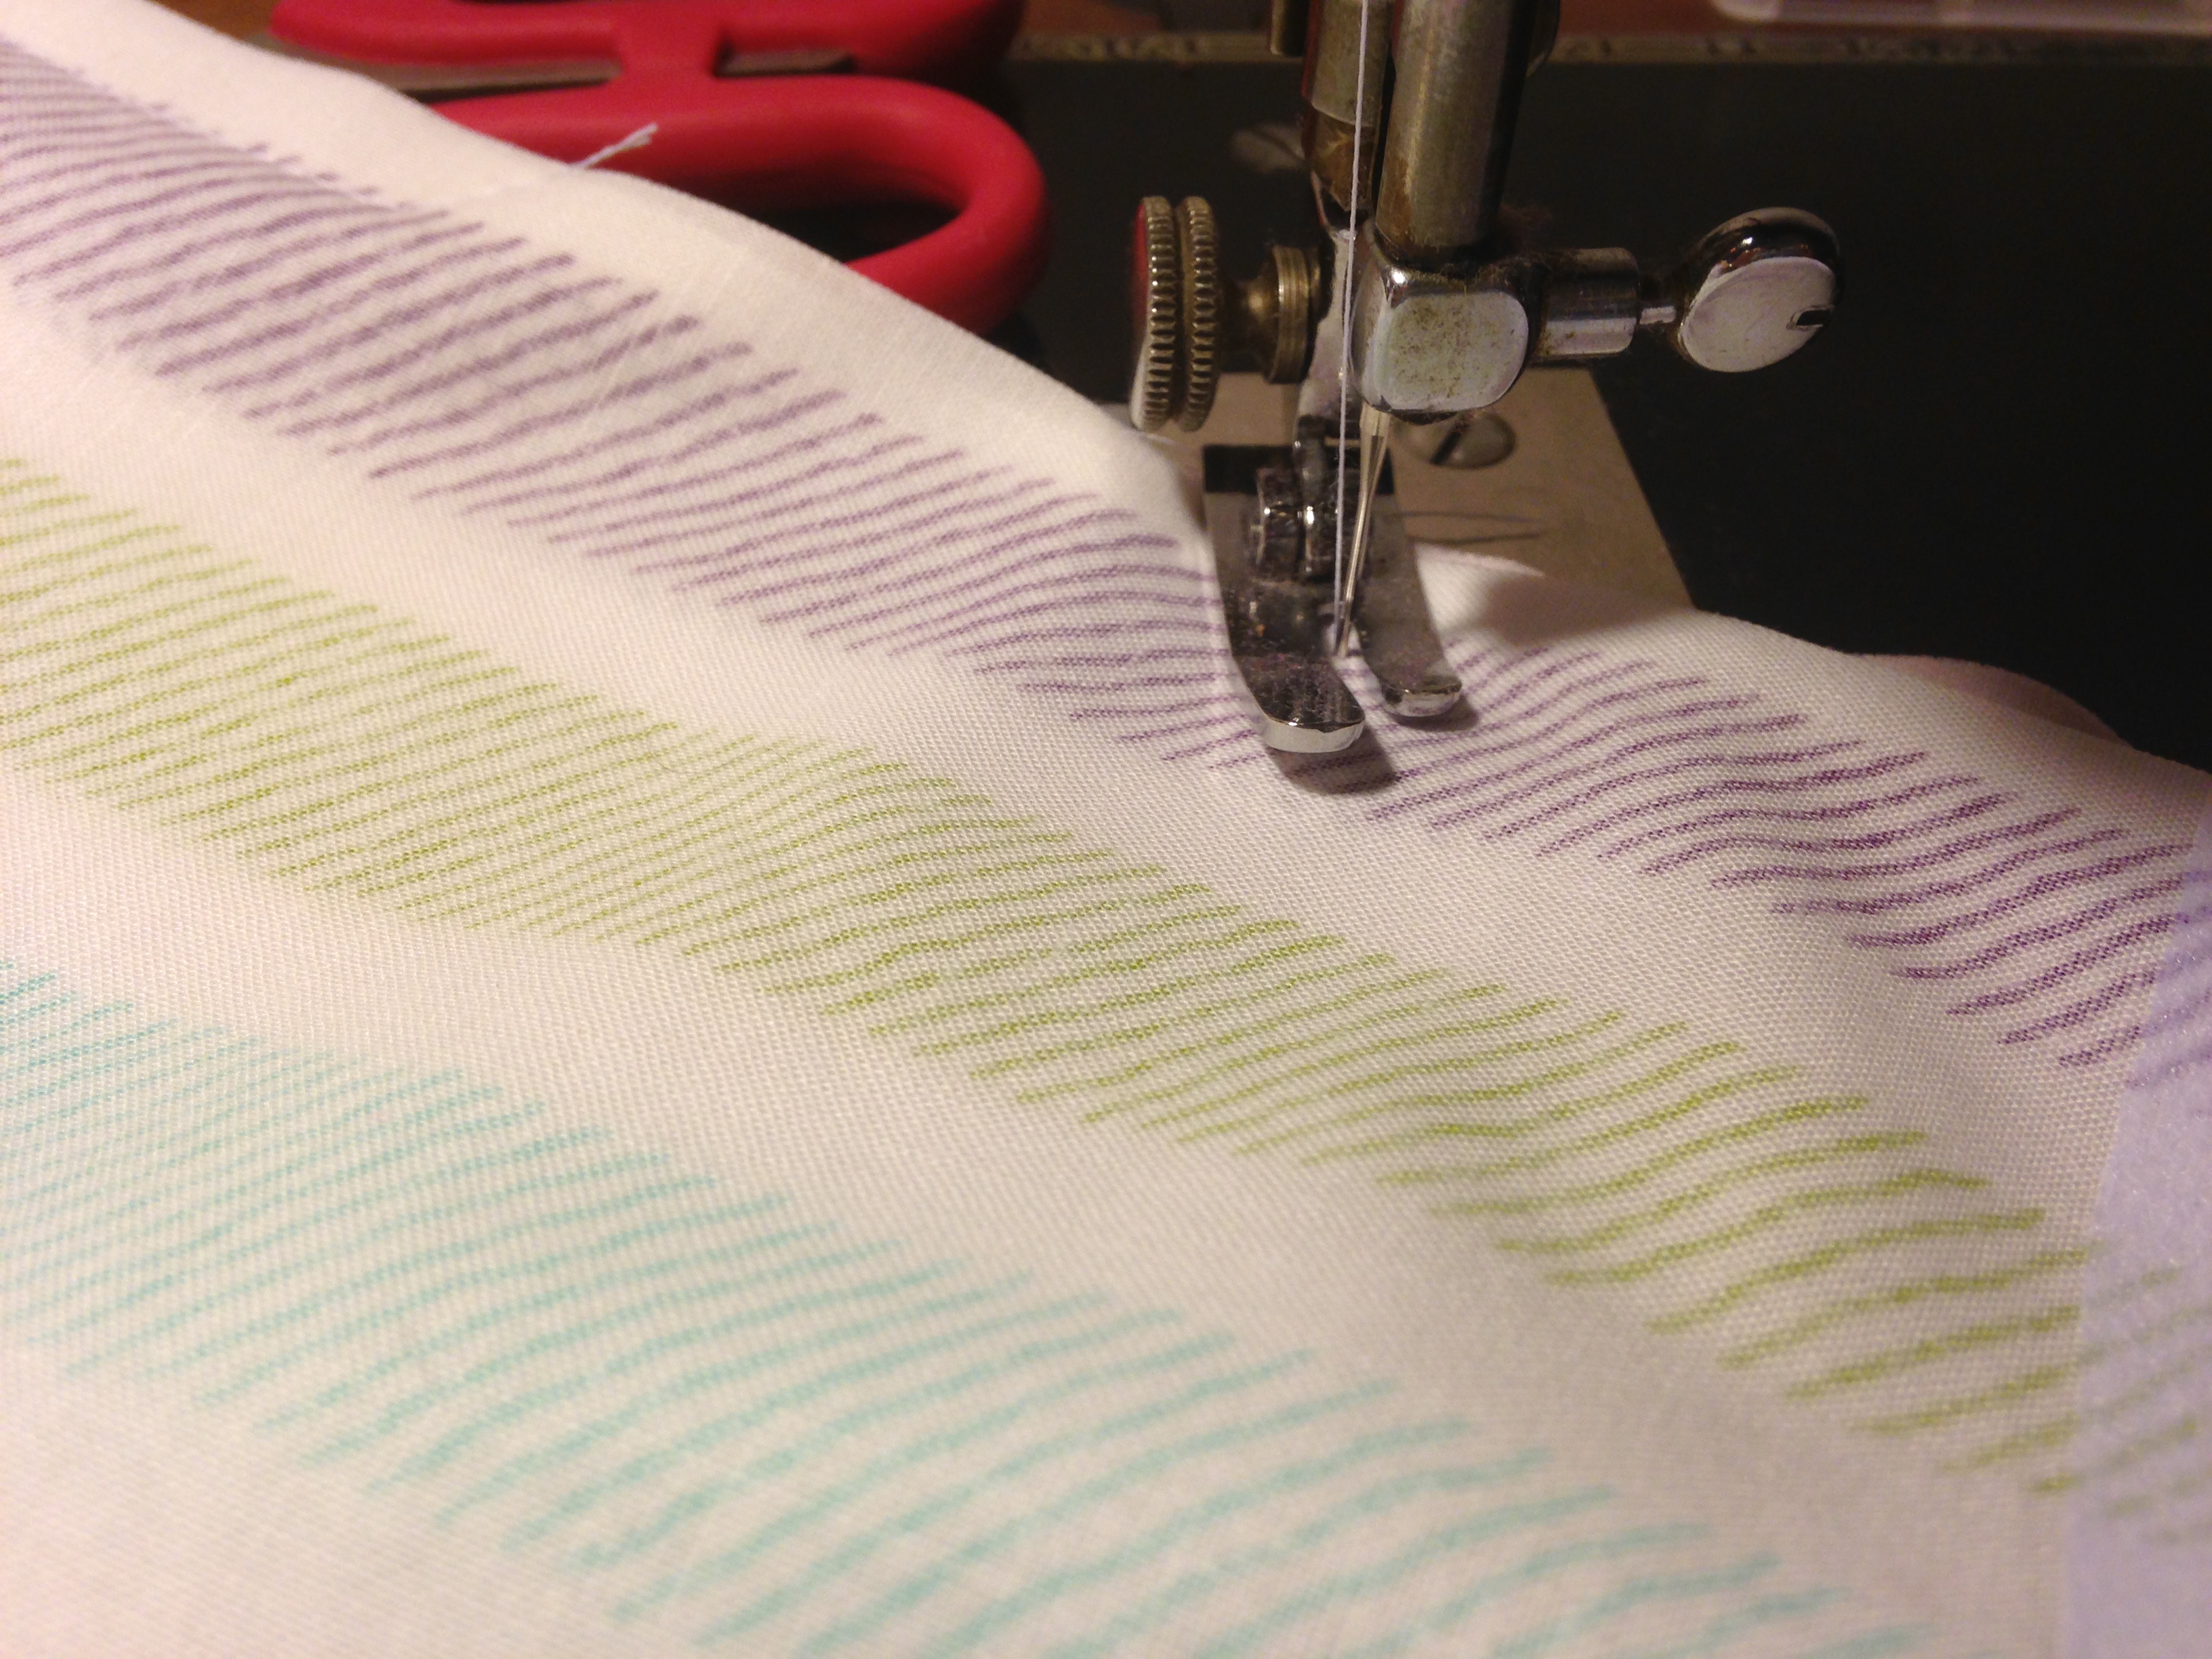
- Sew a seam that starts at the fold of fabric “A” and goes to the 0-inch marking. Back tack there. Skip the inch between the markings 0 and 1. Start a seam securely by sewing in place 3-4 stitches at the 1 spot and sew over the center seam to the 3 spot. Remove pins just before the needle hits them. Skip the area between 3 and 4. Start a secured seam at 4 and stitch until you get to the end fold of fabric “B”. Be sure that your stitching is secured at either end, and that the spaces between marks 0-1 and 3-4 are clearly open. I generally do not cut the threads in those spots. Use a ½ inch seam allowance here.

- Box the corners if you choose. My favorite method is to draw a 1.5-inch square at the bottom corners. The fold line will be at one side of the square, and the seam line at the other. Draw the box at the other two sides of the 1.5-inch square. Open the corner, so the box lines are aligned the seam allowance is pressed open, and stitch across the bottom. Alternatively, you can “squash fold” each corner, and draw a line that forms the triangle needed to form the “box”. Repeat for all four corners. This step gives a 3D form to the bag and is completely optional.
- Glue the seam allowances. To keep the seam allowances at the casing opening flat and open, you may use fabric glue (glue stick) to secure them. Run a line of glue stick in the seam allowance where you made the marks for the casing. Press back one edge at a time after applying the glue. Wash Away Wonder Tape would work well here. Repeat this on all four sides. Hand basting could also be done here.
- Finger Press The remaining seam allowances open, from the area where you glued to the bottom boxed area.
- Turn your bag right sides out through the opening you made in step 2. Slip the “lining side” into the outer, push out the boxed bottoms.
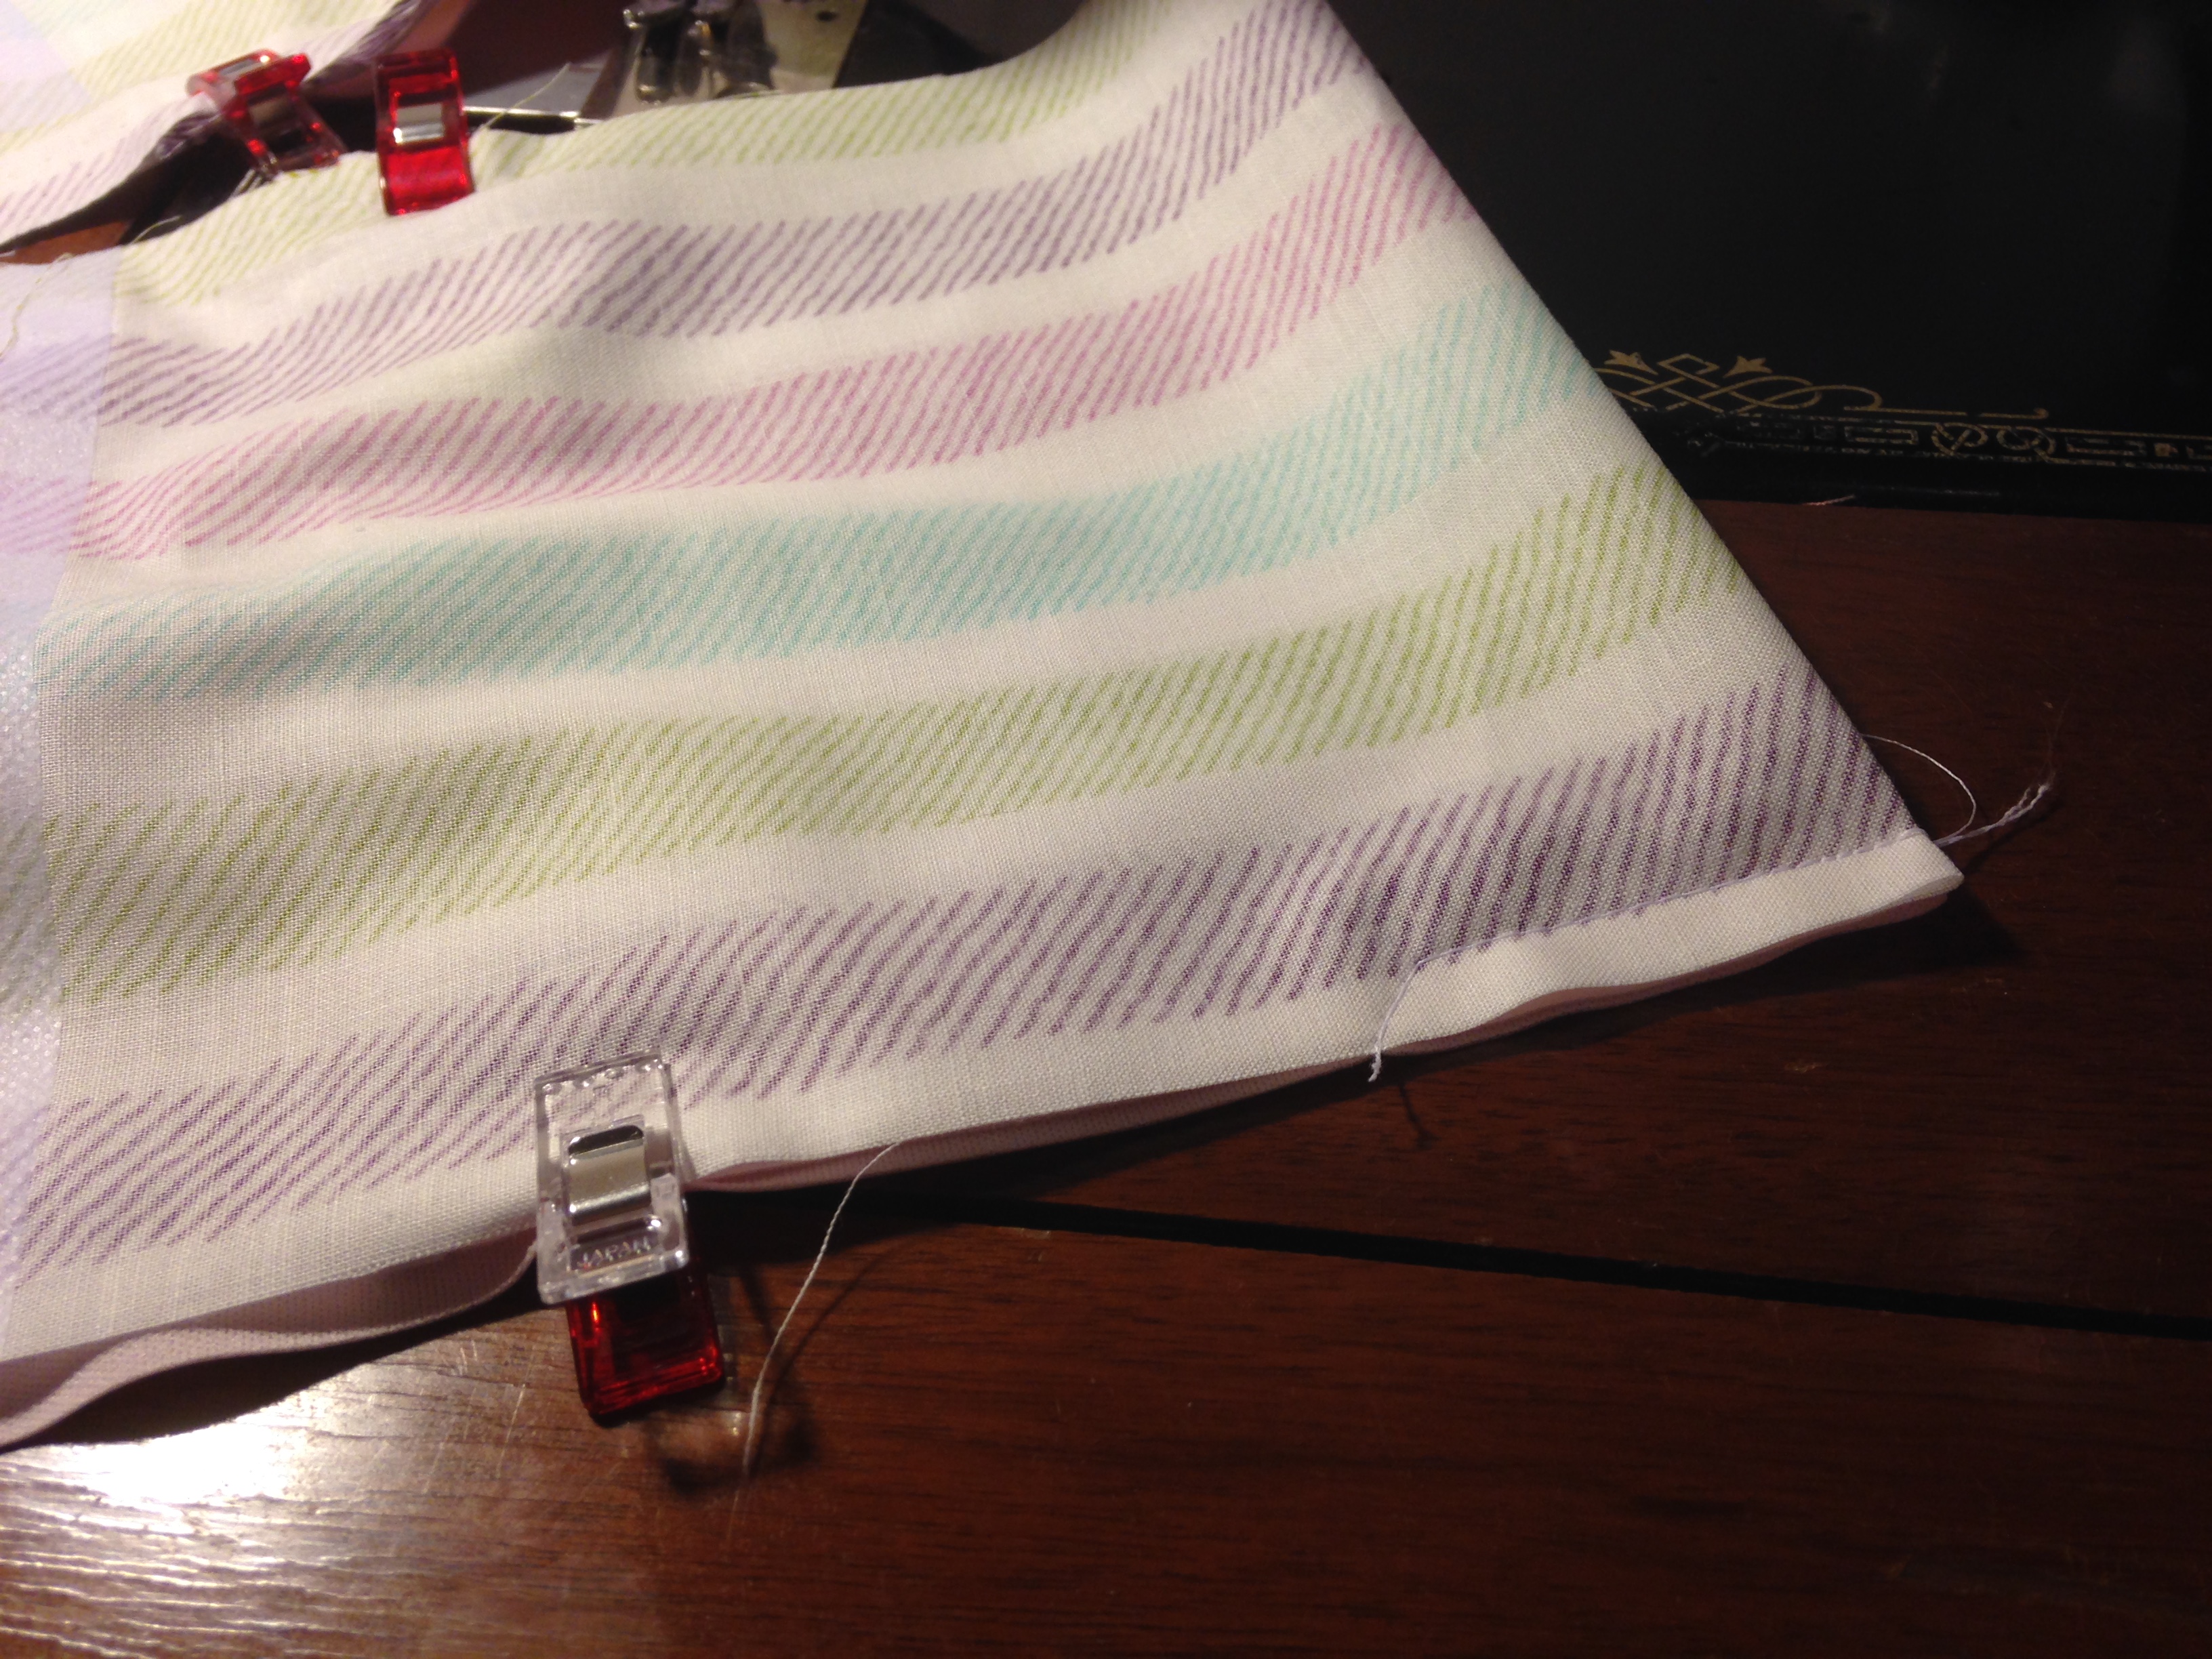
- Pin the top folded edge all the way around, paying particular attention to the casing openings. I like to pin each side of these so that the openings line up as close as possible. Pin the opening that you made in step 2 so that the folded edges line up.
- Top stitch the edge. Use a foot with a seam guide and sew round the very top edge of your bag. This will seal the opening made in step 2. Remove pins as you go.
- Create your casings. Mark the 1- and 2-inch lines parallel to the top fold or use a seam guide to stitch the two lines that will create your casings.
- Slide the cording or drawstring through the bag casings. I like to cut my drawstrings 3 times the width of the bag. This bag finishes at 8” wide, so a 24-inch drawstring will go through the bag and leave enough leftover to tie. Two ties that exit either side will make it easy to pull both sides of the ties to close your bag.
Have fun with these! Two bags can be made with two fat quarters, and 8 feet of drawstring. Try different sizes, keep proportion in mind, with the long edges of your rectangle being more than twice the length of your short end. Use scraps, or fancy fabrics, embellish, embroider, add trim, tassels, or an edging. Use your decorative stitches. Change up the casing sizes with your meter stick and use centimeters instead of inches.
Another efficient use of quilting fabrics would be to use 14 inch wide by 36-inch-long rectangles. Two one-yard cuts of coordinating fabrics would net you 3 bags that are 13 x 17 finished before boxing corners. You would need 20 feet of cording for your drawstrings for all three bags.
Happy Sewing! Joan 8/30/23

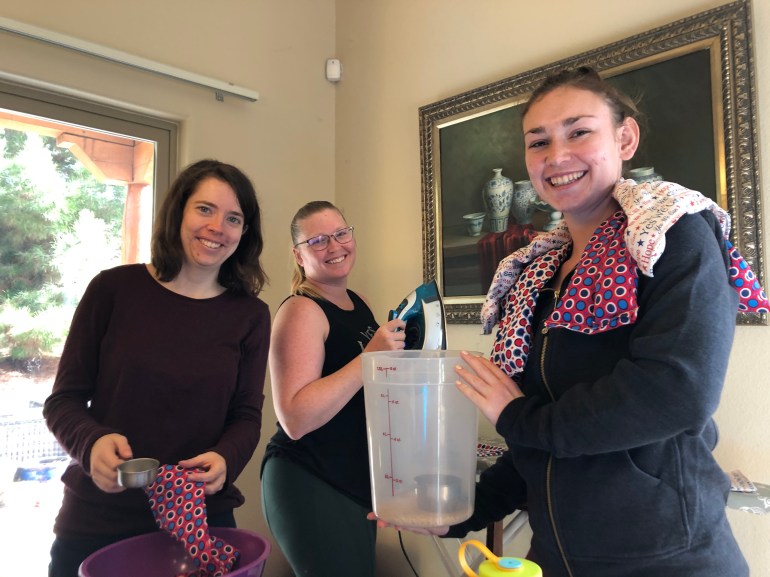
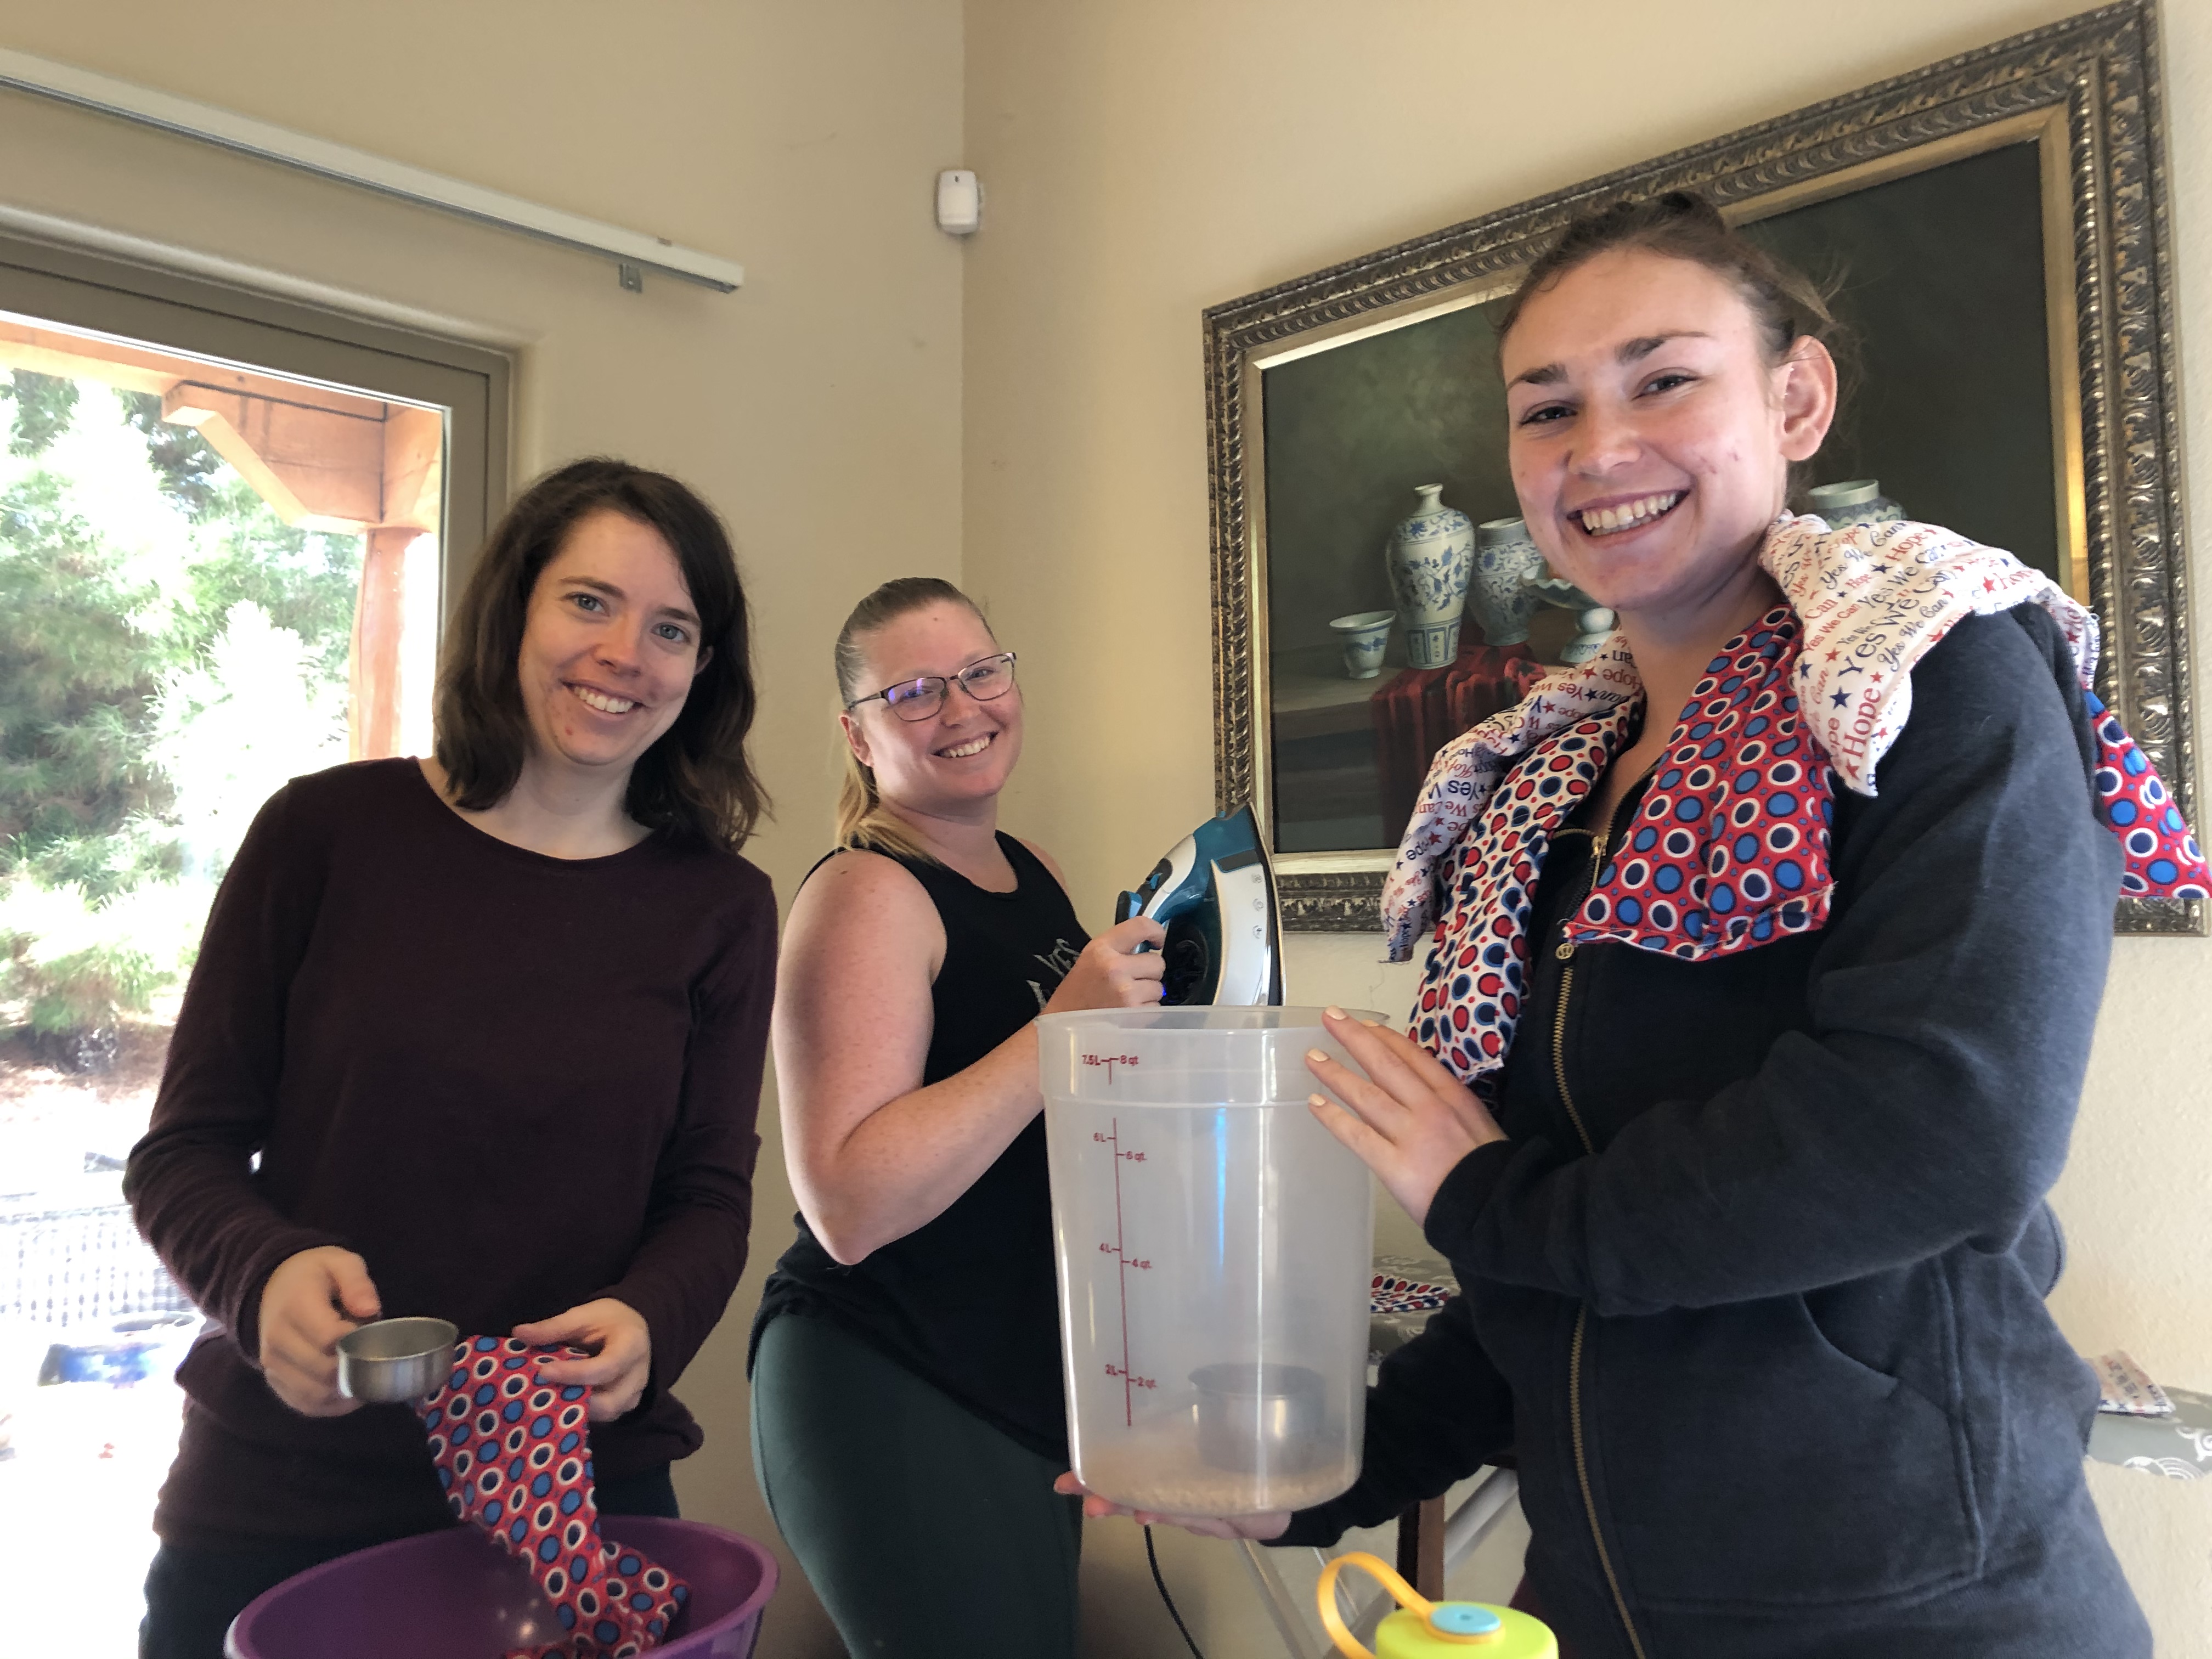
 We have made a variation of these for years. They are popular gifts, and when we saw extended family recently, there was much praise over Aunt Joan’s rice bag. Hints about needing more were not missed. The next generation has moved out on their own and needed more.
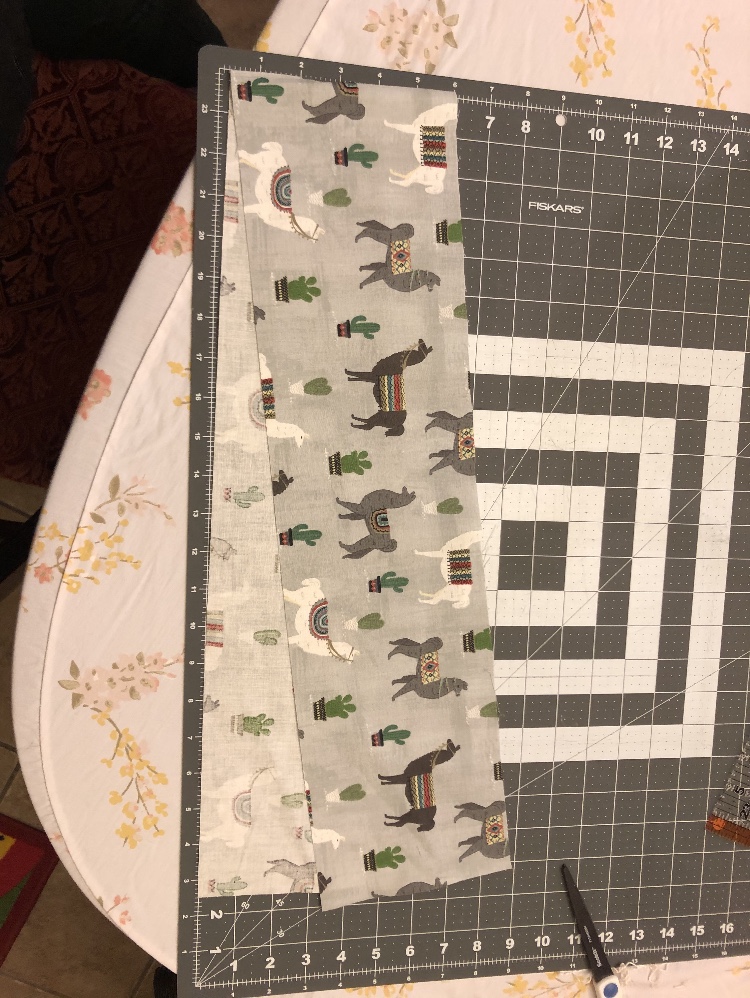 I spy a familiar

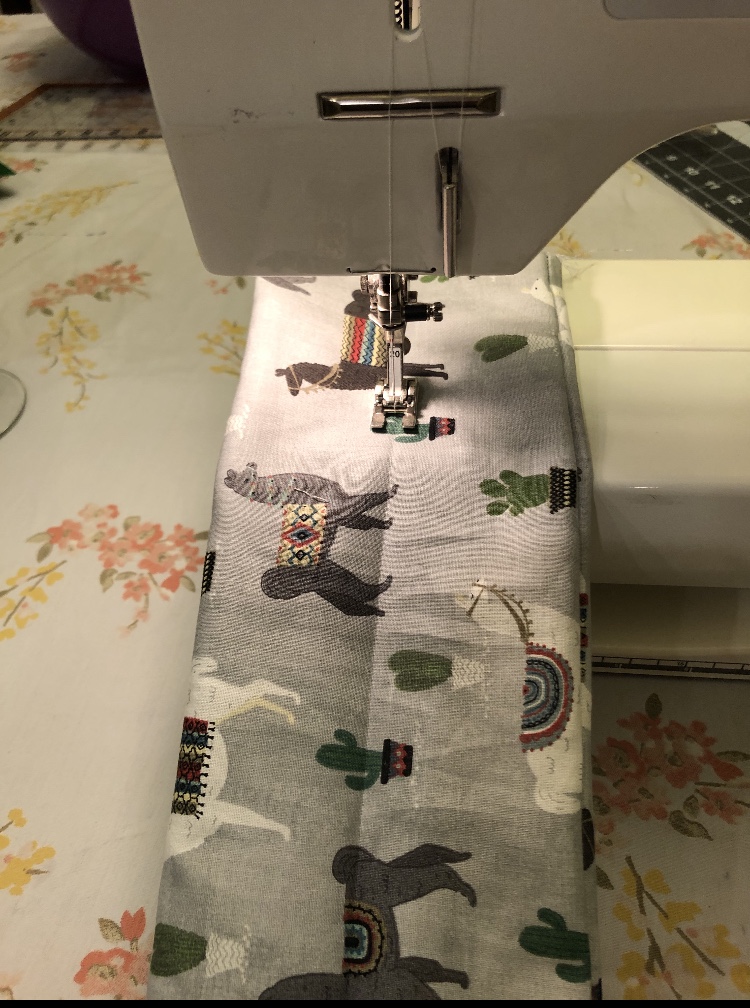
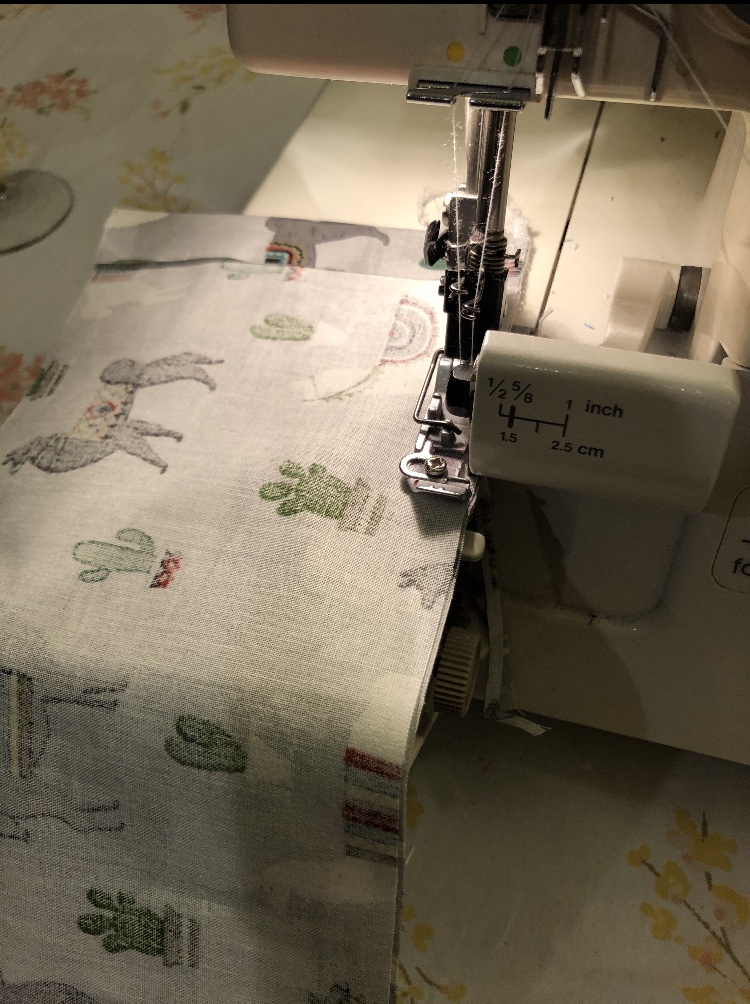 A straight stitch works fine. Ms. “must use my new serger” really enjoyed this part. Tip- start from the open edges after you have positioned them as even as you can get them. Back stitch at both ends or tuck in those serger tails. Sew both sides. A half inch seam allowance is great here!


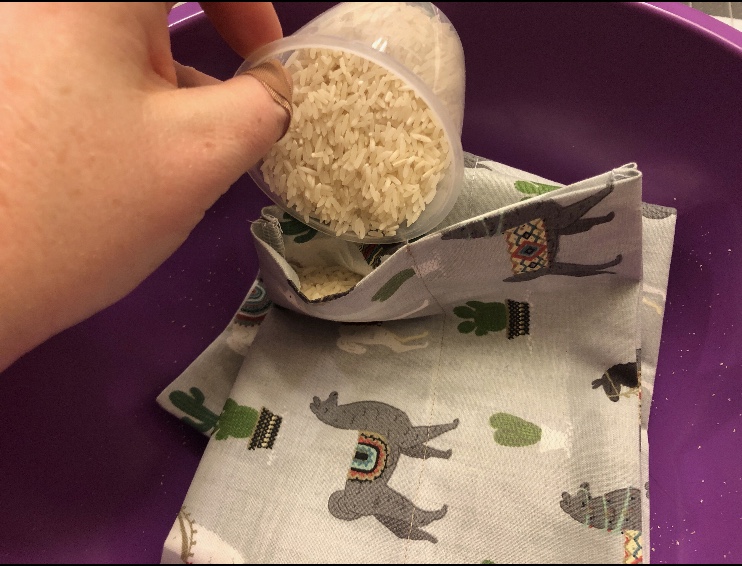 Sorry I did not leave a funnel for her to use. This might be the cap to laundry detergent. Use what you have!
 9. You can pin across the bag just above the level of the rice to help hold it in place while you stitch across that first marked line. Safety pins are nice. Or skip the pins with only two chambers. For the bigger bags, you will want pins to keep rice from spilling.
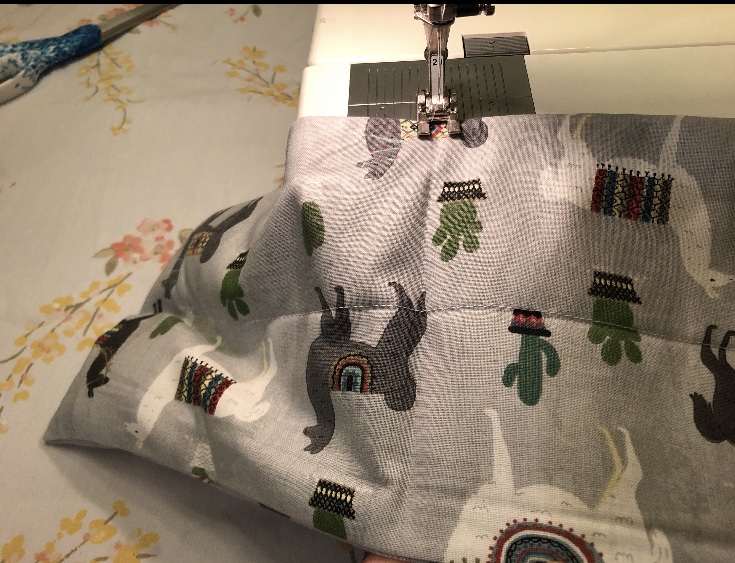


 ***Warm wishes 2002***
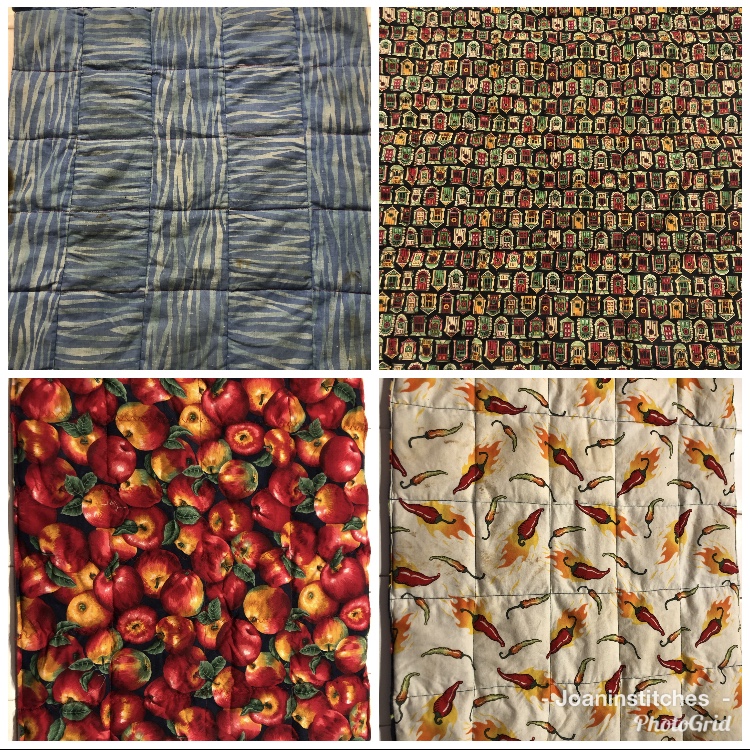 This post may contain affiliate links which means I may receive a small commission from the seller if you purchase an item with them. Thank you.