We have made a variation of these for years. They are popular gifts, and when we saw extended family recently, there was much praise over Aunt Joan’s rice bag. Hints about needing more were not missed. The next generation has moved out on their own and needed more.
I had gotten pretty fancy and used coordinating fat quarters, stitched multiple channels and had gifted numerous 20 x 17 inch mini weighted blankets that after a few moments in the microwave provided instant bliss to the wearer. In winter, I like to heat mine and tuck it under the covers like a hot water bottle, so my feet are bathed in sauna type heat when I climb into bed.
My niece keeps hers in a zip lock in the freezer and uses as a wrap for sports injuries.
The sewing teacher in me saw an opportunity. We needed a work party!
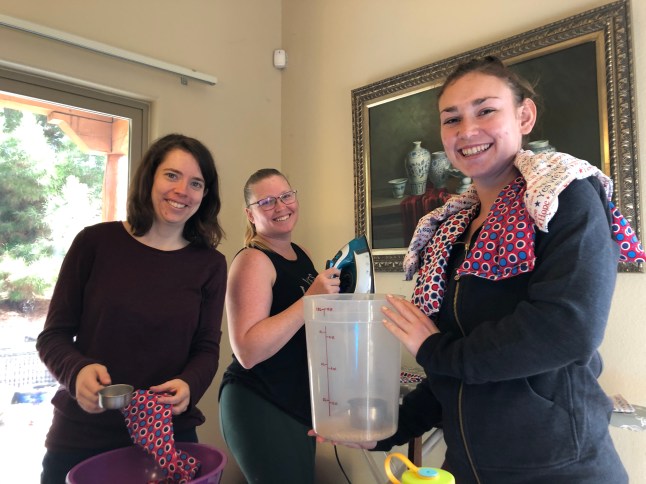
The Friday after Christmas, we gathered at my daughters house. She had received a serger and was anxious to use it. Coffee and tea and cousins were involved and everyone brought rice.
We made enough sixteen channeled 20″ x 20″ bags for everyone to take one home.
Then I heard a request for a knee wrap that is long and skinny and so and so would love one, my friend expecting her first baby needs this…
So we streamlined the process, and made more till we used all the rice.
My daughter was so excited, she ran out and bought more supplies, and as the professional photographer, took photos of the process, which I am pleased to share with you here.
- Gather your supplies: 100% cotton fabric with a tight weave. Non metallic please. Quilting cotton works great. Rice – Costco size is great- we used brown rice too. Some people use feed corn (not pop corn). Cotton thread! Not sure how poly thread does in the microwave. The biggest bowl you can get your hands on, a scoop or measuring cup, a funnel with a wide mouth is awesome- canning funnels work as do some automotive, as long as the rice can flow freely through the small end. Alternatively, a card stock funnel could be helpful. Optional bay leaves and whole spices or herbs like pepper, peppermint, lavender, etc. A sewing machine, and standard tools.
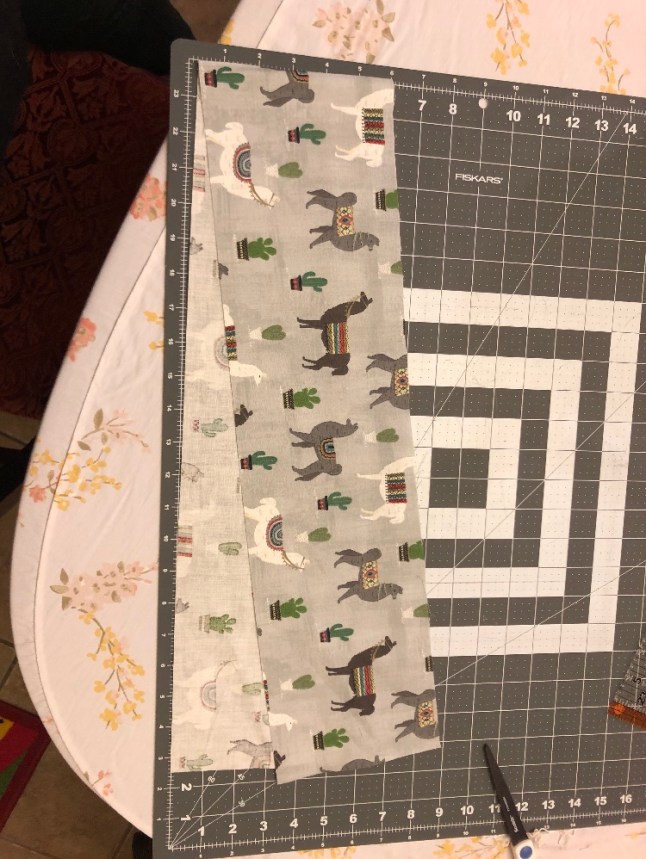
2. Cut your fabric. We decided a 6 inch wide cut with 3/8 inch seams would work. This was cut across the width of the fabric. In our work party, we were pressed for space, so I clipped the selvage edges at 6.5 inches and tore strips. Either works!
 I spy a familiar table sheet. After she saw mine, my daughter requested one.
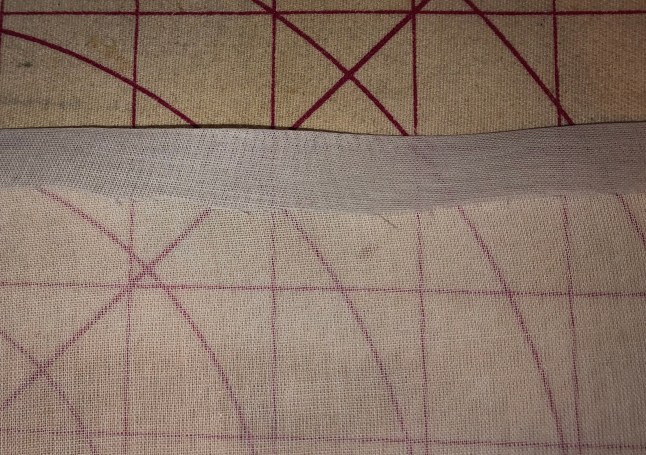
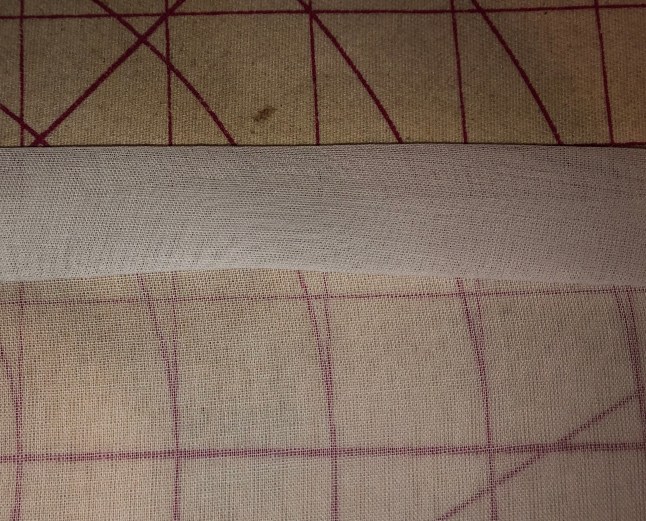
3. Press down the short edges the width of the selvage.


This will give you a nice edge to work with and stitch closed at the end. At our work party, we basted this edge so it would stay put. Basting is a very cool step that saves ripping later. It is also excellent sewing practice for new sewists.
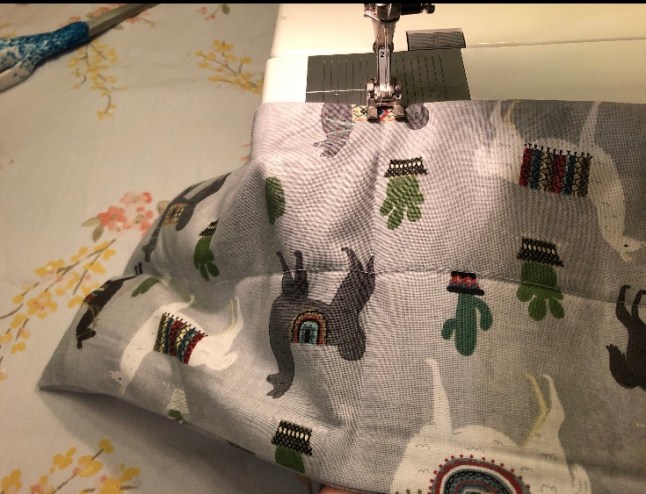
3. Stitch the side seams. Sew with rights sides together.
 A straight stitch works fine. Ms. “must use my new serger” really enjoyed this part. Tip- start from the open edges after you have positioned them as even as you can get them. Back stitch at both ends or tuck in those serger tails. Sew both sides. A half inch seam allowance is great here!
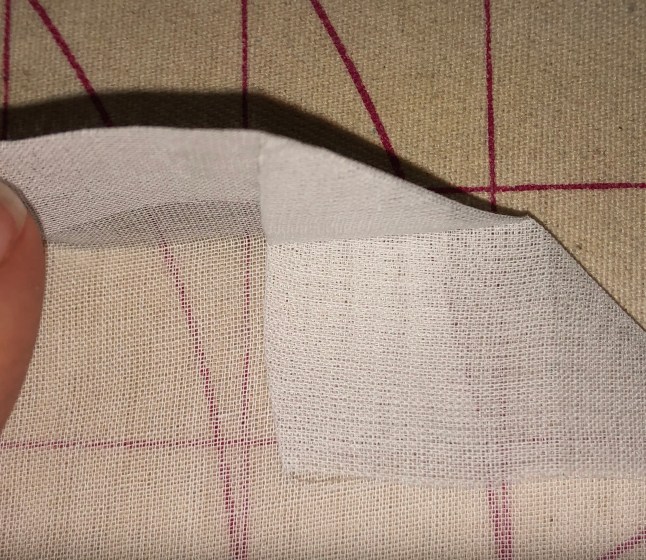
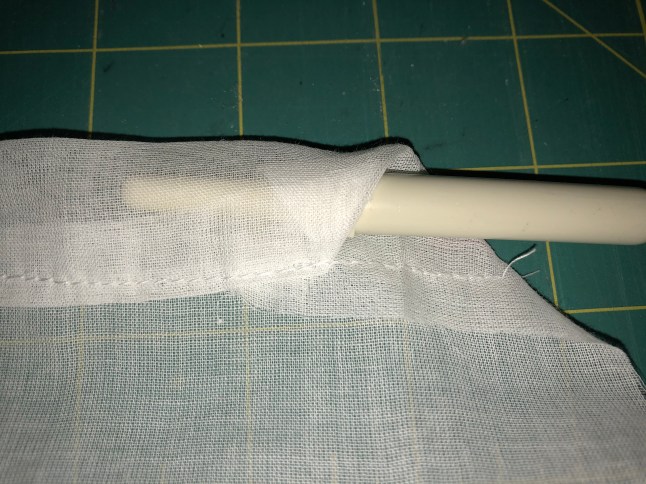
4. Turn your bag right side out and press. Use a chopstick to poke out those corners.
Tip- press the edges and narrowly top stitch around the three sewn edges to reinforce those seams and add spillage protection.
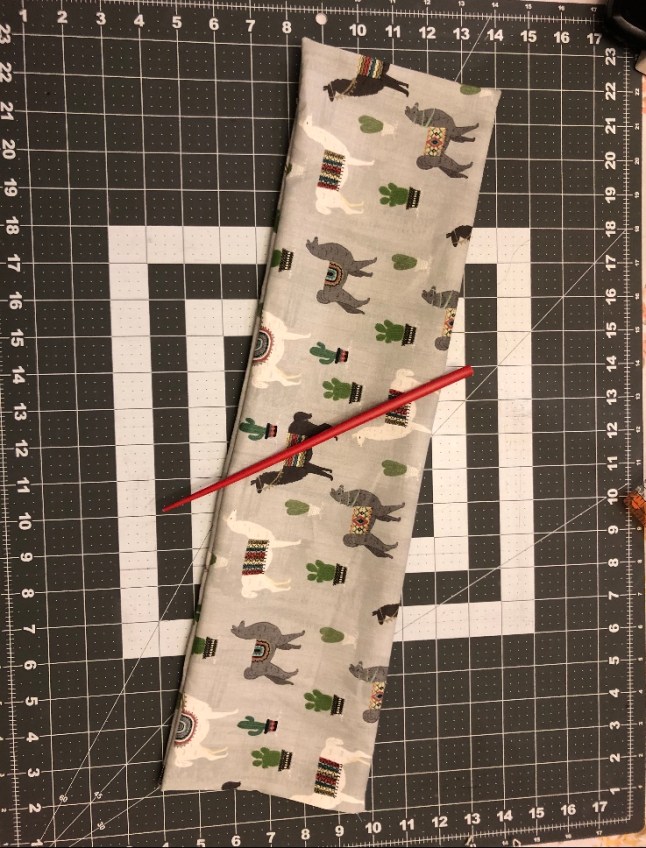
5. Press well, and hot dog fold to get a crease lengthwise down the center.


6. Starting at the open end with the edges as closely matched as you can muster, stitch along the crease.
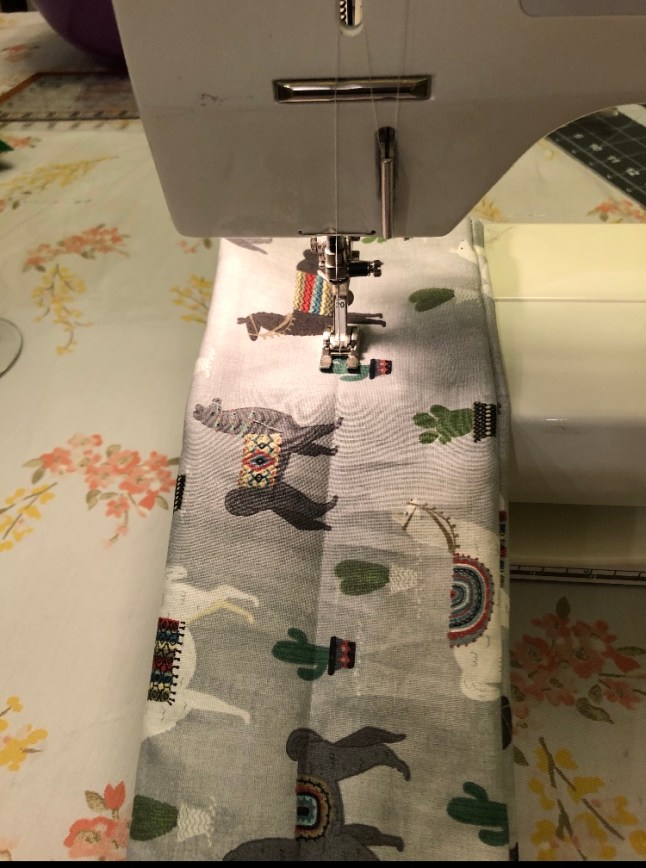
7. Press creases for the future horizontal seams. We decided that dividing in thirds worked better than half, as it leaves a pocket of hot rice at the back of your neck as well as the sides.


You can also mark these with a friXion pen, chalk, or #2 pencil. Stay away from water erasable markers. We want to keep that rice dry.
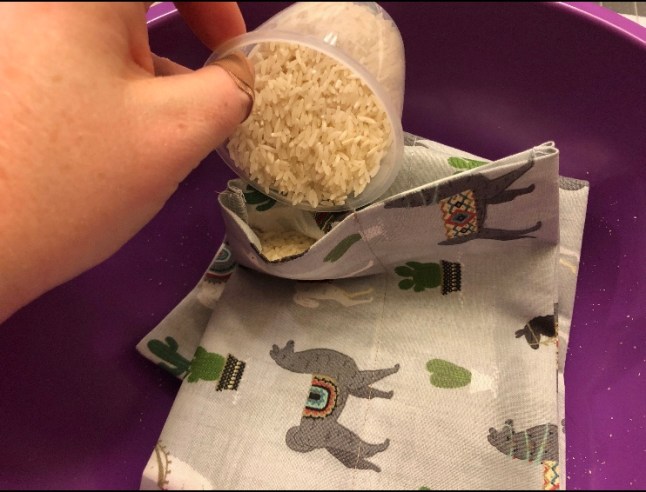
8. You are now ready to fill the first chambers with rice! Get out the Big Purple bowl!
 Sorry I did not leave a funnel for her to use. This might be the cap to laundry detergent. Use what you have!
The idea is to fill both chambers evenly. A good guide is to fill to the point halfway between markings. 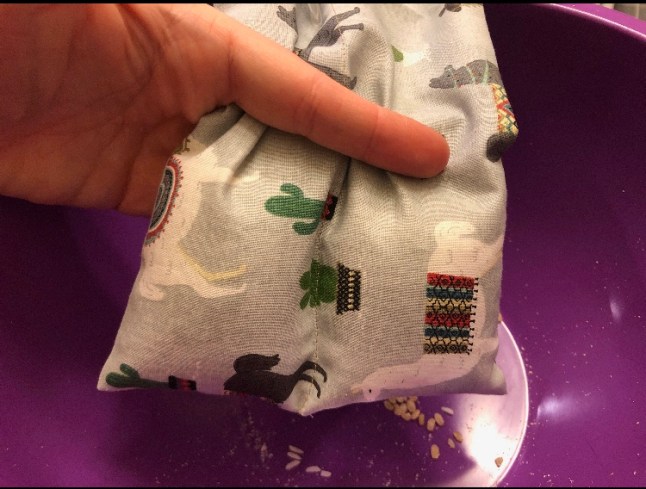 9. You can pin across the bag just above the level of the rice to help hold it in place while you stitch across that first marked line. Safety pins are nice. Or skip the pins with only two chambers. For the bigger bags, you will want pins to keep rice from spilling.
10. Do the same for the next two sets of chambers, keeping your amounts/ levels of rice even. Be sure to add a bay leaf, before you sew that last opening closed. They keep bugs at bay.


When heating your rice bag, start with 30 second increments, as volume of rice, wattage of microwaves can vary. For this size, 2-3 minutes will be good. Whatever you do, do not overheat, or get this item wet. Once your rice bag is no longer useful, accidental trip through the washer, cat got to it, etc, I would add it to the compost.
Like a quilt, mark the date on your rice bag. It will give you a chuckle down the road.
 ***Warm wishes 2002***
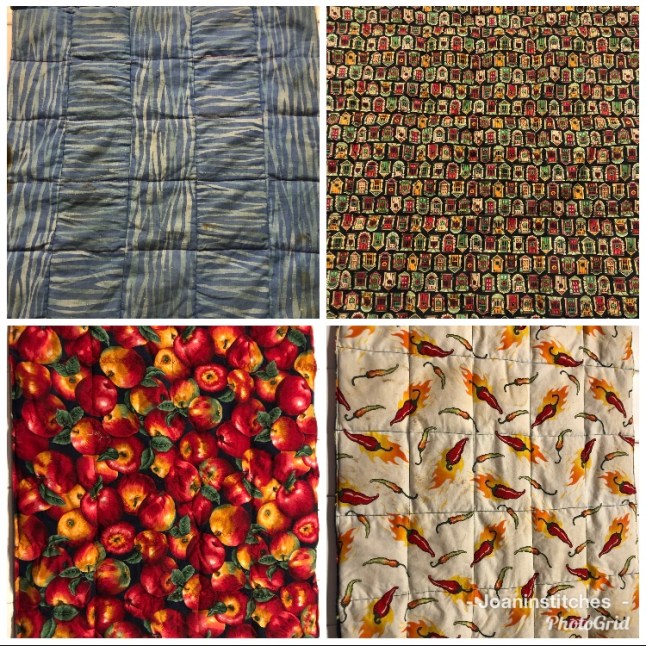
Below is a collection of our vintage bags.
Some are 4 x 6 grids the pepper bag, reverse side of above is a 5×5 grid made from fat quarters. I used 1/4 cup of rice in each chamber with a 24-25 chamber bag, about 6 cups of rice. With the 15 chamber bags (4 x 4 grid) we used 1/3 cup rice in each chamber (5.33 cups total) One cup of the rice we used weighed 8 ounces. So with a little math you can plan your rice needs. These weigh 2-3 pounds.
 This post may contain affiliate links which means I may receive a small commission from the seller if you purchase an item with them. Thank you.
Warm Wishes to you in 2020, and happy sewing! Joan
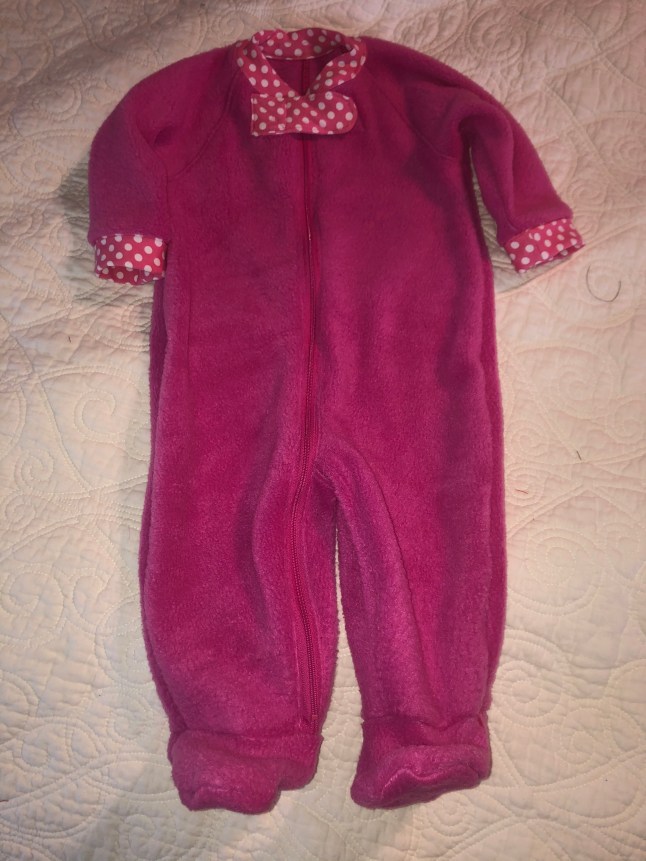 My oldest mentioned she was having a hard time finding the footed version for her baby. Baby is not yet crawling. Once she is standing there will be appliqués of gripper fabric on the soles of these.
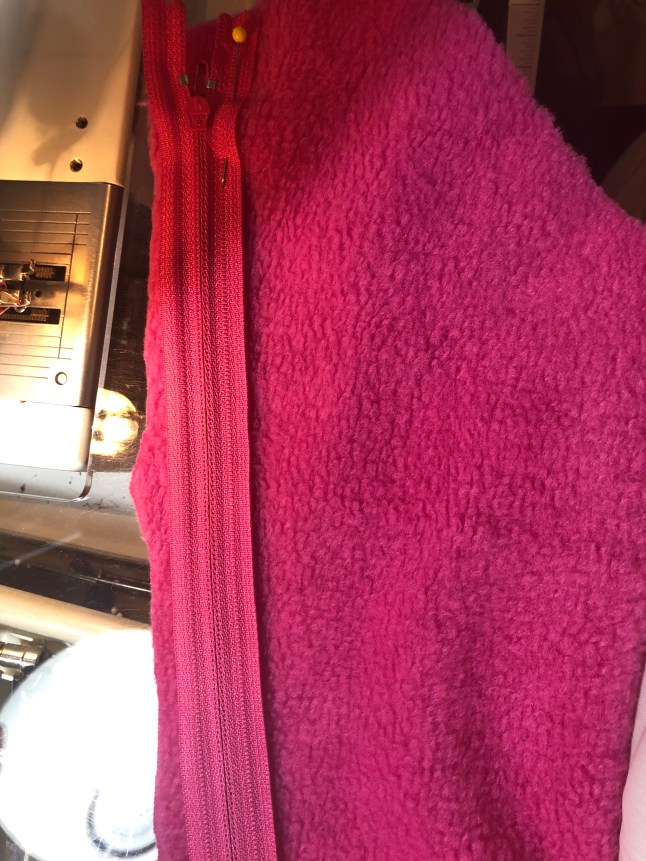 Using my quilting foot, since my zipper foot was no where in sight, stitched the zipper along the long side of the center front/leg. Flipped the zip over and top stitched.
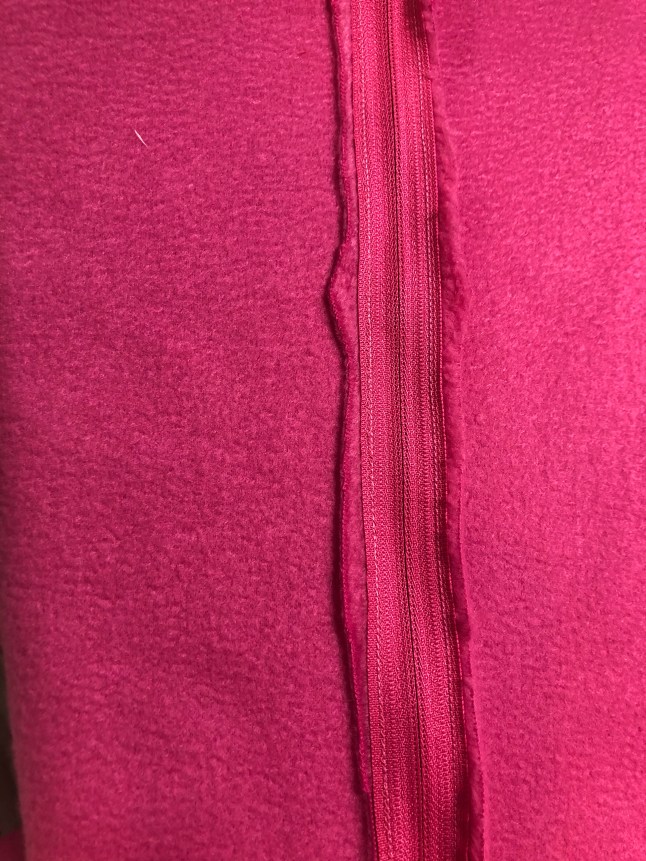 The front section where three seams intersect are a lovely match up to the “notch” on the single front side where i decreased that inch.
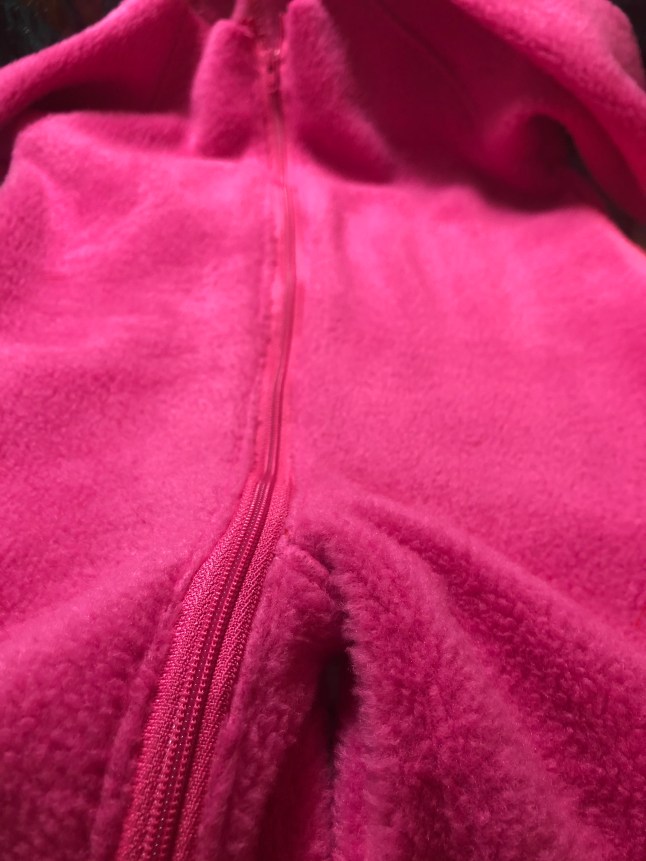 I made the little feet separately, since the side seams would not line up.
 It was simple to slip them inside the PJ legs, match up notches and sew them on.
 I found this cotton lycra polka dot for cuffs and neckband, and zipper cover tab. It was a scrap from another project and just enough. In more than one pattern review I read that cuffs were snug. I cut these a bit bigger.


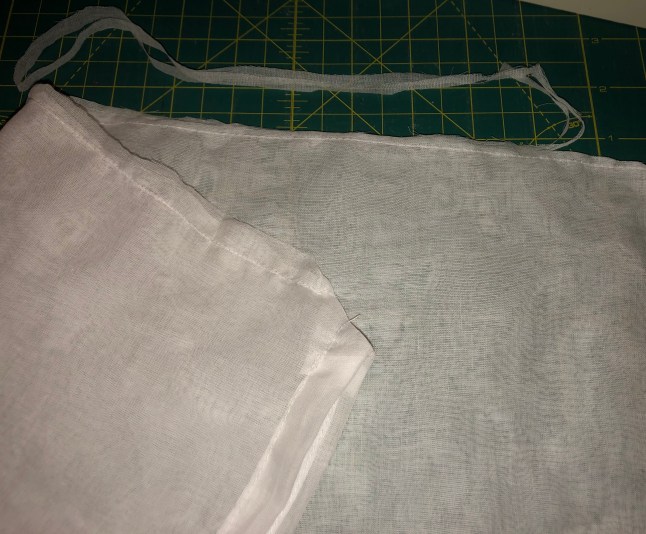
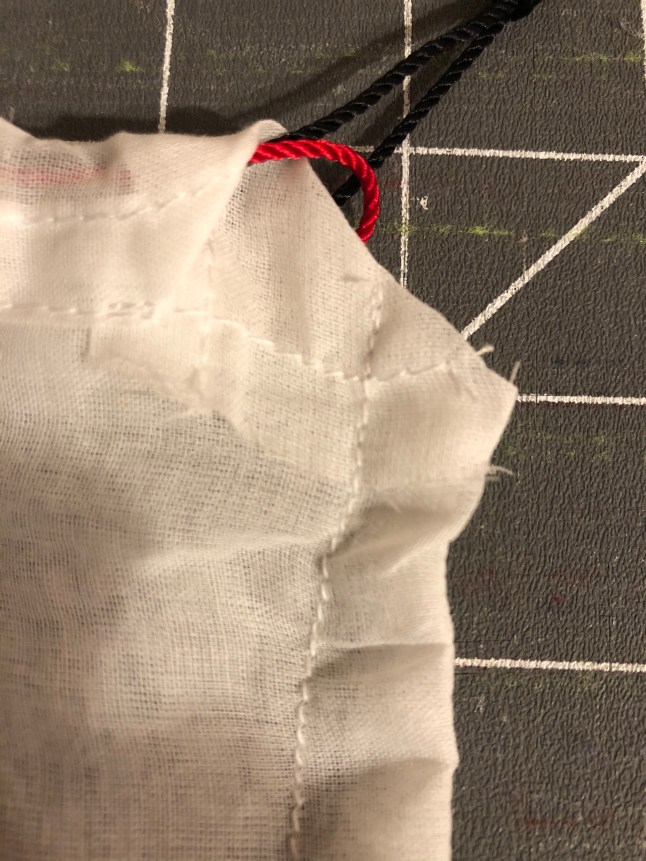
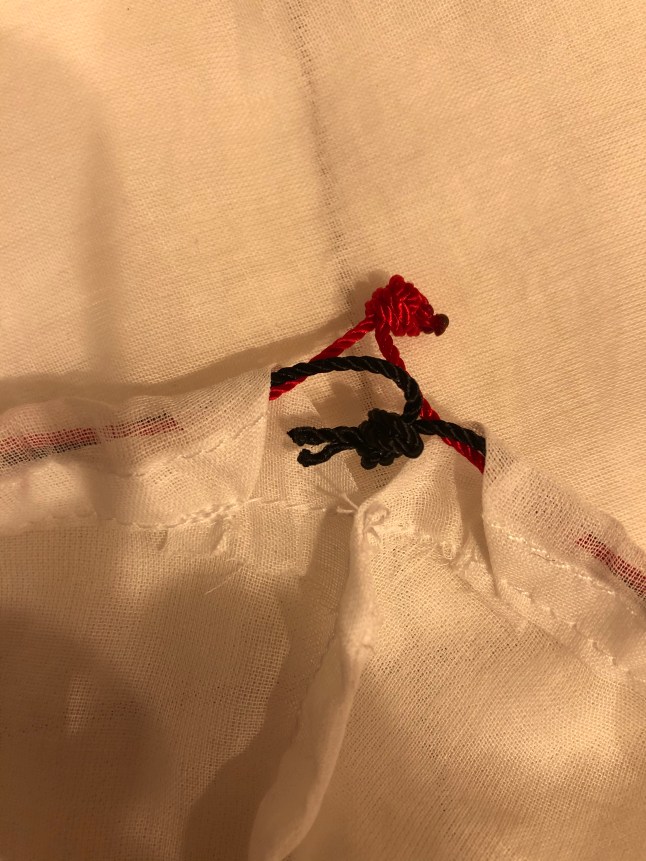
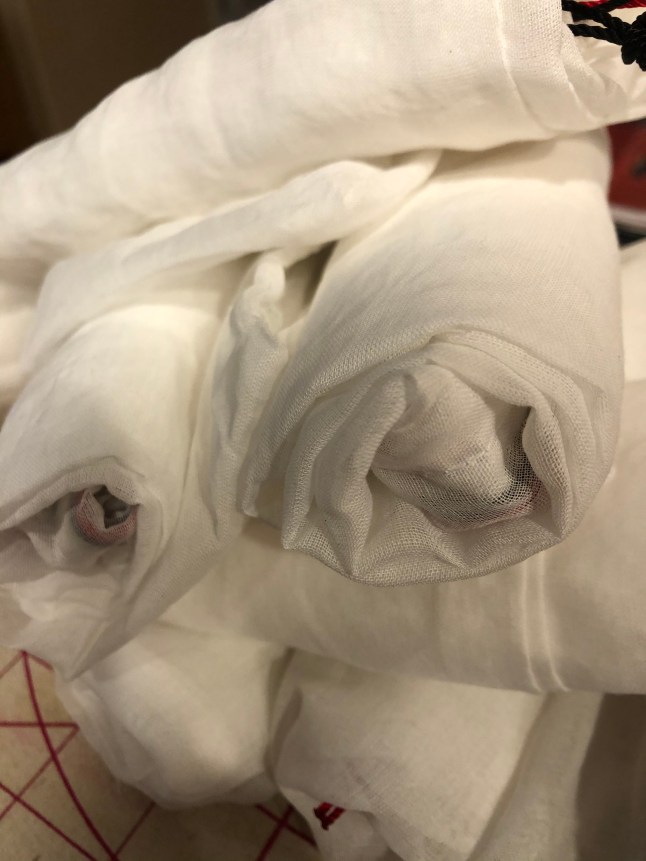
 Decades ago, I made fabric gift bags for my children’s birthday party favors. We still use the versions I made in rip stop nylon for vacation packing and pool visits today. There is a collection of bags we pull out at holiday time to wrap gifts in. I enjoy sewing a few every year to add to the collection or give away.