This brings back so many fond memories of my babies in blanket sleepers. Cool nights and blanket sleepers go together like tea and crumpets!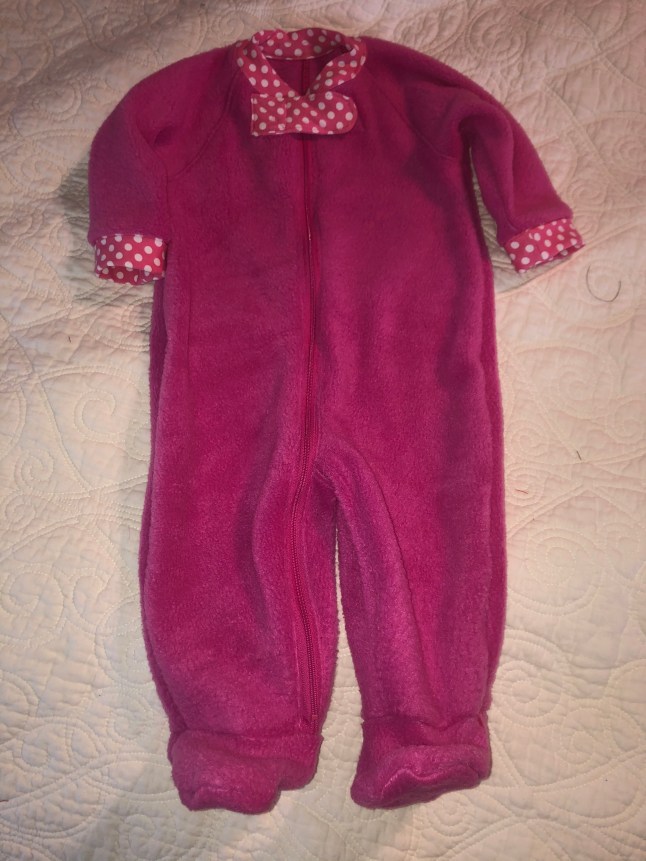 My oldest mentioned she was having a hard time finding the footed version for her baby. Baby is not yet crawling. Once she is standing there will be appliqués of gripper fabric on the soles of these.
Grandma to the rescue!
I started with Jalie 3244. Love the extended sizing in this pattern line. Maybe next year the adults will all get one!
I made a first version in red that was perfect for holiday wear. Took photos as I put this together yesterday morning.
In order to extend the zipper to the ankle, I extended the back inside leg from crotch to hem by one inch, and took one inch off the width of the front inside leg also from crotch to hem. This is for a 12 month size. A larger size may need a proportionally larger adjustment.
I serged the center back seam, and top stitched that. Then serged the inside leg of one front to one back, and top stitched that. The top stitching makes the seam lay flat against the inside of the garment and not bug baby.
Three parts sewn together look like this:

Next, I clipped/pinned a 22 inch long zipper right sides together to the single remaining leg/body piece. A longer zip will be needed for larger sizes.
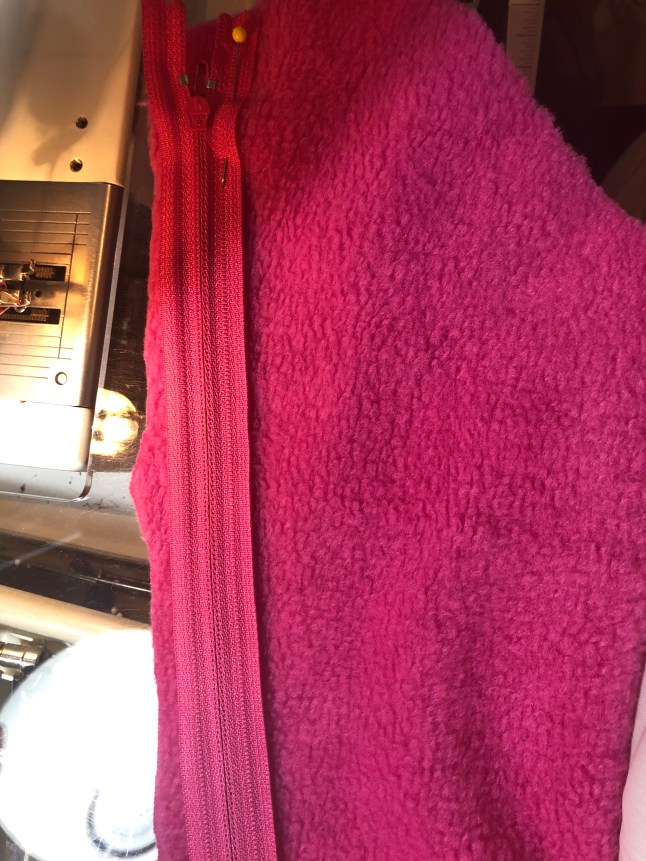 Using my quilting foot, since my zipper foot was no where in sight, stitched the zipper along the long side of the center front/leg. Flipped the zip over and top stitched.
Next, I matched up the notches of the front piece with the zip to the three pieces sewn previously. Right sides together stitched the zip to that assembly. Thank goodness for the notches. They are key to making this look good!
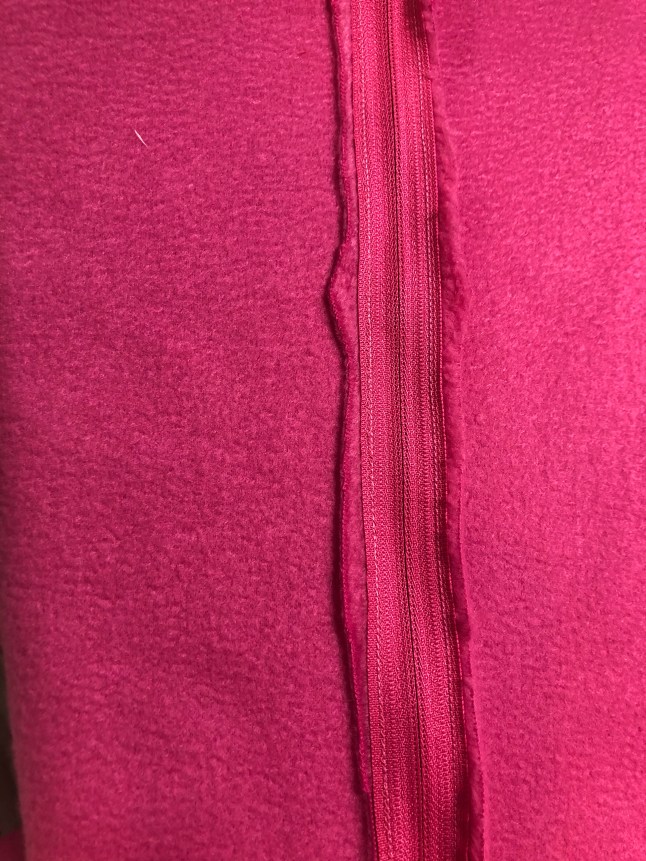 The front section where three seams intersect are a lovely match up to the “notch” on the single front side where i decreased that inch.

Top stitched this side of the zipper.
Attached and top stitched the sleeves. Remember we want baby to be so comfortable, sleep comes easy.
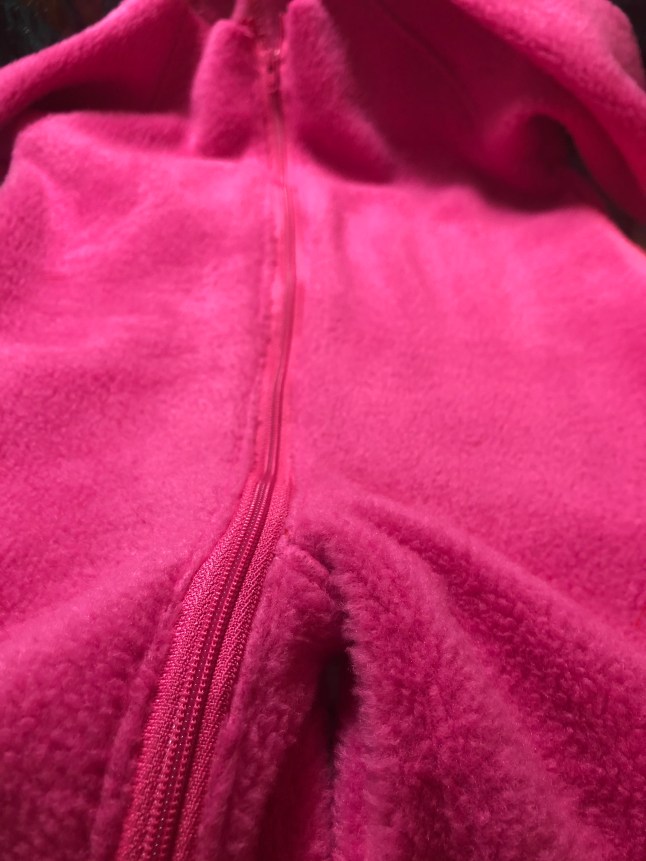 I made the little feet separately, since the side seams would not line up.
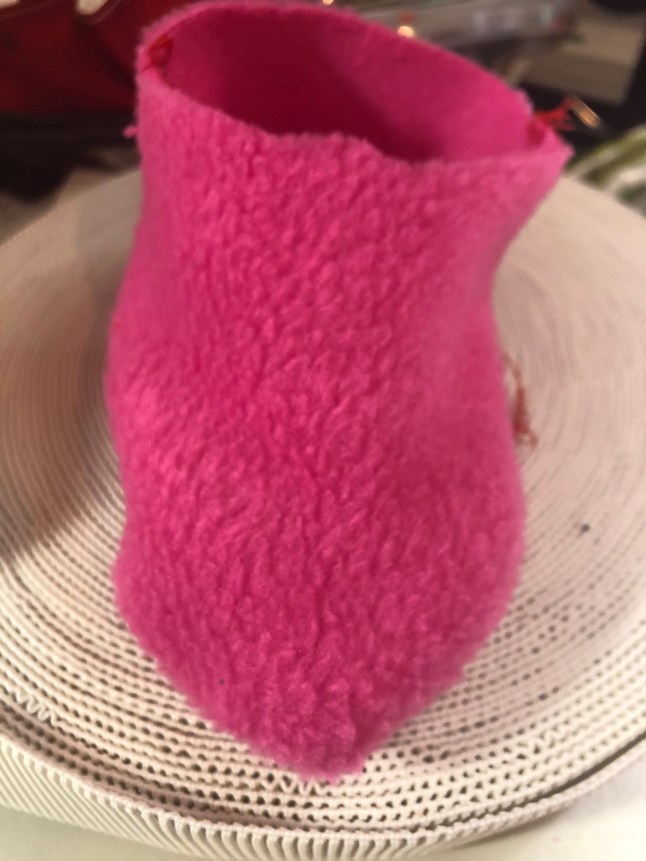 It was simple to slip them inside the PJ legs, match up notches and sew them on.
 I found this cotton lycra polka dot for cuffs and neckband, and zipper cover tab. It was a scrap from another project and just enough. In more than one pattern review I read that cuffs were snug. I cut these a bit bigger.
I stitched one edge of the collar to the pj neckline with a narrow zig zag (.5 wide 2 long). Right sides together. Although next time, I might sew the band to the back side and wrap around to the front.


To make a nice front edge, this is how I interpreted the instructions. Wrap the front edge of the neck band around itself, sandwiching the zipper top and sew to the notch. Have I mentioned how much I love notches yet? Do the same for the other side. Perhaps trim if your fabric is bulky.
I would have hand tacked this band down if there was more time. Instead I pinned and topstitched.
Also added a tab to cover the zipper pull. Hand stitched a hook and eye to the tab and reinforced section of Pj in the car on the way. Thank goodness for gift bags!
This post may contain affiliate links, which could pay me a small commission at no additional cost to you if you choose to use them.
Happy winter sewing – Joan
