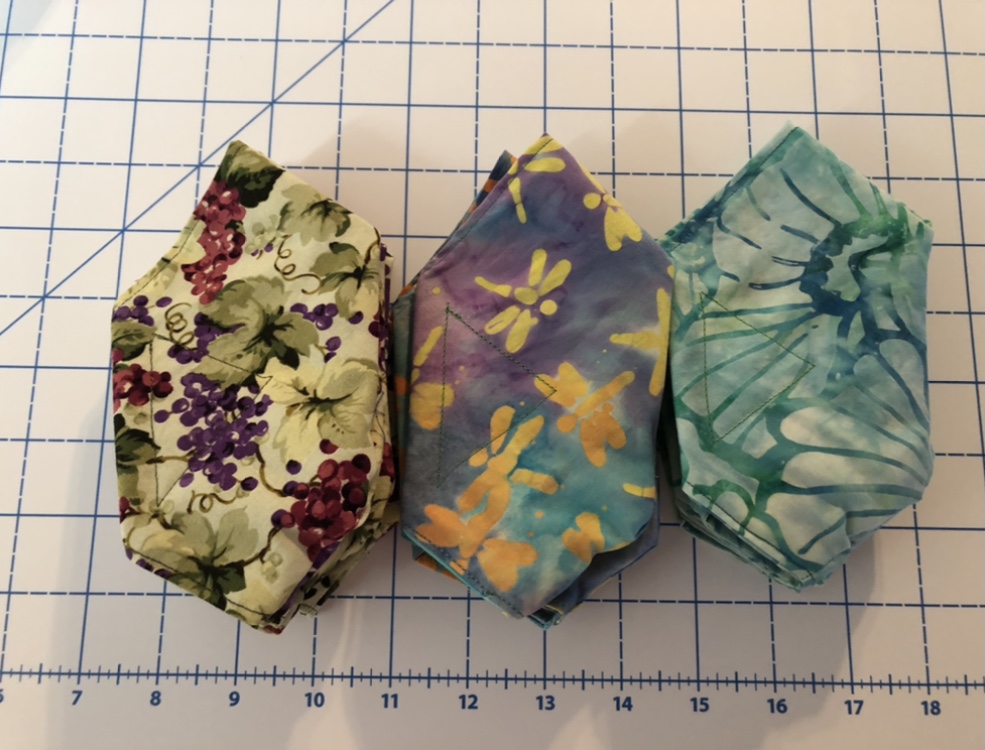
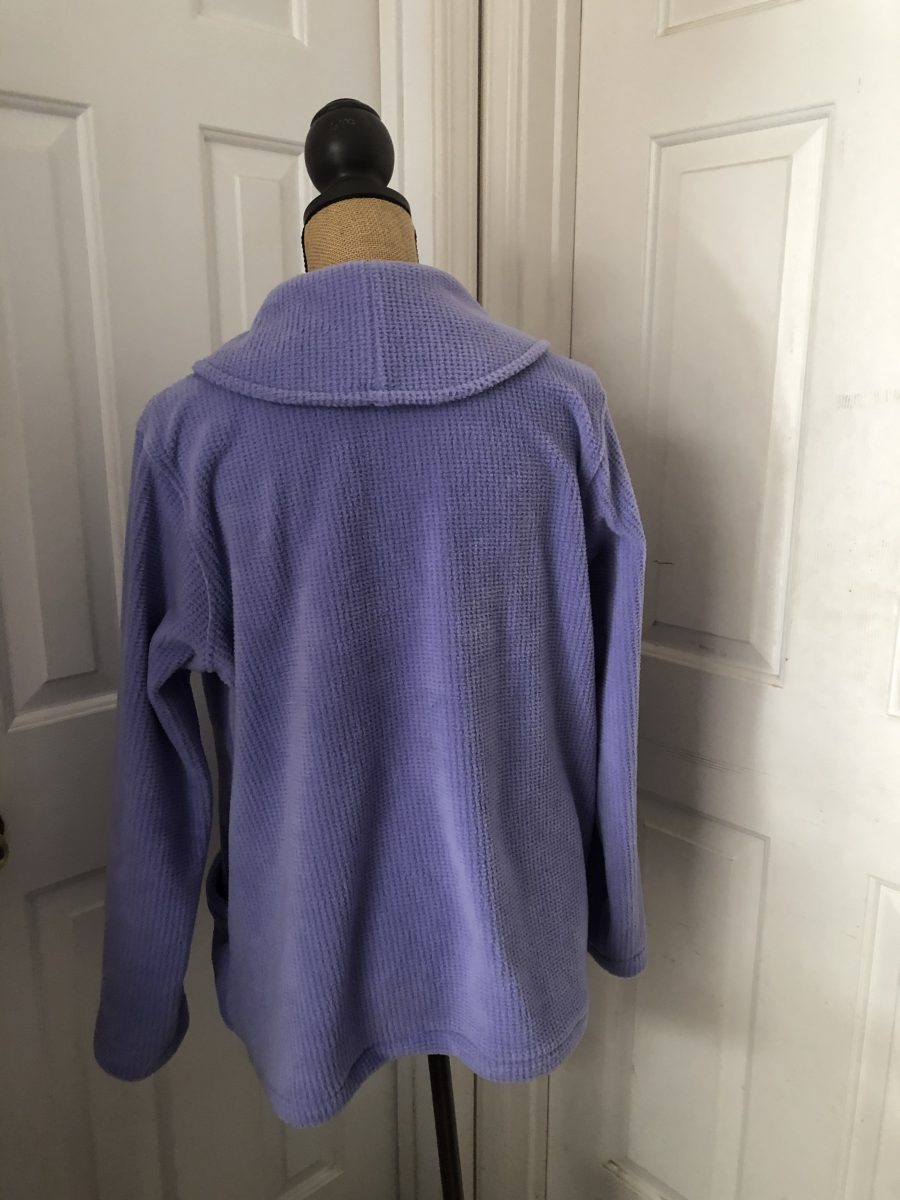
It was a joy to test the newest sweatshirt pattern from 5 out of 4 patterns. Jessica really knows her sweatshirts, and we are at the beginning of cold weather here, so the timing could not have been better. This my version of Leslie. I have a preference for a cardigan style, so I can put on or remove my outer layer without messing up my hair. It also works for when you just want to cool off a little bit, and open the cardigan without completely removing it. Folks with limited mobility, or nursing mommas might appreciate it as well.
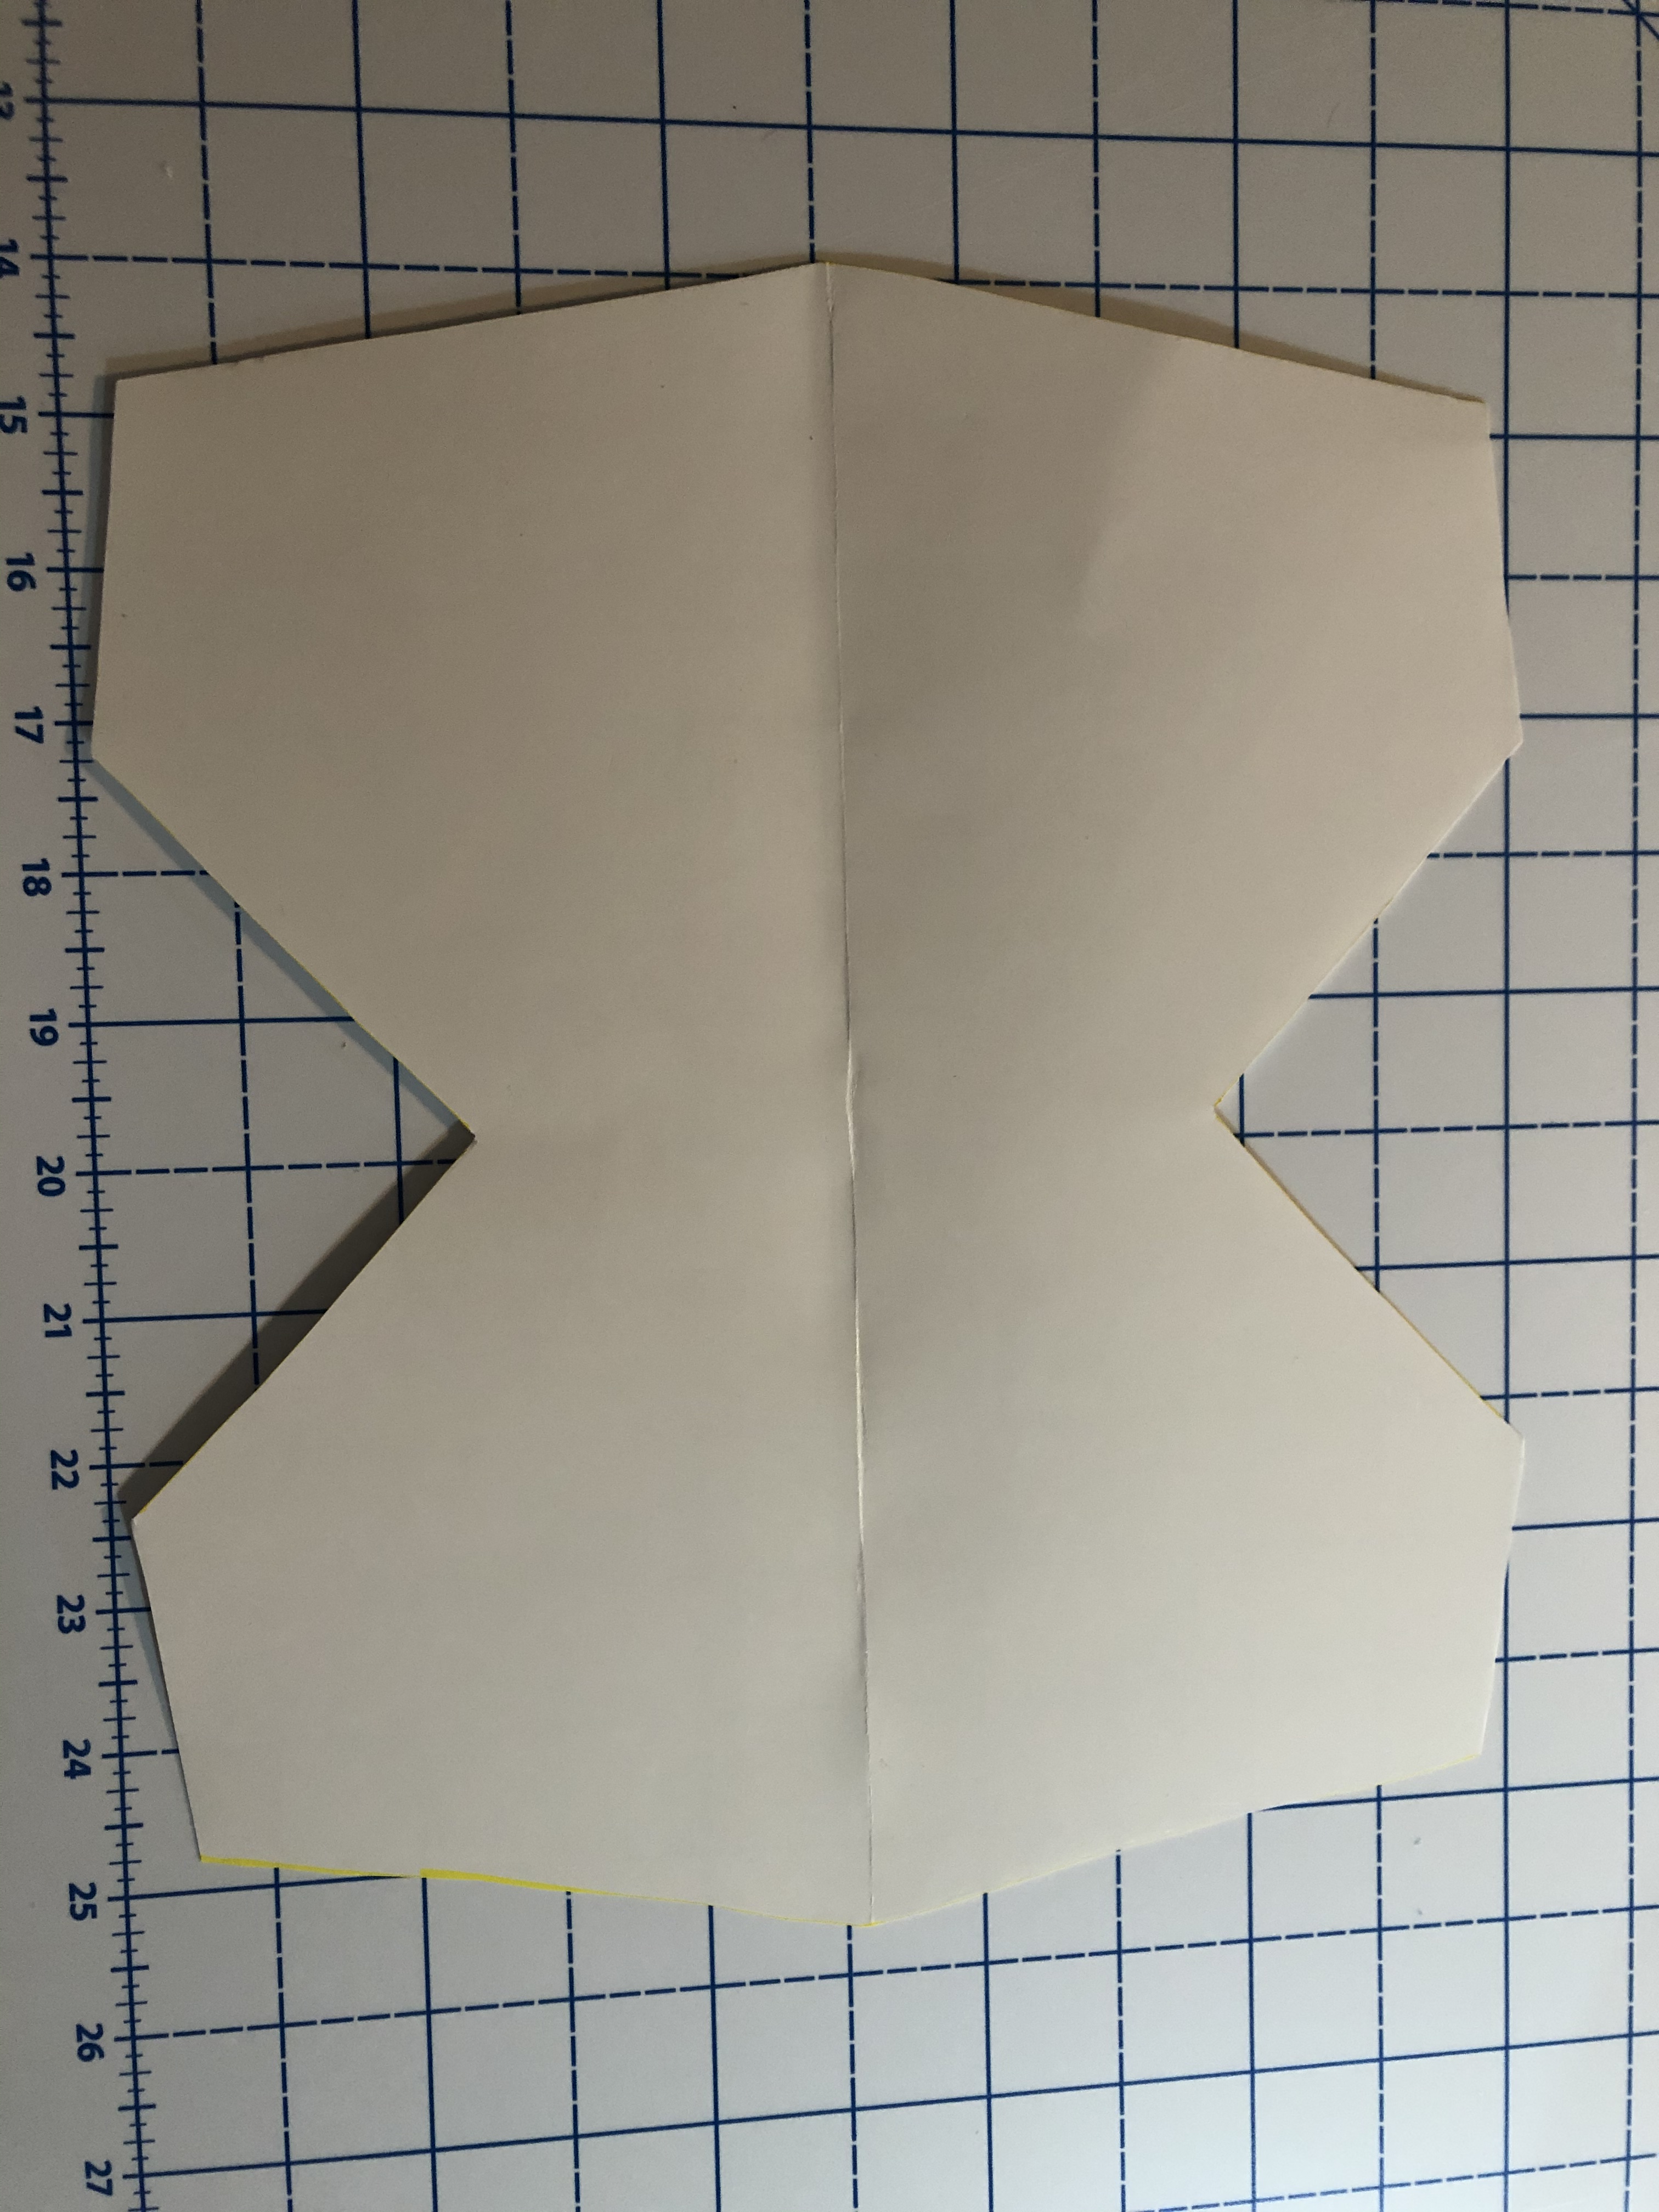
To begin, I altered two pattern pieces. Both the front, and the shawl collar. For the front, I simply folded back the few inches of the center front. I marked where the seam lines of the bottom of the placket and the top of the shirt would normally meet, and created a new “notch” or marking both there and on the other side of my shawl.
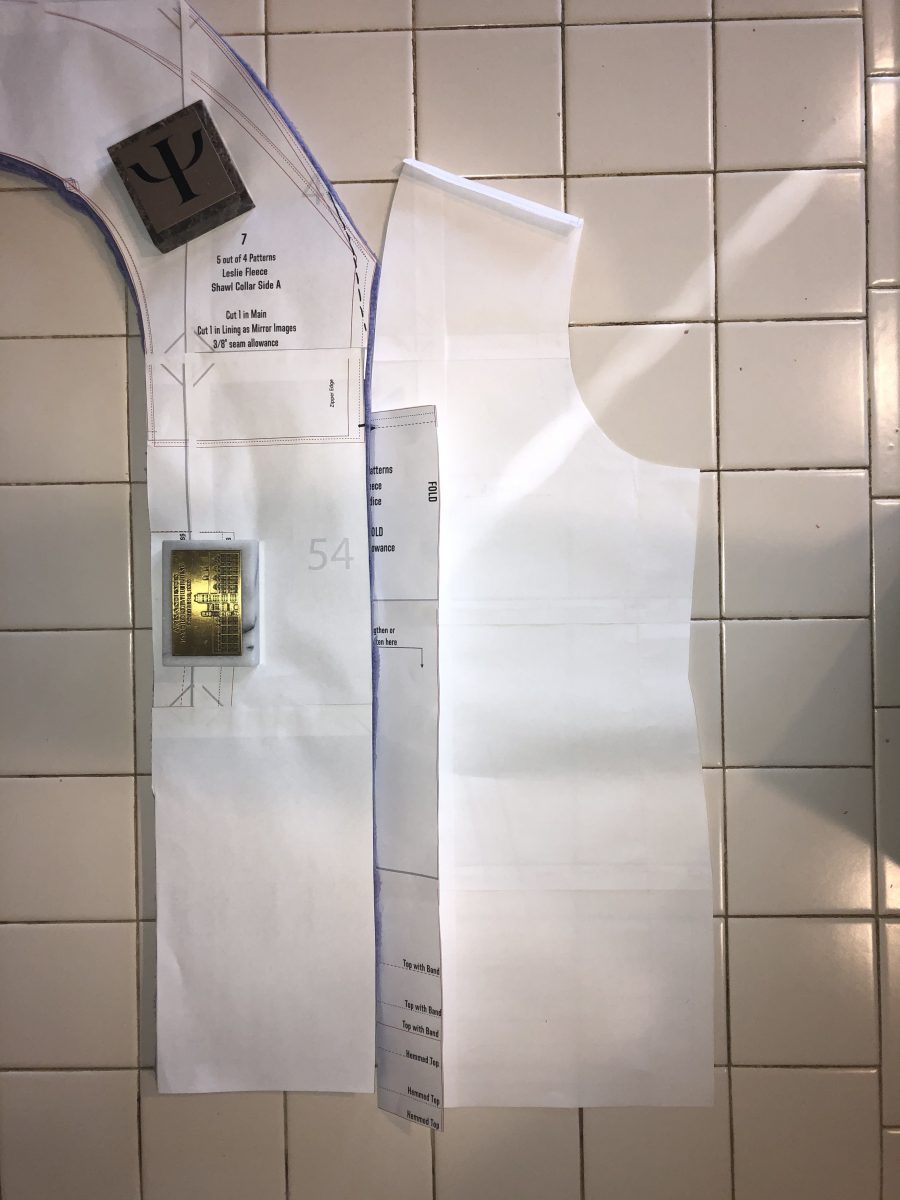
For the shawl collar, I just extended the shawl side B to almost match the full length of the front piece. I left the front piece to be about 3/4 inch longer. I opted to use the fuller shawl piece. Cut four shawl pieces (mirror images), and two fronts (not on the fold).
Optional pocket. Cut a strip as wide as the lower edge of this front piece and about 2 inches deeper than your desired pocket. I cut this from scraps.
Note my sharpie curve of the point of the shawl collar. I did not cut this here, but will stitch this later, and trim it off.
First things first, pockets. One simply needs a pocket in everything, and this Leslie Cardigan is no exception. I finished the top of my pocket strip, then placed my front right side down on my table, then the pocket also right side down on top of that and stitched across the bottom with a slight zig zag. 1 wide 3 long.

Under stitch. In my book, under stitching is like permanent ironing. With the seam towards the body of your front piece, stitch 1/4 inch from the seam line with the seam securing the main fabric and seam allowance. This will roll the seam to the back of your garment and make the next steps easier. It also reinforces the bottom seam of your pocket.
Flip and staystitch. Flip the pocket back round to the front, make sure the bottom seams are where you want them and stay stitch either side. Repeat for the other side of your front. *Note for the adventurous here. Ignore the adventurous tips for your first version please.

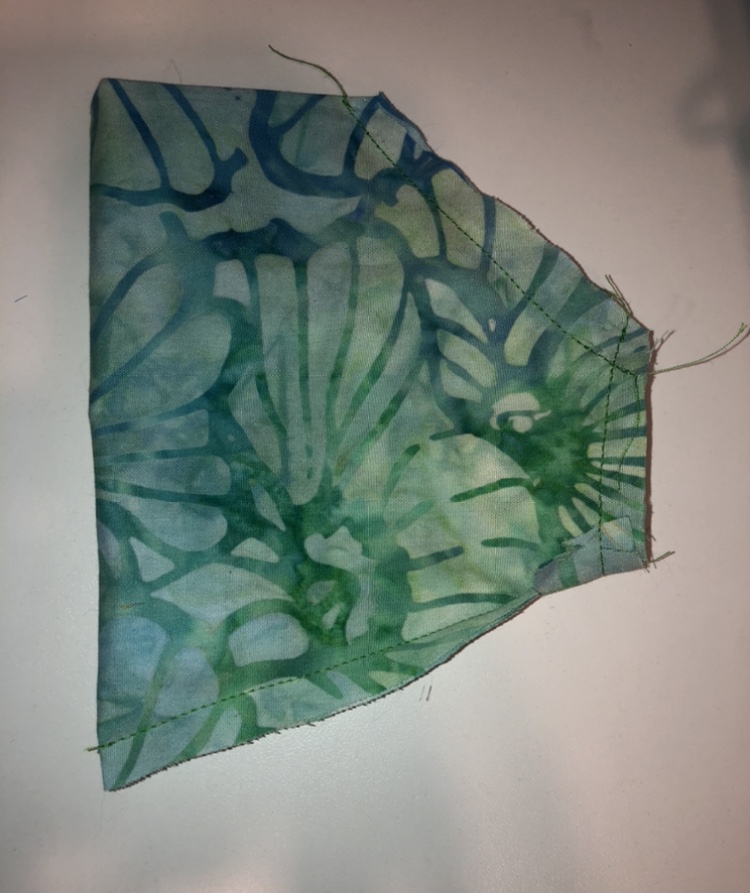
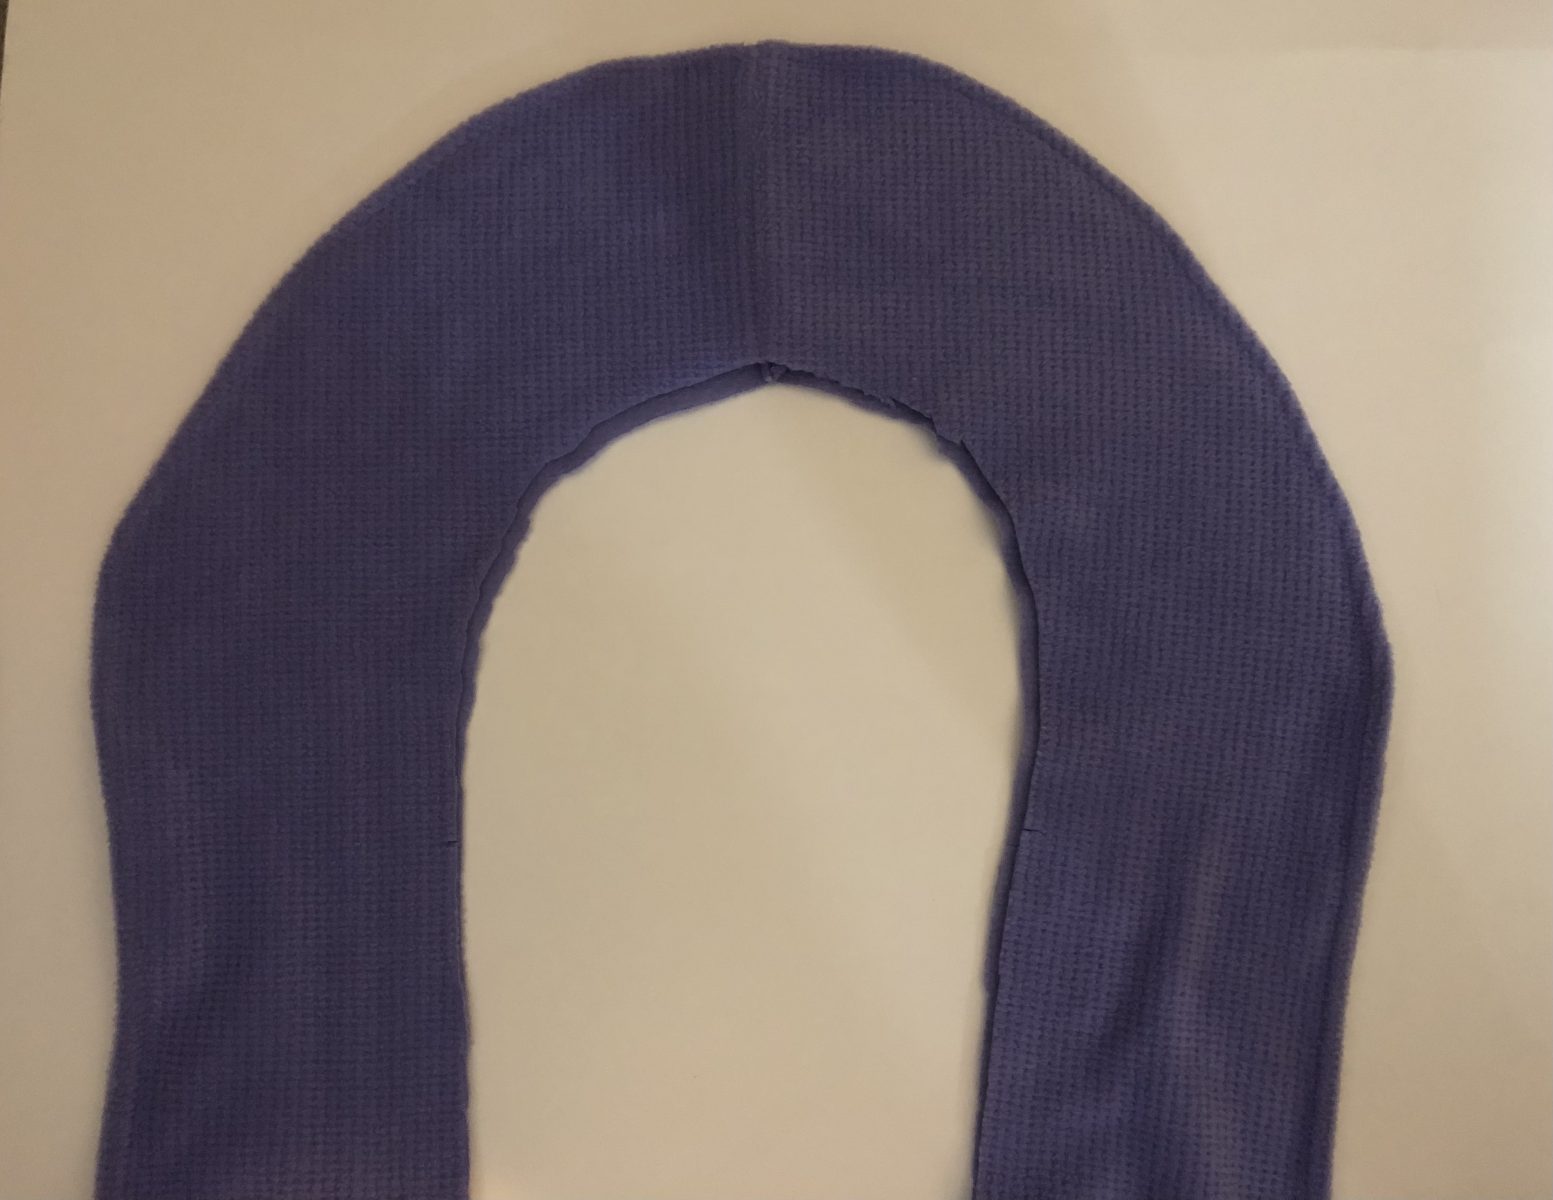
Shawl collar, Sew the center seams as directed, then place the two shawl collars right sides together. Stitch all the way round the outside edges only. In the photo below, your can see where I curved the point a tad. Do this for both sides and trim the seam allowance. Speaking of trimming the seam allowance. If you are sewing especially thick fleece, or do not want your collar to roll out, trim 1/4 inch off the outer edge of this curve from point to point on the collar that will be your under collar before sewing them together. **Adventurous sewist tip here.
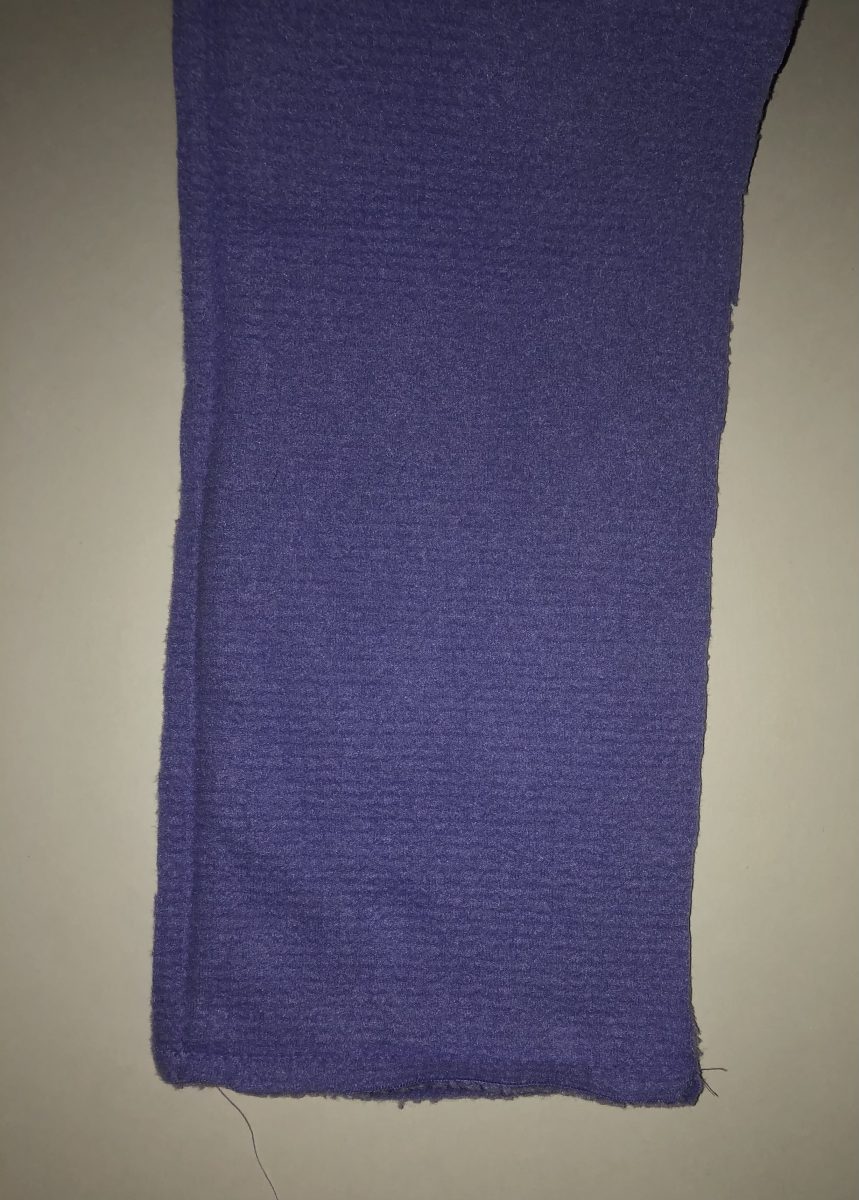
Sew the bottom hem of your shawl collar. Each side please.
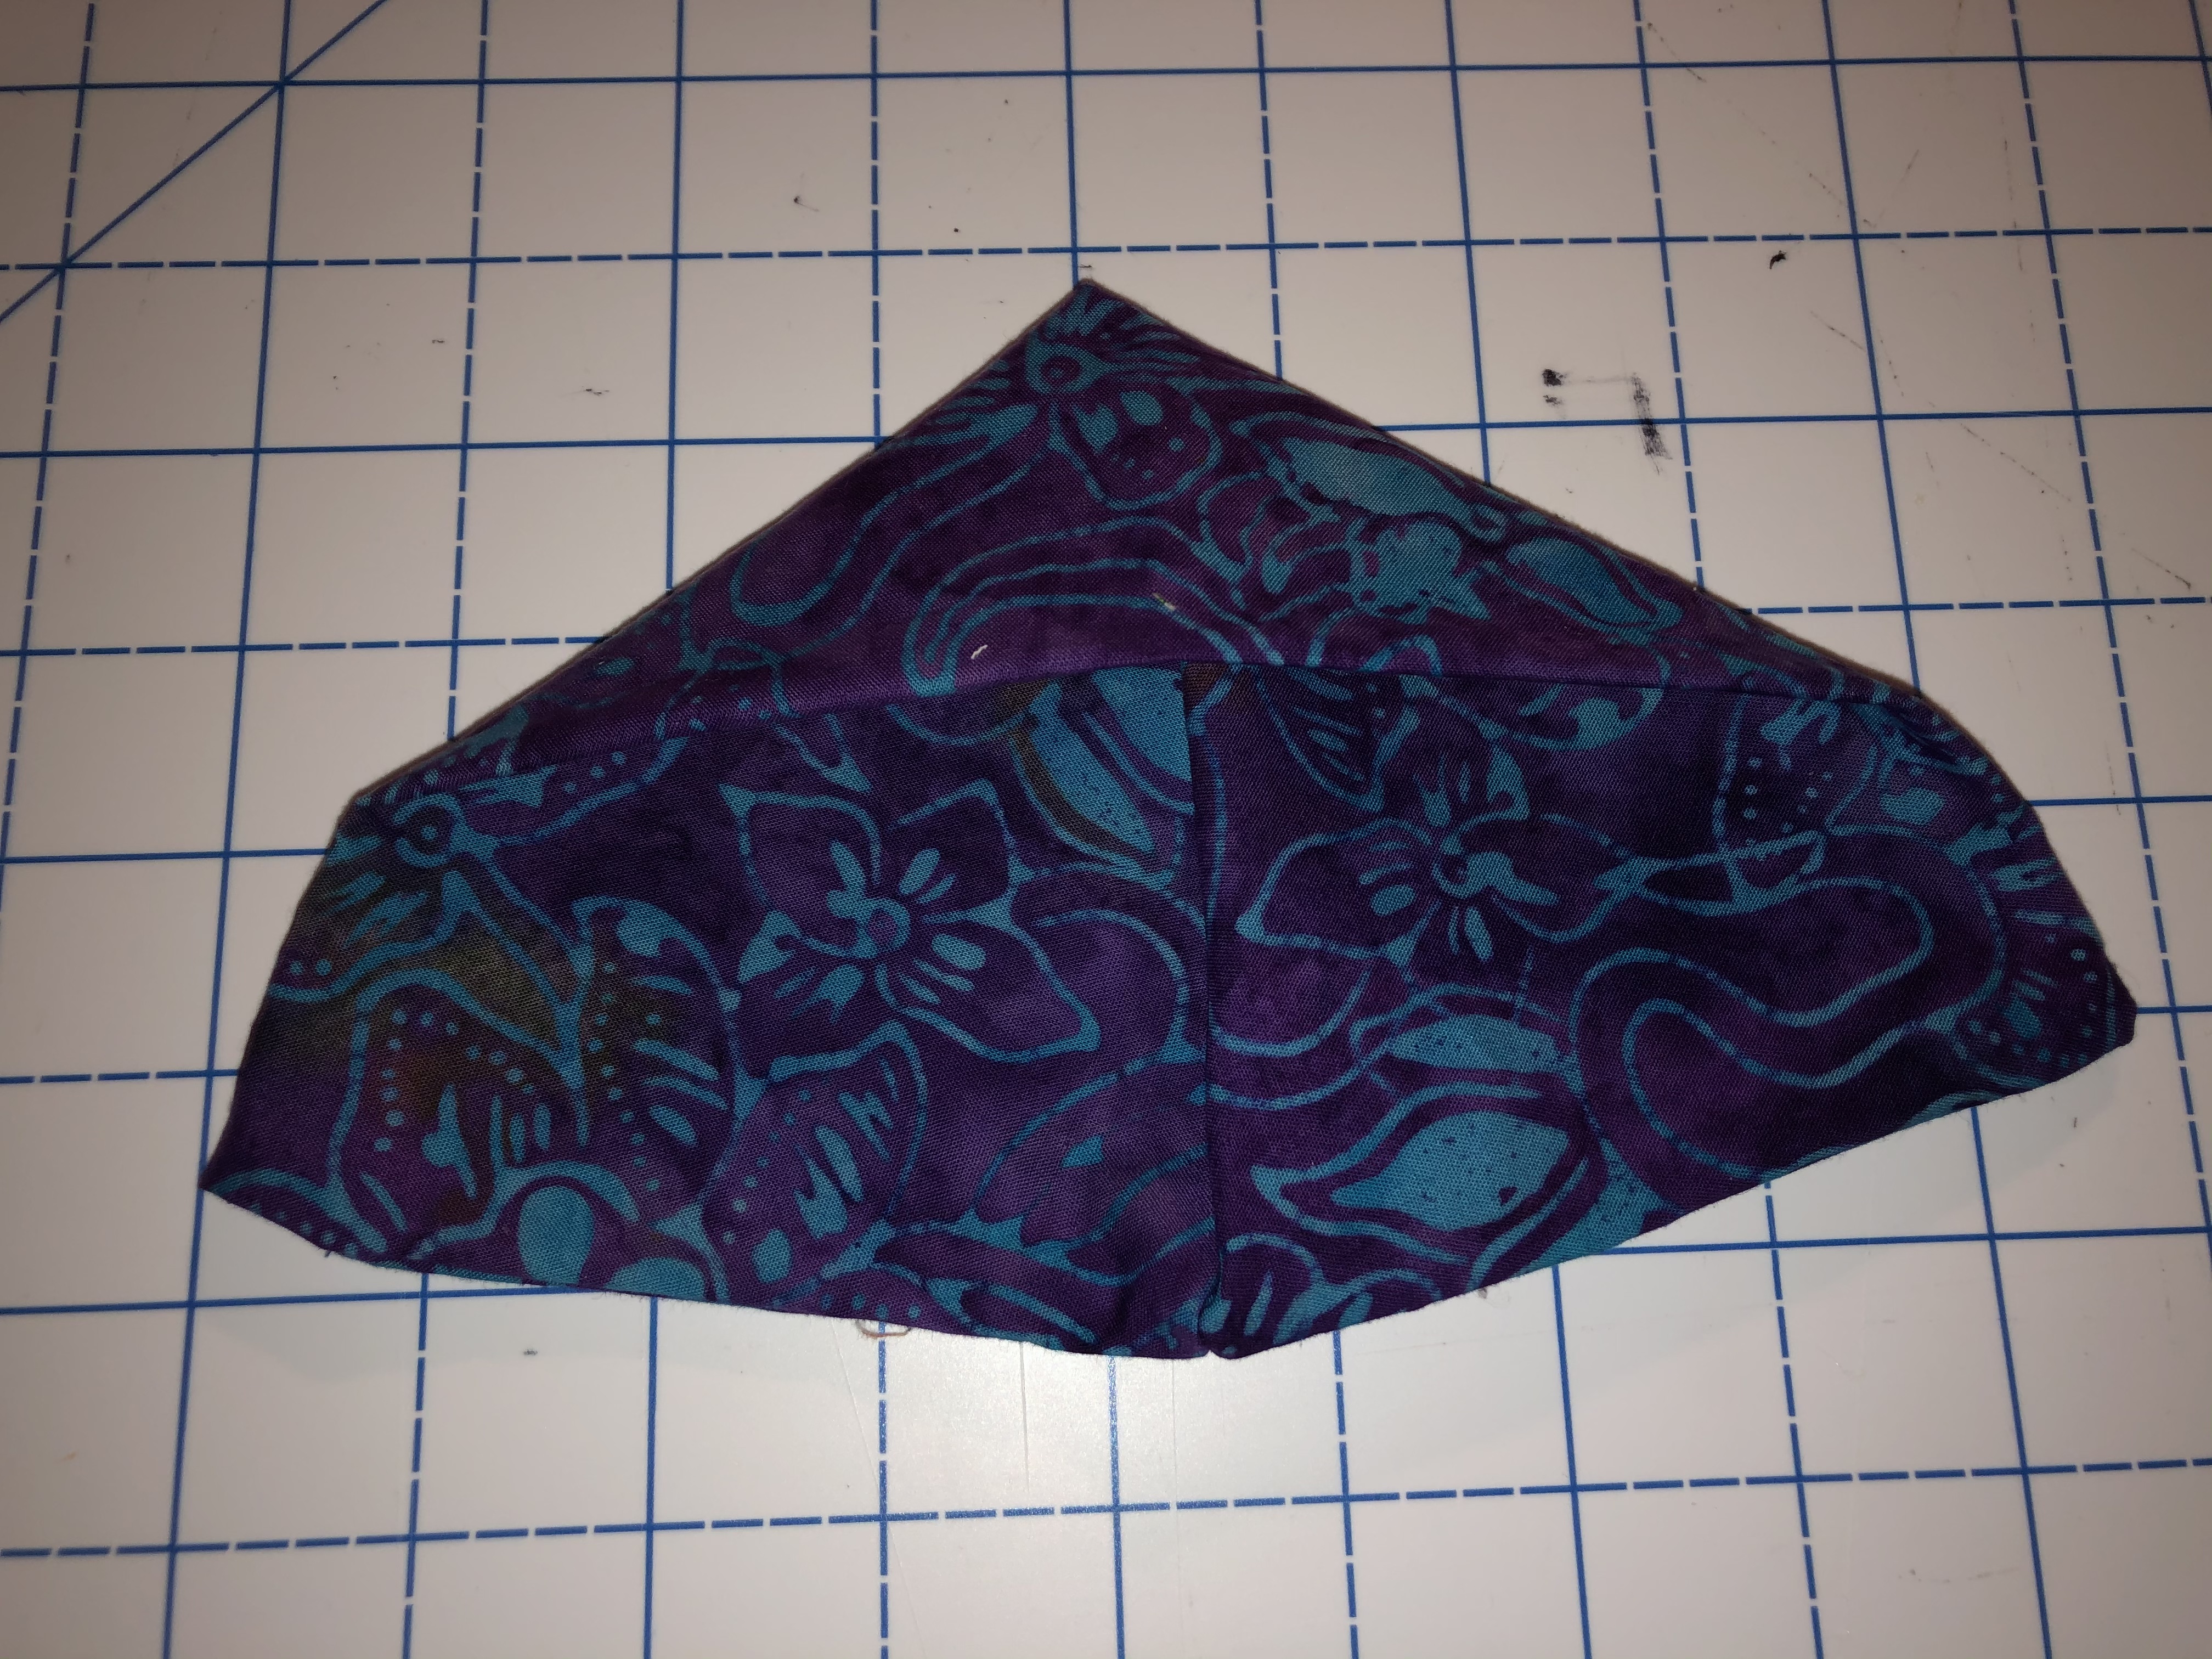
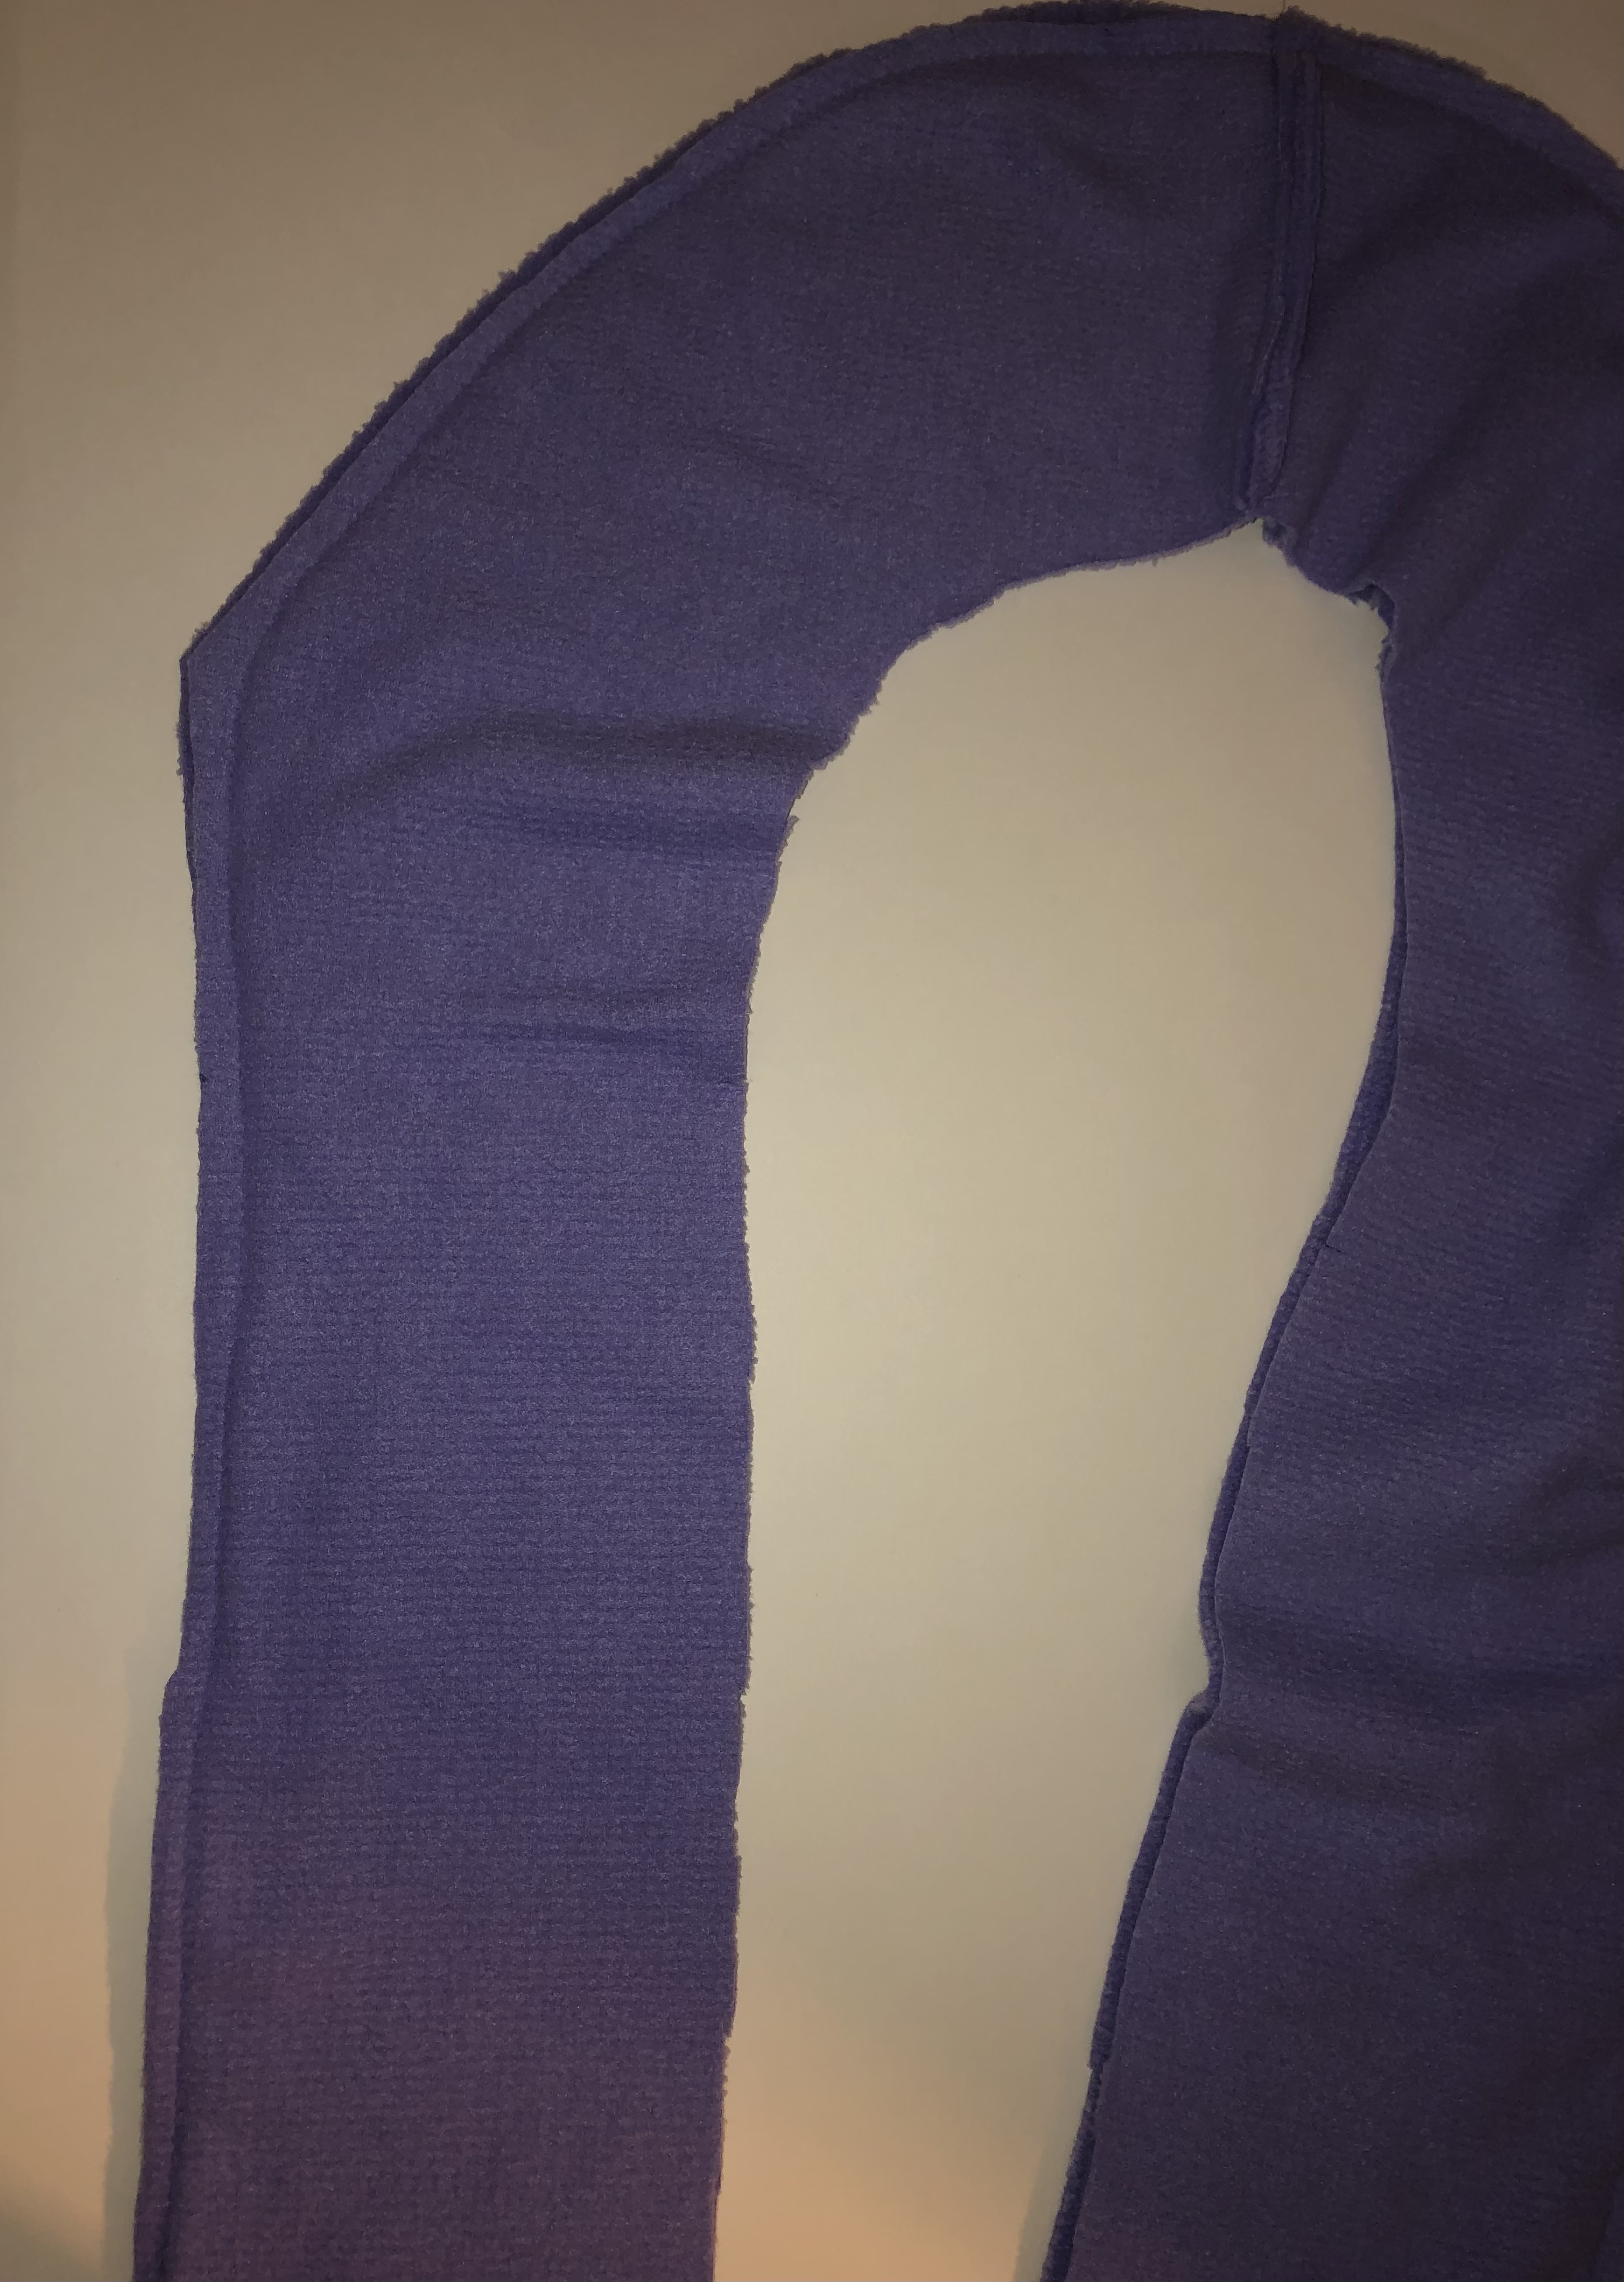
Turn your shawl right side out, and top stitch the outer edge and hem. I am a top stitching fan for the same reason I like under stitching. It is optional. What is not optional in my sewing teacher’s opinion is basting. Please take the few minutes to baste the inner curve of your shawl pieces together. It will save you more than a few minutes of ripping later.
In the photo below, I added a pin to my “outer ” collar. It is just a smidgen bigger than the inner one and gives just a hint of puffiness.
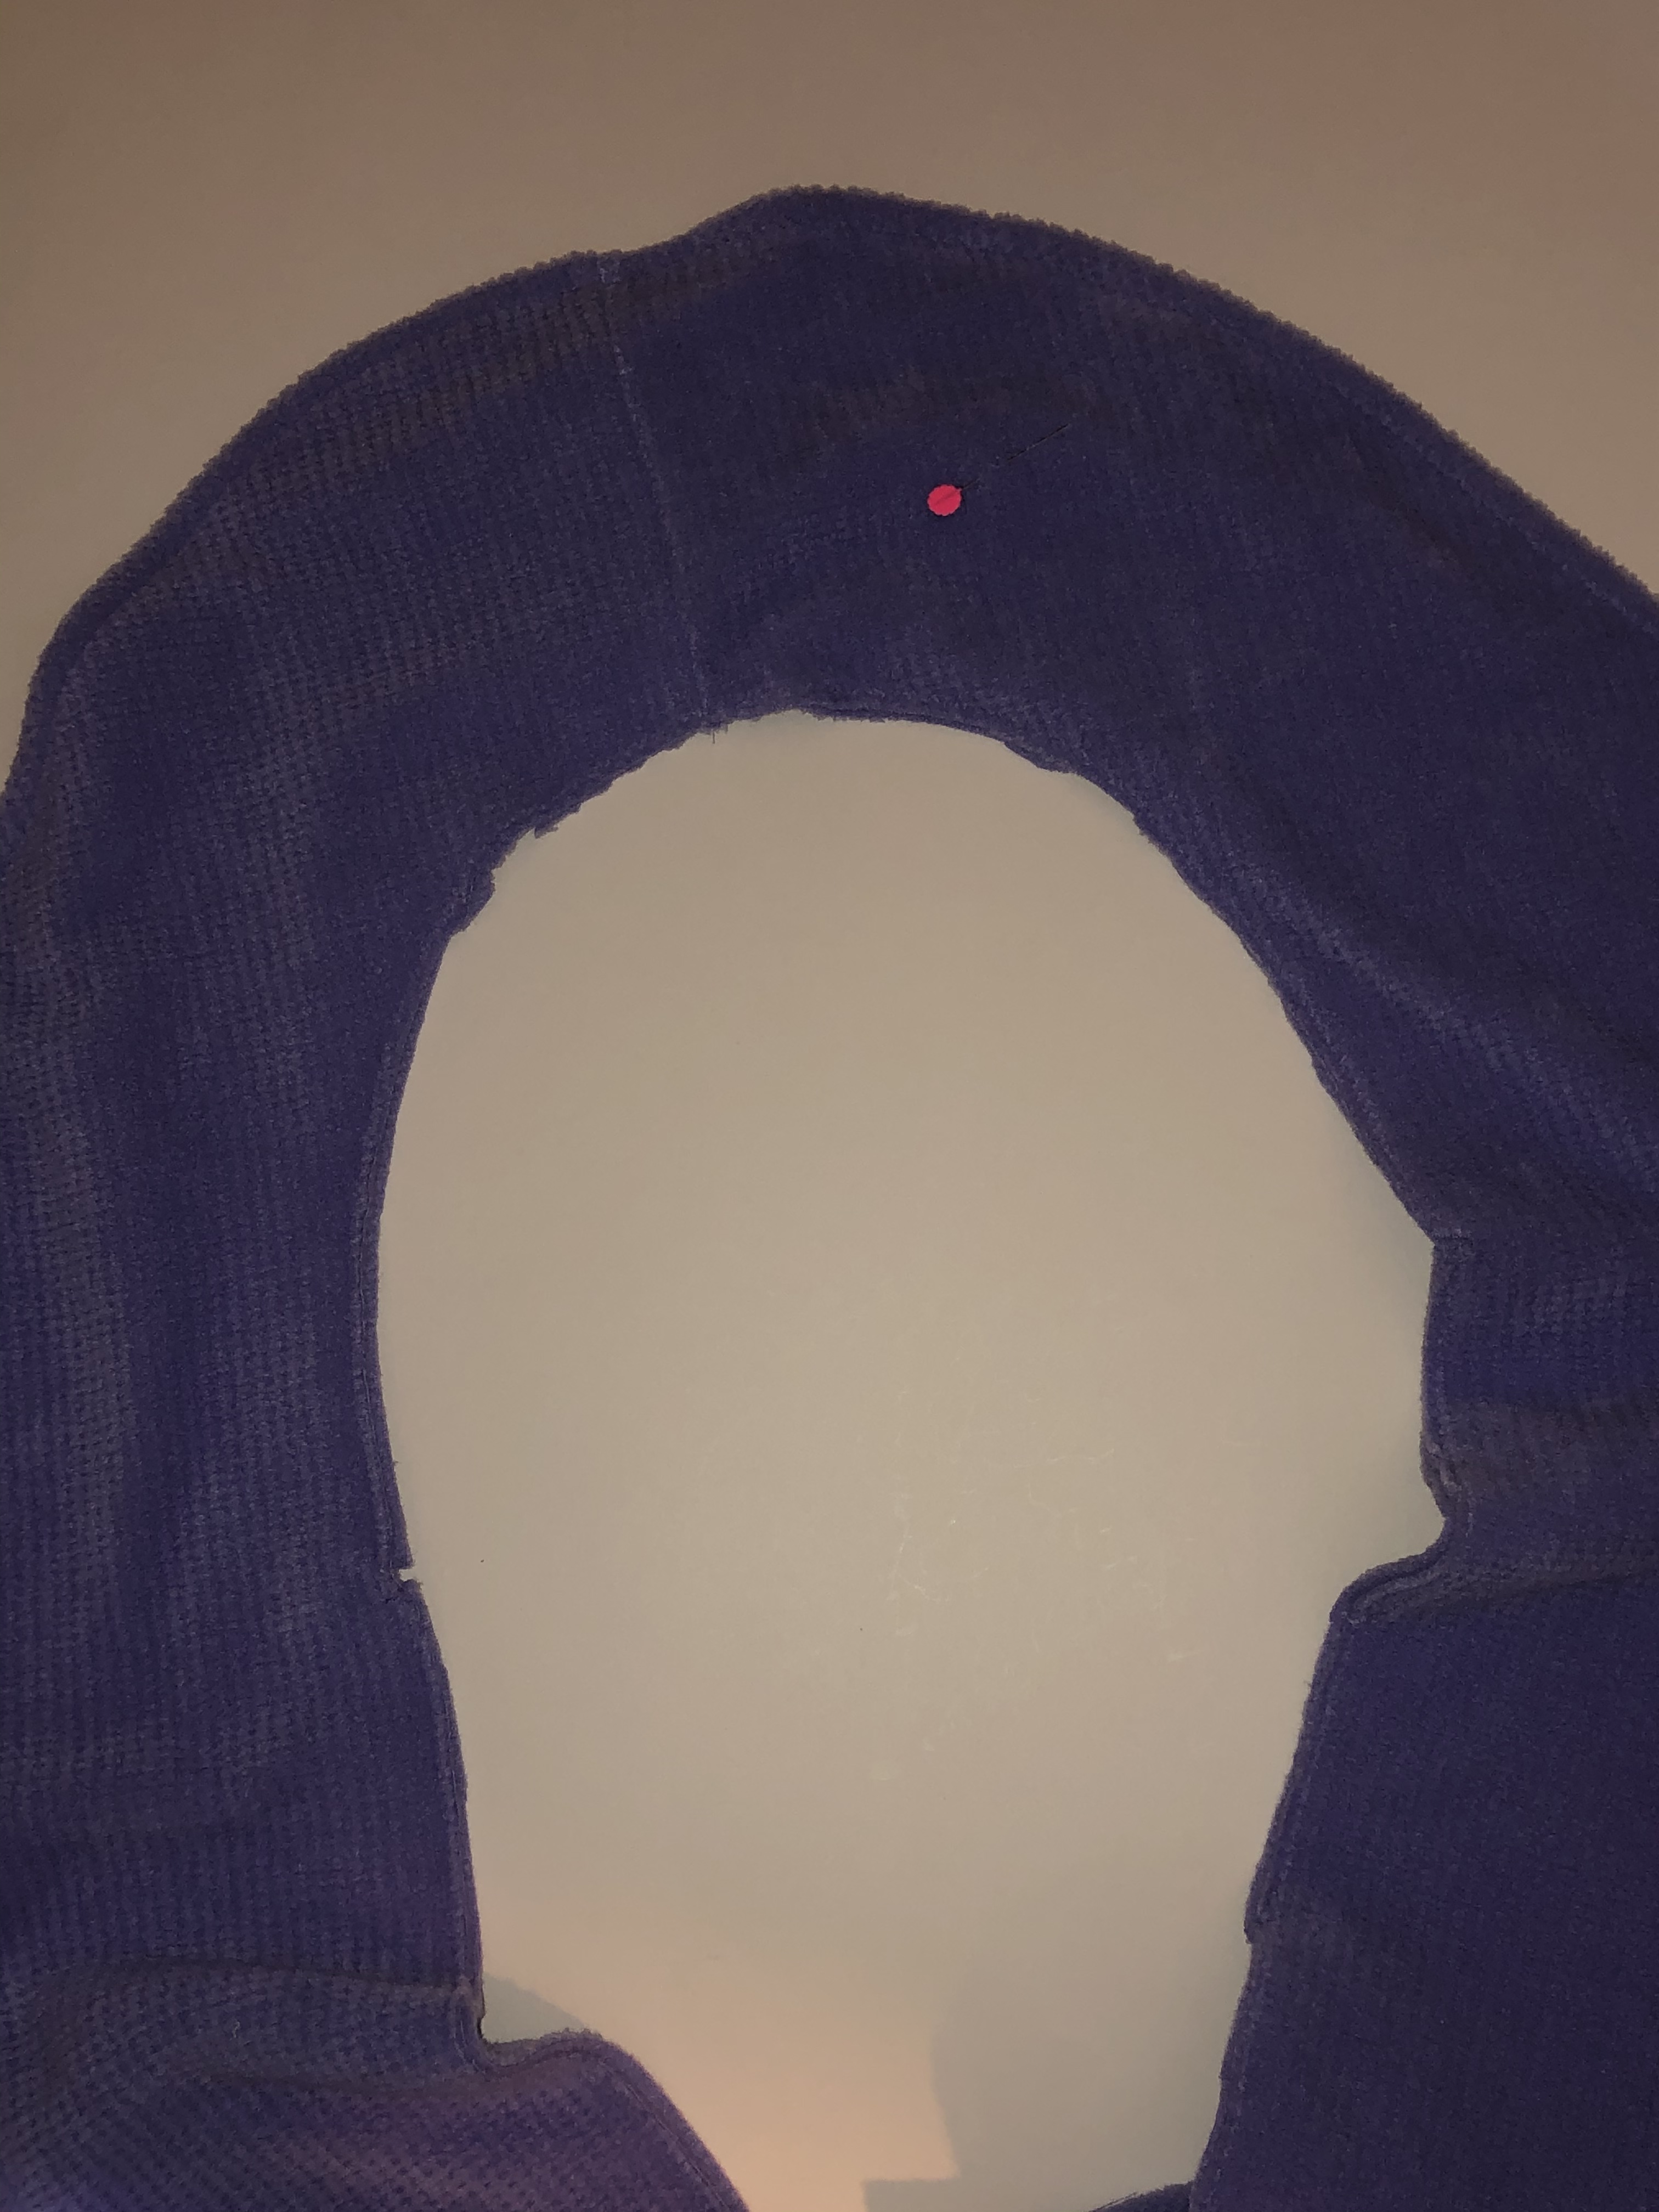
Inside collar view.
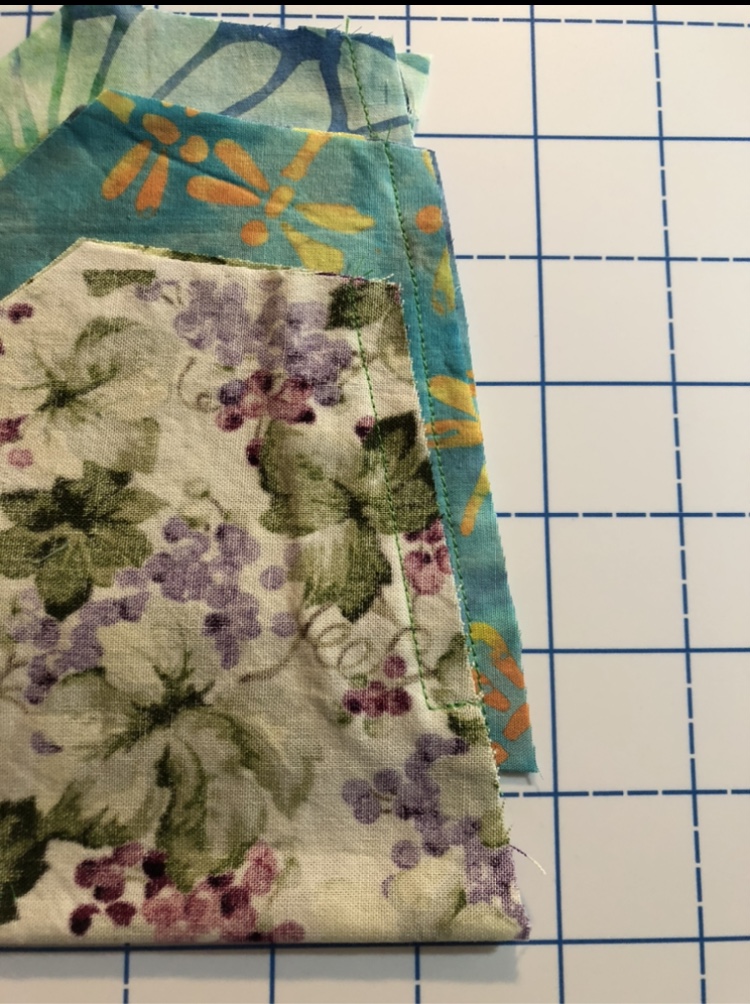
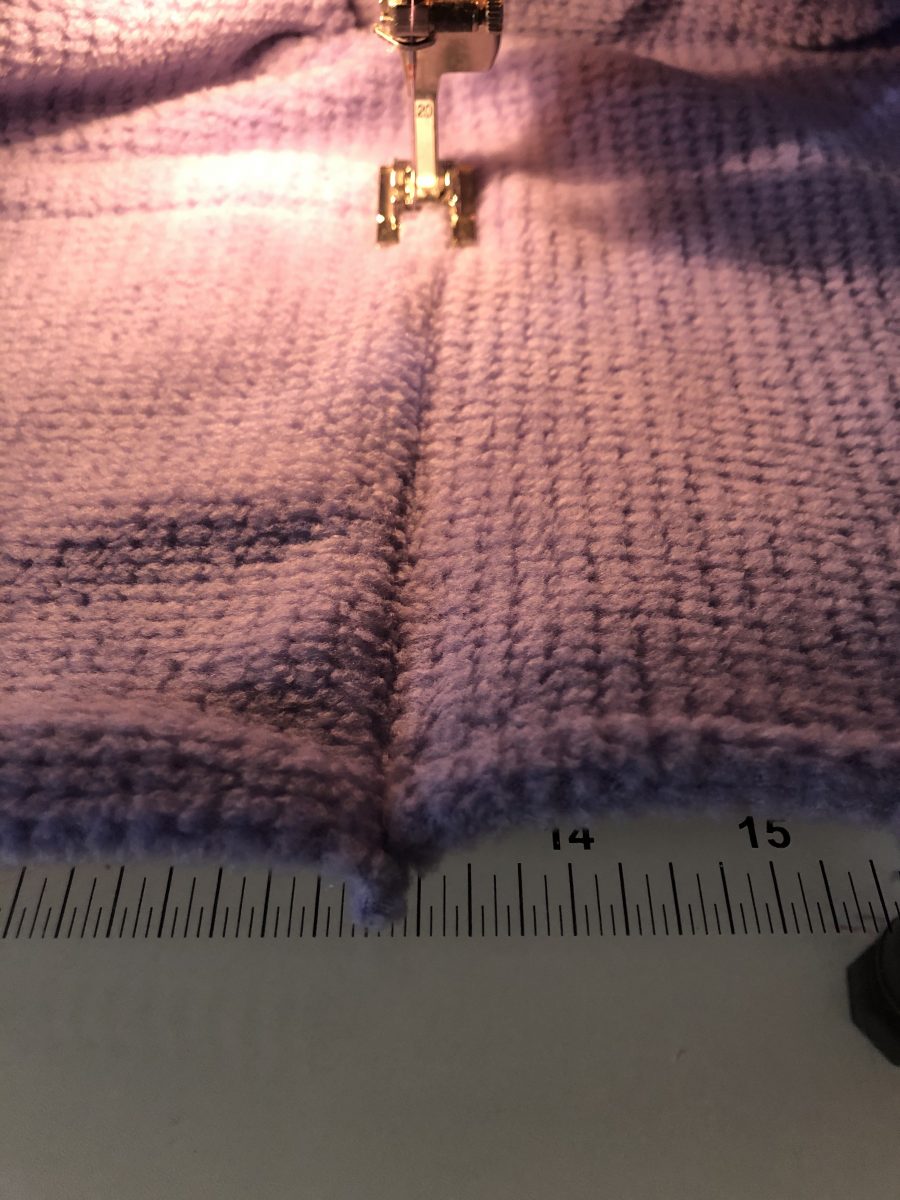
Pin the collar to the body. With the inner collar facing the right side of the body of the garment, pin along the edges, matching the front bottom edges, notches, center back, then add more pins in between as needed. Stitch all the way round. I used a 4 length with a slight .5-1 zig zag for stretch. After you decide you like it, you may clean finish the edge if desired. I used the overcast stitch on my sewing machine for two reasons. Matching thread, and it can handle the multiple layers of fleece more happily than my serger can. ***Adventurous tip here.

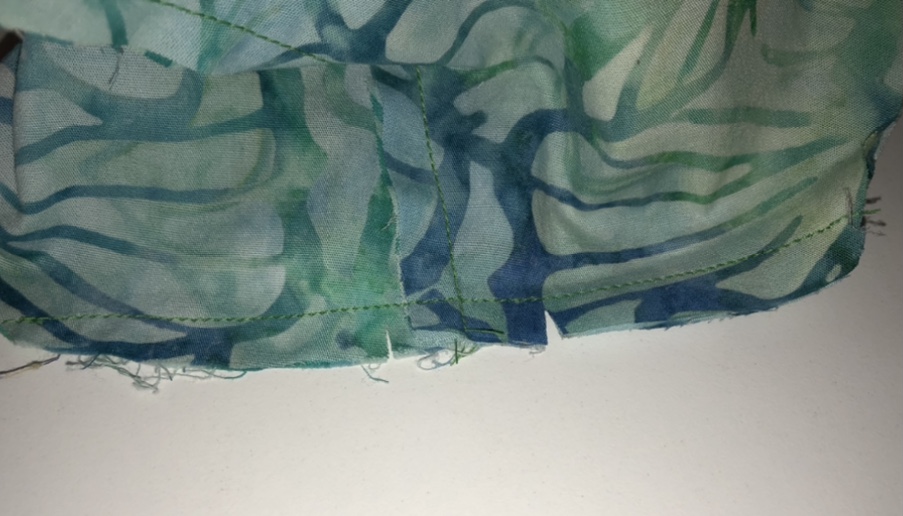
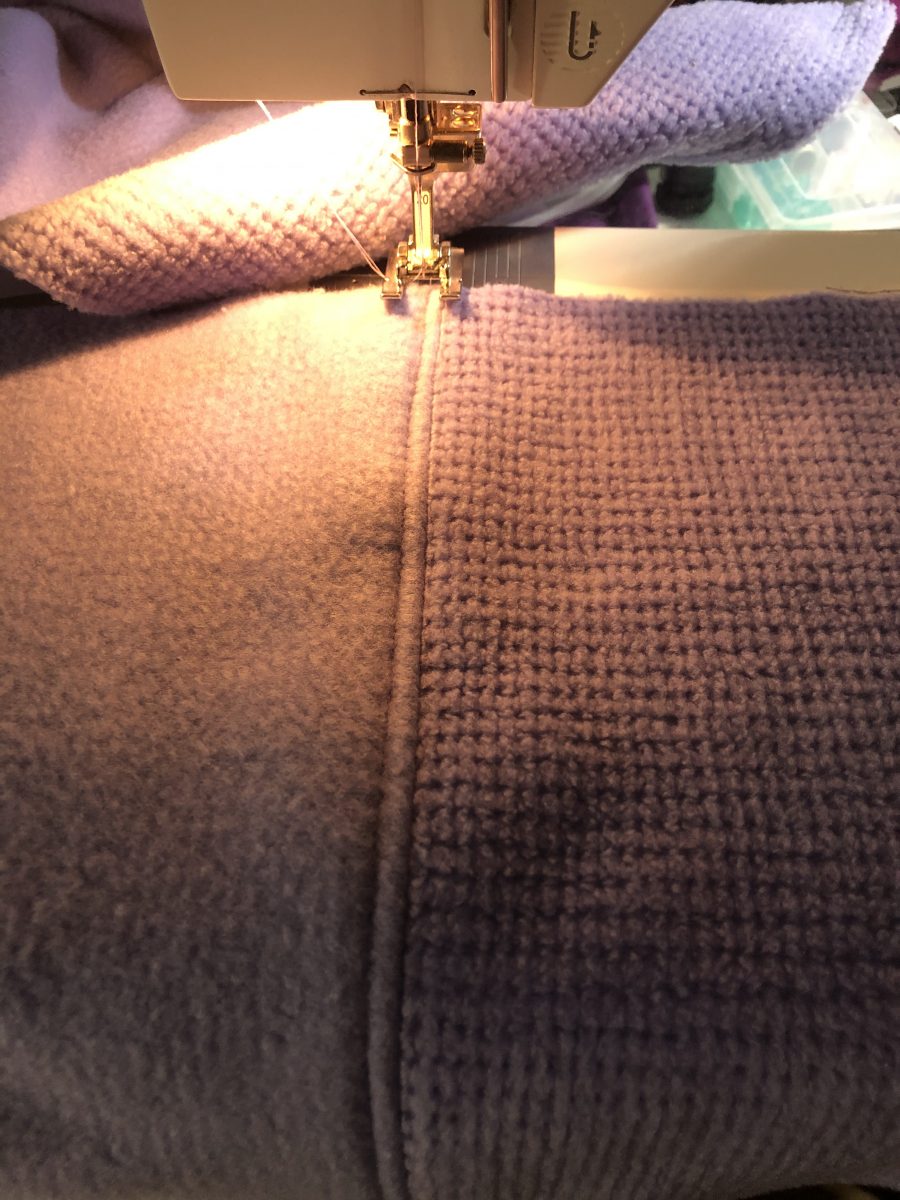
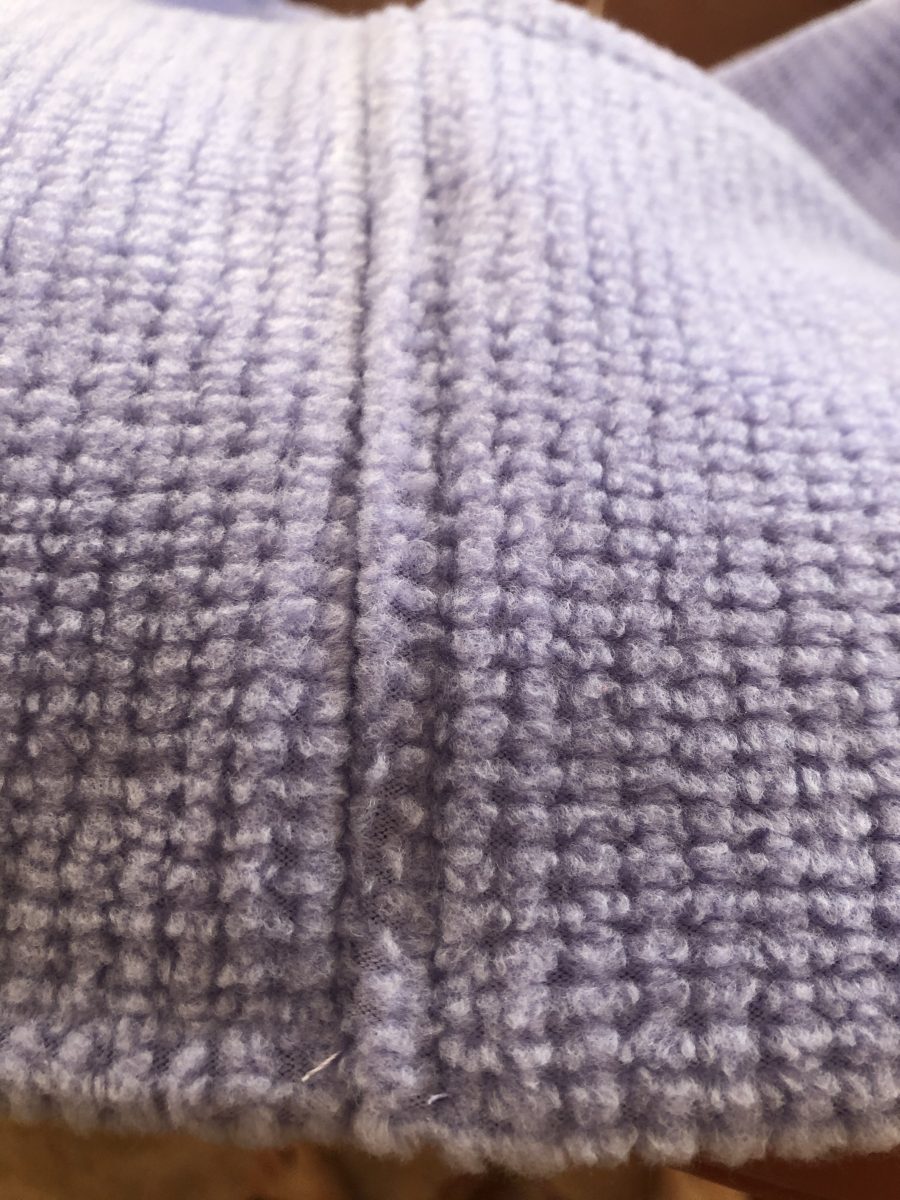
Top stitch this seam towards the body of the garment. Go slowly over the pocket area since it has many layers. Take care when you start and end, and use an awl or other tool to squish the seam allowances into the underneath part, so the stitches catch them and hold them securely out of sight.
Clip your threads, so that they don’t show up on a super close up. Then go ahead and serge the hem edges of your back pieces and sleeves. If you flat sew your sleeves, now is the time, otherwise you will be sewing them later, in the round.
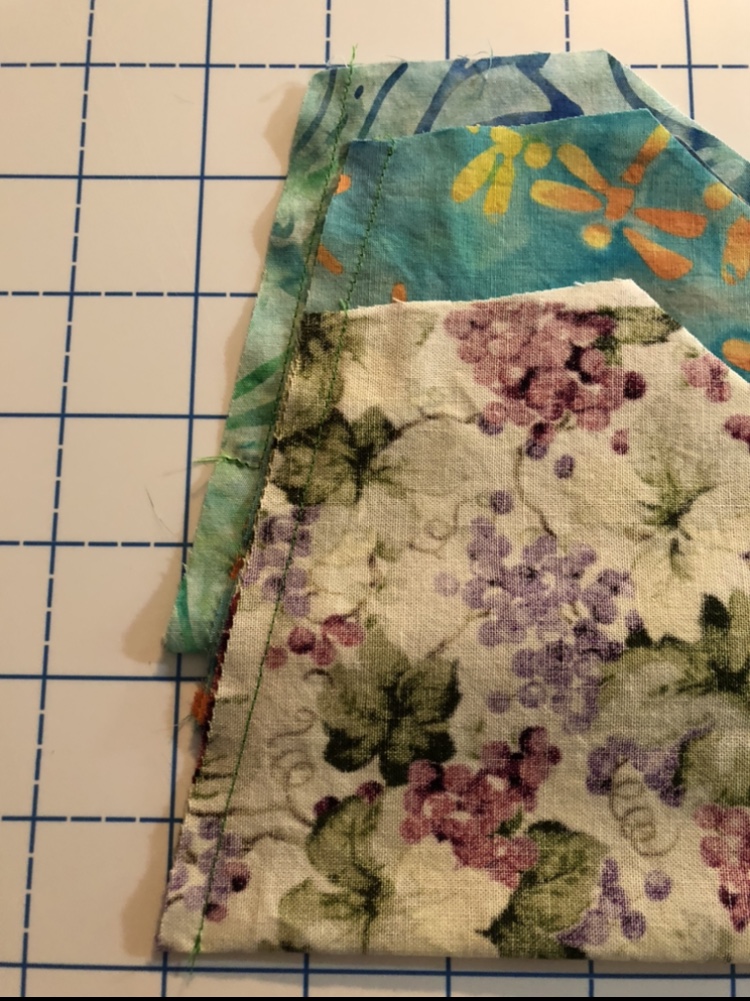
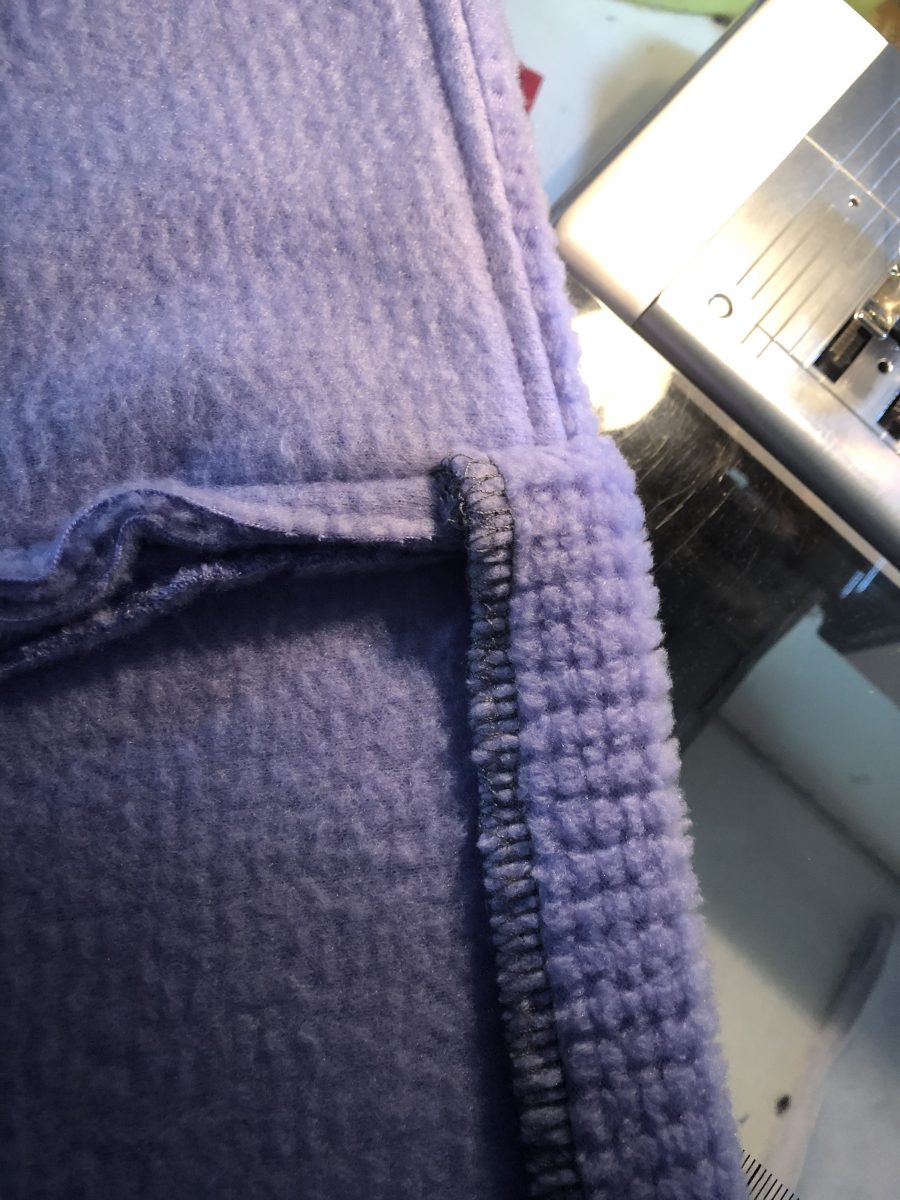
Pin and sew your side seams. If the universe is happy with you, your back piece will be about an inch longer than your front pieces. Use this to roll round the edge of your nicely finished front piece. Snug is key here. Make your side seam. Repeat for the other side.

Notice the tidy stitching. Now you can serge if you would like to.
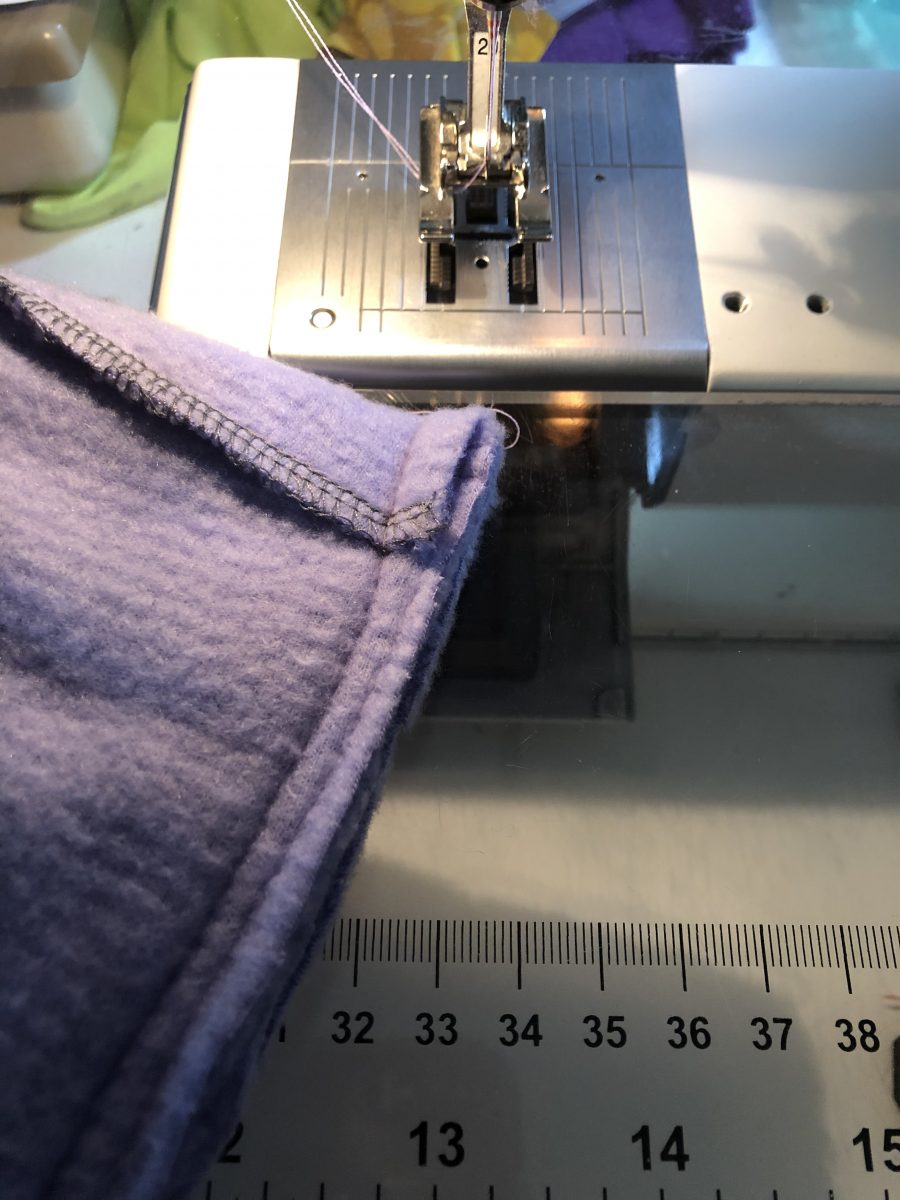
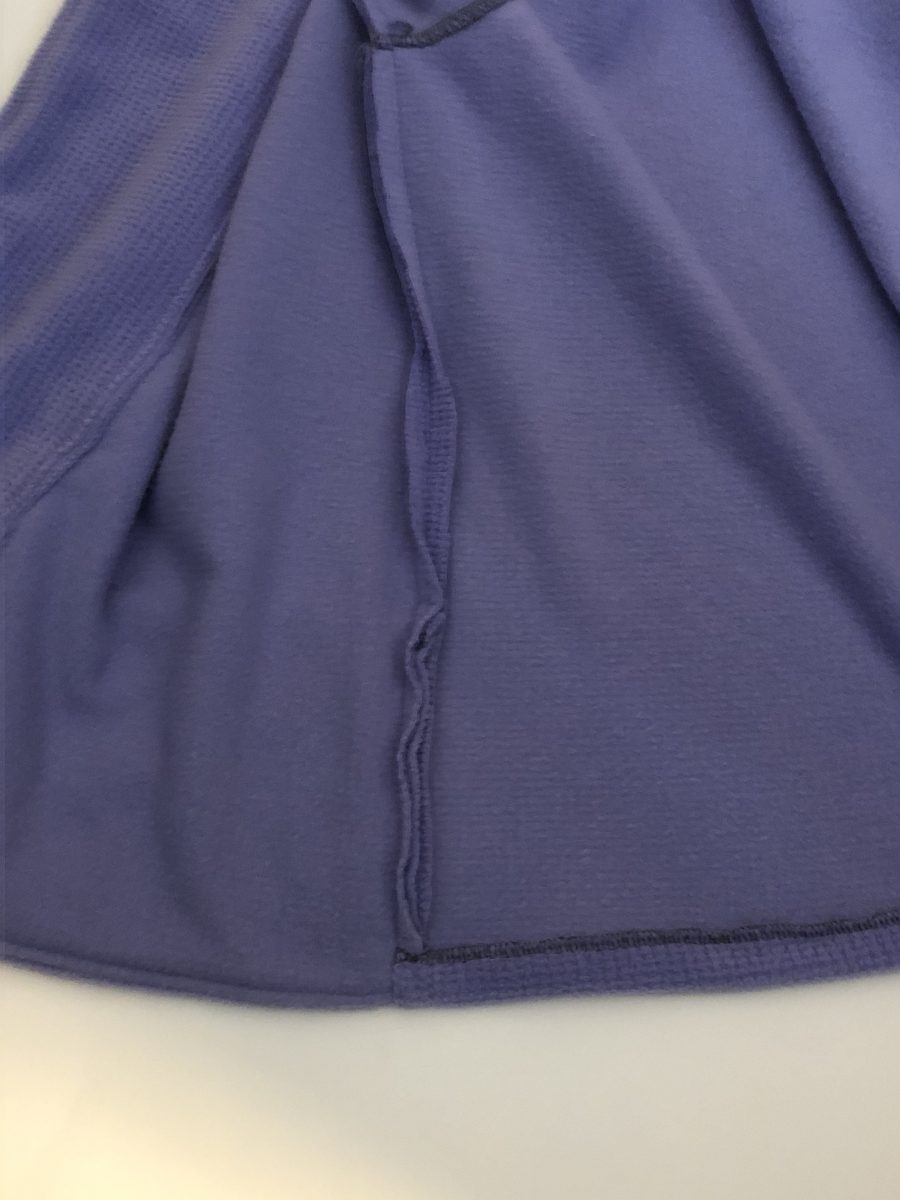
Flip the seam open, and surprise! Ready to hem the back side.
Hem the back. I used a wider zig zag 2 wide 4 long to account for the horizontal stretch. Add and hem your sleeves if you haven’t already, and you are done!
This would make a lovely long robe.

A note about shawl collars. This one could be cut on the fold. Just fold back the seam allowance and go for it. I did that for another version where I had a lot of fleece in that particular color. This one was cut side by side, so I have enough fabric to make a pair of Susie pants to coordinate.
This post contains affiliate links, wherein I may receive a small commission from the pattern designer if you use my link to purchase their pattern. It is no additional cost to you and I really appreciate the support.
Happy sewing! Joan
For adventurous sewists only. You will need a separating zipper that is the length of the spot where the seam allowance at the tip of the shawl collar starts, down to your hem. It can be shorter if you want to leave a few inches at the bottom of yours without a zip. It is up to you to choose on this adventure. This will vary per size, and per length option chosen.
- For a zip on the left side of your front, install one side of your zipper here from your hem line to about 5 inches above the notch we made in the second photo. *
- It will later be enclosed in the seam where the shawl collar is attached here. ***
- The other side of the zip will be installed here. ** You are responsible for determining which side of the shawl collar it goes on and which side faces up. On the version I made, this is where the zipper pull side of the zip was sewn. Perhaps a reversible separating zip might make the whole process easier, as it would be hard to get the zip in “backwards”.
- The version I made for me with the full zip did not have pockets, although I installed invisible zips on the side seams where a pocket might go. I hope to install pocket bags at some time in the future. I wore it over a sweater that did have pockets, and was able to get to them , so it may be a while.
- Happy Adventurous sewing! Joan