Earlier this year, I popped over to my local hardware store to pick up some widgets. It is walking distance and they have everything I really need from seeds to manure, to canning jars, and pvc parts. Well they do not have fabric, but that is ok. Some of the employees were wearing masks, others were not. Many of they folks that work there sport beards. From goatee to full on mountain man. I had been mask making, and wondered how one masks up with a beard, and googled when I got home. I actually made some for them. The pattern has multiple sizes of regular masks as well as the beard option and has become one of my favorites. It pops out from my mouth, so I can talk with it on, without mask climbing into my mouth. Straight lines and simple, interesting construction? Yes please!
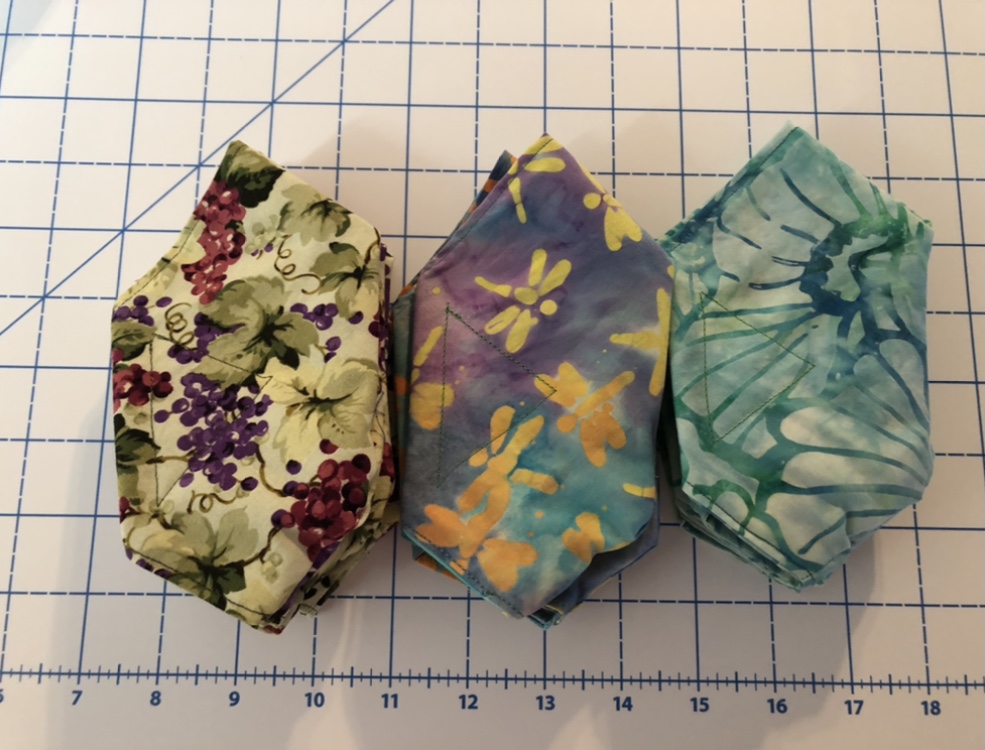
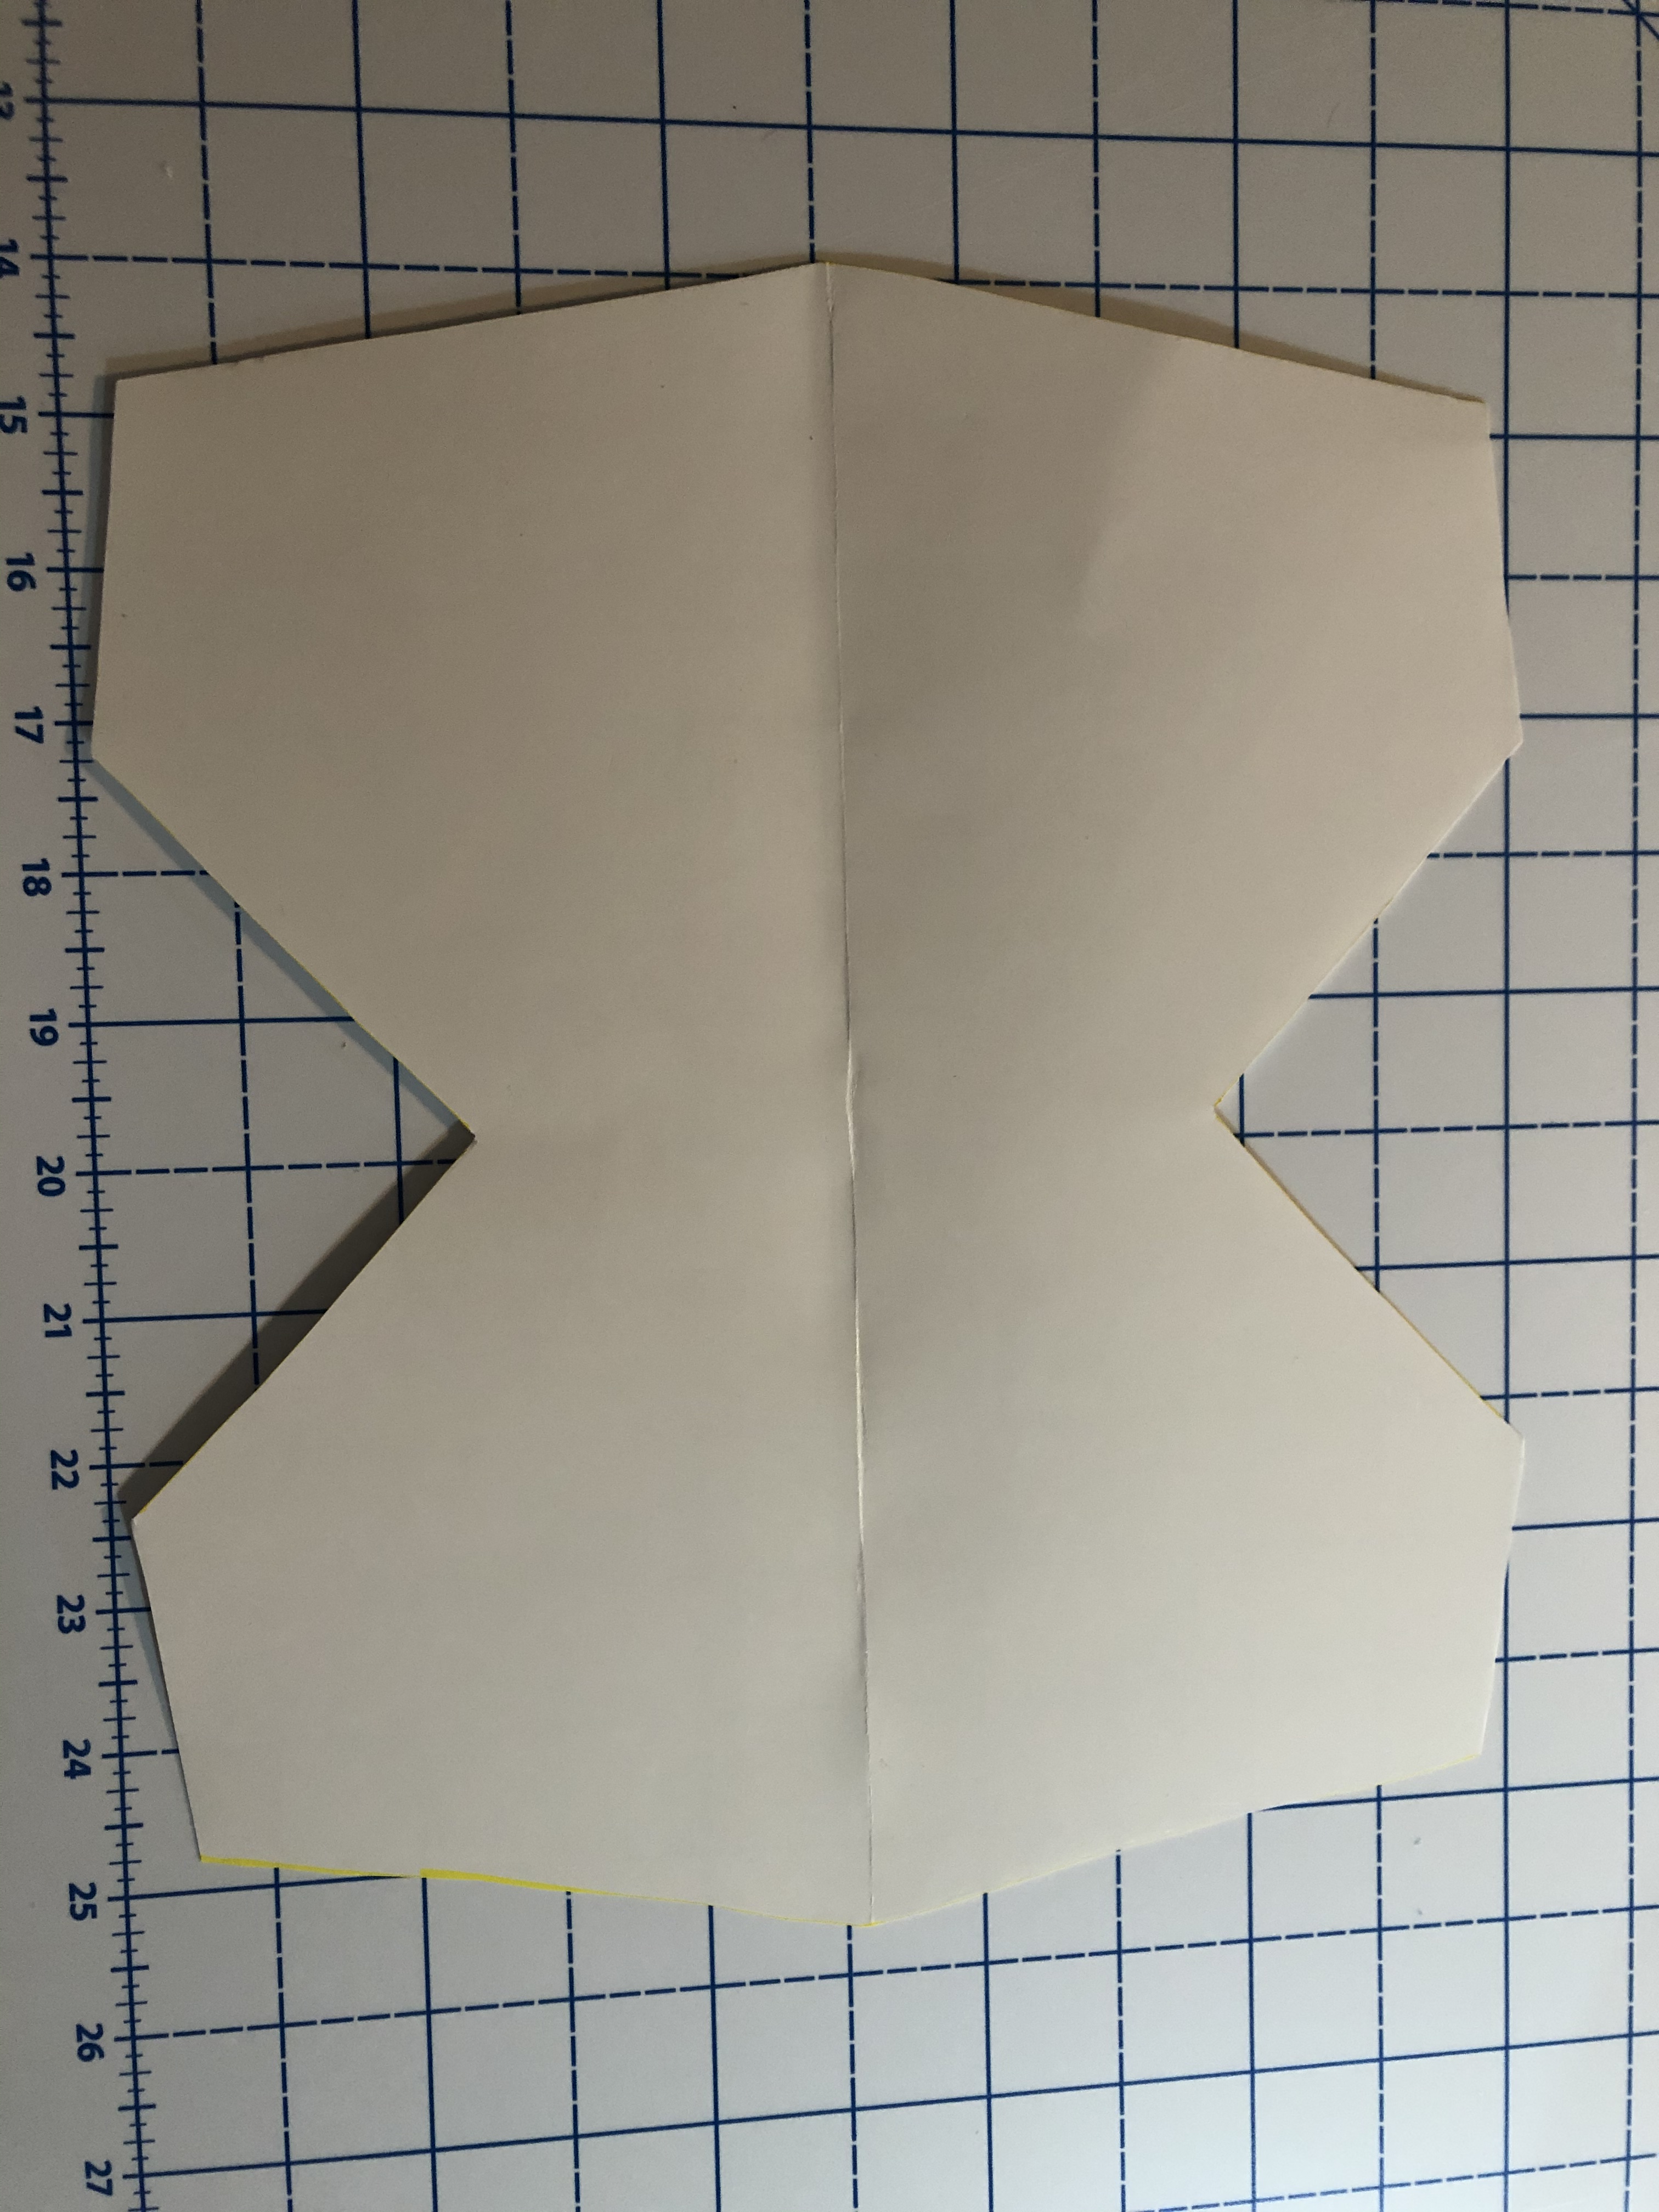
I found the pattern here and printed it. Then I traced it on to some news print folding it at the seam line, so I could eliminate the long top seam, since I wanted to make these up quickly. The crease of the paper is where the seamline would be on the printed pattern. A friend liquidated her quilting stash, and these fit on fat halves I got from her quite nicely. I then stacked the fabrics, wrong side up, lightest color on top. I traced around the paper pattern with a yellow sharpie. There was enough fabric left to squeeze some pieces of this mask from Tie Dye Diva as well. It has smaller pieces, and I like to conserve fabric. Cut the outer edges with ruler and rotary and inner angles with scissors.
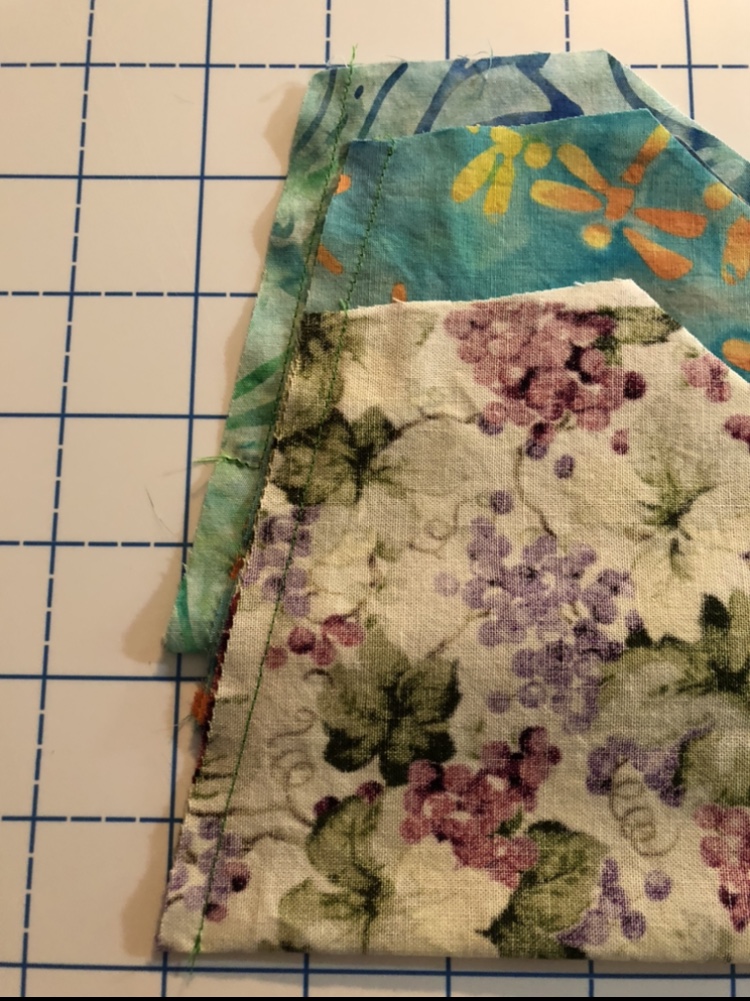
Fold each piece in half along the seam line, or fold line above, and make the first seam. I call this and L seam, as that is its shape. I do not see it often, but use it all the time. It really helps the opening from popping stitches when the mask is turned right side out. It is worth making that 90 degree turn and stitching into the seam allowance. Leave about an inch and a half open for turning later. In the past, I have sewn the long seam then turned just before the space for the opening, but you can see that I missed that step on the second one. In my most recent batch, I started with the short 1/4 inch seam an inch and a half from the folded edge, then turned to make the longer seam. It worked in helping me to remember.
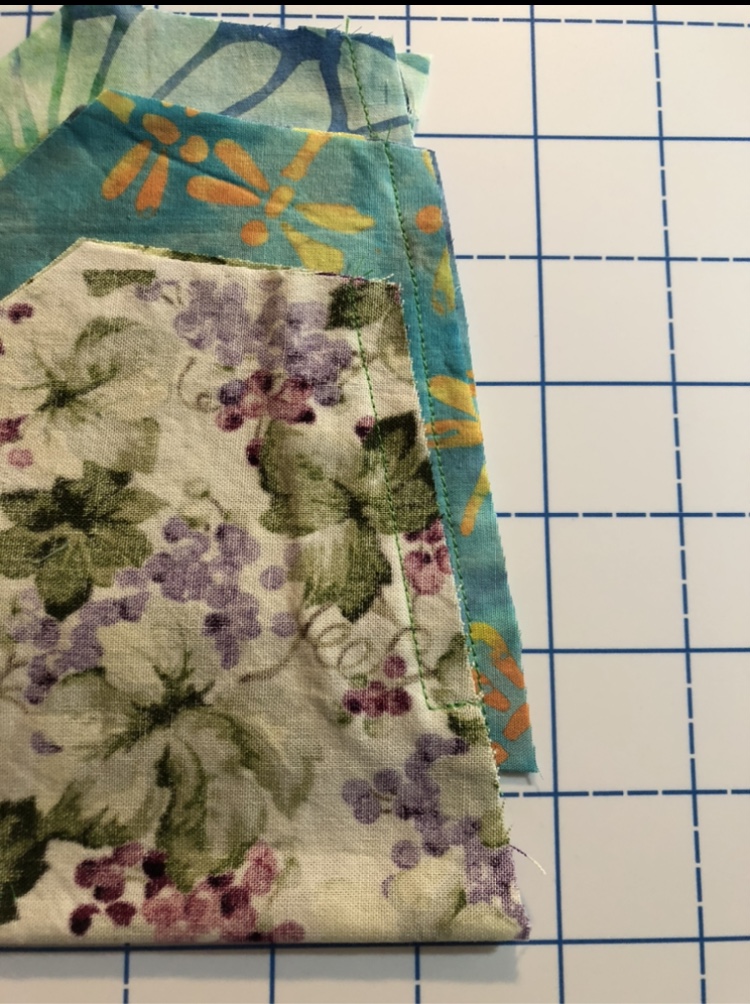
The second side is simple and fast. Just chain piece from seam/fold line to the end. Chain piecing helps to save thread and keep tiny pieces from falling down the needle plate. The one on the bottom in this photo has the L seam.
Next, open the mask and match up the seams you just made, so they nest against each other, and sew across them. I used pins to keep the seam allowances pointing away from each other in the photo.

Next, to free up the seam that will eventually be at your chin, clip either side of the center, just about 1/2 inch from the center seam. Careful not to clip your stitches!
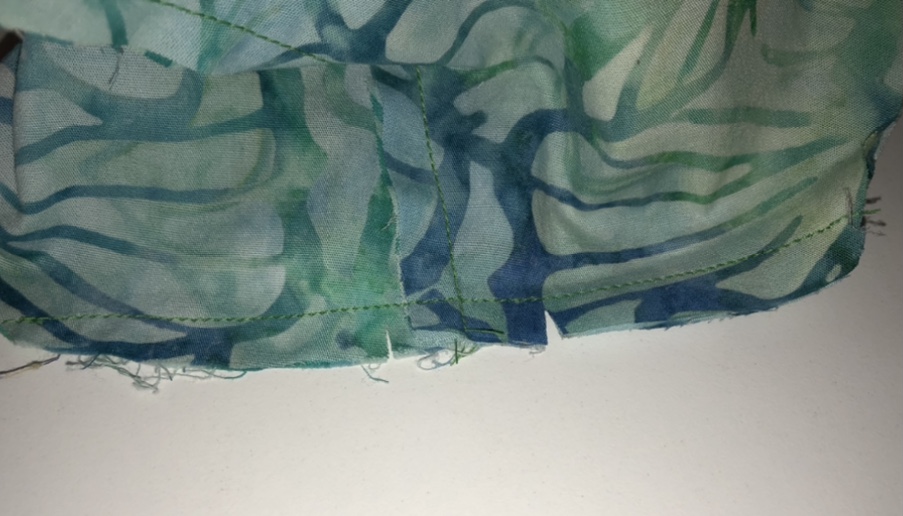
This part can be simple or tricky. The simplest next step is to sew the right and left remaining seams together. Just do that! Everything will be fine.
Brain teaser option: If you want to be complicated, like me, and save a fraction of a second of sewing, tuck the solid seam made into step one, inside the “L” seam made in step two, and align all four edges together like in the photo below. Stitch from folded edge on the top middle of the photo past the previously sewn seam. Simply folding them in half and sewing will not work. Just ask my seam ripper.
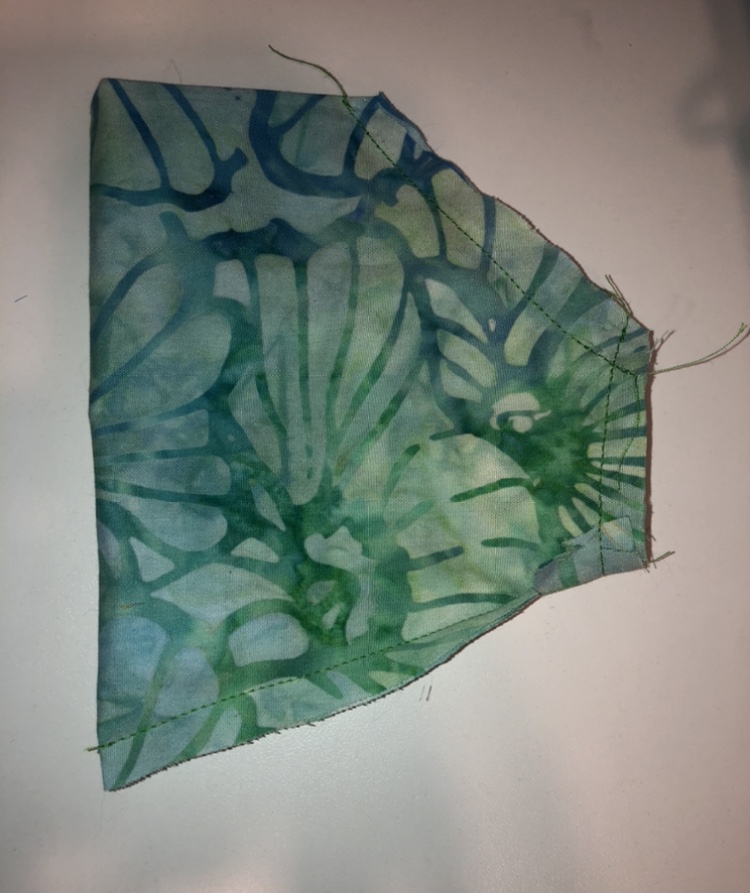
Once you have the mask turned right side out, it will look like the photo below. Press the edges of the opening under, press the mask, and top stitch all round, 1/8 inch from the edge. An edge stitching foot is helpful here.
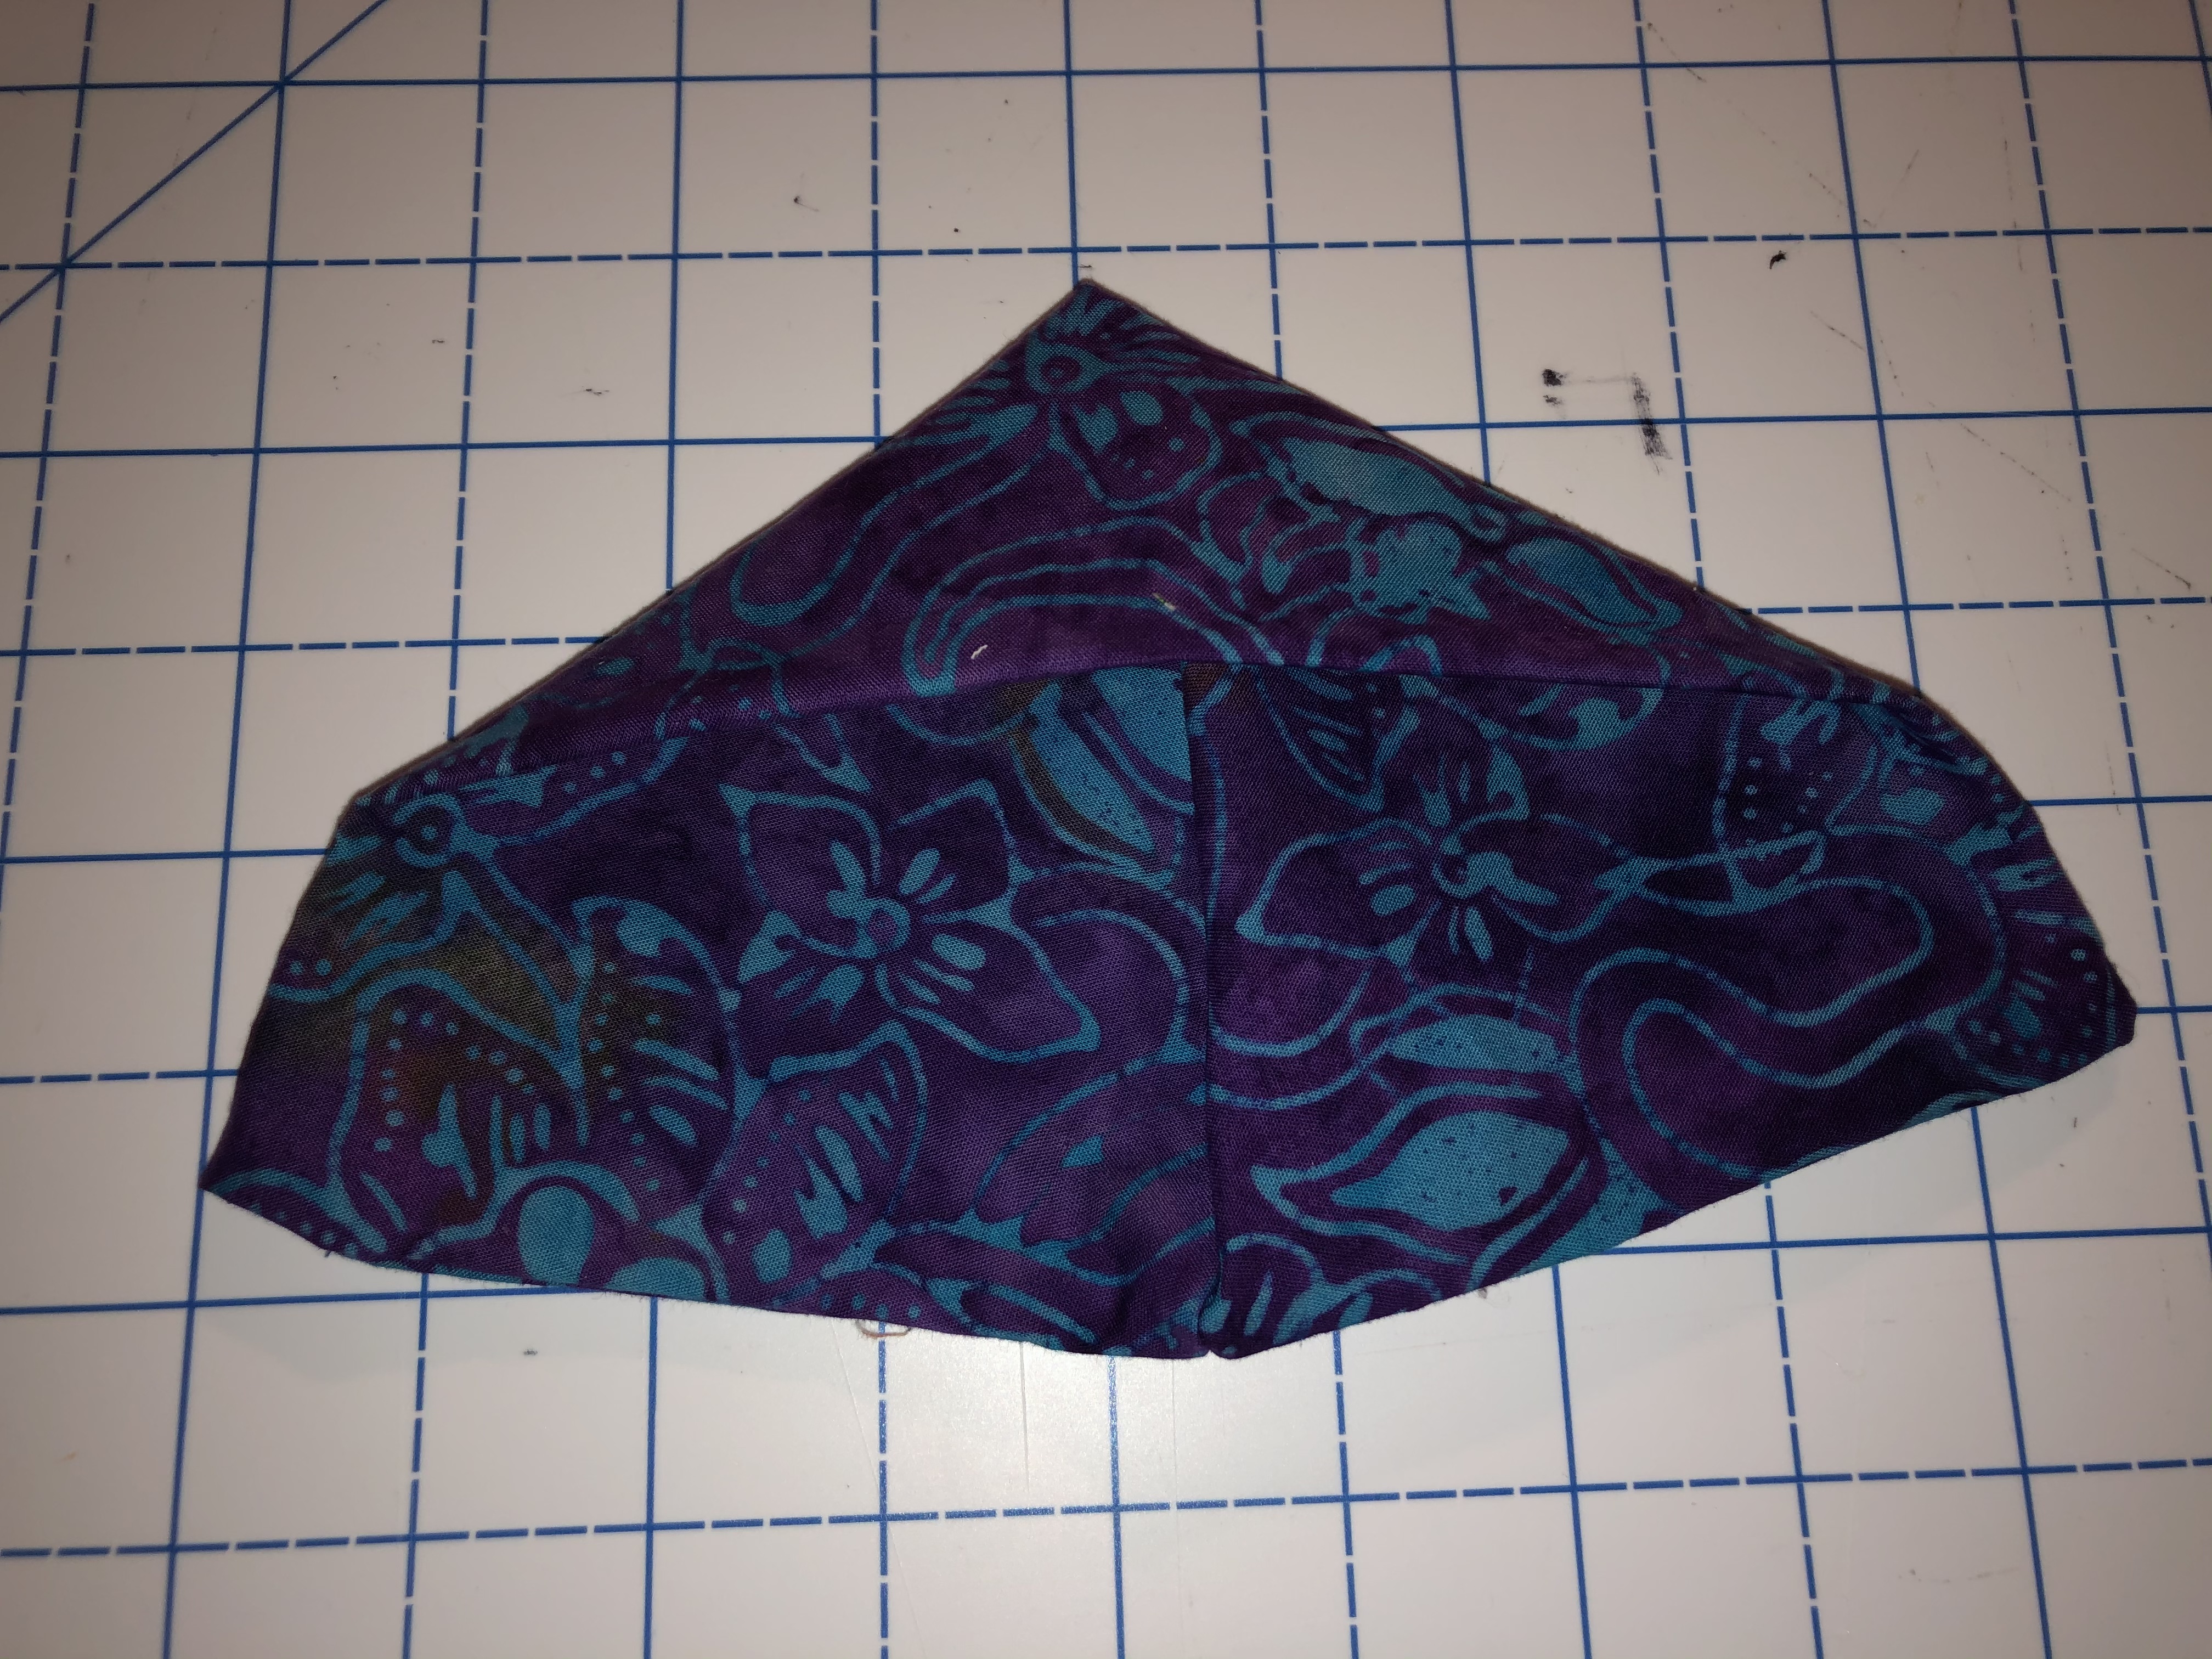
We are getting there! Fold the corners of the mask in towards (but not all the way to) the center to form the casing. The pattern has you double fold this, but I like the triangles. I normally sew one, using a 5/8 inch guide from the edge to form the casing, then sew over previous top stitching to form the triangle. Fold the mask in half, and fold the other side so that they are symmetrical before stitching that triangle. Thread a single tie or elastic through the openings, strap on and go! I use about 50-60 inches of twill tape.

If you want to get really fancy, make a reversible mask with this method. Below, I cut 5.5 inch wide strips, serged either side, and alternated the direction of the masks when cutting. This is a stack of six pairs of strips. “Mass Production” and “Reversible” are both vying to be my middle name. For your first time, you may want to try a single layer at a time.

Hope you have fun and stay safe with this. There might be an affiliate link in this post. This means that I may receive a small commission if your purchase a pattern using my link.
Happy Sewing! Joan
