 I love saving time with sewing, and flat methods of construction are great when you need to stitch something up quickly. Or are making tiny bands for a baby.
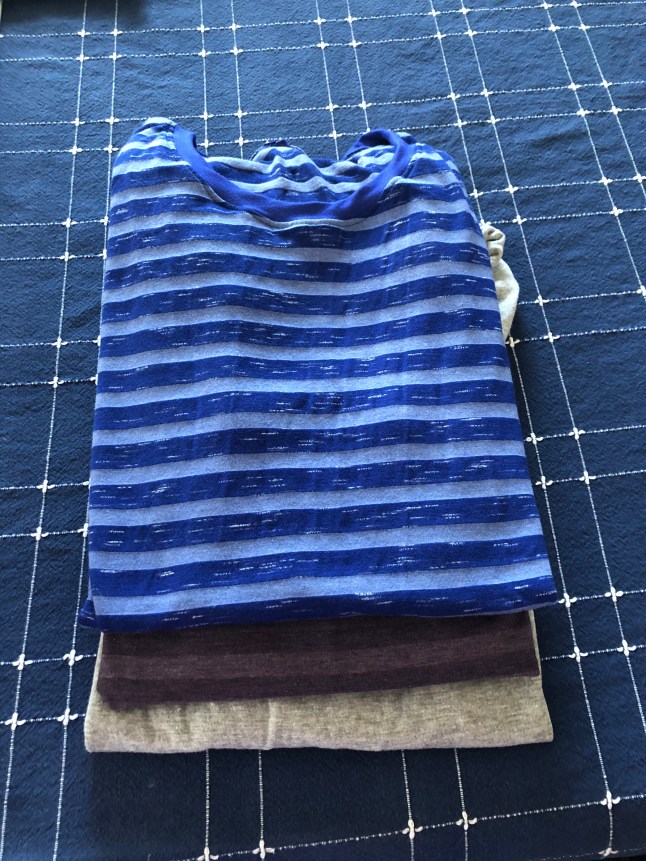
My youngest asked for sleeveless tees that he could wear walking or as PJ tops. I cut out three. One from a Jersey sheet, and two from Rayon Spandex. Ran a little short on time, so hopped on getting these done in a hurry.
As much as I like sewing on bindings in the round, they look better inside and out. The neckbands are sewn in the round, and arms in the flat. Under the arms is less conspicuous. I figured out that it is easier to top stitch the band in the flat.
 Then align the side seams and pin where the seam between the band and shirt meet.
 Notice that on the edges the top of the bands do not meet. They do match up at the point where the 1/2 inch seam allowance will be. That is key.


Here we will start the seam halfway between the top edges of the bands and the pin. Leave the pin in for now and start sewing in reverse. This allows those bands to stay together. If you start sewing at the very top of the seam. The feed dogs will often pull the seams unevenly. They grab the bottom layer, and pull it through, while the top layer, being held firmly by the pressure foot (which is pointing uphill) doesn’t budge. Resulting in an uneven edge.
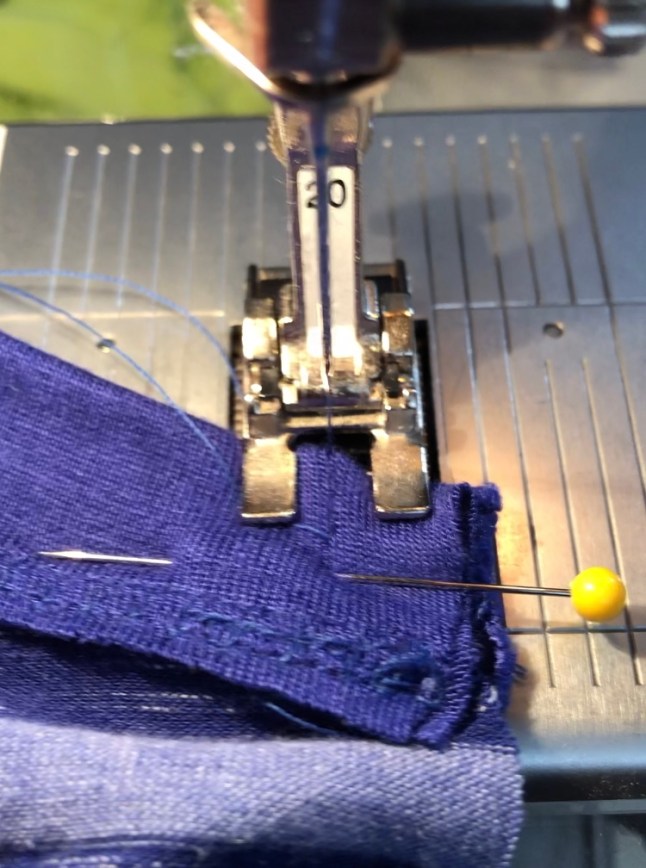 Back stitch to the top edge of the band. You can remove the pin now, since the stitches will hold things together. Then sew forward to complete the seam using your favorite stretch stitch. If you plan to serge the seams, then you may make this machine seam just a few inches long. Then serge as desired, making sure the serged seam meets where the machine sewn seam is, so it appears “seamless” from the outside.
 I have used this technique for a multitude of tank patterns. Affiliate links for some of my favorites are below.
This is the Charming tank.
You can see more of what I sew here: https://www.facebook.com/JoaninStitches/
Happy Sewing! Joan
