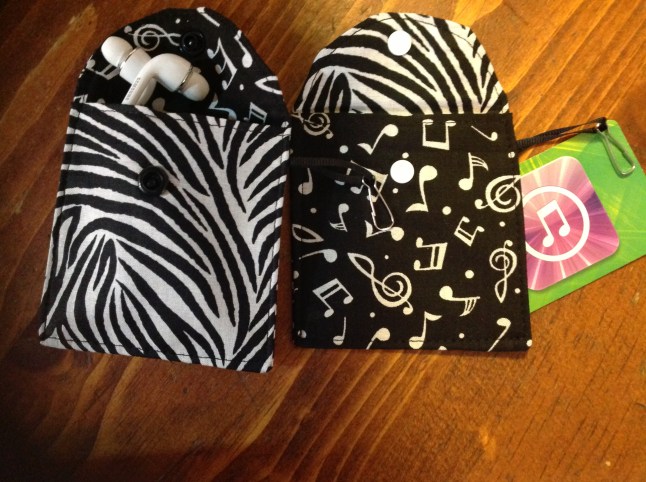
Simple formula for lined bag with your choice of size, handle and closure! So easy it is already “in the bag”.
Working with new sewists, I am continually on the look out for quick to make and clever useful projects. More experienced seamsters can whip these out in batches. Early in the game sewists can experience easy success! Teacher gifts, party favors, so many uses! I am considering small bags from theme fabric to house a bar of hand made soap for an upcoming bridal shower.
Start with scraps if you like. You will need two same size longish rectangles. The formula is as follows:
Desired bag width plus 1 inch for seam allowances. Desired height of bag times 2.5 to 2.75 for a generous flap. If you have a specific item to bag, measure it now!
Play around with what you have on hand to start with and have some fun!
Right sides together, with a quarter inch seam allowance, sew both rectangles along one short side.
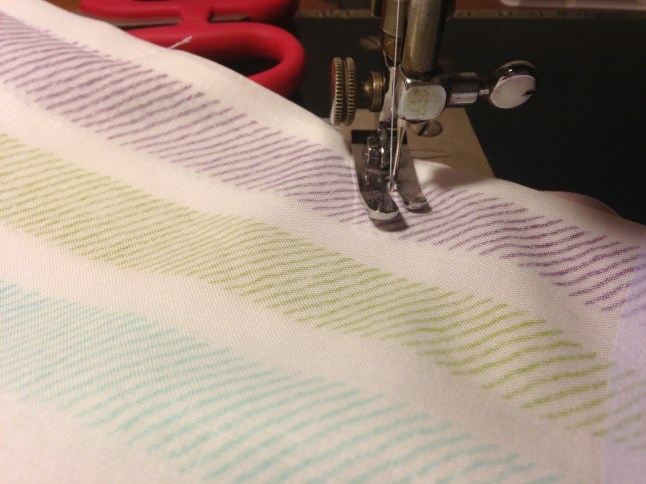
Open this. Press the seam allowance towards the lining, and under stitch. Under stitching will roll the seam towards the lining so this edge looks really clean.

View of back side of bag after under stitching and top stitching!
Press and top stitch with a fancy stitch if you like. If you plan to close your bag with hook and loop tape, include one side of the tape along the edge of the front of your bag now.
For a firmer flap add a bit of fusible interfacing!
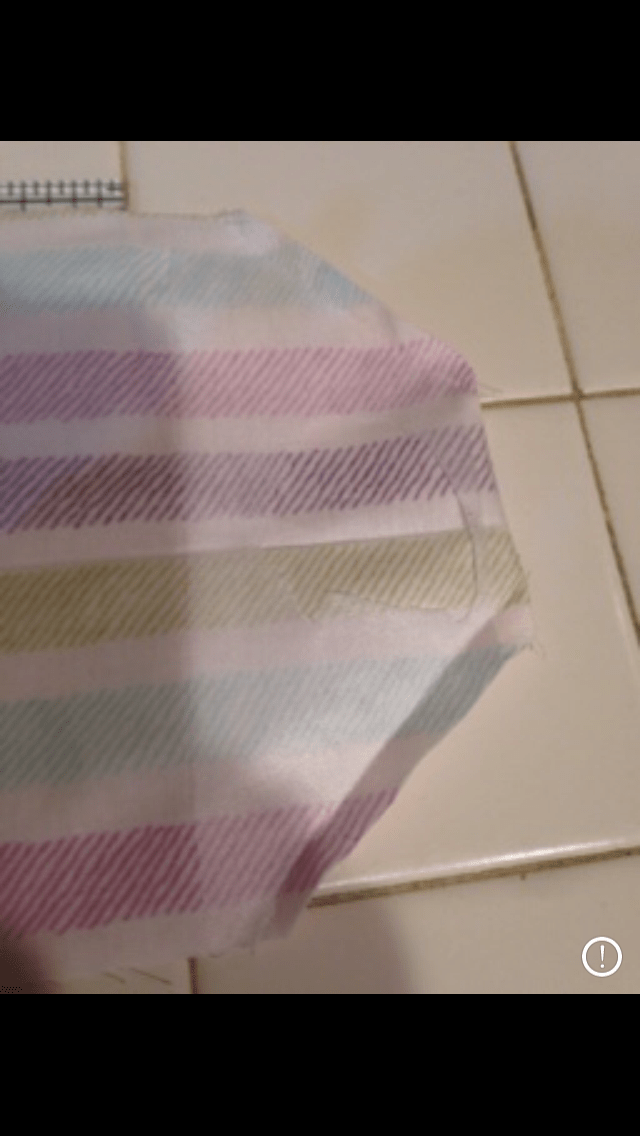
Align your work and trim off any excess fabric that may be caused by the under stitching. With right sides together, pin the pieces together and draw a fancy shape for the flap, or leave it straight. A hex ruler might be a nice tool to keep both sides symmetrical. Stitch this seam. A straight seam would under stitch nicely!
Optional “wrap” the corners of your fancy cut flap.


Make a strap! A 14×3 inch rectangle folded rst lengthwise, stitched with a quarter inch seam turned and top stitched works great. As does ribbon, webbing or twill tape
Pin your strap that has been folded in half with raw edges aligned to the raw edges of the bag and the folded edge towards the center of the bag. Set it just below where your flap ends and the bag begins so that it ends up near the top of your bag. Baste in place. In the photo my strap raw edges extend past the raw edge of the bag. This adds security and keeps the selvages on the strap from showing on the finished bag.


Now on for the tricky part: See above, pull the bottom of the bag so that it covers the strap. Pin the bag (both layers) to the outside cover only of the front of the bag on the right and left sides. Then slip the lining of the bag over the front of the bag. This basically turns the bag wrong side out and the lining will form a loop on top with the outer bag also forming a loop on the bottom. The bag portion will be tucked up into the flap, but only just past the strap. The remainder will be the flap. If you are creating a specific size bag to fit a particular item. Now is the second good time to measure. (The first would be before you cut the fabric.) In the photo I used clips, as I had lined these bags with PUL.

Side seam stitched with “L” seams!
Align right sides together, and make a 3/8 inch seam along this edge. Making sure to back stitch over the strap to secure it.
Make sure the second side of you bag is lined up and symmetrical to the side you just sewed.
Create two “L” seams along this edge. Start at the top and just about a half inch after you sew across the many layers of the sides of the bag. Pivot and stitch to the edge creating a seam that looks like the capital letter “L”. Then a few inches later along this edge, make another “L” seam that serves two purposes. It leaves a clean and sturdy opening for turning and finishes the side seam of the bag. A small bag needs a smaller opening than a larger bag.
Second half of “L” seam!
Suggested ratio would be to leave an opening half the length of the bag side.
Flip it the bag right side out, this may take multiple flipping to be sure the lining is on the inside. Poke out corners with a handy tool (chopsticks work great here!). Pin the opening closed with the raw edges neatly tucked inside. Top stitch narrowly to ensure that the opening is securely closed.
Complete the closure by adding the other half of the hook and loop tape to the inside of the flap, or add snaps, buttonholes and buttons, or whatever makes your heart happy. Kam Snaps make my heart happy! I get mine locally at Hip Stitch and would be glad to show you how easy they are to apply. A pattern with measurements, and possibly kits will be available in July 2016.
This makes a great snack bag, holiday gift bag, cosmetics, or think fusible fleece for an electronics bag.
Happy sewing! Joan