Quick shortcuts for woven shorts

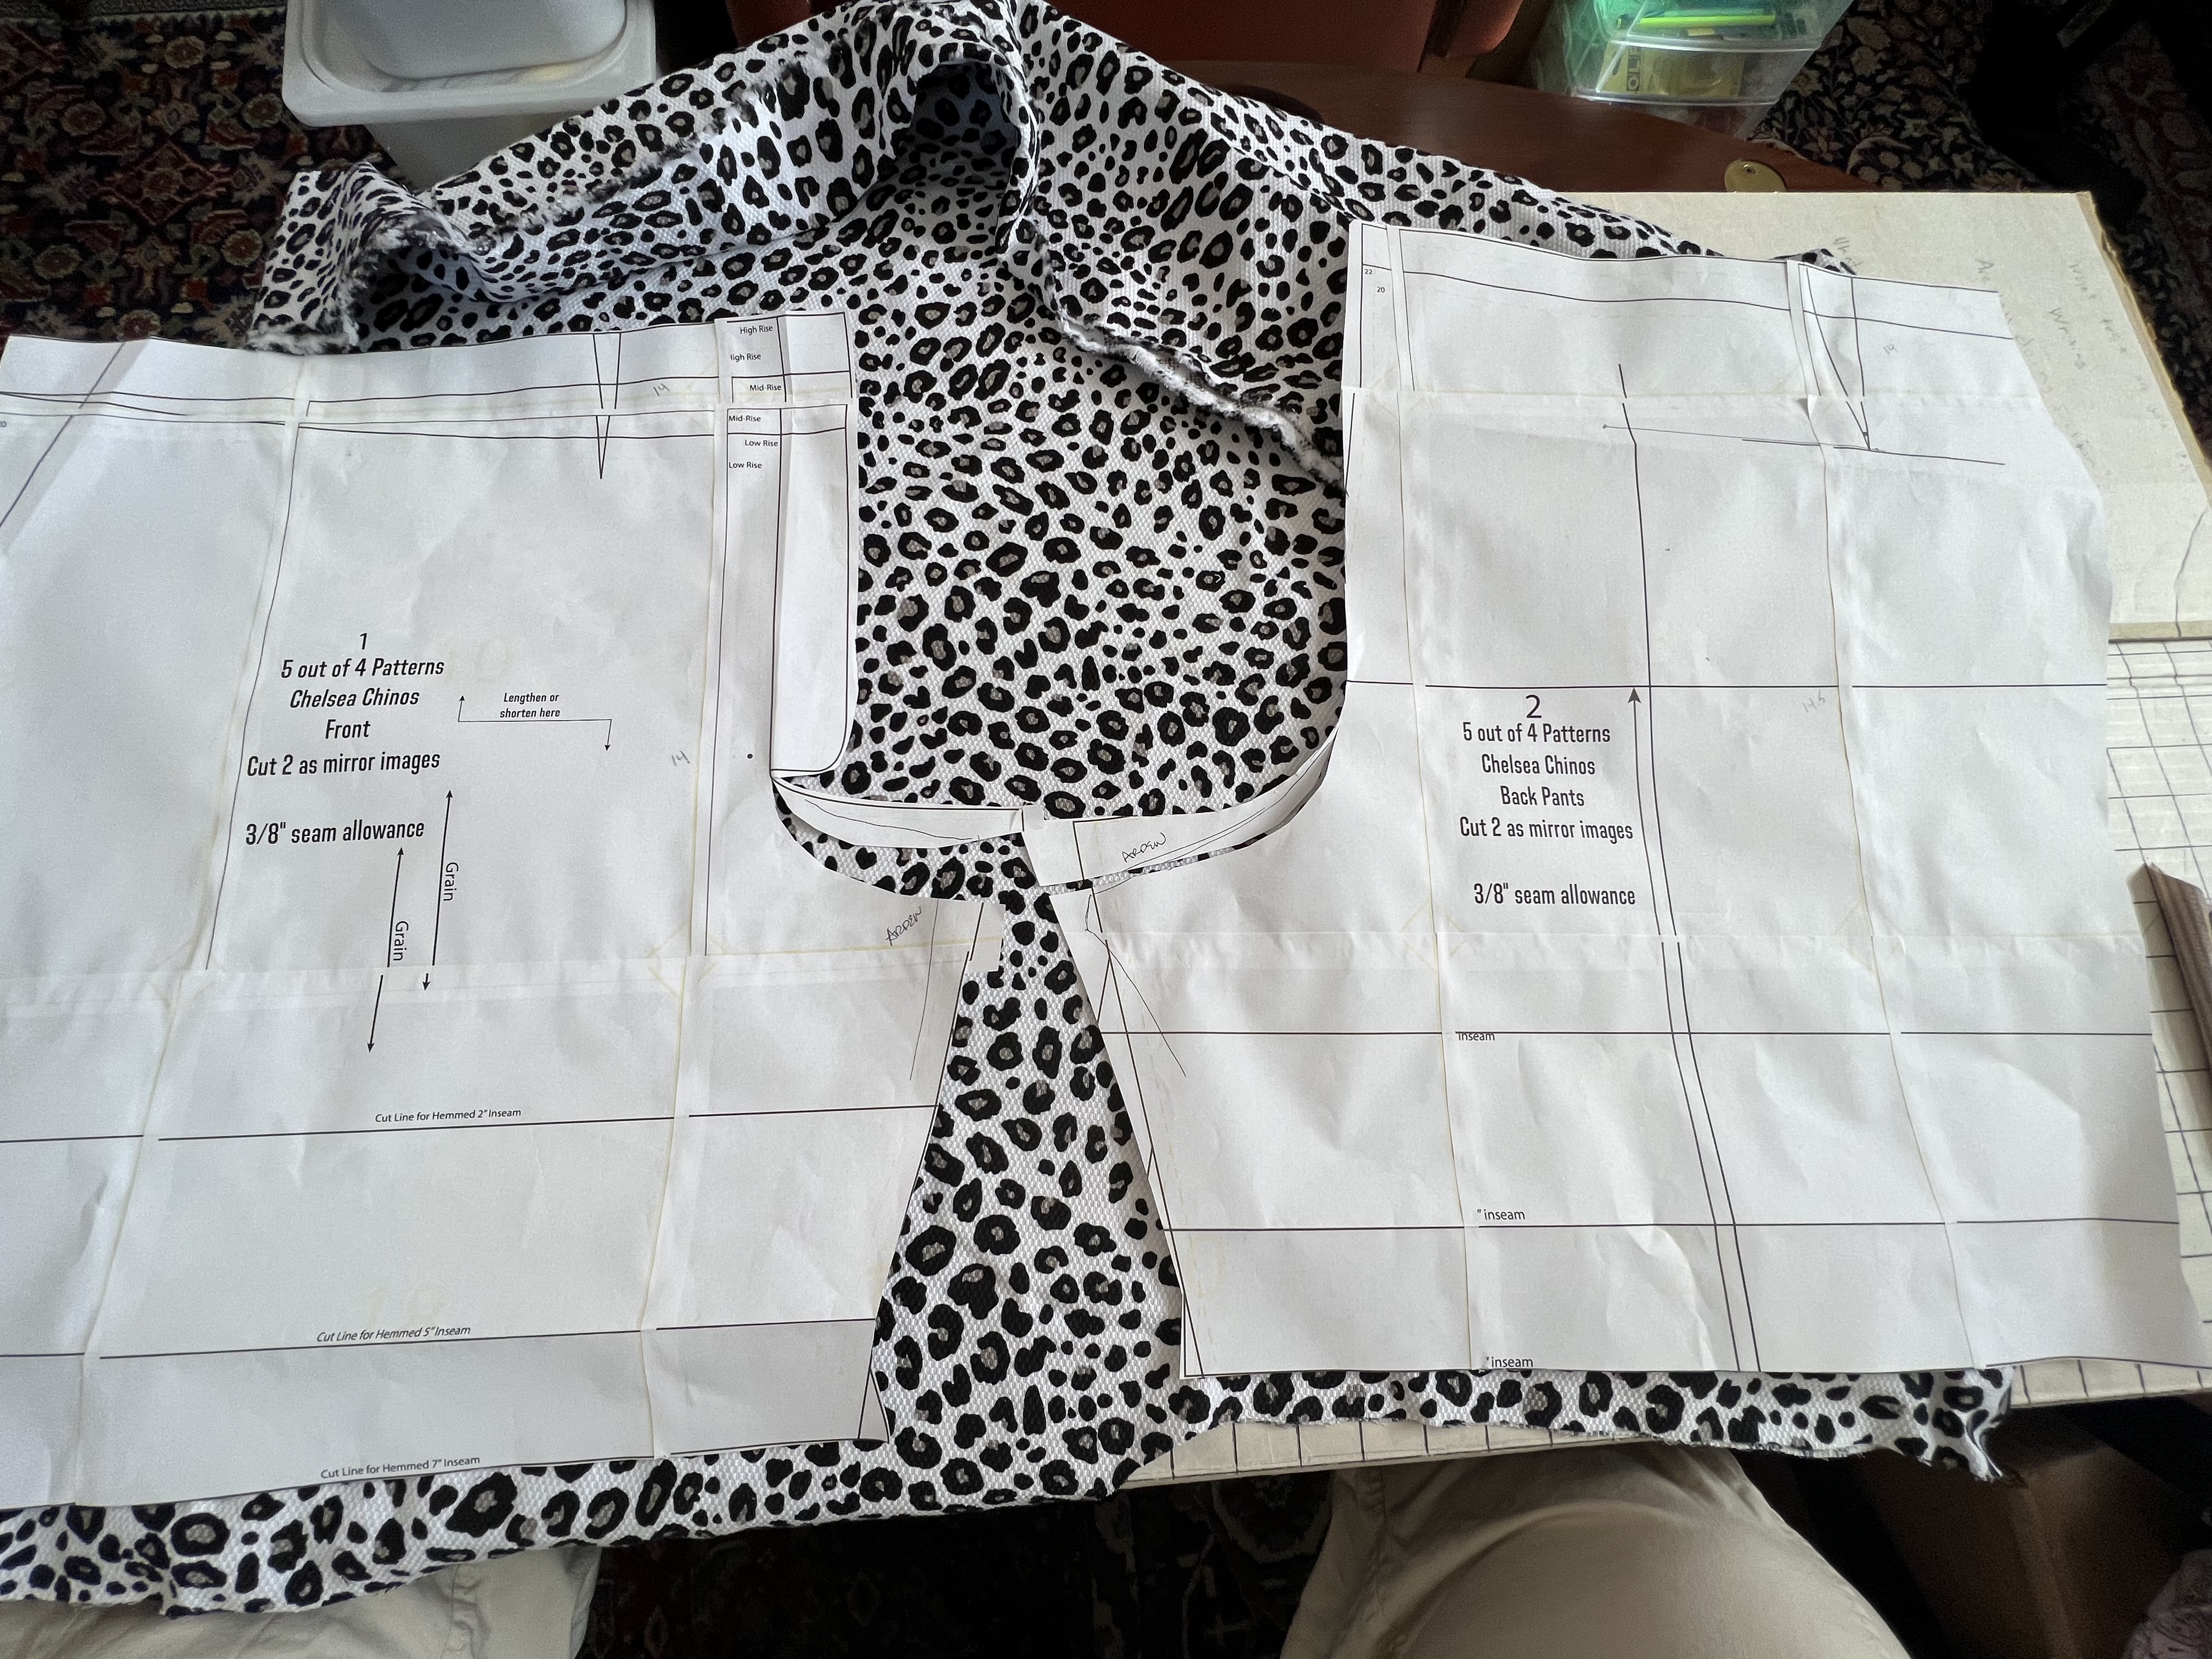
I recently tested a pattern for woven shorts/pants, and employed some shortcuts to help with the process. Perhaps these will encourage you to push your sewing skills a bit too?

There are so many variables with pants fitting, that it is easy to fall back on knits for an easy fit. I loved the details included in 5oo4’s latest, Chelsea Chinos. I took some shortcuts with the details for my first pair. Just so I could get a super quick fit photo, or two.

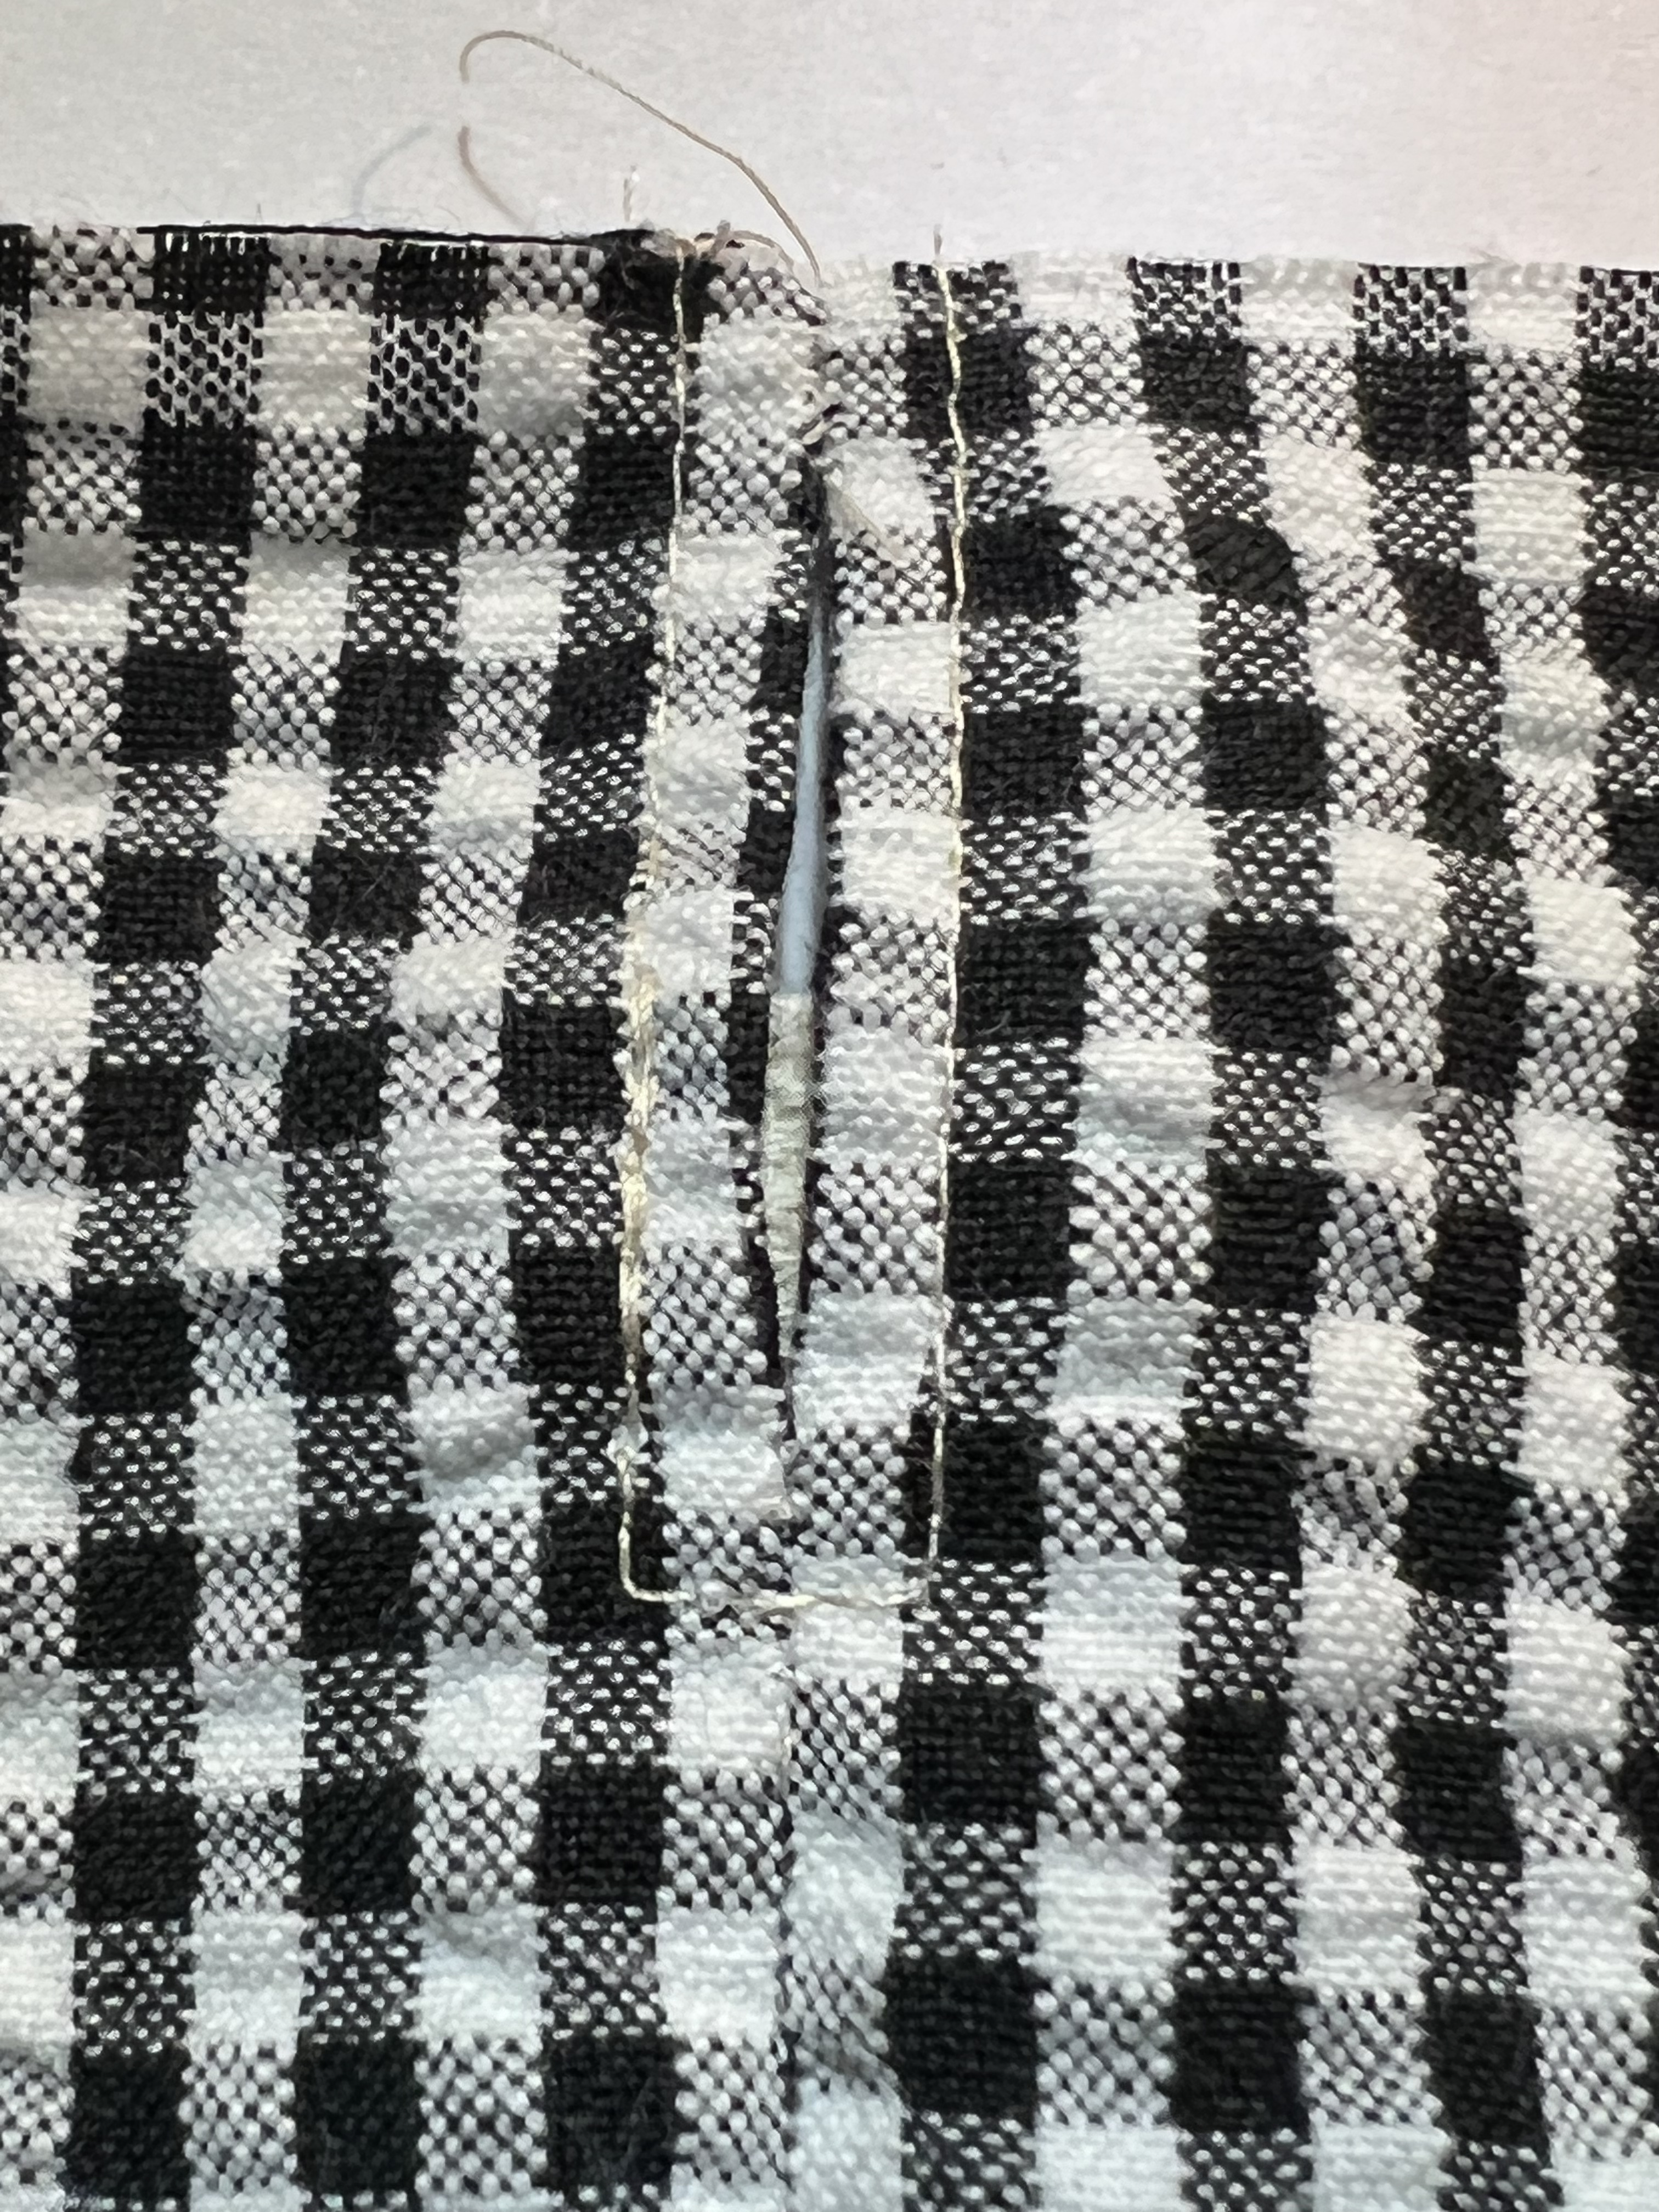
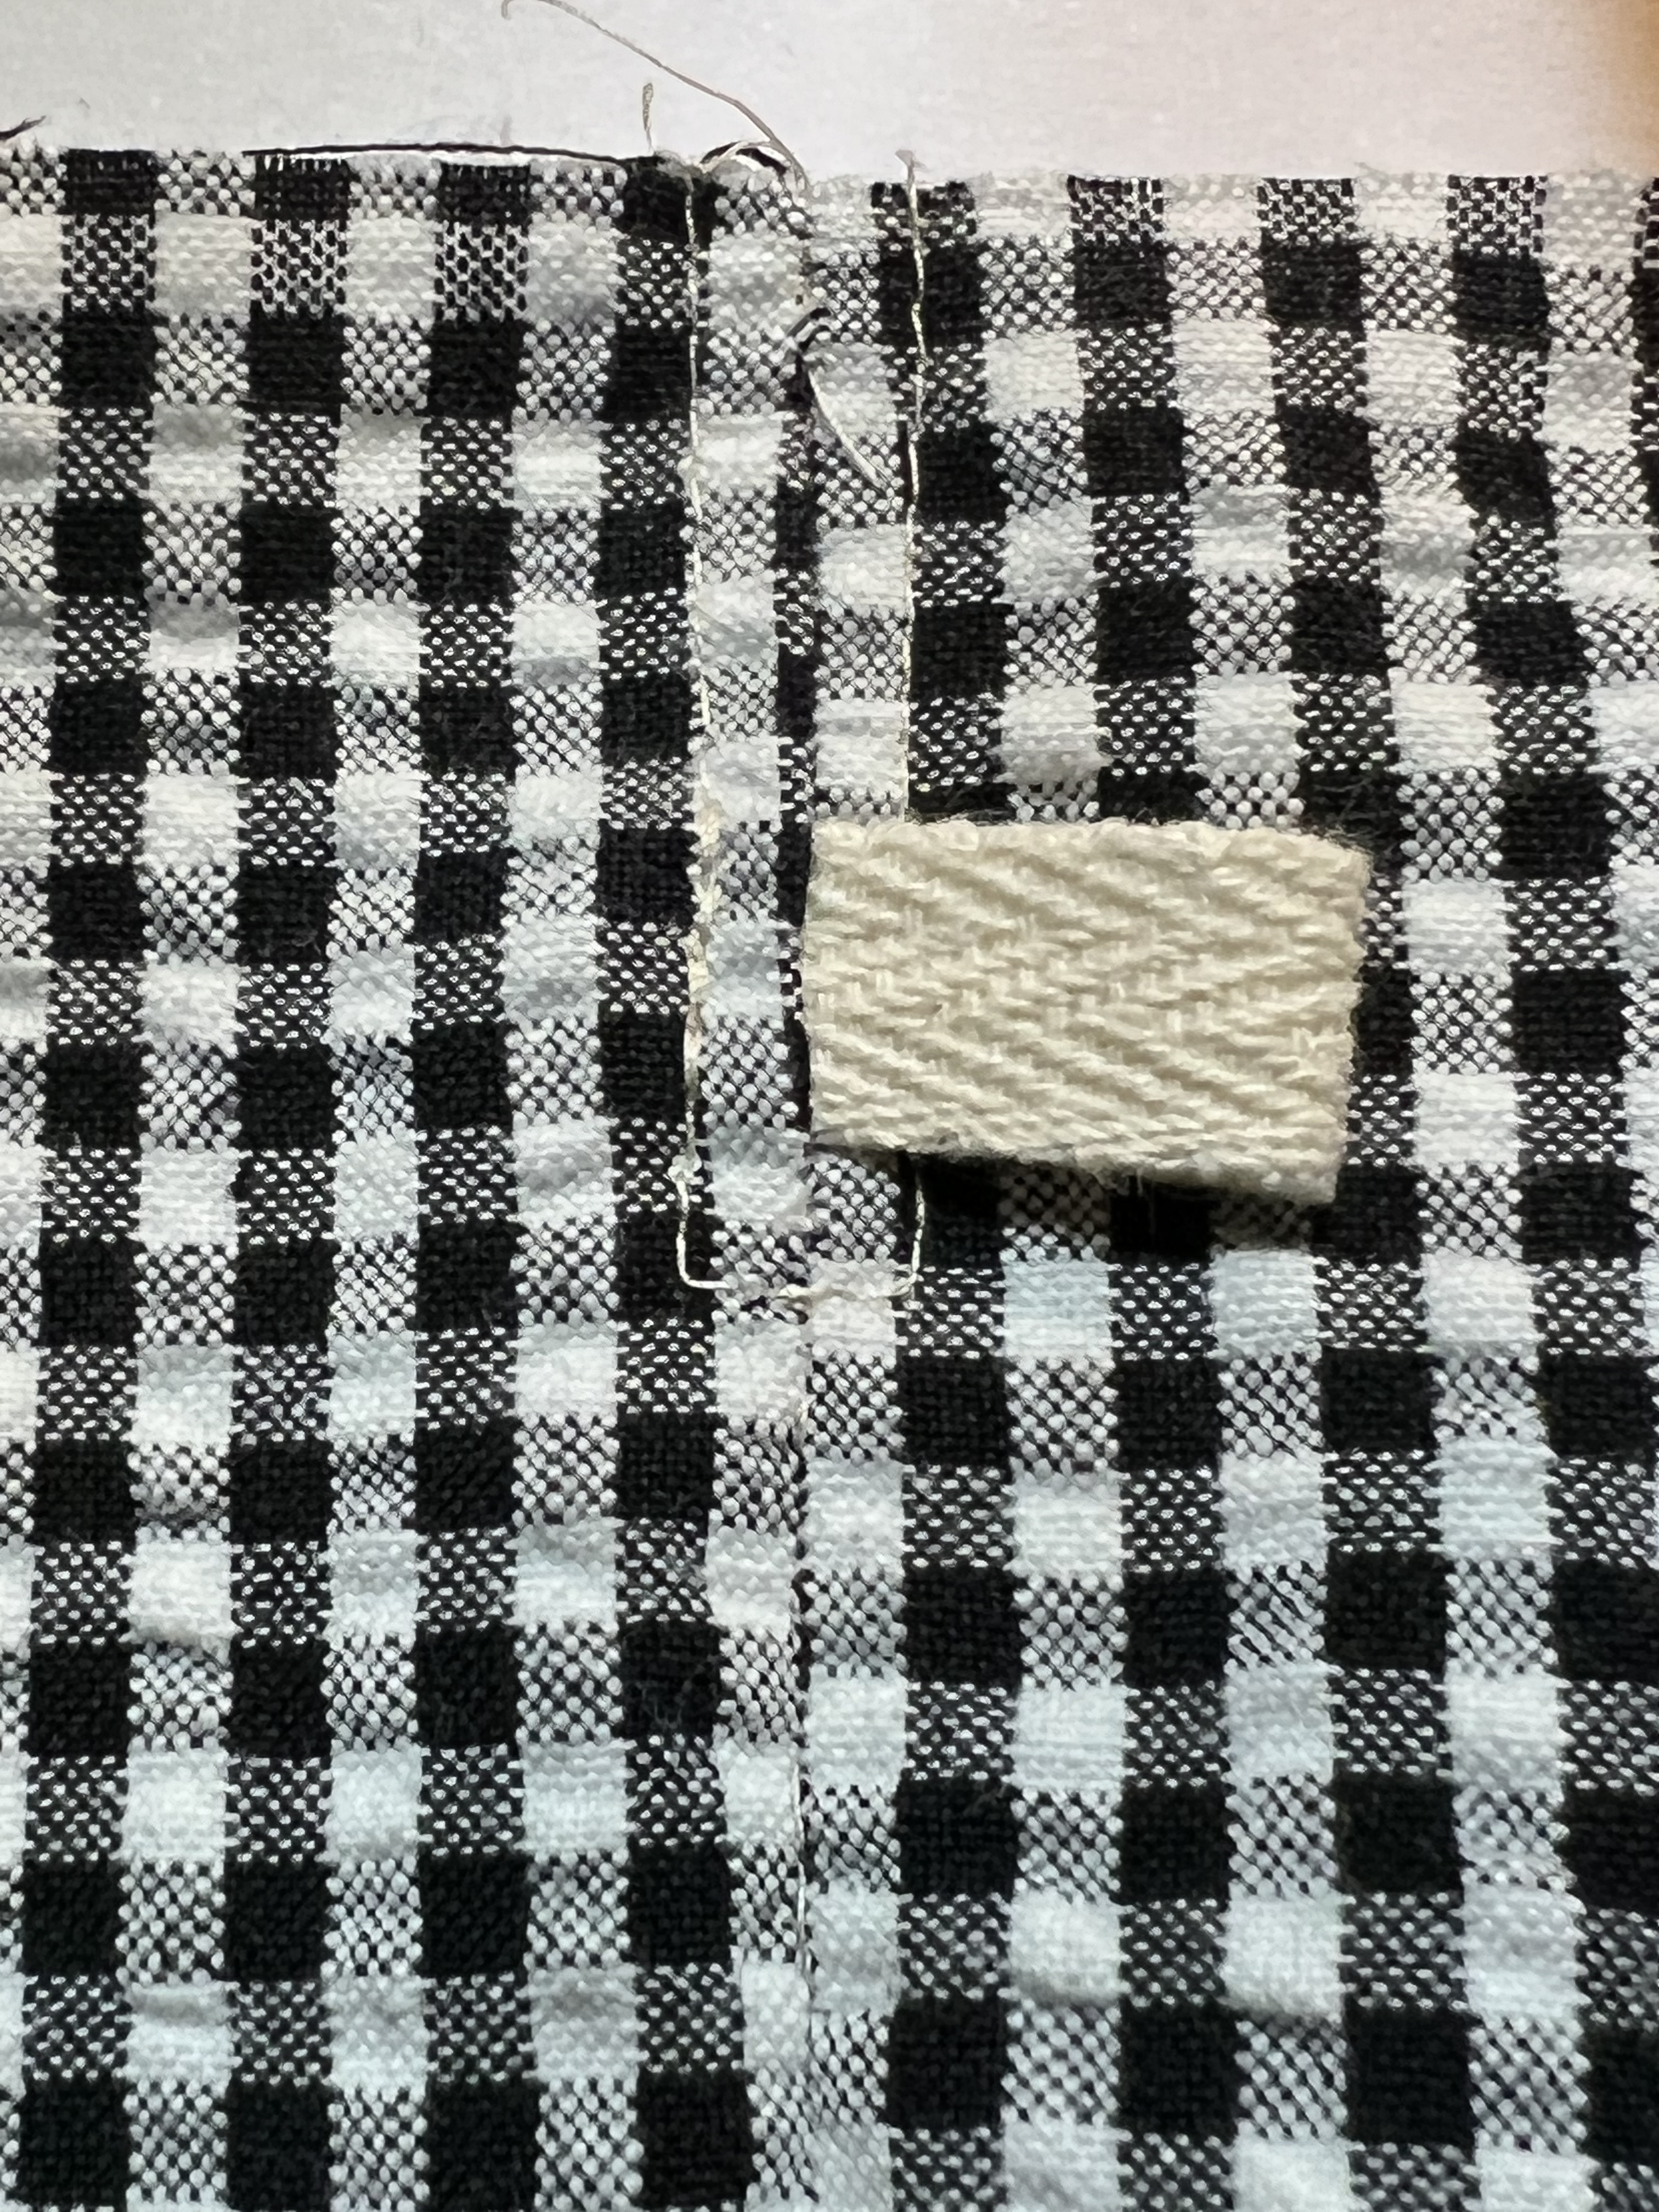
The Fly. Some kind of zip opening is needed to get a woven pair off and on. Love the fly extension or fly shield. This is a detail seen on higher end garments. I added a bar tack to the end of the fly in this pair.

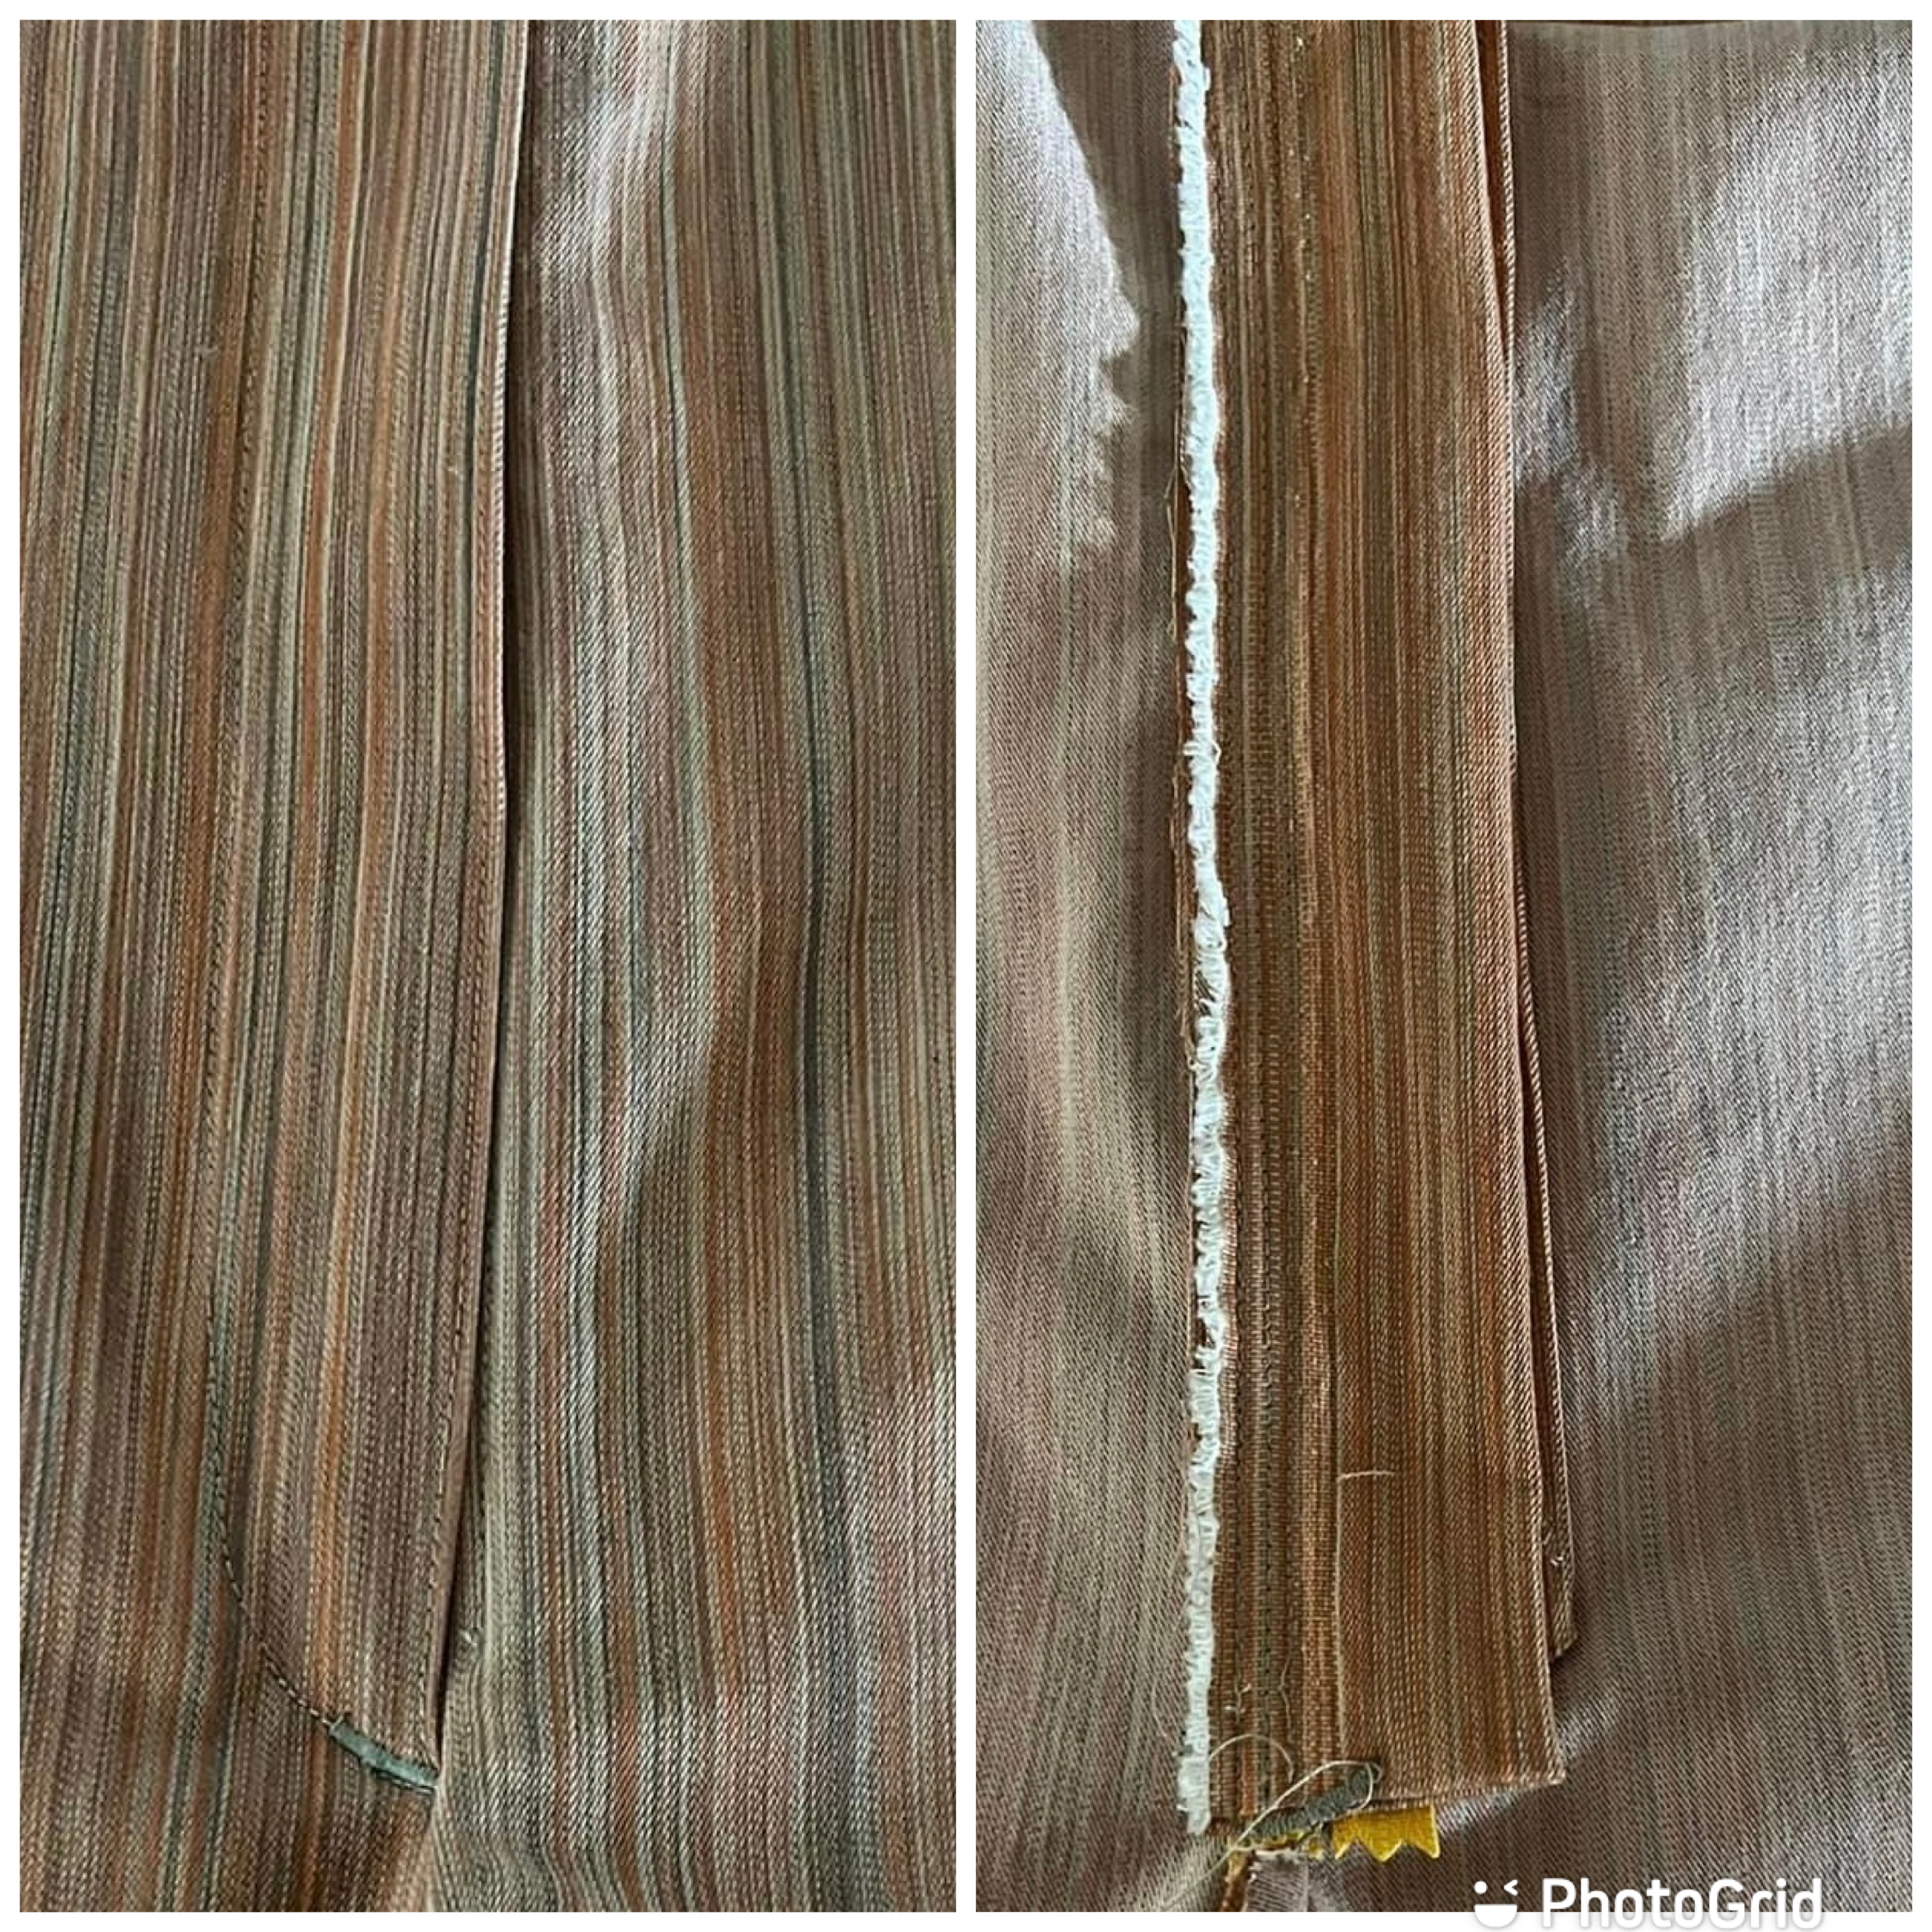
The Fly Shield adds a really nice upscale touch and weight to the Chelsea Chinos. Take it slow and read through the directions a few times before hopping to it.

I chose to fall back on a fast fly insertion for my first pair. Sandra Betzina is a big name in garment design and construction. One of my favorite sewing gurus! She made this video for threads magazine. I used this technique on many pair of pants I made in college (without fusible interfacing). If the thought of a more detailed fly overwhelms you, try this one out.

Love the look of a slash pocket. Since this is not on the straight grain of the fabric, I stabilize the seam with seam tape or a strip of selvage, under stitch and top stitch to make it a sturdy opening that will not stretch out or go baggy. Three passes on this seam may seem like a lot of work but it pays off in durability. In the purple pair, I added a bias flat piping to the seam of the slash pocket to go with the contrast of the back pocket. The top I am wearing is quilting cotton cut on the bias, so I took advantage and made lots of bias strips. Hong Kong finish anyone?

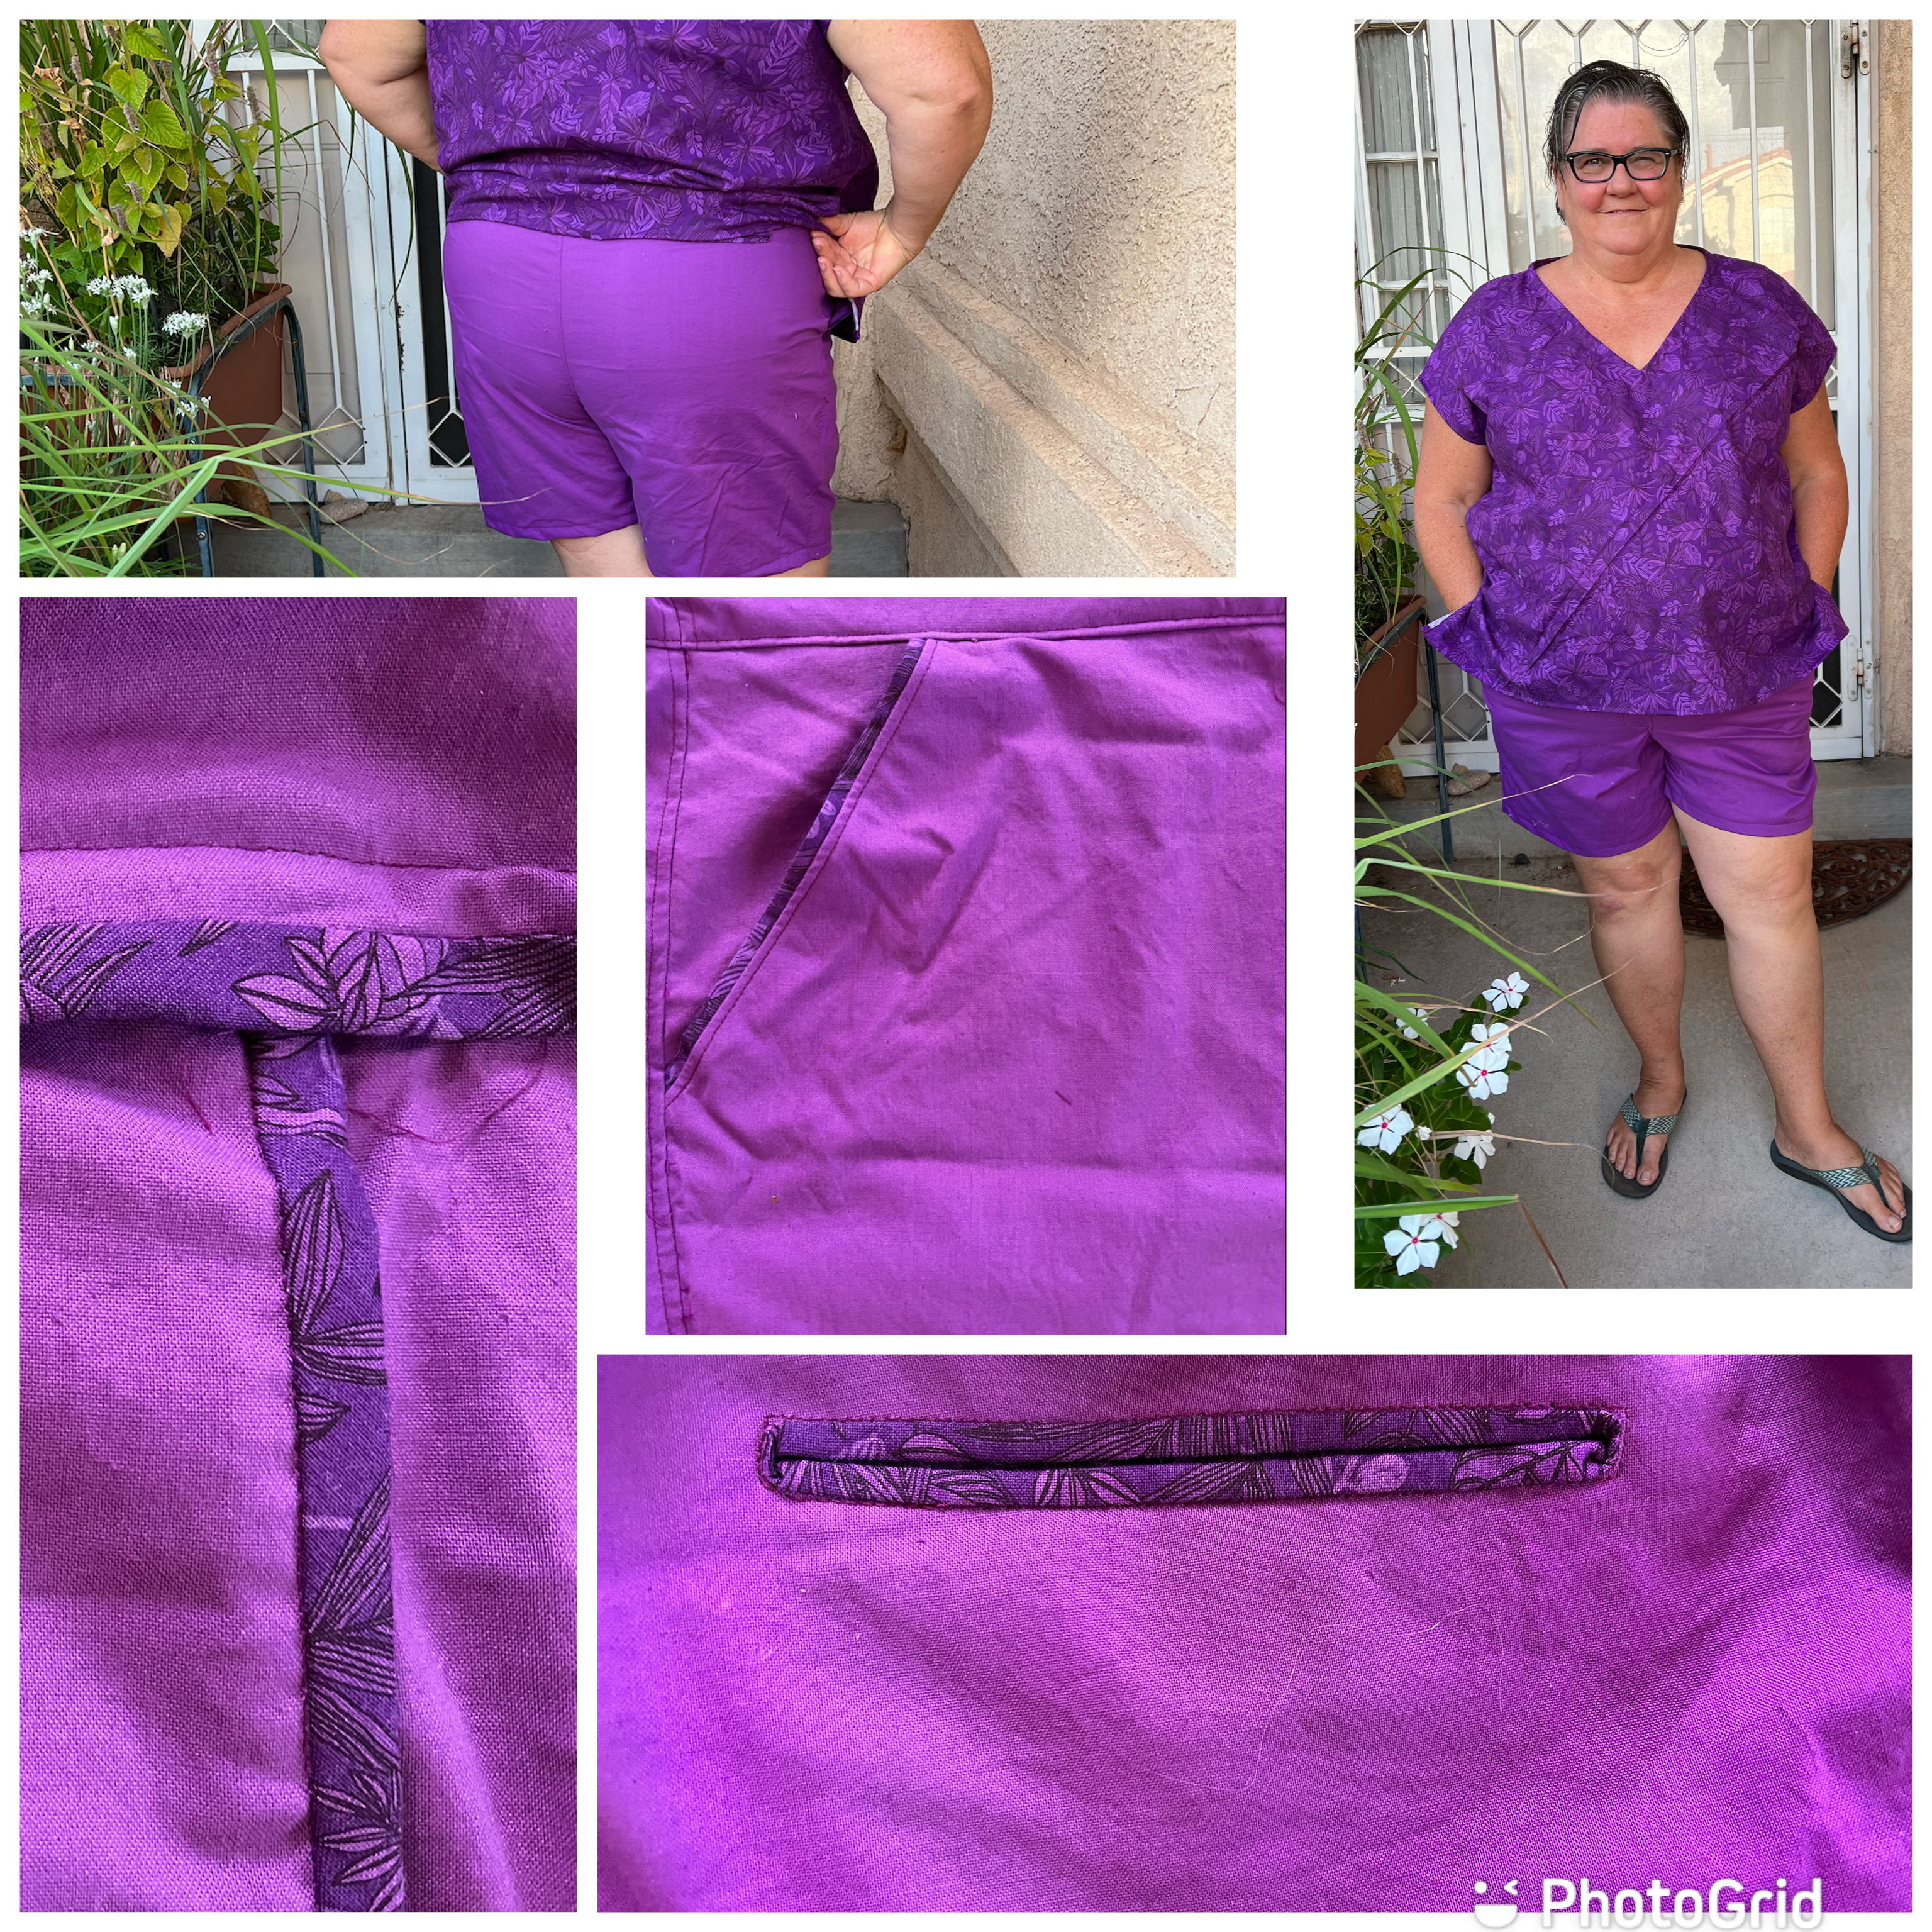
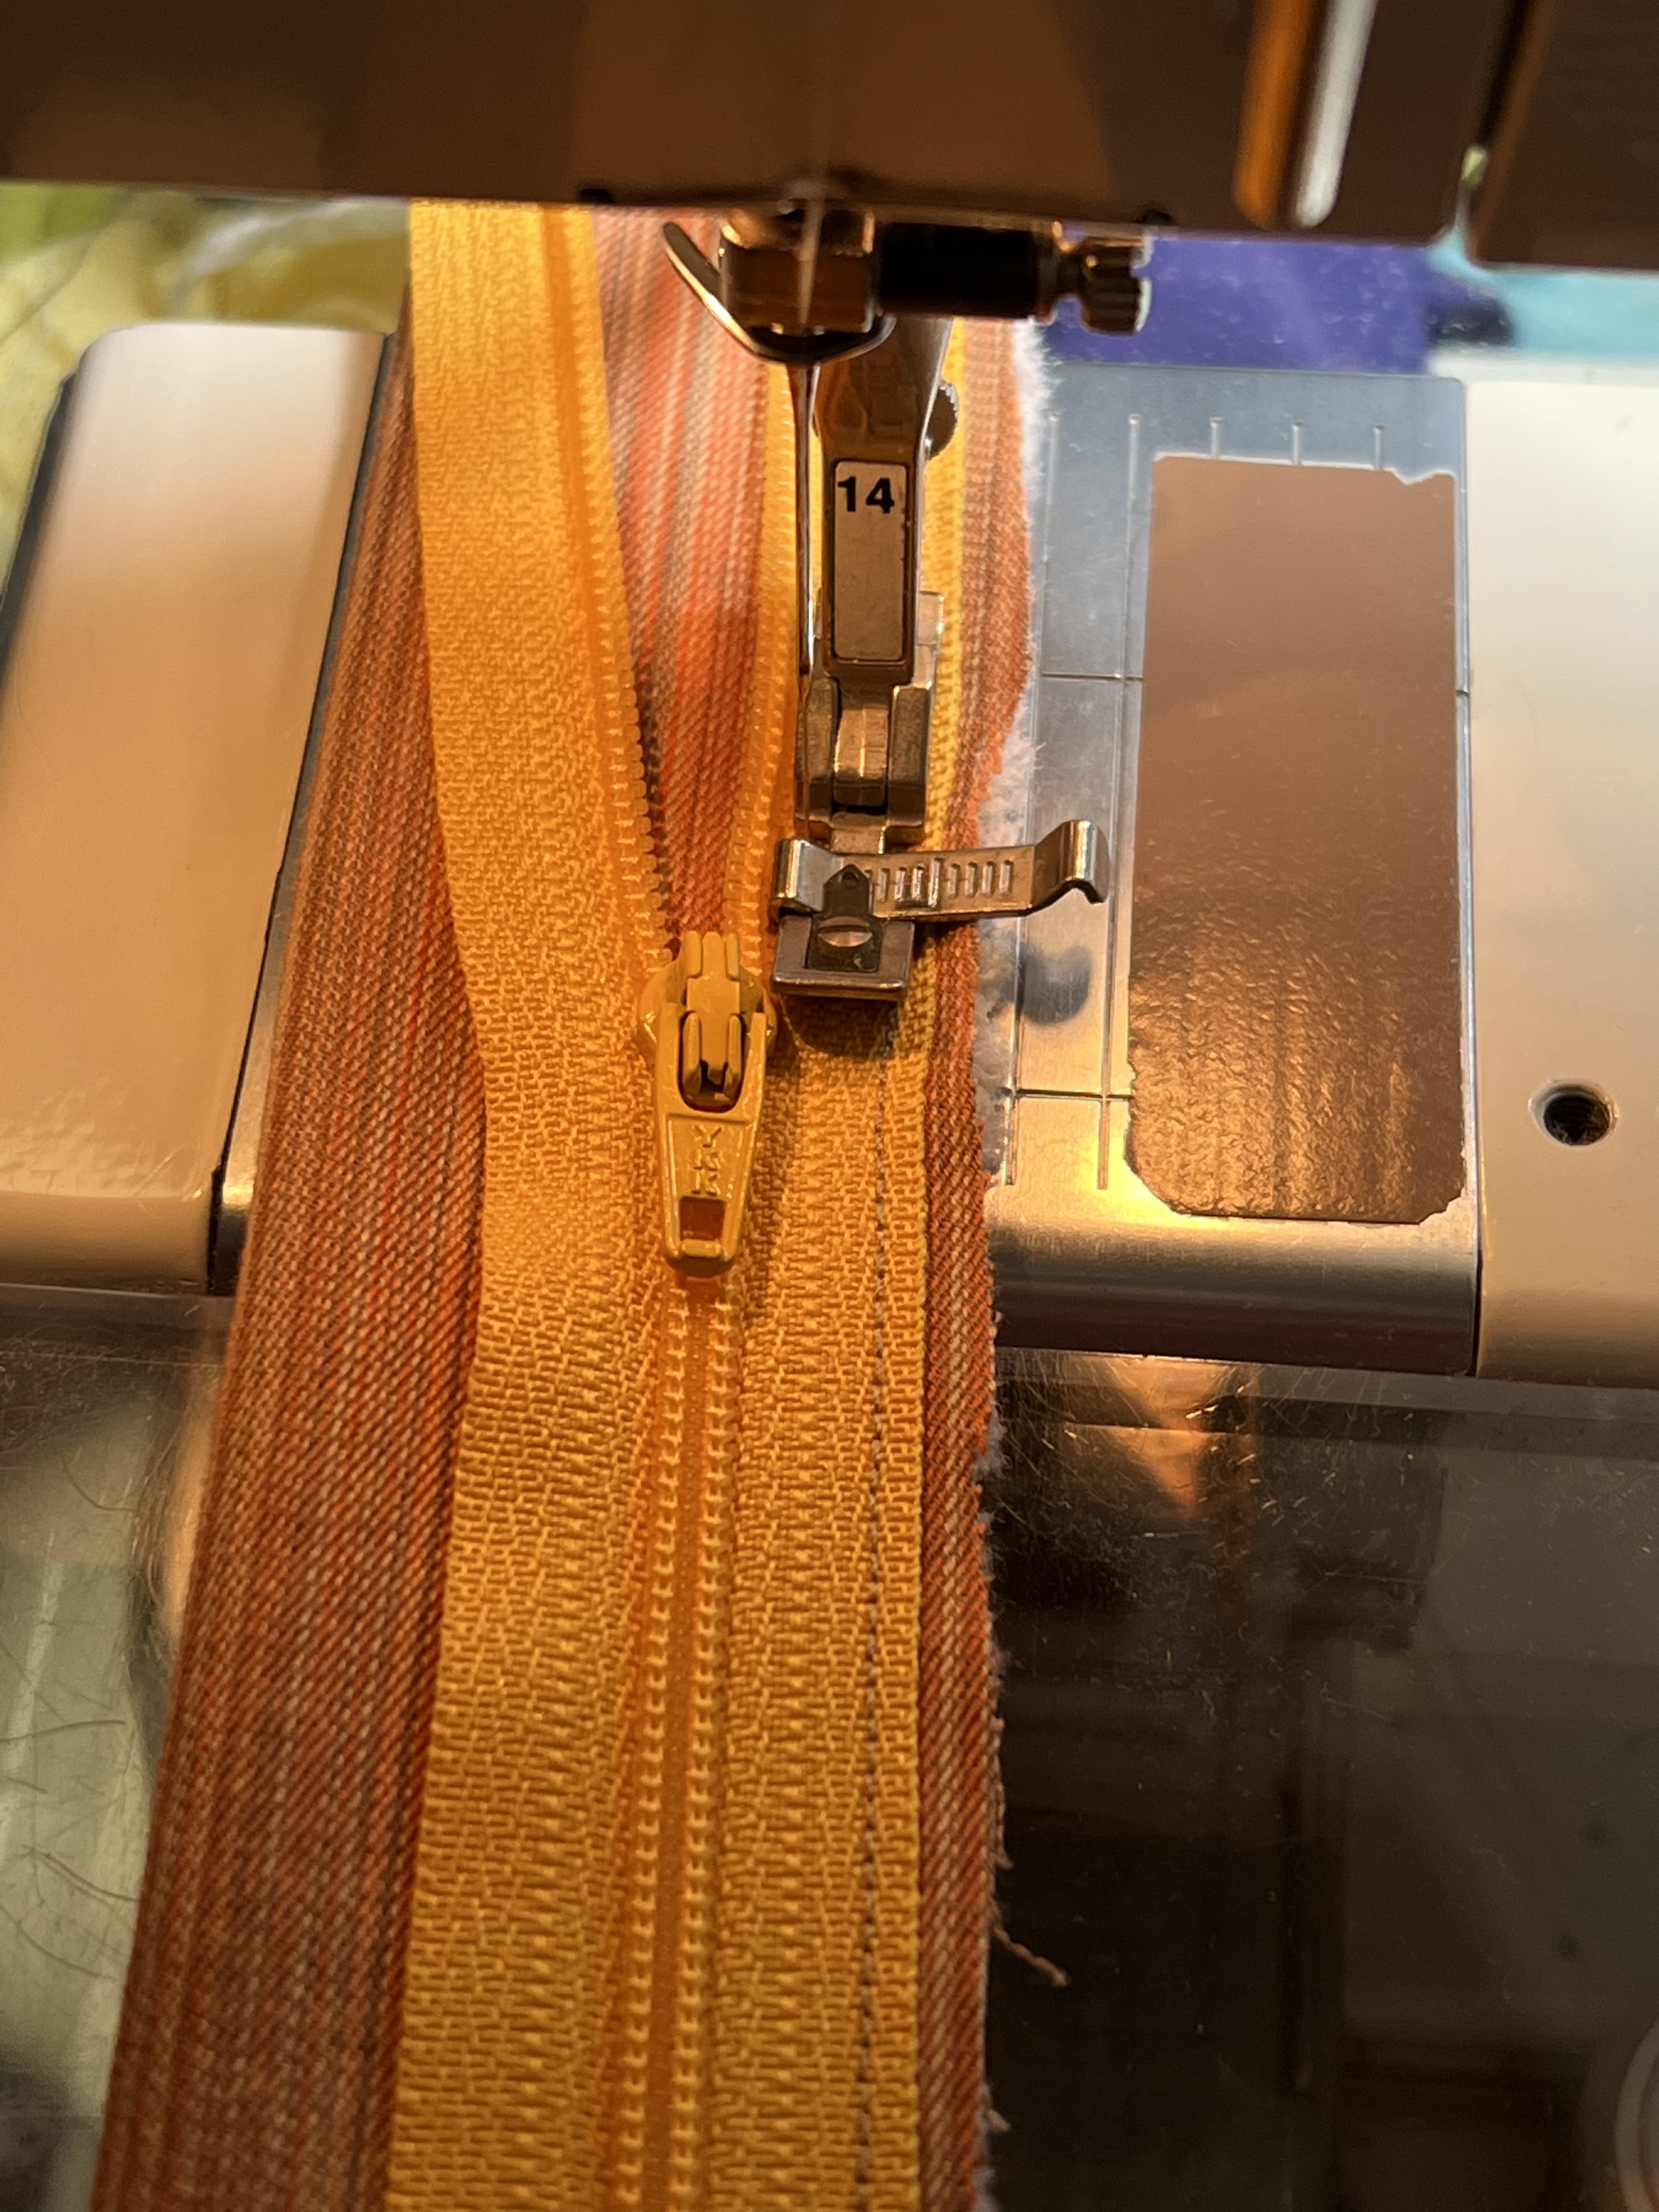
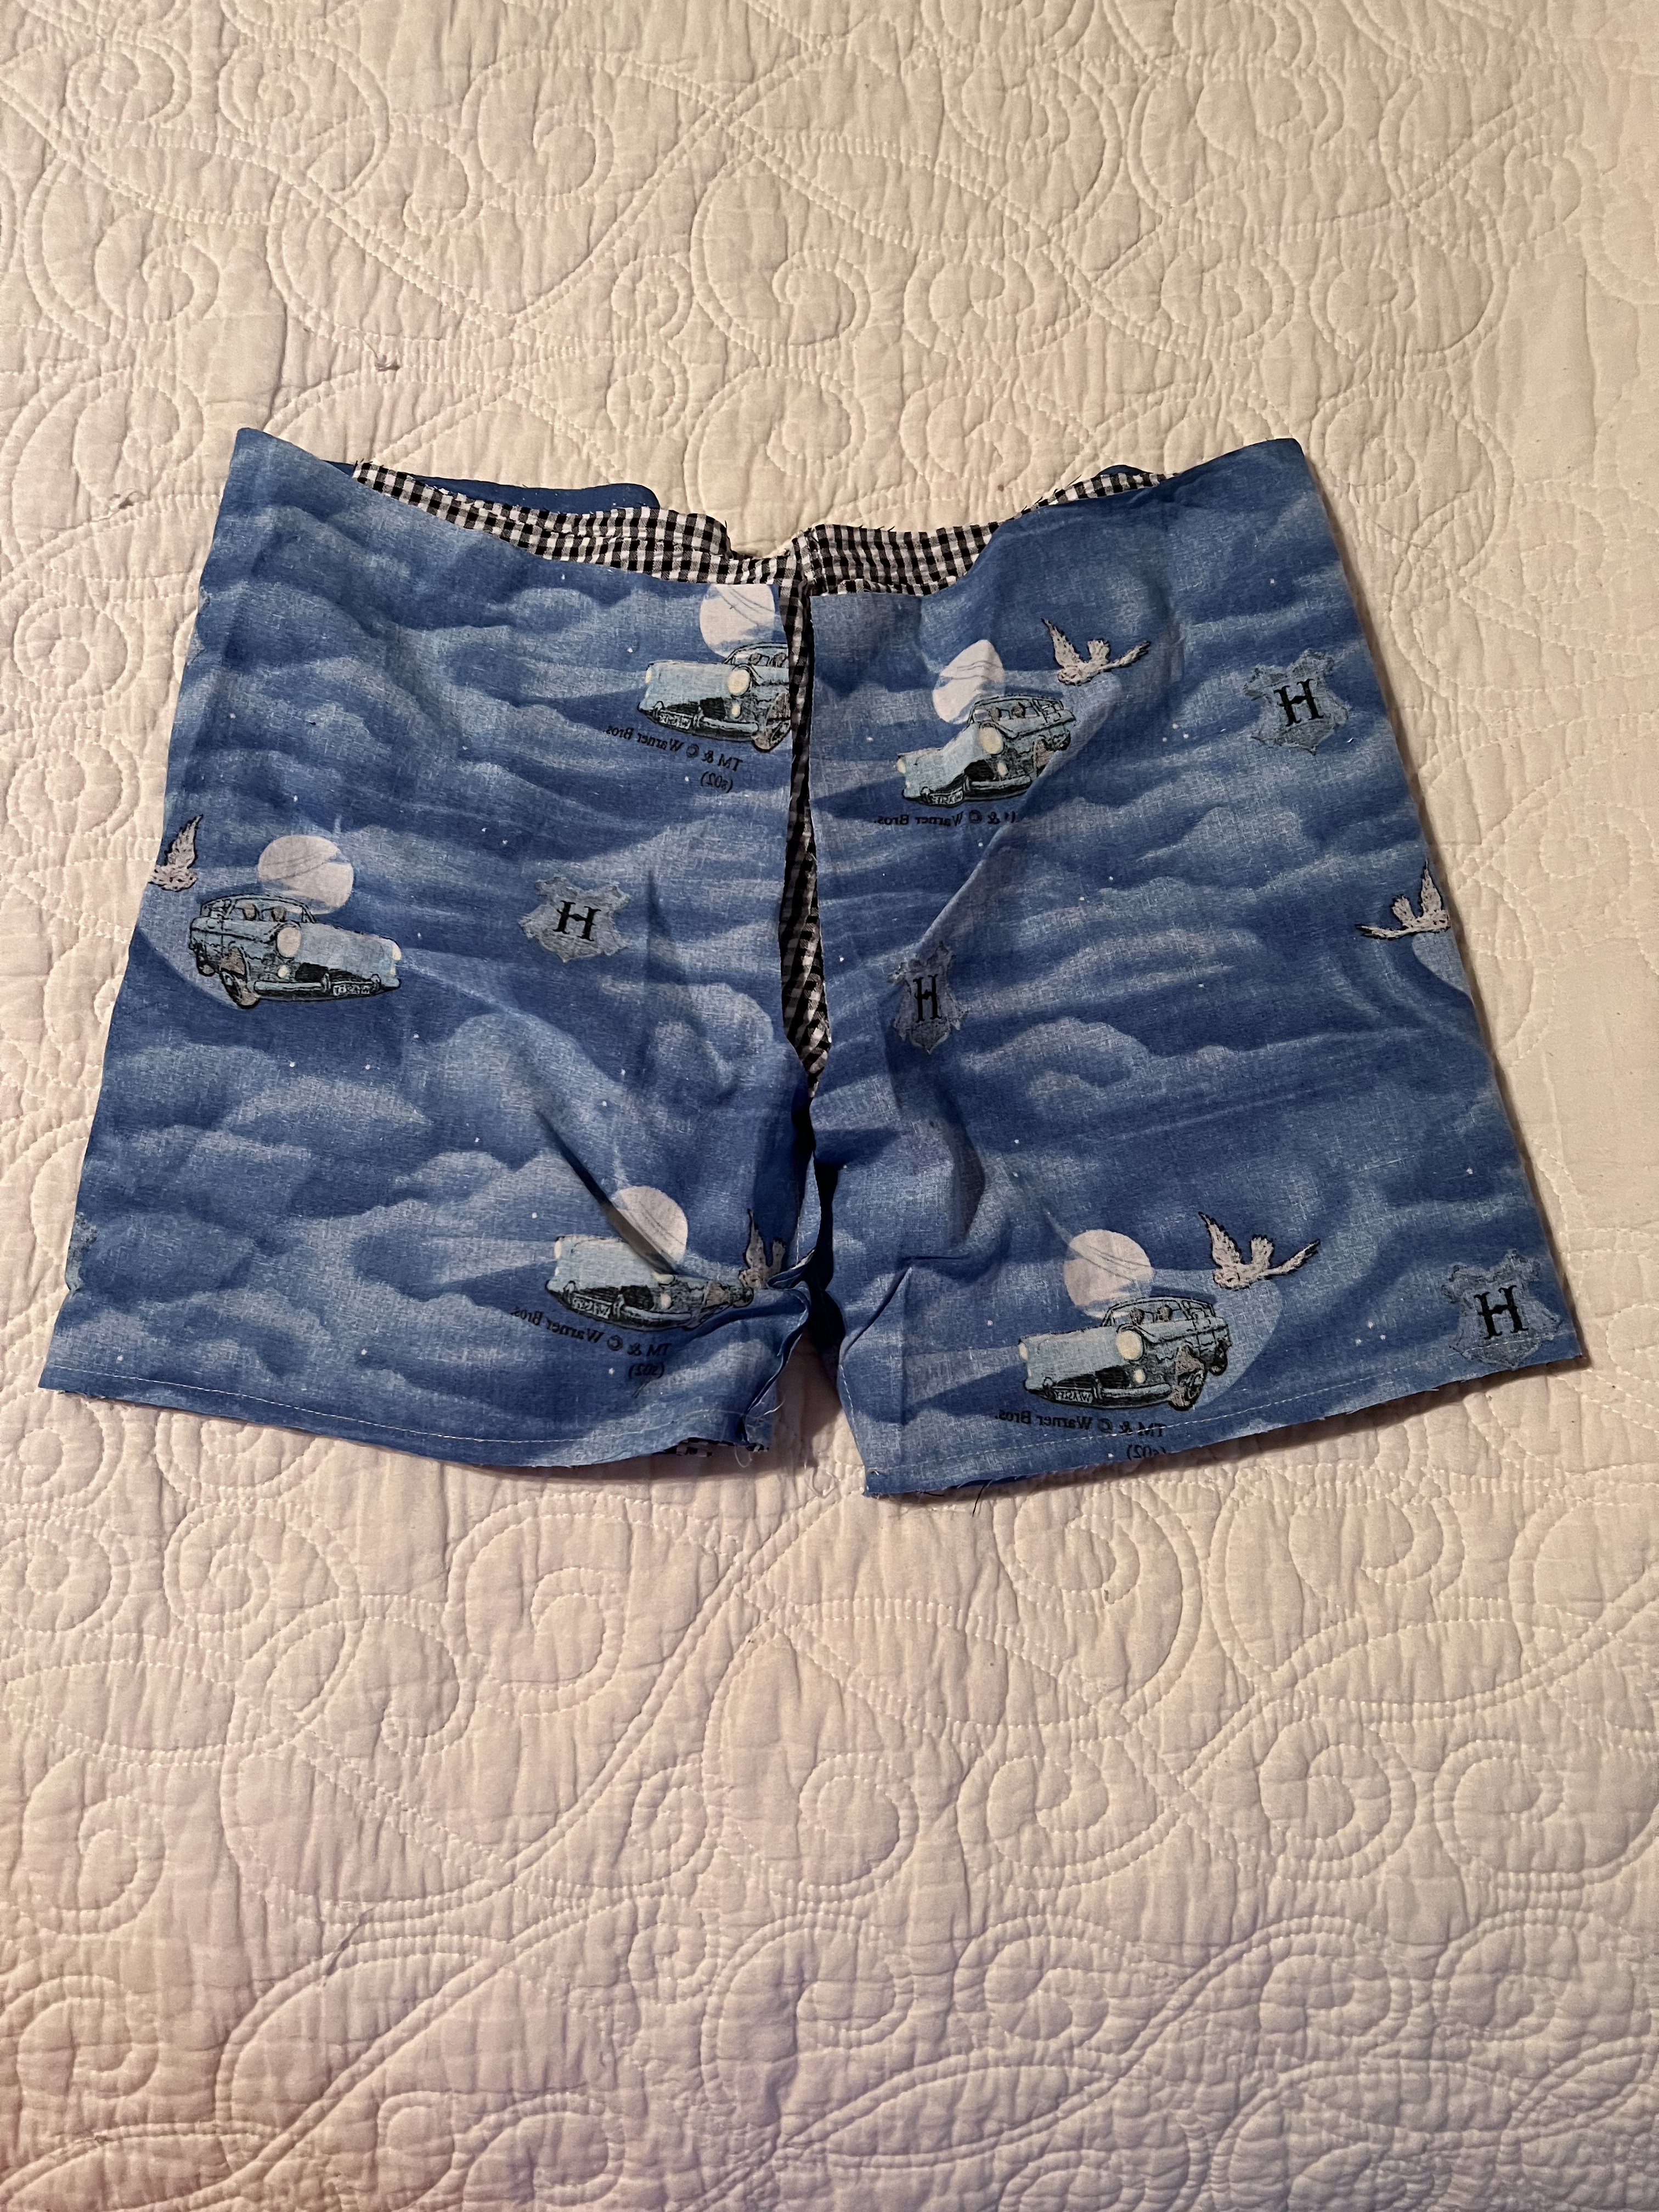
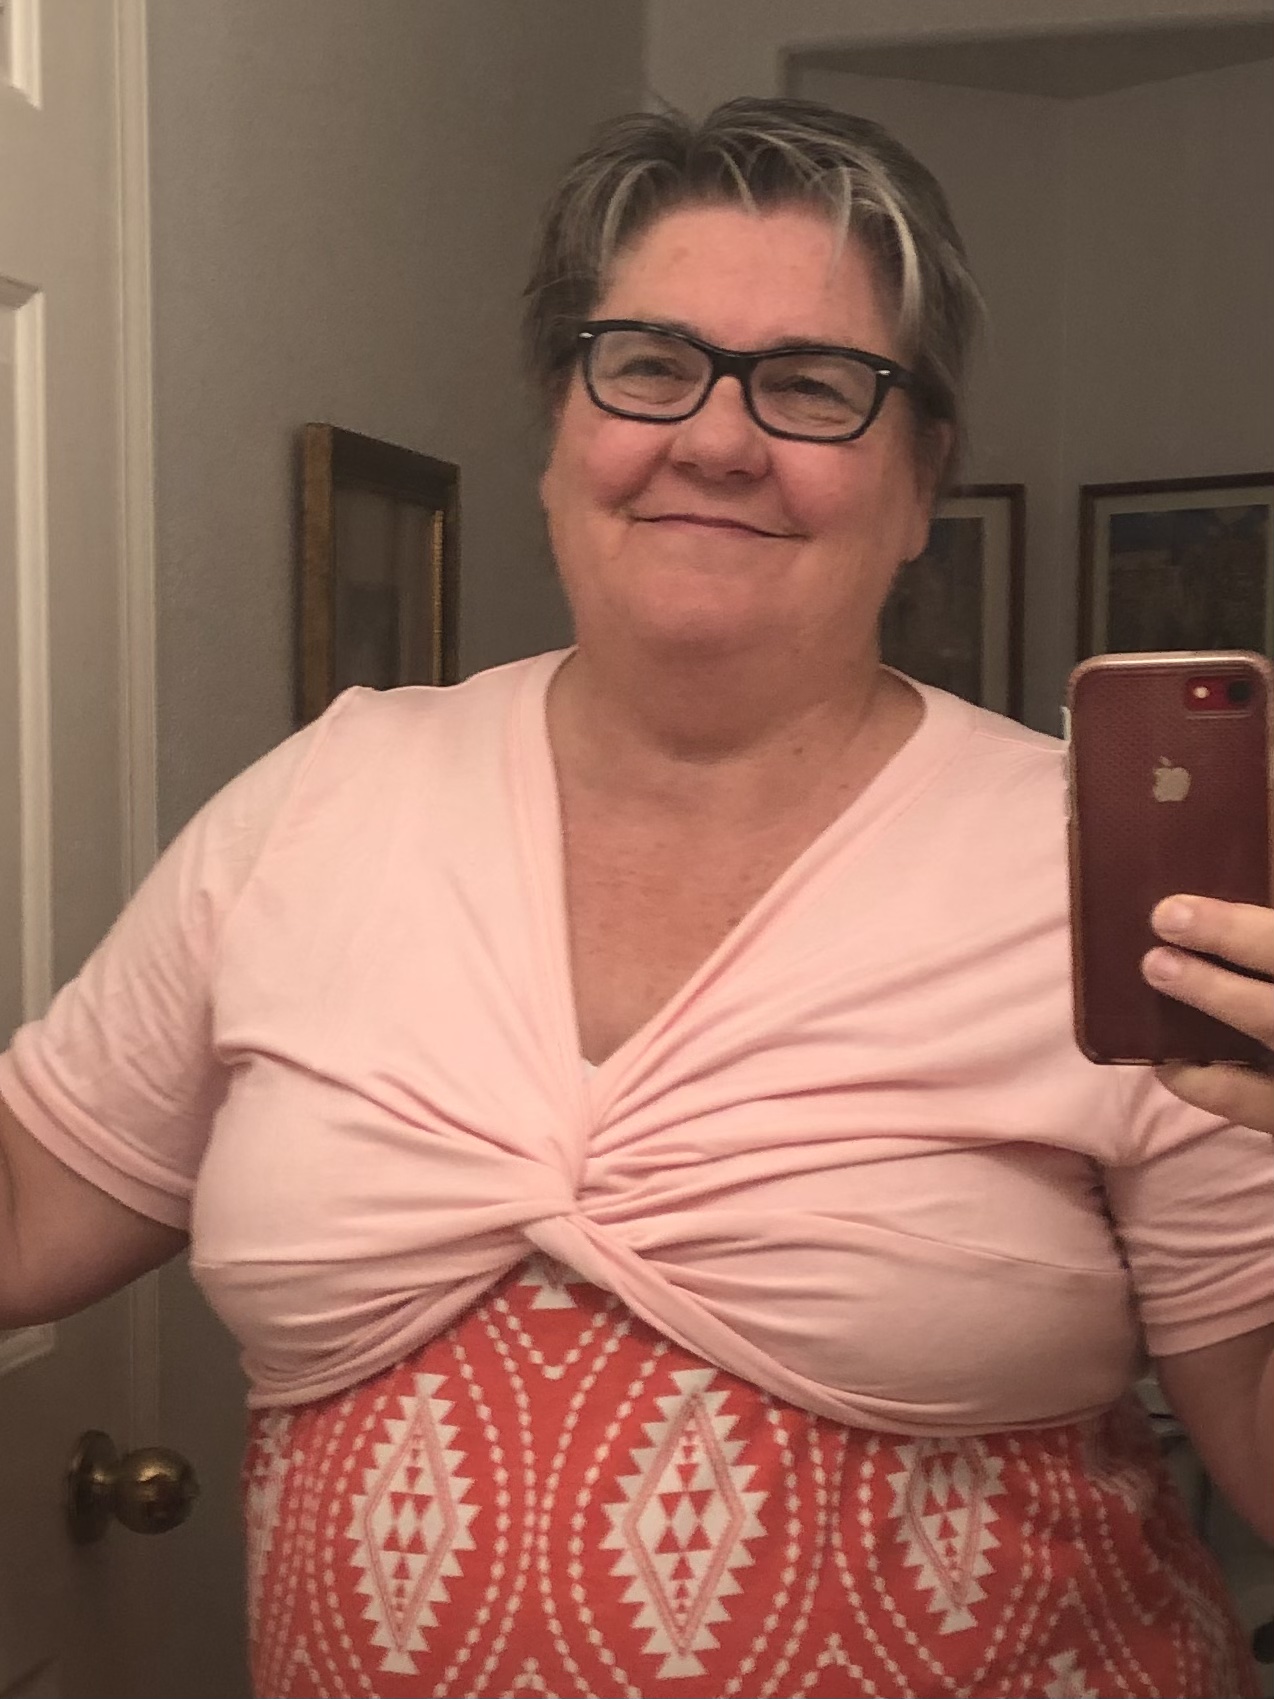
Front Pockets – The front slash pocket has the upscale detail of extending all the way to the fly. If you choose this option, be sure to stitch the zipper after you have inserted the pockets. I remember owning stretch denim jeans where this front panel was made from power mesh, food for thought. On my first super quick pair, I skipped all pockets, but ended up adding a patch pocket to the outside leg, after getting the fit as good as I could.
Most of my favorite pants patterns have pockets that do not extend this far to the front. Those would work too.

There is a sneaky phone sized patch pocket just about where my right hand is. These shorts have the fast fly version.

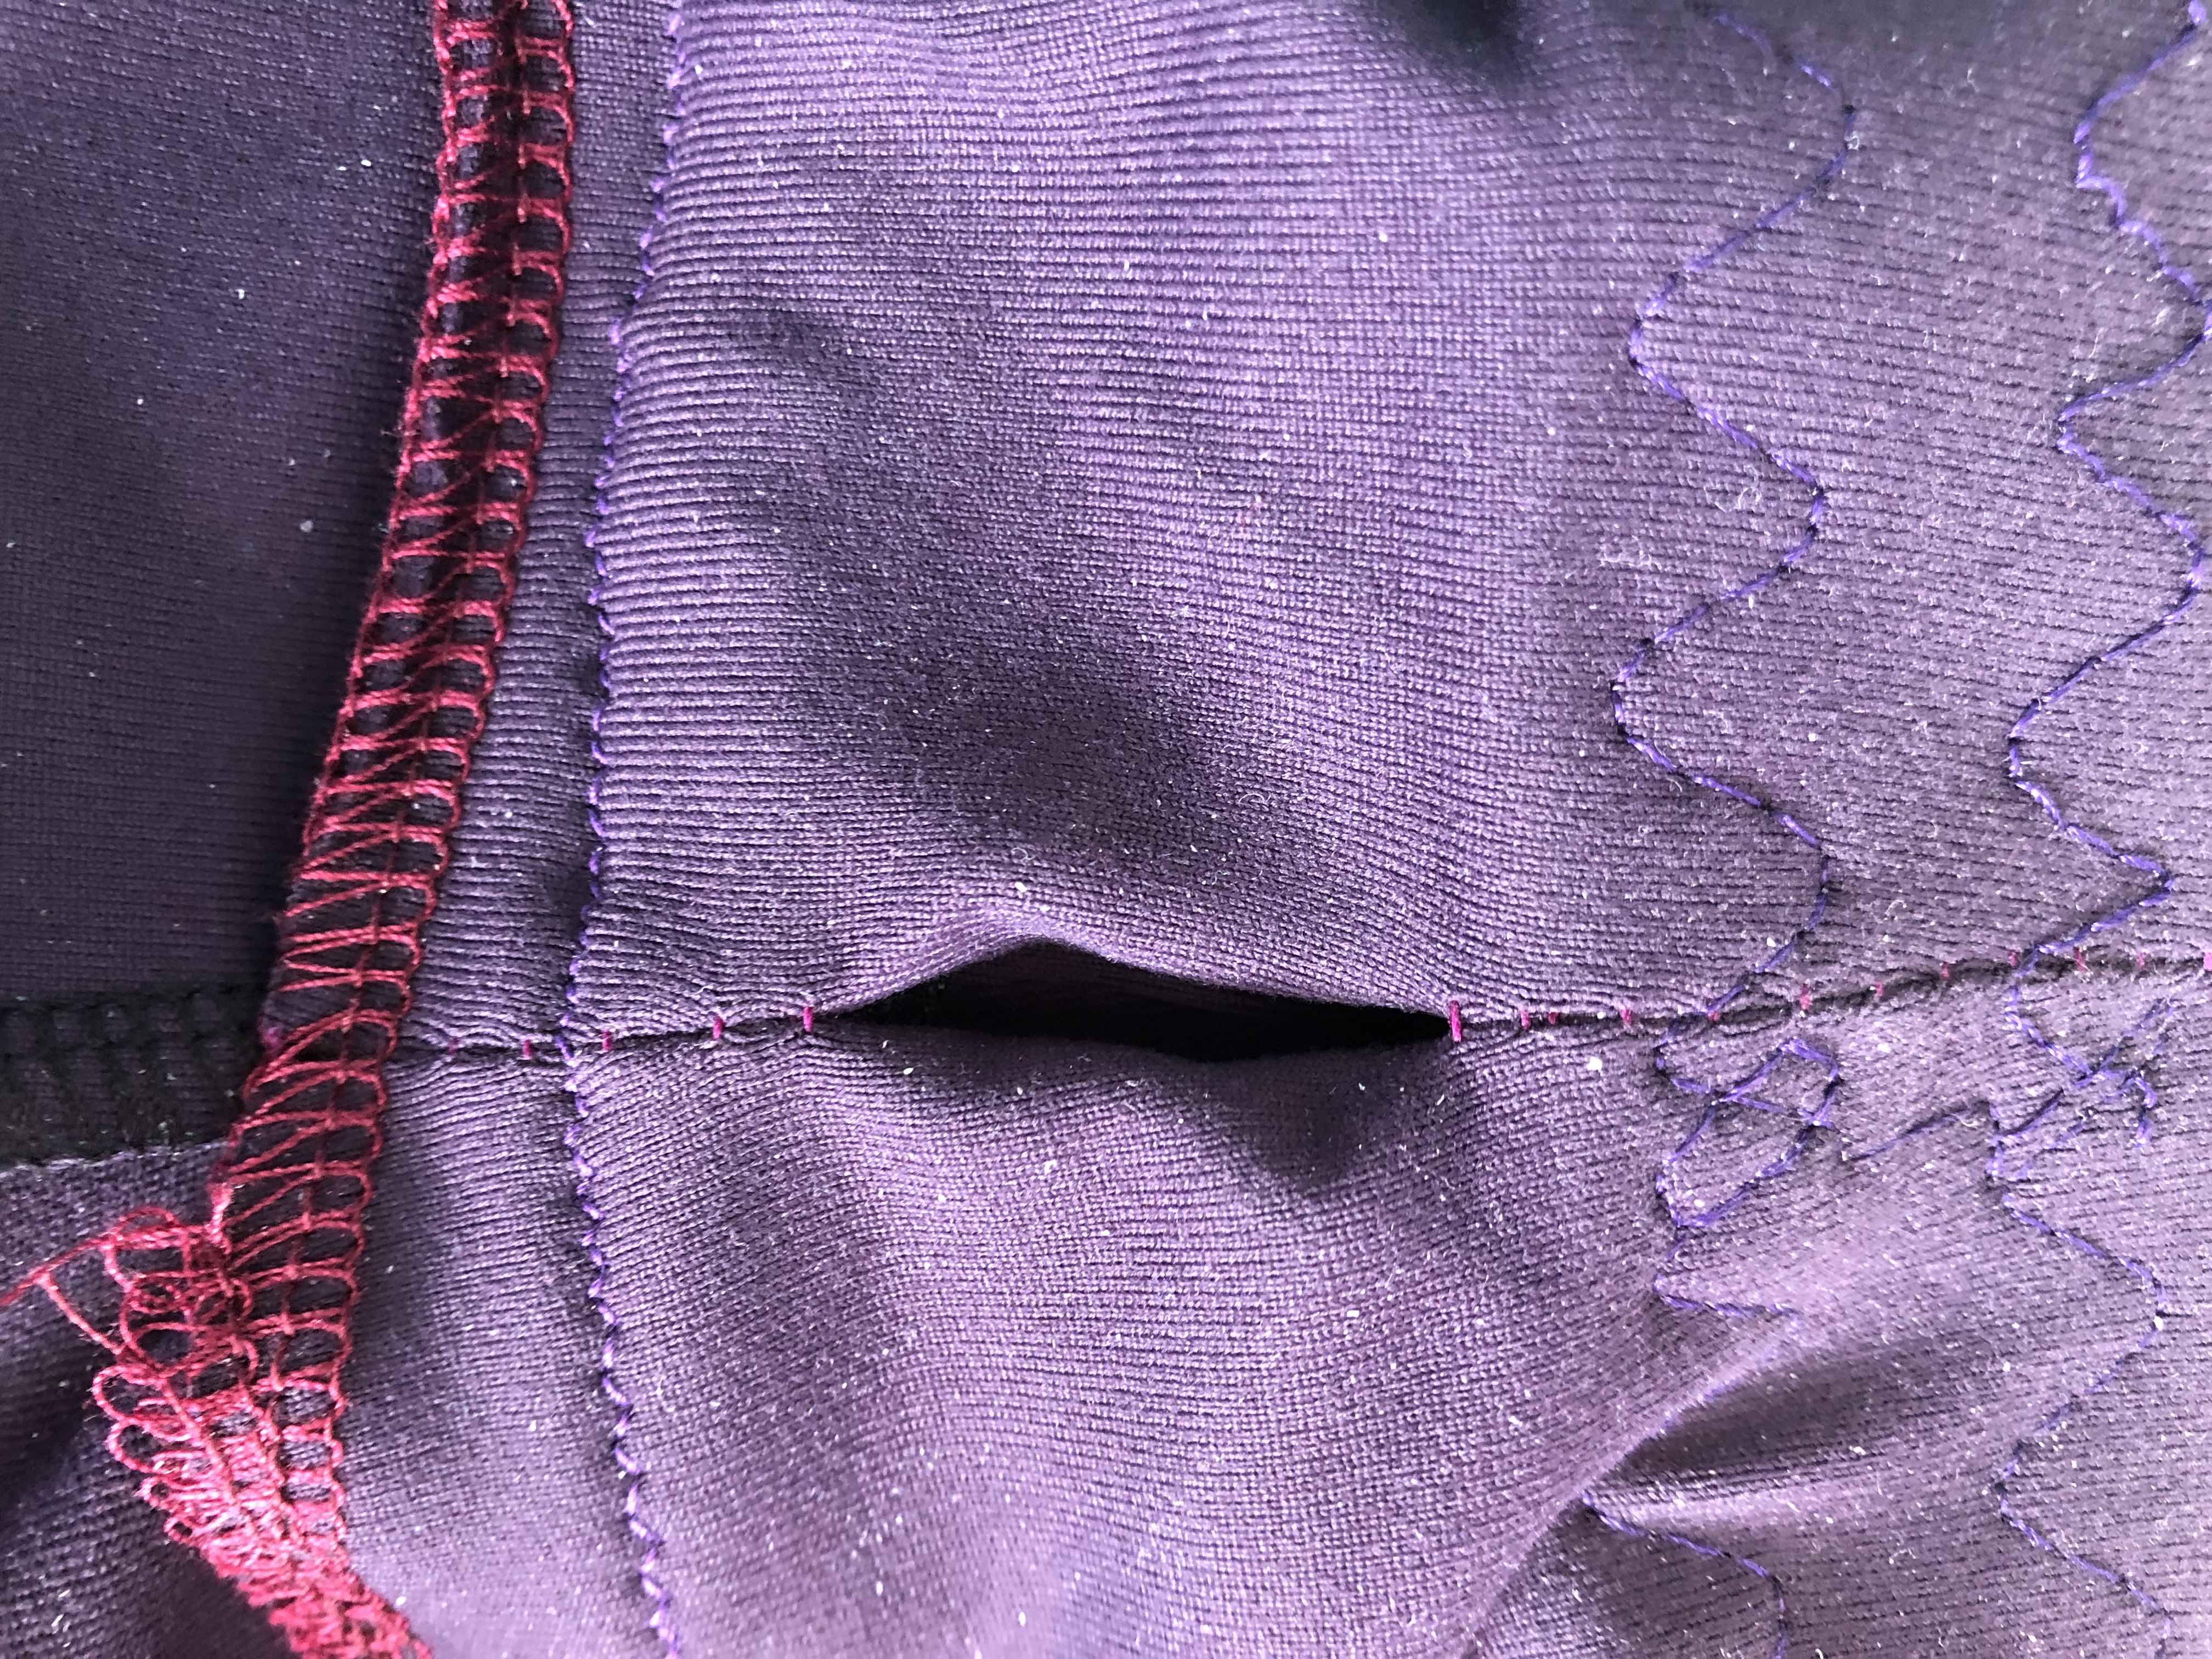
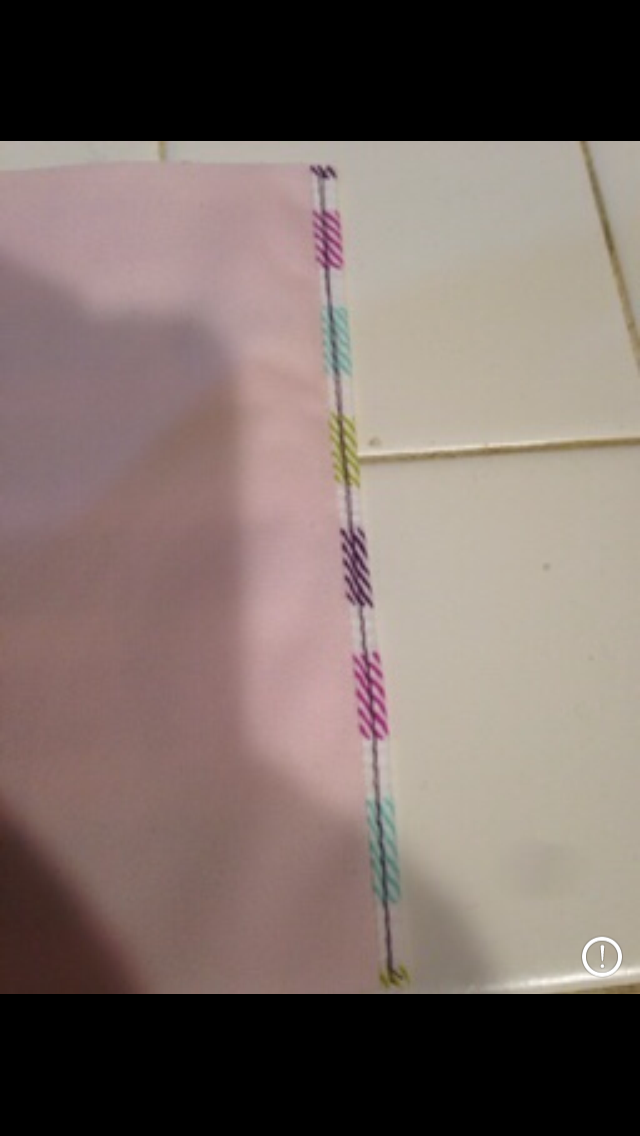
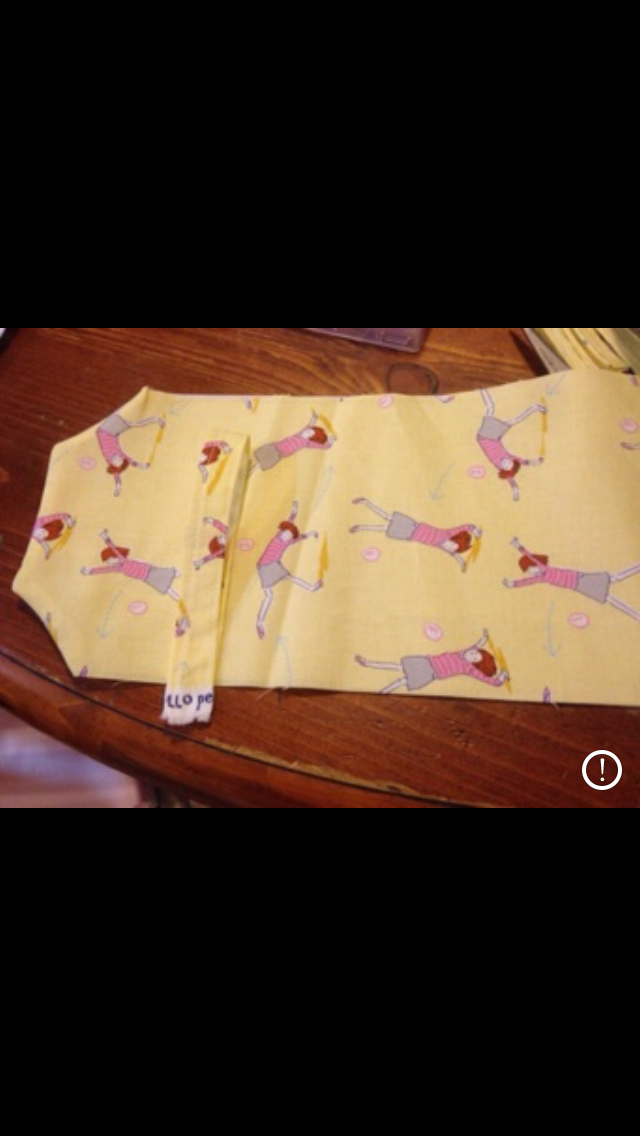
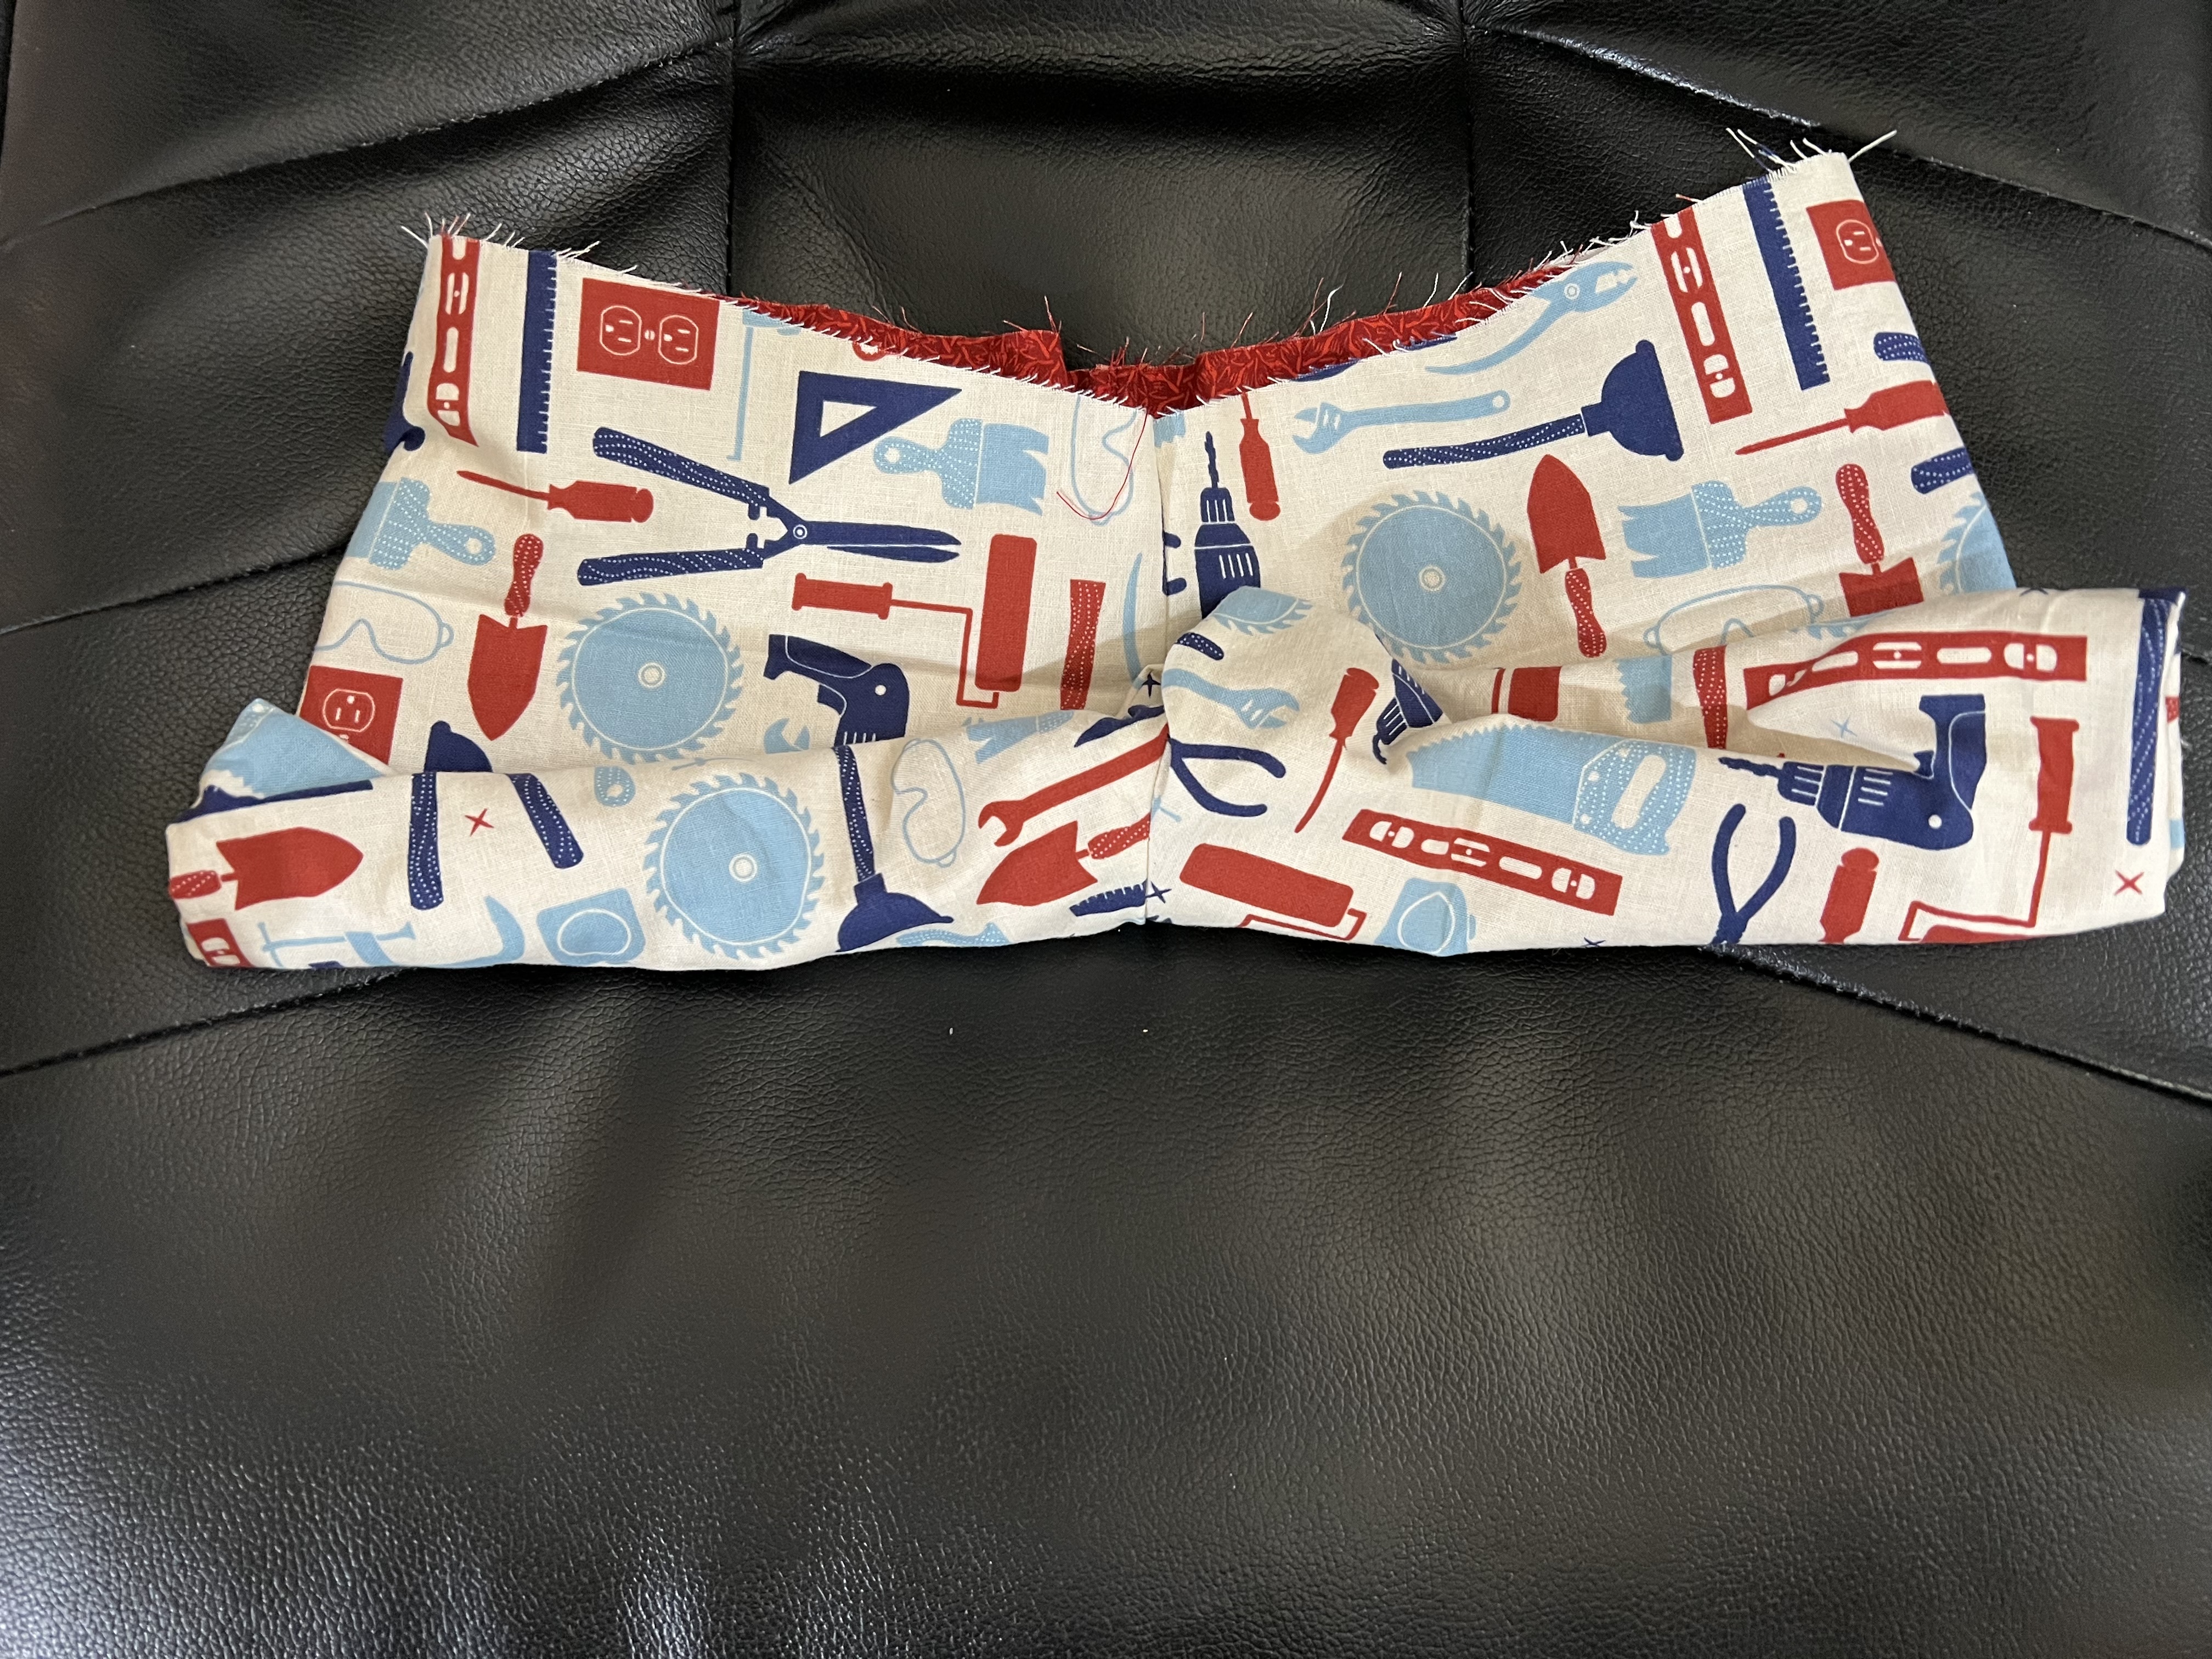
Back Pockets – I wrote a blog post for Stitch Upon A Time about inserting a double welt pocket in the side of one of their sweat pant patterns. I love this pocket, it fits my phone perfectly. I personally prefer to make it one long rectangle that is folded up at the bottom, so there is a smidgen less bulk of a seam at the bottom of the pocket. If this pocket gapes open, you will see the fabric of the pocket lining. Since my fabrics were lightweight, I used the same fabric for the pockets.

Finished back pocket.

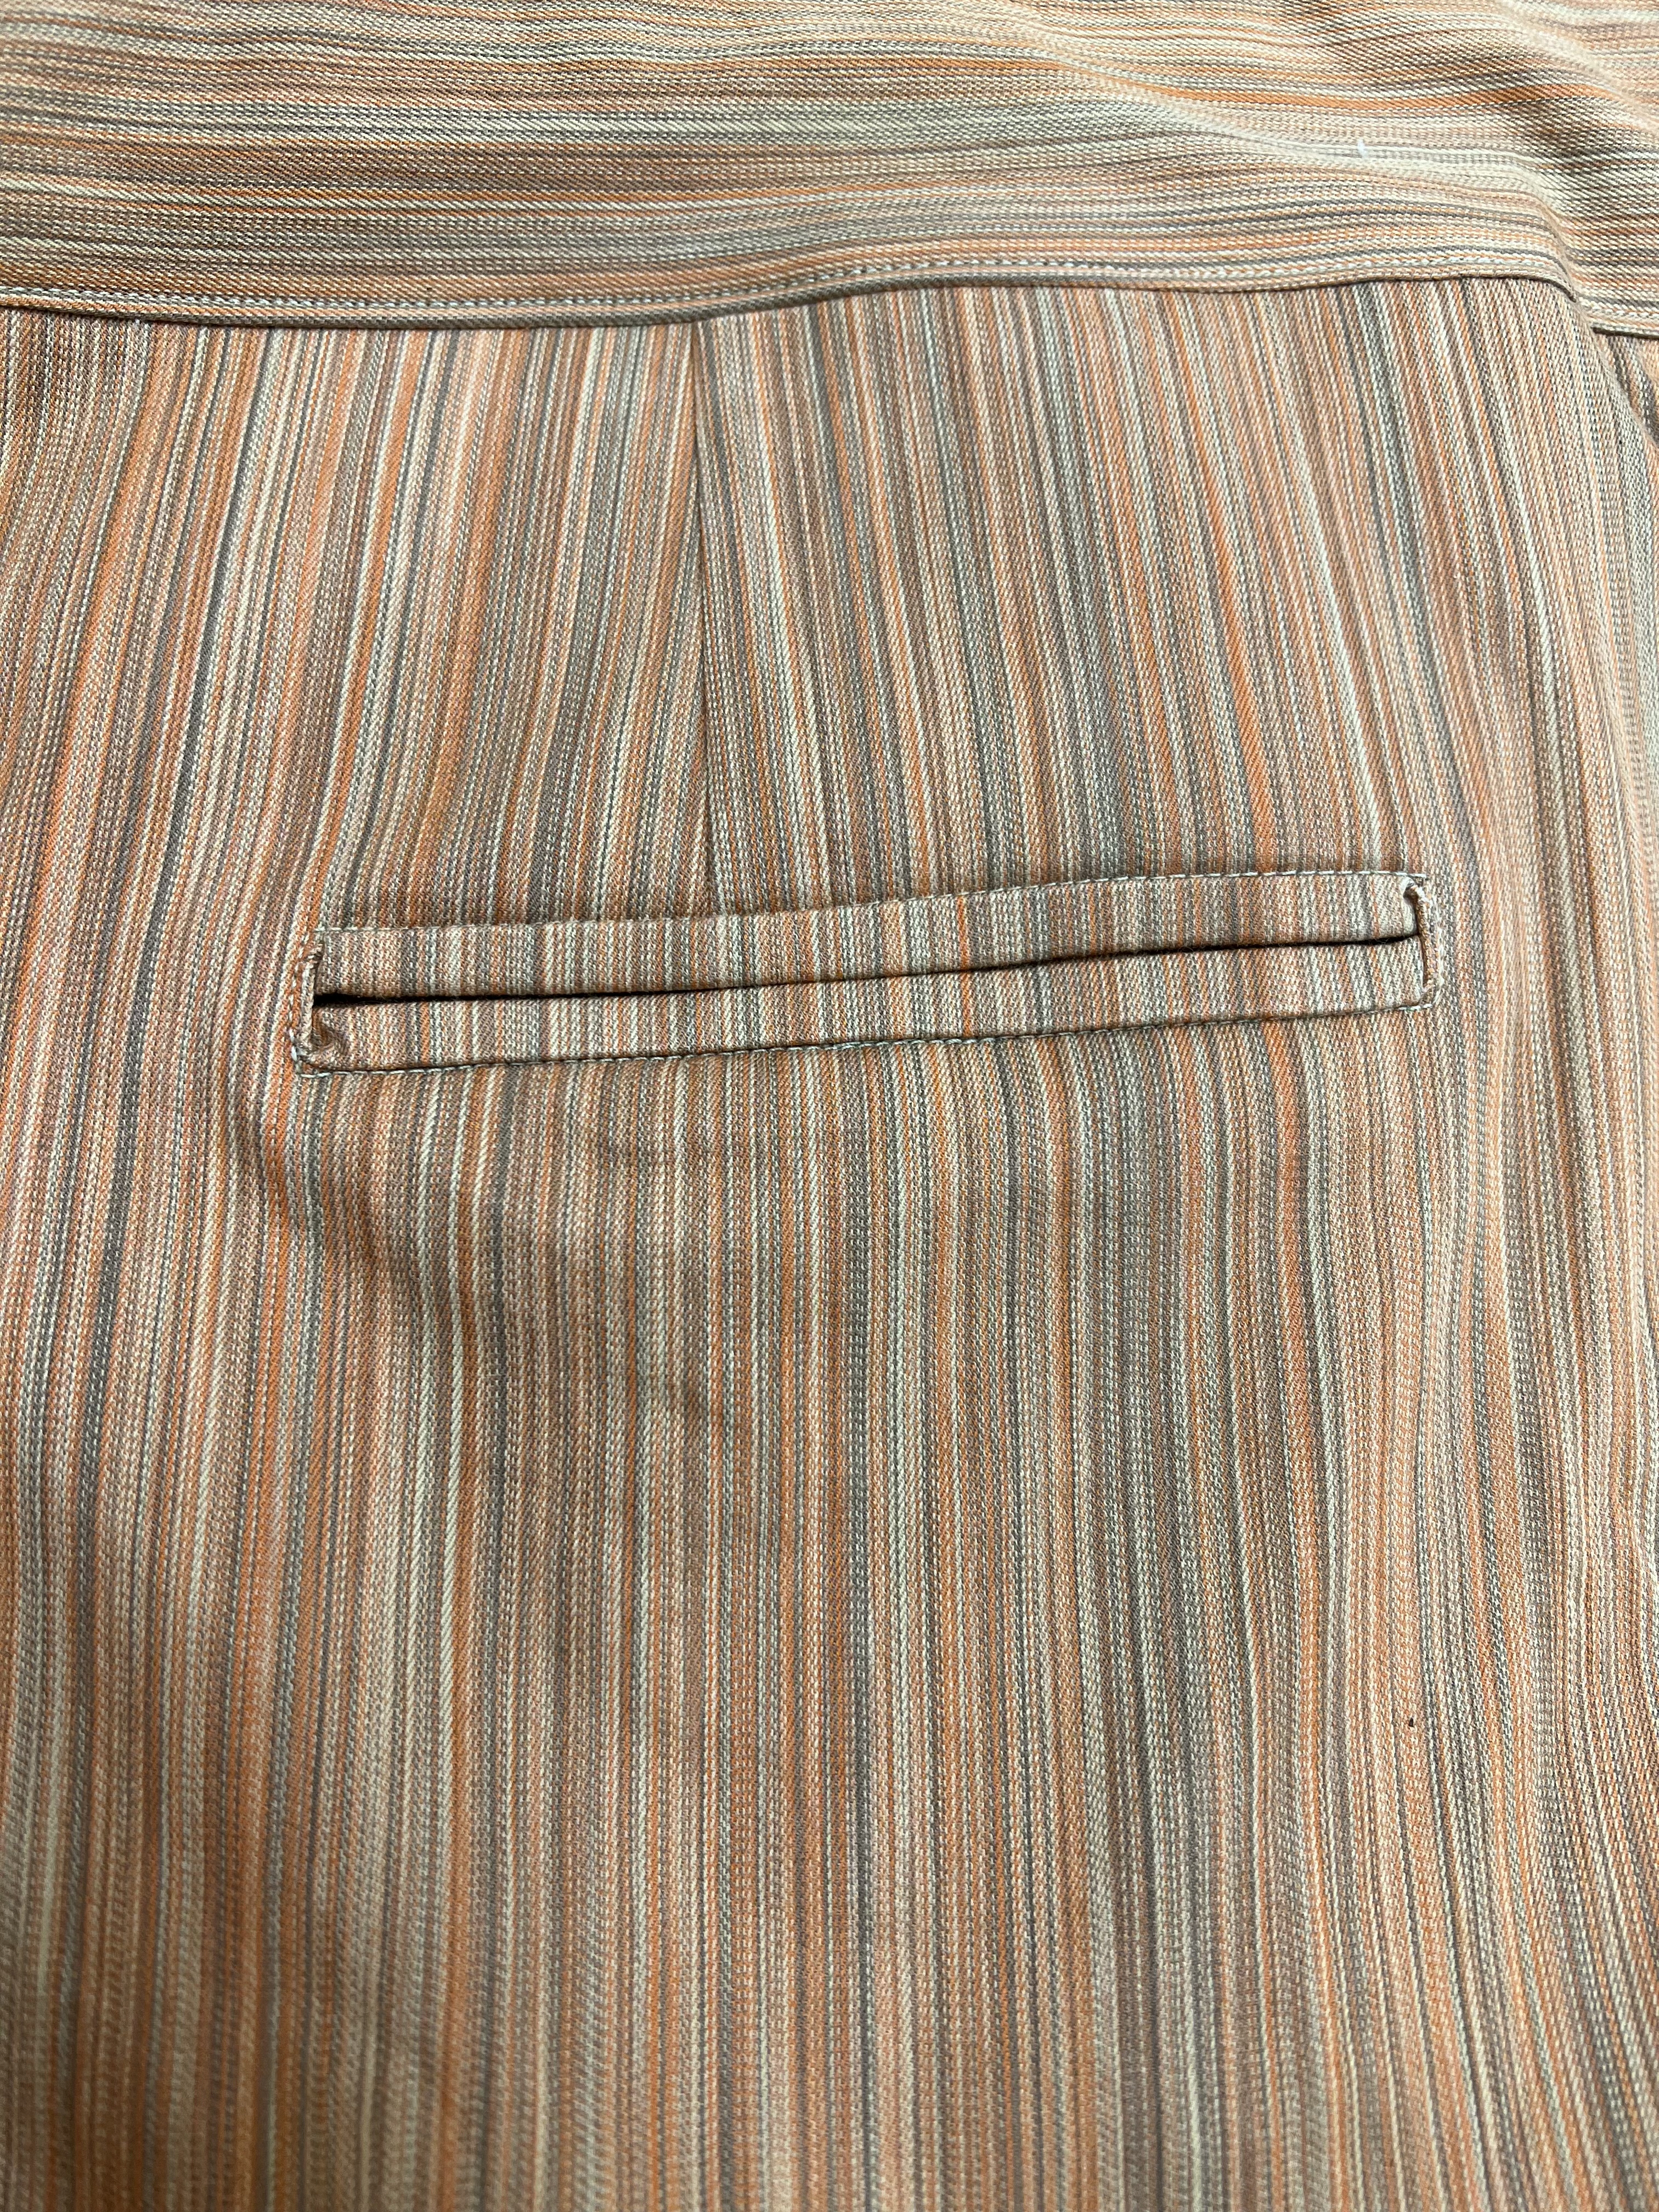
I added the pocket after the pants were completed. Best practice, once the fit is nailed down, is to work on pockets (front and back) before side seams, fly or waistband.

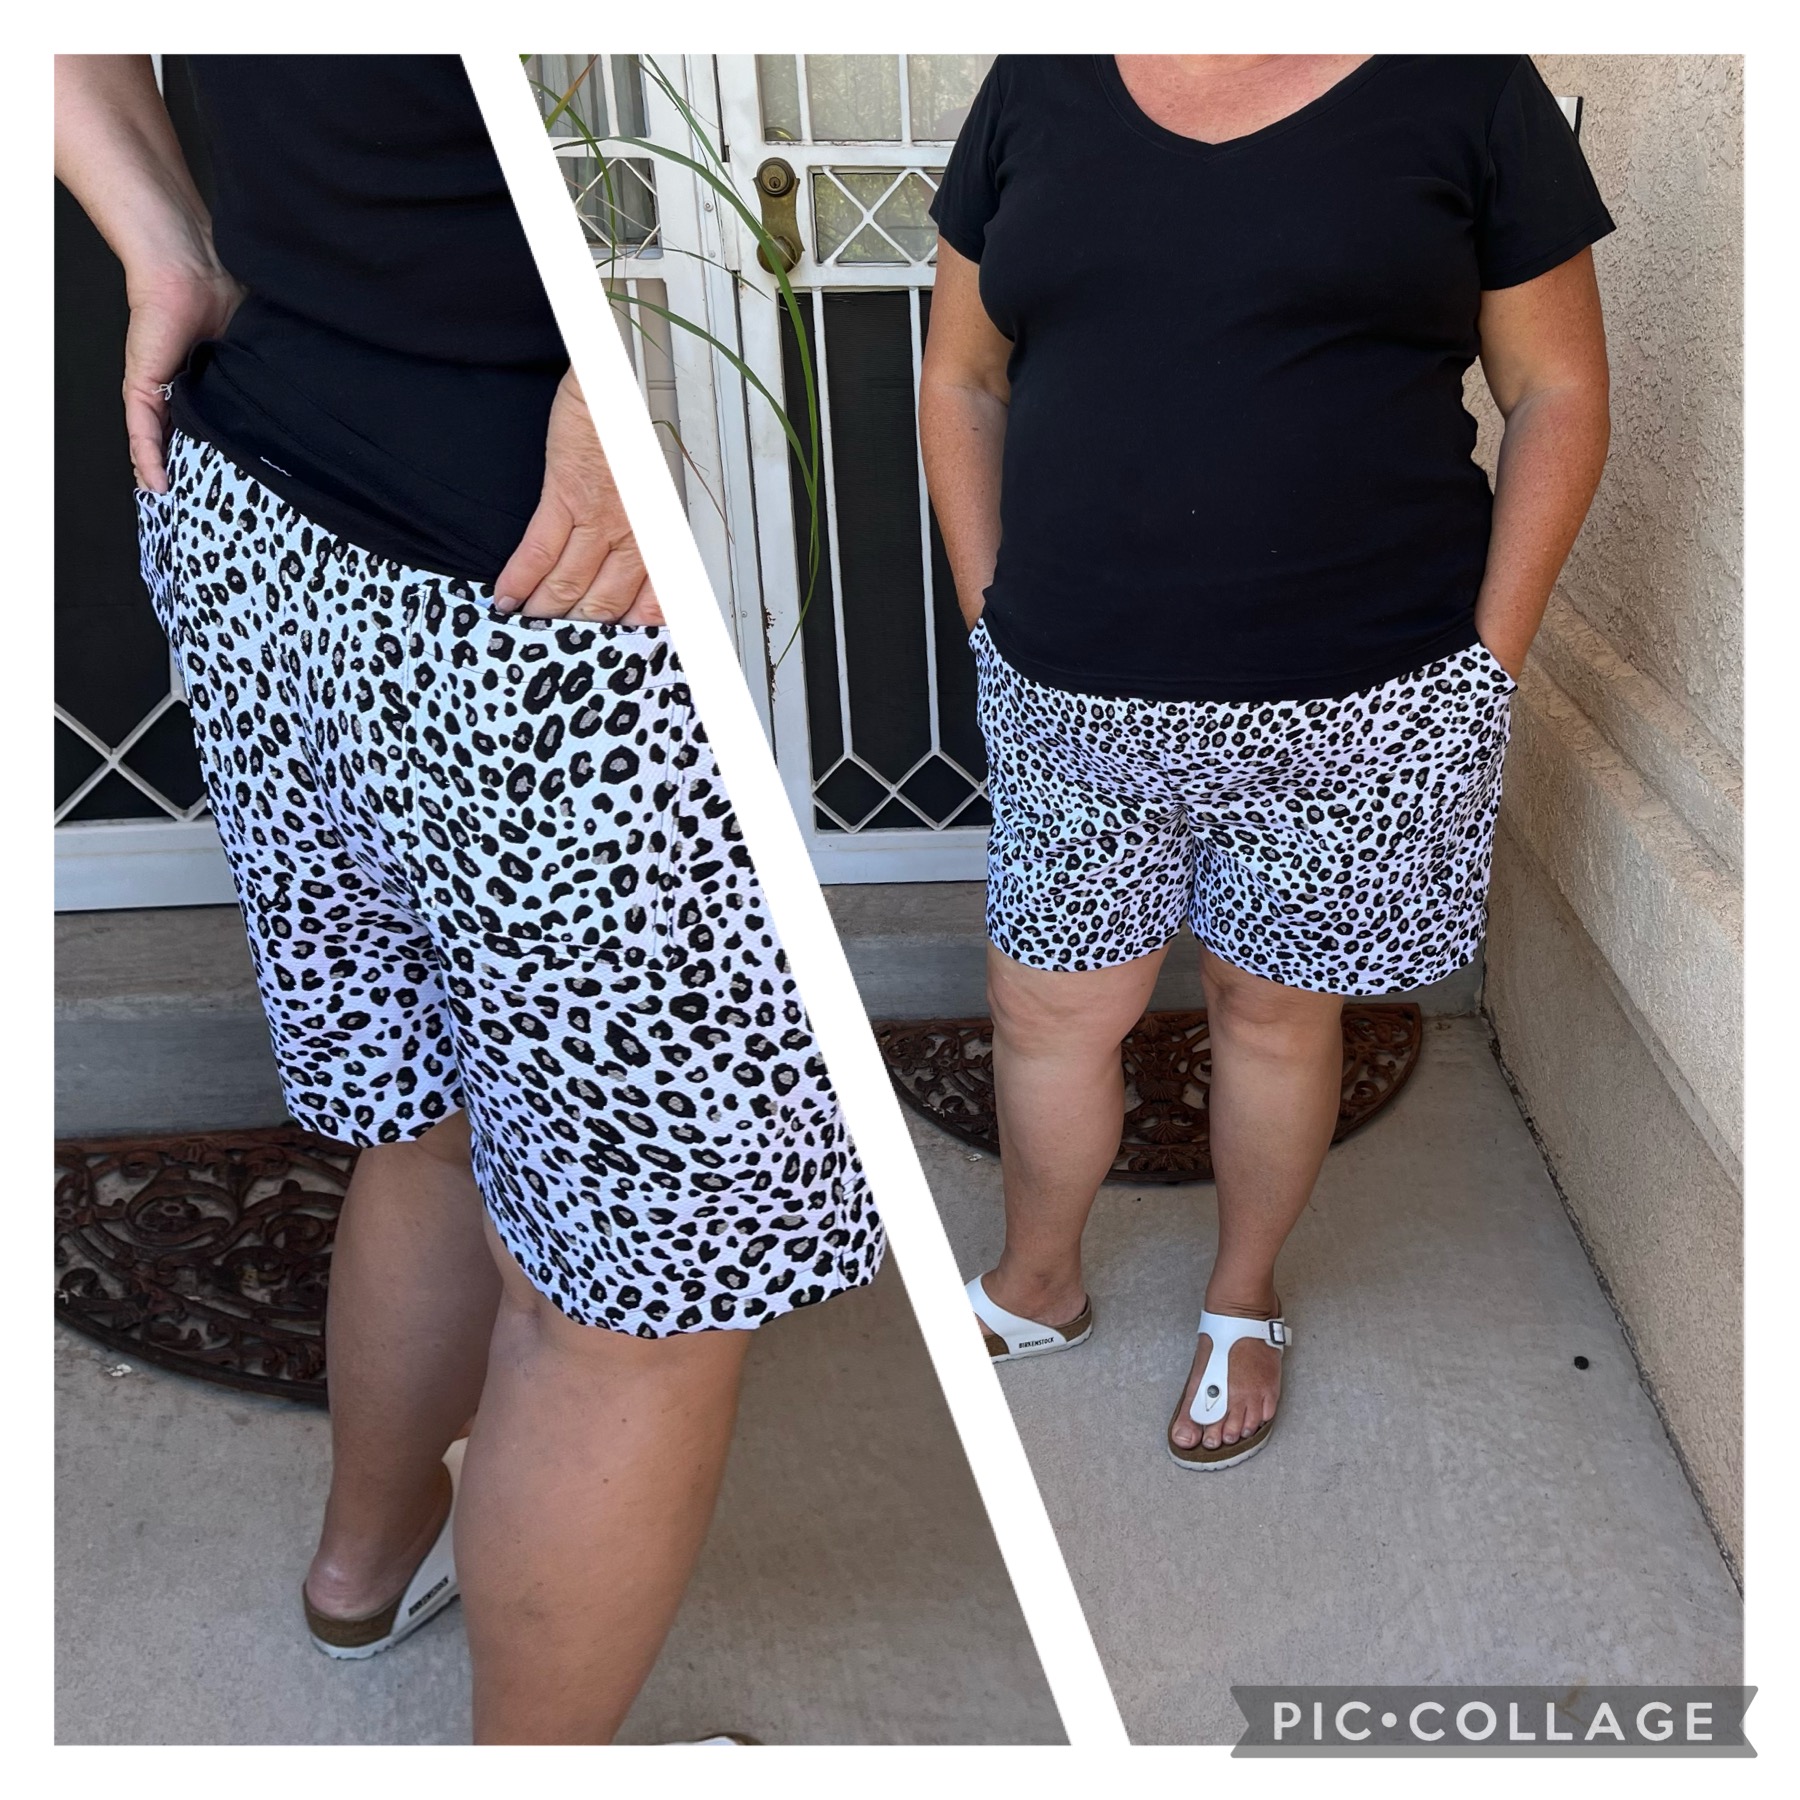
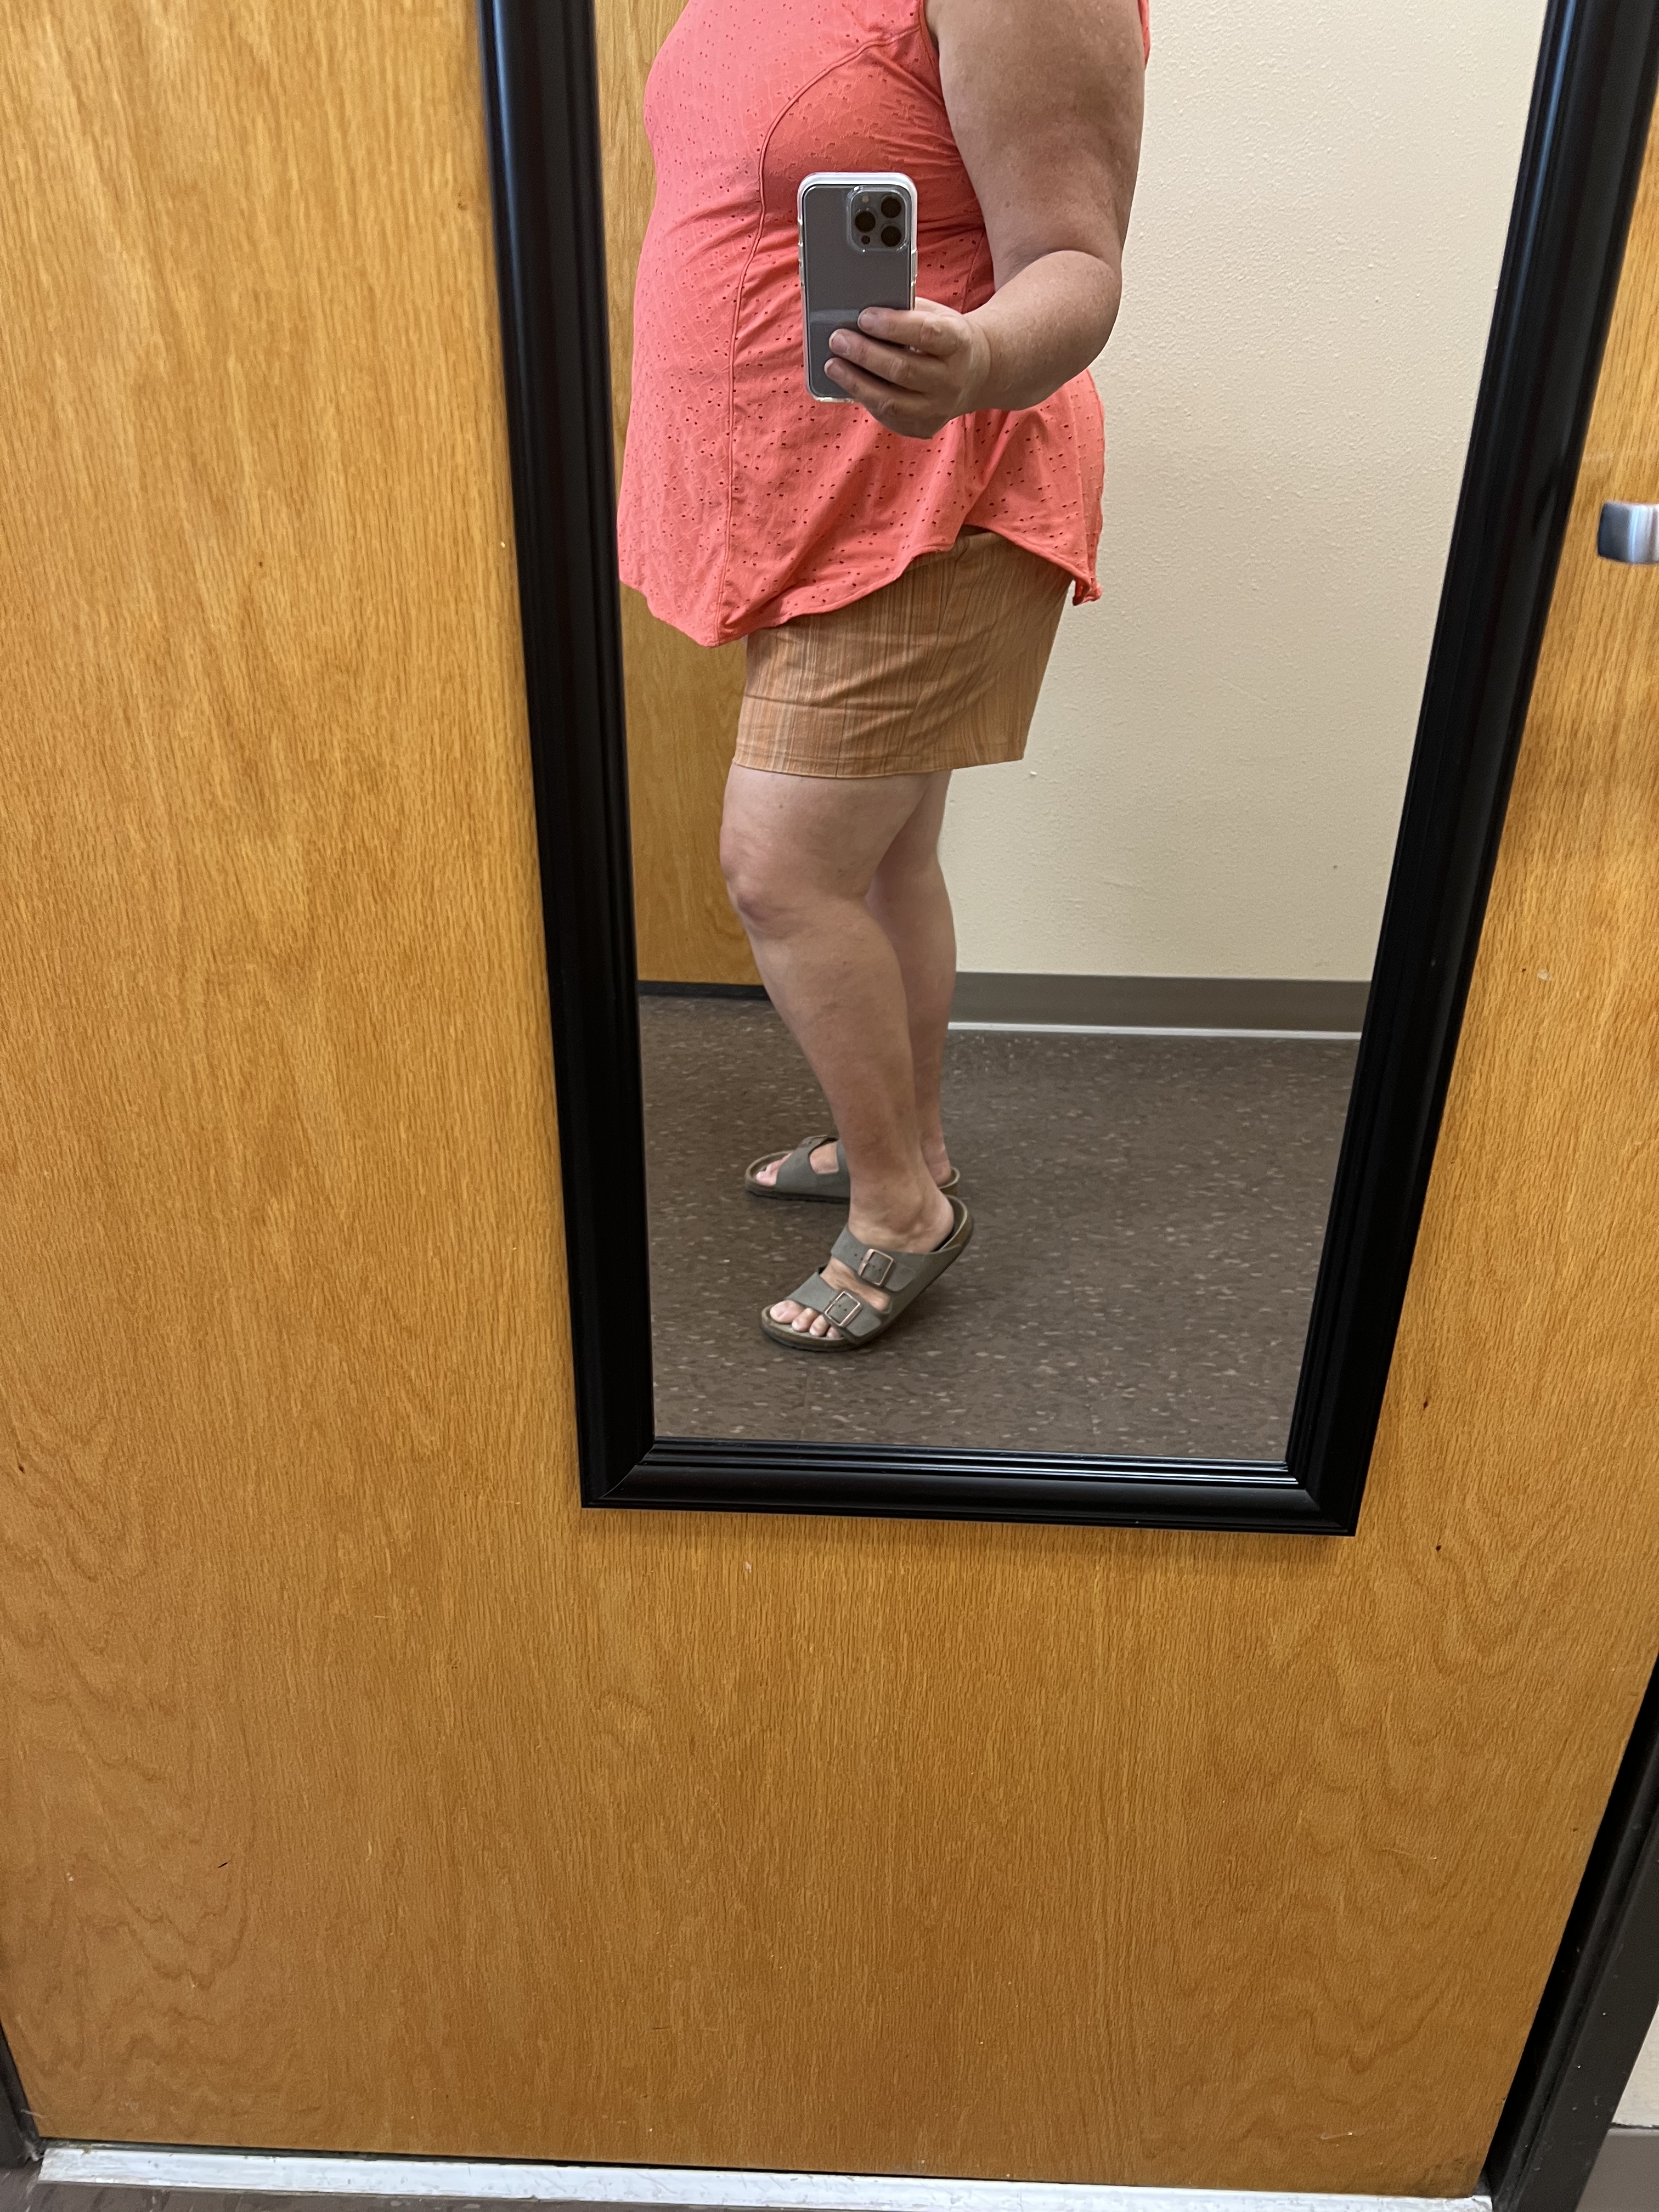
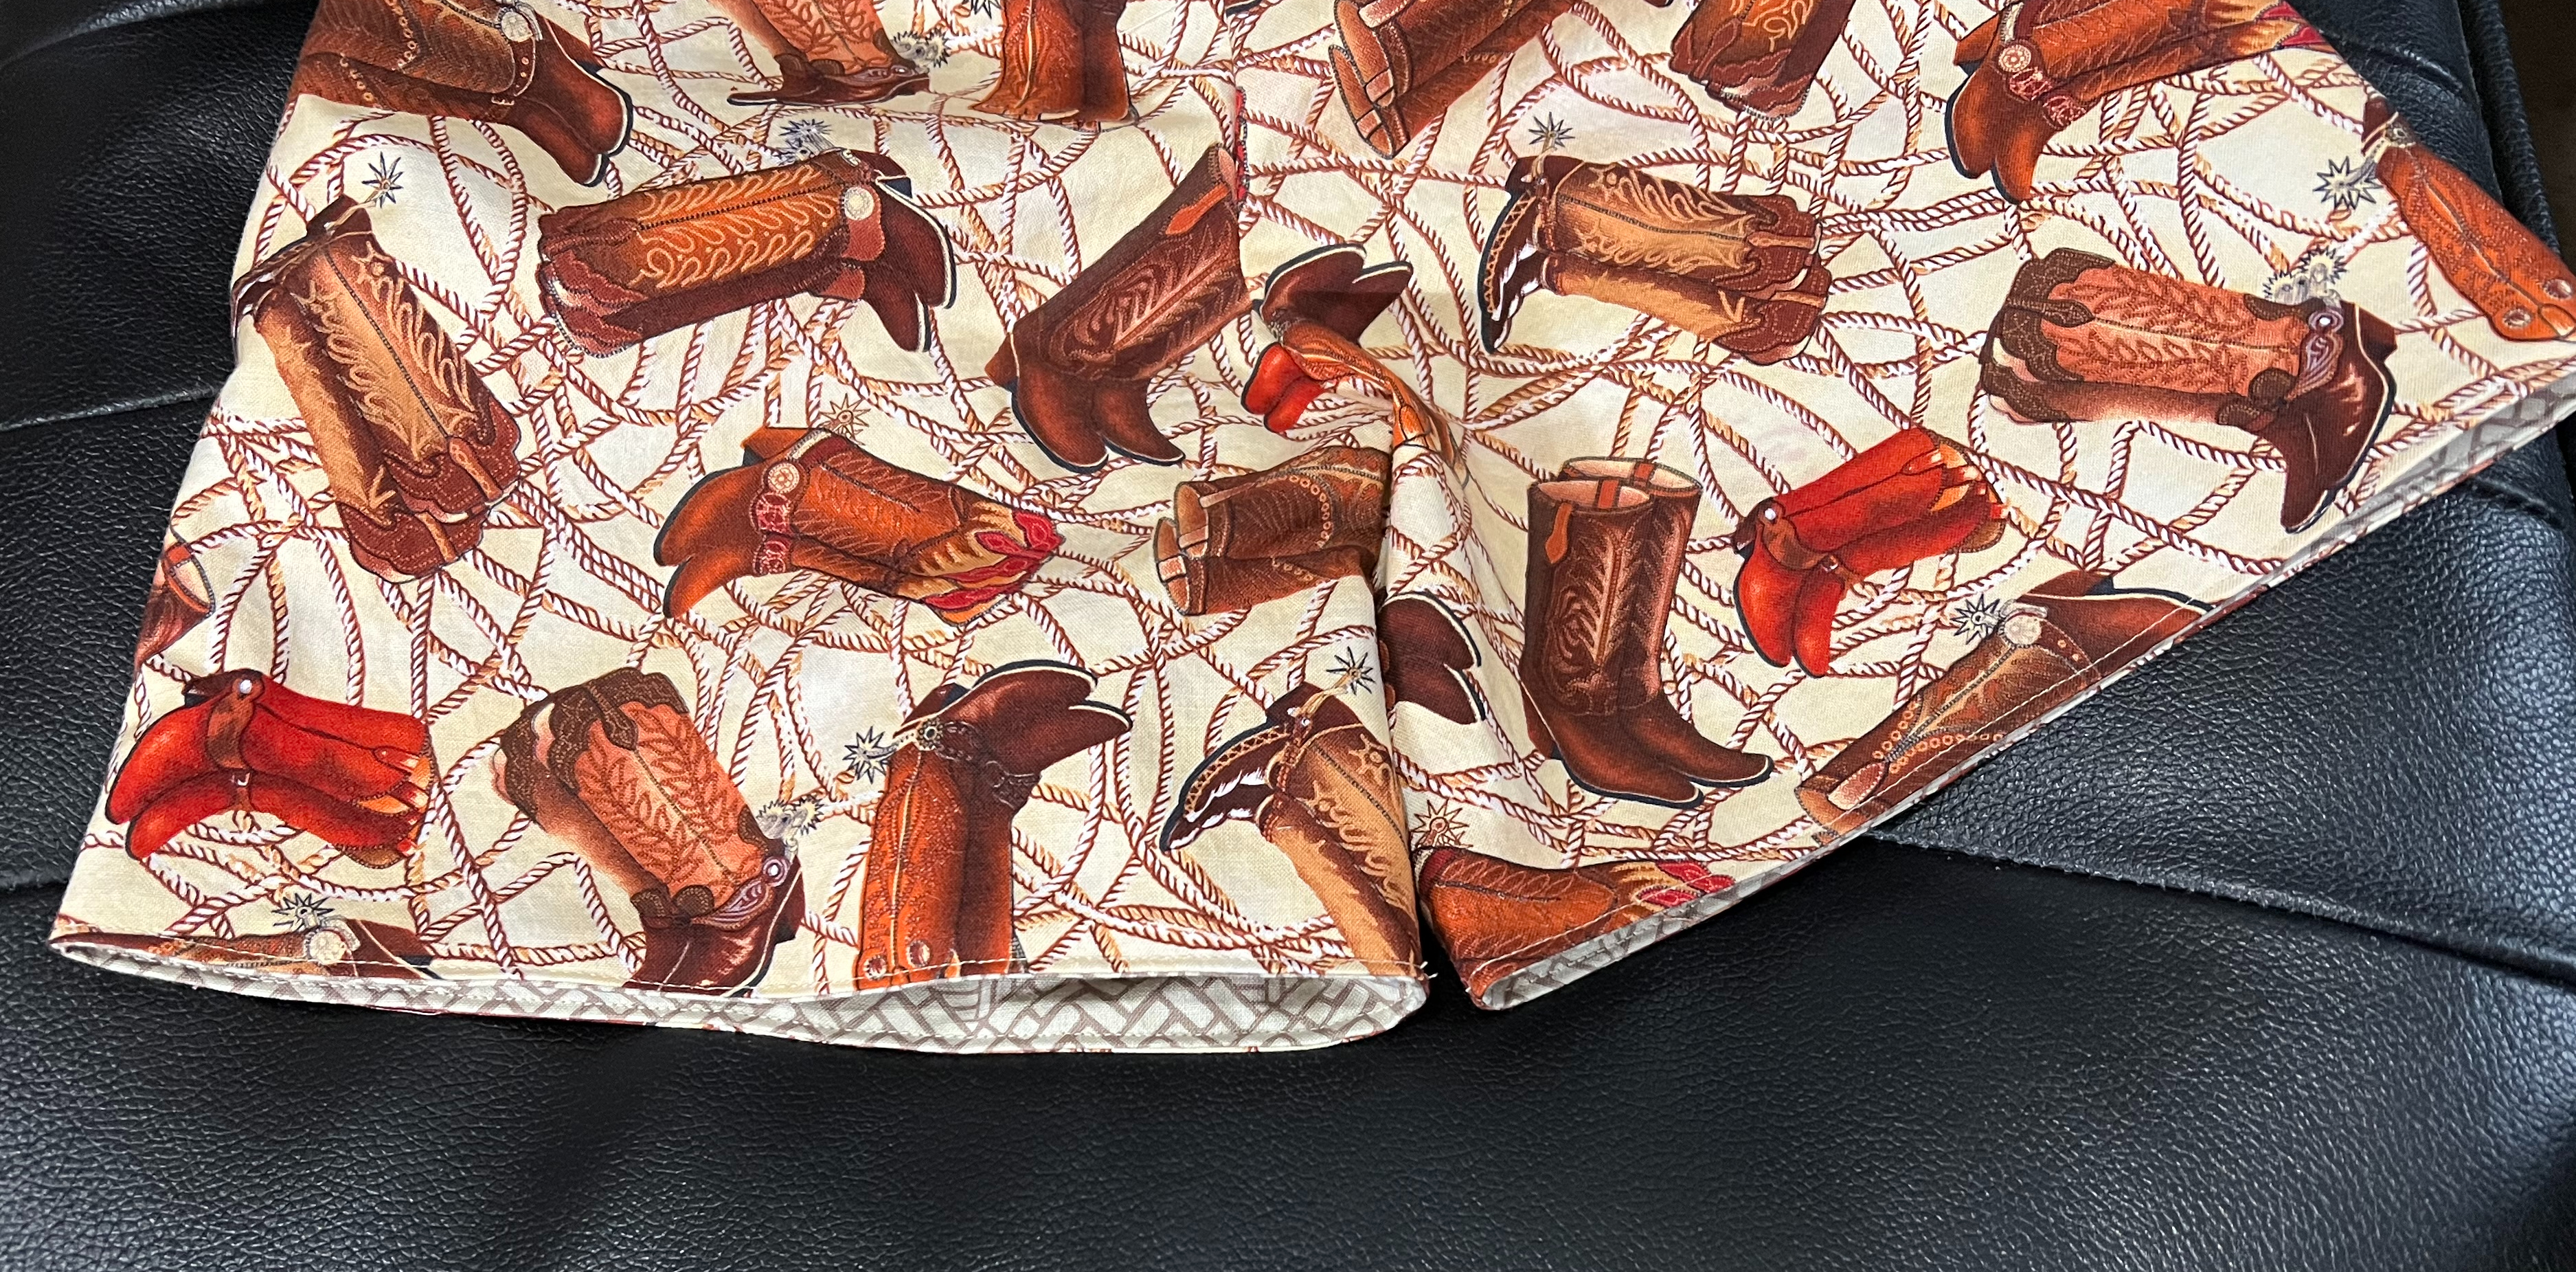
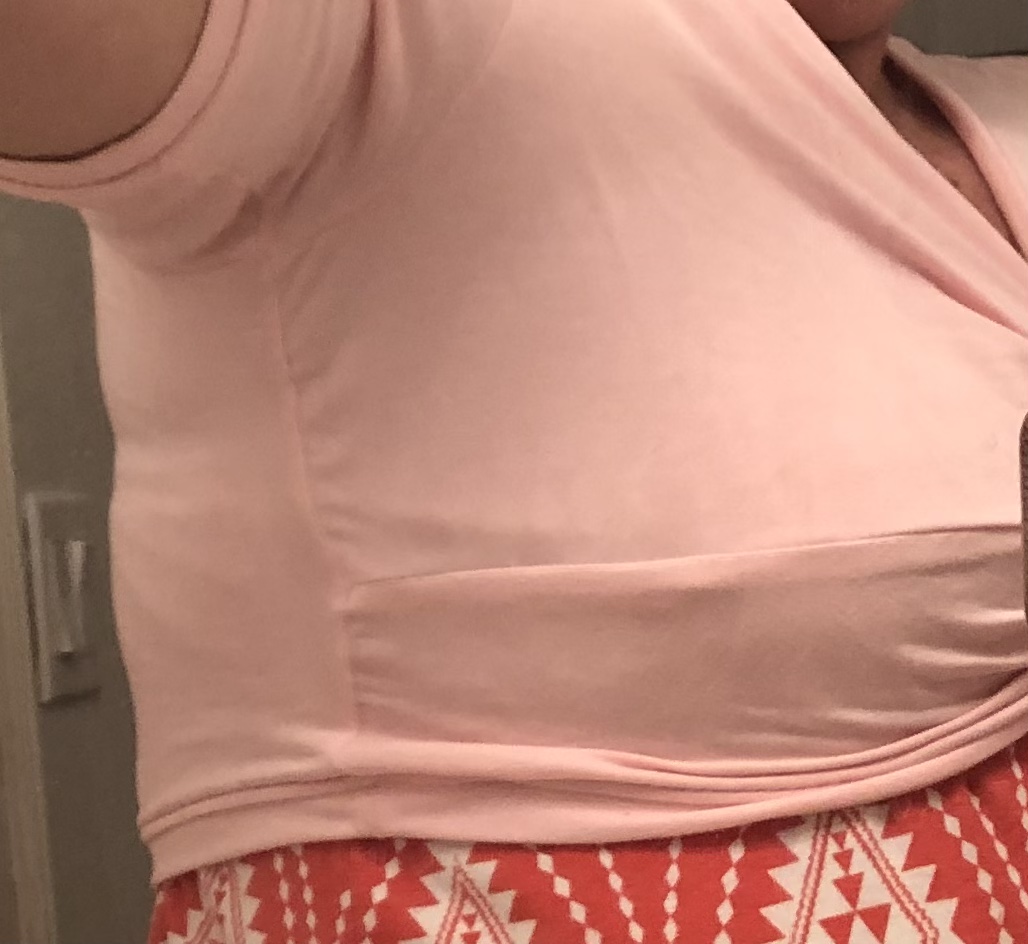
In the last pair, I had only enough fabric for patch pockets on the back. They still function as pockets, and are less noticed on this wild print. Planning to hone my skills and try a narrower welt – maybe contrasting on the next pair!

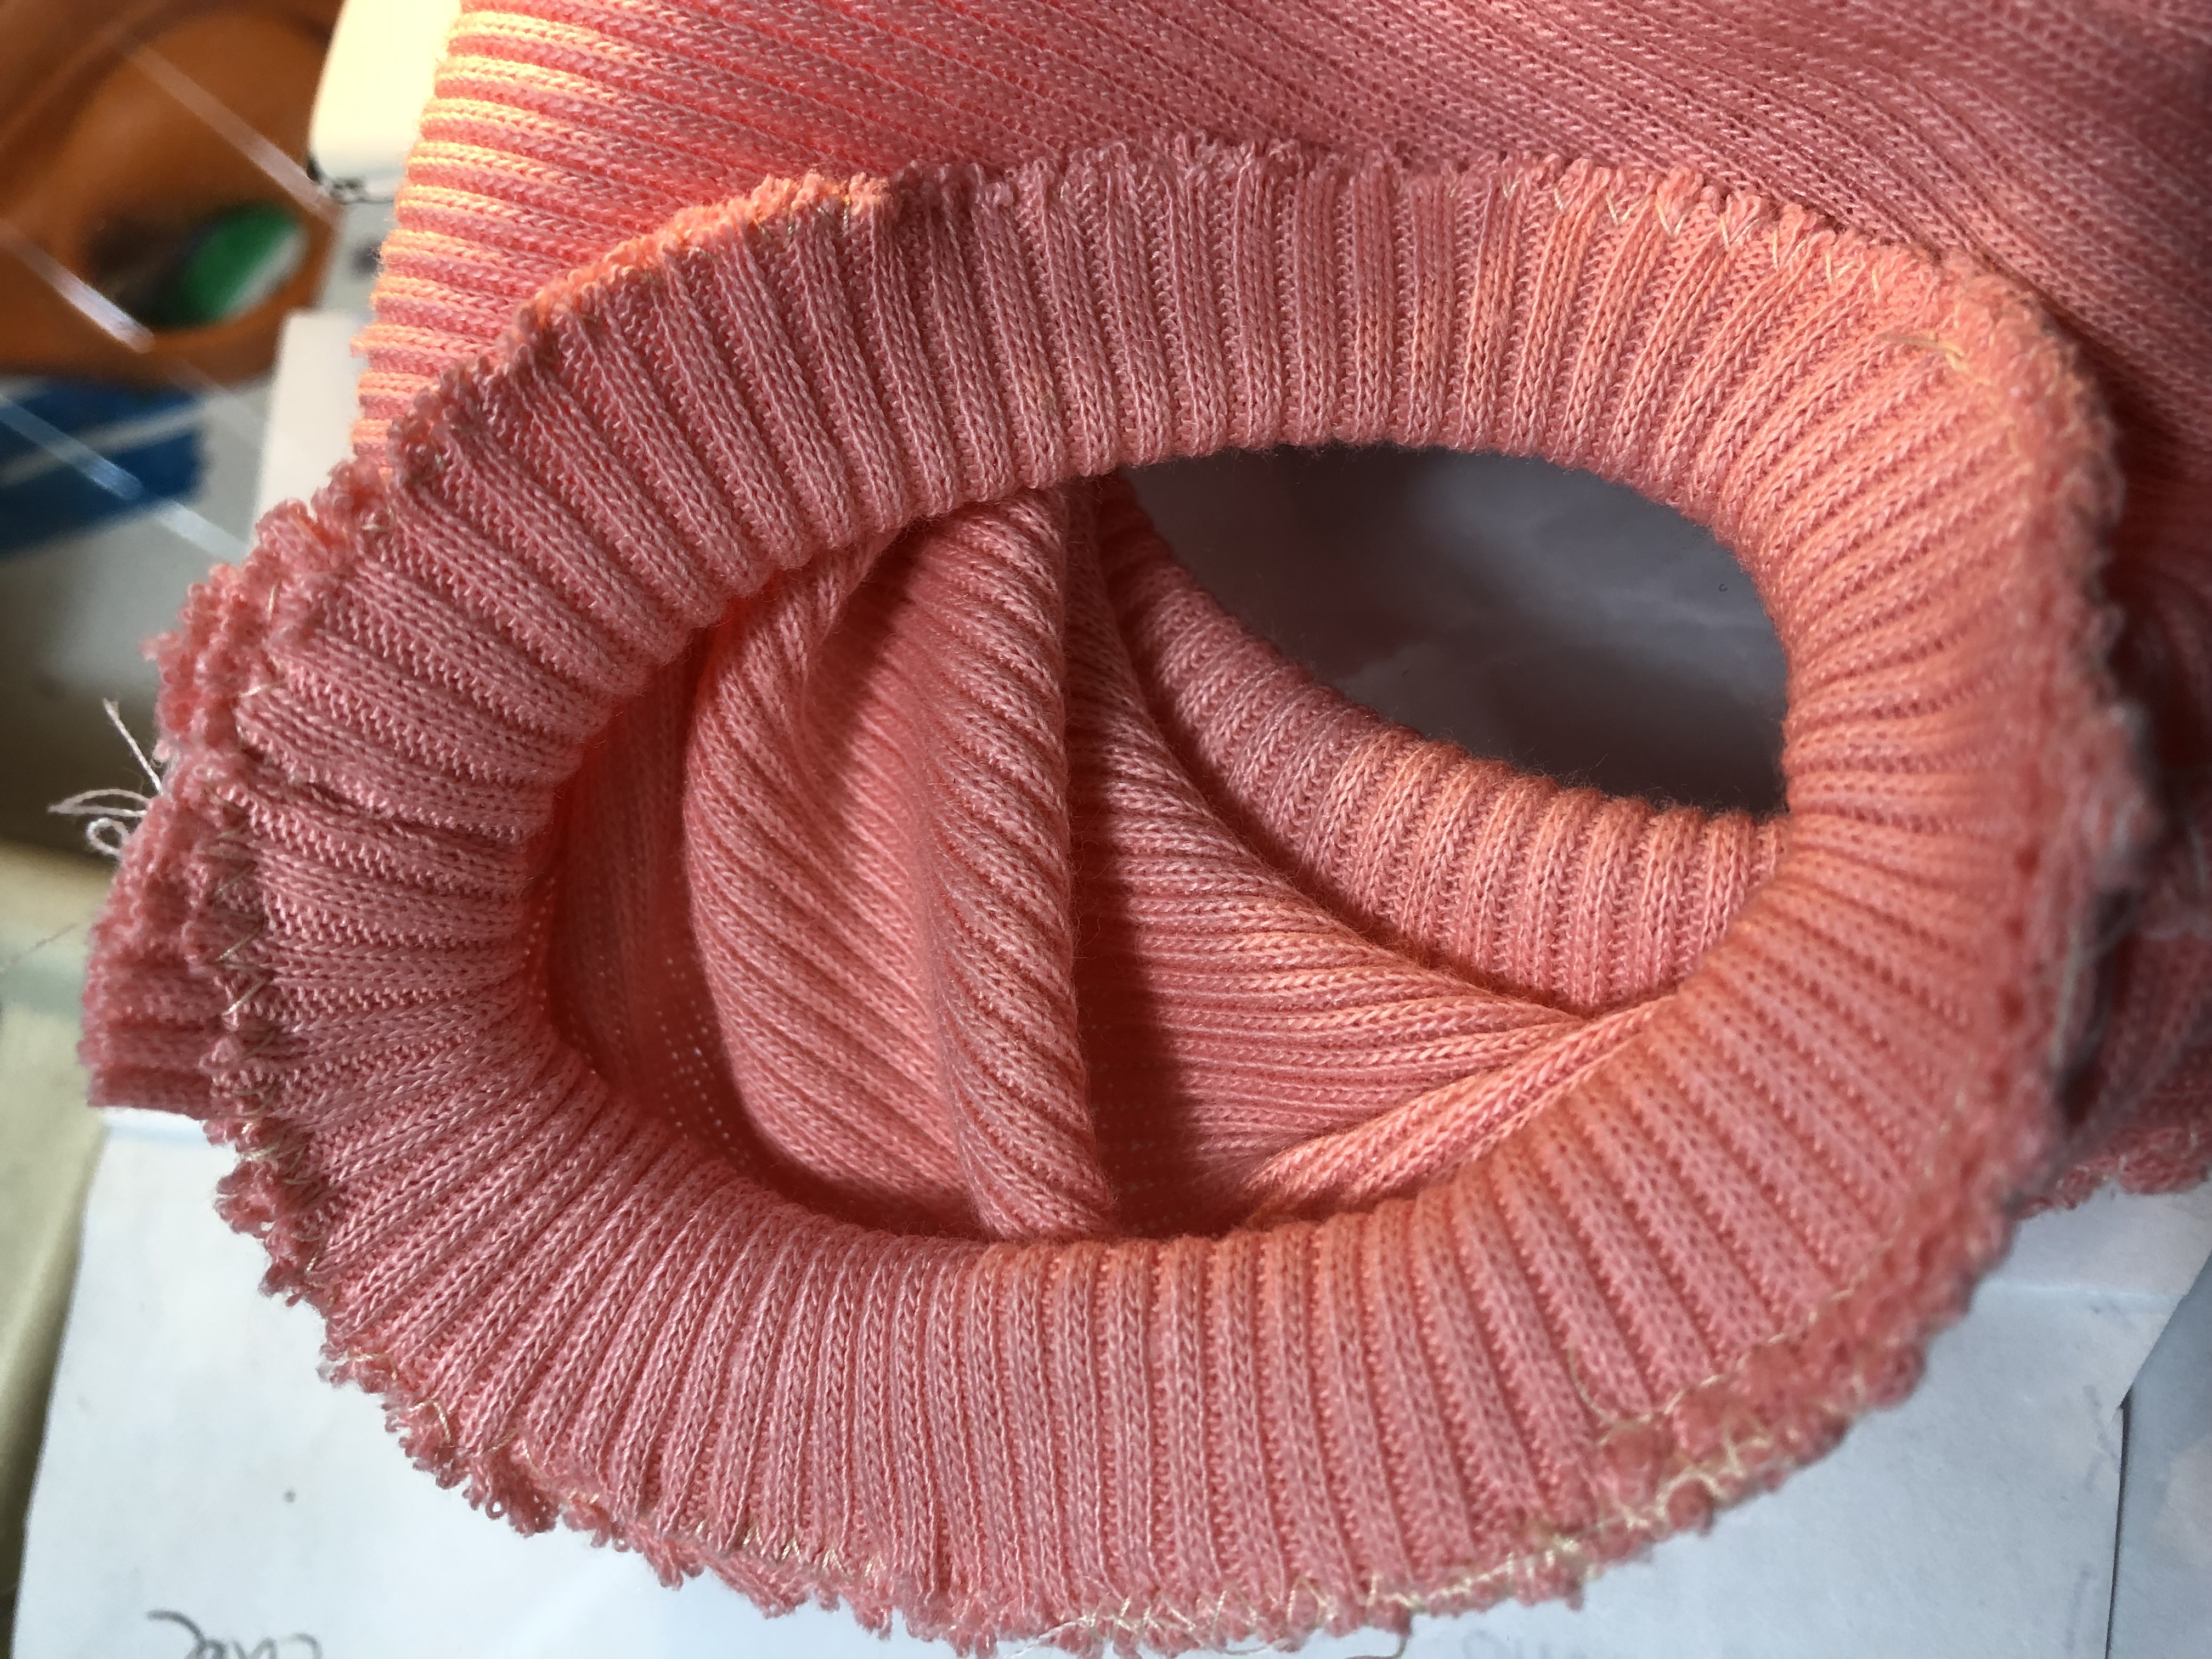
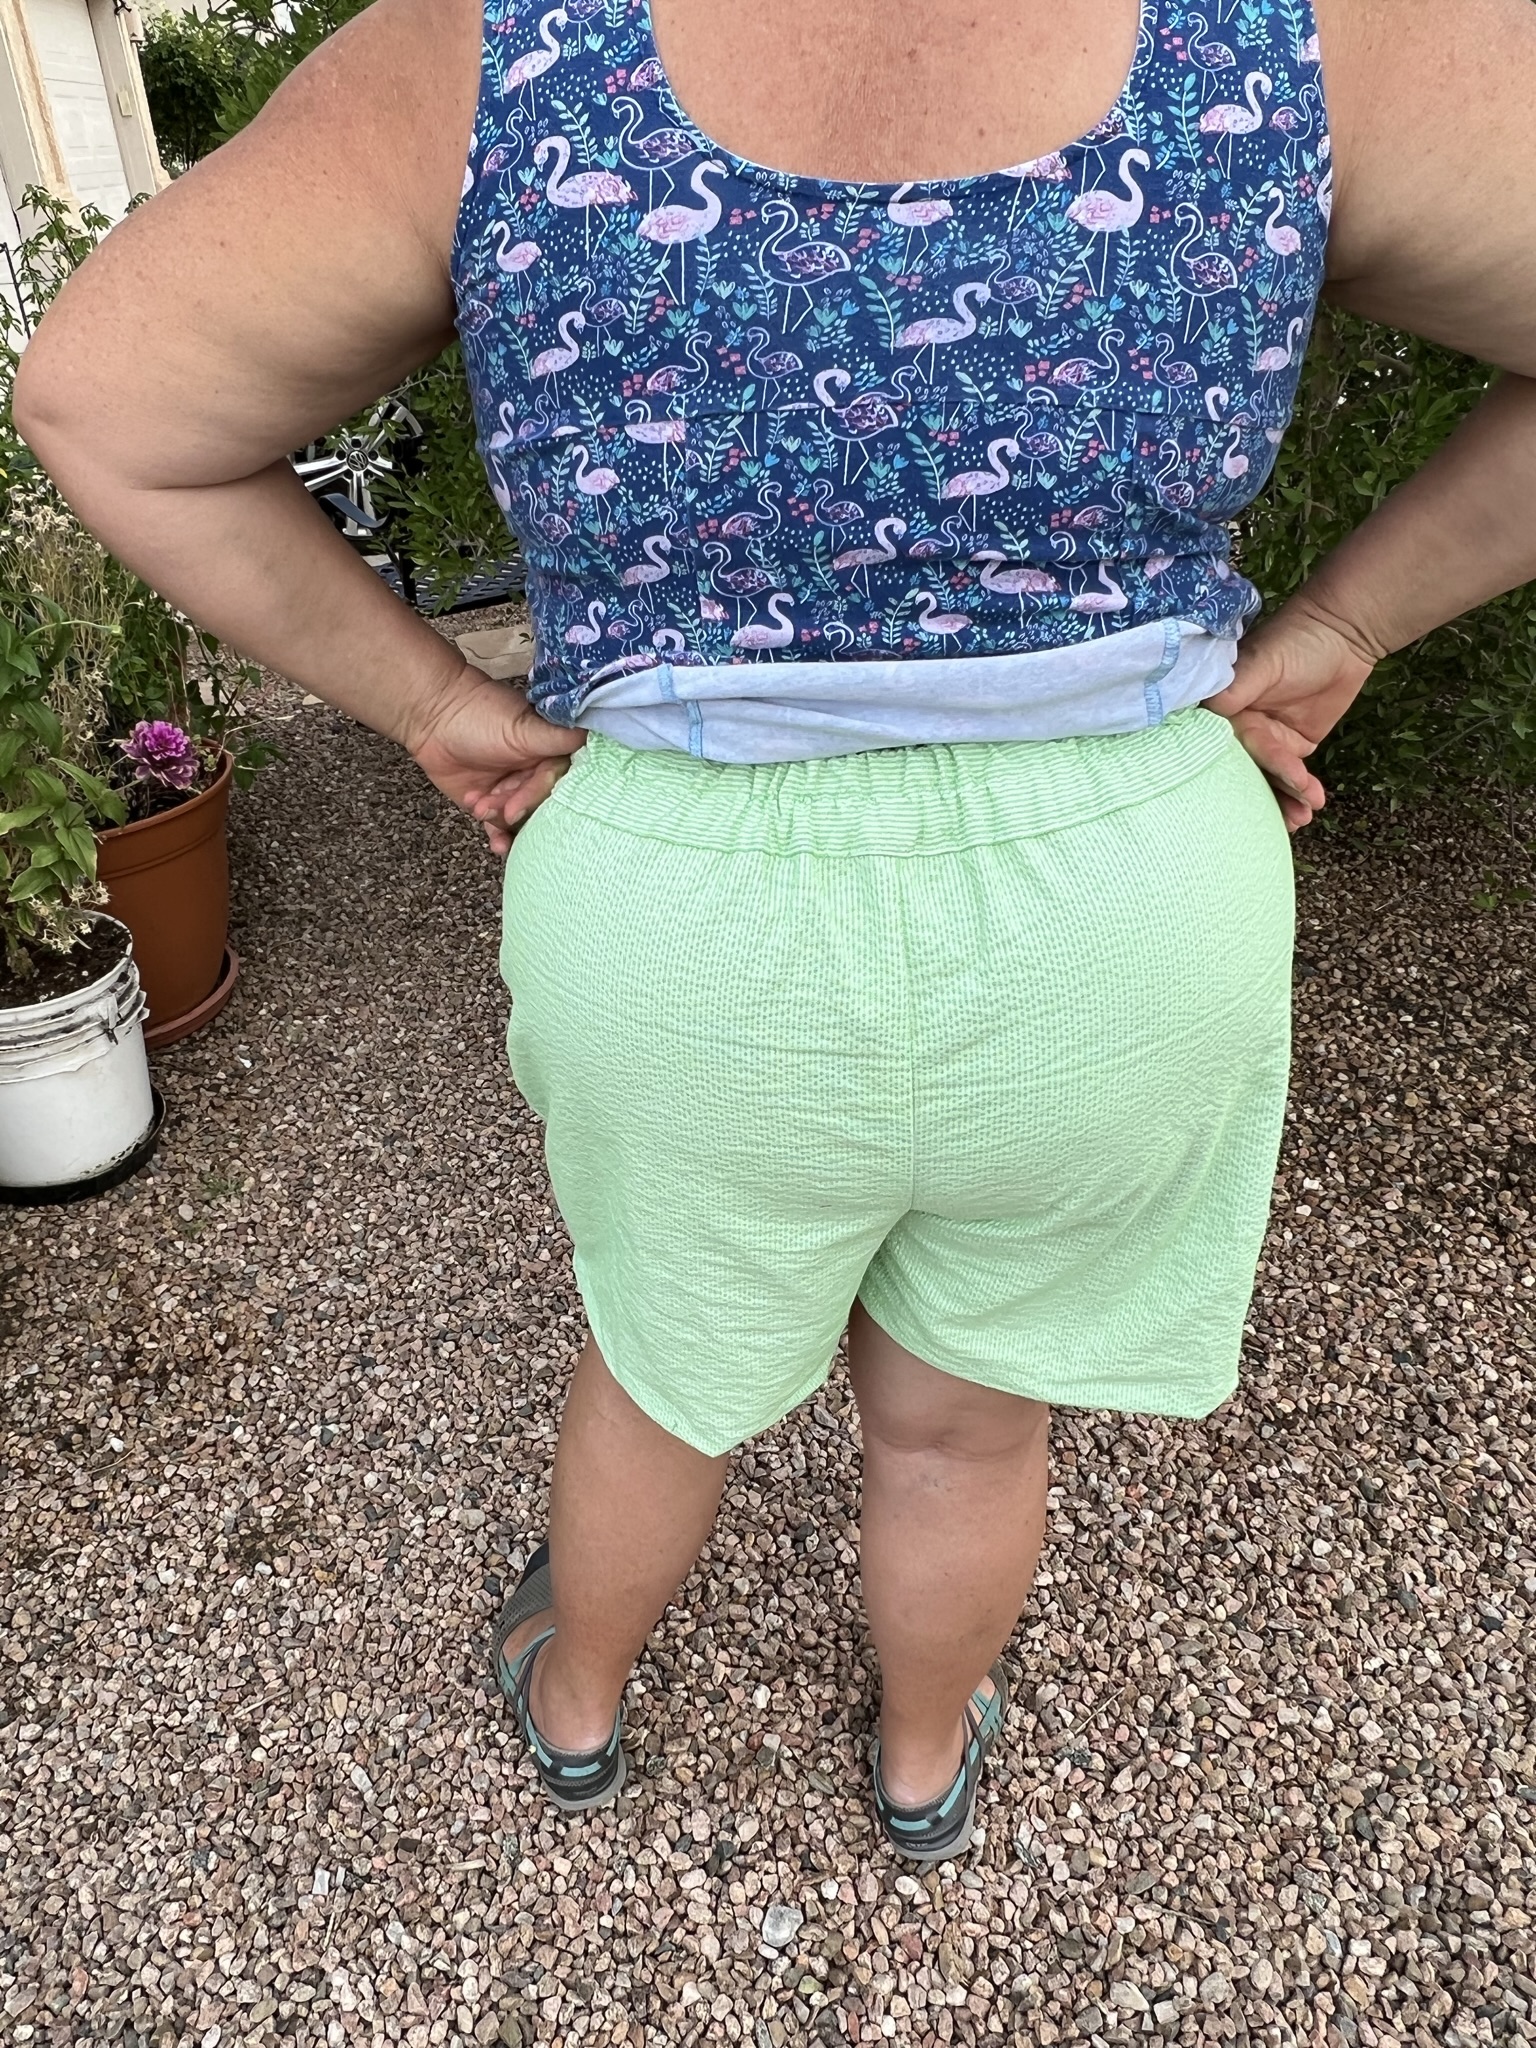
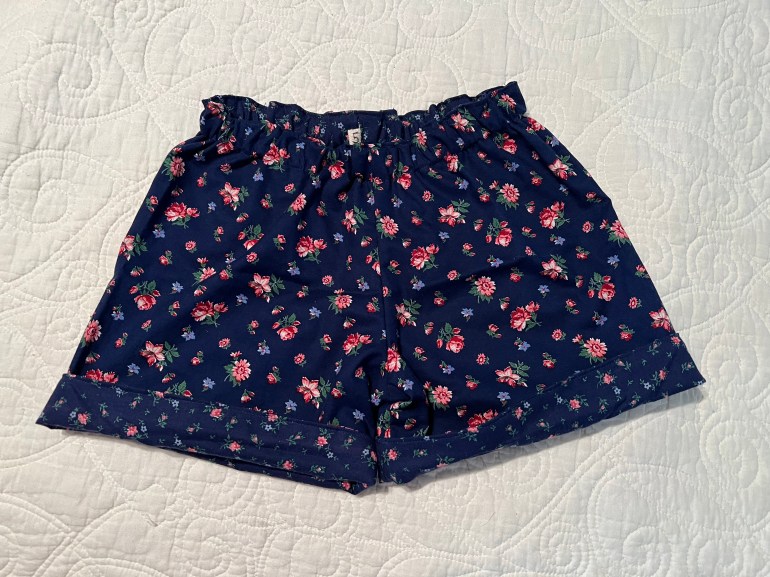
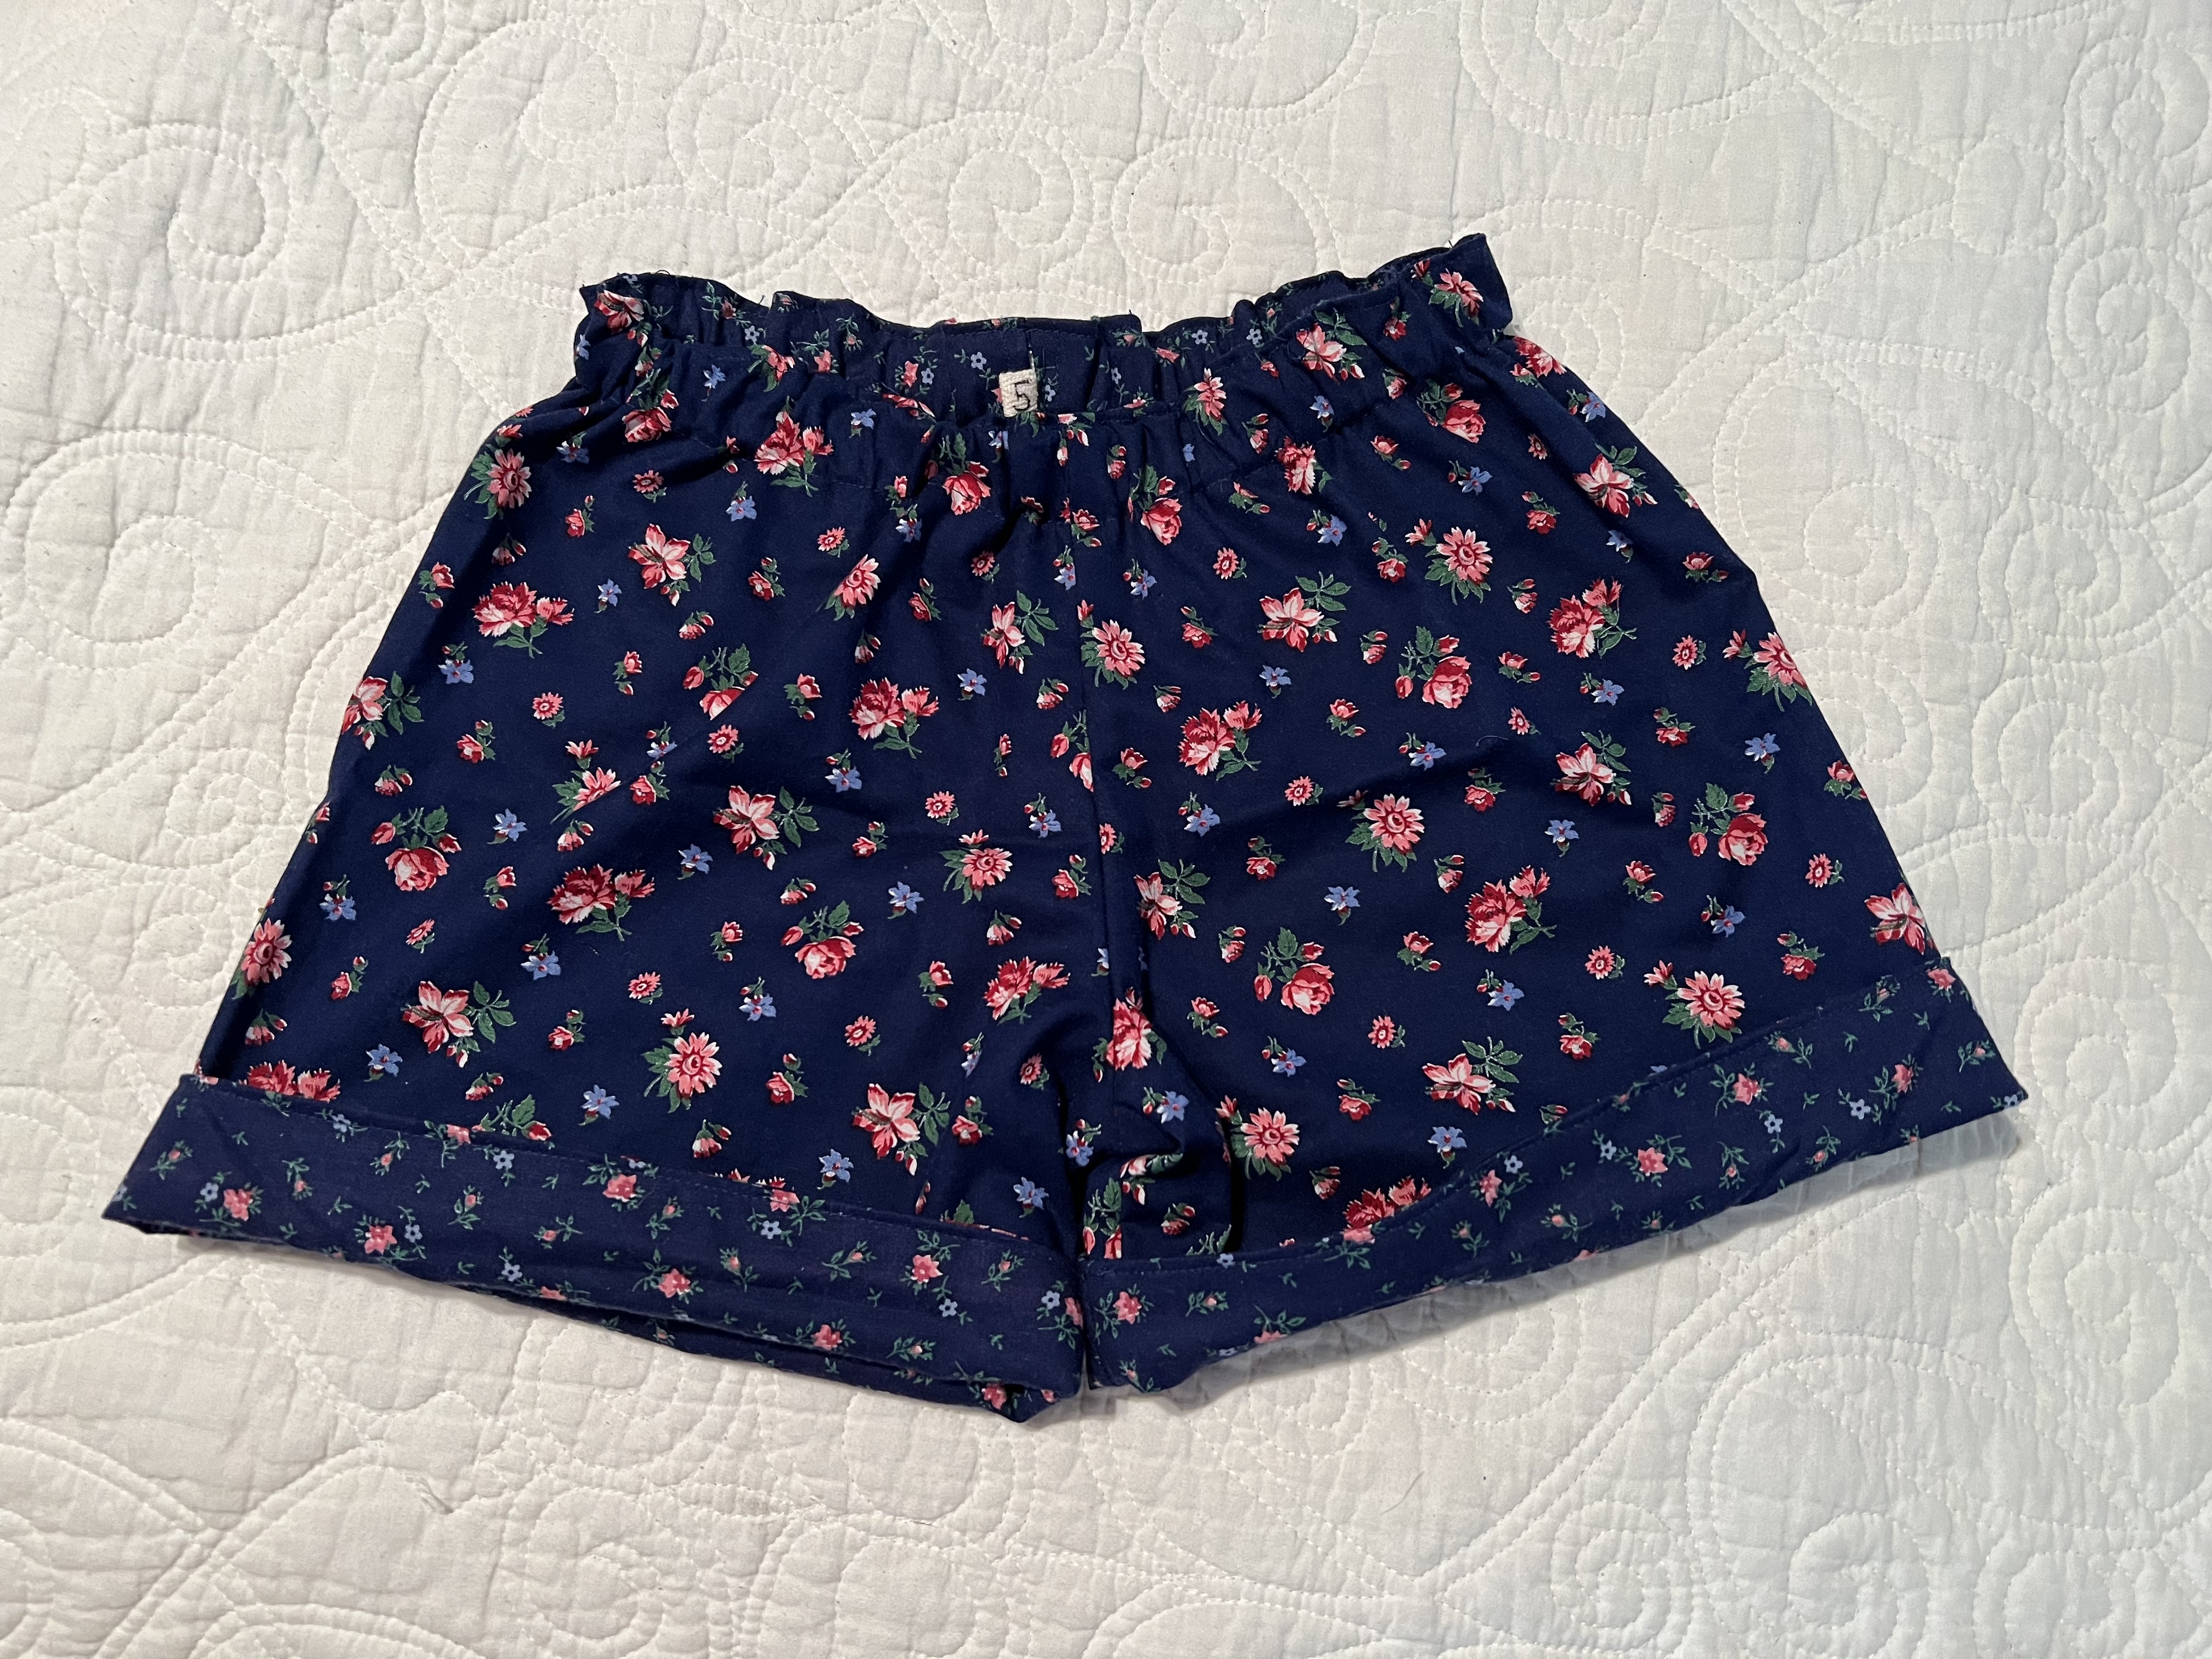
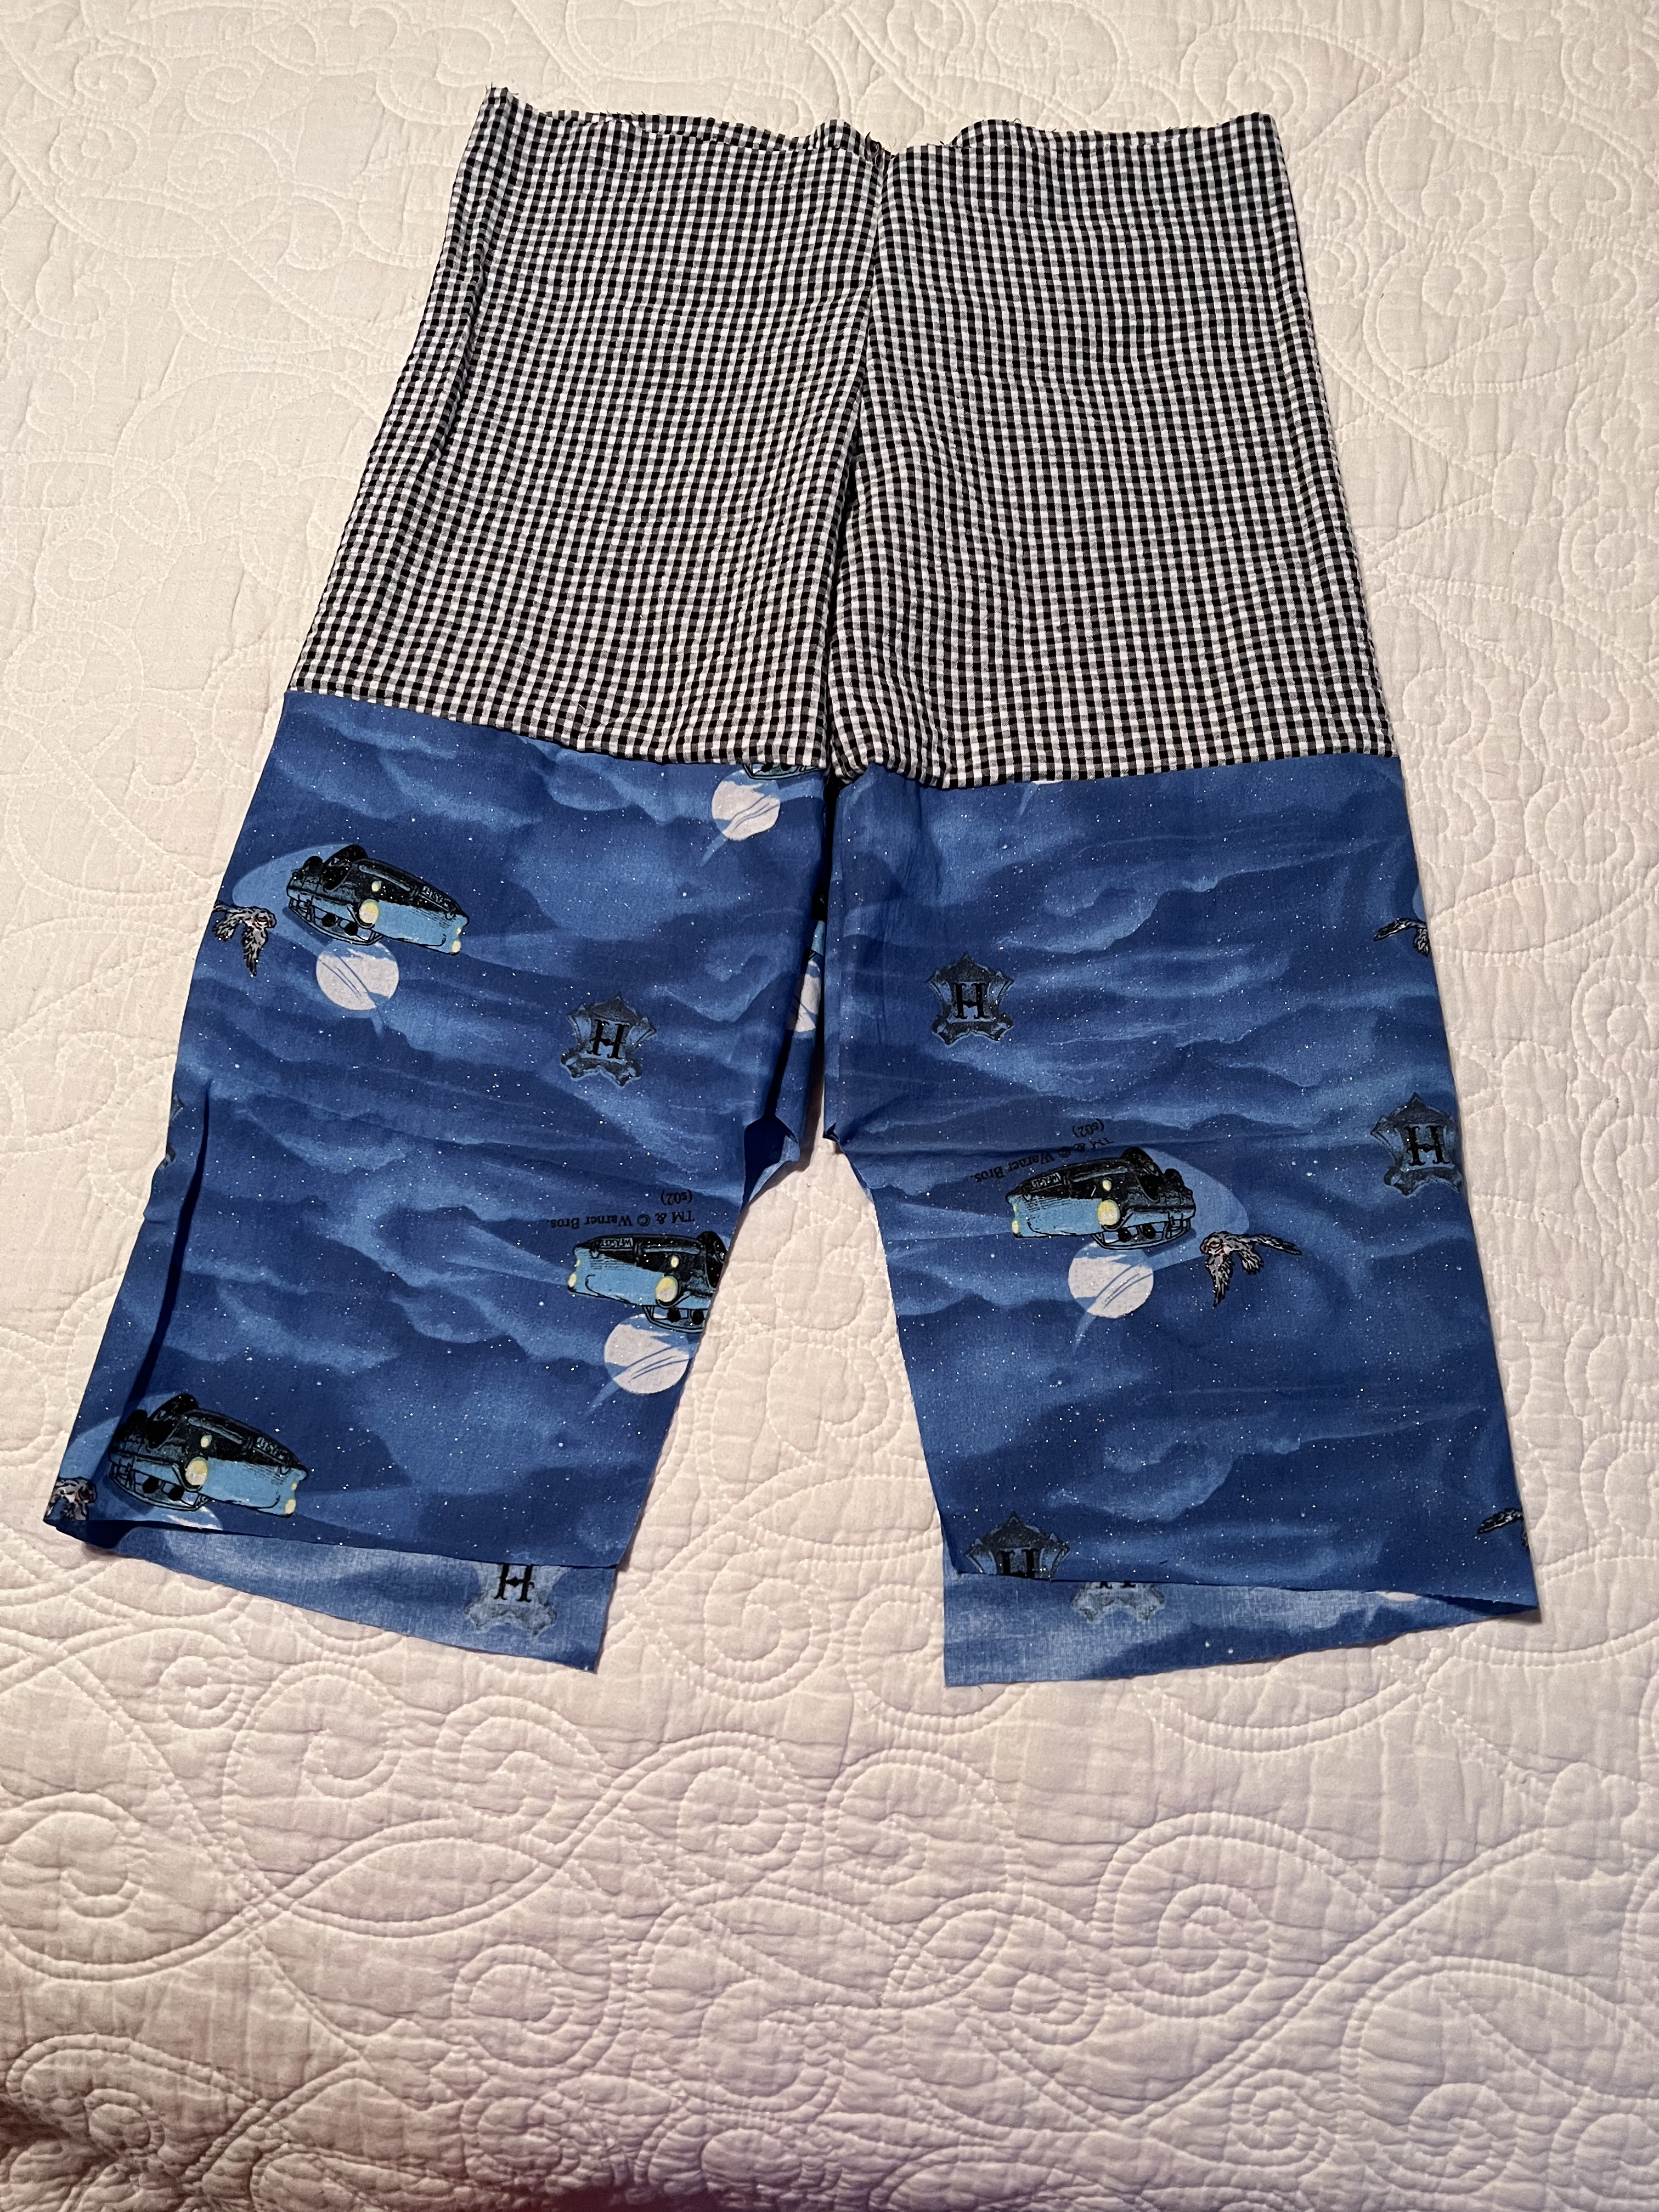
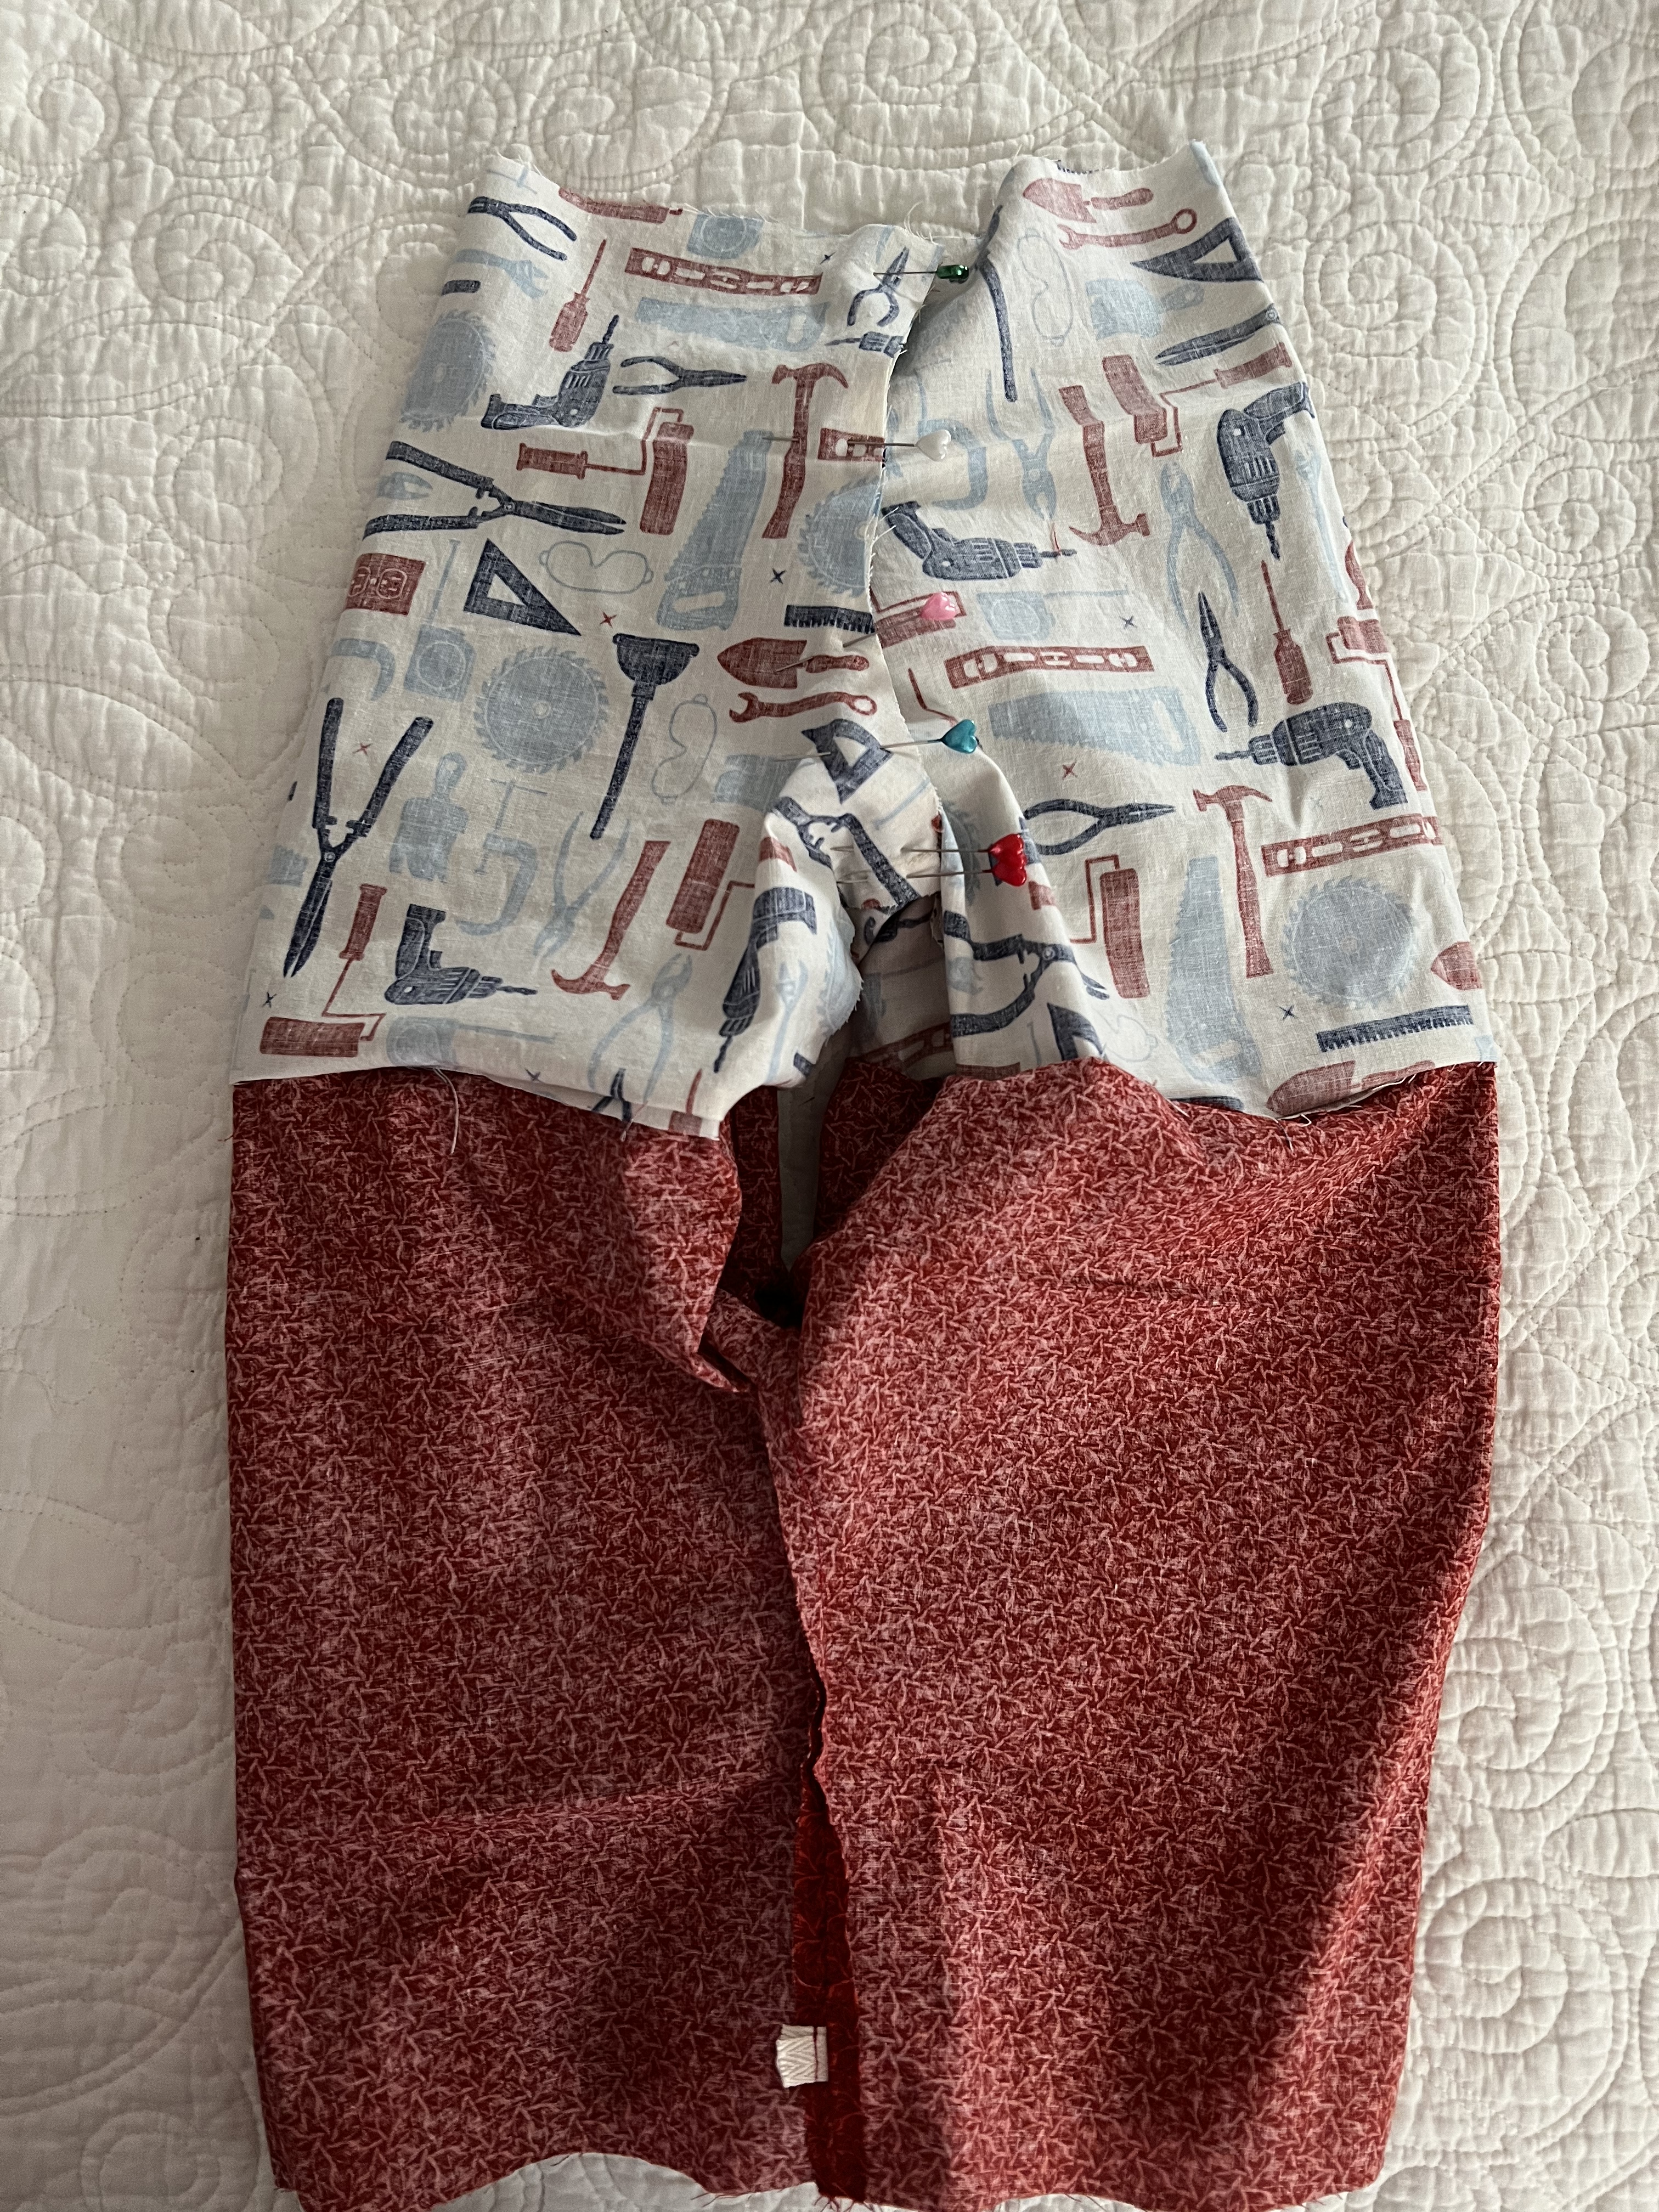
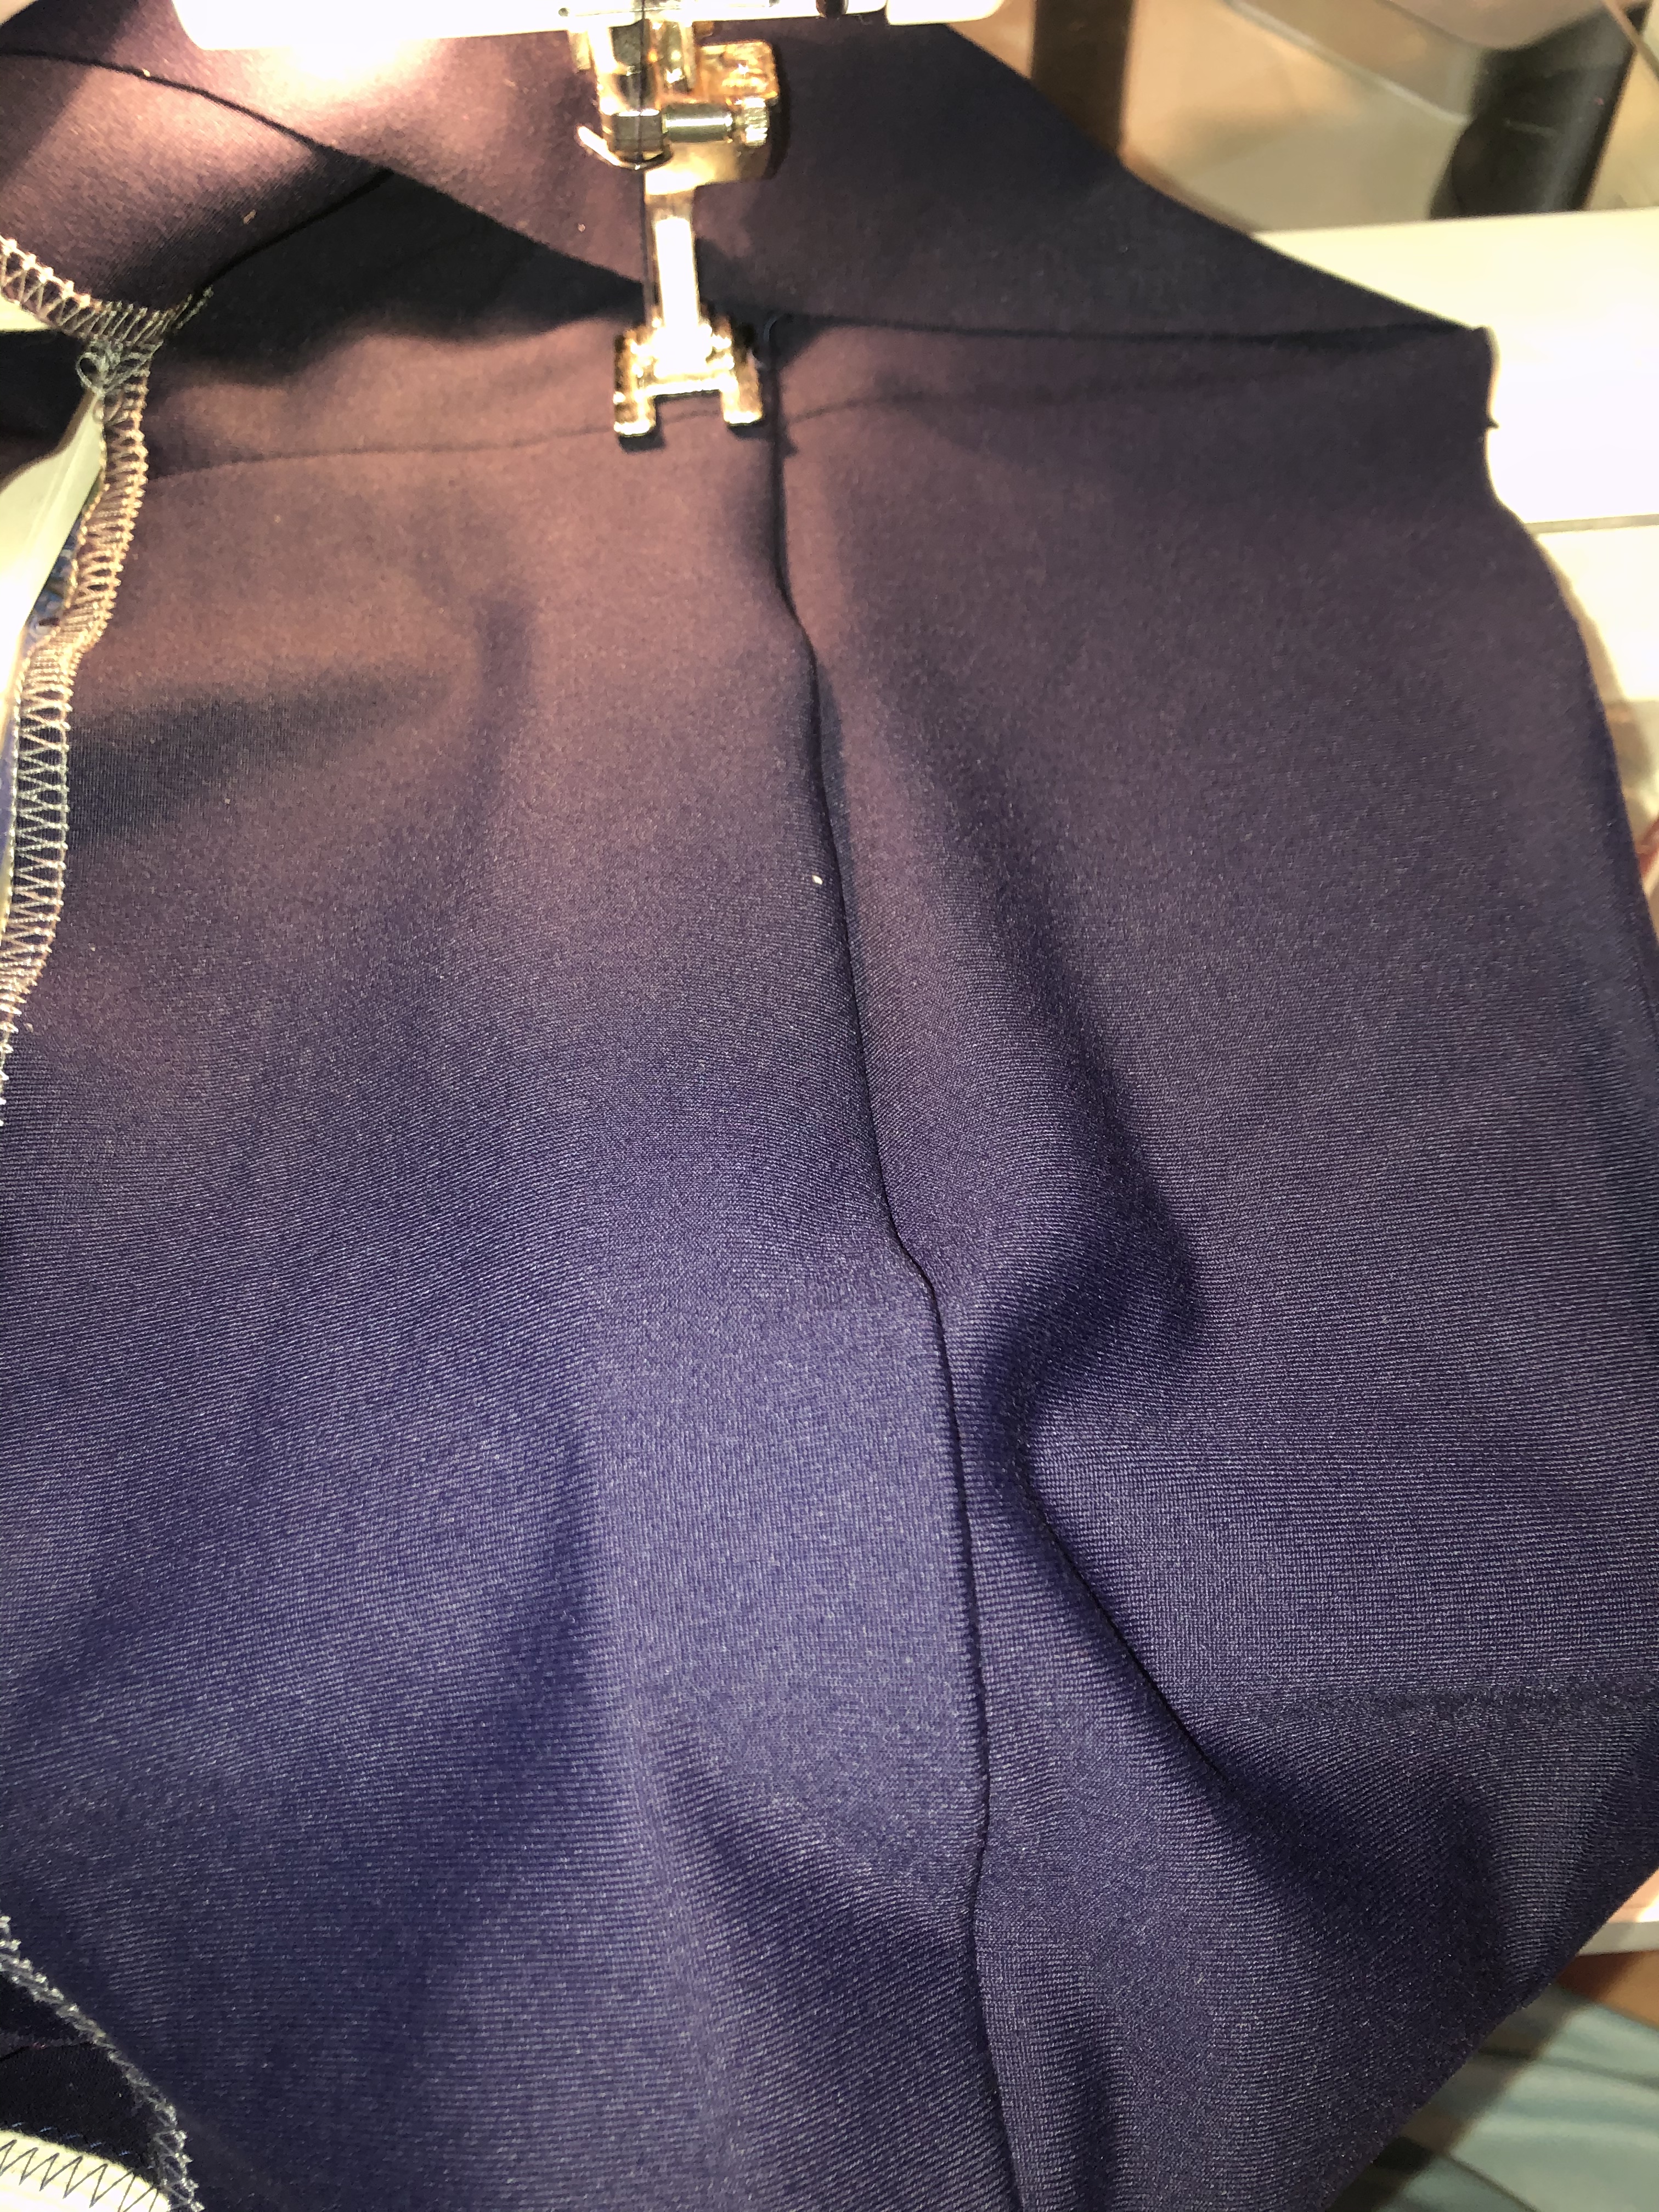
Darts, full belly adjustment and waistband. Since I need more space for my tummy, I bypassed the front dart. I added 1/4 to 1/2 to the center front for a full belly adjustment. My waistline varies a lot (thanks food sensitivities). So I questioned having a fixed waistband. What was I thinking? The shaped waistband worked out to be pretty comfy in a stretch woven. I only interfaced the front sections. On the non-stretch pairs, I opted to cut the waistbands as rectangles, using the wider line as my guide. When stitching the side seams, I left an inch of the inner waistband unsewn. That allows for elastic insertion at a later point. This also could work for someone with a swayback. Since the elastic does the same job as a dart, I opted not to stitch the back darts on some pairs, and lengthen that portion of the waistband accordingly. Since I rarely tuck in my shirts, this is not an issue.

Elastic in the back of this seersucker pair. Allows for breathing room.

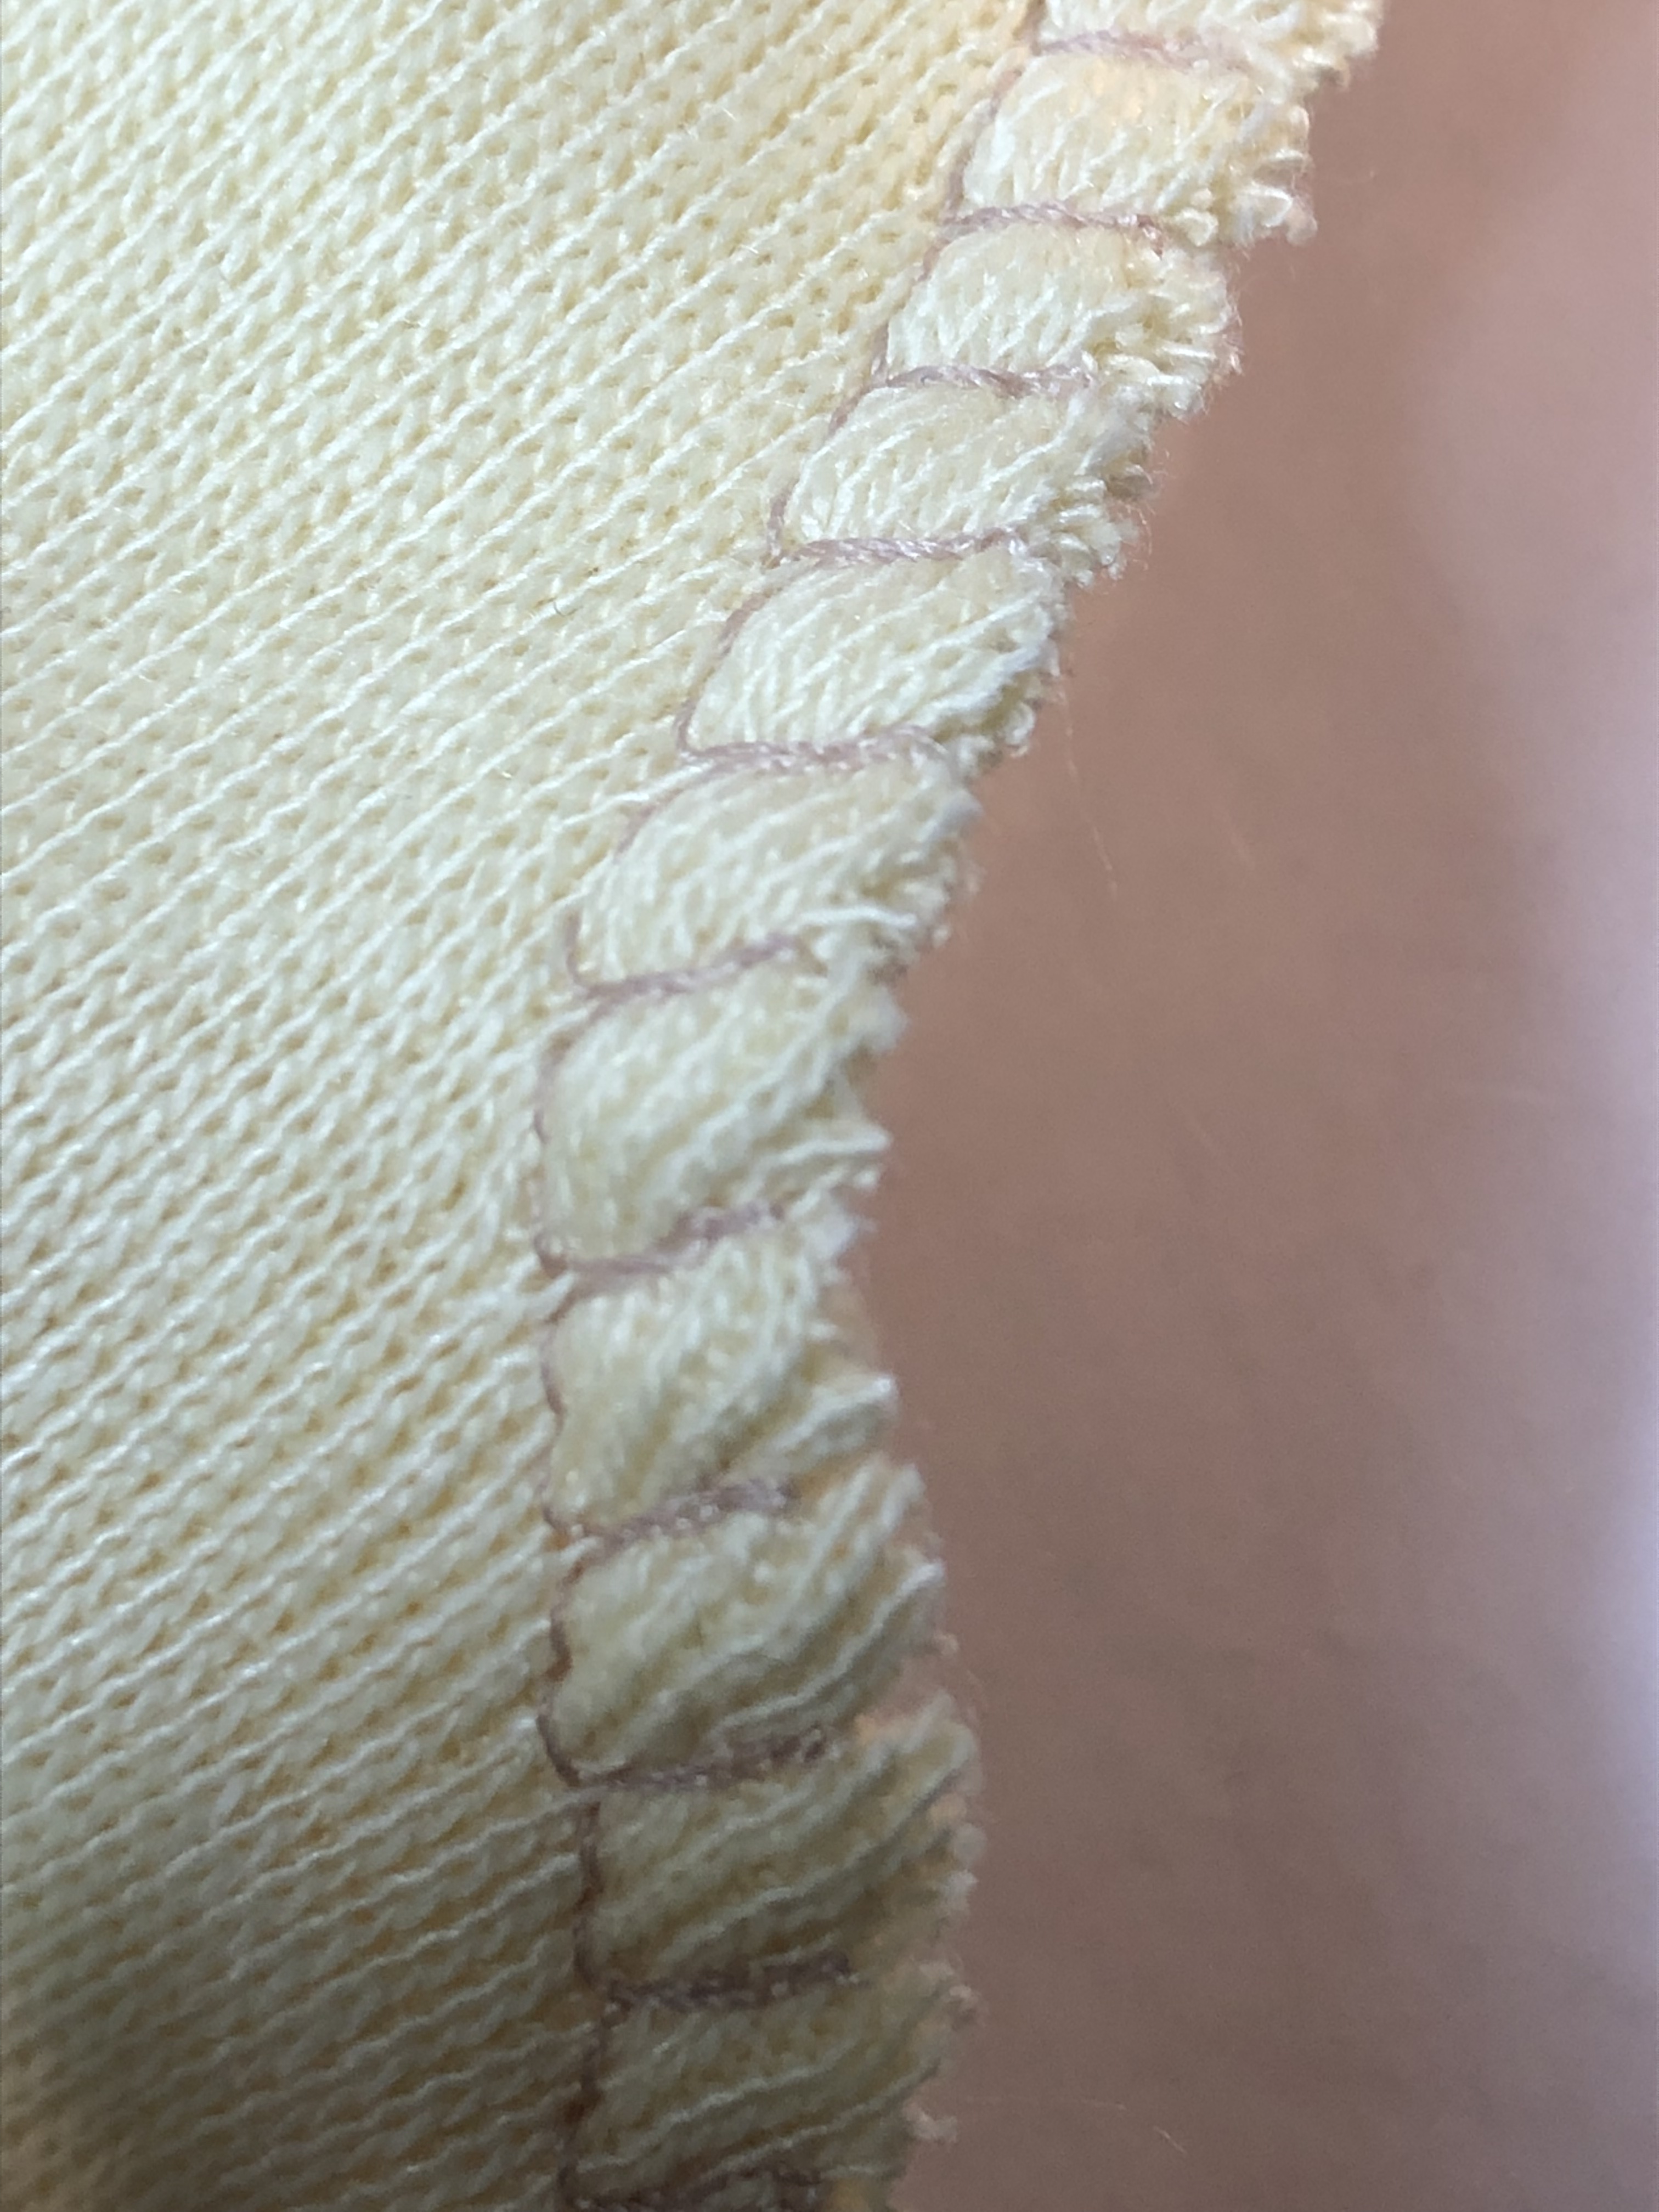
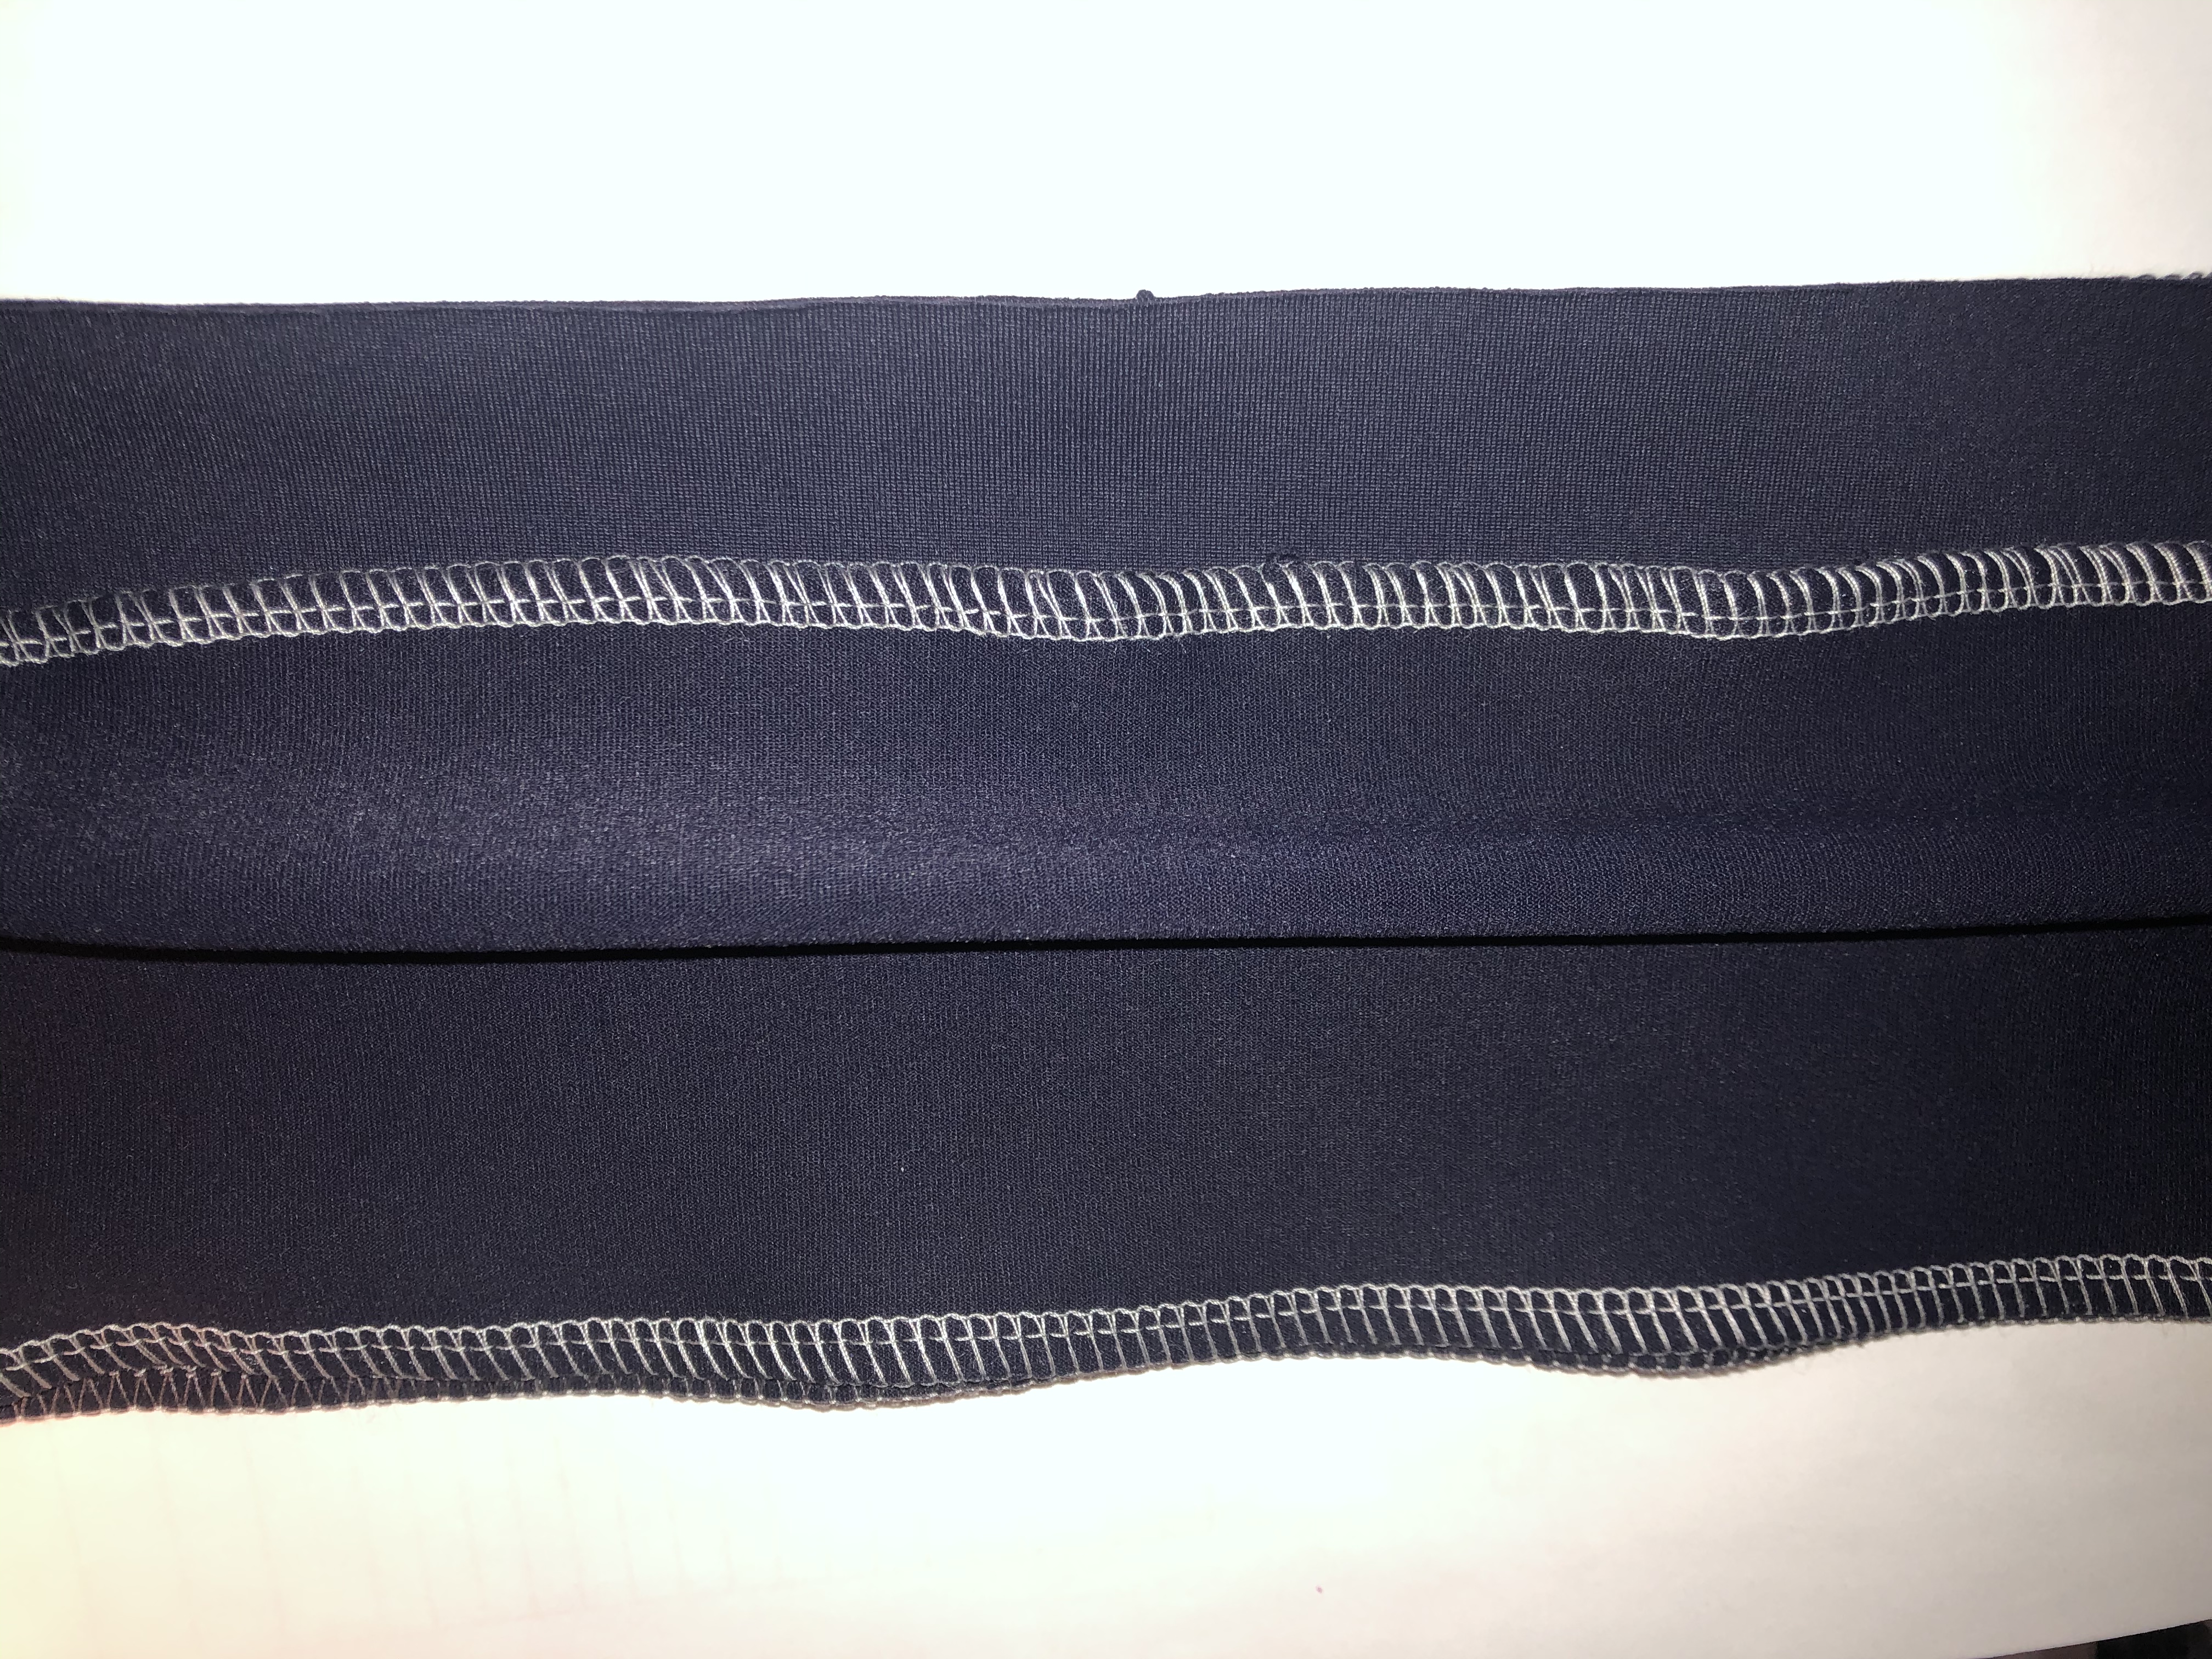
Serging or clean finishing the inside edge of the waistband allows for a different technique, and tidy top stitching. More on that in a later post.

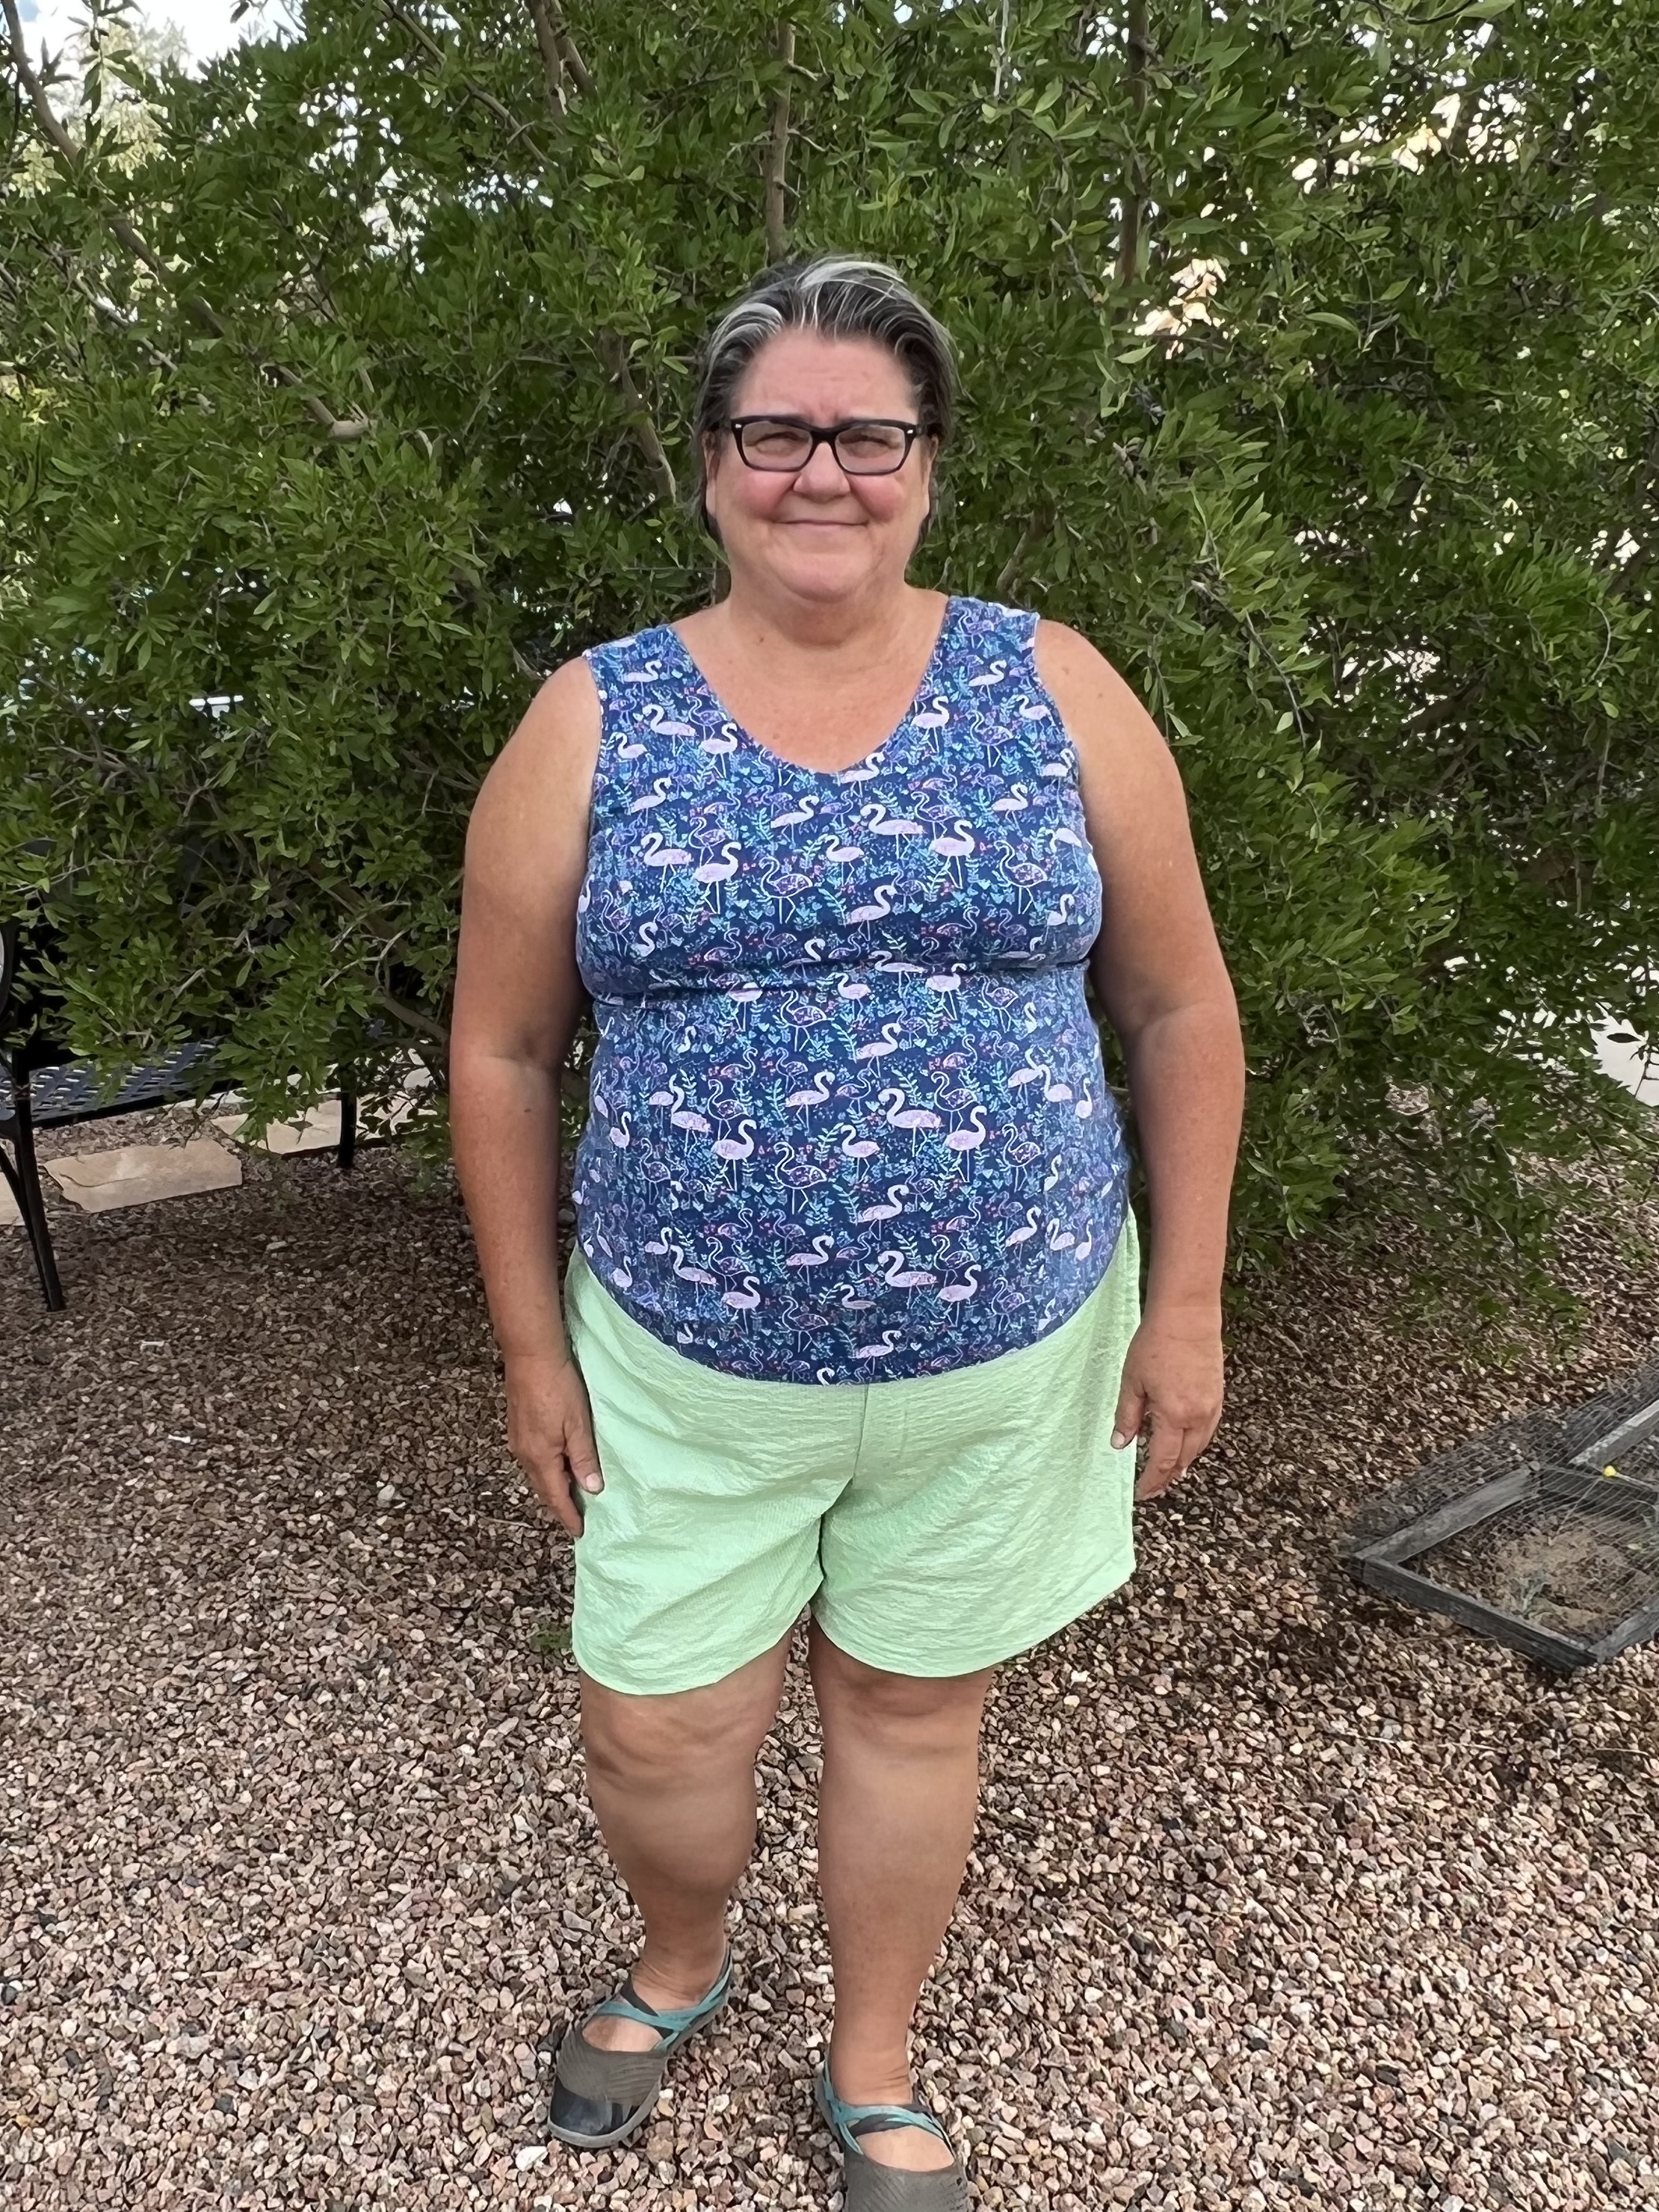
Oh, fit! 5oo4’s tinfoil method is genius. There are flexible rulers that are also helpful in determining your personal crotch curve, then adjusting out from there. I projected the curve from some favorite pants on to this pattern, and made those adjustments to my Chelsea’s. Plan on making a couple practice pairs. Both for the fit and trying out some of the cool details.

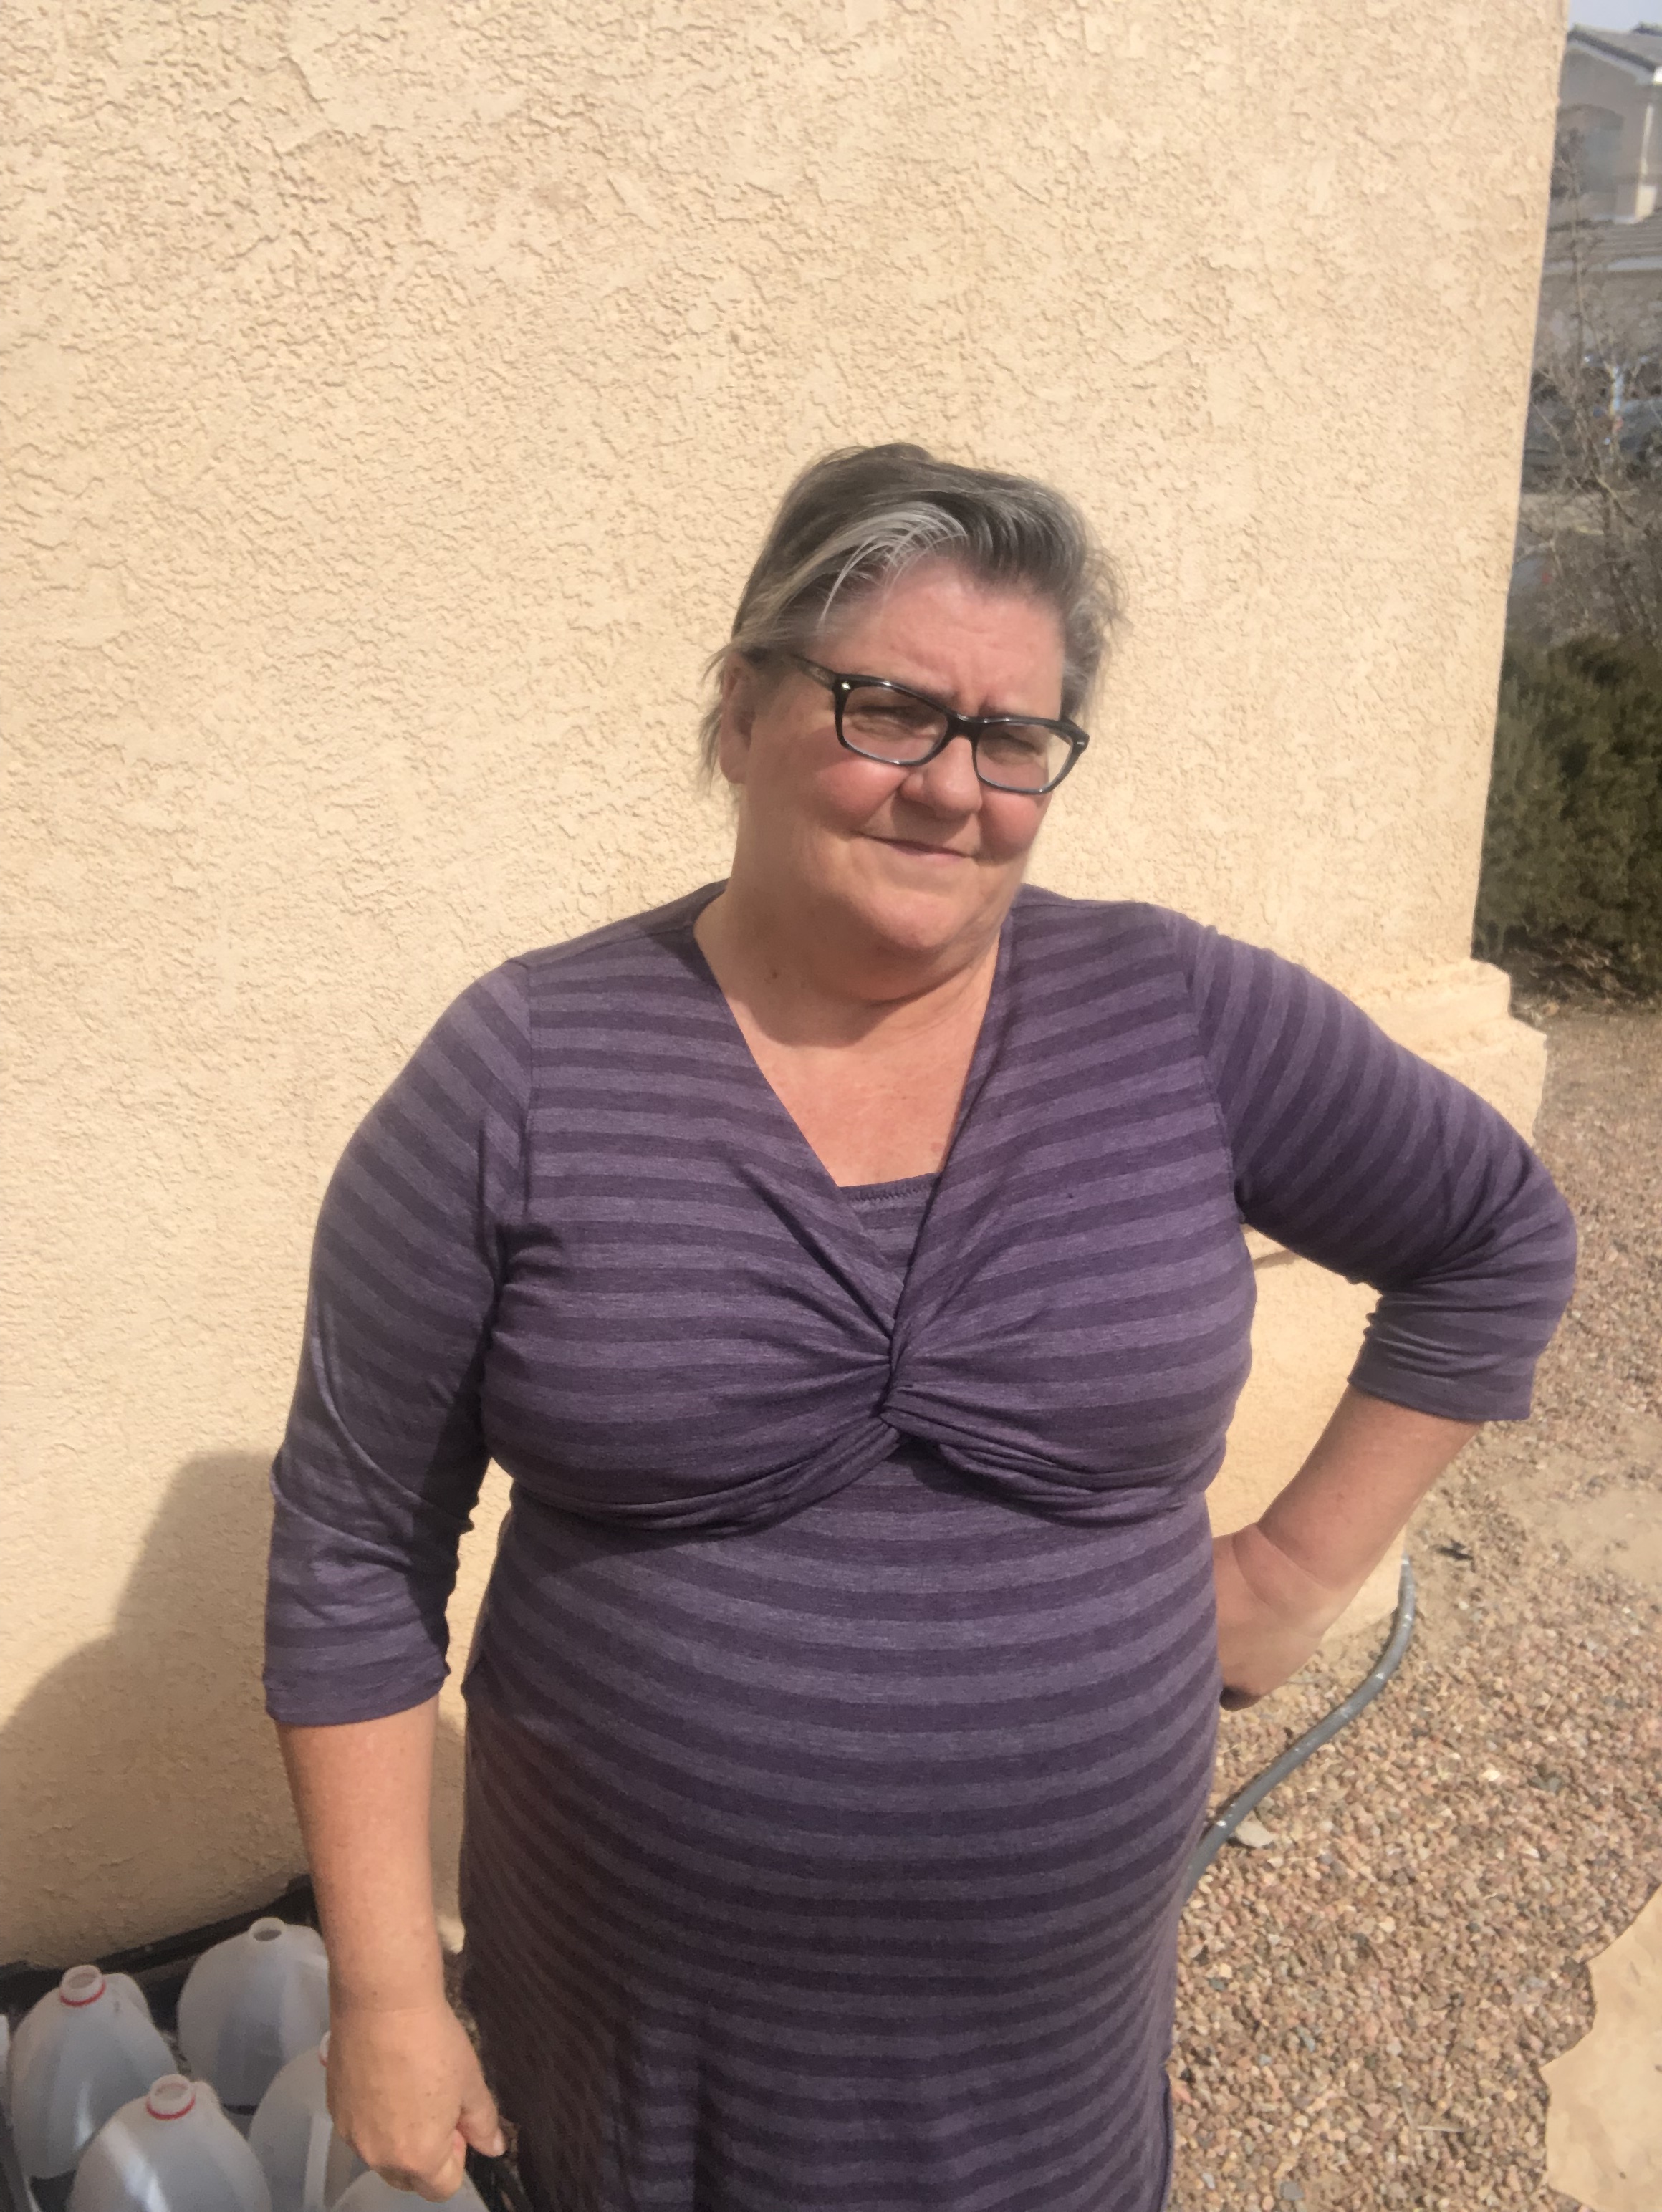
Small tweaks make a difference. On the fourth pair, I ended up shortening the front leg about 3/8 inch in the center, tapering to zero at the side and inside leg. They do not have the front pulling that this pair does.

In summary, I completely recommend this pattern. Once you pin down your fit, you can make them in different lengths, add belt loops, choose your options. A classic well fitting trouser? Yes please!

This post contains affiliate links, your purchase means the pattern designer may send me a small monetary thank you. I appreciate your support. Happy sewing! Joan

Reversible Shorts

The last 7-8 years our local sewing guild has been sewing outfits for the first day of school for local first graders who are experiencing homelessness. This year, I had a mind explosion about sewing reversible shorts.

It took one late night/early morning thinking, a lot of seam ripping and looking on line, but I came up with a plan for me to sew multiple pair of reversible shorts with quilting fabric and novelty fabrics in my collection.

I will try to show you how I made them here.

About pattern choice: Simple is better. For your first pair, skip the pockets. On this pair of size 5 shorts, I eliminated the side seam by overlapping the pattern at that point by the amount of the seam allowance. I used the free kids woven PJ pants pattern from 5 out of 4. The adult pattern is here. I have not tried it “reversible” yet, but love the regular version.

Fabric Choice: Choose two similar weight fabrics that are fairly light weight, opaque, and work well together if the inside shows a bit. If you use a fabric that is the same on both sides, take extra care to make one left and one right leg. It would be really easy to end up with two left legs with a solid or yarn dyed fabric. A print that is clear on one side will make it simple for your first pair. Fold each fabric right sides facing in, and stack them, so that you cut all four layers at one time. Having the pieces as close as the same as possible will give you a better end product.

Pattern alterations: No casing to fold over and sew means that we need to fold over the casing amount less a seam allowance all along the top of the pattern.

Construction:

1. Sew the inseams of all four legs first. Press one set to the front leg, and the other set to the back leg. That way these seams can nest both at the crotch curve and at the hem.

2. Sew the crotch curve of the inside layer. Starting at the top of the backs, mark 1/4 inch from the top, and an inch from that. Sew the first quarter inch. Skip the inch, then sew the remaining crotch curve. Take care to secure the end and beginning of your stitches here. The skipped inch will be the opening that we later use to thread the elastic. A note about crotch curves: sew this area with a shorter, or more secure stitch. Triple stitch or wobble stitch (zig zag set at 2 long and 1 wide) will bear the stretch of the fabric at the bias points, and prevent popped stitches. You can also sew this seam twice if desired. Since the shorts will be “lined” it will be hard to get to this seam later.

3. Reinforce the opening, by pressing open the seam at the back. Top stitch down one side, just past the opening, and back up. This will keep raw edges from popping out of the opening later. In the photo, we have sewn down one side, over and are just ready to sew back up to the top.
4. If you plan to insert a label, now is the time.
5. Opening from the right side of the shorts with the tag tucked inside the opening.
6. Peek-a-boo tag!

Leg Hems – two at a time.

7. Leave the crotch curve sewn shorts right side out. Slip the corresponding leg of the other side right sides in over the first. Nest the inside leg seams and sew the circumference of the hem. Repeat for the next leg.
8. With the sewn set left as is, pull each leg away from the main shorts body. Press the seams you just made to one side or the other.

9. Tuck the loose leg inside the shorts, press the hemline so that the seam you just made is on the edge.

10. Edge stitch around each leg to secure the hemline.

Hems – one leg at a time. Further clarification.

Left photo, Flames are right side out, tools are right side in. Slip corresponding leg over so that right sides are facing, and you are sure front is matched up to front. The crotch curve is a great indicator. Sew the circumference of the hem line. Bring the single leg around so that wrong sides are facing, carefully press the seam you just made to the very edge of the inside of the hem, and top stitch.

Second Crotch Curve – two ways.

11. Pull the layers apart so that the right sides are facing. Pin the front and back crotch curves. Sew, with a secure stitch (remember that crotch curve bias) the front crotch curve then the back crotch curve. Make sure your seams overlap nicely at the inseam. Alternatively, I start the crotch curve at the center back, and just pull the fabric through, making sure to not stitch any additional layers, just the the crotch curve. When you are making these in multiples, or this is your 3rd of 4th pair you may feel more comfortable with just starting at one edge of the crotch curve and sewing. See photo below.

Who is ready to sew the waist seam?

After your shorts are straightened out so that wrong sides are facing, and they begin to look like a real pair of wearable shorts, we will sew the waist seam. I will show you two ways.

Burrito Method

12. Roll up the legs of the shorts and wrap the back of one layer around to meet the back of the second layer. Pin the centers together, with seams open and as far as you can to either side. Make double sure that all the extra layers are pushed down and out of the way of your seam.

13. Start sewing just before the intersection of the seams, so that they are included in this waist line seam. It will seem like you can only sew a few inches before you run out of fabric. Unfurl the rest of the shorts as you go. The remainder of the waist line will reveal itself as you go. Sew across the front crotch seams on the waist either opening those seams as you go, or nesting them.

As you get to where you can see the point where you started, stop sewing about 3-4 inches before that spot to leave an opening to turn your shorts right sides out. The right two photos are an “L” seam. It makes for a super sturdy opening for turning and eliminates those loose threads.

Waist seam Alternate Method.

13. If you do not want to take the time to burrito your shorts, and your shorts are still wrong sides together, you can just flip the back sections. One clock wise and the other counter clockwise so that the right sides of that section are facing each other. There will only be a few inches that seem to work to sew together. Sew those, then pull the fabric from the center of the shorts, exposing more raw seams to sew together along the waist line. Be the boss of the fabric here. Consider sewing this seam with a longer stitch in case you need to remove it later. Half way around, you will run into the front seams. .

14. Match them up right sides together and either nest them or open both and keep sewing. You are able to sew the entire circumference of the waist seam in this fashion. Please stop short of doing that – about 3-4 inches short of completing the circle. This way you will have an opening to turn the shorts right sides out.

15. After you have turned your shorts right sides out, edge stitch around the top waist band. Pressing might be your friend here. Tuck in the raw edges of the opening and align them as close as you can. This seals the opening, and no one will notice it. Then make another seam one inch away from the edge. This forms your casing. Using the opening you created in step #2, slip the elastic through the casing and secure. A heavy duty safety pin or bodkin is useful here. I used 3/4 inch elastic for kids size 5 shorts. You can slip stitch the elastic opening closed if desired.

Think about top stitching with coordinating threads in the top and bobbin.

16. Congrats! You did it!

Tips: Start simple with a kid size and quilting fabric in similar hues, so that the thread in your top and bobbin will work with either fabric. Be sure to prewash and dry all fabrics used. Use single side printed fabrics for your first pair. Try a longer stitch length of 3. That is easier to take out than 2.5. Add strength to your crotch curve. Triple stitch or add a little width to the seam at the bias edges.

Want more reversible clothing? We sewed Tie Dye Diva’s Potato Chip Skirt pattern a couple years ago, that lead many of us making Chocolate Chip Skirts for our selves, and Puperita’s Baa Baa dress the year before that. I love sewing reversible!

This post may contain affiliate links. I thank you for using them. Happy sewing! Joan

Knot your average top – cute and cropped

Love a top with a twist. The plot thickens a little more with this version.

Today, I am writing about one of my very first PDF patterns. This one that was similar to a favorite ready to wear top I found at a high end department store on vacation. It was my very first 5 out of 4 pattern, and I was really curious how it was made. The rest of my PDF journey has been a blast! You can find the pattern at my affiliate link here.
This version was made five years ago. Compliments every time I wear it!

When teaching a KYA class locally a few years ago, we talked about how cute the pattern would be if it were shortened to a shrug length. It really looked amazing on all of my students, and was perfect for my daughter in her nursing days, so today, I tried it! I used the Front Top Piece and a shortened back piece. Hemmed the back to match the front on the sides. Easy Peasy!

Added a band to the neckline of the light pink version.

The next fabric I chose is a very lightweight rayon spandex. I wanted a sturdy edge for the neck and hem, so I cut a pair of two inch tall strips as wide as the width of fabric in order to make a band that firmed up the edges of the garment. It was a quick and fun sew, and I have enjoyed wearing it over my Virginia tank all day. You can make one too!

Make the back as short as you like.
  1. Determine how long you would like the back piece to be. I chose to have a back piece that was 7 inches from the arm pit corner of the back piece down the side. I did not cut the back straight across, I curved it down so that the center back was a little more than an inch longer than the side seam. Trace a new pattern piece, and get help holding it up to see if it lands where you would like it.
  2. Stitch the shoulder seams.
  3. Serge the first band (folded in half hot dog style) to the neckline of the top. leave 3-4 inches of the band unsewn . Partial seams can be useful. Stitch across the front diagonal edge , round the back of the neck, and back down across the other front diagonal. Rather like a wrap front. I held the band slightly taut, and had a few inches left over on each side. There is probably a ratio for this, maybe 90-95%. Except, I did not serge the band all the way to the edge. I stopped short about three to four inches from each end.

You can find more on partial seams at this post about the wye seam.

Partially serged neckband.
  1. Top stitch the band around the neck, except start and stop a couple inches from the serged seam. I used a triple stitch.
  2. Neatly finish the long straight edge of the Front Top Bodice, mark the halfway point and two inches towards either side of the half way point.
  3. Same as the pattern instructions, fold one of the Front Top Bodice pieces in half and sew the seam from the open edge towards the folded edge. Stop two inches before you get to the fold of the fabric. Secure your seam. I used a triple stitch but a lightening or narrow zig zag will work here too.
  4. Slip the other Front Top Bodice piece narrow end through the hole that is created, and fold those right sides together and sew a seam from the open ends to the marks you made that are two inches from the center. This creates the twist.
  5. Sew your sleeves to the armscyes.
  6. Pin the sleeve seams and side seams together. You will likely need to gather the front to meet the back. This will vary greatly with cup size. You may prefer to stretch the back to match the front .
  7. Try on your cropped knot top. What do you think of the back length. Too long? Now is the time to adjust that, and mark your pattern. Measure the back piece across the bottom. Cut a 2 inch tall band that is 90-95% of this length.
  8. Carefully, without twisting, sew the short seams of the not quite finished band from the front to one side of the back band, and the other end of the back band to the other side of the unfinished band. Double check that it is not twisted.
  9. Match up the center point, and pin/clip. Match up quarter points and pin or clip.
  10. Serge the back and little bit of side front bands, and complete the top stitching.
  11. At this point, you can hem your sleeves. I had enough of the second band that I cut to add a band to the bottom of the sleeves. I measured the sleeve bottom, and cut my band one inch shorter than that measurement. Seam the short ends together and match up centers, seams, and serge.
Pink cropped KYA with neck/hem band over Cecilia dress.

In a light weight fabric, it will extend the wear of any sleeveless top or dress into a cooler season, or just give you a tad more coverage for modesty or sun protection. A wardrobe extender for sure! Enjoy your cropped knot over a Virginia, Journey, Escapade, Key West, Cecilia, Maria and Taylor, you name it.

The floral Escapade dress in this post is packed away for summer. Cant wait to pair it with the pink version! Or maybe this Jessie! When I get my summer tanks and tank dresses out for warmer weather, I will be looking for the common solids that will work for more cropped knot tops to pair with them!

You no longer need to choose between a top with sleeves or sleeveless! This will soon become a capsule essential that will take you from garden to office! The purple stripes version was serged then hemmed at the neckline, then the back was hemmed after the side seams were sewn. Note the water jugs in the photo are part of my winter sowing experiment with perennial pollinator friendly plants. Happy gardening too!
Pop a KYA crop over any sleeveless top or dress. More sun protection, warmth, modesty, pizazz!

This blog post contains affiliate links. I may receive a small commission from the pattern designer if you use my link to purchase the pattern. Thank you! Happy sewing – Joan

Smooth waistband finish

Spring will soon be here, so better hurry to finish those pants I bought fabric for in the fall!  After making the standard crotch depth adjustments dictated by my flexible ruler, I sewed two pair along side a student who was making her first pair in black. After our first session, the waistband and hems were all that remained to be done.  I thought I would try something a little bit different.  I chose the waistband labeled “contoured”.  The ends of the rectangles were at a slight angle.  Pattern instructed me to cut four. I sewed each pair into a loop. When sewing the last side seam, I  left an inch long gap in the seam.

F5CA686D-1B37-465A-B5D5-D9EB8FC39297

Sew from the top edge to an inch past center.  Skip one inch and sew the remainder of the seam.

The loop with the hole will be your lining piece.  Clean finish the longer edge of this one.

2C40CF7E-C05D-44D1-A2E3-2F390B1360C0

The waist band lining is the loop with the gap.  Finish the bottom (longer) edge of that loop.

Sew both loops right sides together at the top edge (the shorter edge).   Measure a length of elastic around your waist, where the top of the pants will go.  Make sure this is tight enough to keep your pants up, but not so tight to be uncomfortable. Sew it in a loop, and mark the half and quarter points.  Mark the half way points between the seams on your waist band.

F589156D-9B05-443A-9954-D6D3C2014CDE

After the two loops are sewn together (rst) around the top edge, attach the elastic to only the seam allowance with a stretch stitch.  In this photo, I overlapped 1/4 inch and zig zagged.

You can see in the photo above that I used grey serger thread.  In order to keep the lighter thread from showing on the right side, I added a short narrow zig zag in a thread that more closely matches.

F79BDC34-4B00-4543-9DD9-33787A56D4A9

Elastic in any width can be used. This is 1 inch wide, and slightly longer than the fabric waistband. This causes a little rippling on the hanger, but is smooth and comfortable when worn.

Fold the elastic towards the lining piece of your waistband and stitch it down to the lining with a wide serpentine stitch.

40F7F8F6-E800-467F-A2C3-7FD89DC07FE0

Elastic needs to be secured to the lining.  In a big understitch fashion, using the widest serpentine stitch, I sewed the elastic to the waist band lining in two rows.  From the inside it looks like this.

C74D4358-FFC9-4BB3-8307-60A428F7C2AC

From right to left, zig zag stitch that secured the elastic band to the seam allowance, first row of serpentine, second row of serpentine.

Pin or clip your waistband in quarters, attach the right (unfinished side) of the waistband to the right edge of the pants, aligning the side seams.  Divide these sections in half again and pin or clip.  Stitch the waistband to the pants with a stretchy stitch and a half inch seam allowance all around the circle.  I was surprised at how much easing was needed.

1EC1EADD-9091-4AE3-BBC3-230337F7B0AC

With the seam you just made tucked up under the waistband, lay the facing over top with the previously finished edge down towards the pants.  Pin so that the seam allowance is secured and pointing up.

2AA3BBAF-765B-44F6-9449-D15A0F45EAE0

With the seam allowance tucked under the waistband, lay the lining over top, and pin around the circle through the seam allowance.  Flip  the pants over and top stitch along the bottom of the waistband.

9D003221-4E41-4059-BBAD-8106F87877B2 
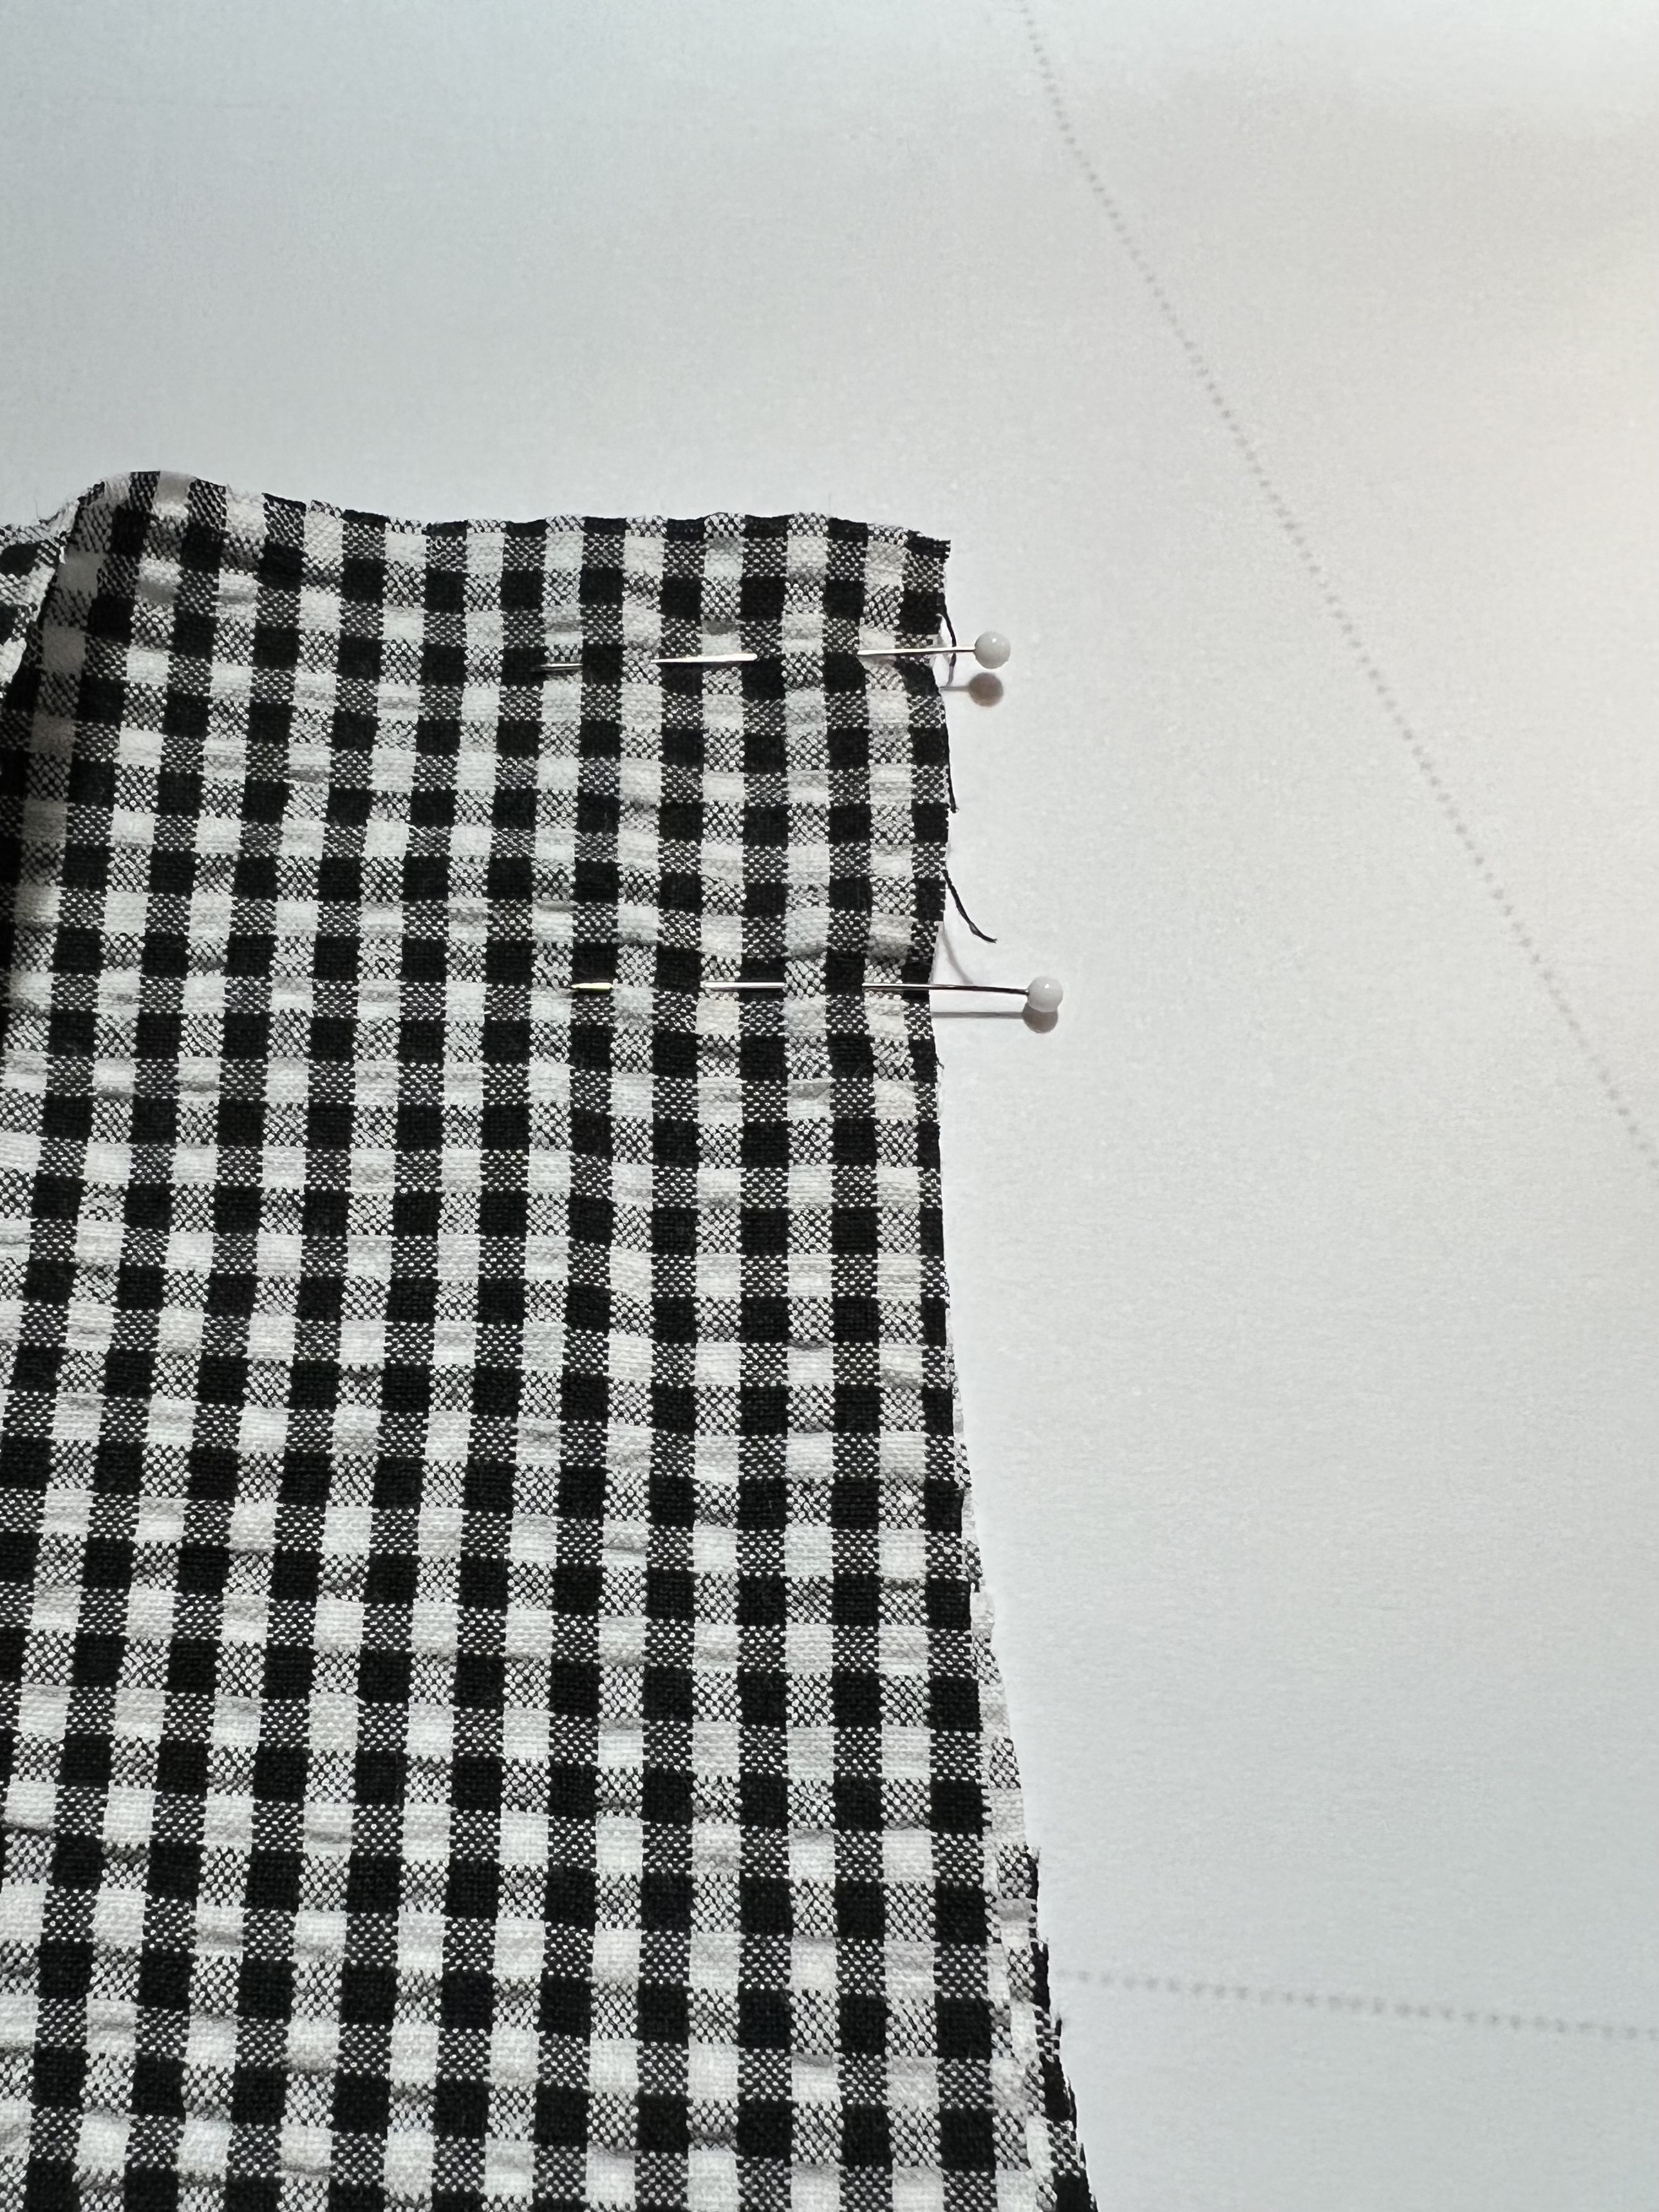
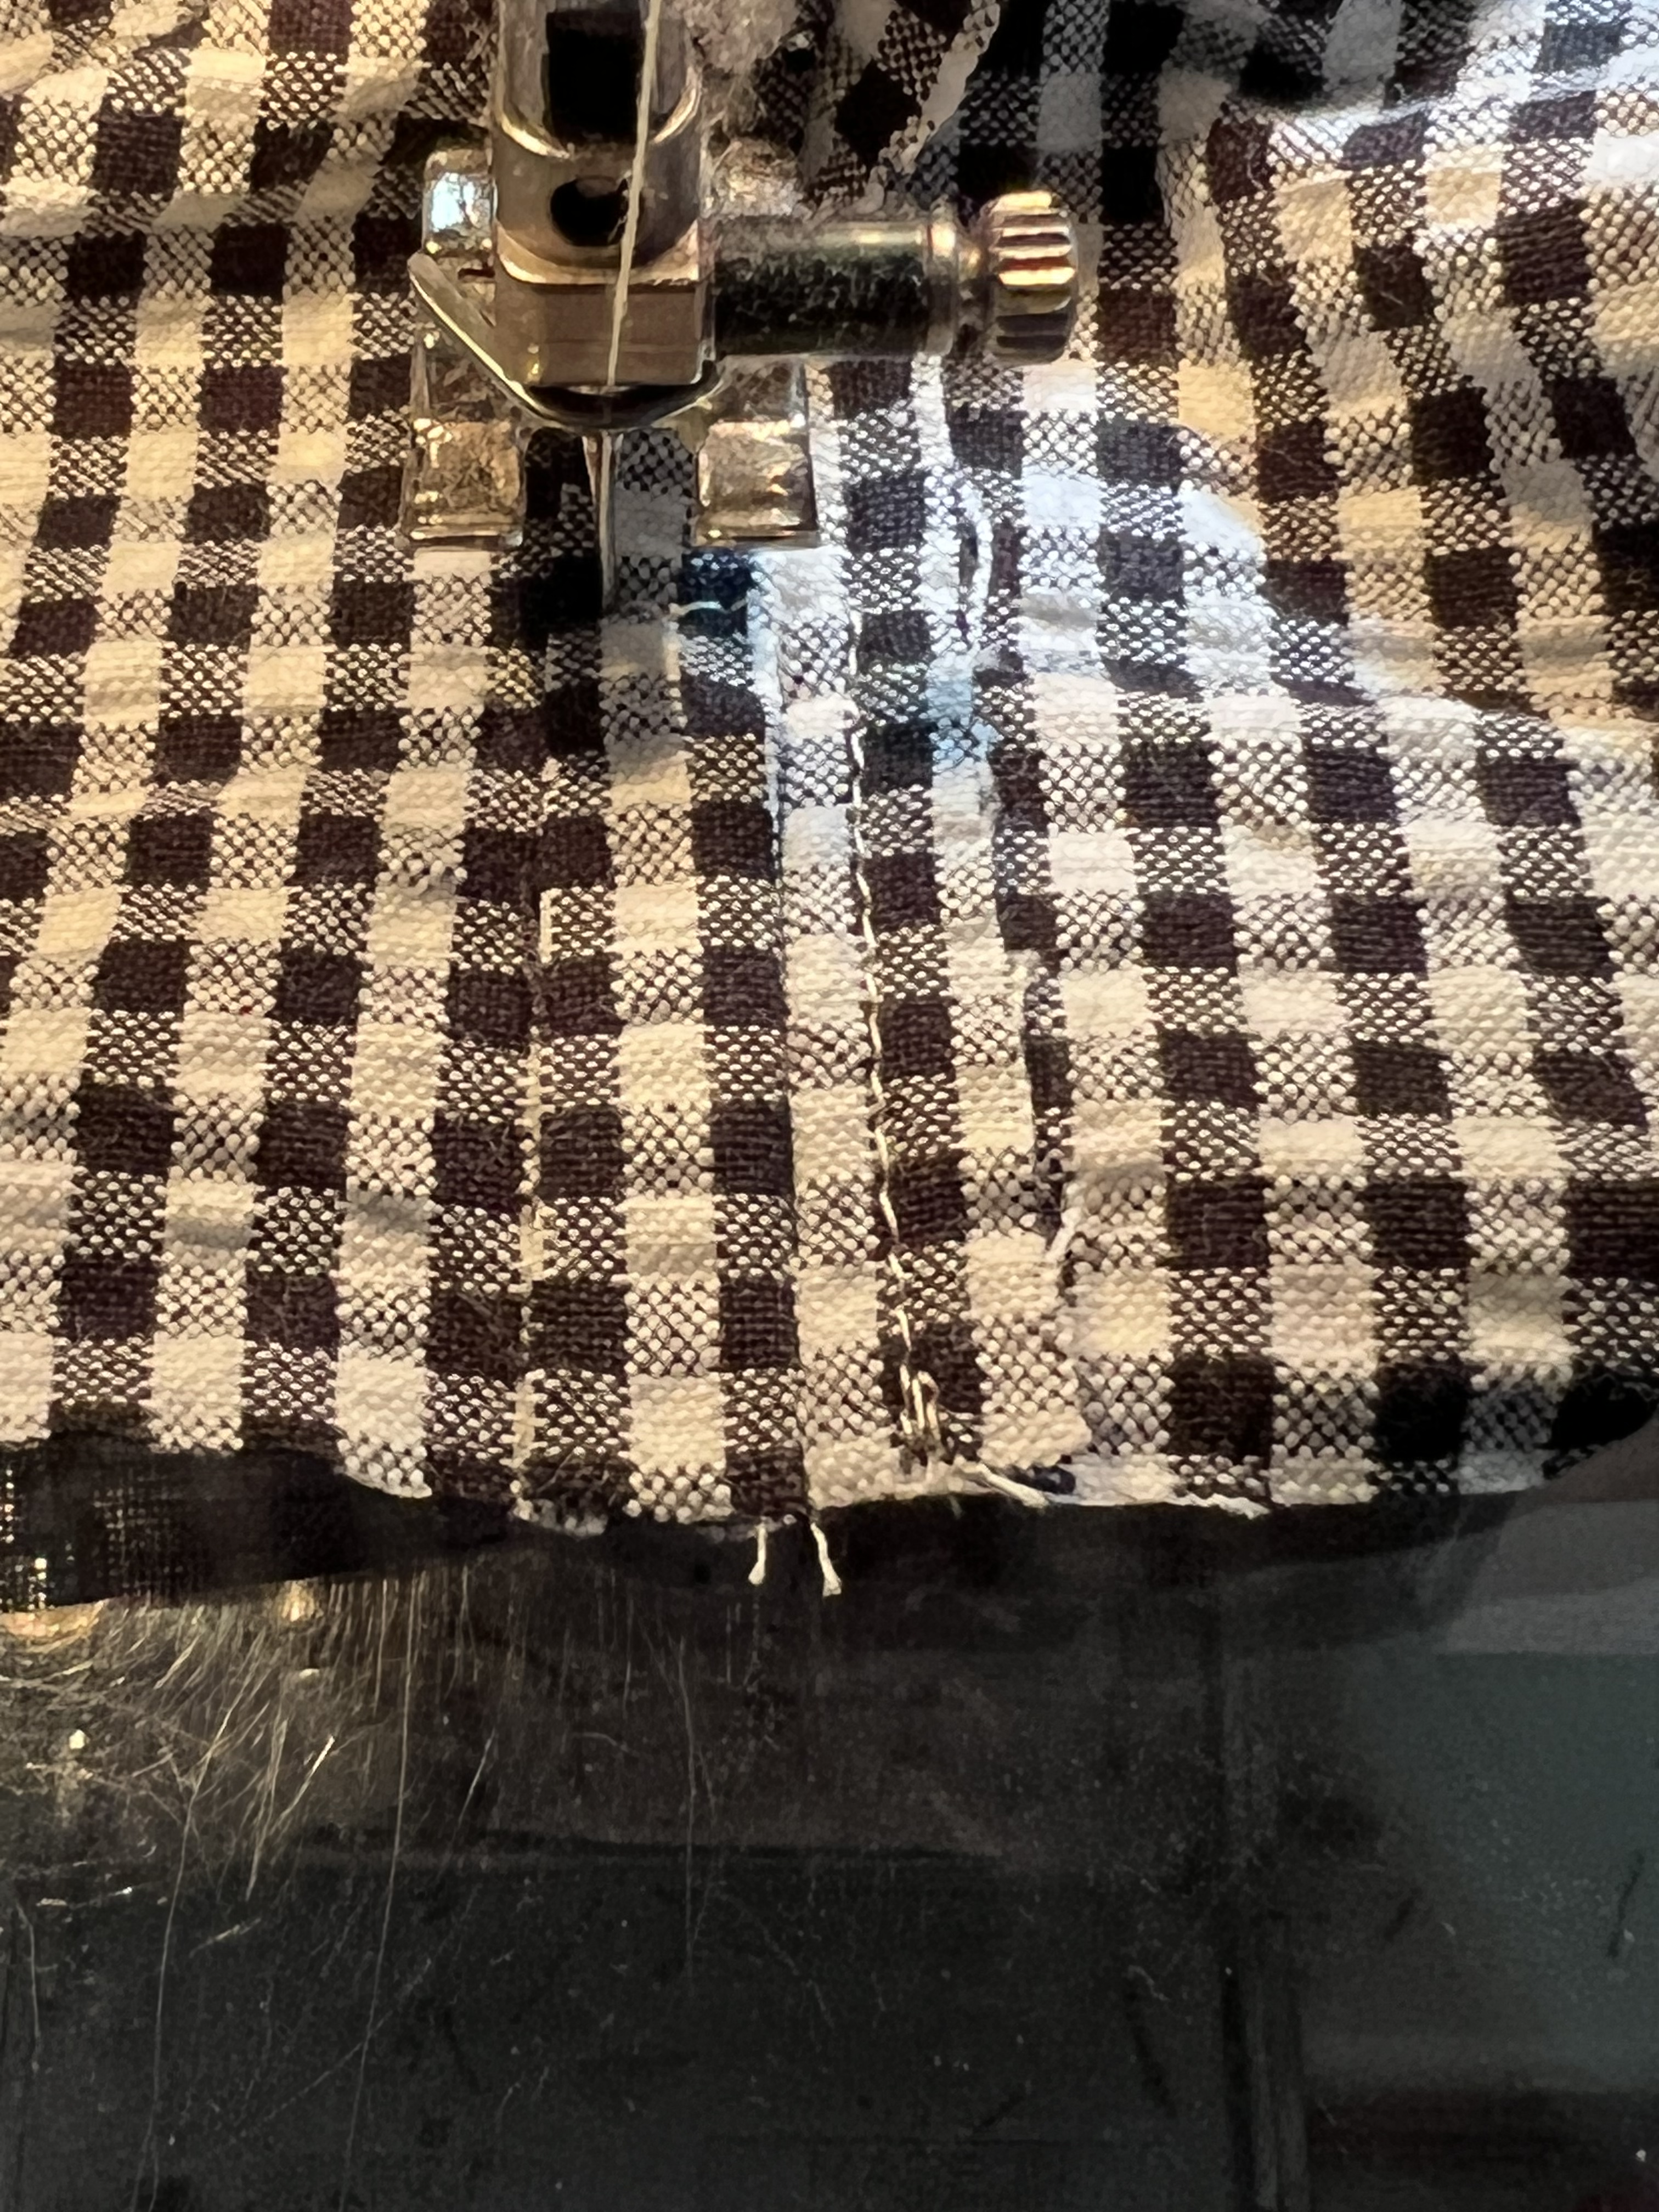
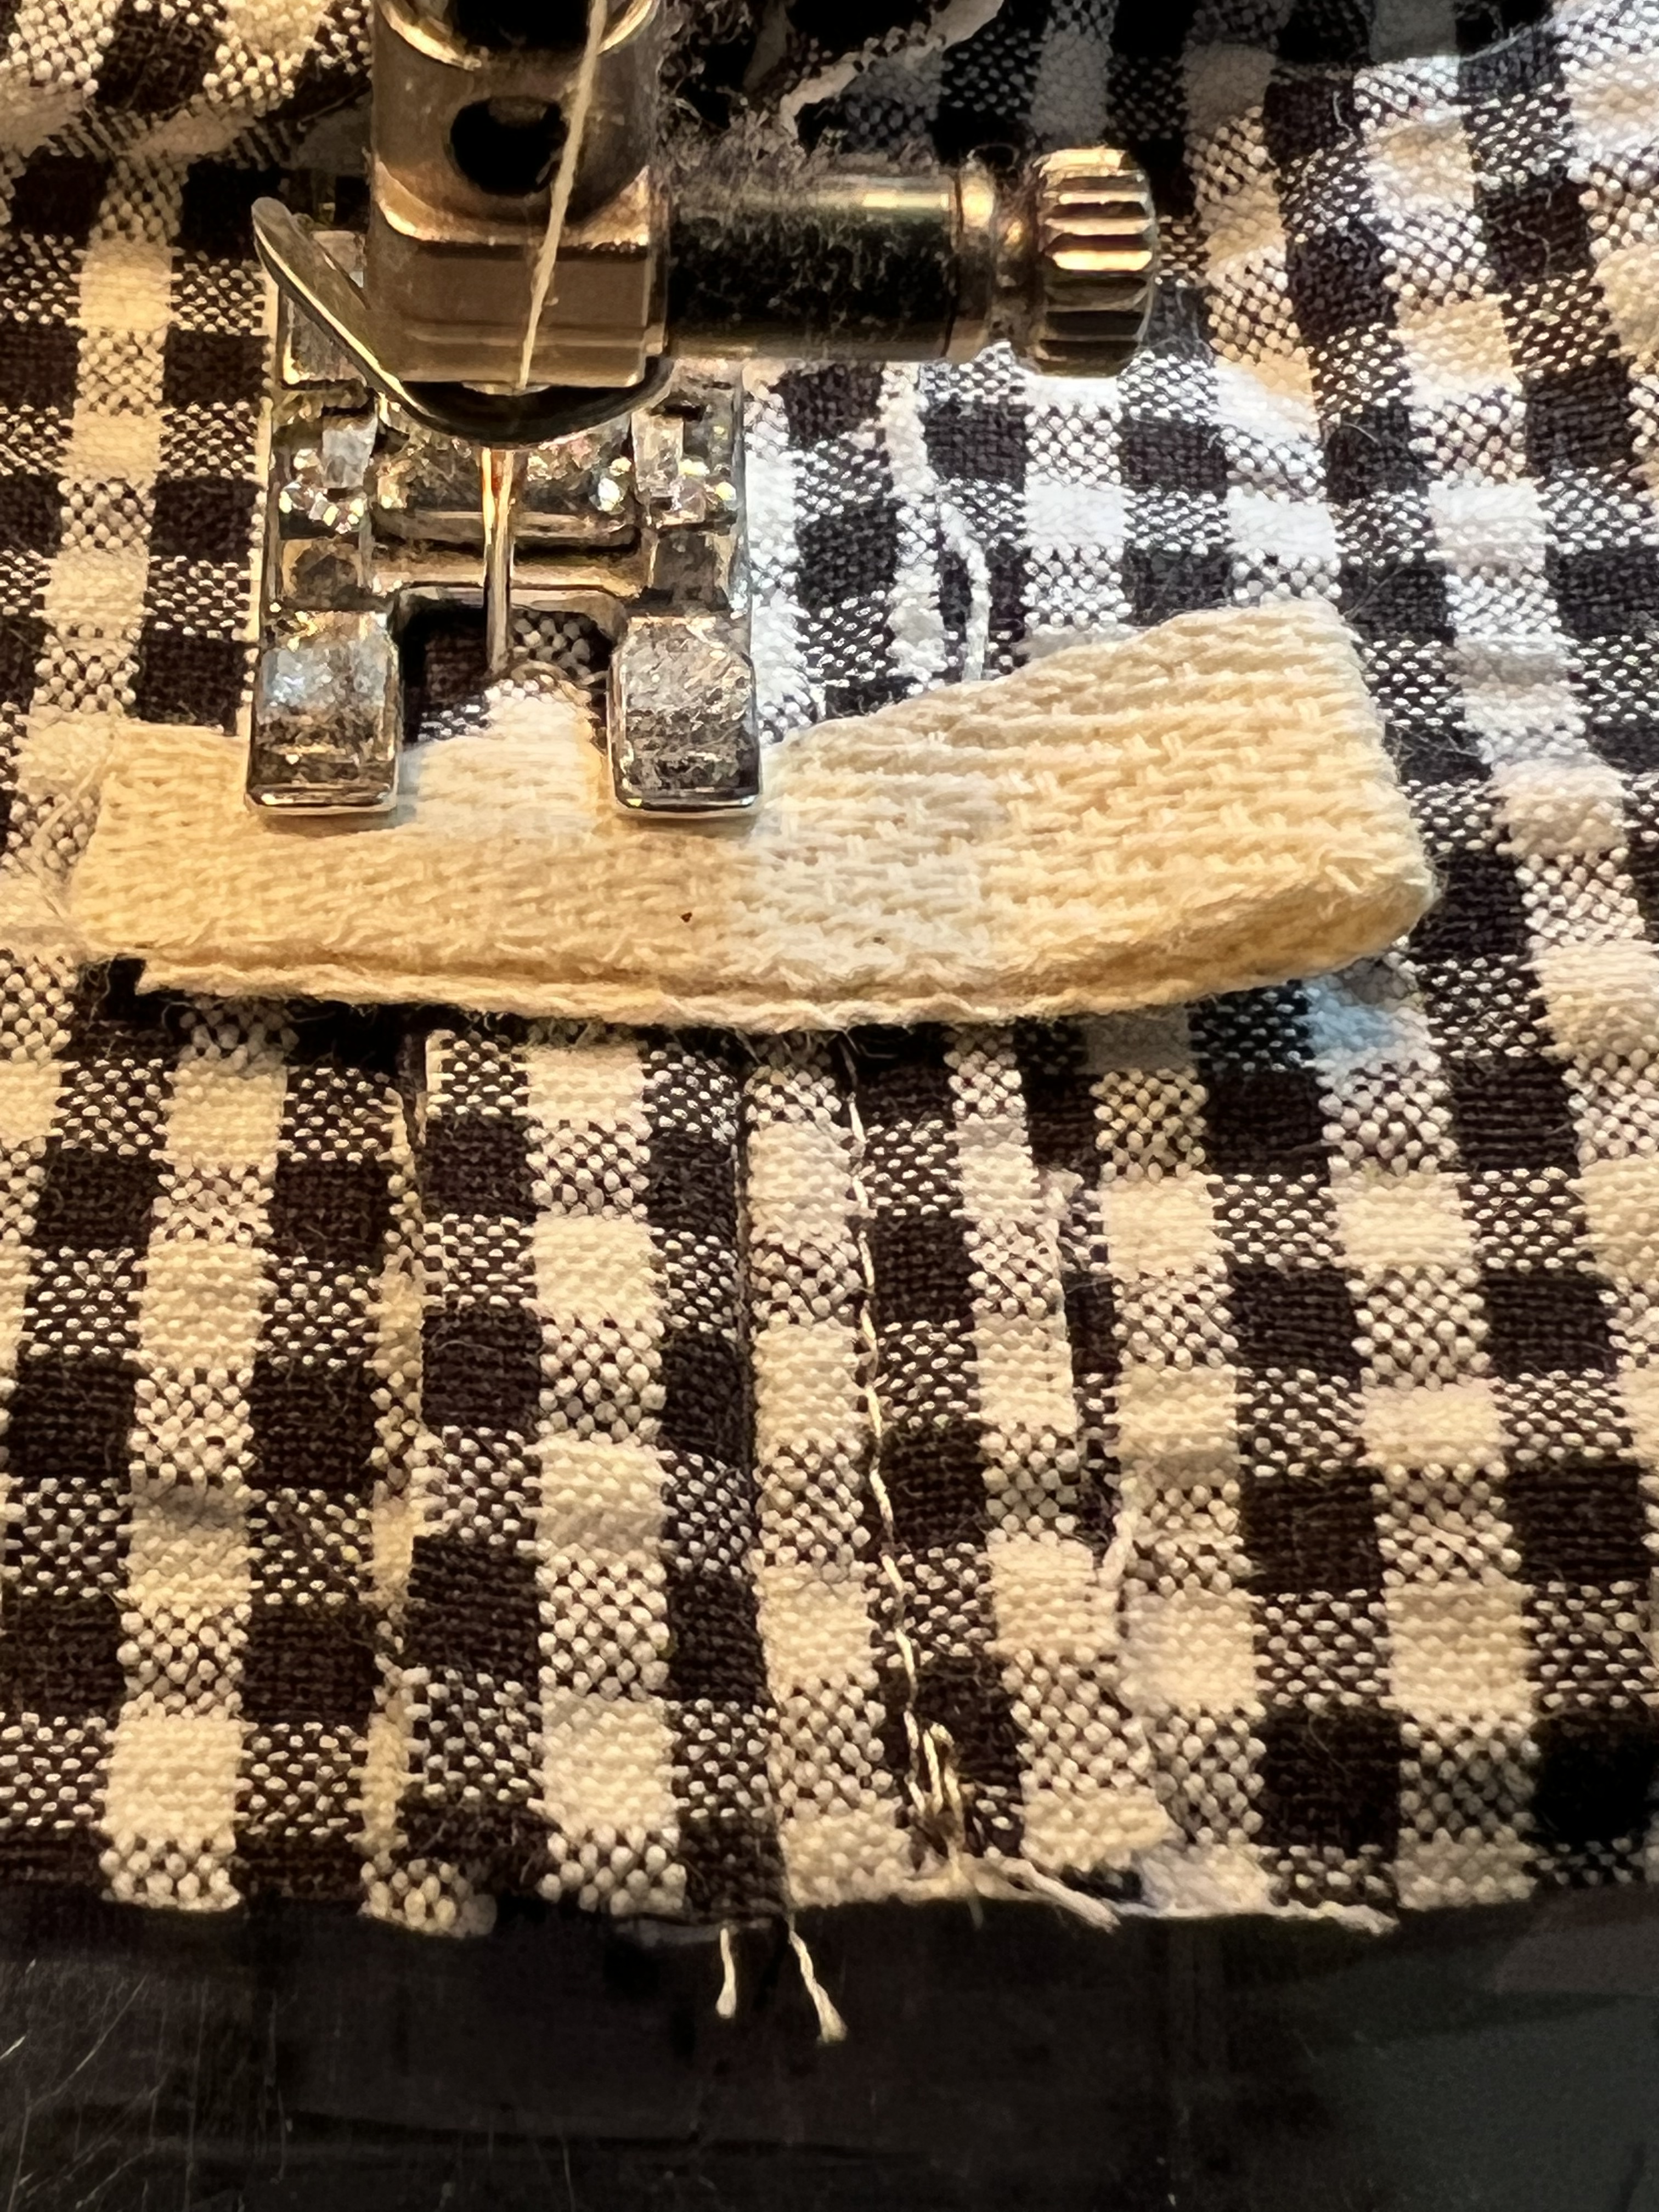
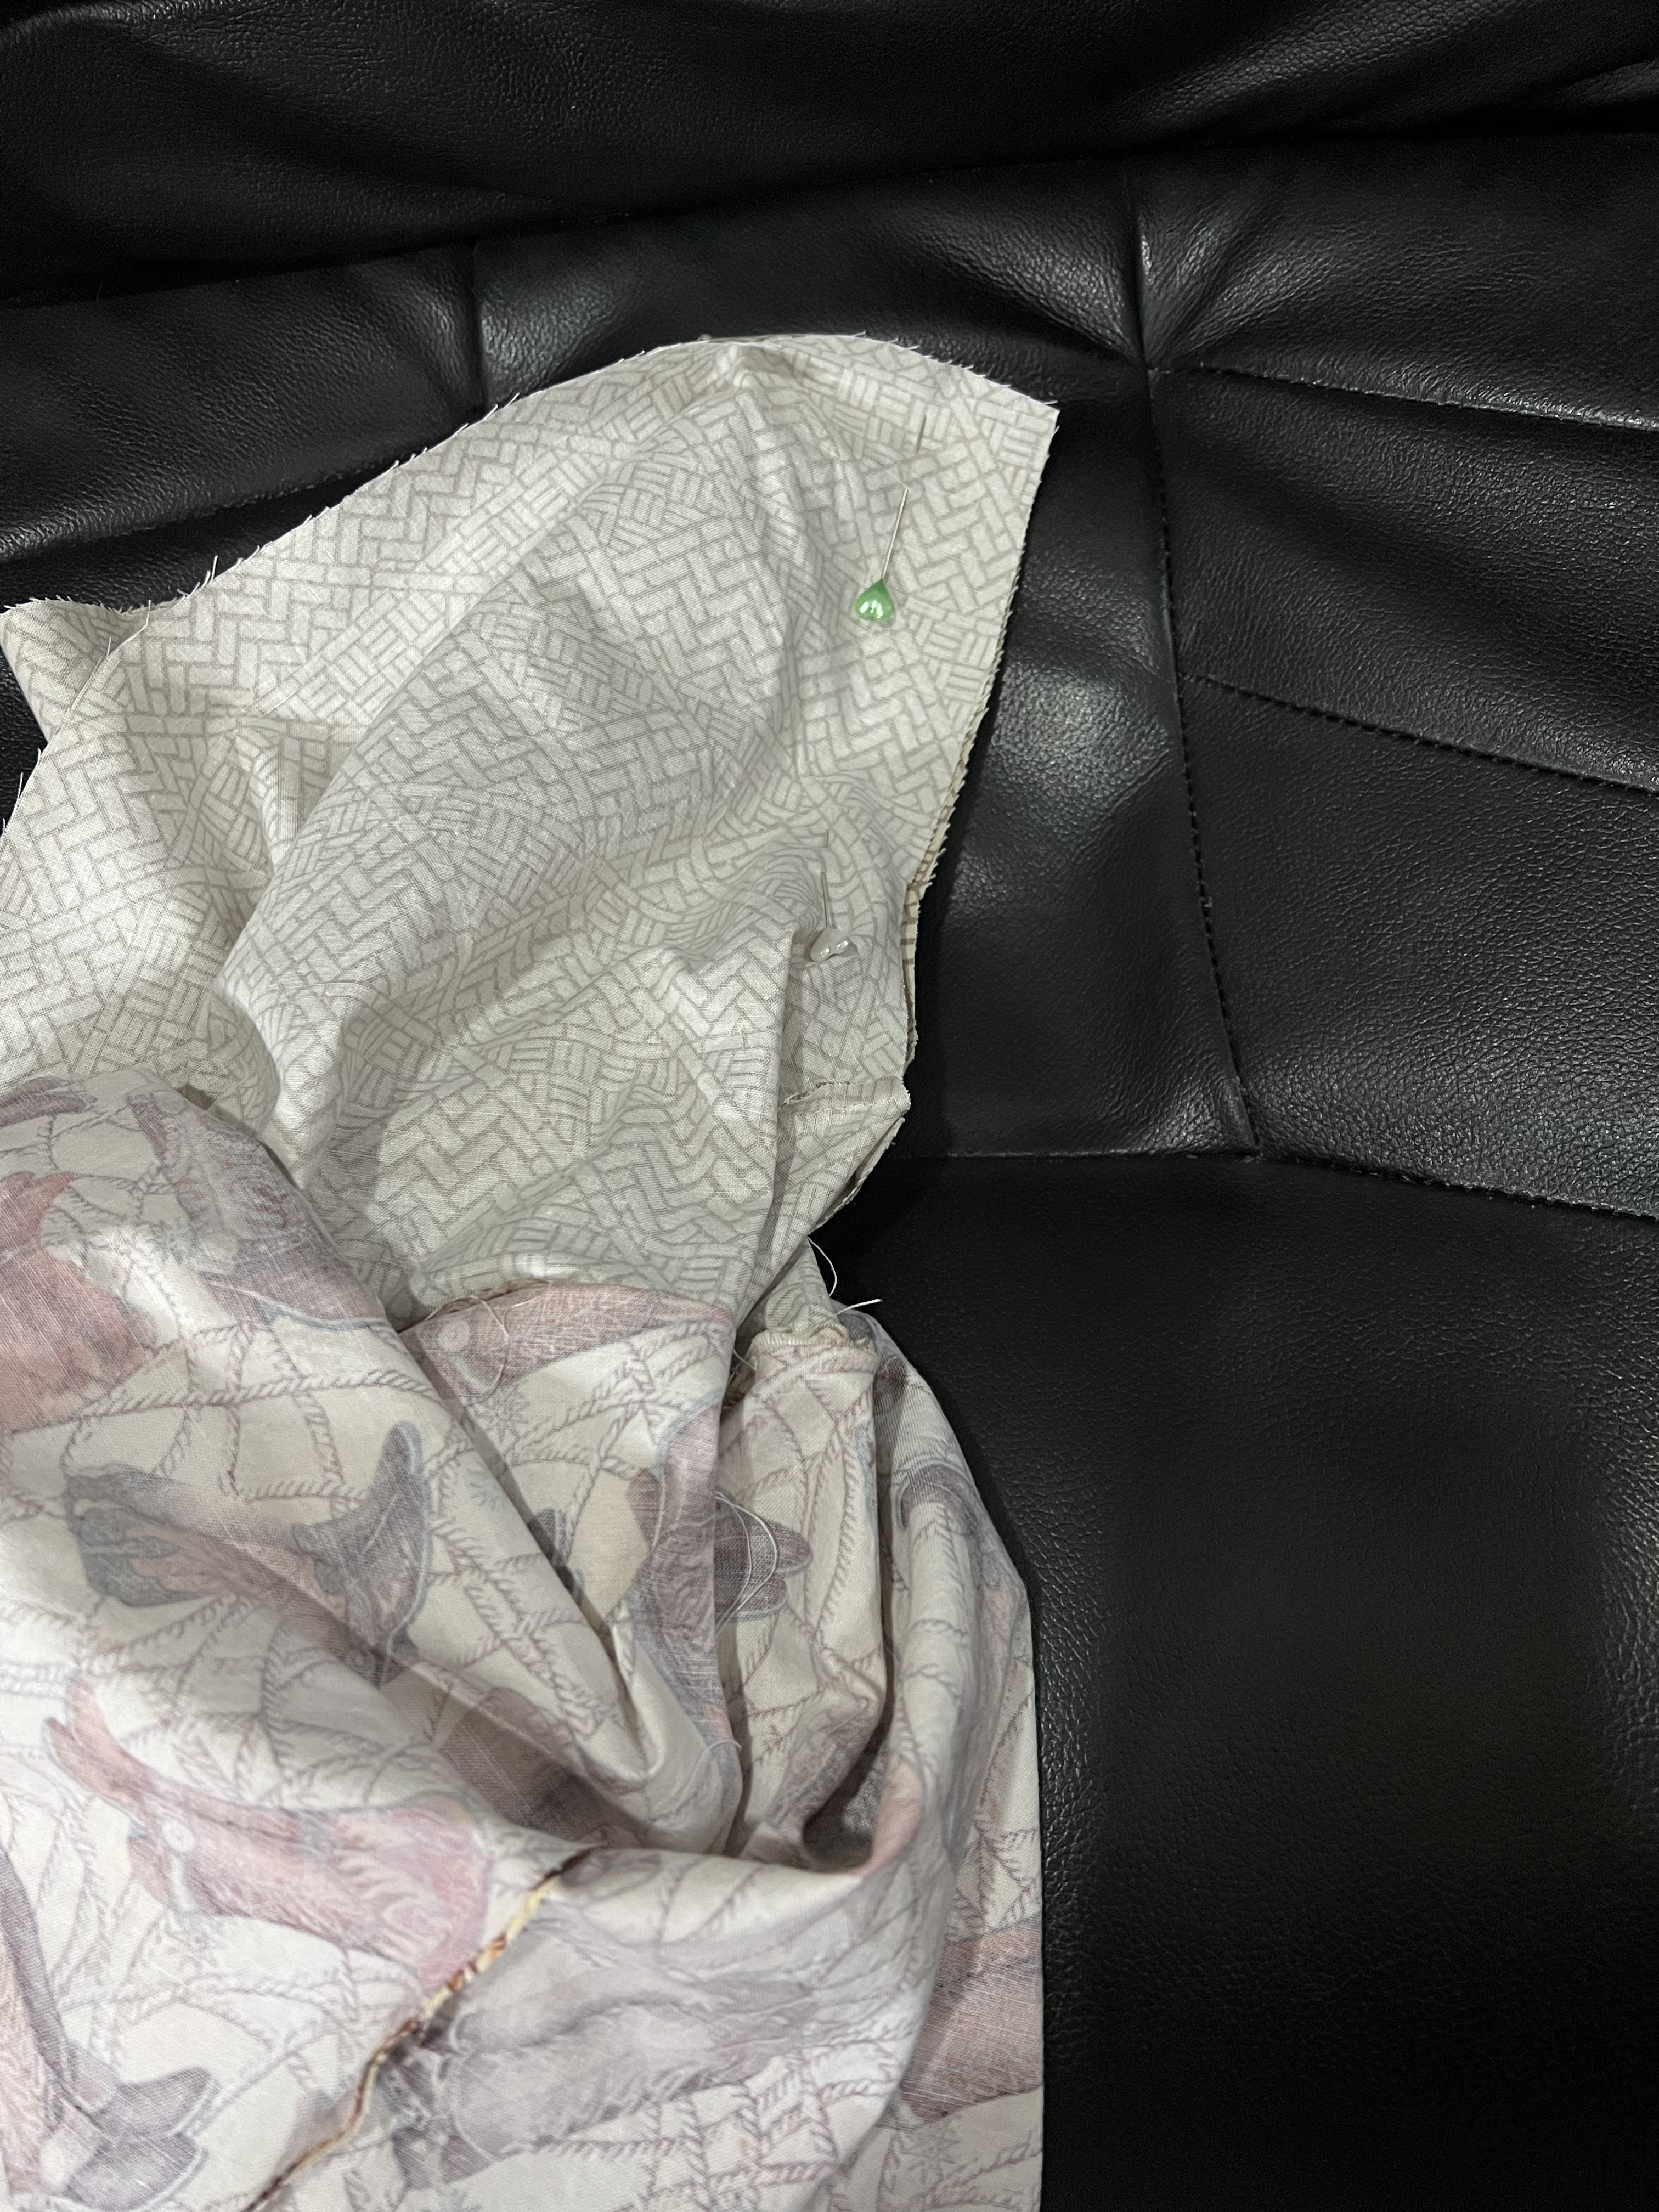
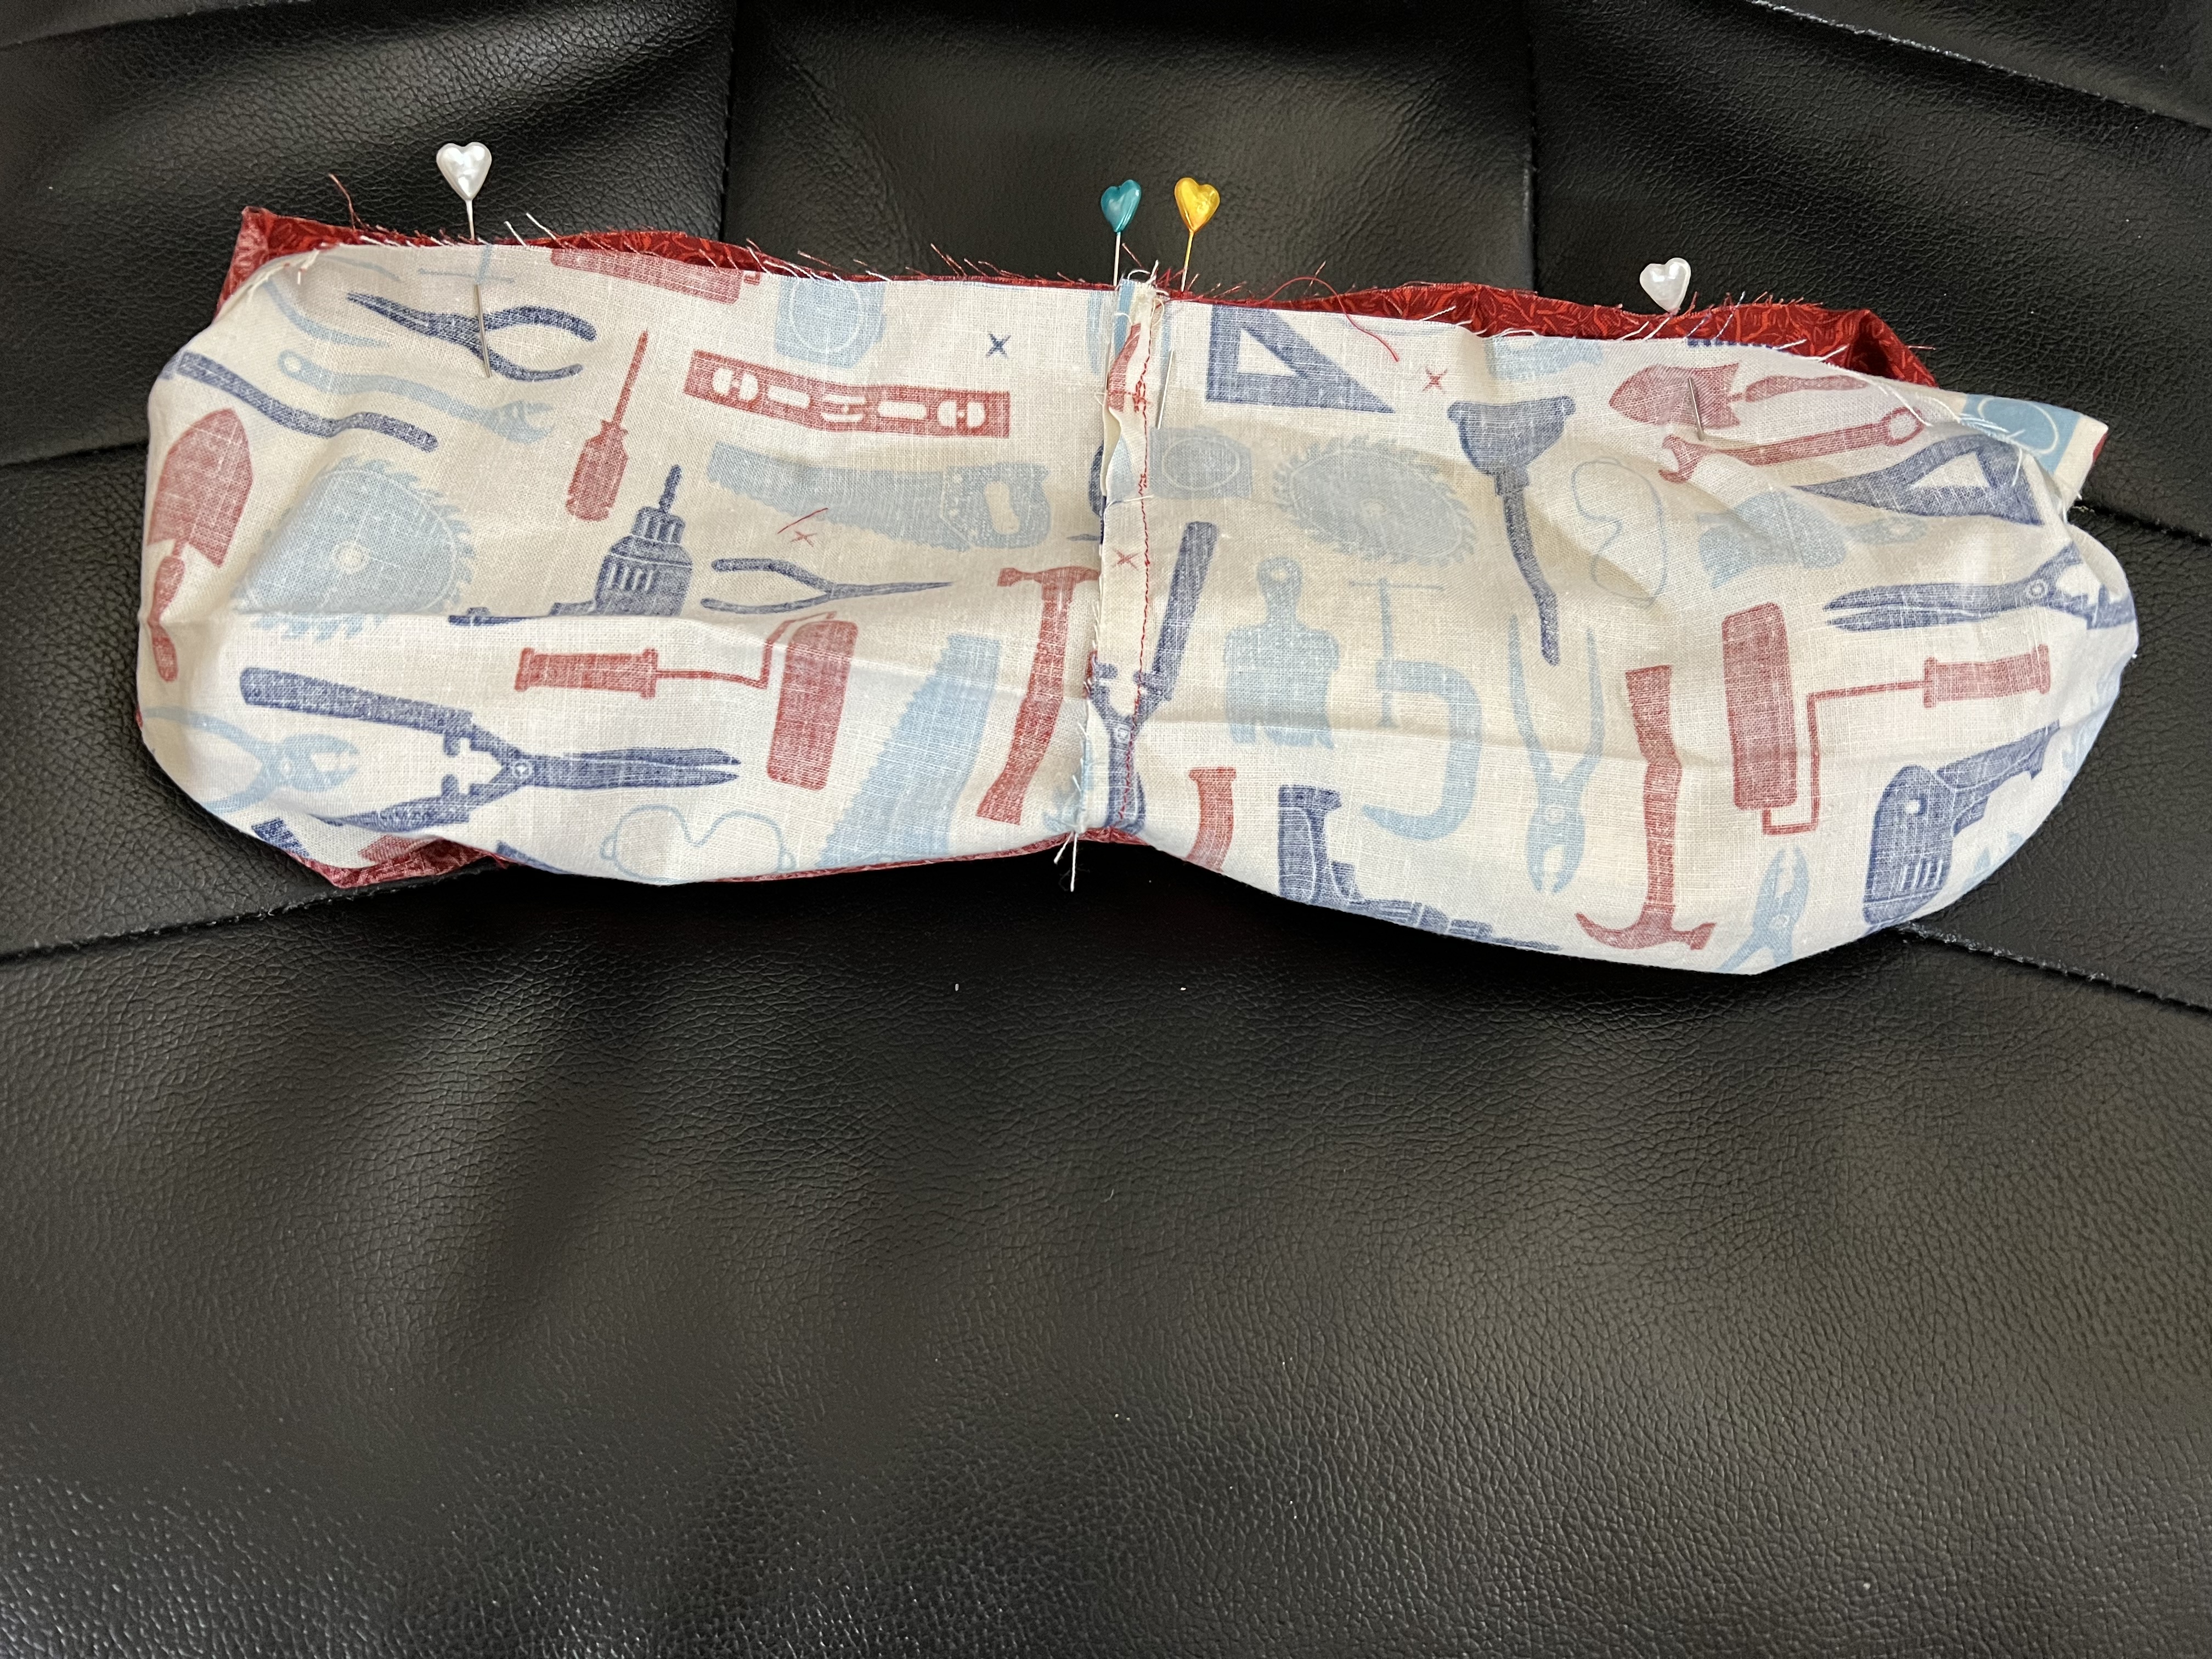
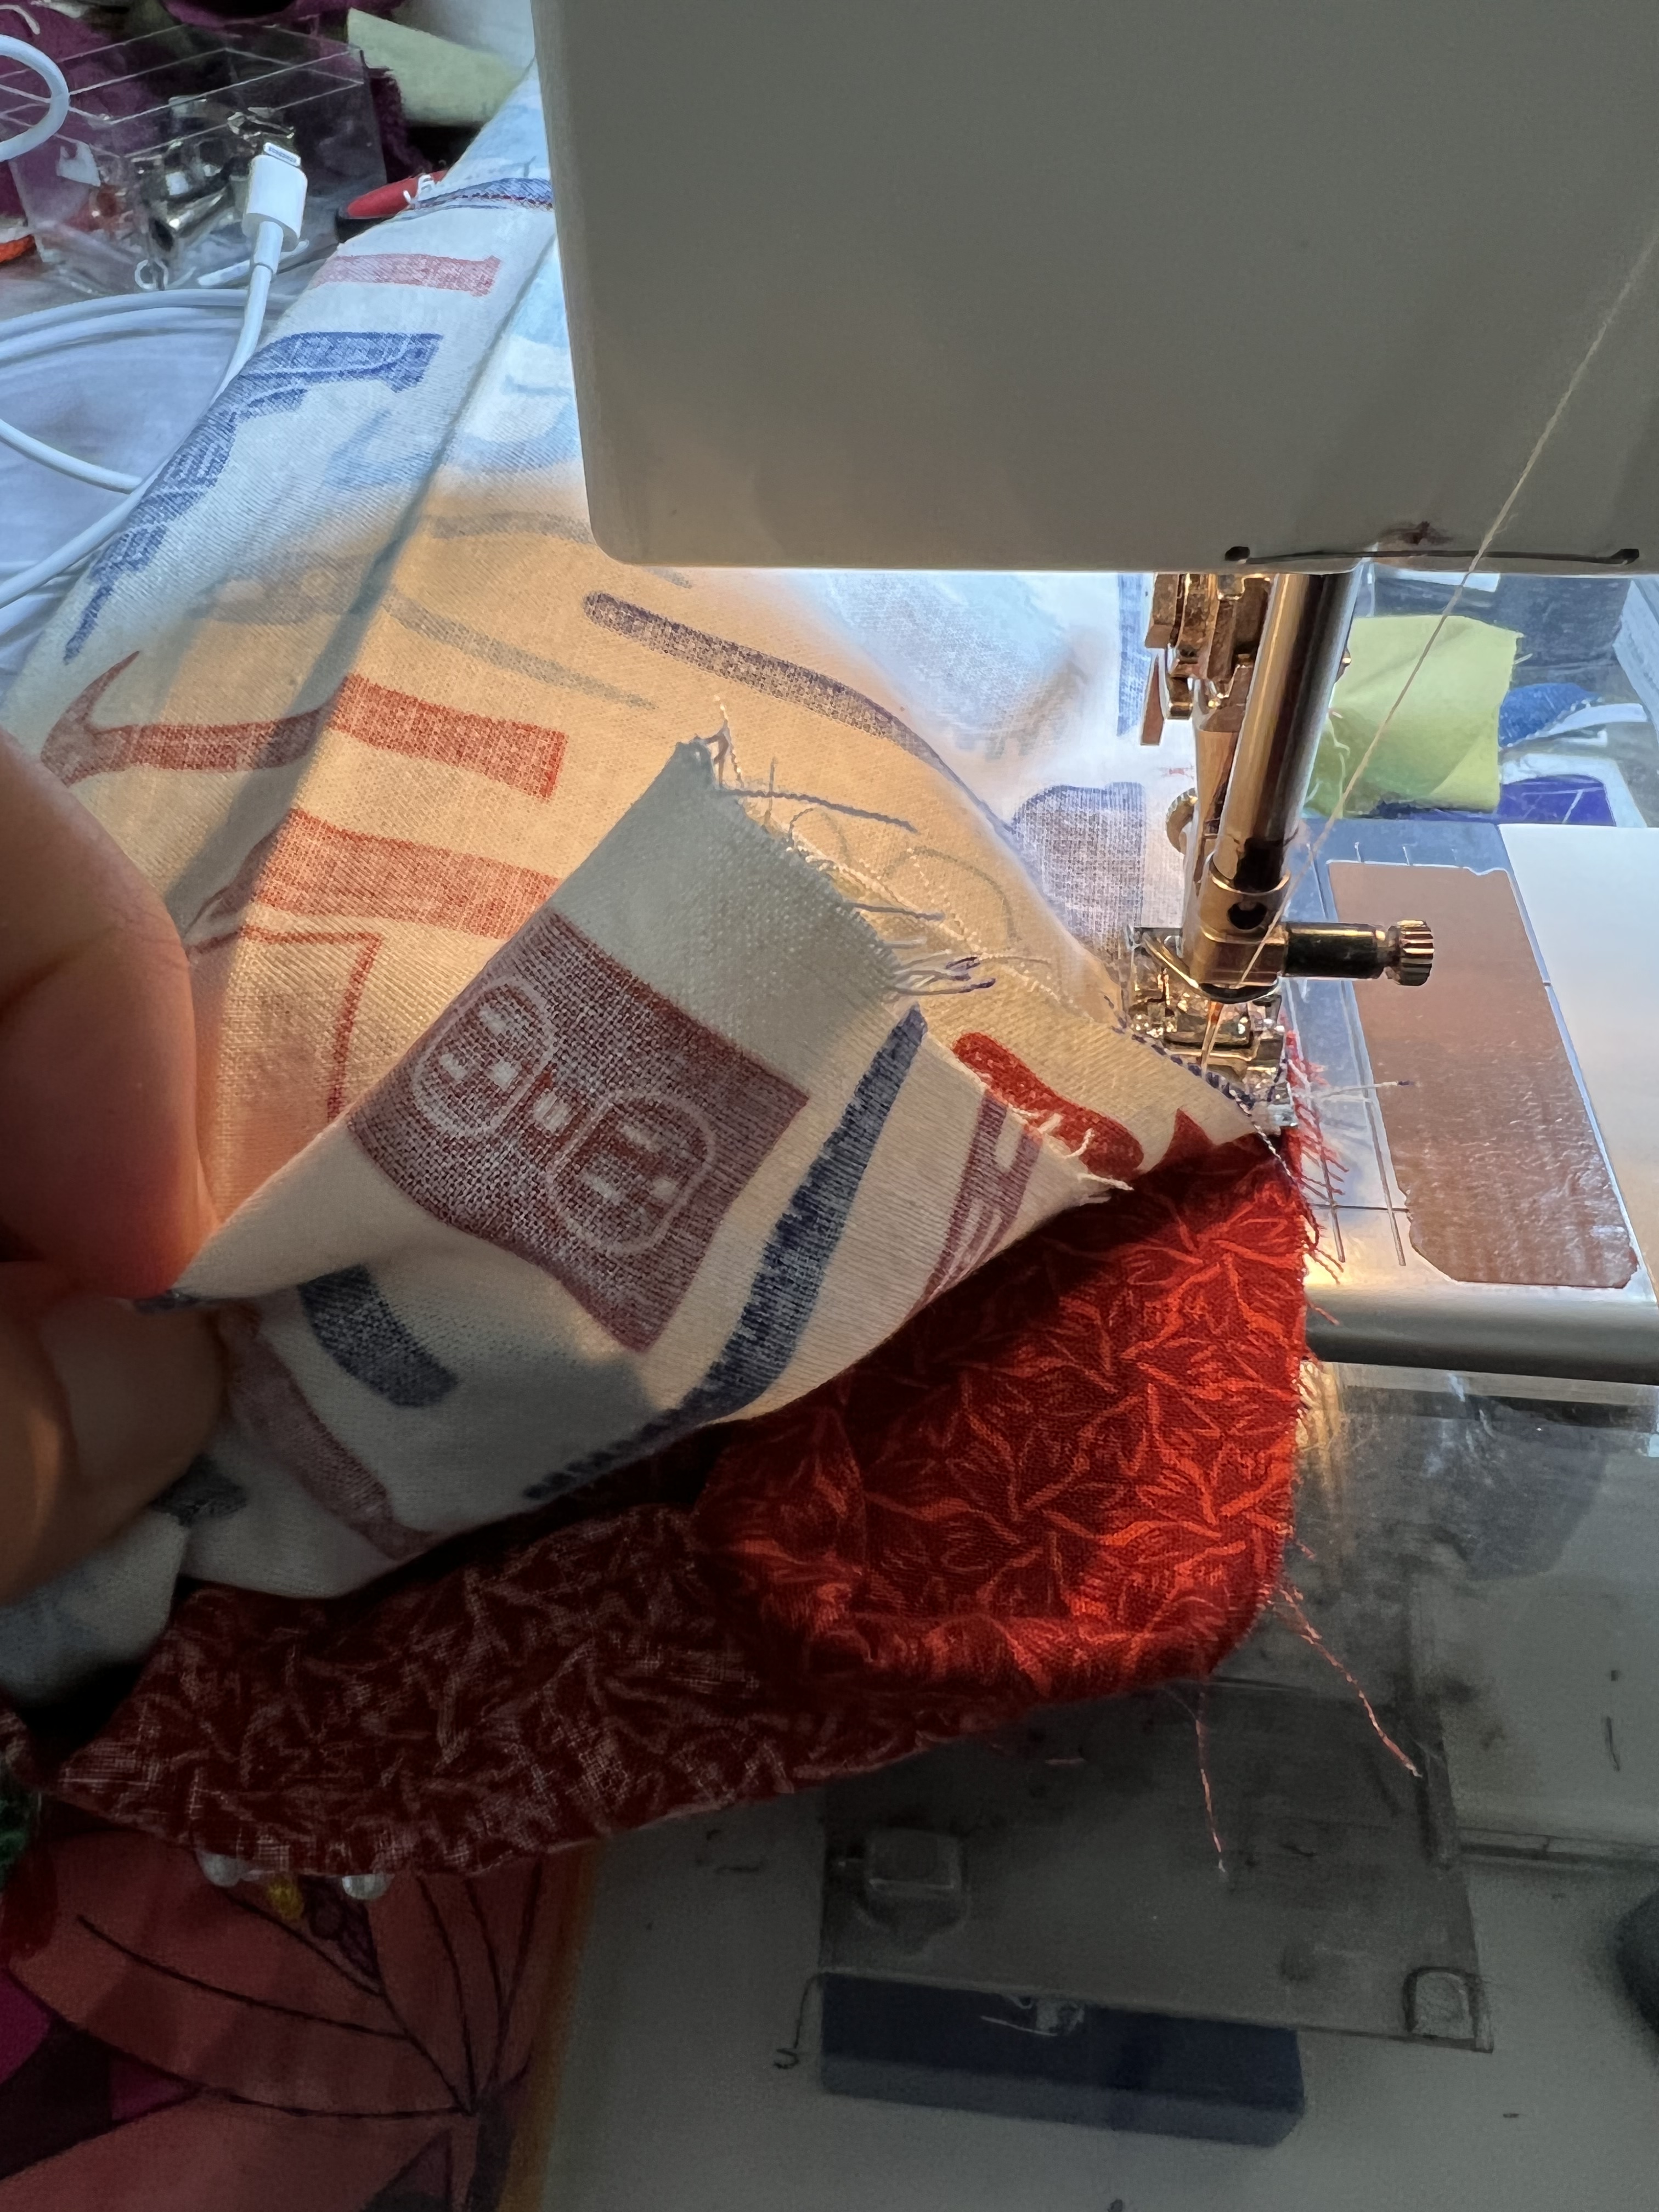
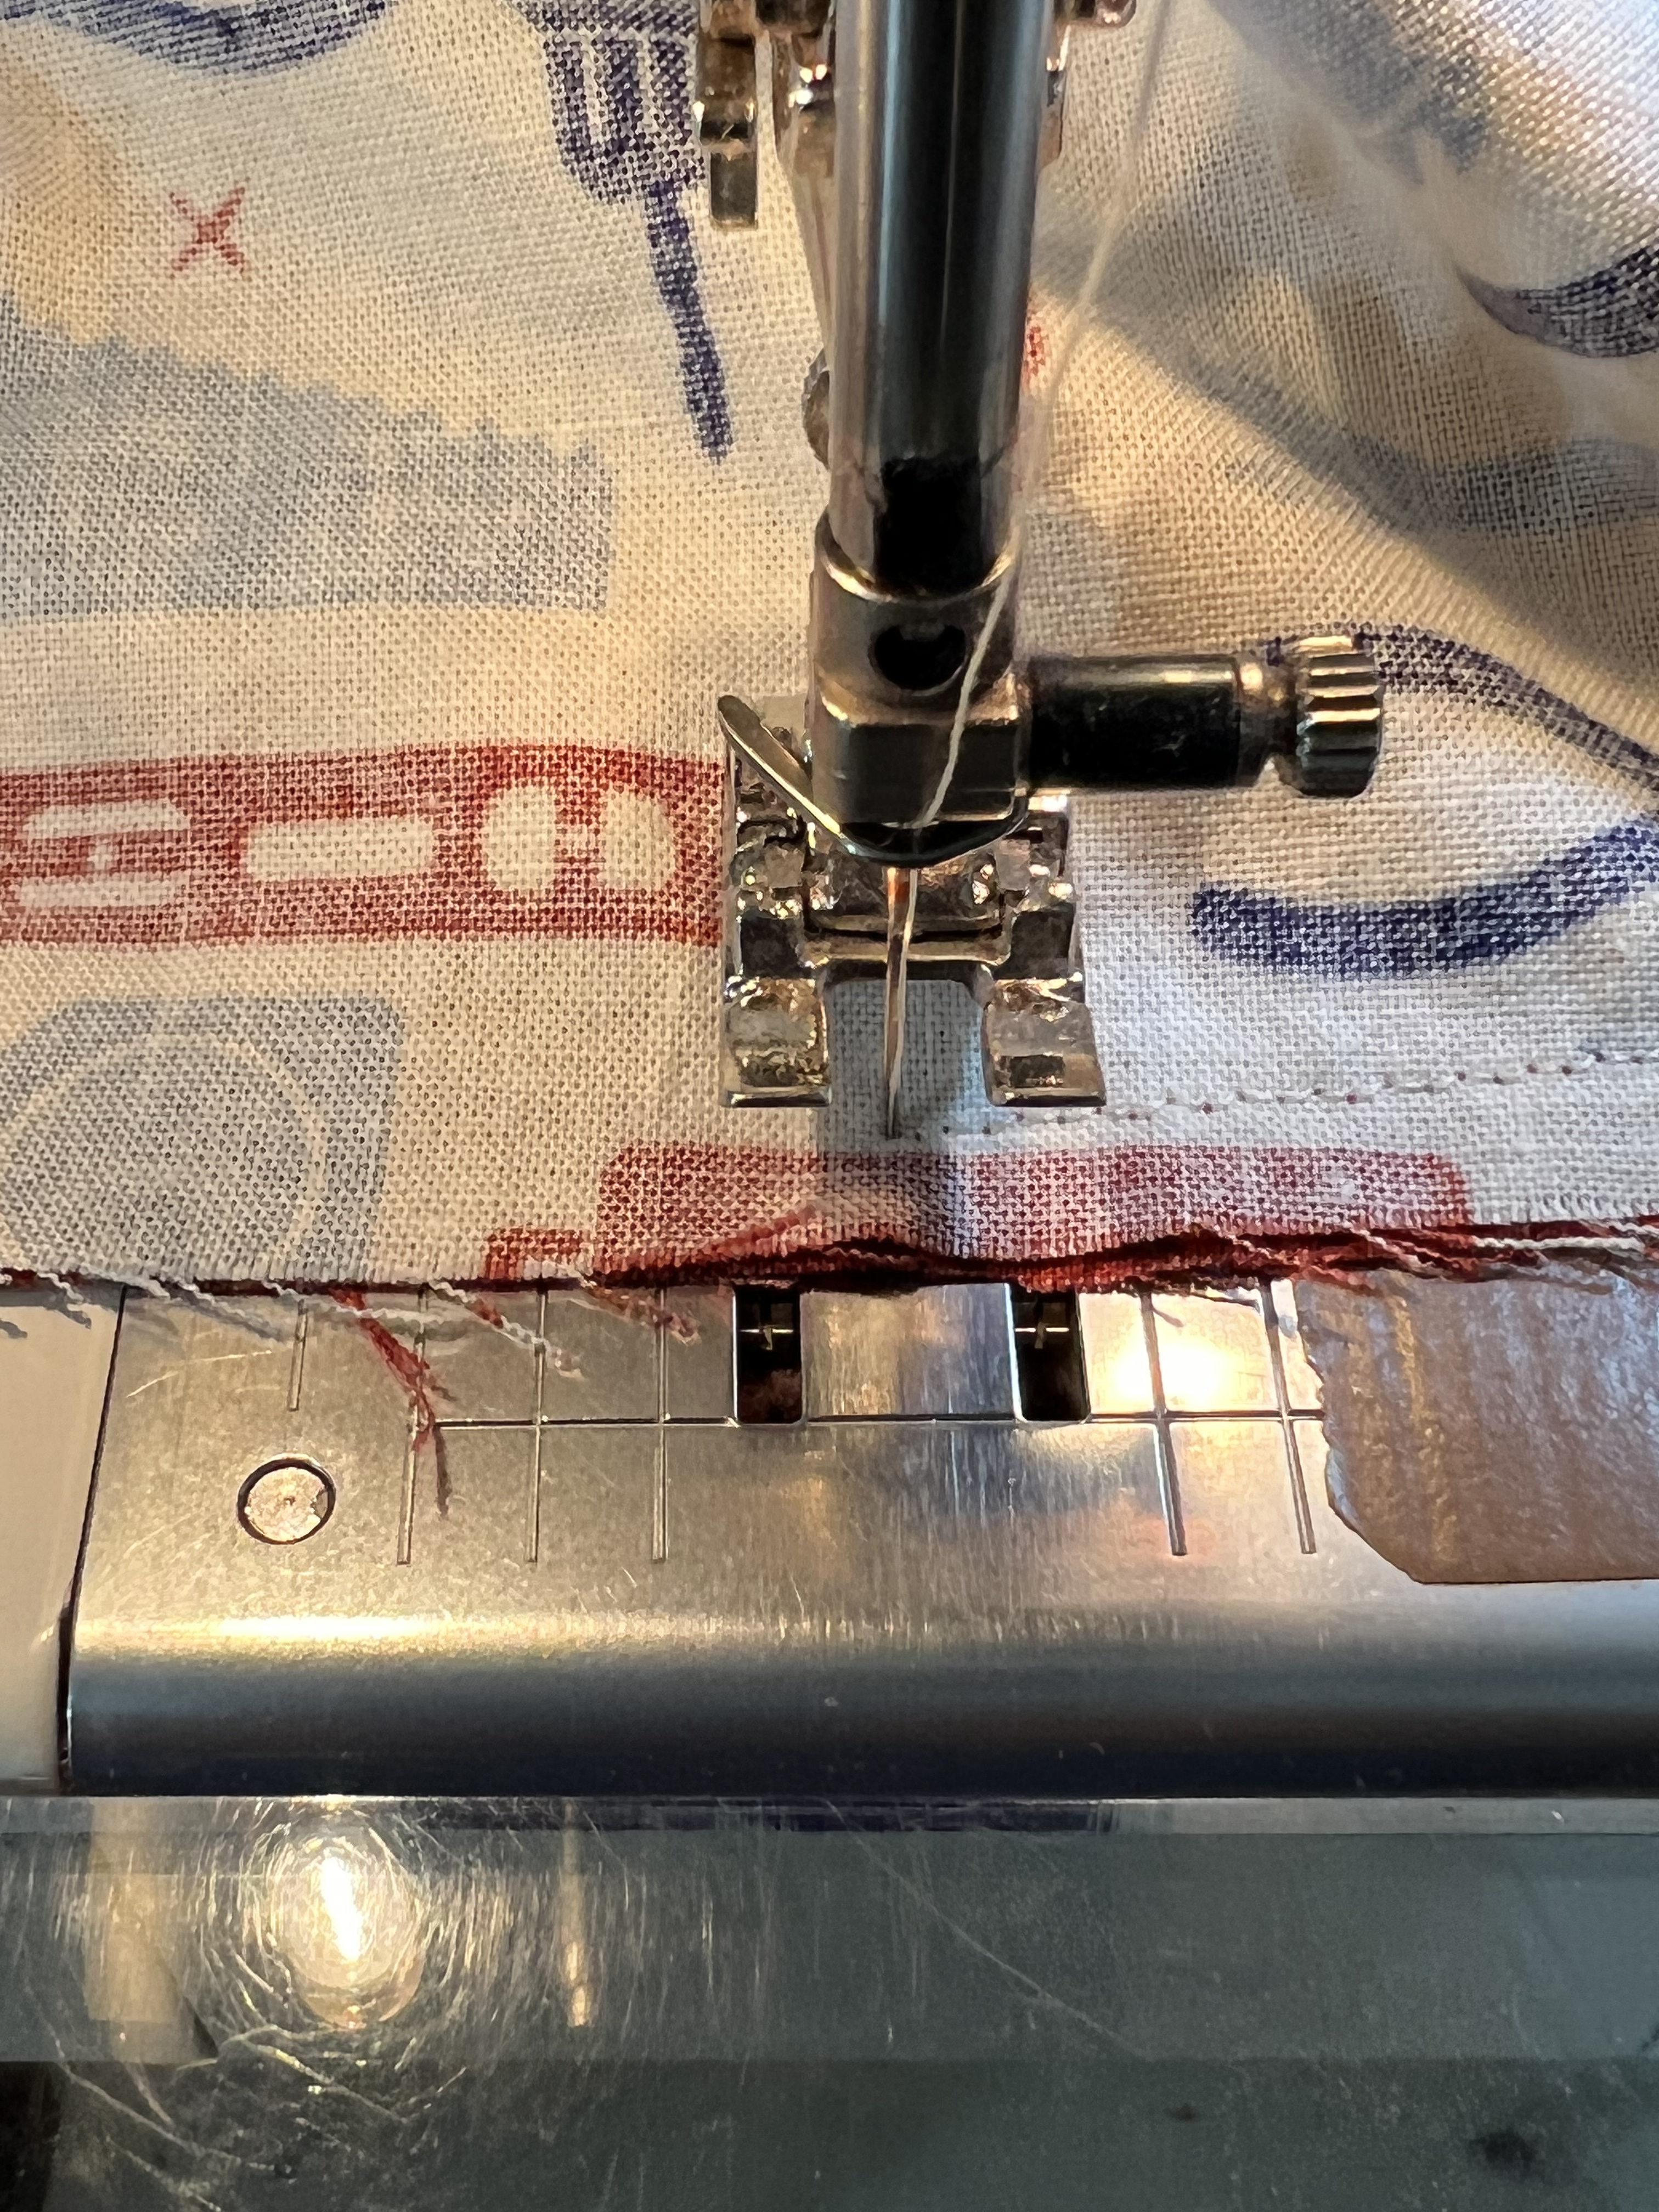
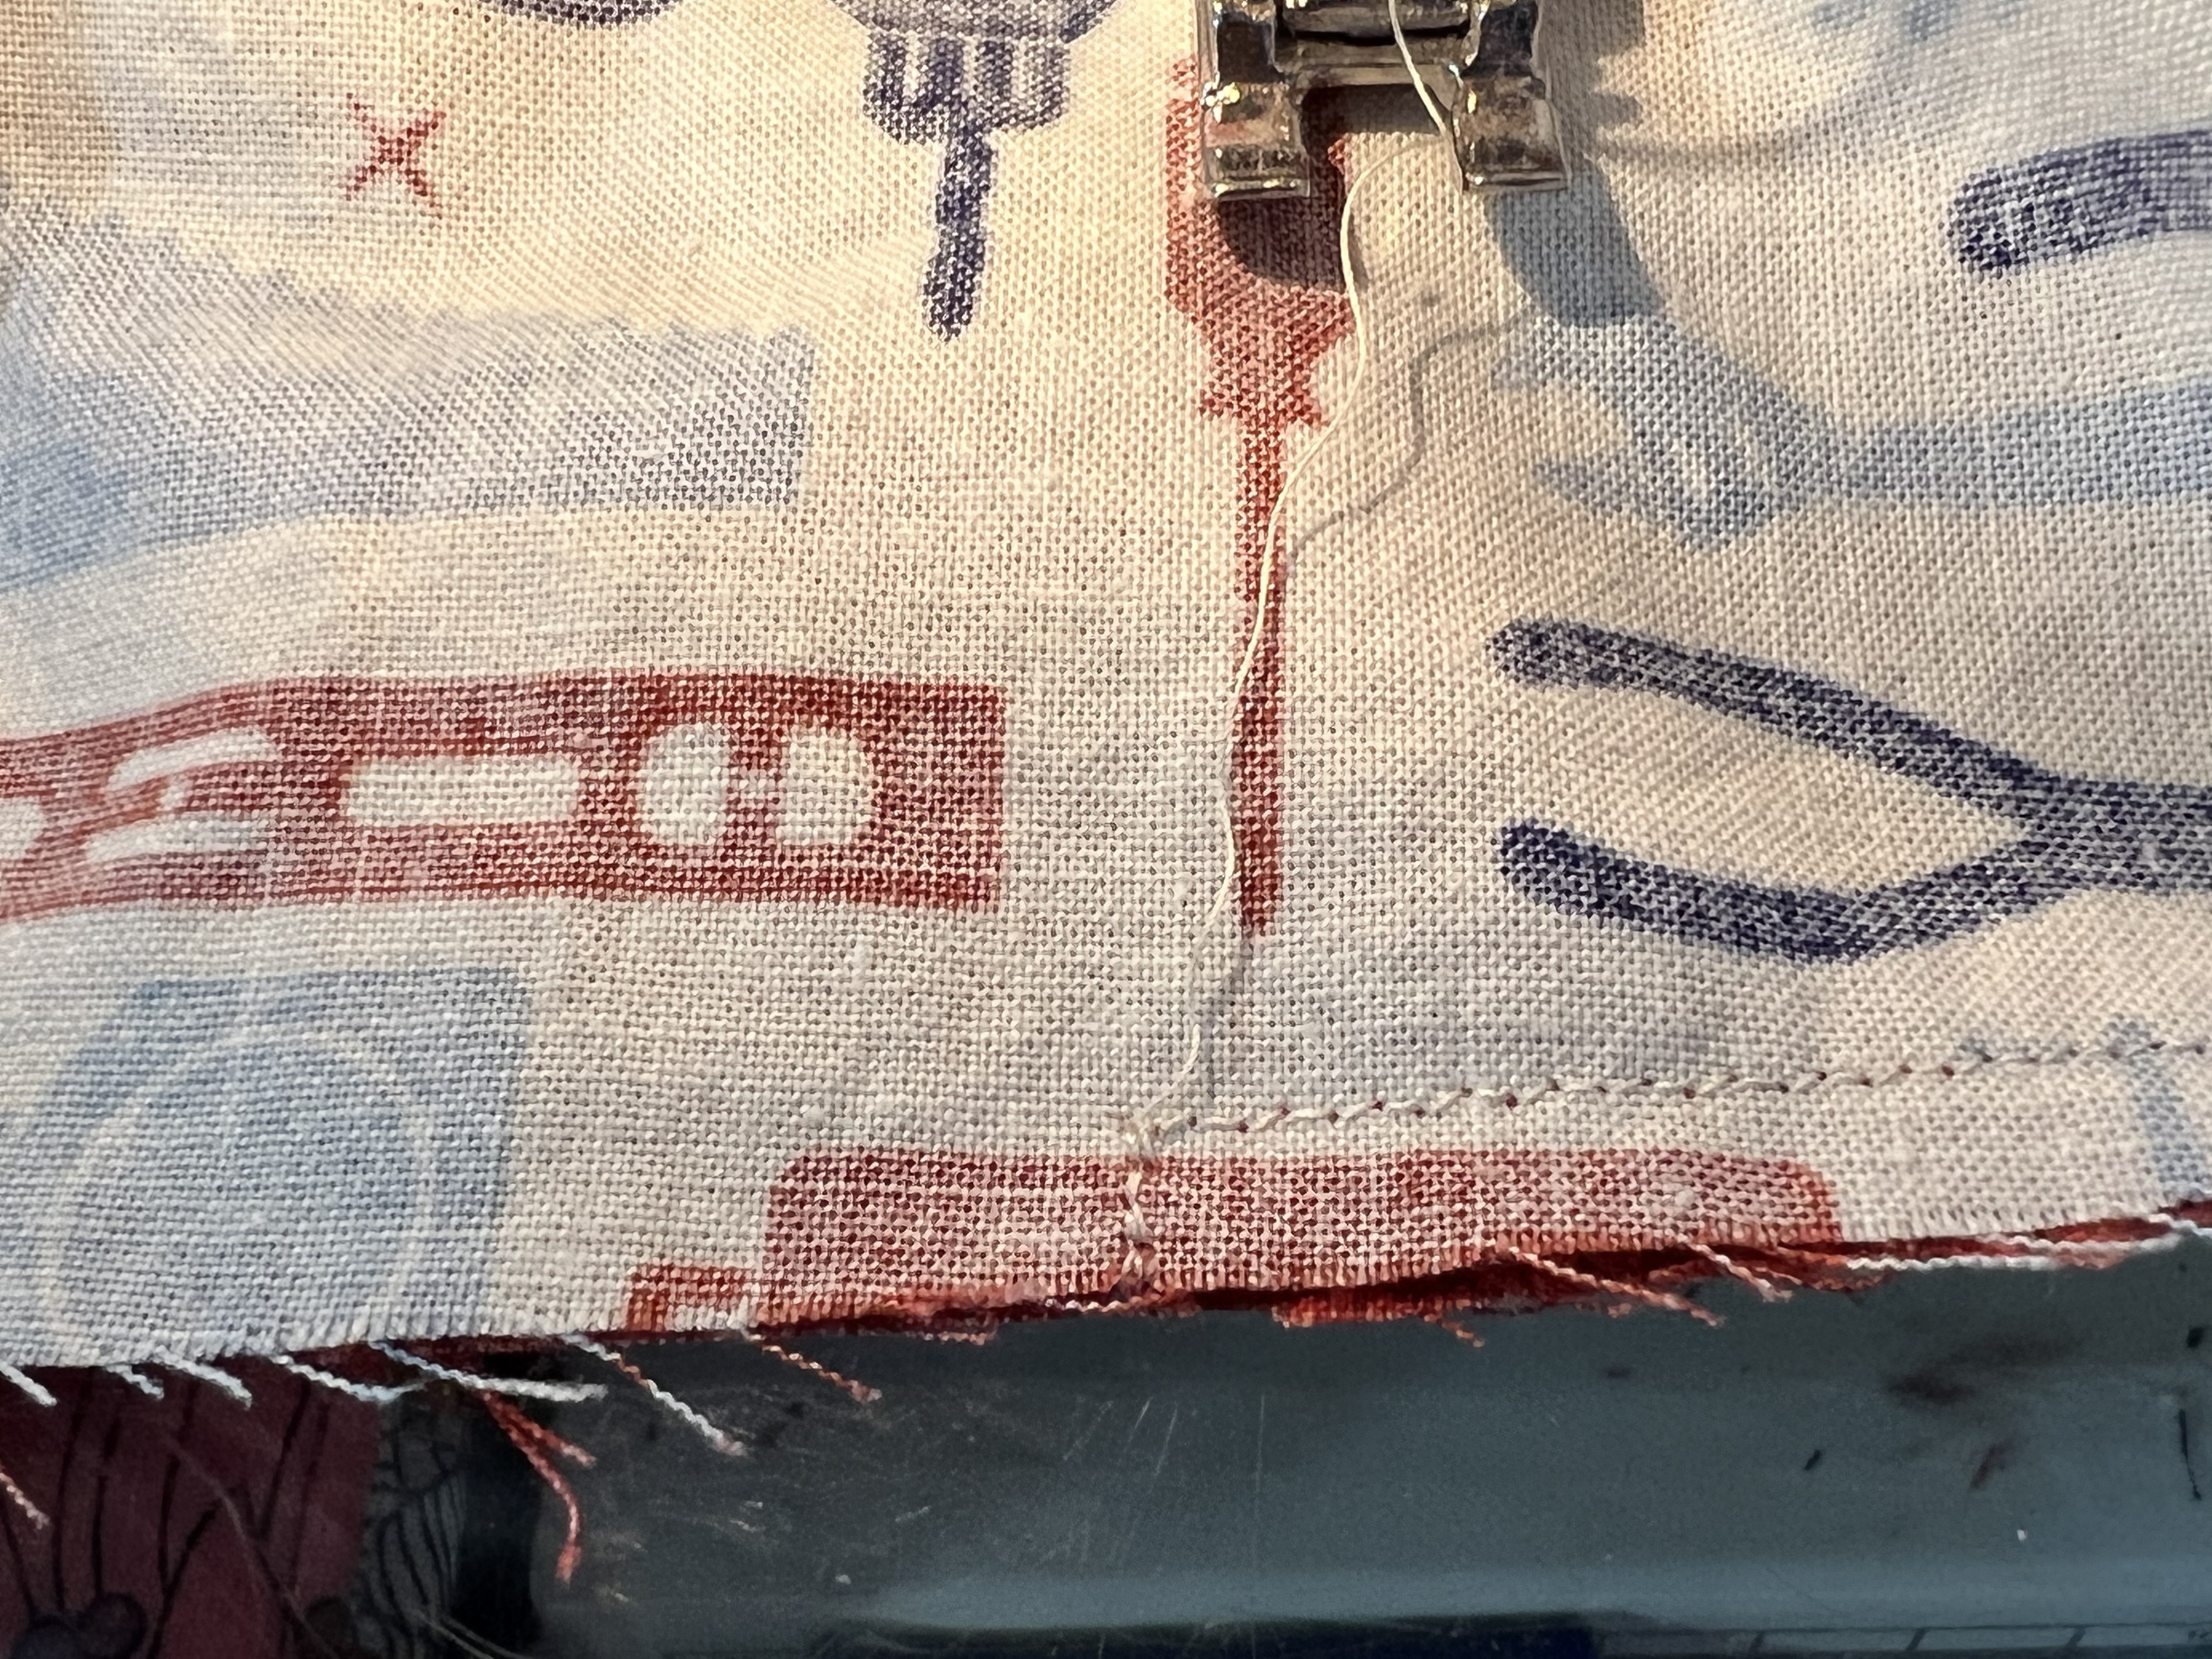
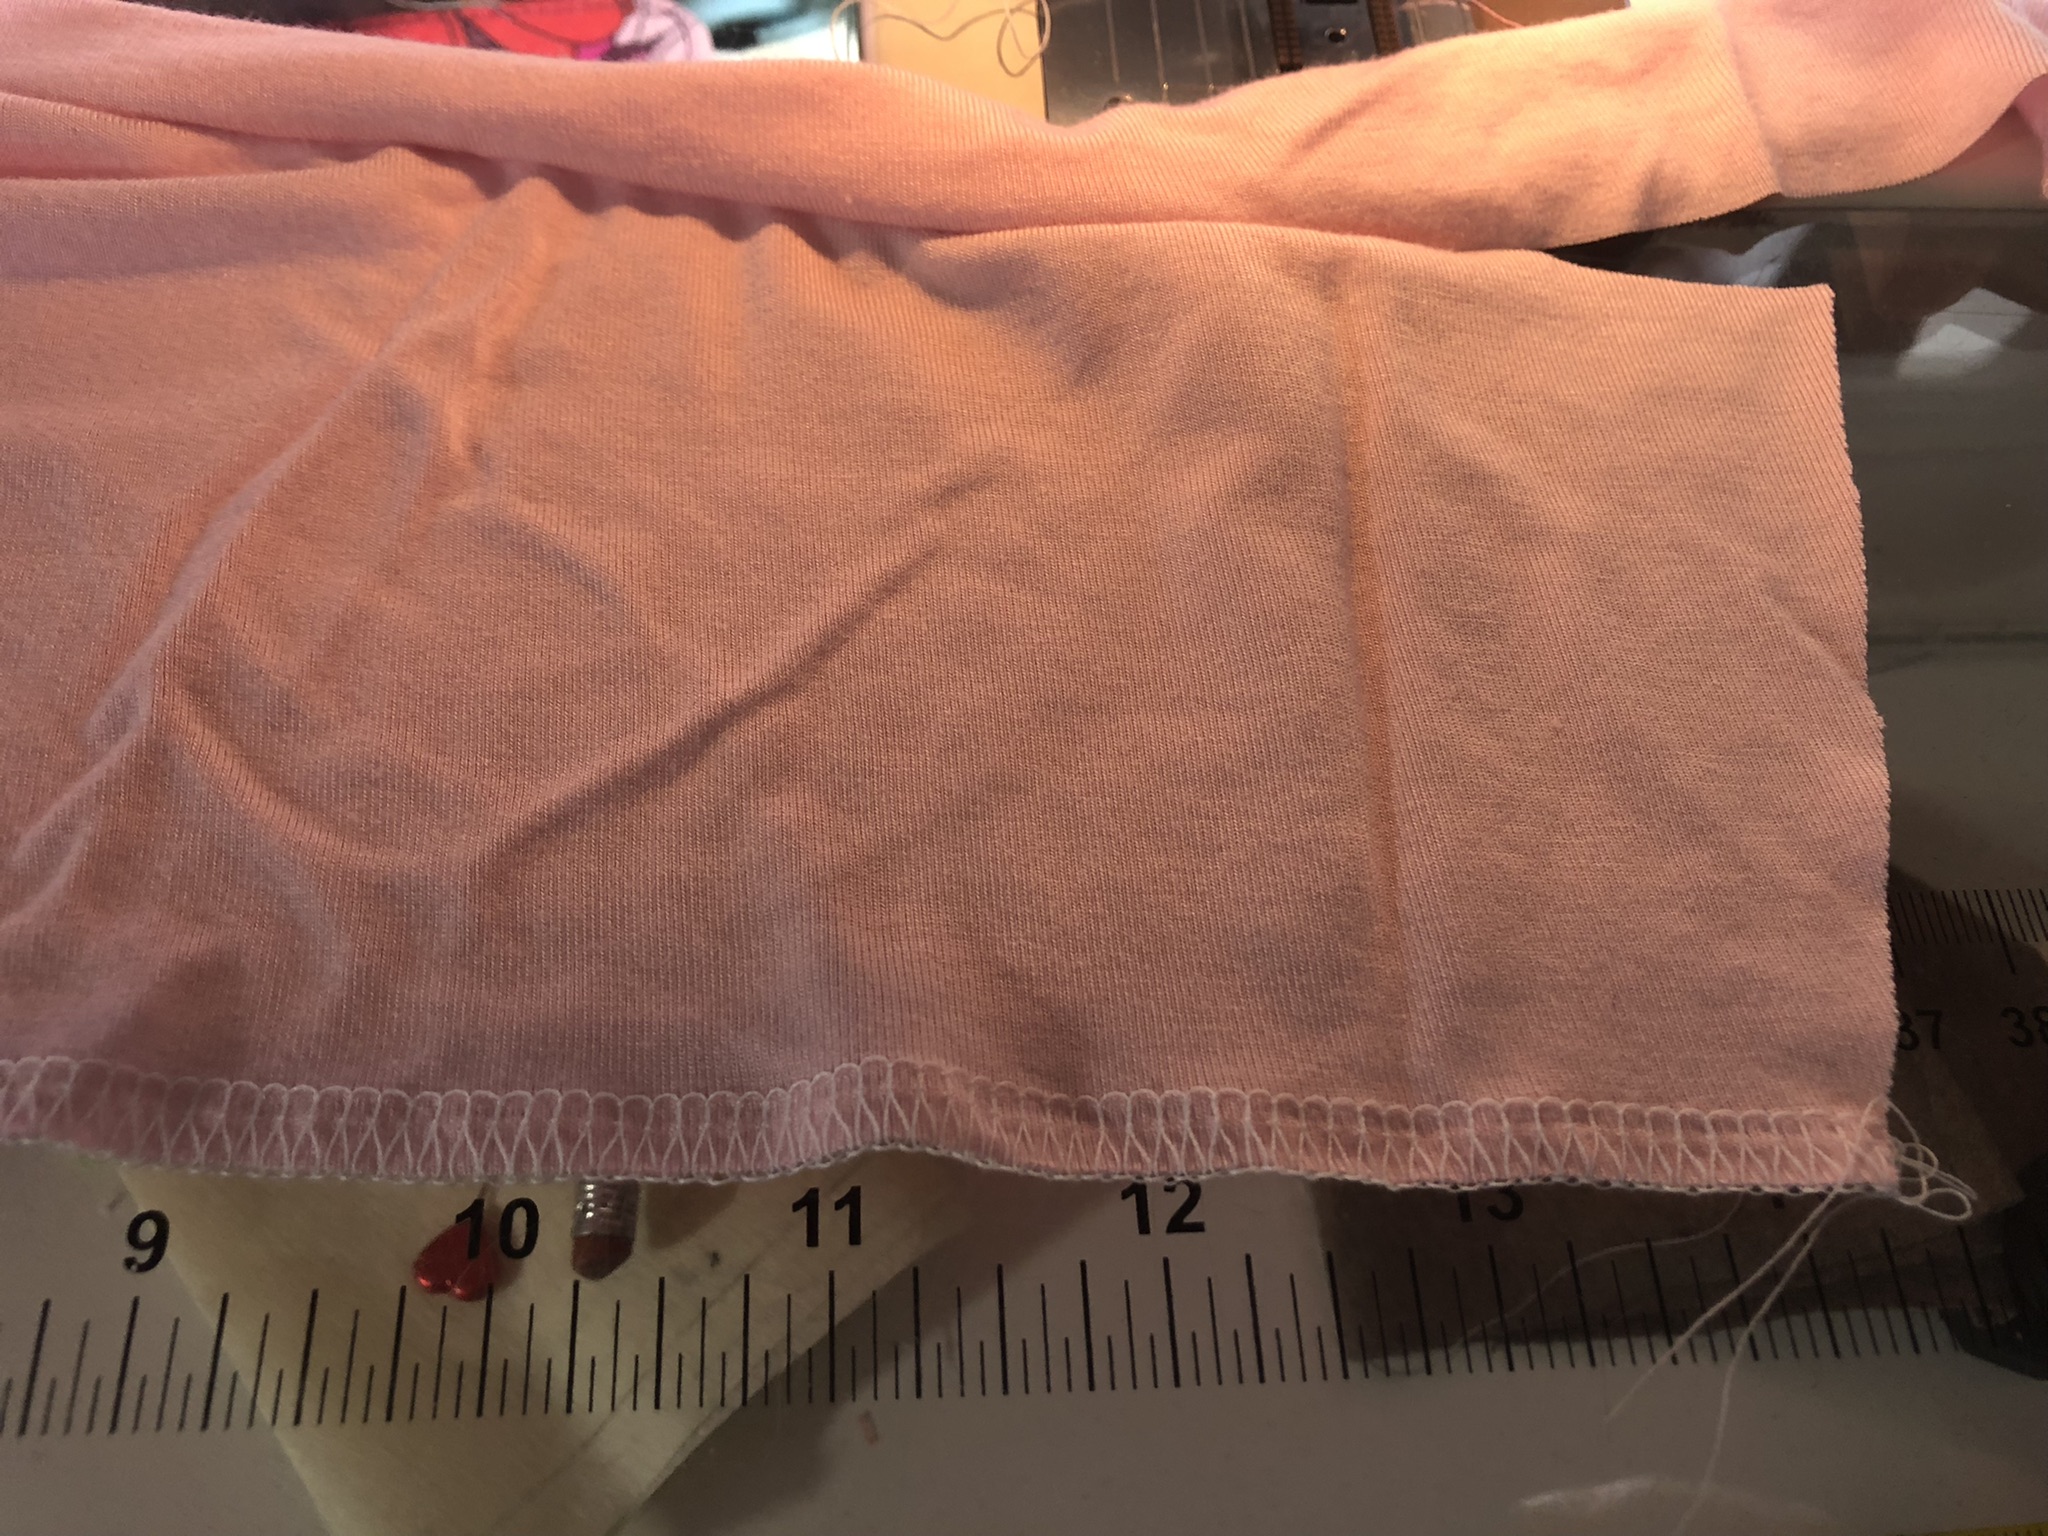
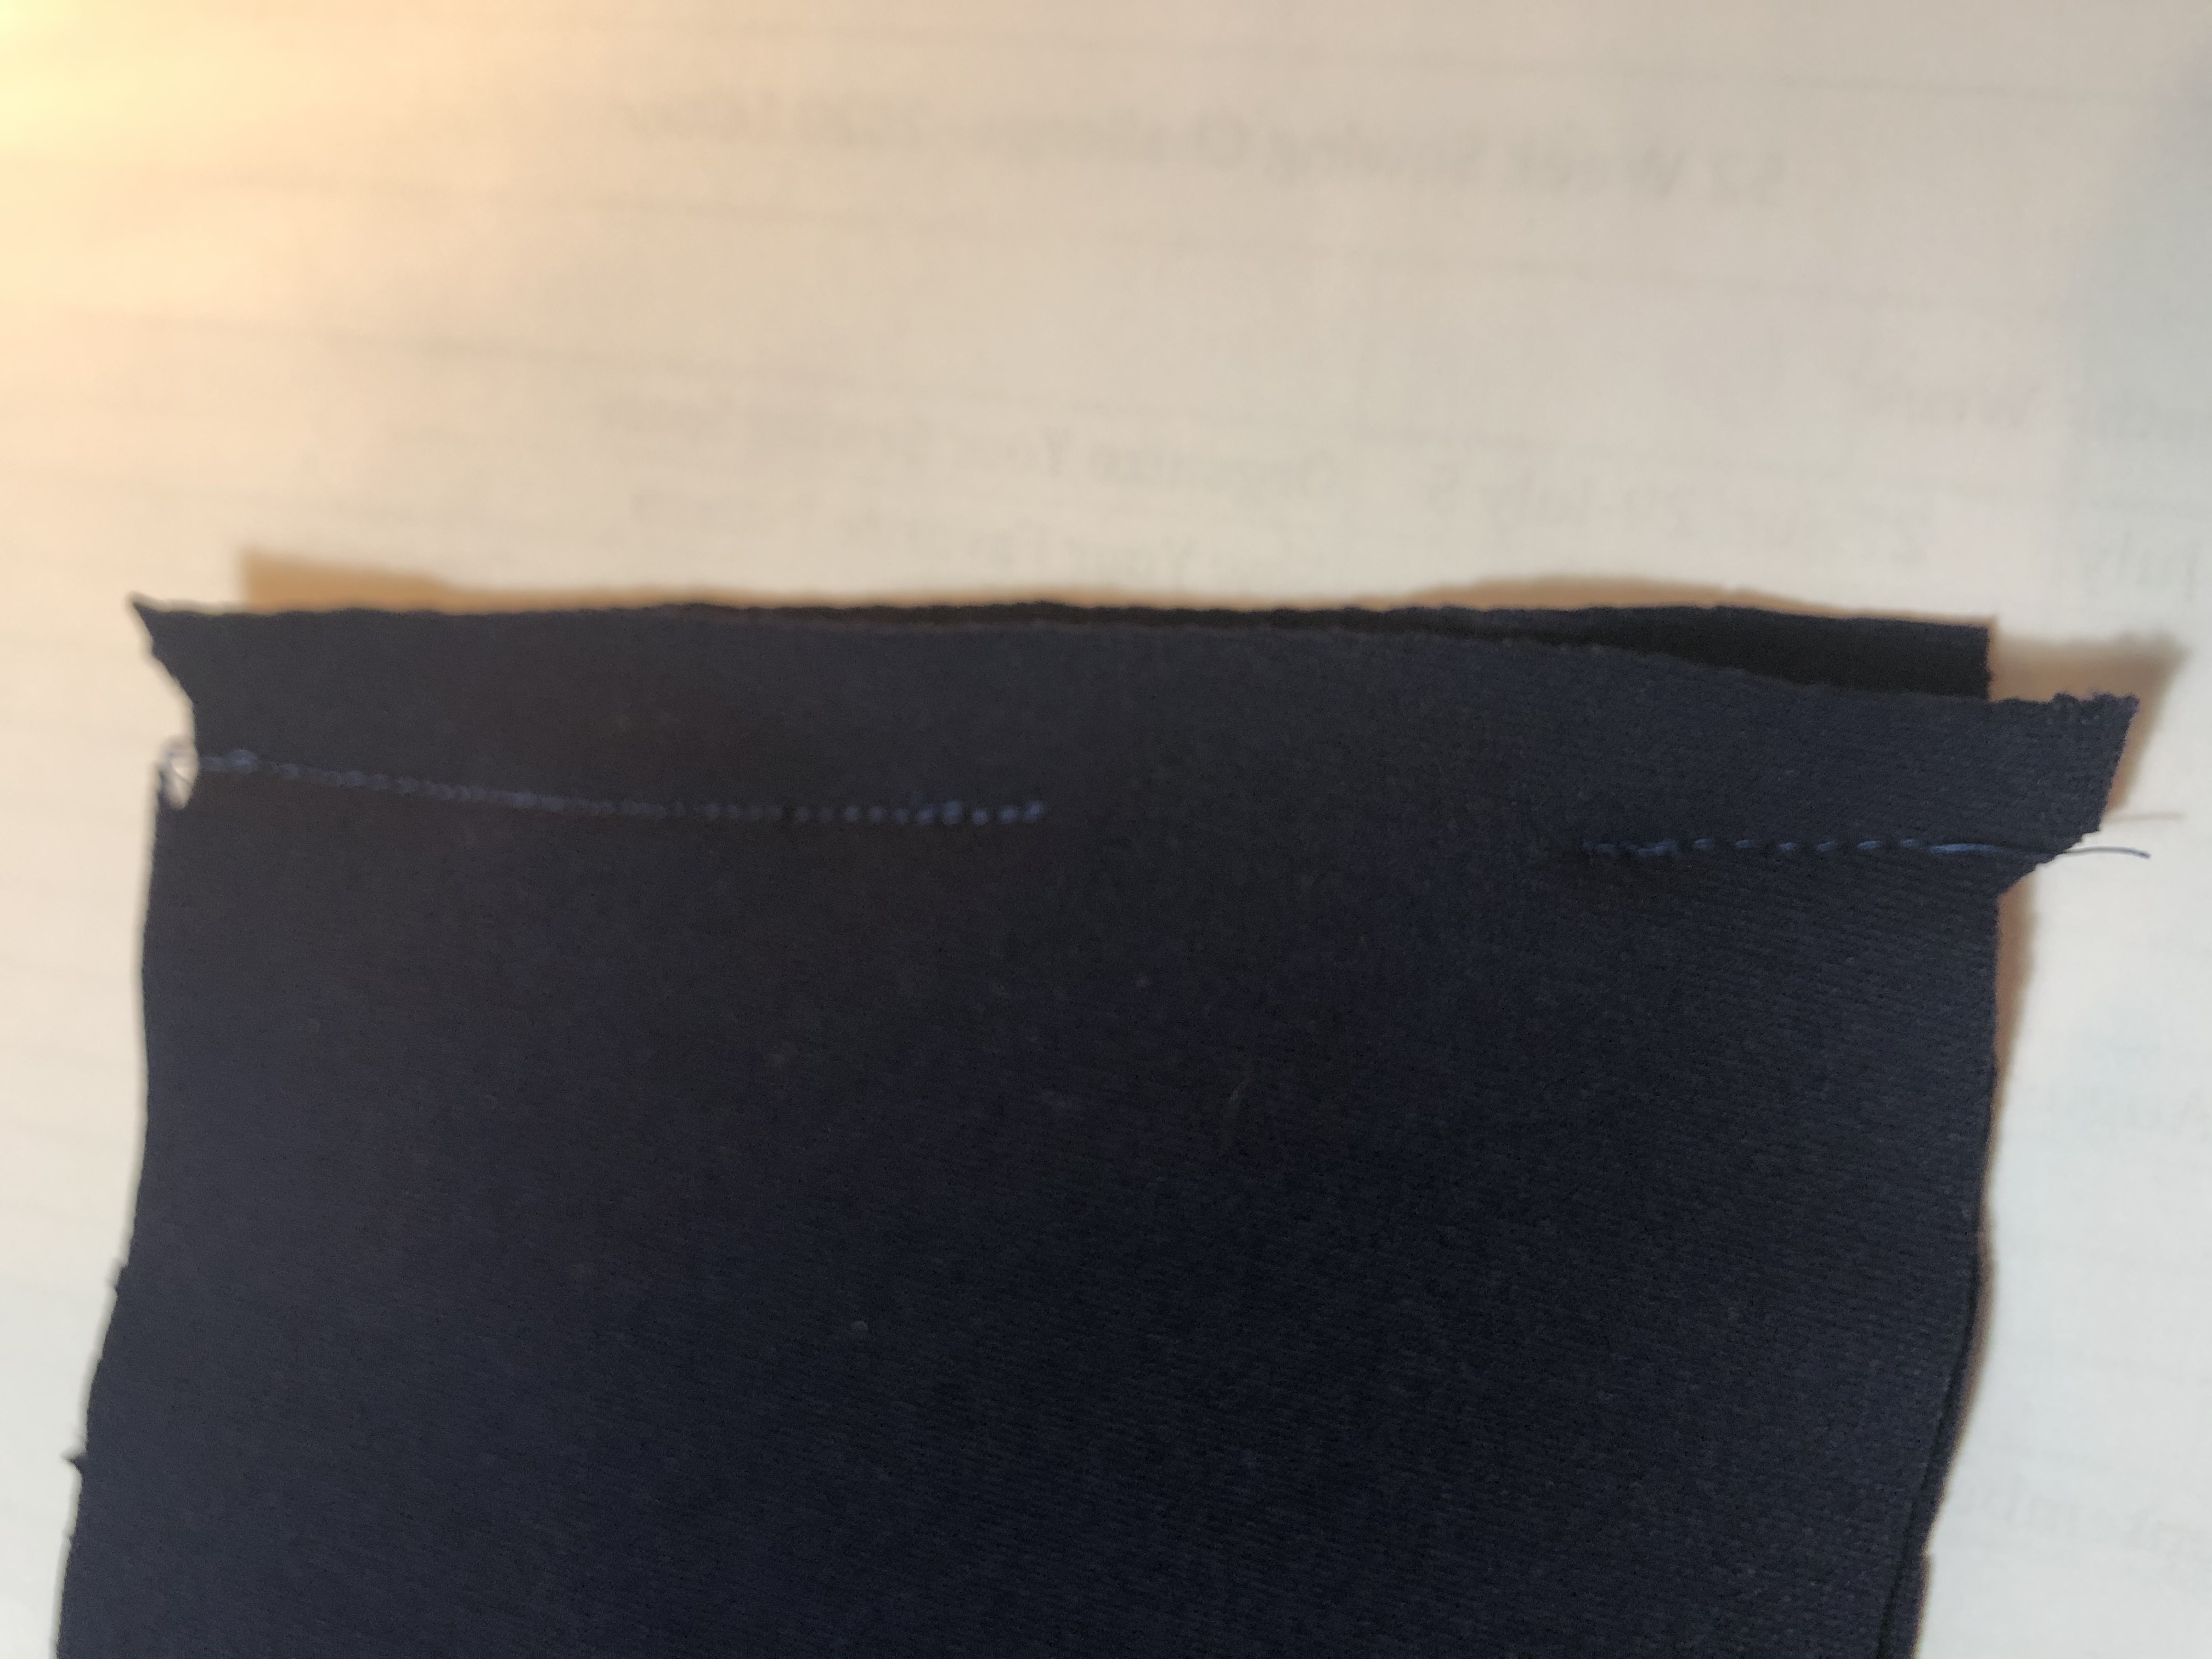
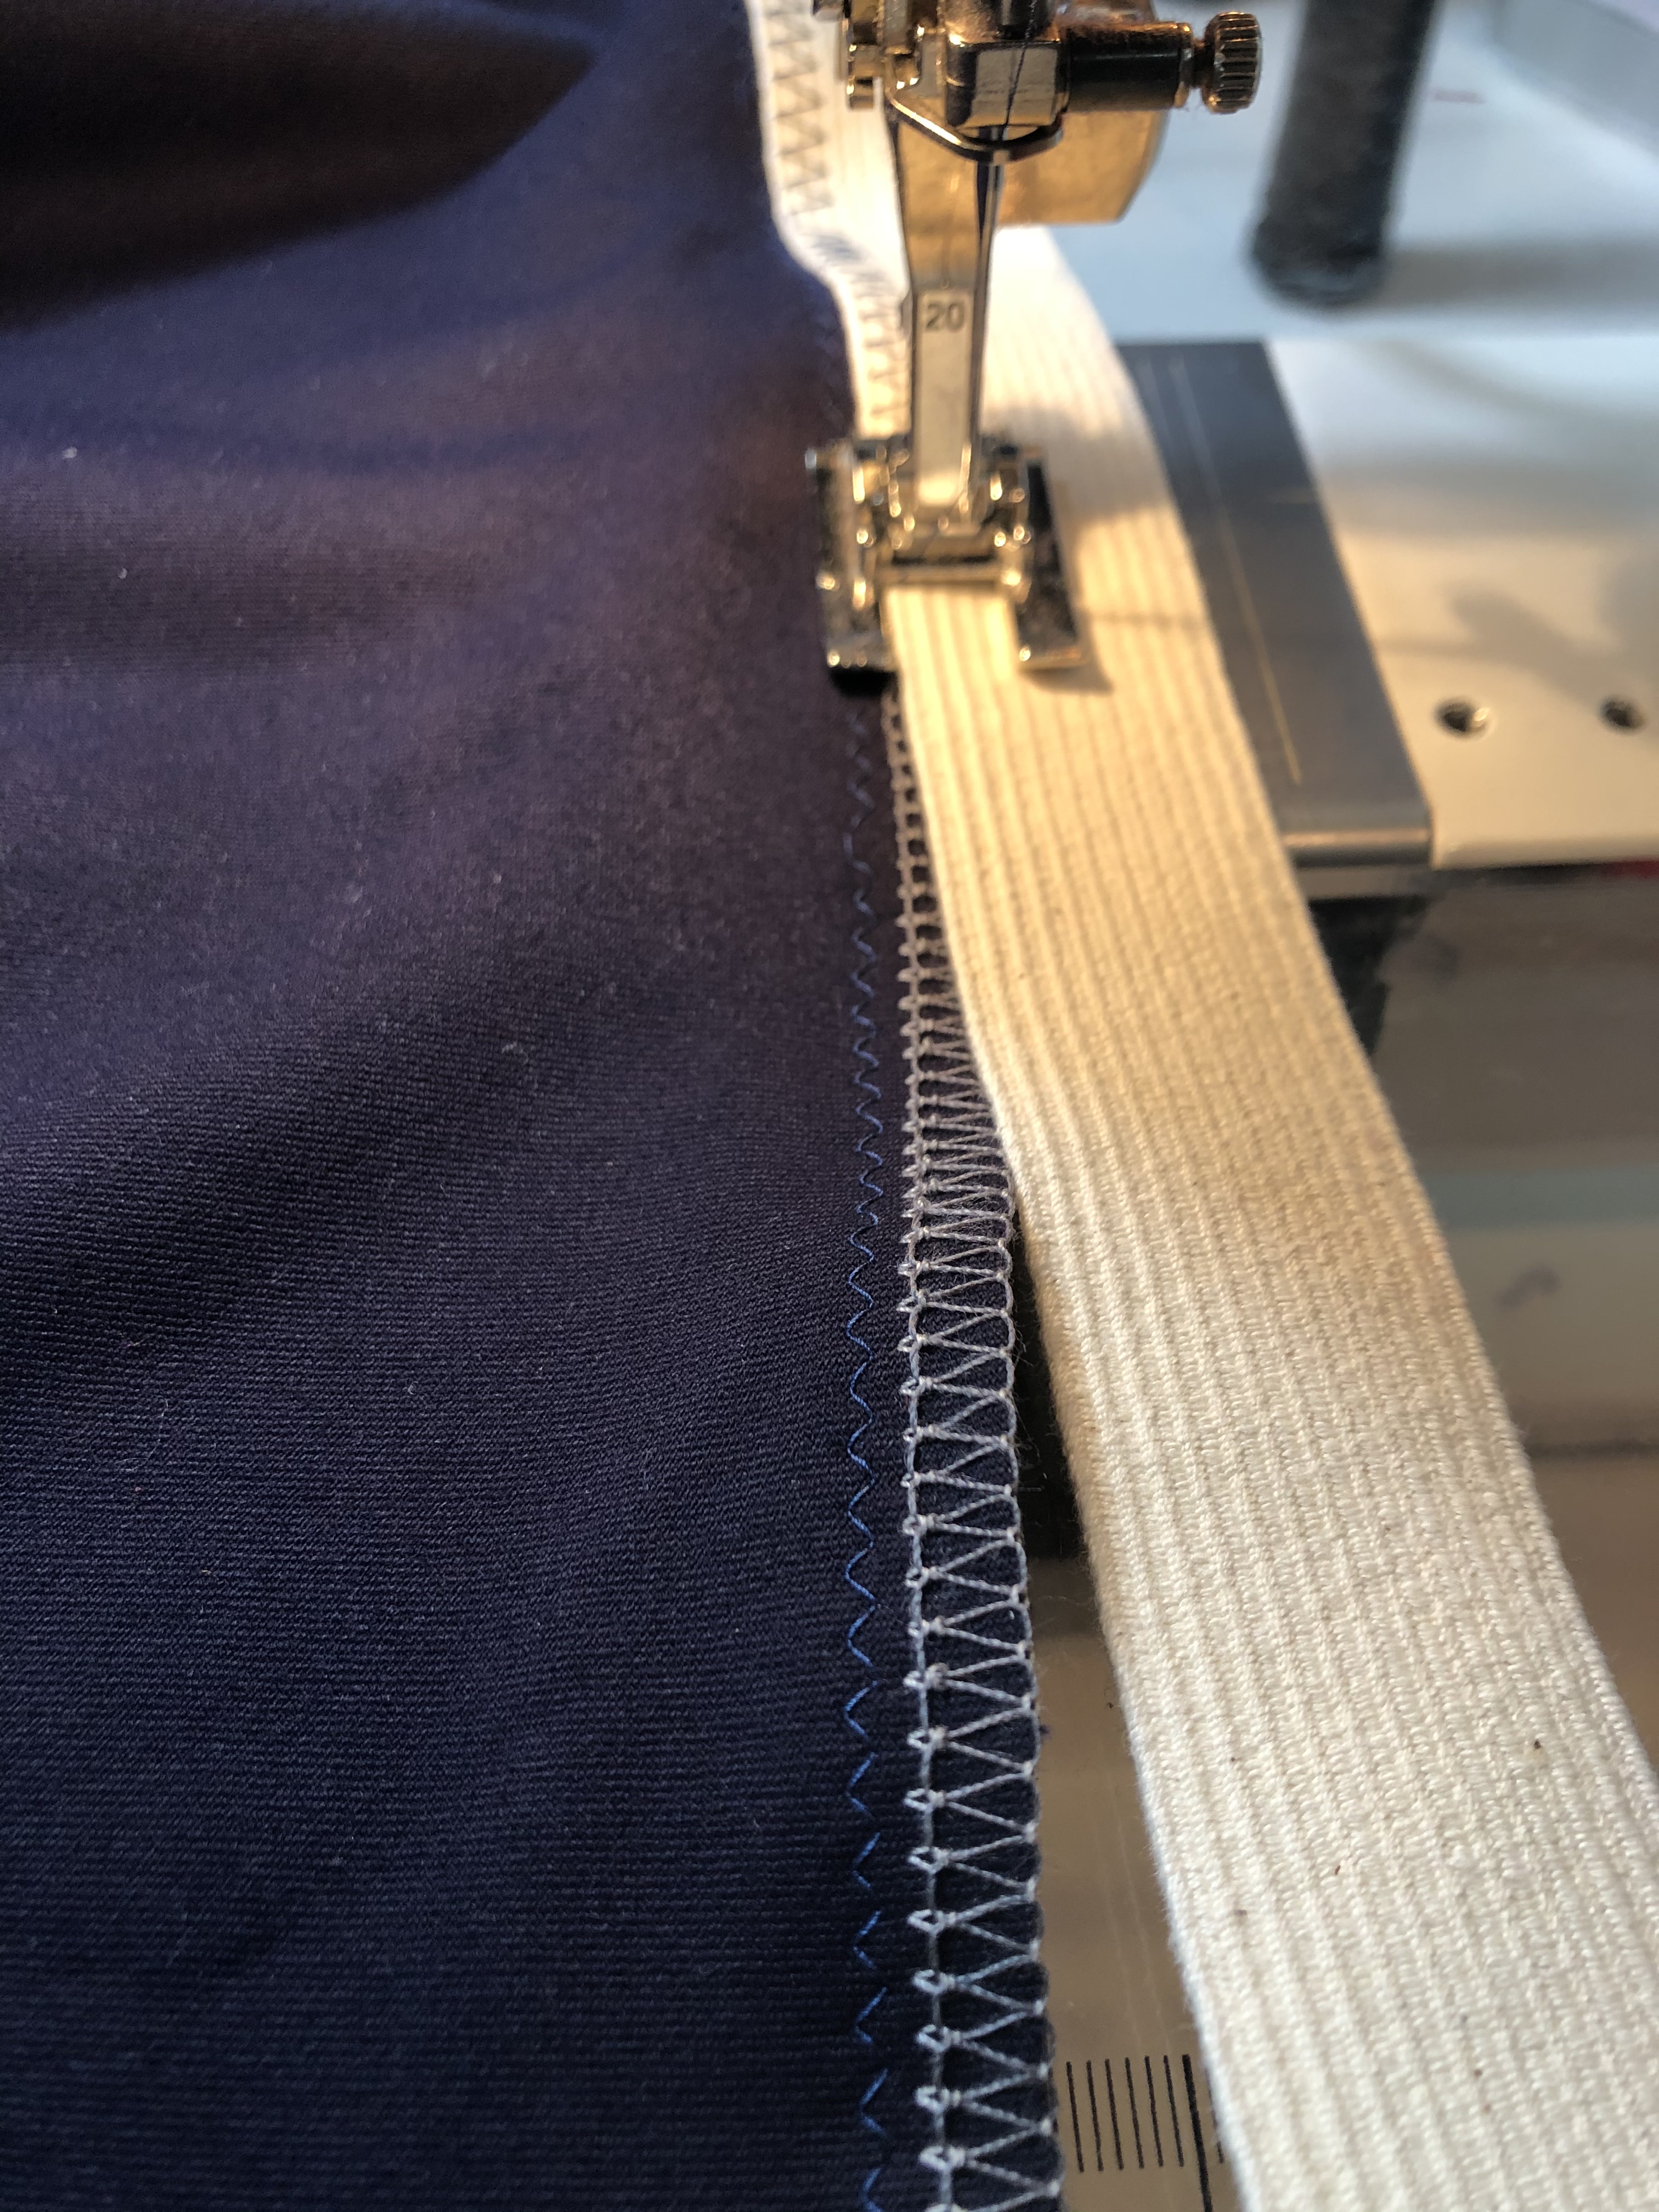
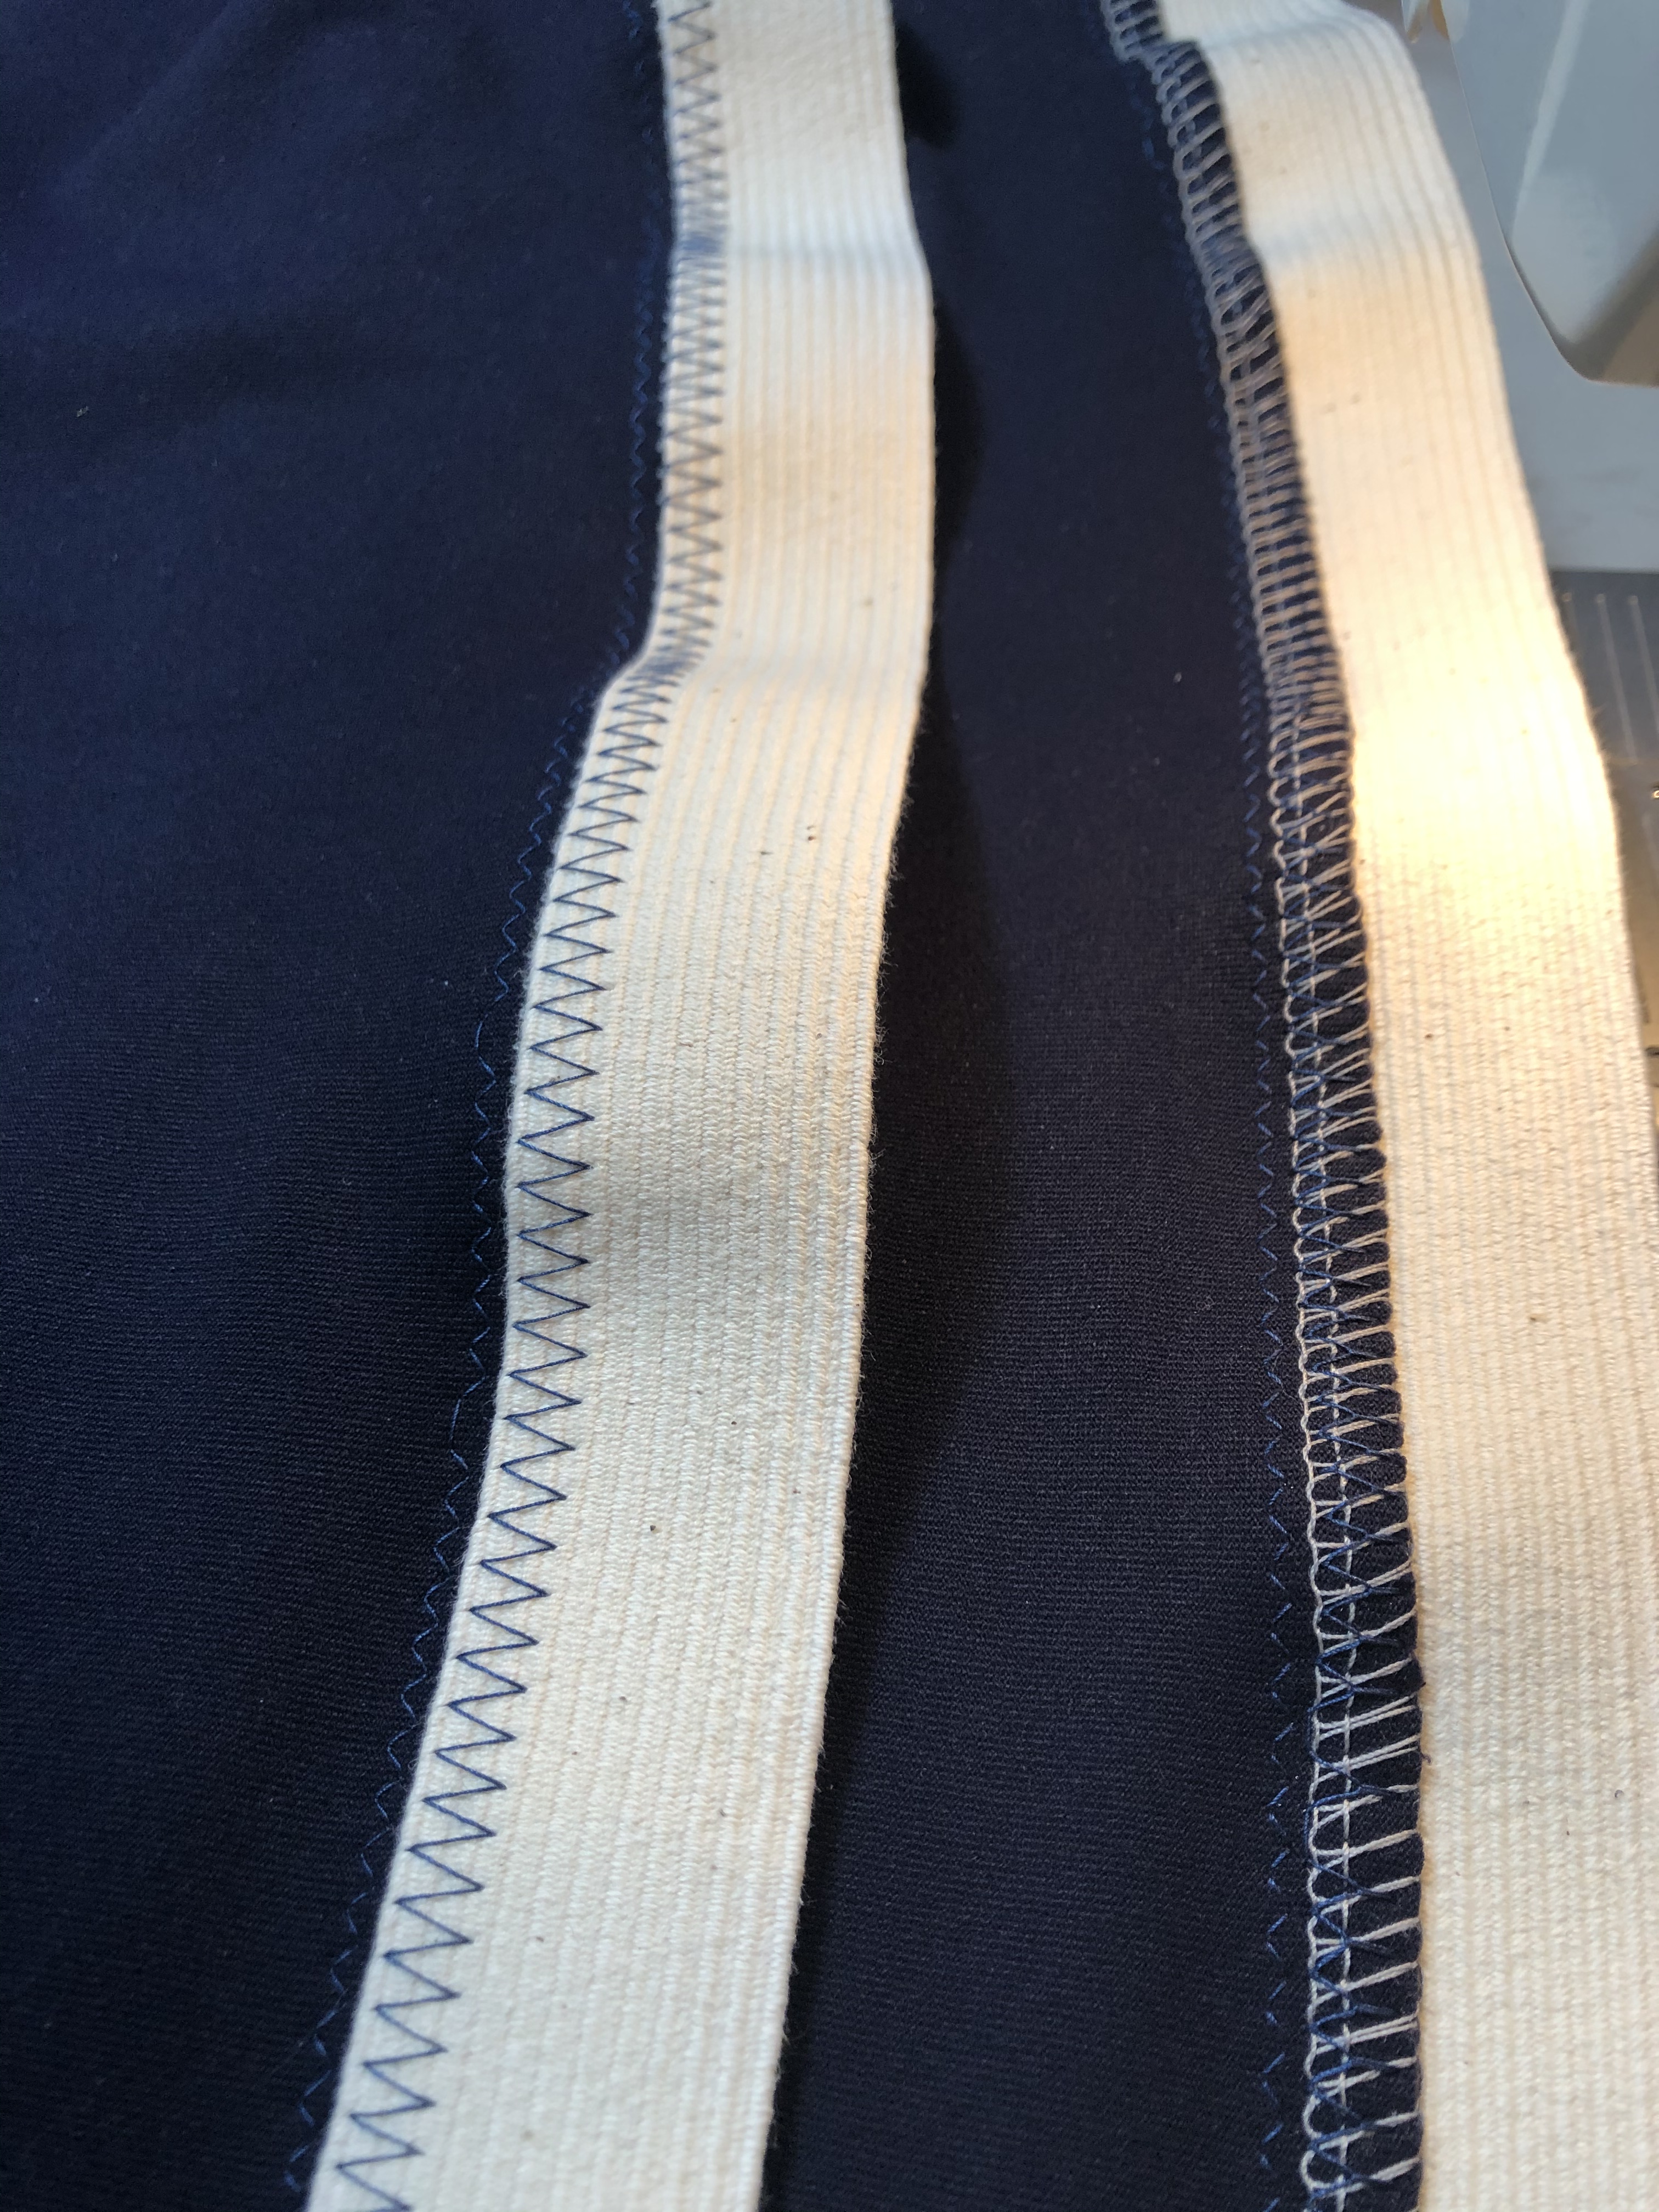
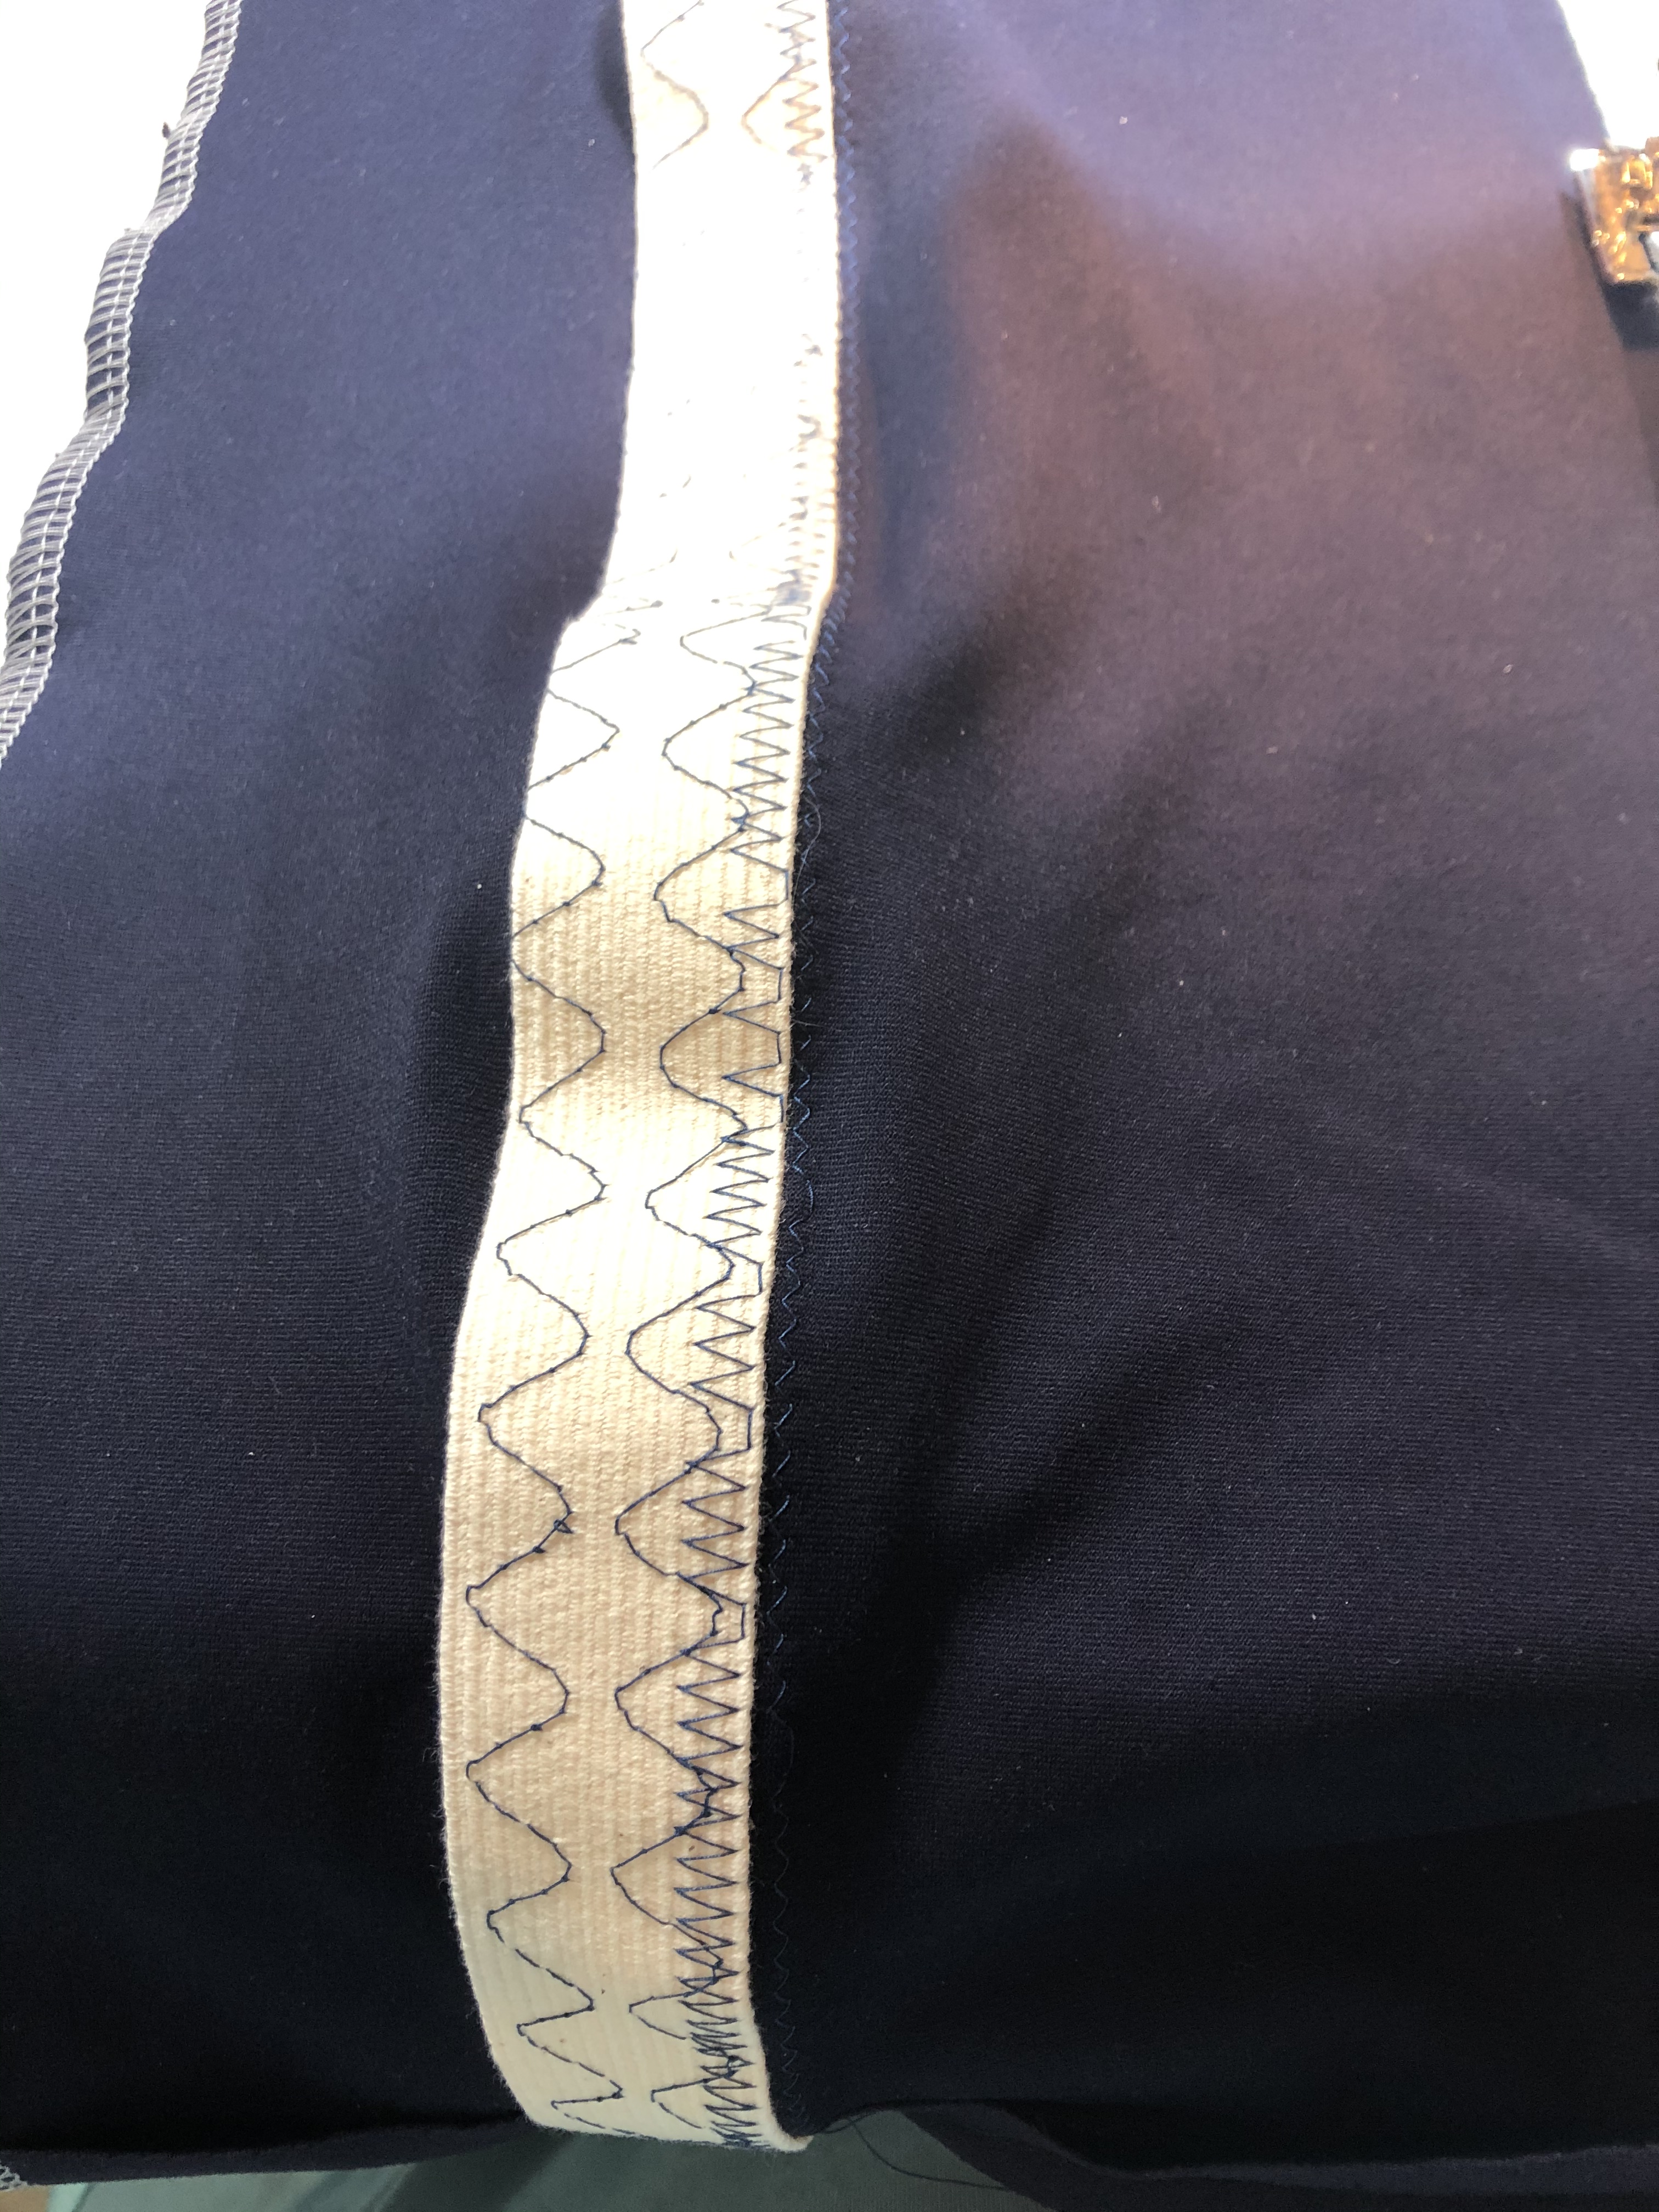
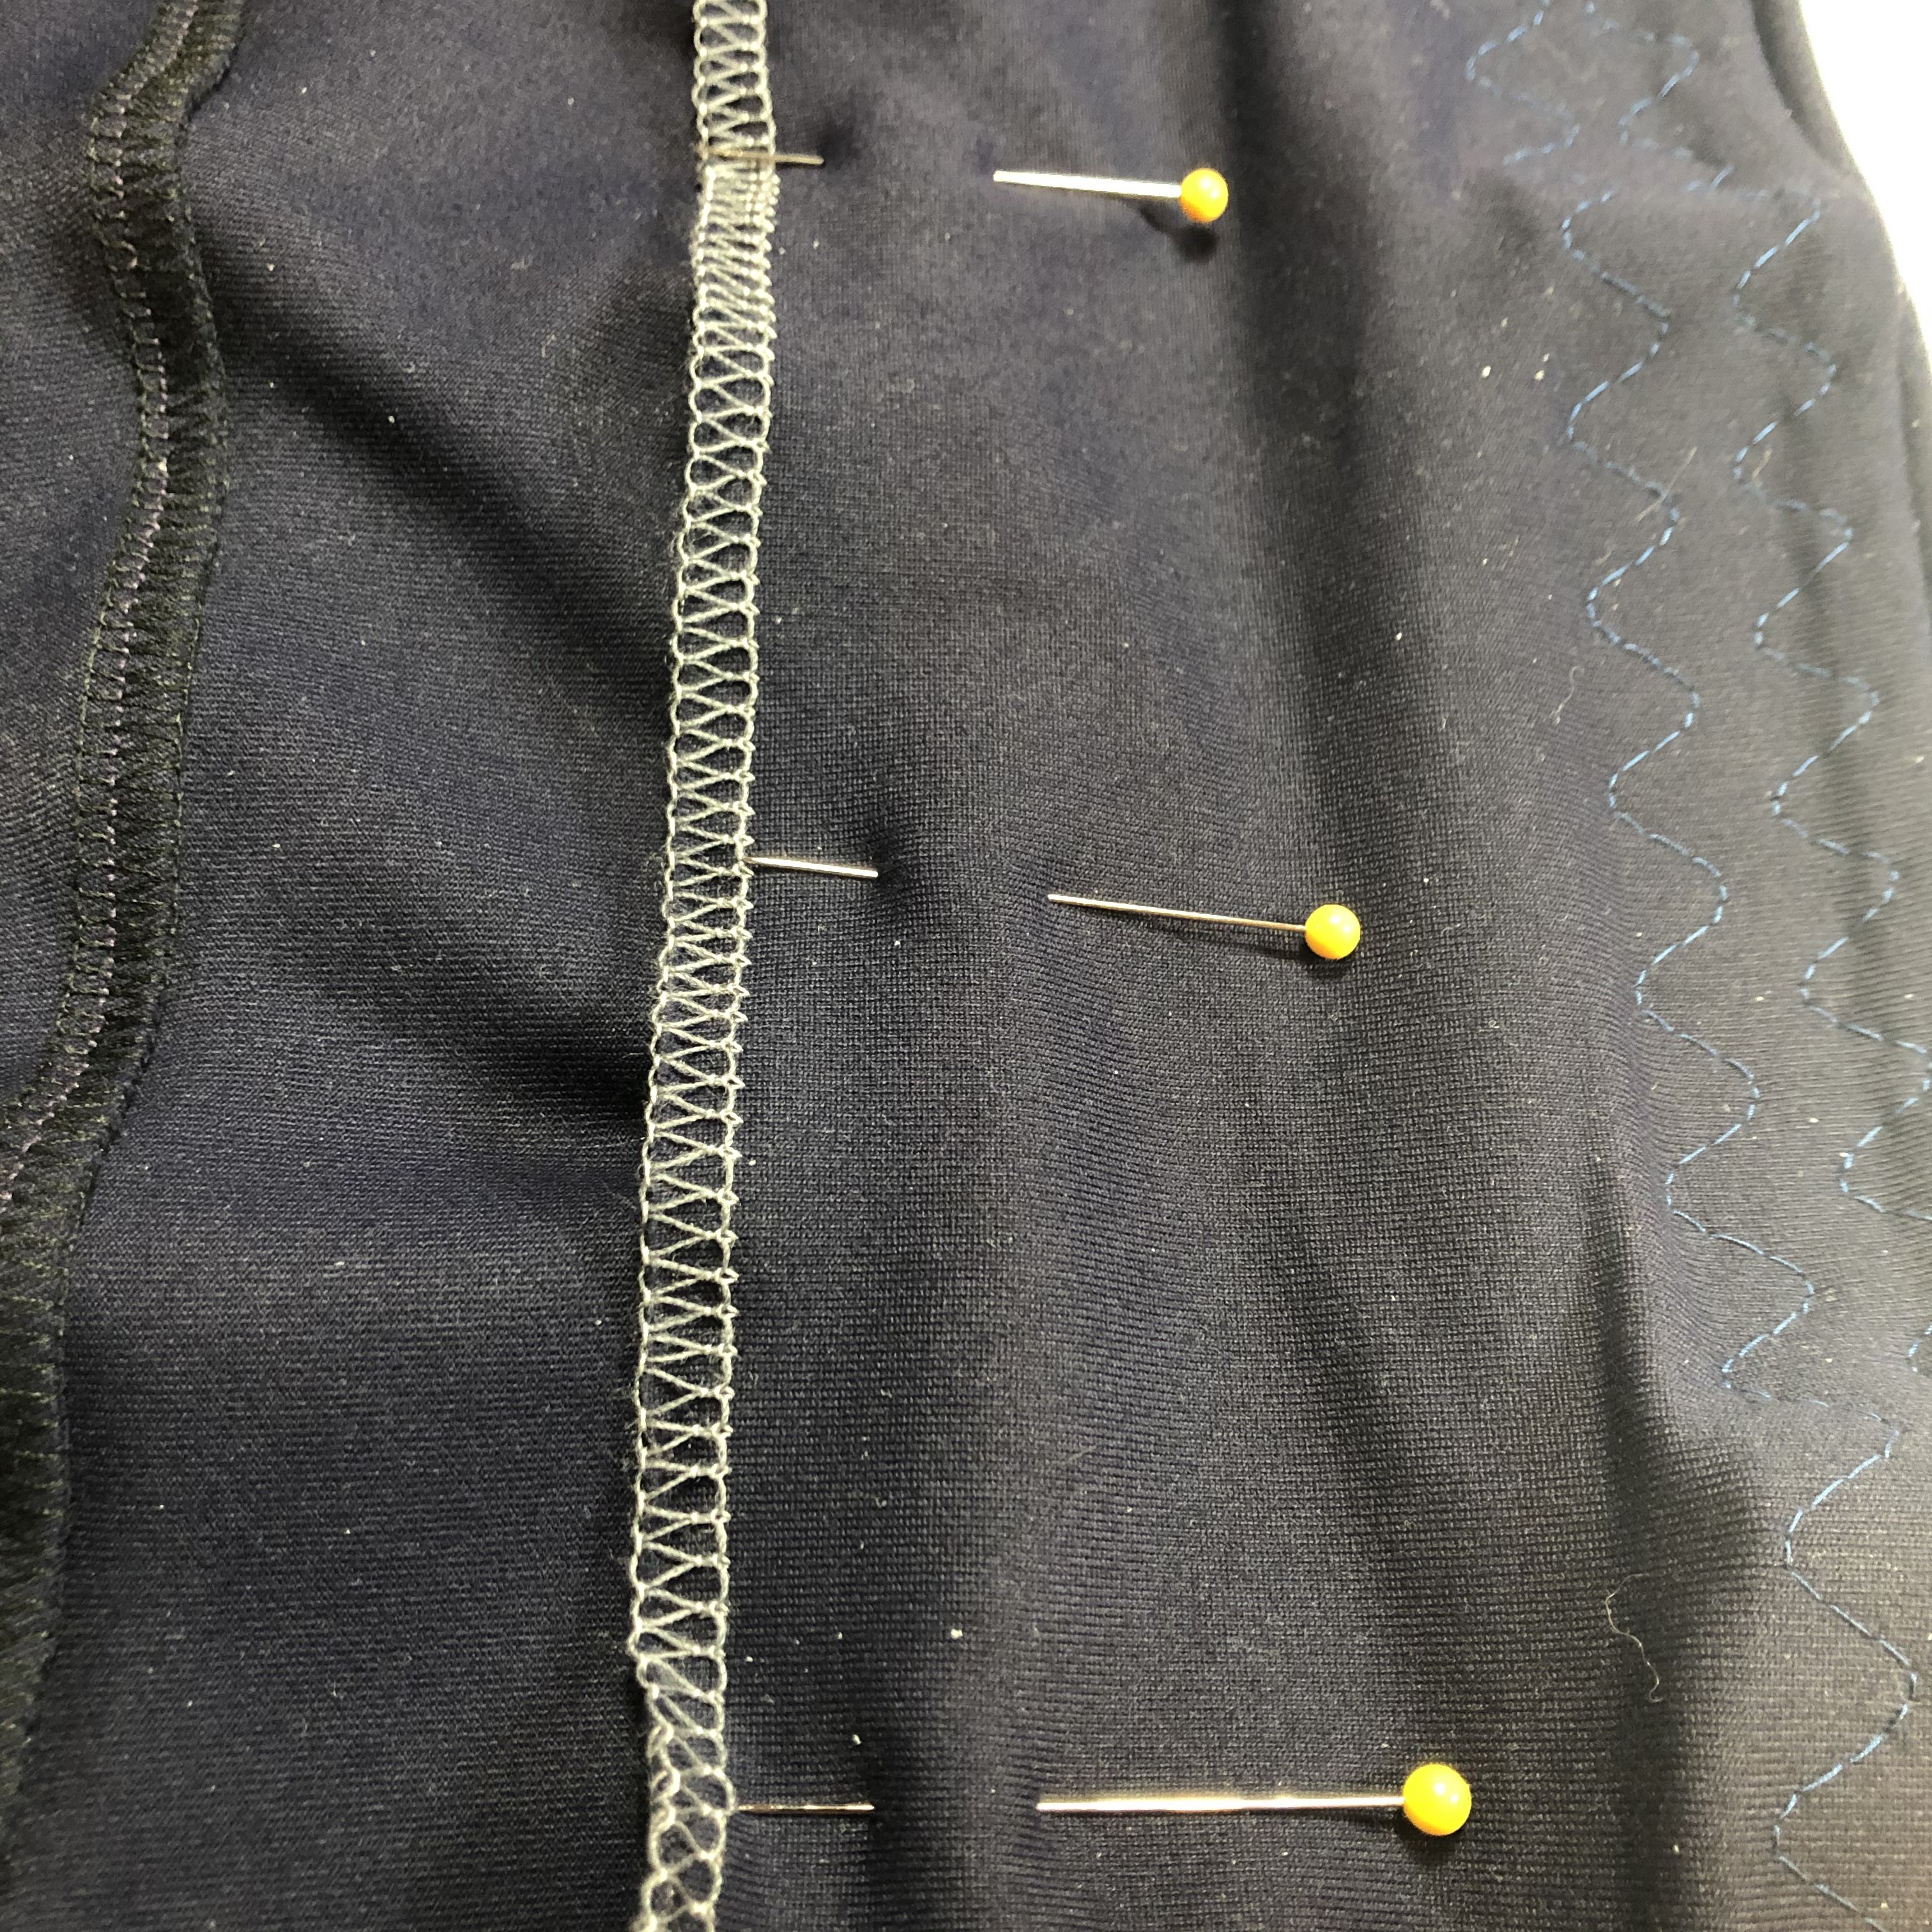
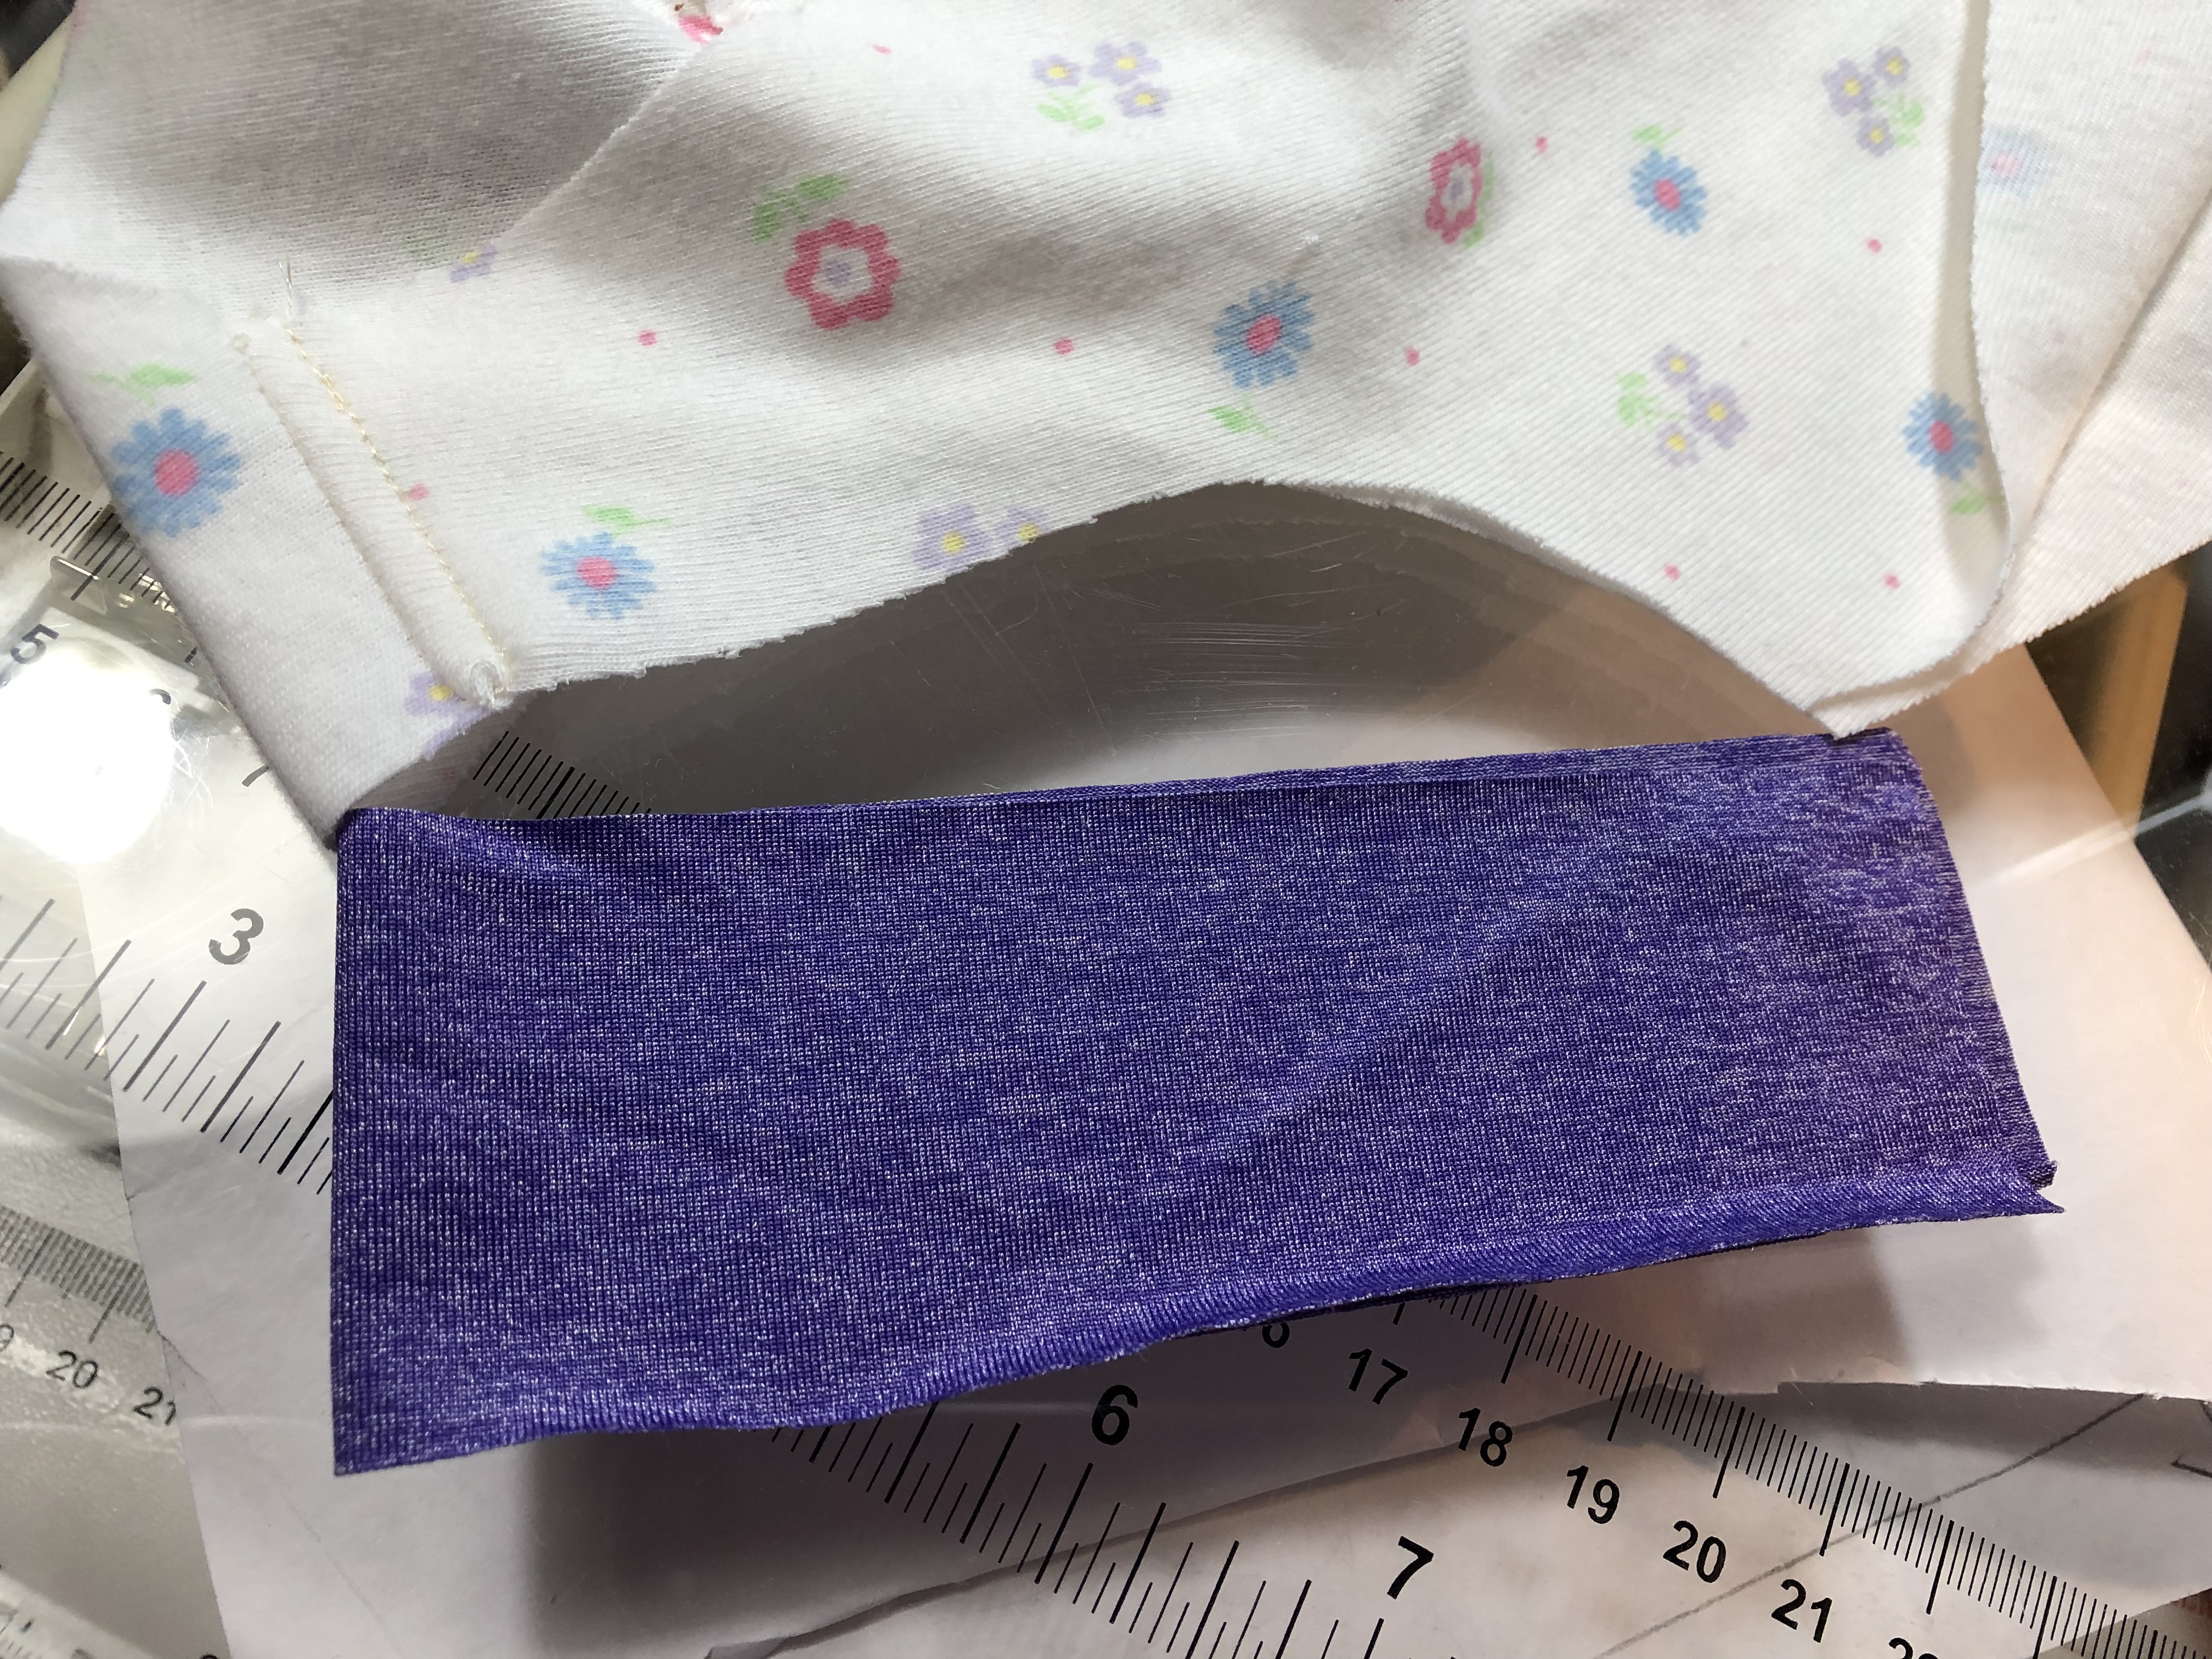
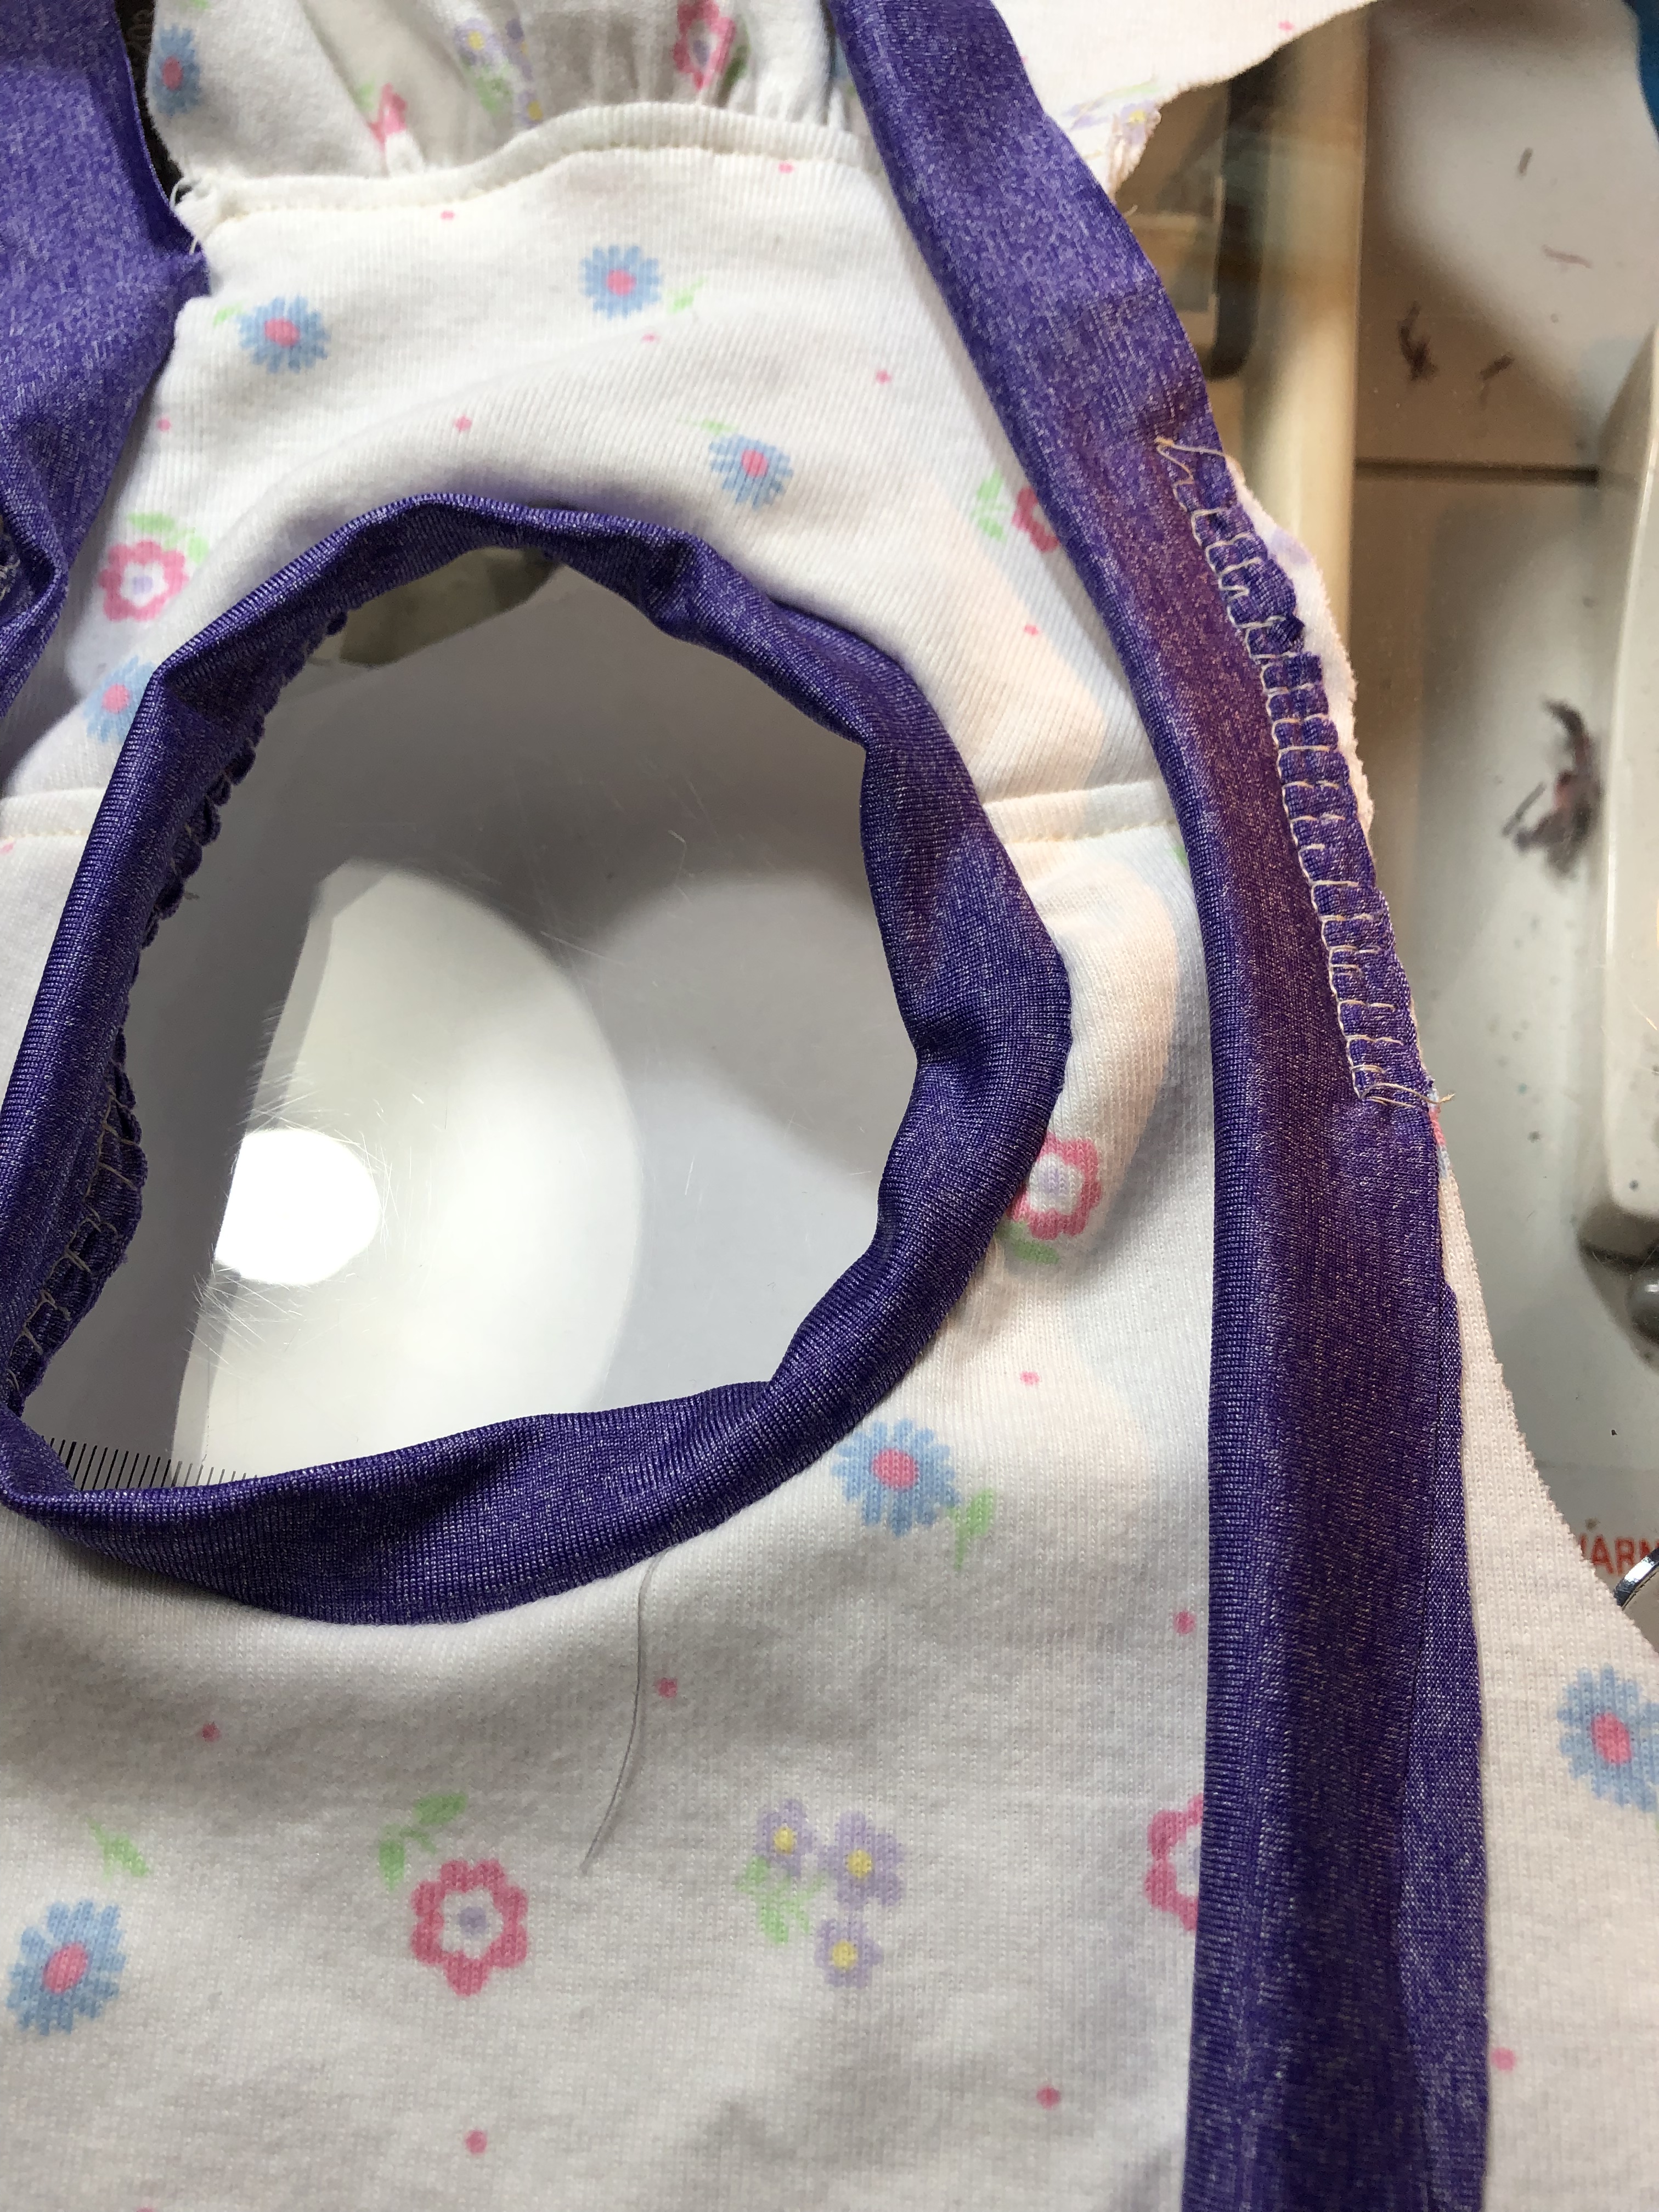
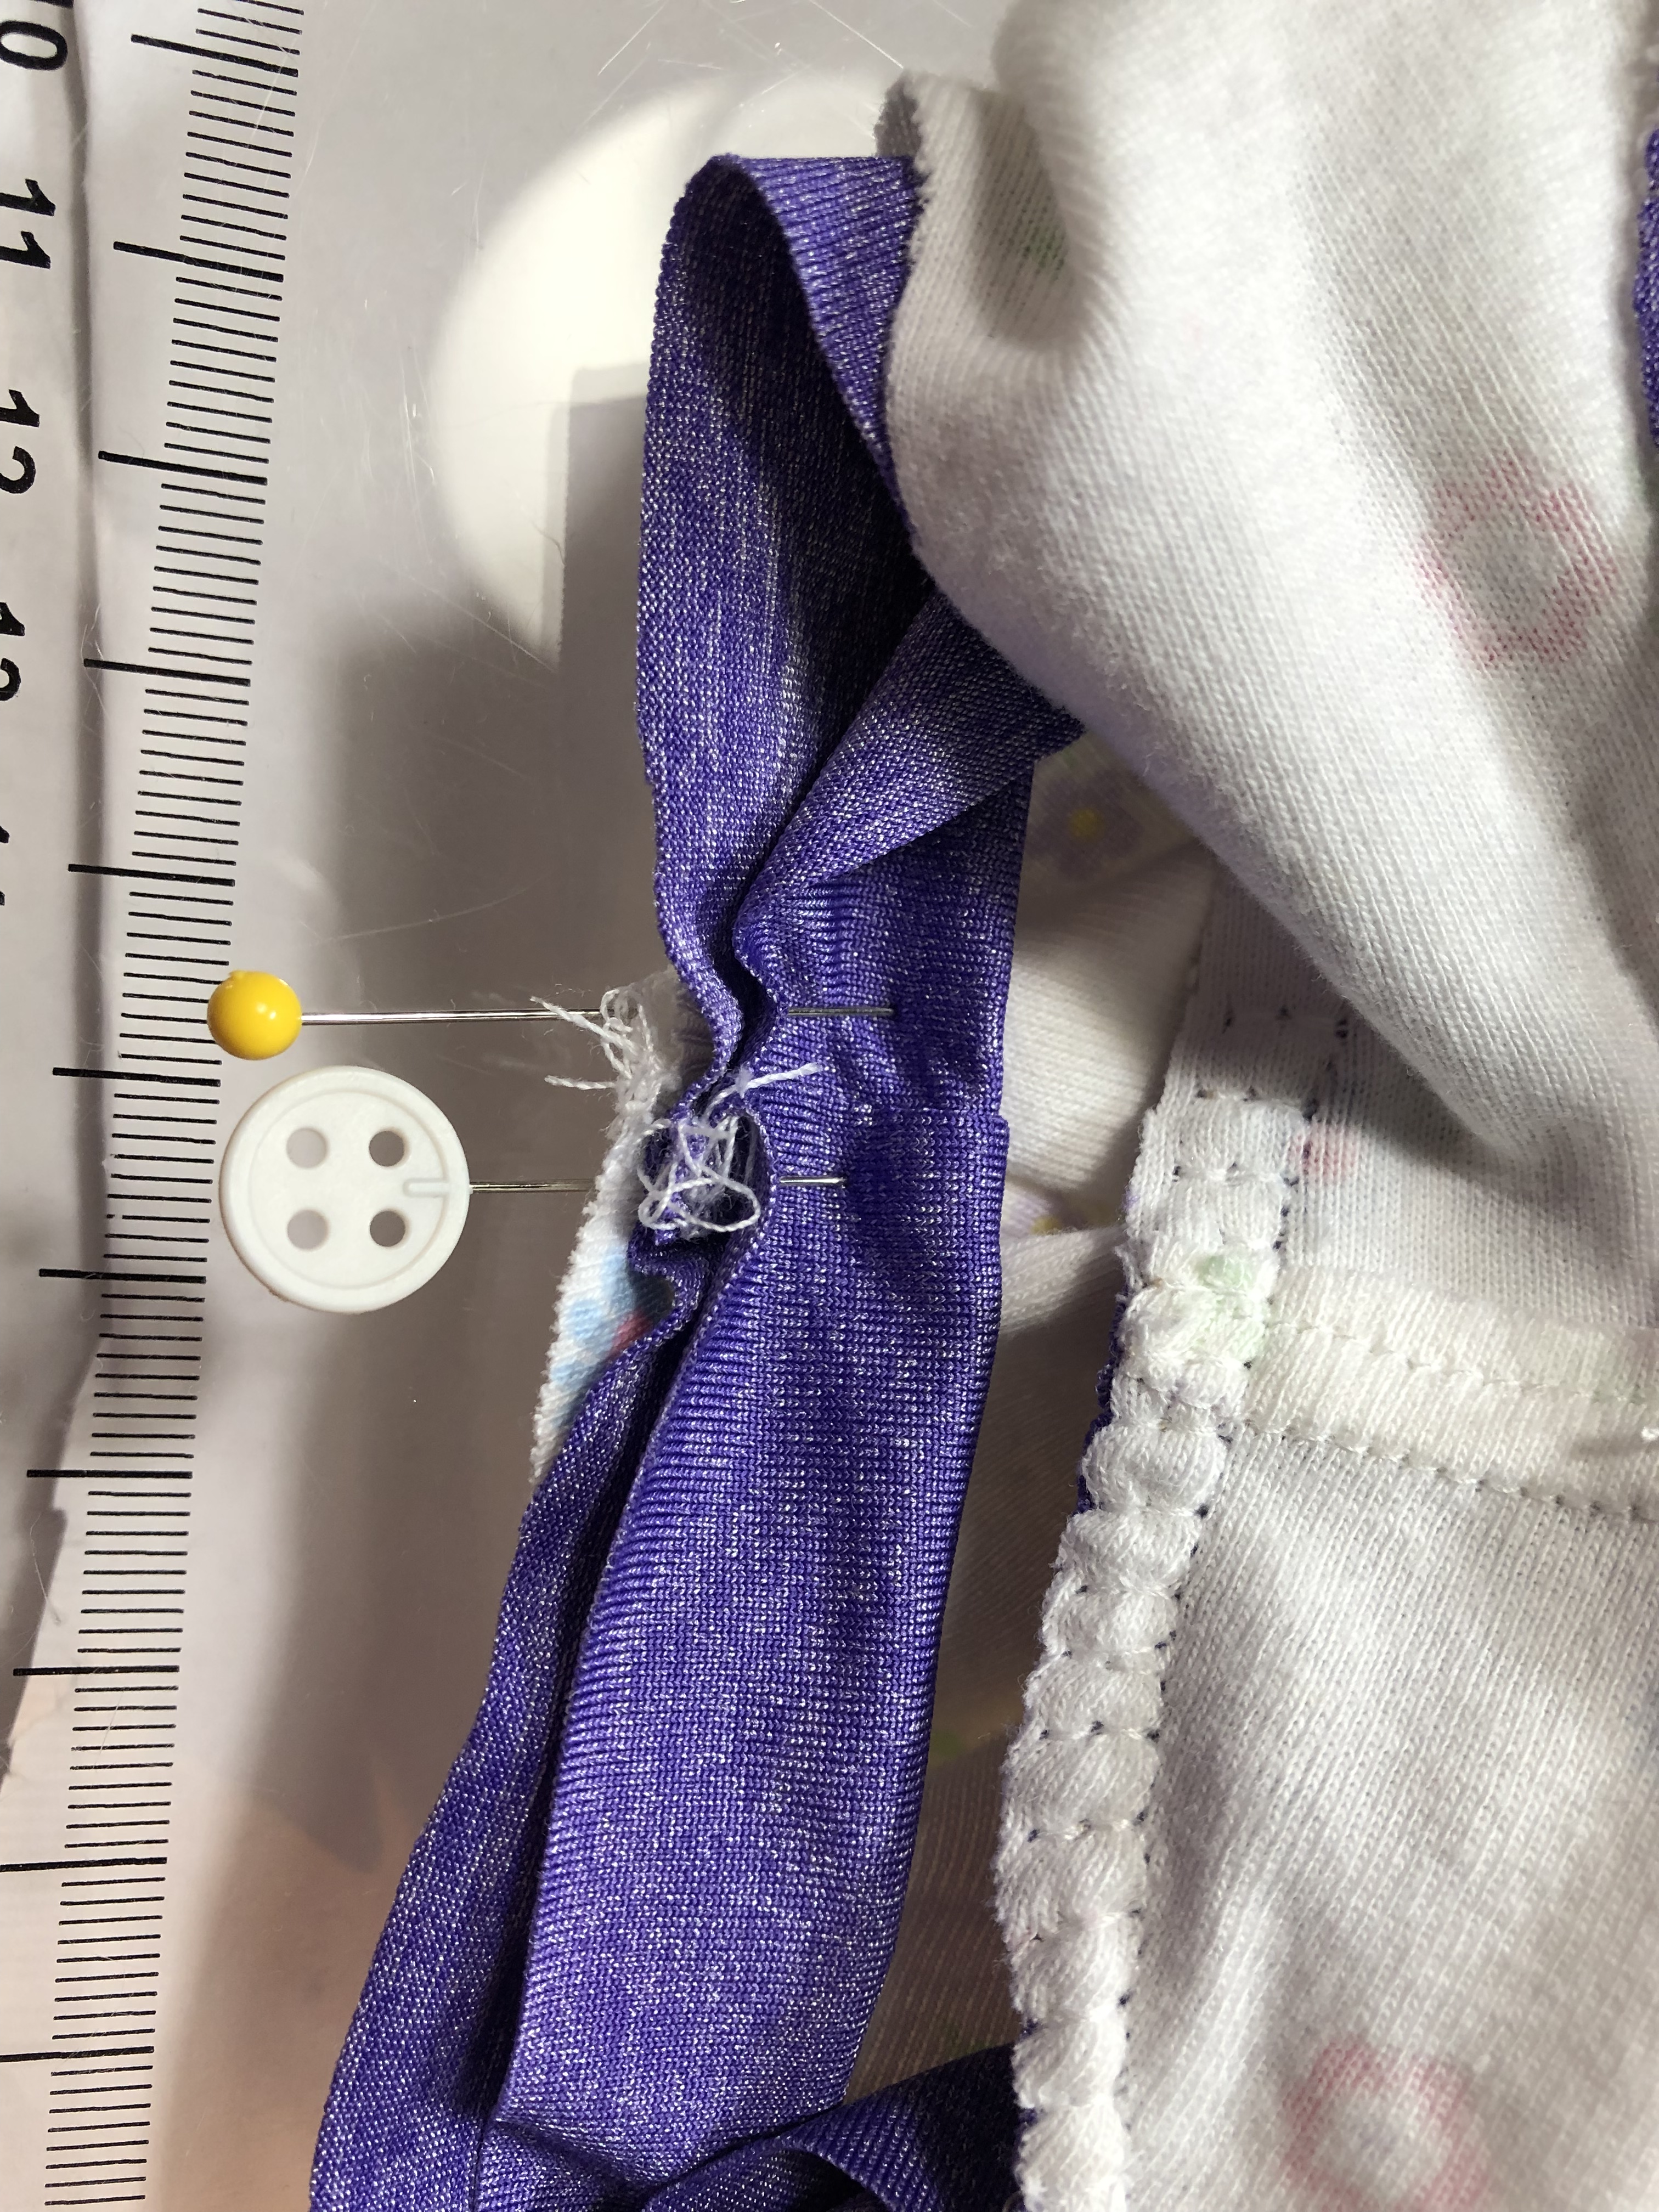
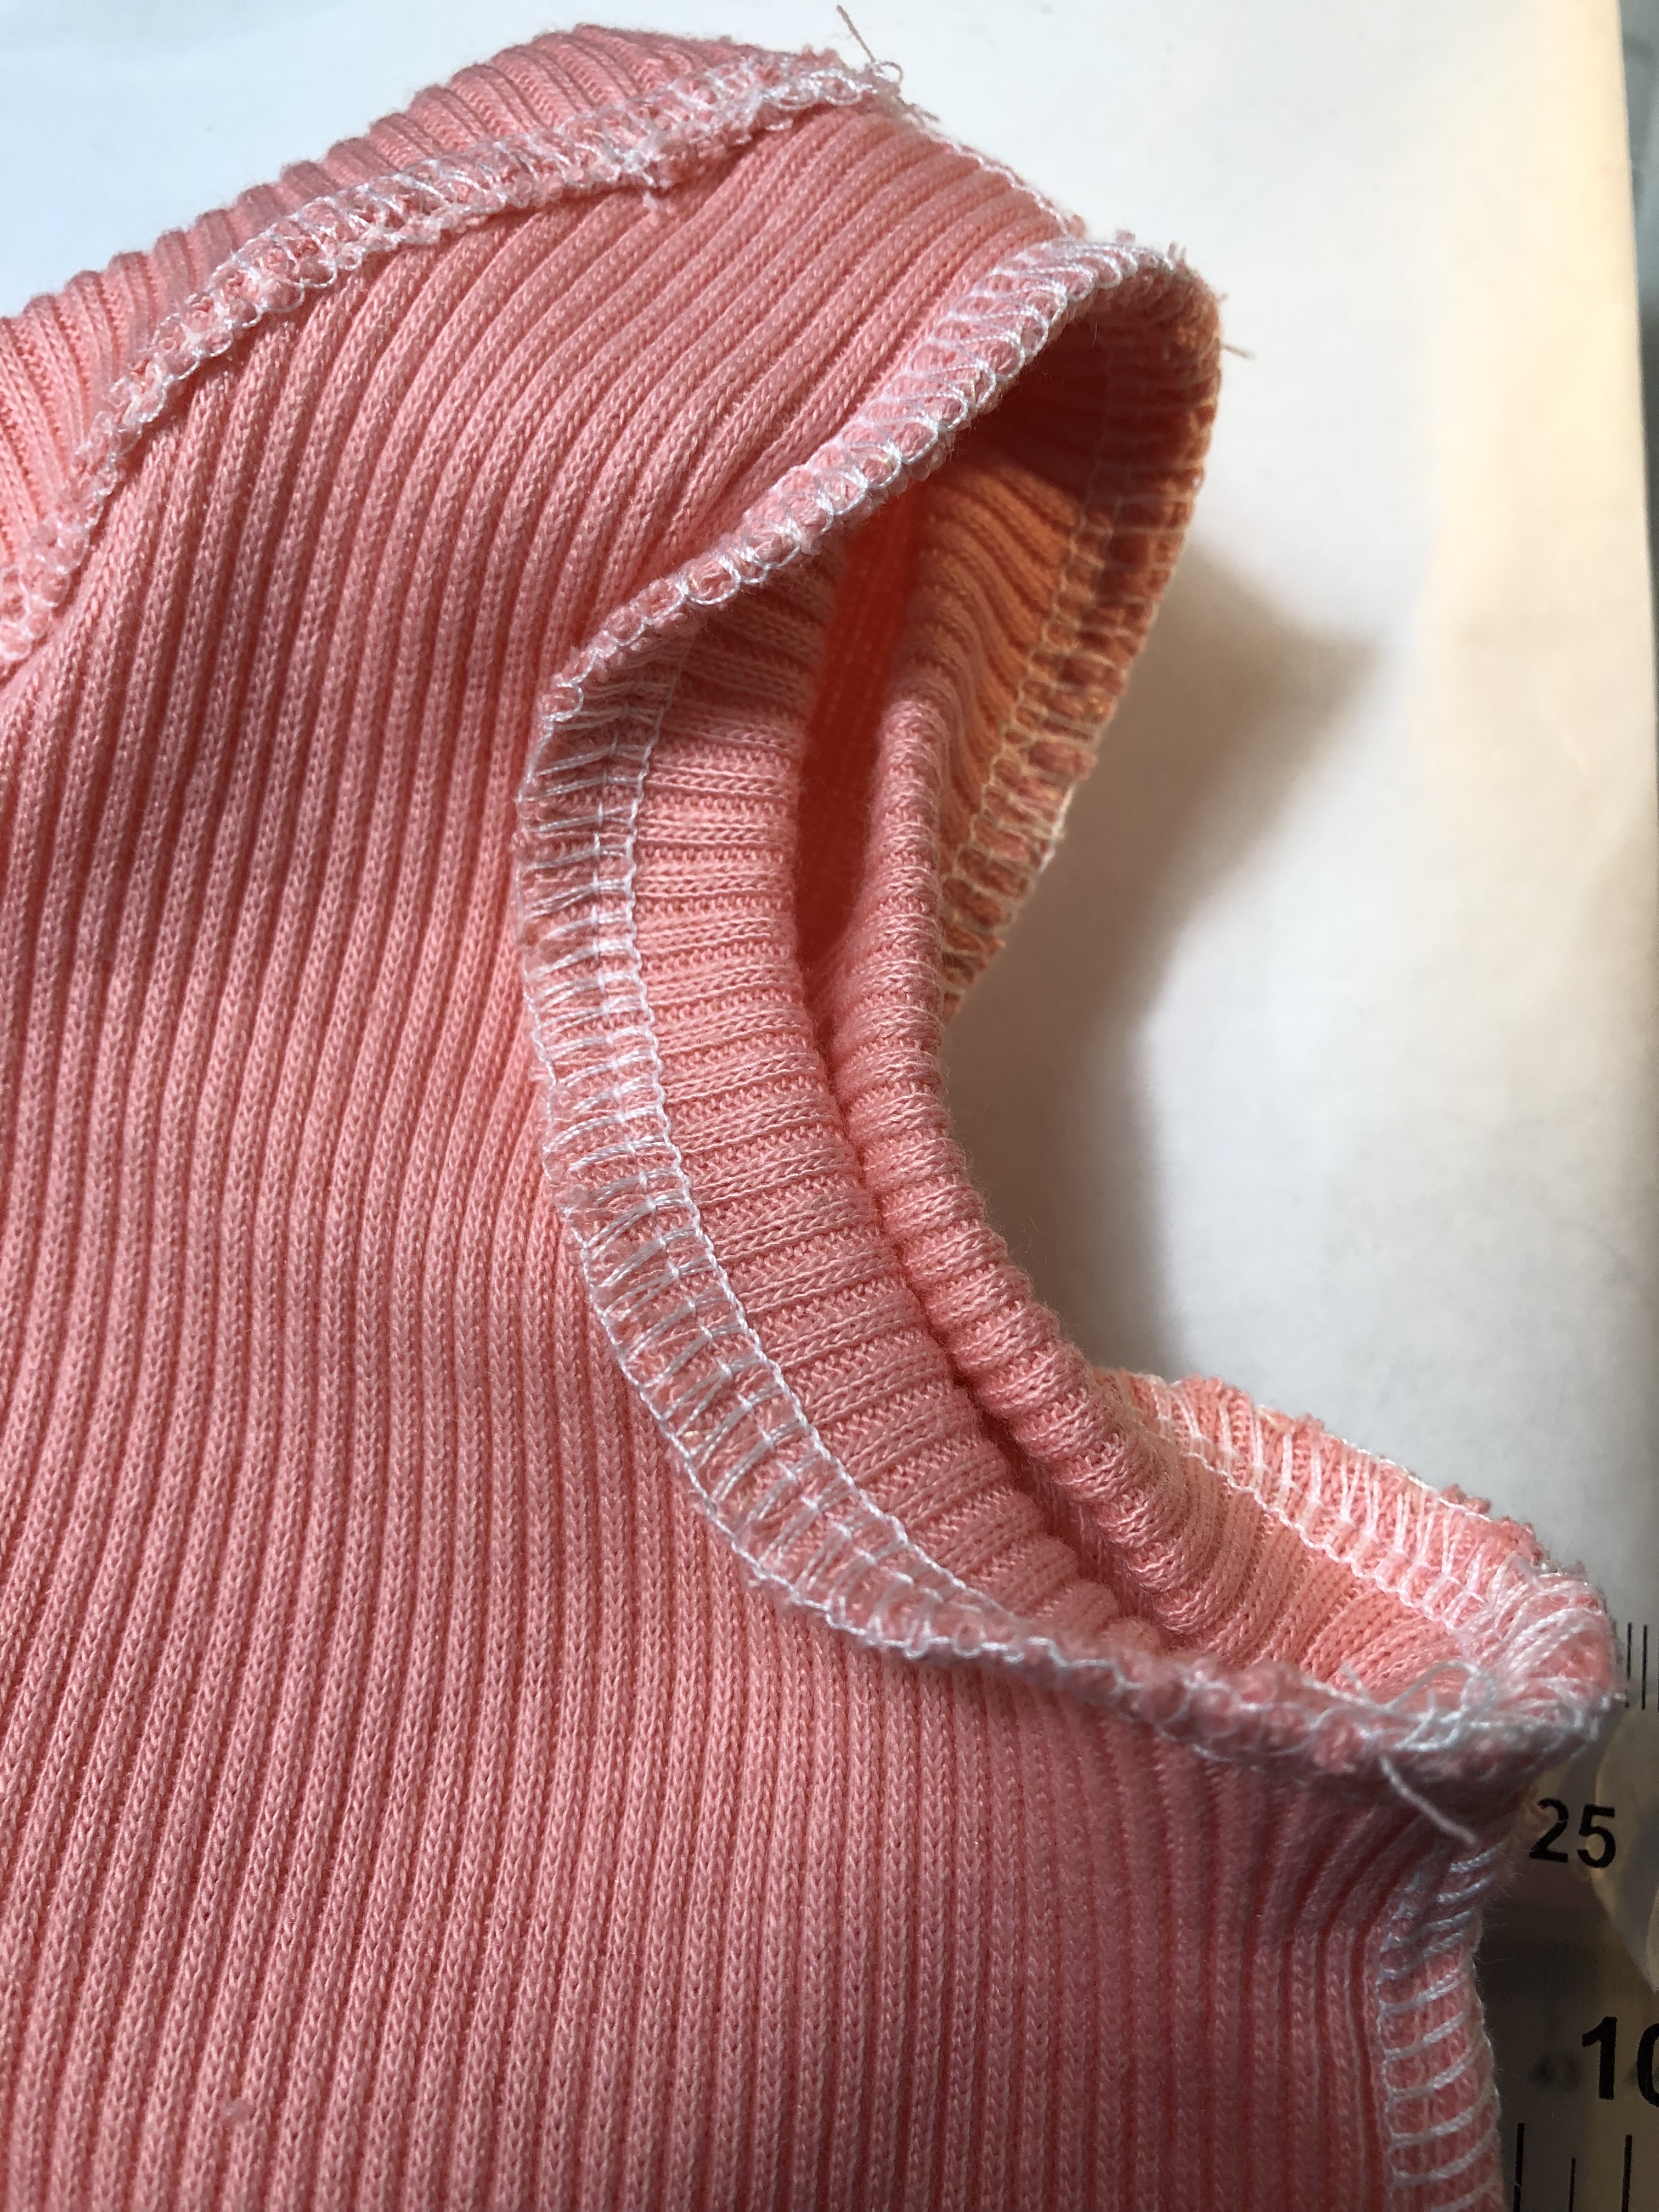
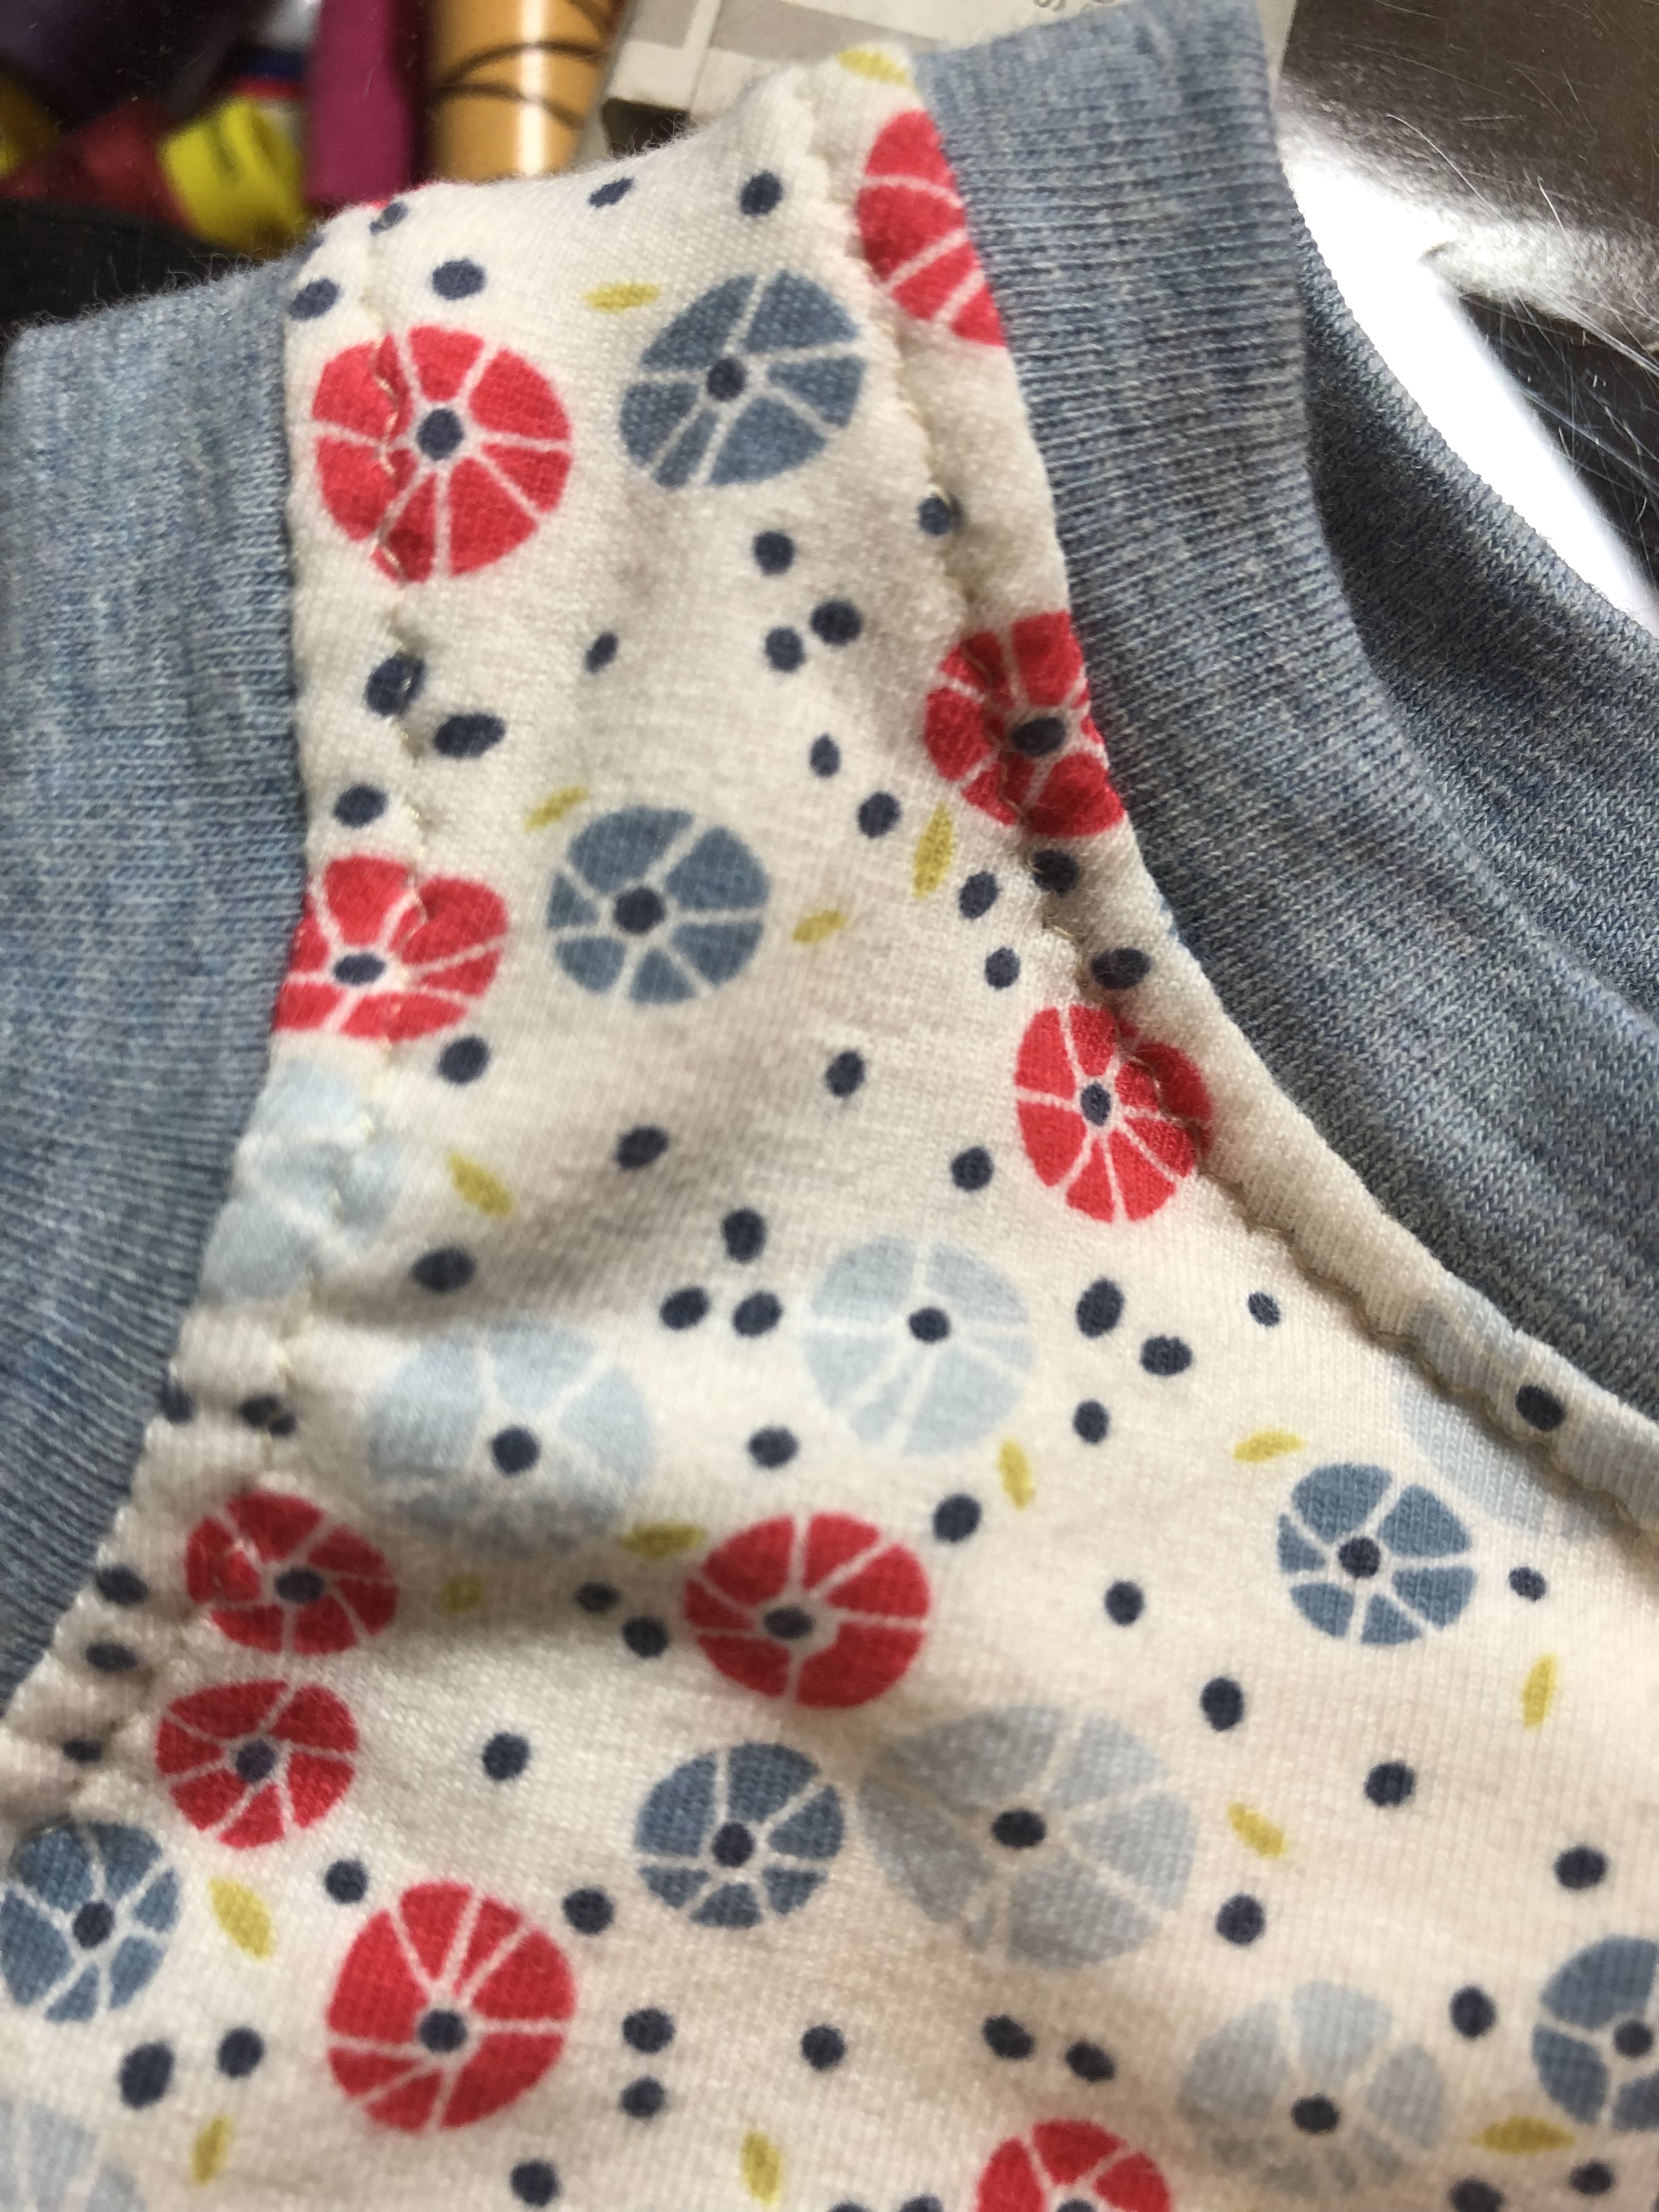
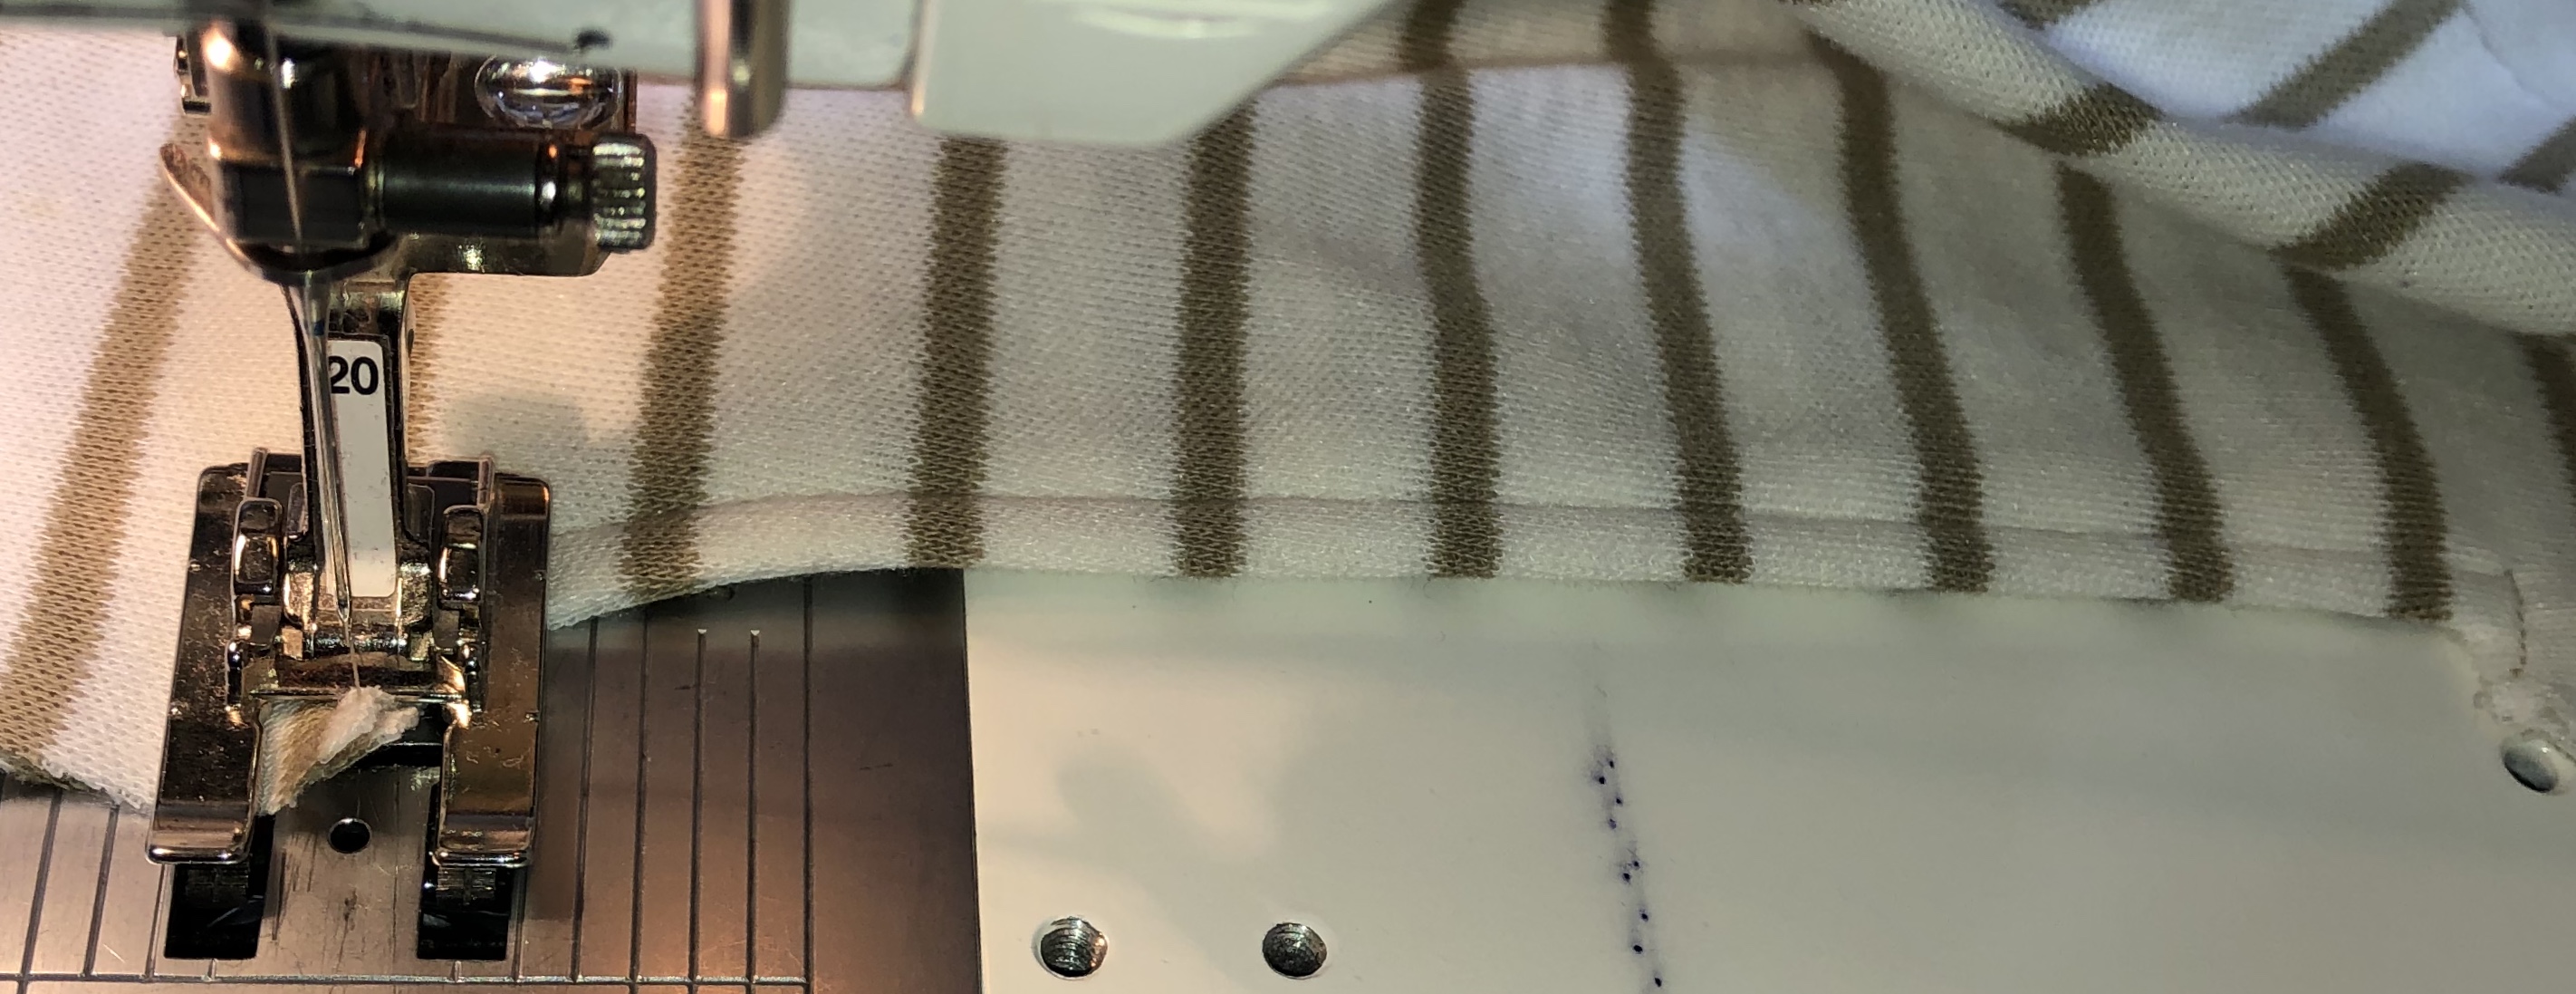
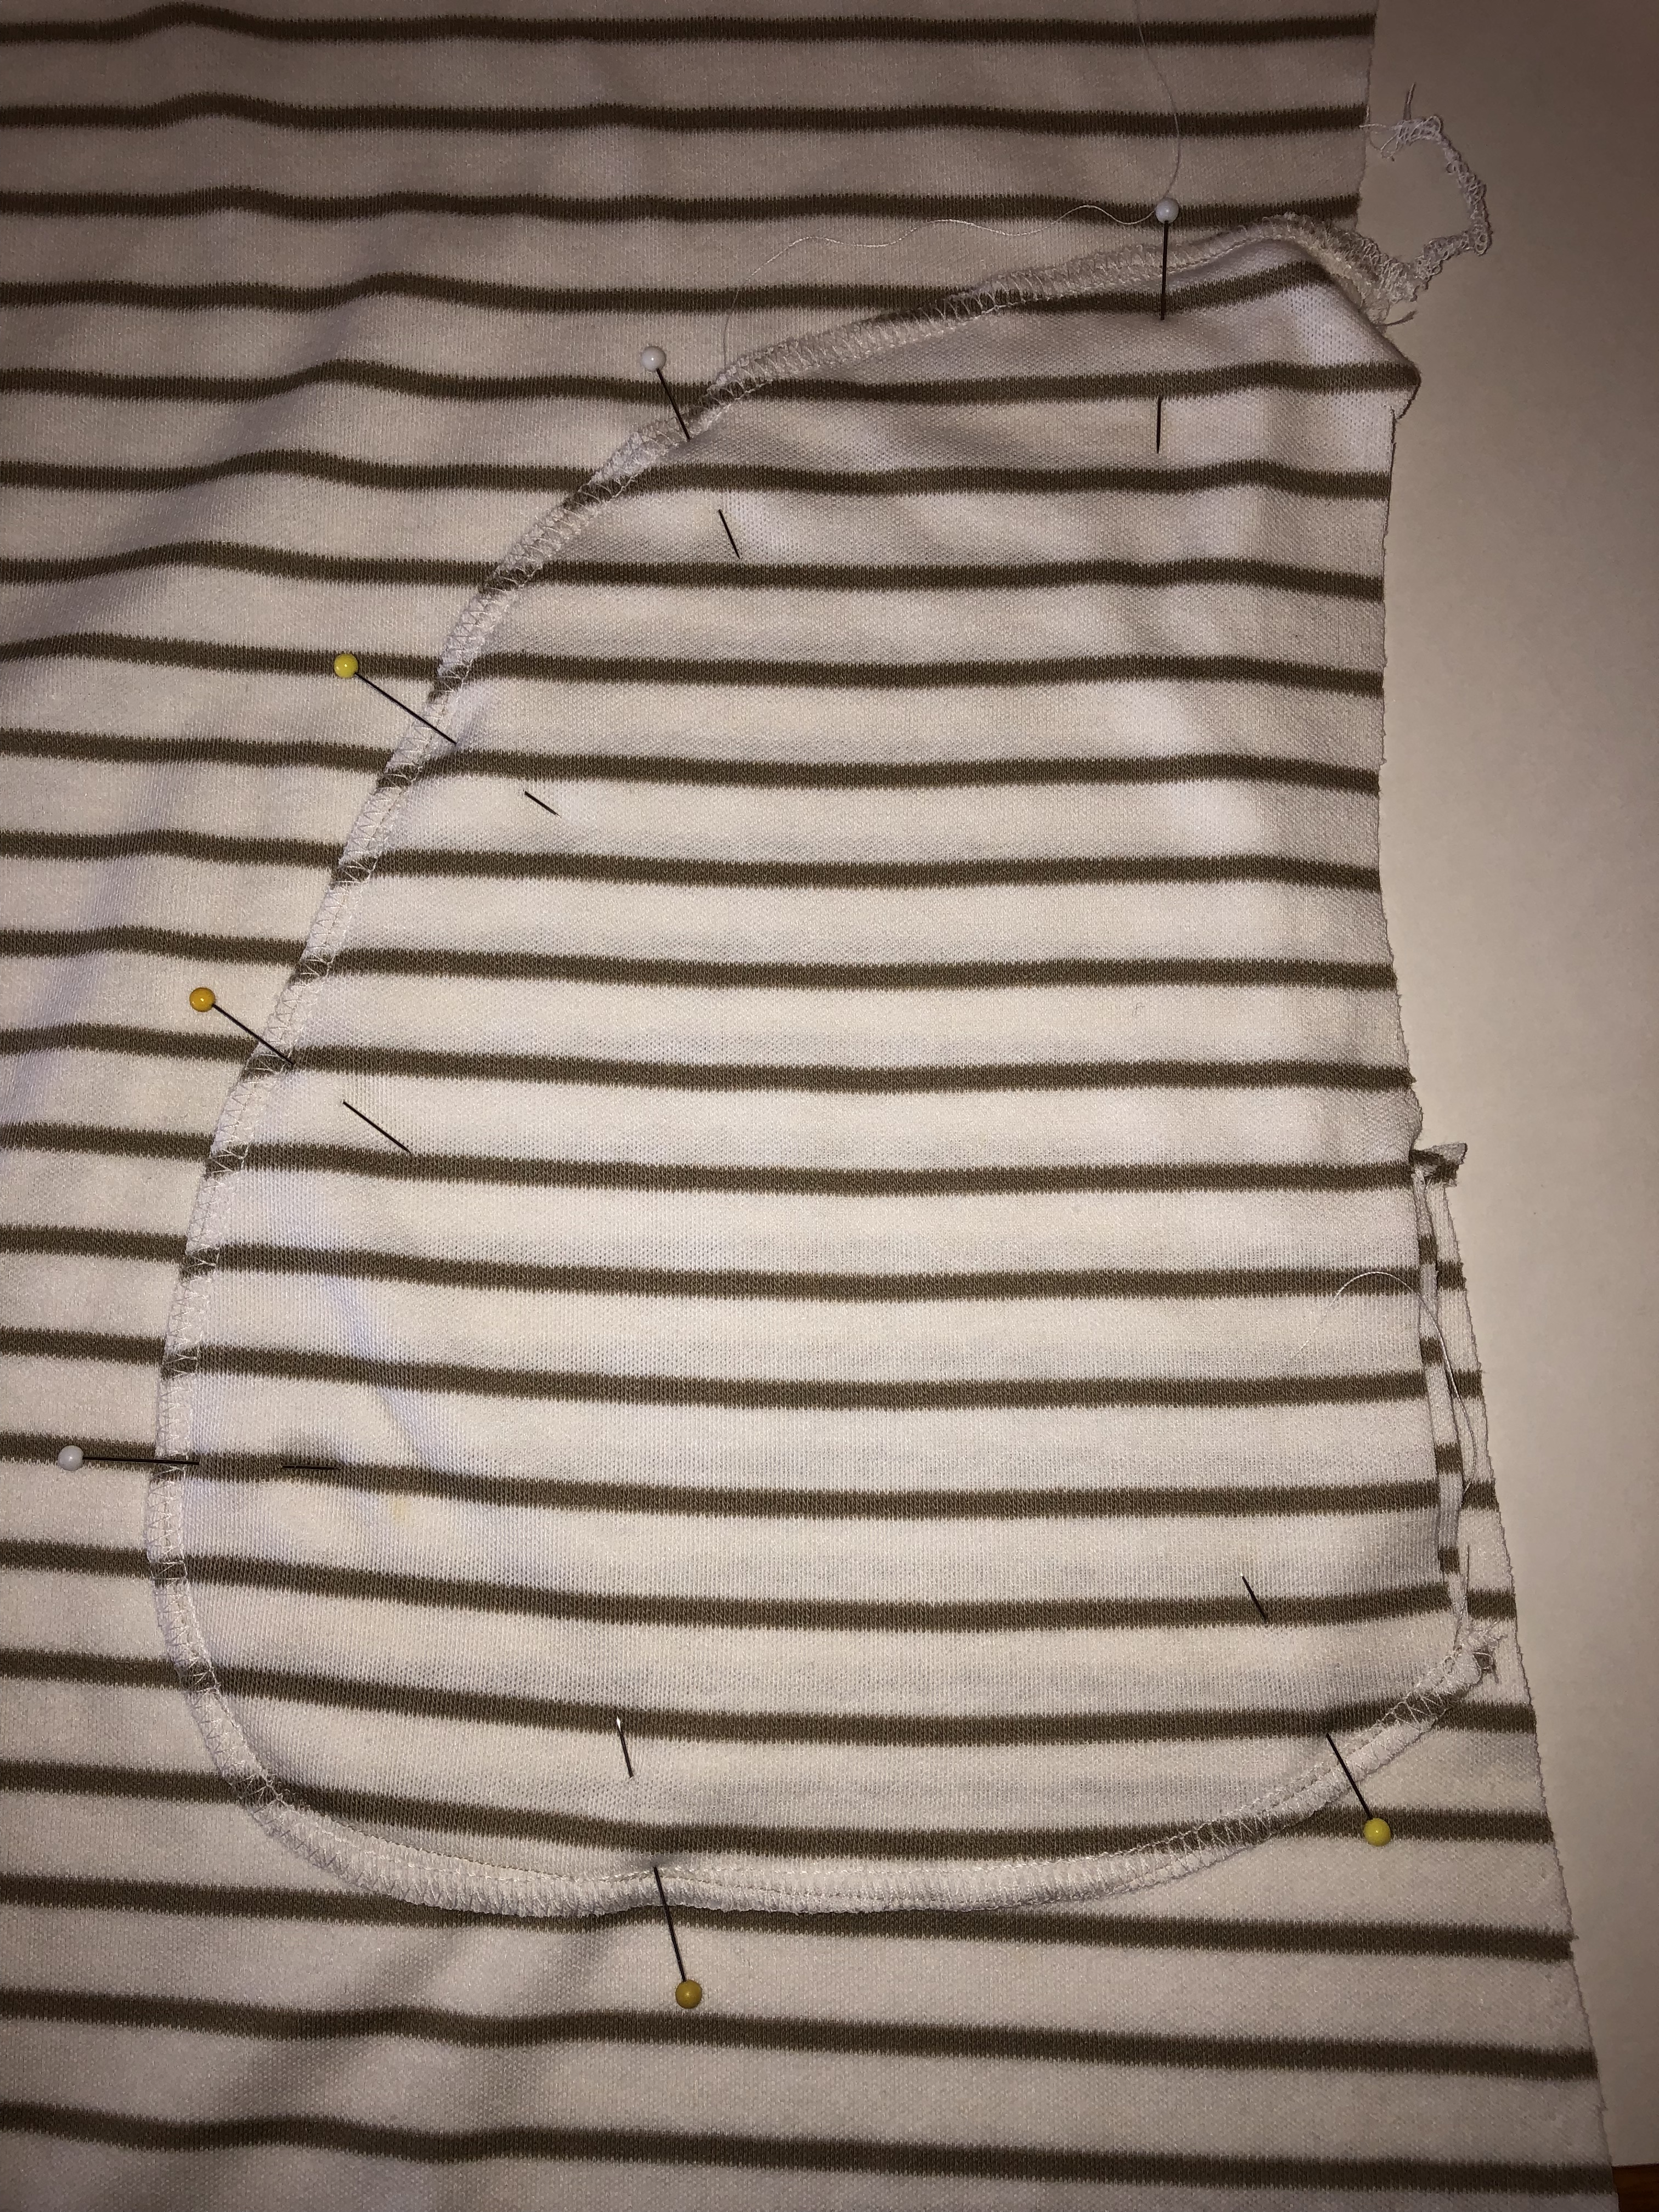
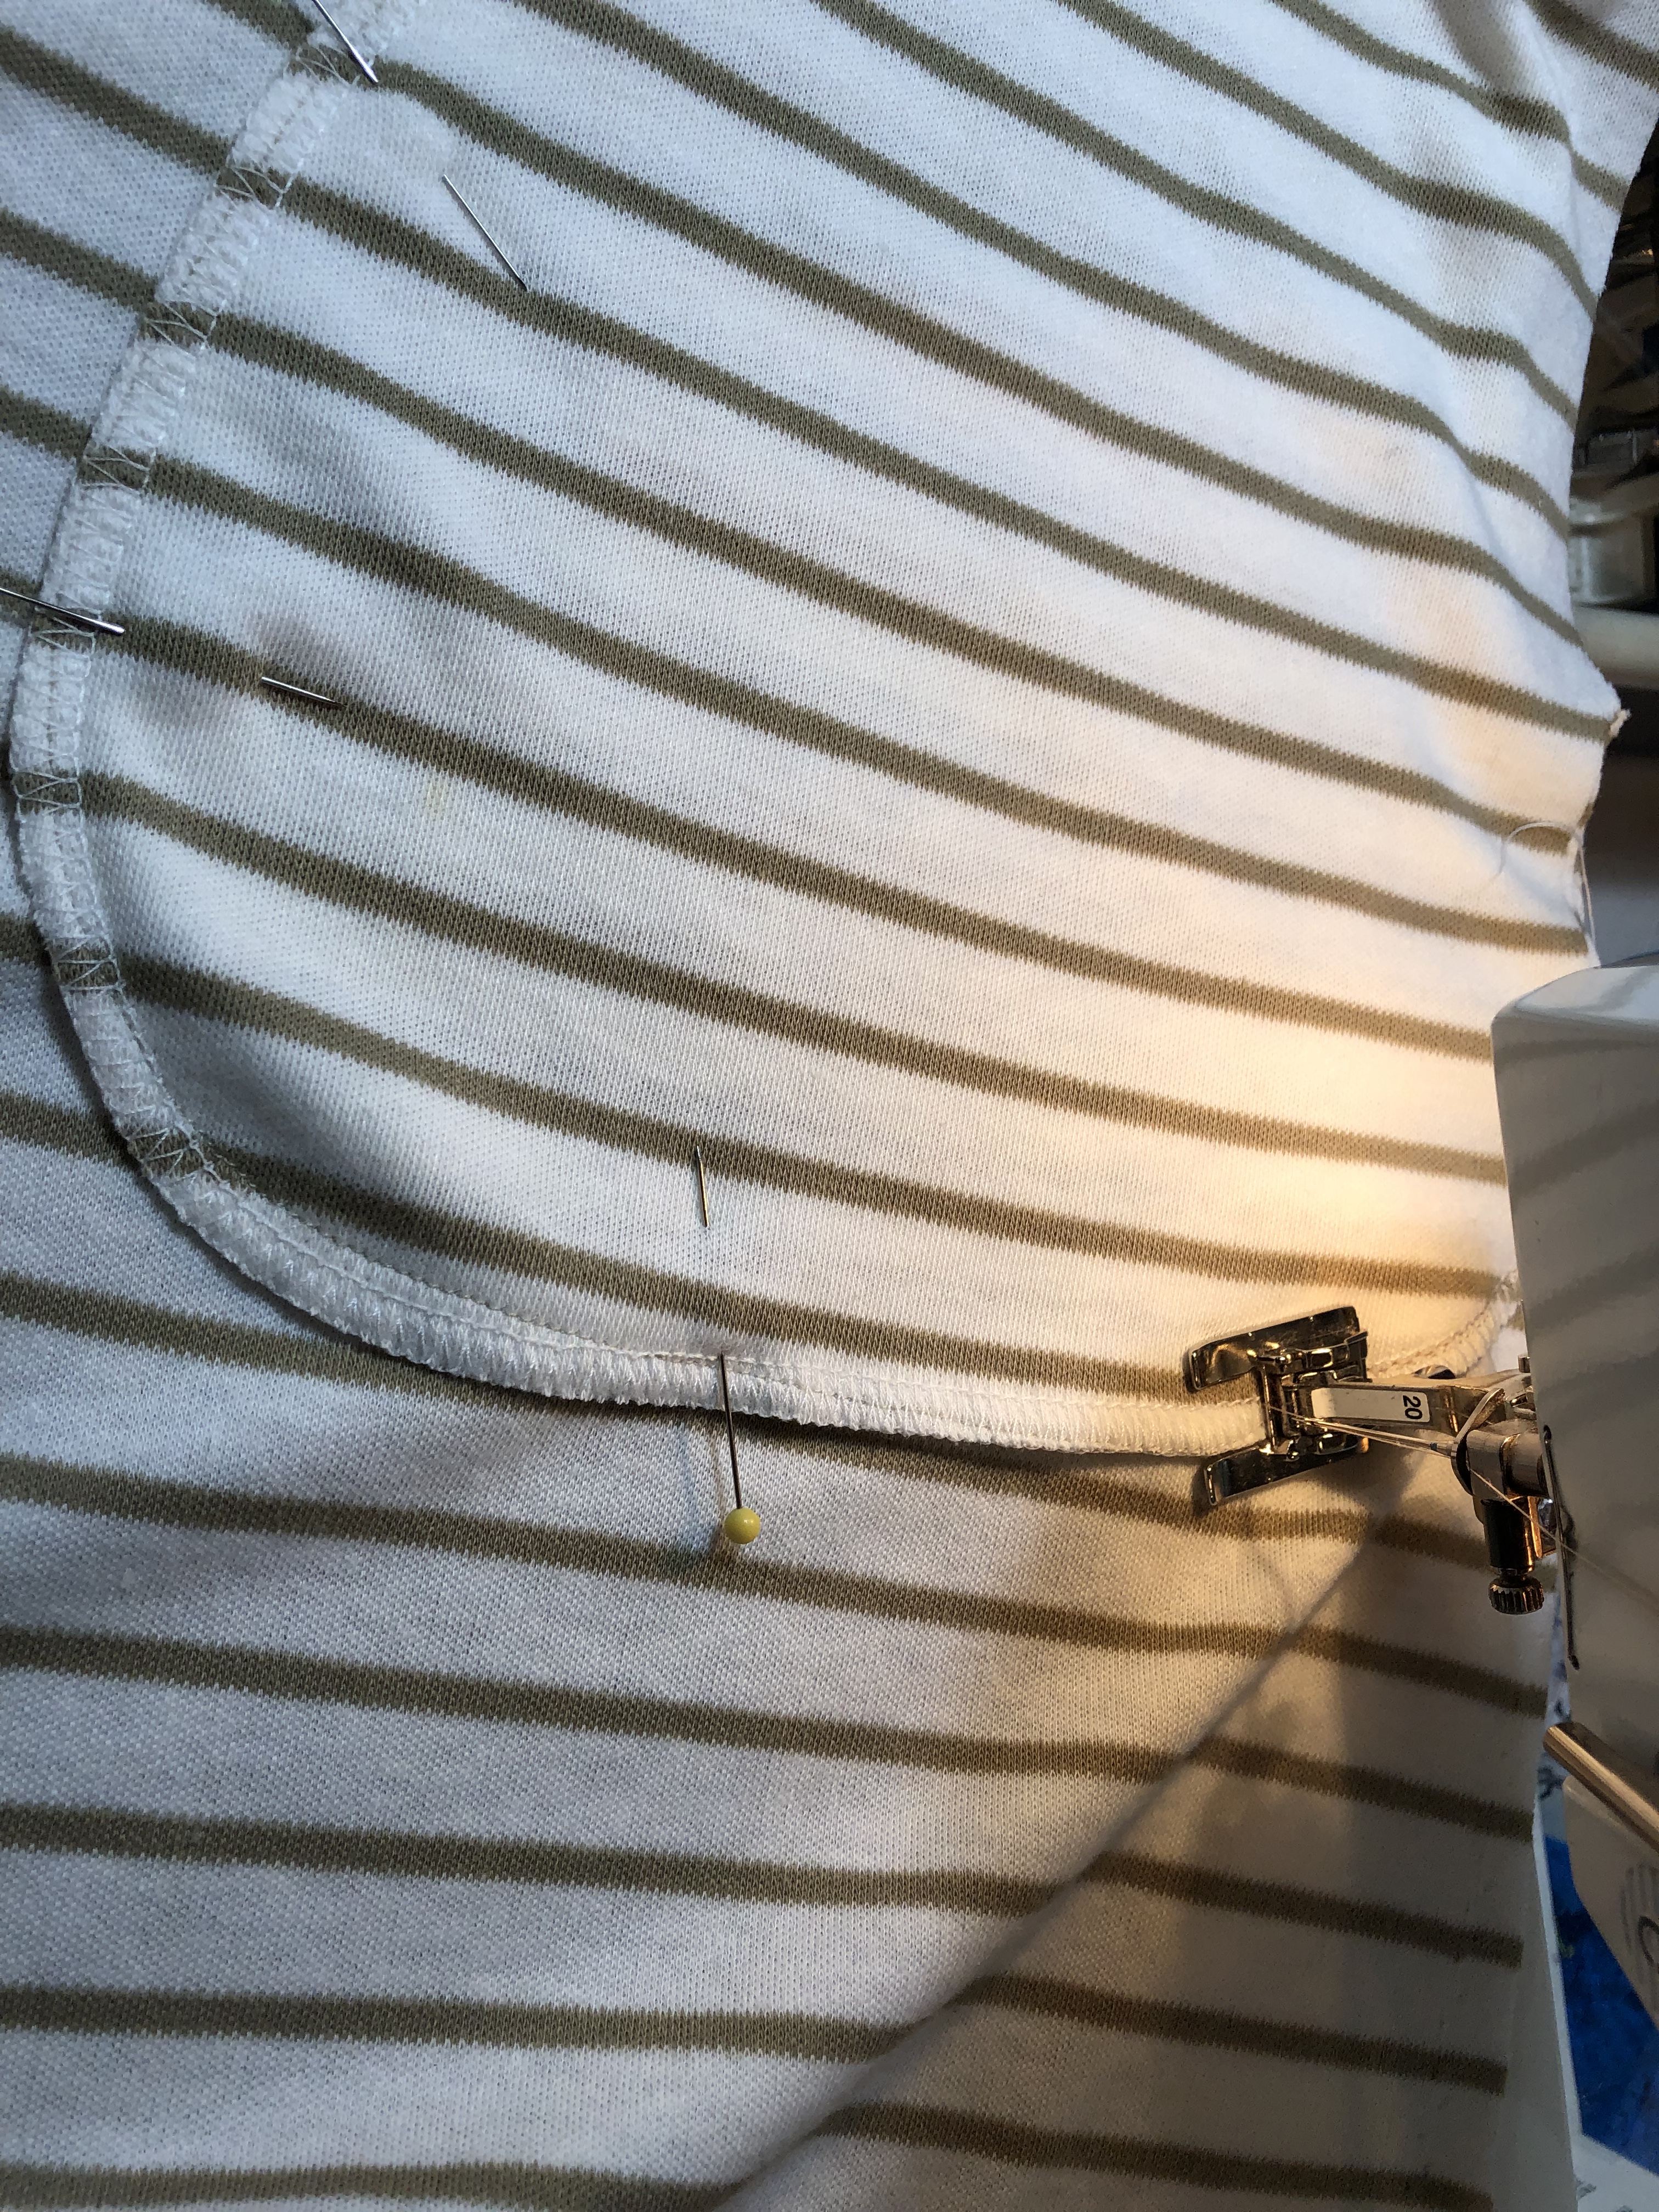
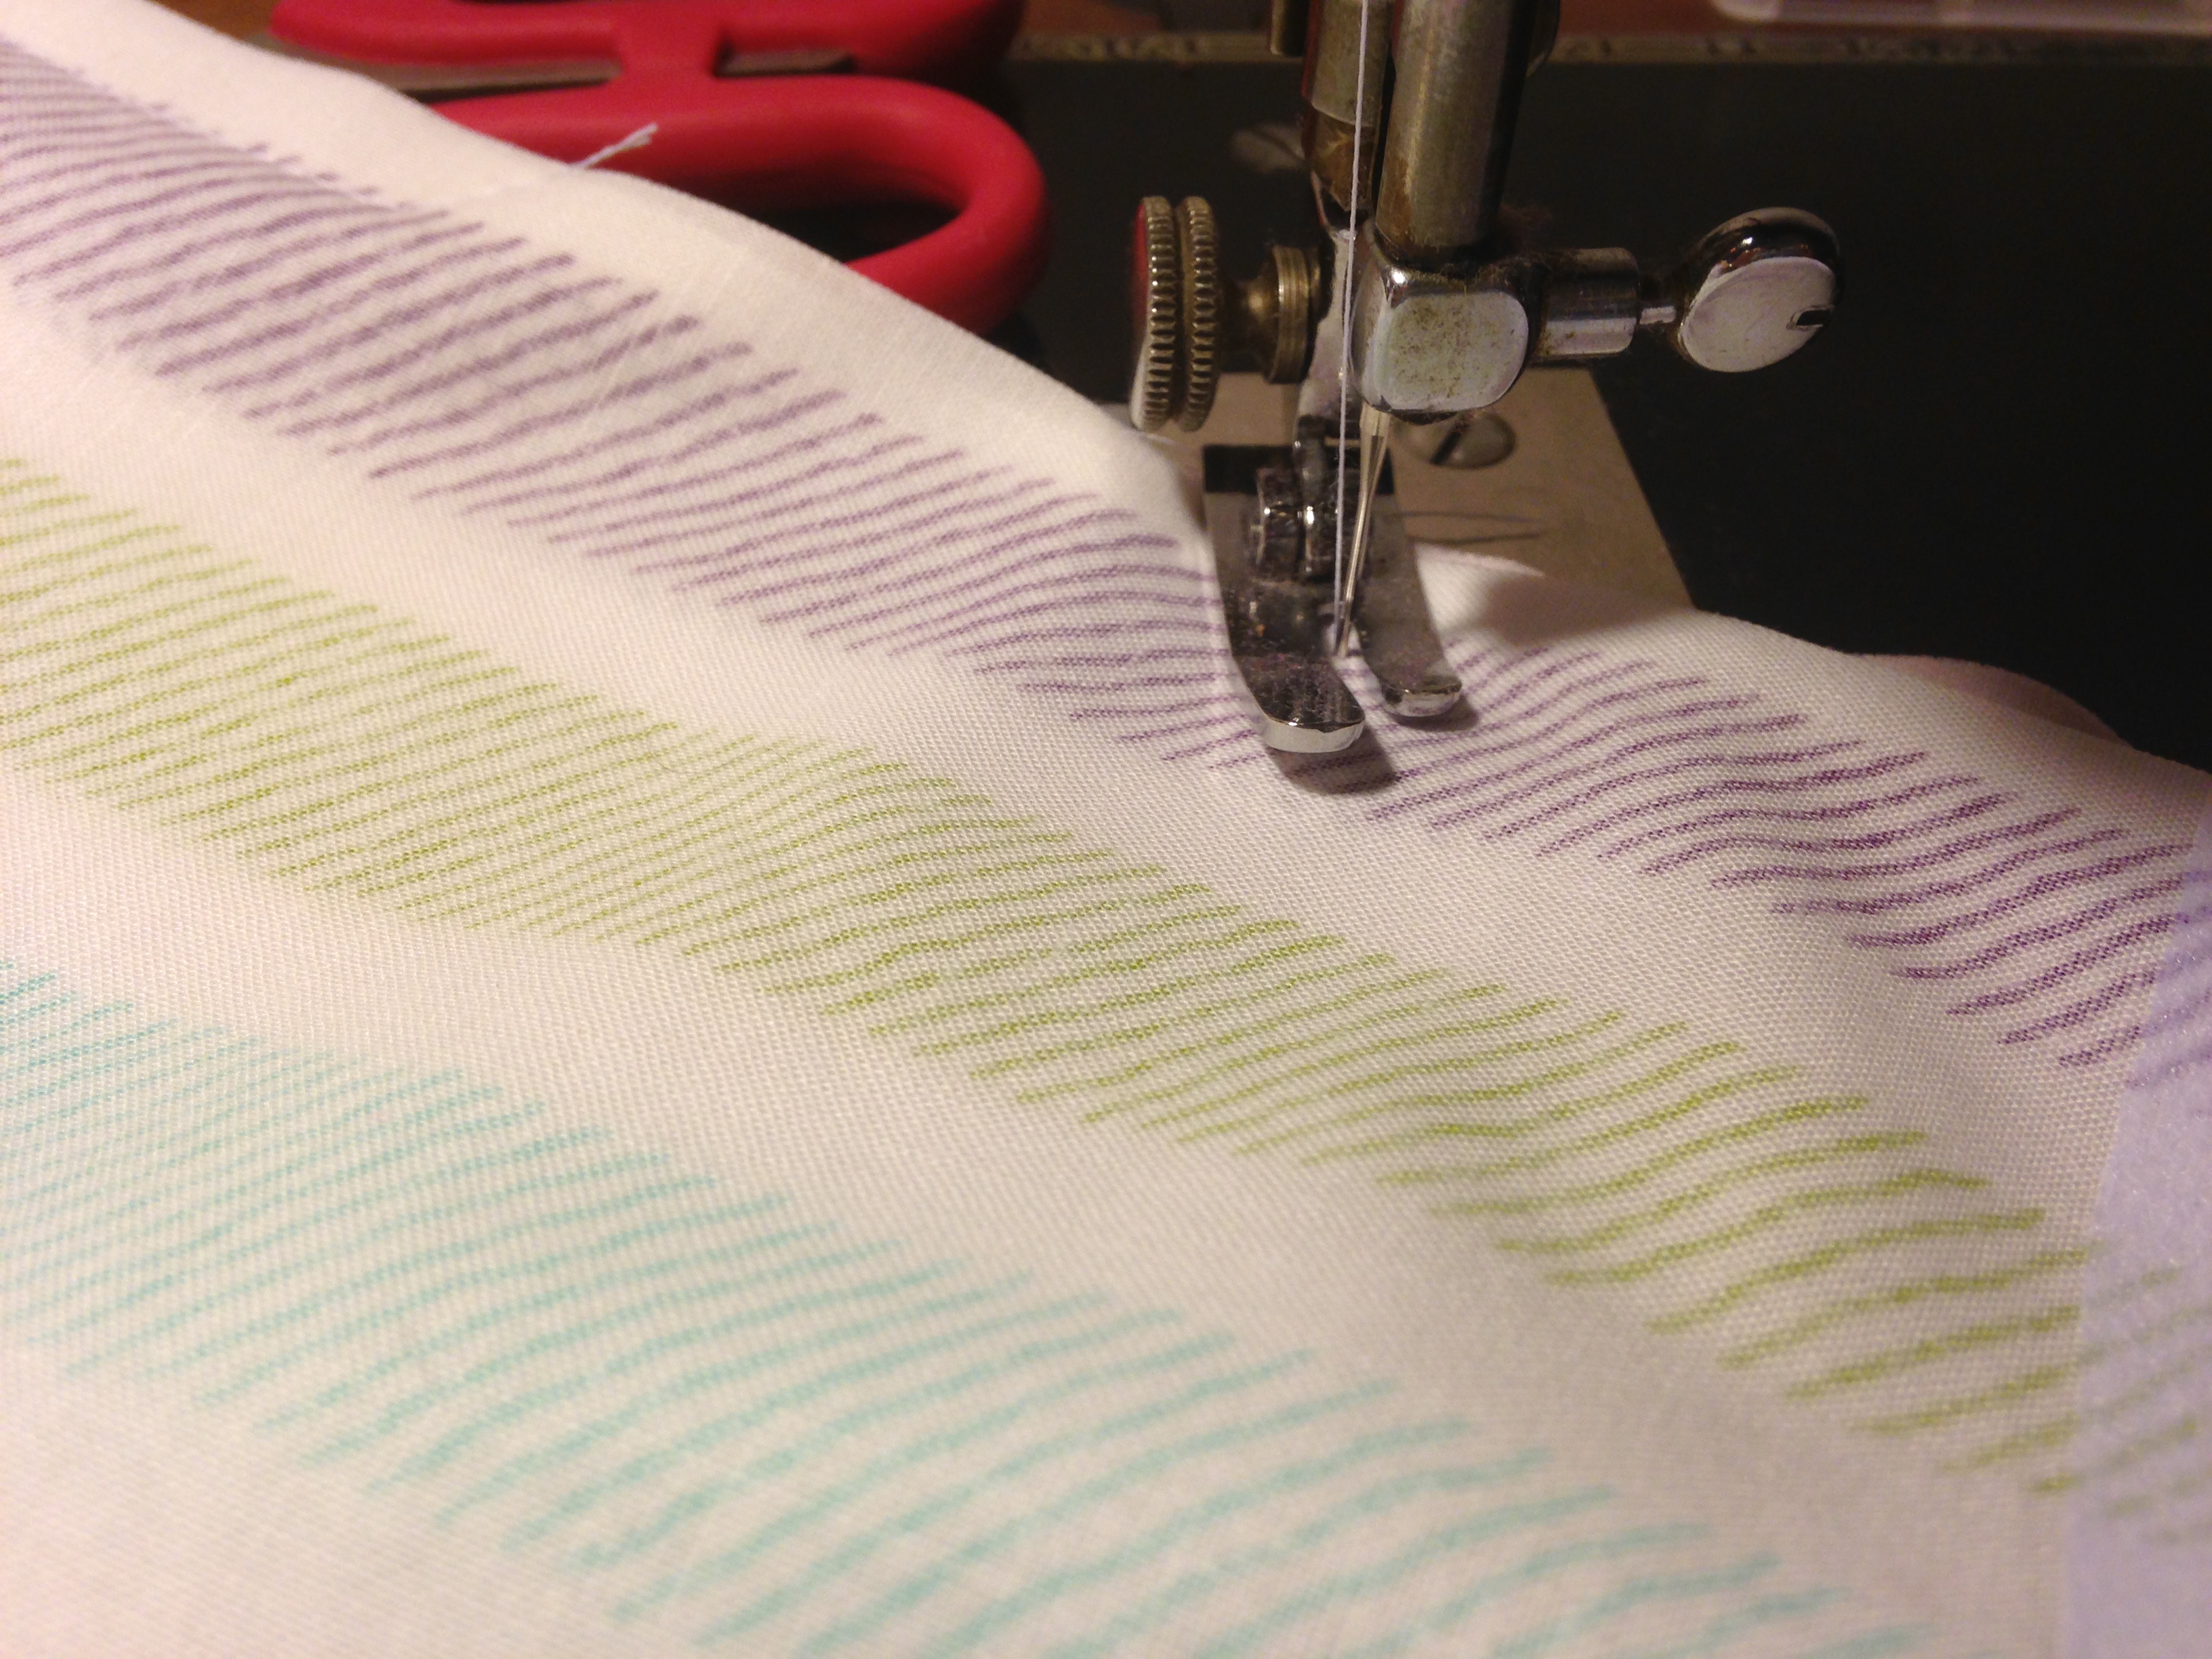
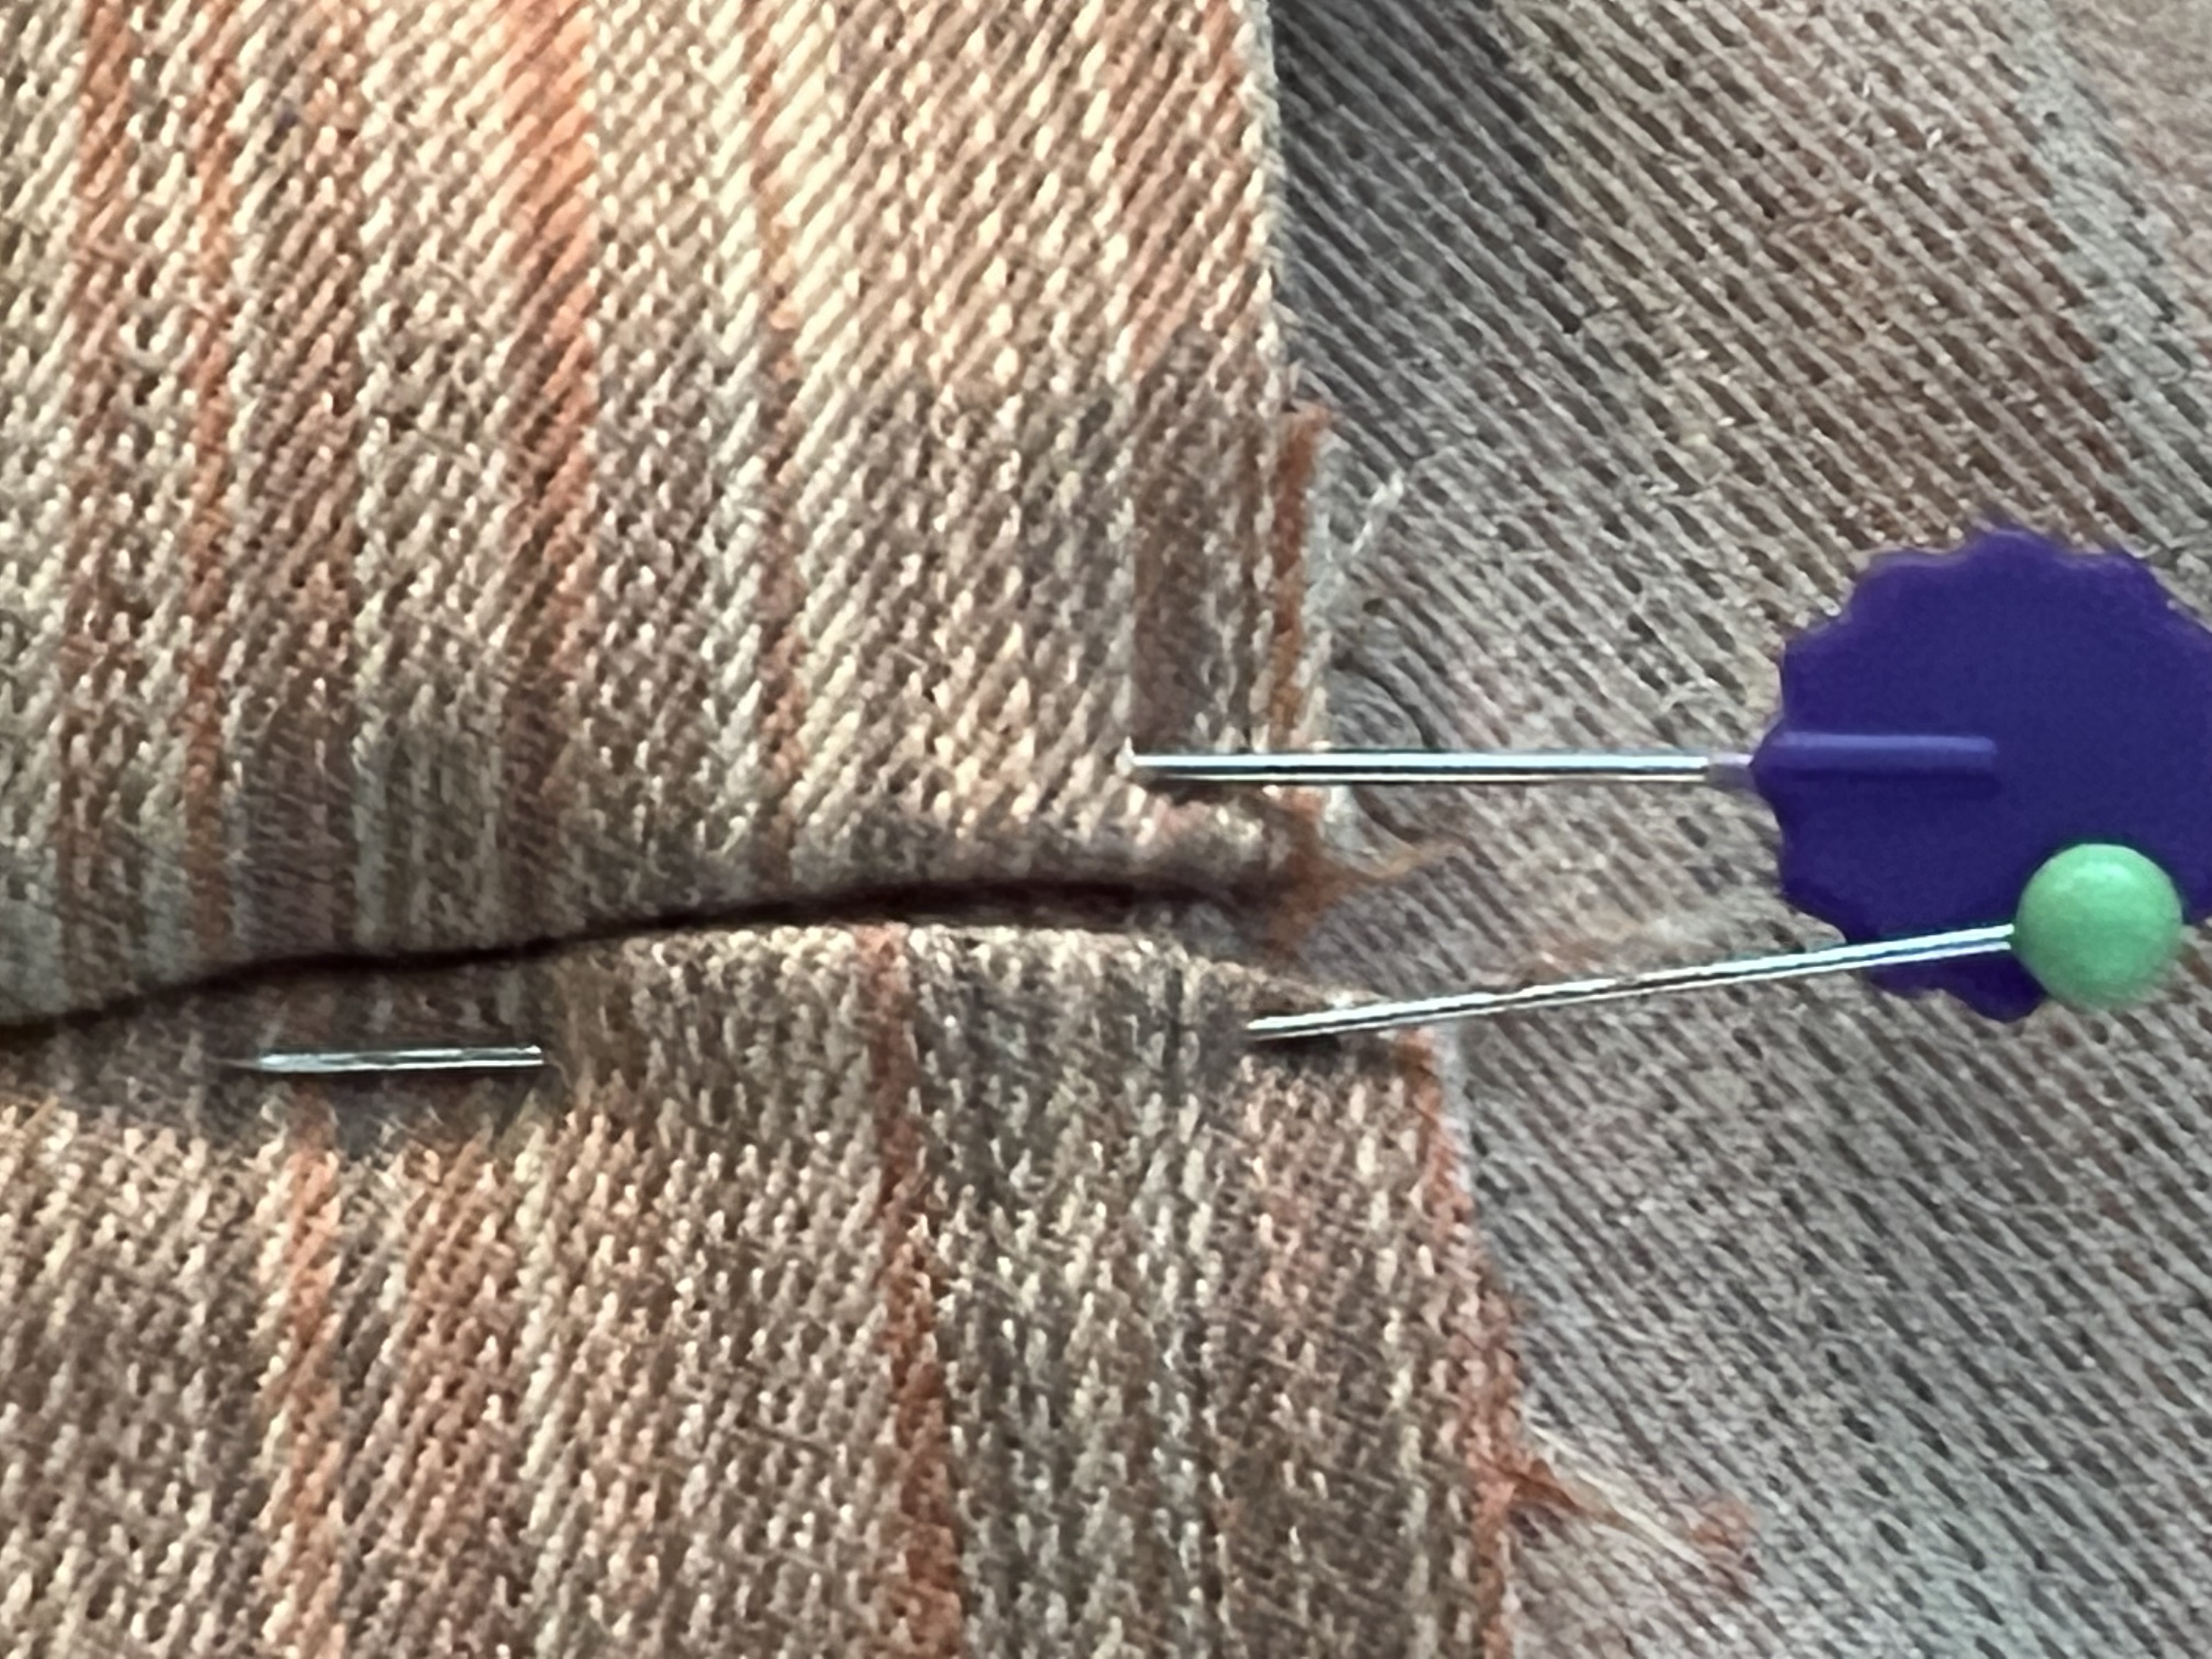
I used a short narrow zig zag and stretched while I sewed.  Remove each pin as you get to it.

About that small gap in the lining side seam we left earlier… if your waistband ends up not quite tight enough, that is an excellent spot to thread another piece of elastic through just enough to snug them up.

E740AD4A-909B-4AD7-87F0-2B35E1B1DF1F

Secret area left open to add more elastic later if needed.


Dubious about the gathers while sewing.  I put them on and by magic the gathering went away!
40522B43-FD4B-4803-A59F-60321A4798BD

By overlapping the facing, the multiple layers of waistline are dispersed and reduced at the point where waistband meets pants which reduces bulk.  Those small details add up to a nicer garment.

For these pants, I took photos of both the navy and purple Supplex I used.

The pattern used is here.  Another pattern that works would be this one.

These are my affiliate links for patterns.  At no cost to you, the designer may compensate me with a small commission when people use them to purchase a pattern.  Thank you for using these links.

Thanks for reading, and happy sewing! Joan


Adding bands to tiny armscyes

I have a new grand baby.   I am smitten.  I want to make her all the things.  She has a ton of 3-6 month size clothing that were received as gifts, so I jumped on the opportunity to test a new tank pattern in her next size!  I learned a bit about sewing small that I would like to share.  There are several patterns here and several different kinds of fabrics.  It was a good learning experiment.

On this armscye I zig zag basted the band to the body of the top, on the edge, then serged and top stitched.  On later garments, I used the stretch stitch on my machine, and it worked much better.  Serging stretches out this rib knit.  I hope it recovers in the laundry!

Those armscyes are tiny.  With regular arm bands that measure about 8 inches, that is a less than a3 inch diameter.   It will be much easier to get round them with a sewing machine.  Experiment on scraps to find the best stretch stitch that works with your fabric.  I ended up happy with this one, which may be called an overcast stitch.

8DC5EE19-F8F0-410D-88C4-B59071711CDC

It looks like a straight stitch from the outside, but those jags off to the right will add to the stretch and contain any seam allowance neatly.806415E0-783B-4A7A-8060-F80BFE698AB1

  1.  After sewing shoulder seams, top stitch them with the seam allowance towards the back.  It is my secret message to myself and parents, so we know which is the front and back of the garment.  It is often hard to tell and tags on a baby are not a place I want to go.D73538B4-2E41-4756-931D-E5FD682DFC02

2.  Figure the center of the armscye  location.  Hold the ends together, and walk them both to the fold.  Mark the center.  On a traditional tank, this could be really close to the shoulder seam.  On the example here, which is a racer back.  It is not at or even near the shoulder seam, but about an inch back.  Match up the center points, and sew a partial seam.  Start the partial seam about an inch to an inch and a half back from the center point.  Sew across the center point and about an inch to an inch and a half past that.  no need to stretch the band here, or maybe stretch slightly.  This will avoid that shoulder bubble that sometimes happens with tank tops. If you are using this technique for an adult size, you can make this partial seam longer, two inches on either side of the top of the shoulder will work fine.

Neckband sewn in the round, shoulder band partially attached.

3.  Then take those band ends, match them up right sides together (without twisting) and sew a seam across the ends (right sides together) to make the partially attached band into a loop.  I prefer to sew this with a machine, so that the seam can be opened to reduce bulk.  On this example I was using a performance knit for the bands, and my serger handled it much better.  The performance knit did not conform to the round shape as nicely as a cotton would.

4.  Sew the side seam of your garment.   I am happy to use a serger, but a regular machine stretch stitch will work here too.

5.  I like to sew one side seam then serge around the hem before sewing the next side seam.  makes the beginning and end of the serged edge less visible.

Yellow head pin holds body seam allowance to the back. Button headed pin holds band seam allowance to the front. actual seam is matched.

6.  Pin the folded band to the right side of the garment and finish sewing the armscye.  If both body and band seams are serged, move the seam allowances one way on the band, and the other on the garment.  I like the garment seams pointing back to follow the shoulder seam.  Since we did not stretch the band much on the top of the shoulder, take care to stretch without puckering round the rest of the circle.  Start your seam just a little before the last one ended, and overlap about a half inch before they meet up again.

Fuly sewn circle.


I serged one of the test garments afterwards, and that really stretched out the fabric.  It could bounce back after a trip to the laundry.  On an adult sized garment, serging the armscye might be a good idea. Can you tell which garment was stretched out with serging?

7.  Lastly top stitch the seam allowance to the body of the tank or tee.  It will help make that seam lay flat, and create less chafing on a little baby. I used my Bernina#20 foot here,  perhaps you have a foot with a guide?


I sewed a fun hem on one of the rib knit versions, and will try to write a post on that one later.  It is a favorite hemming technique with stretch. If you are interested in learning how to make a blind hem on the machine, check out this post.96DC9513-C715-48F6-818B-822E29FFE911

I used multiple patterns to experiment with this process.  And several fabrics, which is your favorite?

Affiliate links for favorite patterns that could employ this technique are below, if you are interested in supporting the cause, at no cost to you. I appreciate it!

Sara everyday tank and dress

Mandy fitted tank

Kids Taylor racerback

Adult Taylor racerback

Virginia tank

Spoxxy

Artemis

Happy sewing! Joan


Adding pockets

I recently tested the Sheila top  and dress from 5out of 4 patterns.  It is part of their basics line, and has very detailed instructions.  A well drafted T shirt dress is a great layering piece, easy to accessorize.

One thing.  I need pockets.  Life hands you keys or a wallet, or something else that needs a spot to be.  Purses are great, but I like to travel light. I sew pockets in everything.  This is my new favorite method.

I drafted my own pocket here, but if you have Taylor, that pocket will work just fine.

  1.  Cut 4 pockets. Two sets of two mirrored pieces.

2.  On the wrong side of your dress front, mark where you would like the top of your pocket opening.  I made this one about 8 inches from the armcye.  I think that ended up just a tad high.  Somewhere between 9 to 10 inches would be more comfortable.  Make your top mark or notch at this point, and the next mark will be 5.5 inches below that.

3.  Align one pocket so that the top of the pocket is one inch above that start mark with the right side of the pocket facing the right side of the dress front.

4.  Stitch from mark to mark, being sure to secure your stitches at each mark with 3-4 back stitches.

5.  Clip into the seam allowance just to the end of the stitches.

49C89CB0-86C6-457A-931C-A704FDD73279

The top and bottom of the stitching is marked with a notch.

6.  Open out that pocket and under stitch.  Understitching helps to roll the pocket to the back so it looks tidy in the next step.

7.  Fold the pocket and seam allowances to the right, and stitch parallel to the seam line 1/4 inch away, catching the pocket and seam allowances in your seam. Start and stop your seam parallel to the first seam made in step 4.   The pins mark the stop and start spots below.

3F177B02-544E-41A5-B103-1992A9E965F8

Pocket seam opened and understitched on pocket side, with seam allowances included. Stitching is 1/4 from the seam.

8.  Fold the pocket back to the wrong side of the dress front.  Pull the seam allowances out at the top and bottom of your pocket opening.  You will have a sweet 5.5 inch indentation in the side of your dress front that looks like the photo below.  This is your pocket opening!


8639201B-47C2-4FA5-9DDF-3DDE956BC4E1

9.  Top stitch that indentation starting at the edge of the fabric sew in about 1/2 inch, and turn, so you are stitching about 1/4 inch from the 5.5 inch opening of the pocket, then turn again and stitch off the edge.  Your seam will look like this [.

26E43E8A-8238-42B7-A2C2-8CC99B3AF4FB

Top stitching on the pocket opening.

10.  Next align the second pocket with the first.

97E30F2F-6075-4001-B9E2-FD28E696EA8A

Second pocket placed on top of the previously sewn pocket.

10.  Stitch the edges of the two pockets together around the bottom around the side and over to the top.

D14EF44C-A61B-4BA5-A1C9-BFA245D2988F

Serged edges of pocket ready to be top stitched.

11.  Pin or use wonder tape to adhere the pocket to the front of the dress and top stitch around the edge of the pocket where the serging is in the above photo. Use a stretch stitch, consider a double row of stitches!

00024006-4AB6-43D6-A5C4-00F117E3F1DE

The open toe embroidery foot works great for maintaining an even edge.

12.  Baste along the side seam, so that the edges of the top and bottom of the pocket are secured, and the opening is still open.

13.  Make the other pocket.  Tip:  lay your dress flat to be sure pockets are even and symmetrical before top stitching the second one.

D859A695-11A3-4F8C-BCA8-3F7BCA497C0E

Finished pocket secured into side seam and front of garment.

14.  When you are ready, stitch your side seams as you normally would, making sure to sew right up to the opening without closing it.

Enjoy wearing your garment with stitched down pockets.  Want to continue sewing fancy?  Try out a blind hem.

This post may contain affiliate links.


Fat Quarter Bags

Looking for a fun and useful project for my beginning sewing students, I found a bag similar to this online, and decided to create a set of instructions that allowed for creative fun and interfacing/batting options. Make some as part of a holiday gift, or party favor.  School colors for a lunch bag would be fun too!

Ingredients:                           Makes two

Two coordinating fat quarters, two yards coordinating ribbon or twill tape for handles, and 12 to 14 inches of narrow ribbon, button and 6.5 x 7.5 scrap for optional pocket.  Optional interfacing/fleece/insulbright 9 x 21 inch for each bag.

First, trim off those selvages (look for selvage projects and keep them in your stash for later).   Cut your fat quarters in half to make two rectangles that are 9 x 21 inches.  Fat quarters are  cut into 22 x 18 inch rectangles, and you will want to start with fabric that does not have an up and down direction.  Or do not mind if your people are all on their sides 🙂 What is most critical here is that your bag and bag lining are cut the same size as each other.

Choose an interior.  Add interfacing/fleece/insulbright to your bag.  They all have wonderful and different qualities that will help the ultimate purpose of your bag.  Want to keep a baby bottle (or your water bottle/lunch/snack)  cool or warm, choose insulbright, it is amazing. First time project, fusible fleece is a little easier to handle once it has been fused to your fabric.  Just a bag for books, a few diapers/wipes/change of clothes, makeup to take you into evening, perhaps a nice interfacing will do the trick.  Experiment and have fun with it!

Cut your interior. InsulBright the same size as one of your bag rectangles.  Any fusible can be cut 1/2 inch smaller, and centered before fusing.  This will eliminate bulk in the seams.

Mark the strap placement.  On the short ends of one rectangle, measure in 2 inches and mark that spot on both sides.  Then mark the center line on one end.  This is where your straps will go.

Optional pocket.  I was lucky to have a nice sized scrap of a coordinating fabric.  Start with a rectangle 6.5 x 7.5 inches.  Fold down the top 6.5 inch across edge 1/4 inch and again 3/4 inches and press, then top stitch on the edge. Then press in 1/4 inch on the remaining three sides.

Center the pocket on the body of the bag with the fusible, and top stitch a line on the very edge and another a presserfoot’s width inside of that one.  The two lines of stitching will keep the top from pulling out.

Optional double ribbon.  place one yard of ribbon against another yard of the same width of ribbon wrong sides t and edge stitch both long sides.  Makes for a sturdier strap.  Cut into two 18 inch lengths and pin two inches in from each side of the top of either end of the bag. Baste this with a 1/4 inch seam.

On the other side, add the 6-7 inch narrow ribbon to the center of the bag and baste across the raw edge.

Place the rights sides of the interfaced bag and the bag lining together and stitch across the side with the ribbon in the center with a 1/2 inch seam allowance. On the other side, stitch from the edge to just past the first strap, and then pivot and stitch off the edge of the bag making an “L” shaped seam.  Make a similar seam on the other side, starting from the edge, and coming into the bag to the 1/2 inch seam allowance and pivoting to finish off the seam.  This leaves a nice opening for turning the bag right side out later.

Open the bag so that the seams you just made are in the middle and the interfaced bag is on one side, and the lining on the other.  Pin the seams together so that one goes left and the other right, and the actual seam nestles into the other seam.

Box Bottom measure up from the bottom fold 1.25 inch and in from the raw edge on the side 1.75 inches on all four corners of the bag.  Clip these lines. This made my bag bottom 3×5 inches.  If you want a more slender but wider bag, try cutting out the bottom squares one inch from the bottom fold and side seam line instead of one and a quarter inches.

On either long side of the bag, make a seam with a 1/2 inch allowance.   Then on each corner, bring the bottom fold to meet the center of the seam, closing off the corners.

Make a seam to close this opening with a 1/4 inch allowance.  Your bag will look like this when you are done.

Turn the bag right side out.  Pull the bag lining through first.

Then the remainder of the bag.  Slip the interfaced part of the bag inside the lined part and edge stitch all the way around to fully close off the opening.  The “L” seam you made earlier makes this job go more smoothly.

Hand sew a button on to either  side opposite the area where the center ribbon is, so that you can close your bag.  Snaps would also be fun here too.  It is always a good idea to prewash, or use Color Catchers the first wash!

Now go forth and make the second bag.  They make great gifts!   Think small essentials bag.   Perhaps a project in progress bag.  Consider bags in different sizes.  


It is in the bag!

Simple formula for lined bag with your choice of size, handle and closure!  So easy it is already “in the bag”.


Working with new sewists, I am continually on the look out for quick to make and clever useful projects.  More experienced seamsters can whip these out in batches. Early in the game sewists can experience easy success!    Teacher gifts, party favors, so many uses!  I am considering small bags from theme fabric to house a bar of hand made soap for an upcoming bridal shower.

Start with scraps if you like.  You will need two same size longish rectangles.  The formula is as follows:

Desired bag width plus 1 inch for seam allowances.  Desired height of bag times 2.5 to 2.75 for a generous flap.  If you have a specific item to bag, measure it now!

Play around with what you have on hand to start with and have some fun!

Right sides together, with a quarter inch seam allowance, sew both rectangles along one short side.

Open this.  Press the seam allowance towards the lining, and under stitch.  Under stitching will roll the seam towards the lining so this edge looks really clean.

image

View of back side of bag after under stitching and top stitching!


Press and top stitch with a fancy stitch if you like.  If you plan to close your bag with hook and loop tape, include one side of the tape along the edge of the front of your bag now.

image

For a firmer flap add a bit of fusible interfacing!

Align your work and trim off any excess fabric that may be caused by the under stitching.    With right sides together, pin the pieces together and draw a fancy shape for the flap, or leave it straight.  A hex ruler might be a nice tool to keep both sides symmetrical.  Stitch this seam.  A straight seam would under stitch nicely!

Optional “wrap” the corners of your fancy cut flap.

Make a strap!  A 14×3 inch rectangle folded rst lengthwise, stitched with a quarter inch seam turned and top stitched works great.  As does ribbon, webbing or twill tapeimage

Pin your strap that has been folded in half with raw edges aligned to the raw edges of the bag and the folded edge towards the center of the bag.  Set it just below where your flap ends and the bag begins so that it ends up near the top of your bag.  Baste in place.  In the photo my strap raw edges extend past the raw edge of the bag. This adds security and keeps the selvages on the strap from showing on the finished bag.


Now on for the tricky part:  See above, pull the bottom of the bag so that it covers the strap.  Pin the bag (both layers) to the outside cover only of the front of the bag on the right and left sides.  Then slip the lining of the bag over the front of the bag.  This basically turns the bag wrong side out and the lining will form a loop on top with the outer bag also forming a loop on the bottom.  The bag portion will be tucked up into the flap, but only just past the strap.    The remainder will be the flap.  If you are creating a specific size bag to fit a particular item.  Now is the second good time to measure.  (The first would be before you cut the fabric.) In the photo I used clips, as I had lined these bags with PUL.


image

Side seam stitched with “L” seams!

Align right sides together, and make a 3/8 inch seam along this edge.  Making sure to back stitch over the strap to secure it.

Make sure the second side of you bag is lined up and symmetrical to the side you just sewed.

Create two “L” seams along this edge.  Start at the top and just about a half inch after you sew across the many layers of the sides of the bag.  Pivot and stitch to the edge creating a seam that looks like the capital letter “L”.  Then a few inches later along this edge, make another “L” seam that serves two purposes.  It leaves a clean and sturdy opening for turning and finishes the side seam of the bag.  A small bag needs a smaller opening than a larger bag.

image

Second half of “L” seam!

Suggested ratio would be to leave an opening half the length of the bag side.


Flip it the bag right side out, this may take multiple flipping to be sure the lining is on the inside.  Poke out corners with a handy tool (chopsticks work great here!).  Pin the opening closed with the raw edges neatly tucked inside.  Top stitch narrowly to ensure that the opening is securely closed.


Complete the closure by adding the other half of the hook and loop tape to the inside of the flap, or add snaps, buttonholes and buttons, or whatever makes your heart happy. Kam Snaps make my heart happy!  I get mine locally at Hip Stitch and would be glad to show you how easy they are to apply.  A pattern with measurements, and possibly kits will be available in July 2016.

This makes a great snack bag, holiday gift bag, cosmetics, or think fusible fleece for an electronics bag.

Happy sewing!  Joanimage


Variations on the “fly”

I can’t tell you how many times I have made up a pair of boxers from the First Choice boxer pattern, or how many copies I have purchased.  It is far and away my family’s favorite.

Lets face it, there comes a time when your kids will no longer wear something “Mom made” out in public.  That is a sad day for those of us with a need to sew. Years ago when we were potty training, I saw so many cute novelty fabrics at my LQS, that I just had to make something.  Then I found the First Choice Boxer pattern, and made up a few pairs for my 3 year old son.  I was tickled to find fabric with Scooby Doo and Blues Clues. He was intrigued with the fly.  They were sweet, cute, and he would wear them, not much else but, his older sisters were glad that he was not running around starkers like a 3 year old would given the choice. These fit the bill as they are not meant to be worn in public, and serve well as PJ or lounge wear.

Ironically, this turned into a long pair from flannel, and both daughters begged me to make them as gifts for all their friends, who in their teens would wear them in public.  Luckily now we are past that stage too.

My youngest is soon off to college and I let him know recently that we will need to weed out some of his older, now capri length and way too small pj pants as they are not fit to be seen in by someone other than his parents. And that is debatable.  Dug through my flannel stash and picked out a few pieces that would be acceptable “lounging around the dorm” pants.

Even more ironic, they make a great split slip for me (or pj pants) when lengthened and made from a lovely batiste or voile.


Sewing Green

So it is only mid-November, but the fire drill has started.  Any crafter, or person who leans towards making holiday gifts, has  been feeling the pressure for a while now.  The list making, supply shopping, material gathering…. It starts early, even before the first holiday decoration goes up at Hobby Lobby, we crafters are planning for the holidays.

Crank the pressure dial up a notch if you are planning for one or more craft shows.  Let the power sewing begin, and why didn’t I start working on this in August?  The pressure increases exponentially when your closest family members have birthdays during the holidays.  Gotta craft double time to show them the sewing love they deserve.

Today I worked on some really cheesy holiday fabric that I had promised myself that I would get to -at least a portion of -this year.  Looking back it must have been double discounted when I purchased it years ago.  Blue, lots of blue, blue ornaments with white deer on a blue background.  Tiny white reindeer on a navy background, white snow flakes on a blue checked background.  Azure dreidels on white.  These had all been culled from the stash and cut into various squares.

With the promise of easy reusable holiday/birthday wrap, I used  directions from a pattern I put together for an origami napkin.  The plan was to use (really use up) some holiday fabric on one side, with a not so holiday coordinate on the other side.  This way the wrapping could be used multiple times in a year.

These are like dinner napkins, but ginormous, over a yard across.  Perfect for a table topper, or furoshiki.  A great way to use some of that “what was I thinking” fabric, and turn it into something cool.  Green to use what you have, and green to use it for more than one occasion and even greener to use year after year.  Kind of like unpaper towels.  You can find the free pattern in Stashed,  here.

Hope I have inspired you to pull from your stash and make something green and cool for the holidays.