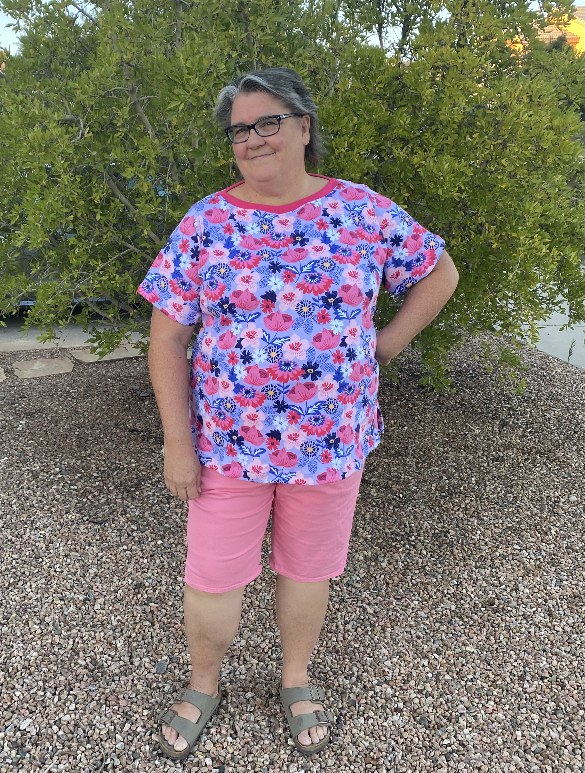
I had pretty much hung up my pattern testing hat, when this really fun boat neck top pattern showed up. A 3/4 length sleeve boatneck was my mother’s signature garment, and I was curious about the technique employed in making this iconic style. The pattern from 5oo4 is called Edith, and has some pretty trendy sleeve treatments as well. Personally, I am quite happy in a tank, and pull on a cardigan when it gets cold, so I made a first version in tunic length in the heavy pink ribbing you see here. There were pattern changes and so my second version is short sleeved, in a deep stash Doodles interlock, that my SO says is quite floral for fall.
Notorious for not always following sewing instructions, I veered from the get go. Read the pattern instructions first, please. This is how I did it. I serged the raw edge of the shoulder seams individually. If your fabric is super stretchy, you could include a strip of seam tape or clear elastic in with that serging to give it more body. Then, using a straight stitch, or triple stitch, sewed from the outer edge of the shoulder seam up to the neck. I stopped 1/4 inch from the neckline. And back stitched. Or at least I tried to back stitch, but my machine had other ideas. I removed those last few stitches, and you can see the holes my needle made in this photo. So, on the other side, I chose to mark a spot 1/4 inch from the inside neck and start there with a secure stitch and sew to the shoulder edge of that seam. Important here to leave that last (generous) 1/4 inch open and have your stitches secure at each end point.

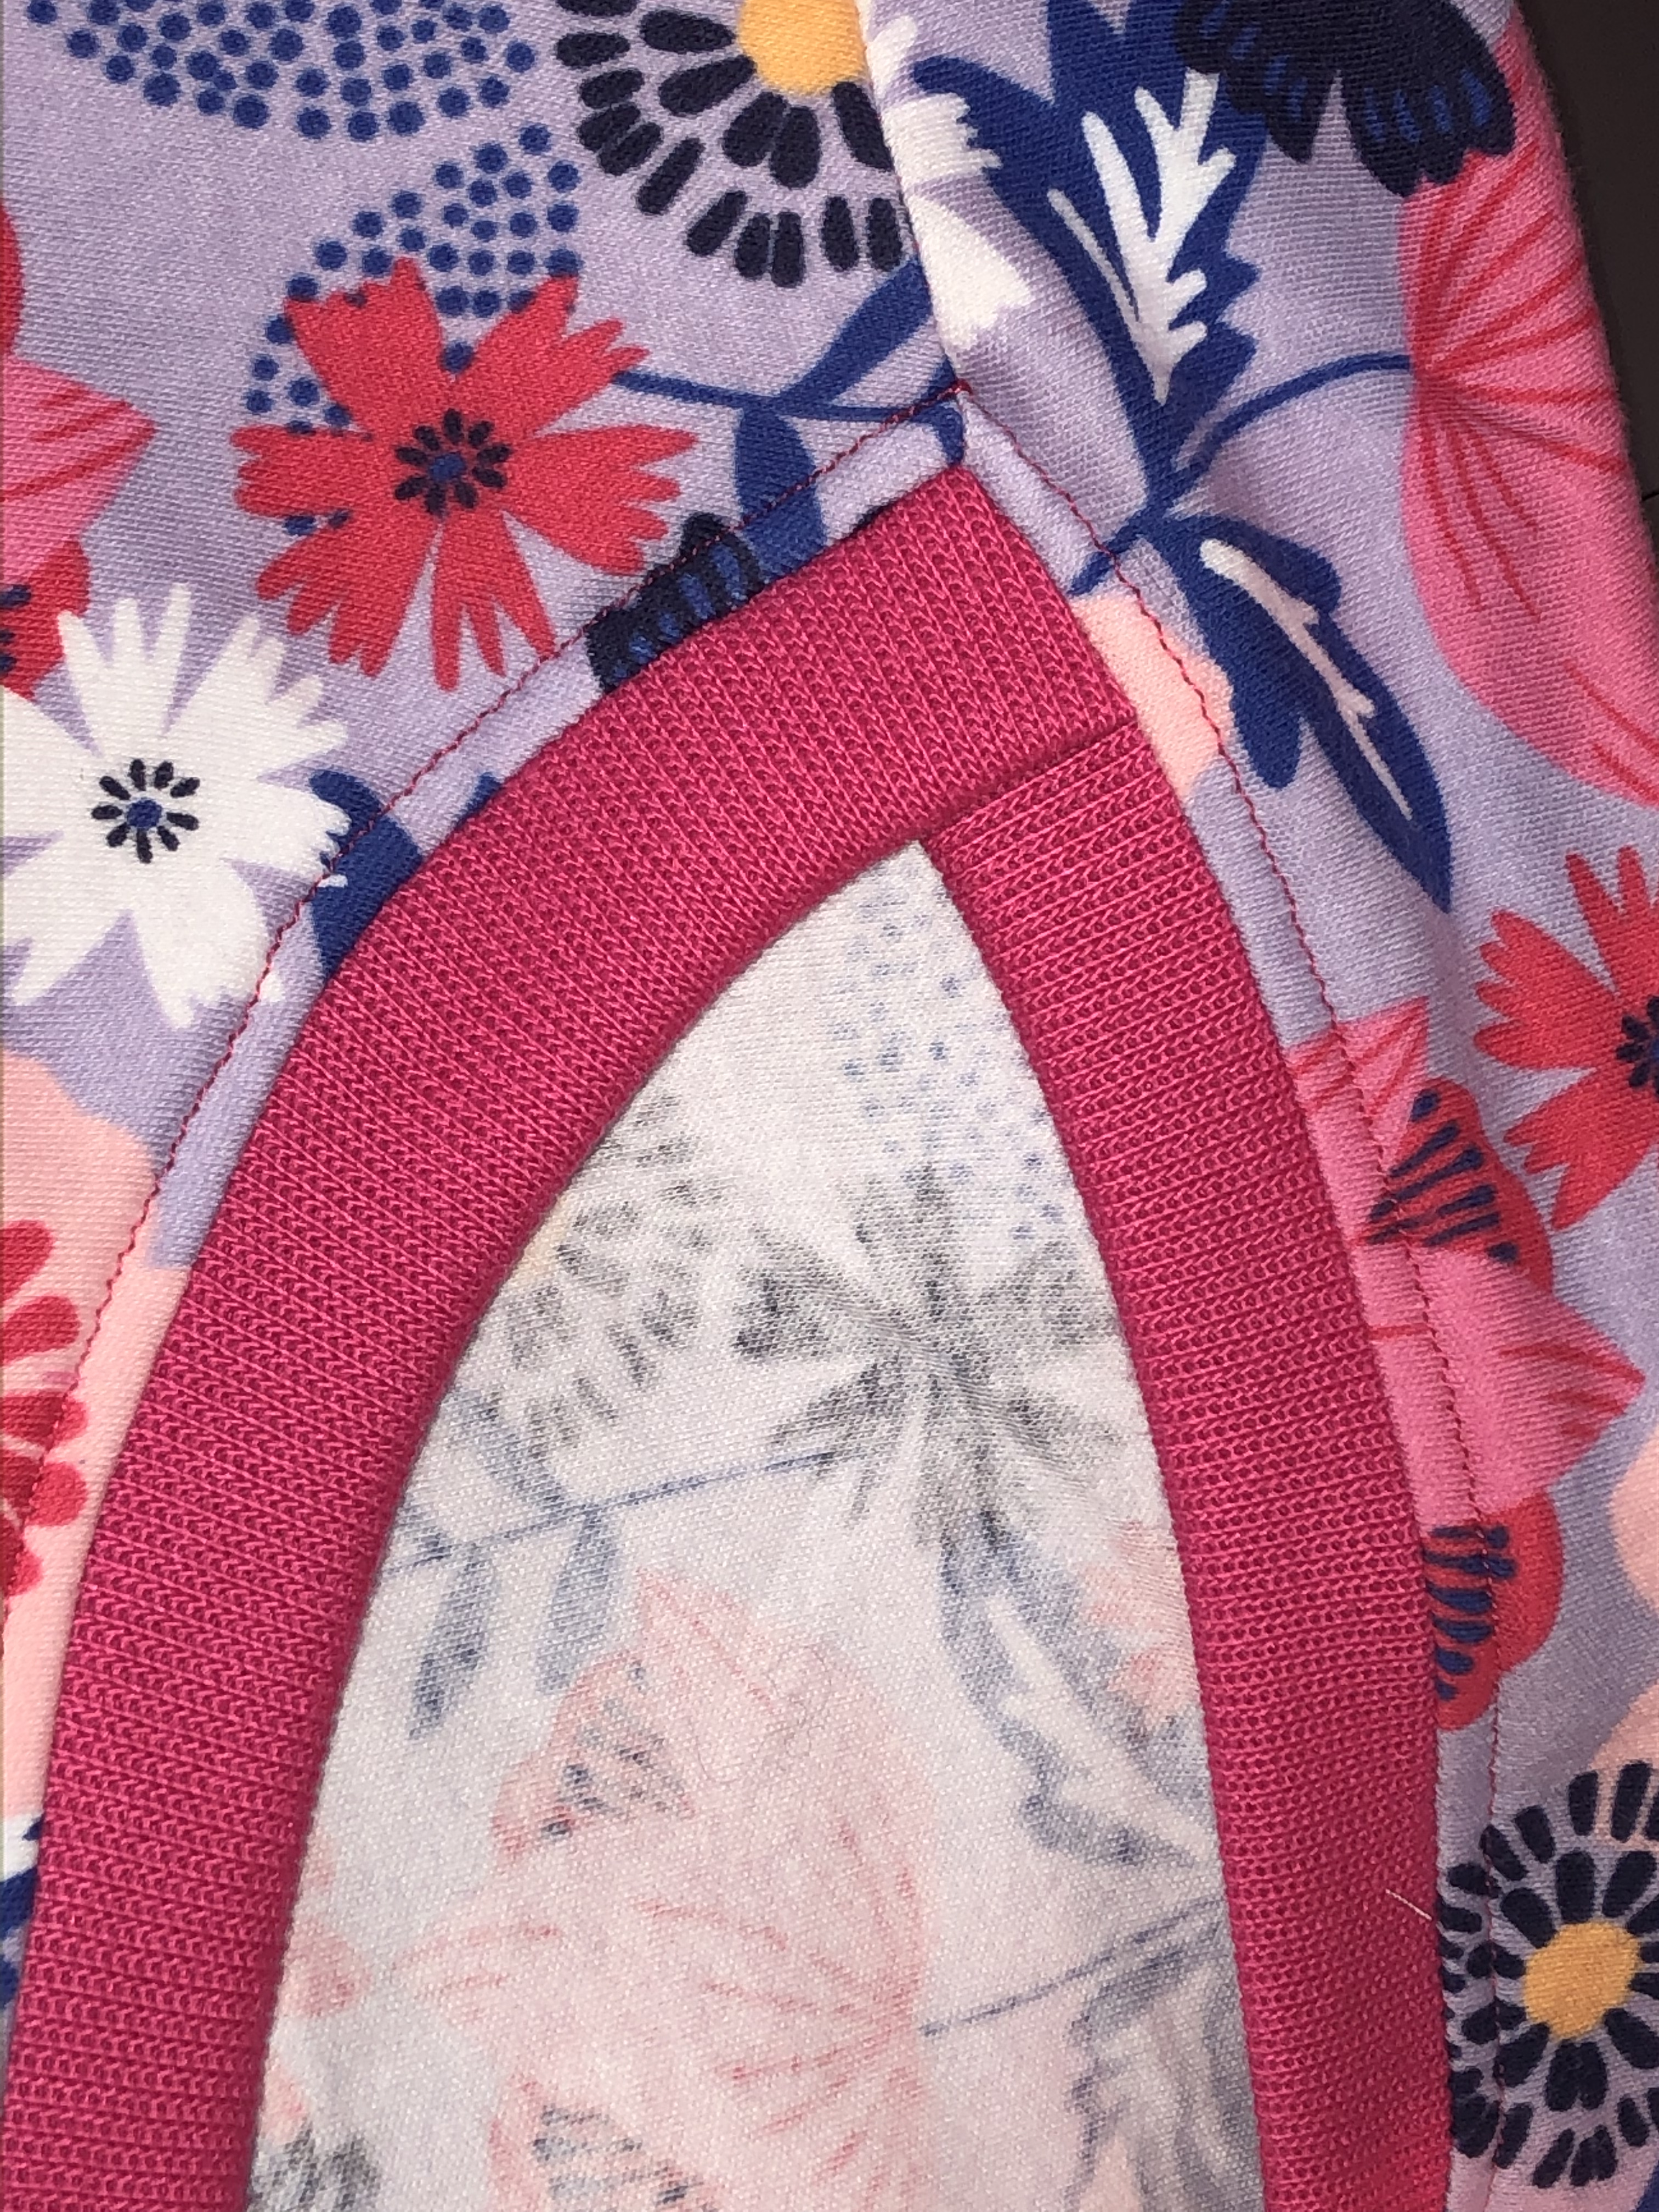
Next, I prepared my bands. Since this ribbing was really stable, I just folded the whole thing in half hot dog style and serged the raw edges together. Cut the front and back pieces from that, and zig zag basted the corners together. Since the band was cut at two inches wide, I just basted the one inch overlap. As the designer states in the instructions it is important to cross front over back on each side, and not to twist the bands. I will state that it is important to baste within that 1/4 inch seam allowance, so your basting stitches do not show later. Since my serger seam is actually closer to 3/8 inch wide, it technically is slightly deeper than pattern recommendations, but this is a knit garment and not a quilt, where exact seam allowances make all the difference.
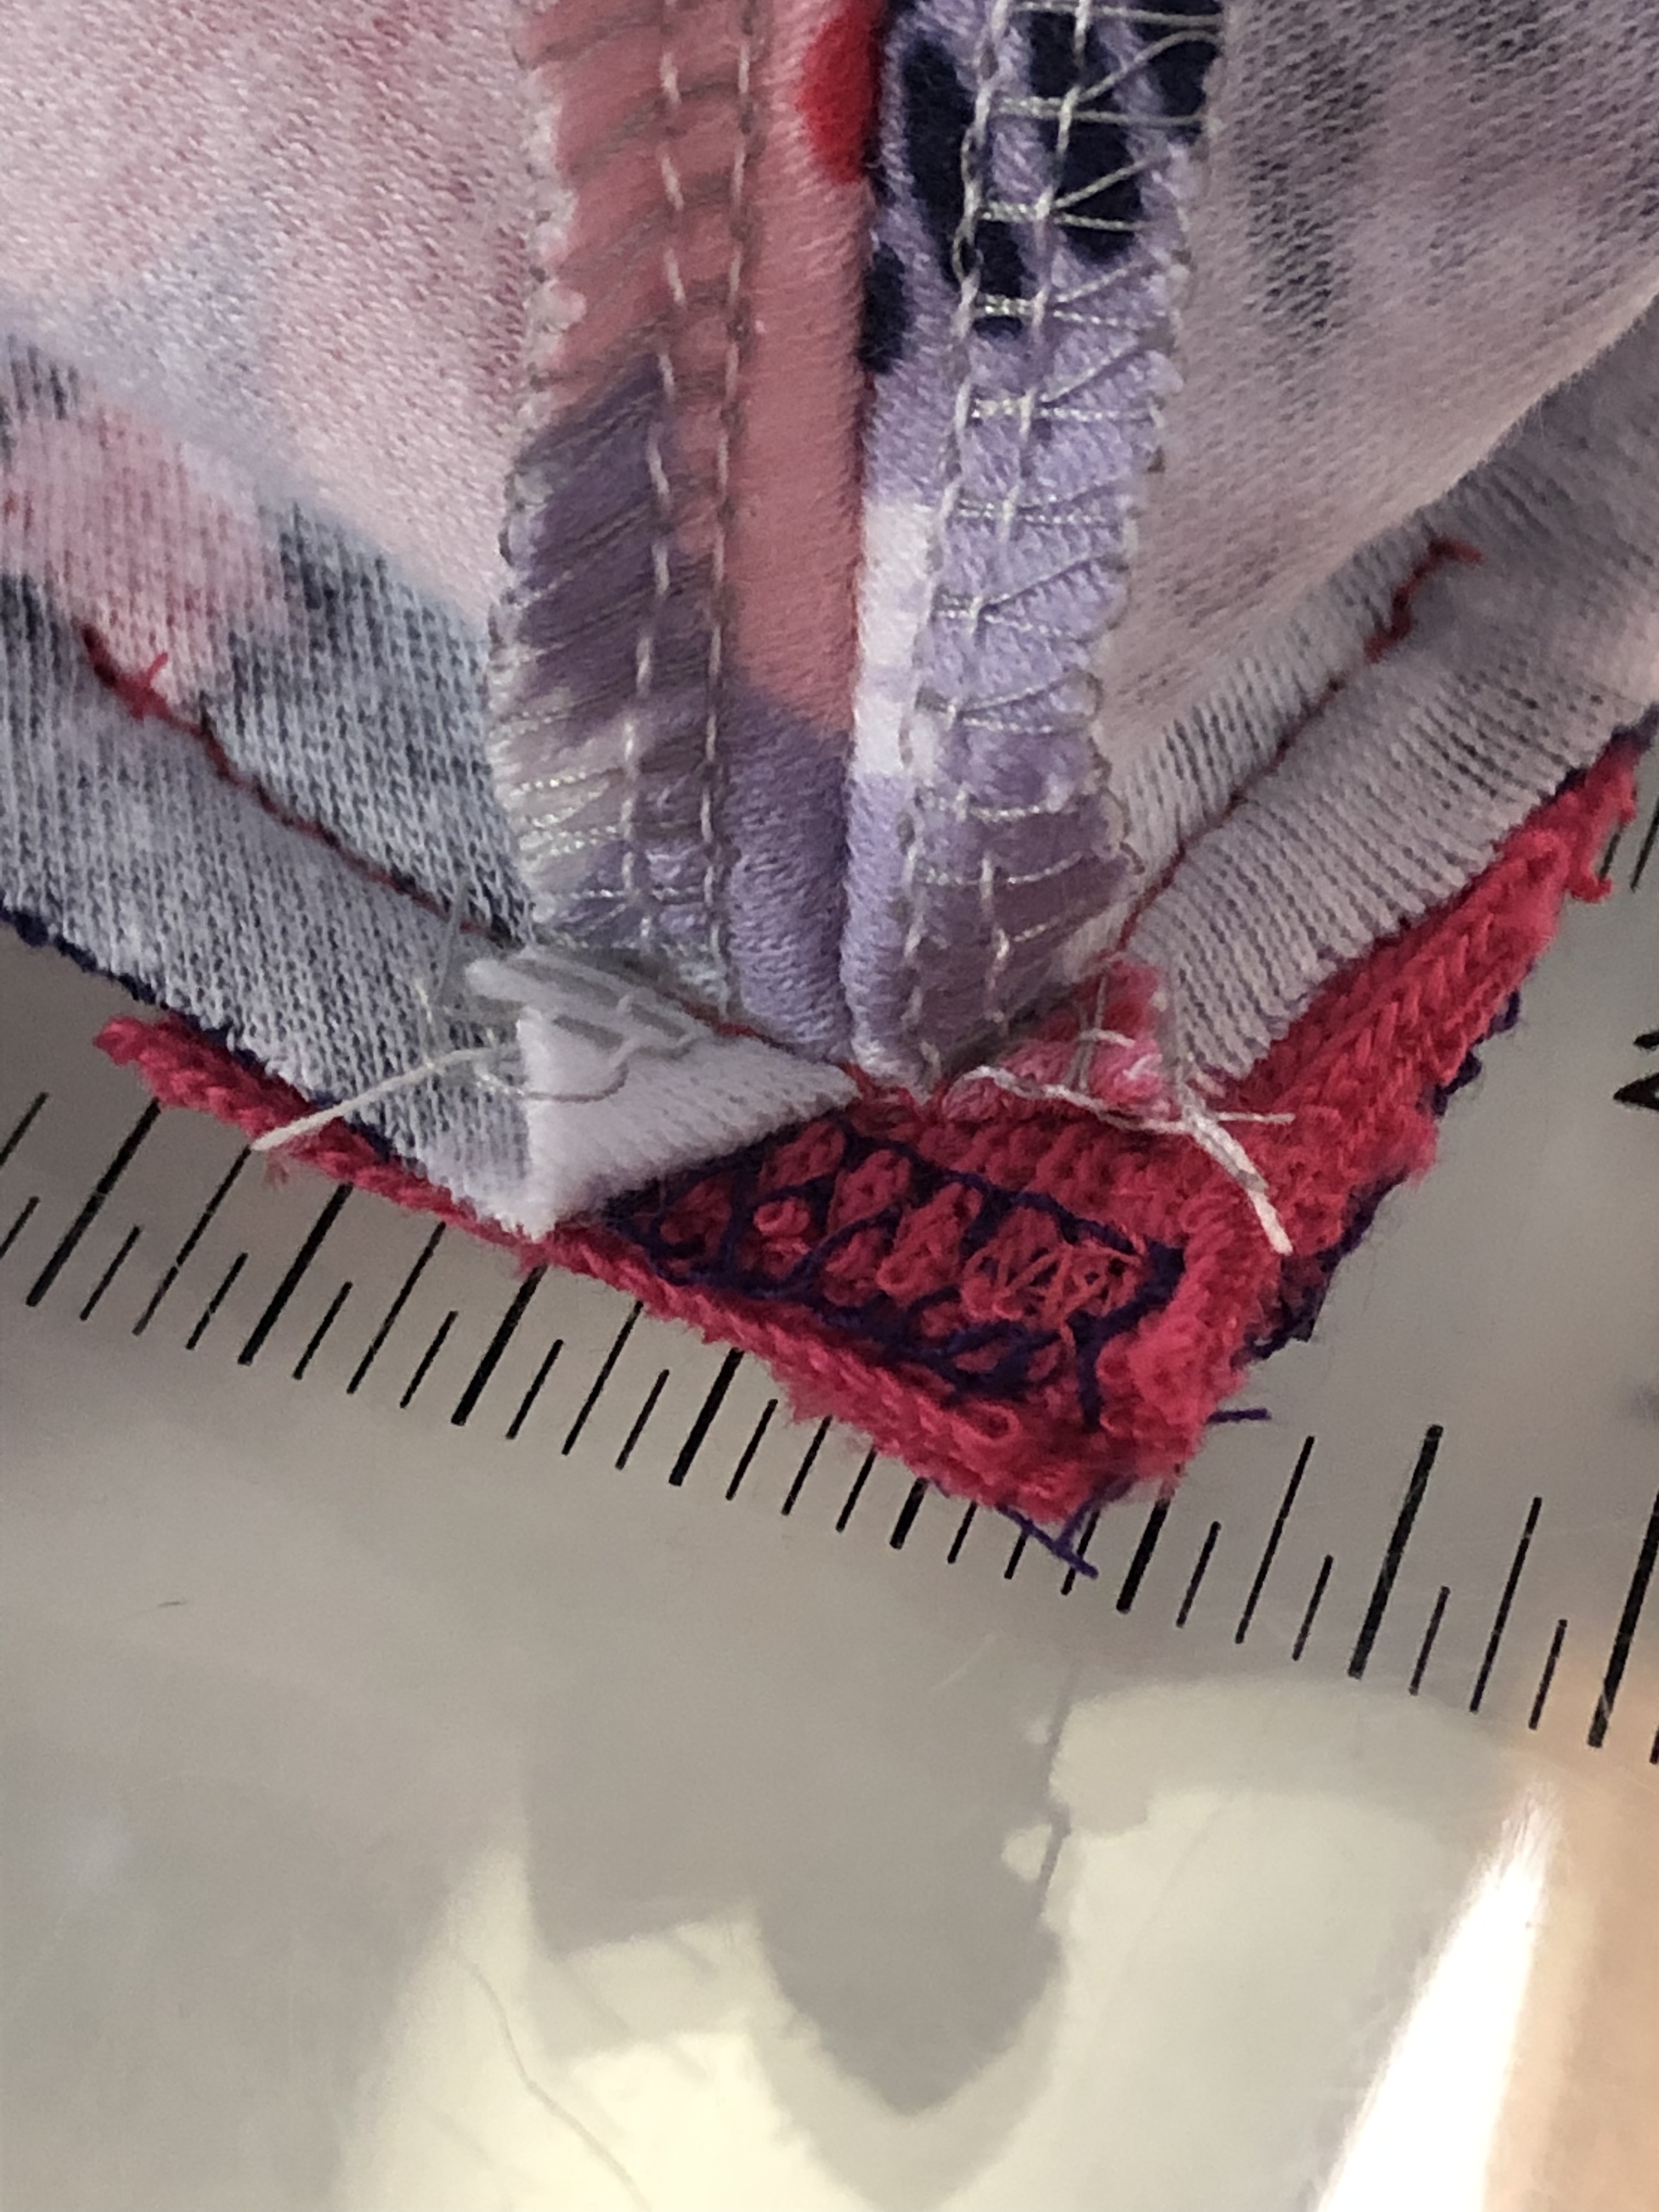
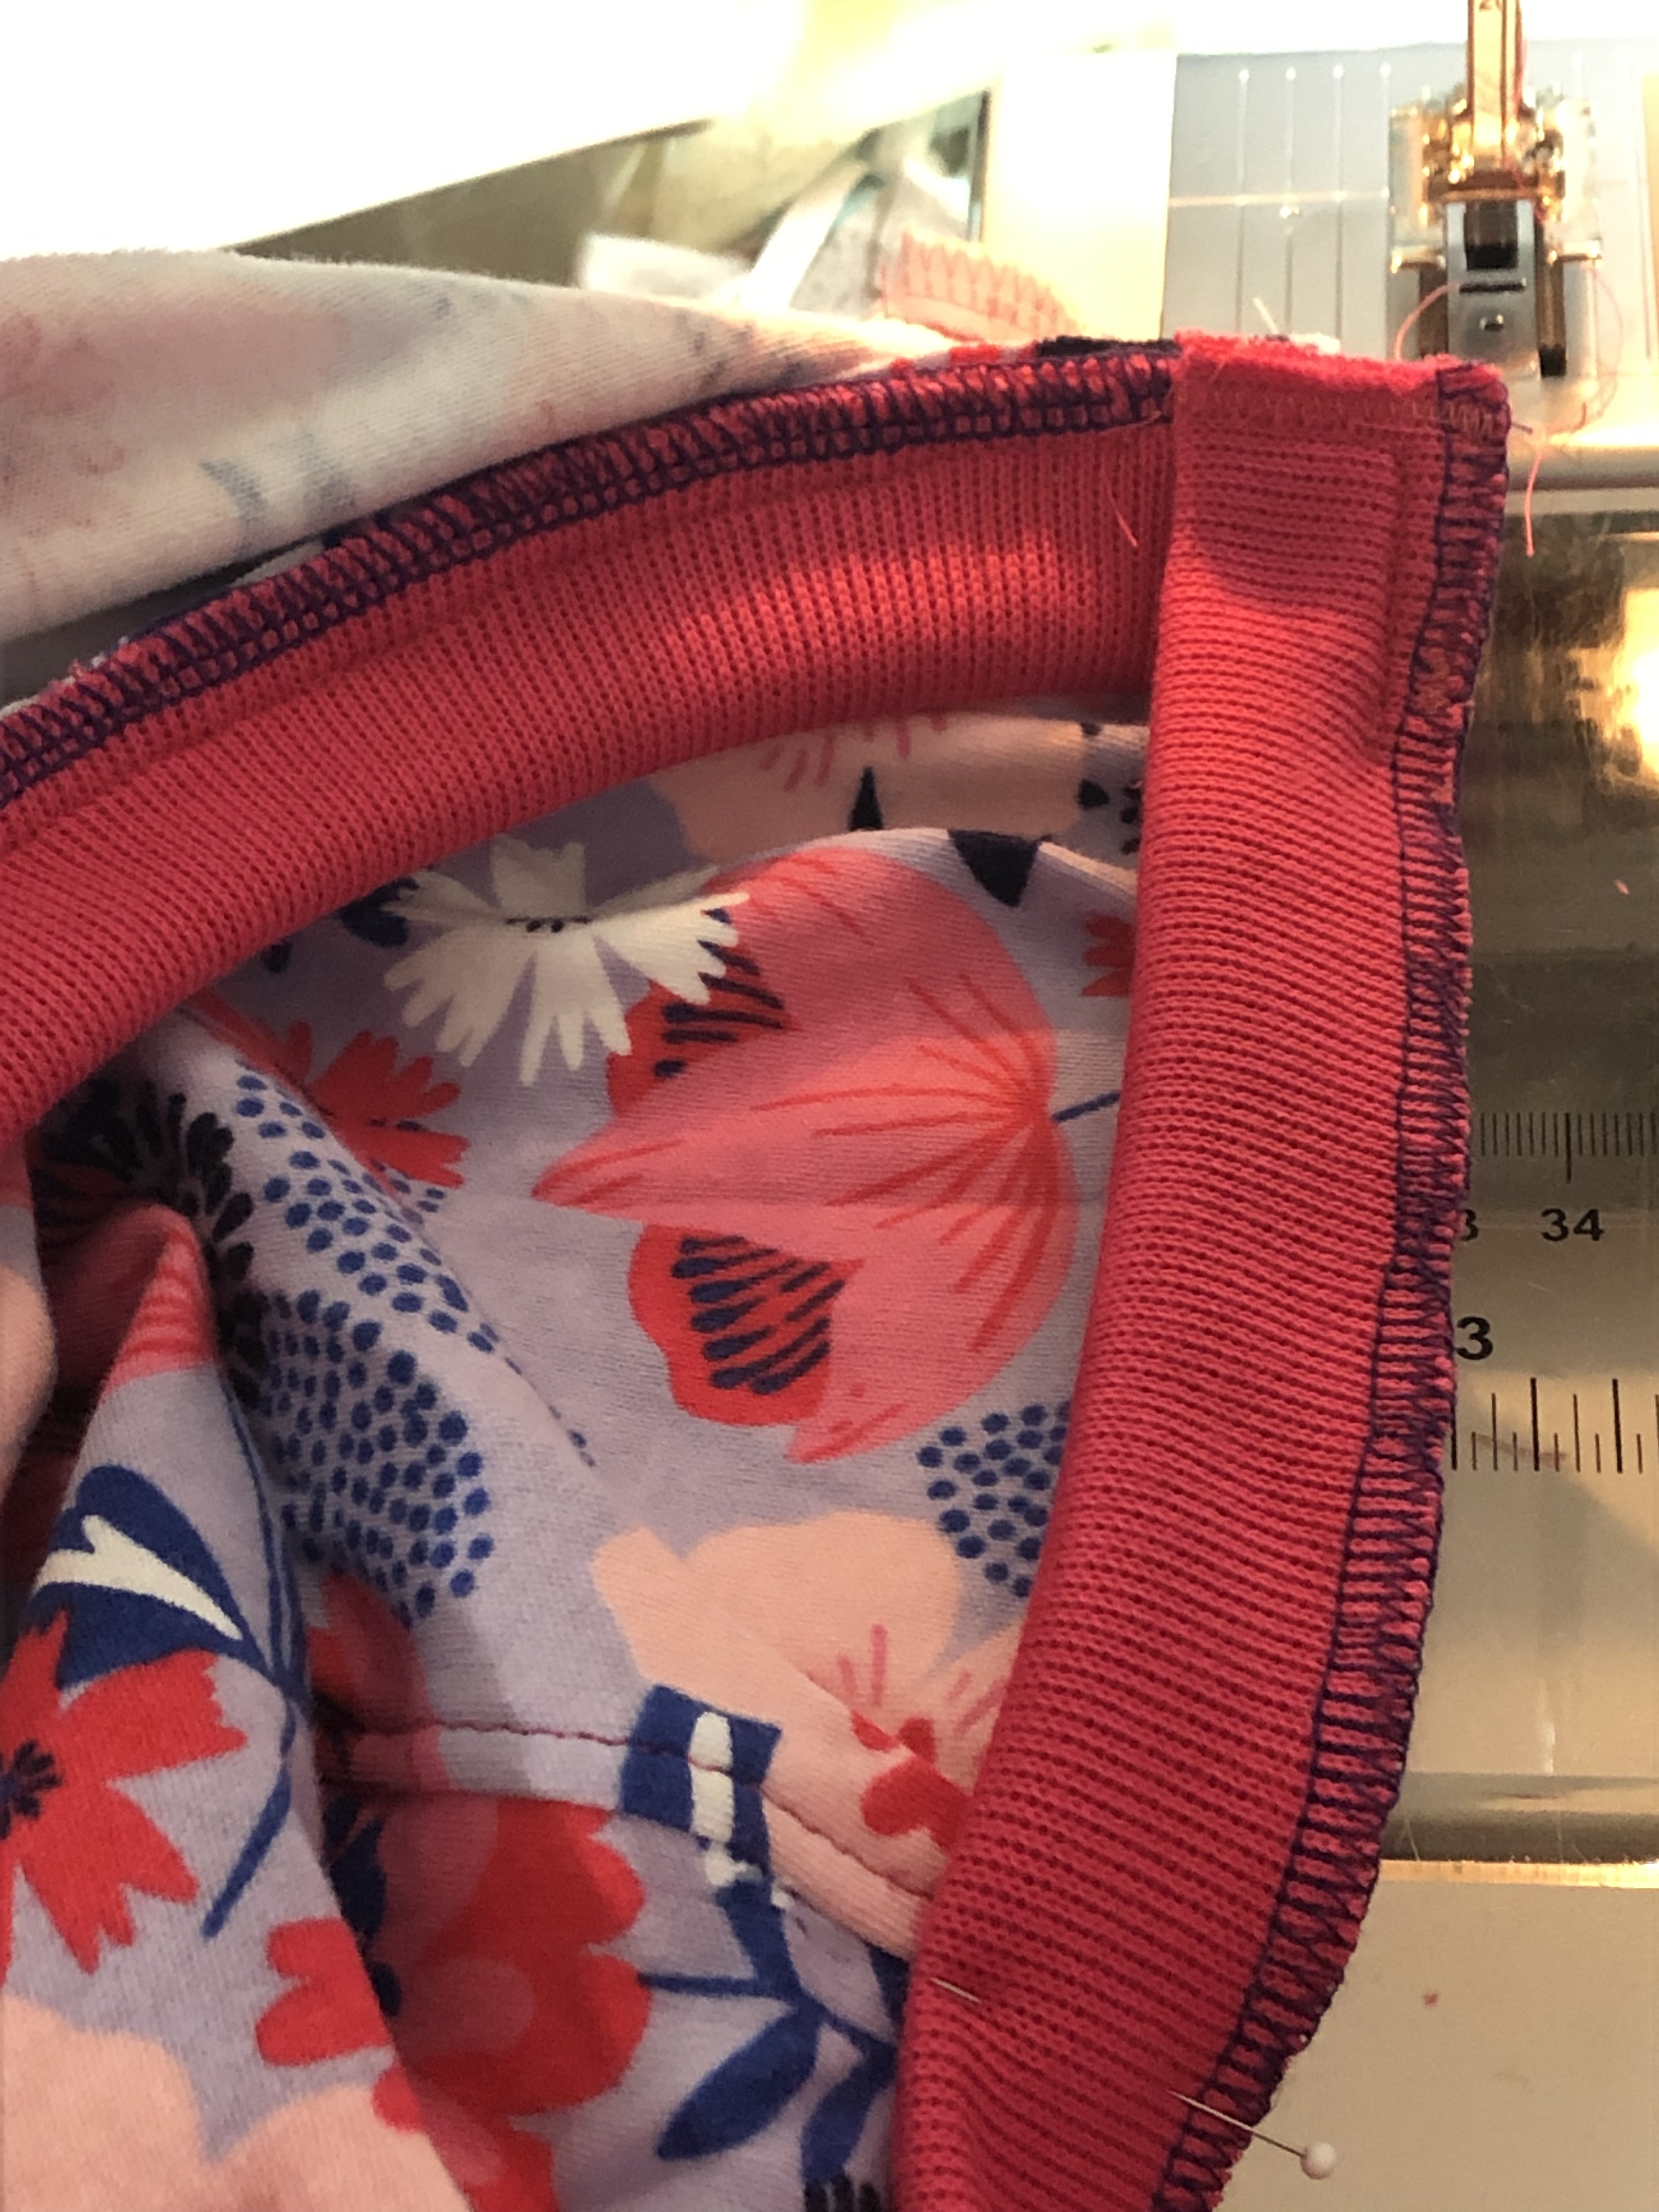
Speaking of quilts, that is where I learned about a “Y” seam or Wye seam. Worth a google. In the photo below, you can see where I pinned the seam allowances of the shoulder seam open. A little wash away wonder tape could hold those open, or even glue stick, but I had pins. I could have made a dot at the quarter inch (generous) point on my bands, and lined that up with the opening of my partially sewn shoulder seam. Instead, I lined that up with the finished edge of the folded back shoulder seam, right were the lowest pin in the photo below is. I stitched this seam for a generous inch, starting just before the band overlap, which happens to be the one inch, and ending at the precise spot where the shoulder seam ends. When you get close to that spot, sew very slowly. Remove the pin, once the toes of the feed dog are on top of the seam allowance and can reliably hold that down. Perhaps even manually roll the wheel on the side of your machine so that you can place that needle down exactly in the crotch of the seam. I used a wobble stitch here. Sandra and Nancy both talk about the wobble stitch that is 2 long and .5 wide. Easier to remove than a lightening stitch.
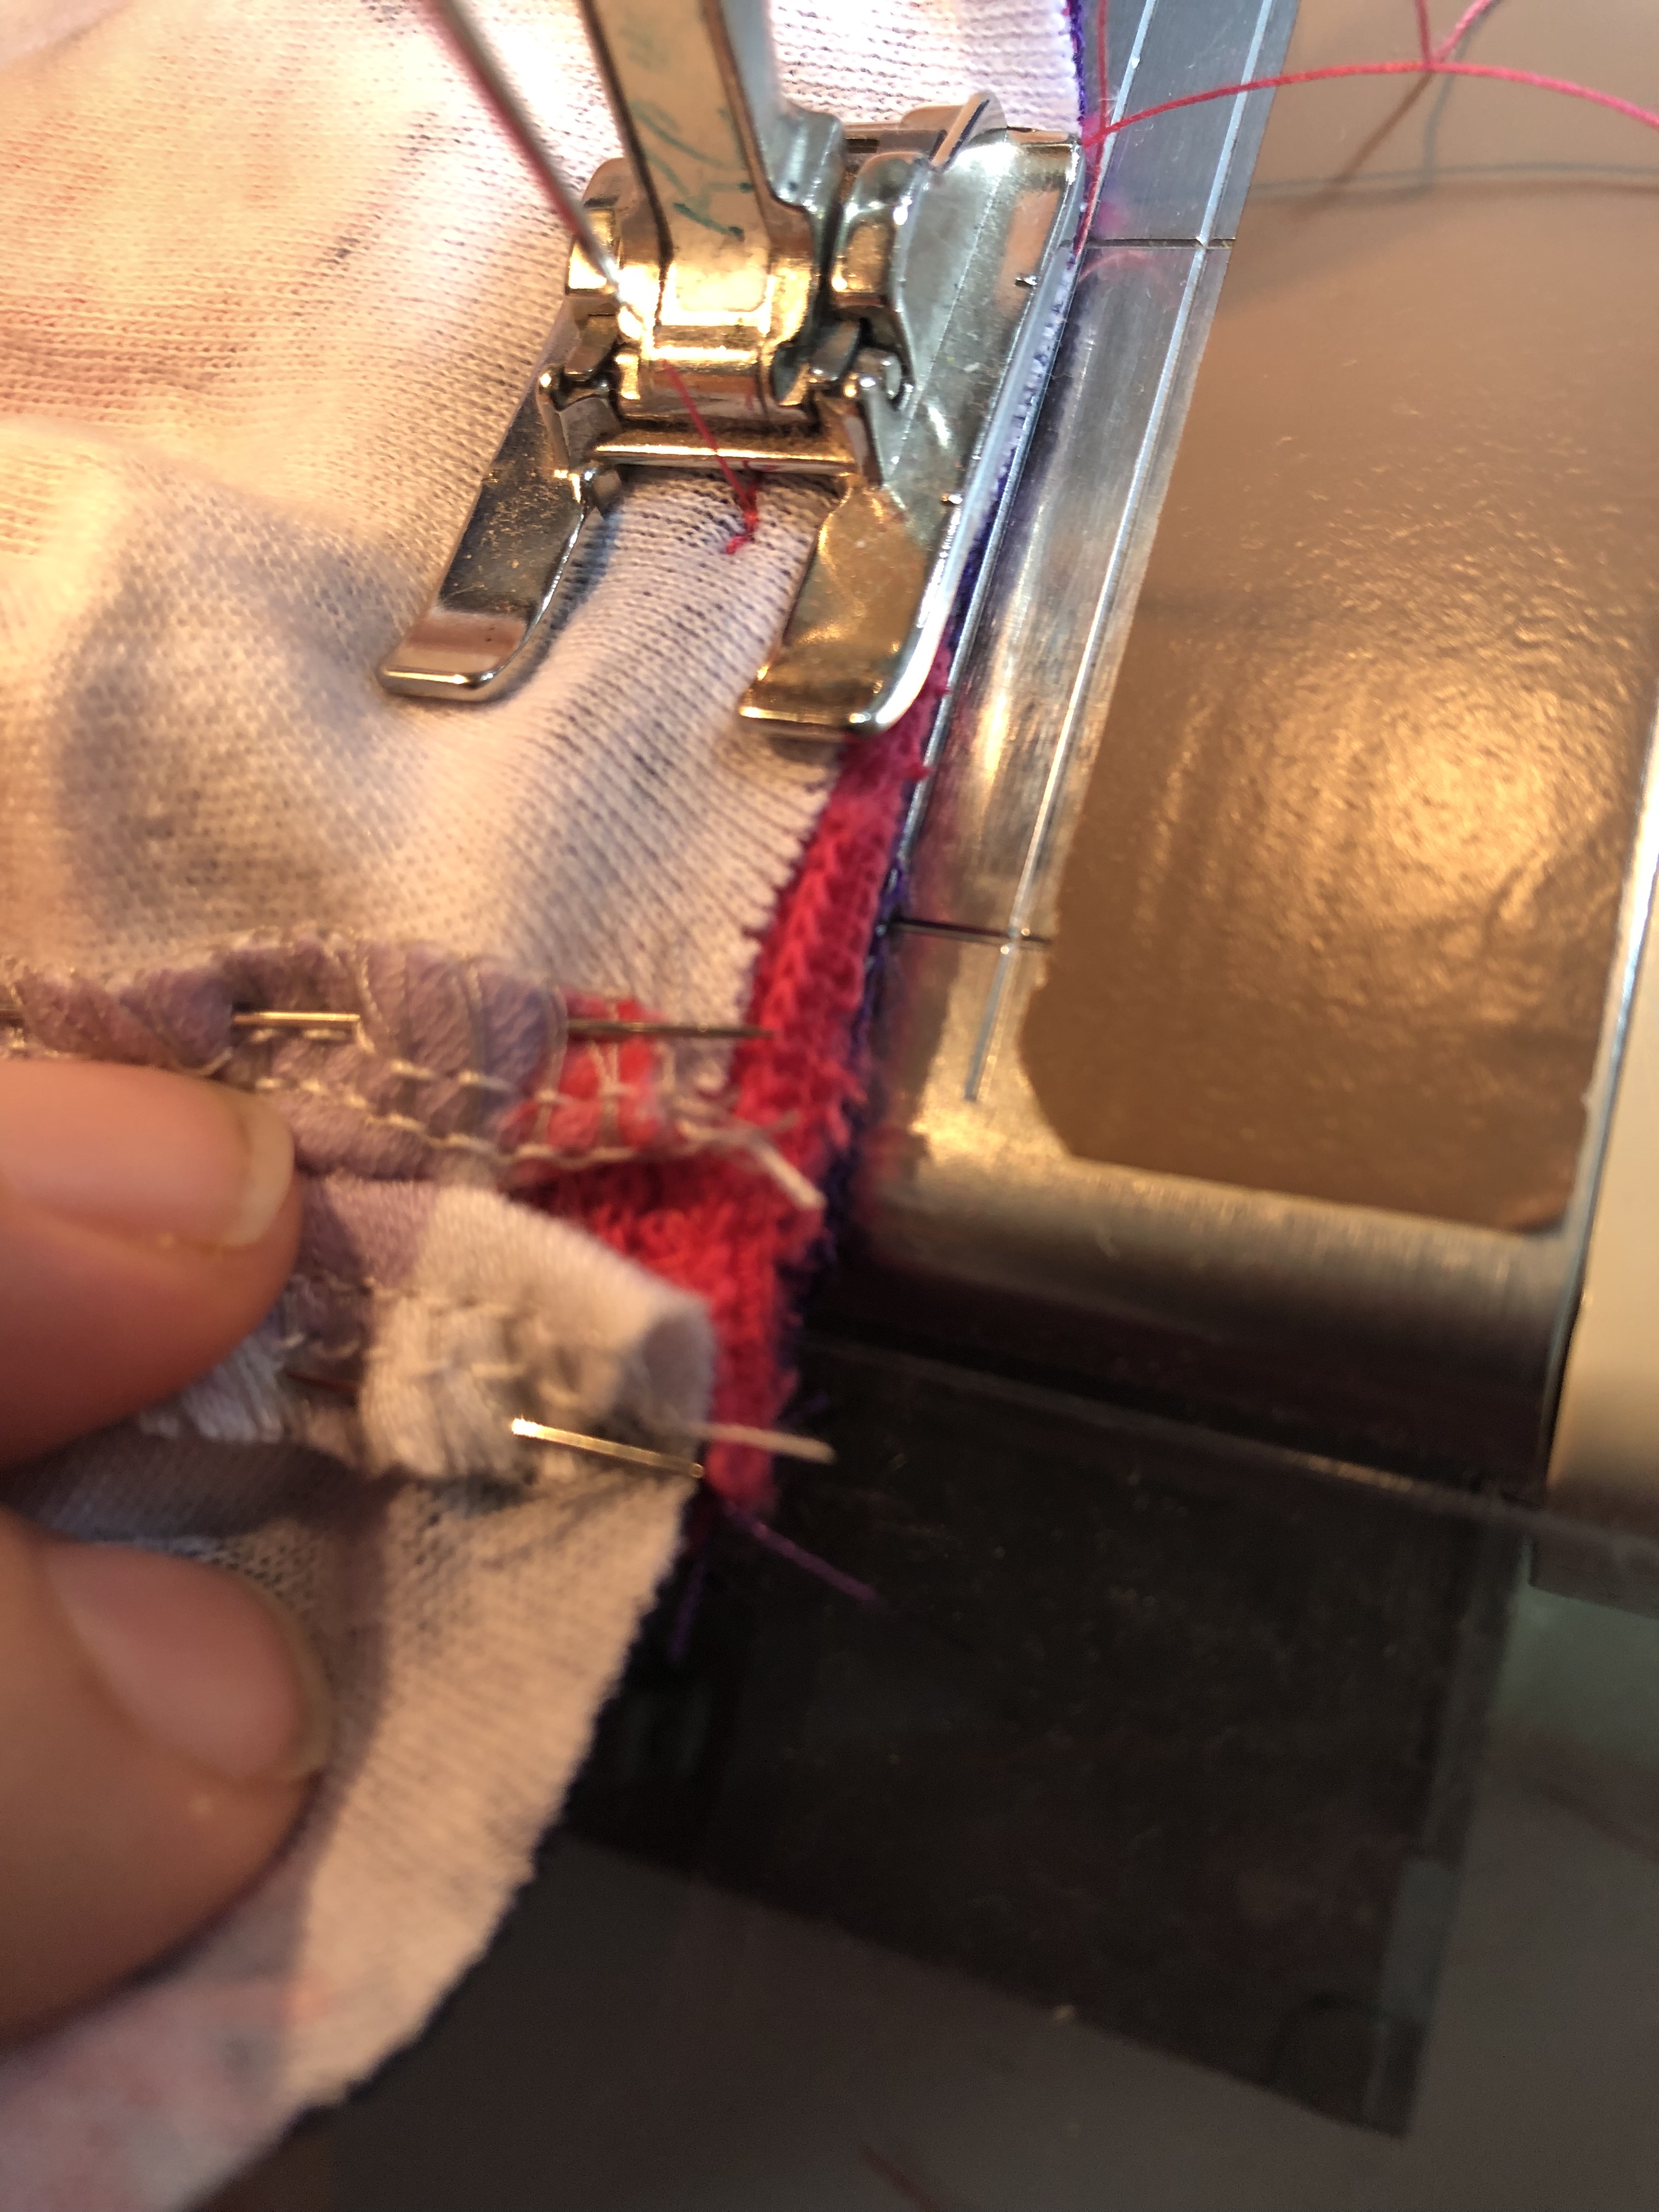
Super duper close up of the needle sunk into the crotch of the (partial) Y seam at the shoulder. Be sure to catch the fabric of the body of the top. If you do not catch it, there will be a hole. If you are too far into the fabric, you will get lumps. While the needle is down, lift the presser foot and rearrange the fabric pieces, so that the under section, the band and upper section the body are both realigned along the raw edges. You are pulling the band towards you. At the bottom of the photo, you can see a tiny bit poking out. And pushing the excess body fabric back behind the needle to the left, out of the way, so that you can stitch this next inch.
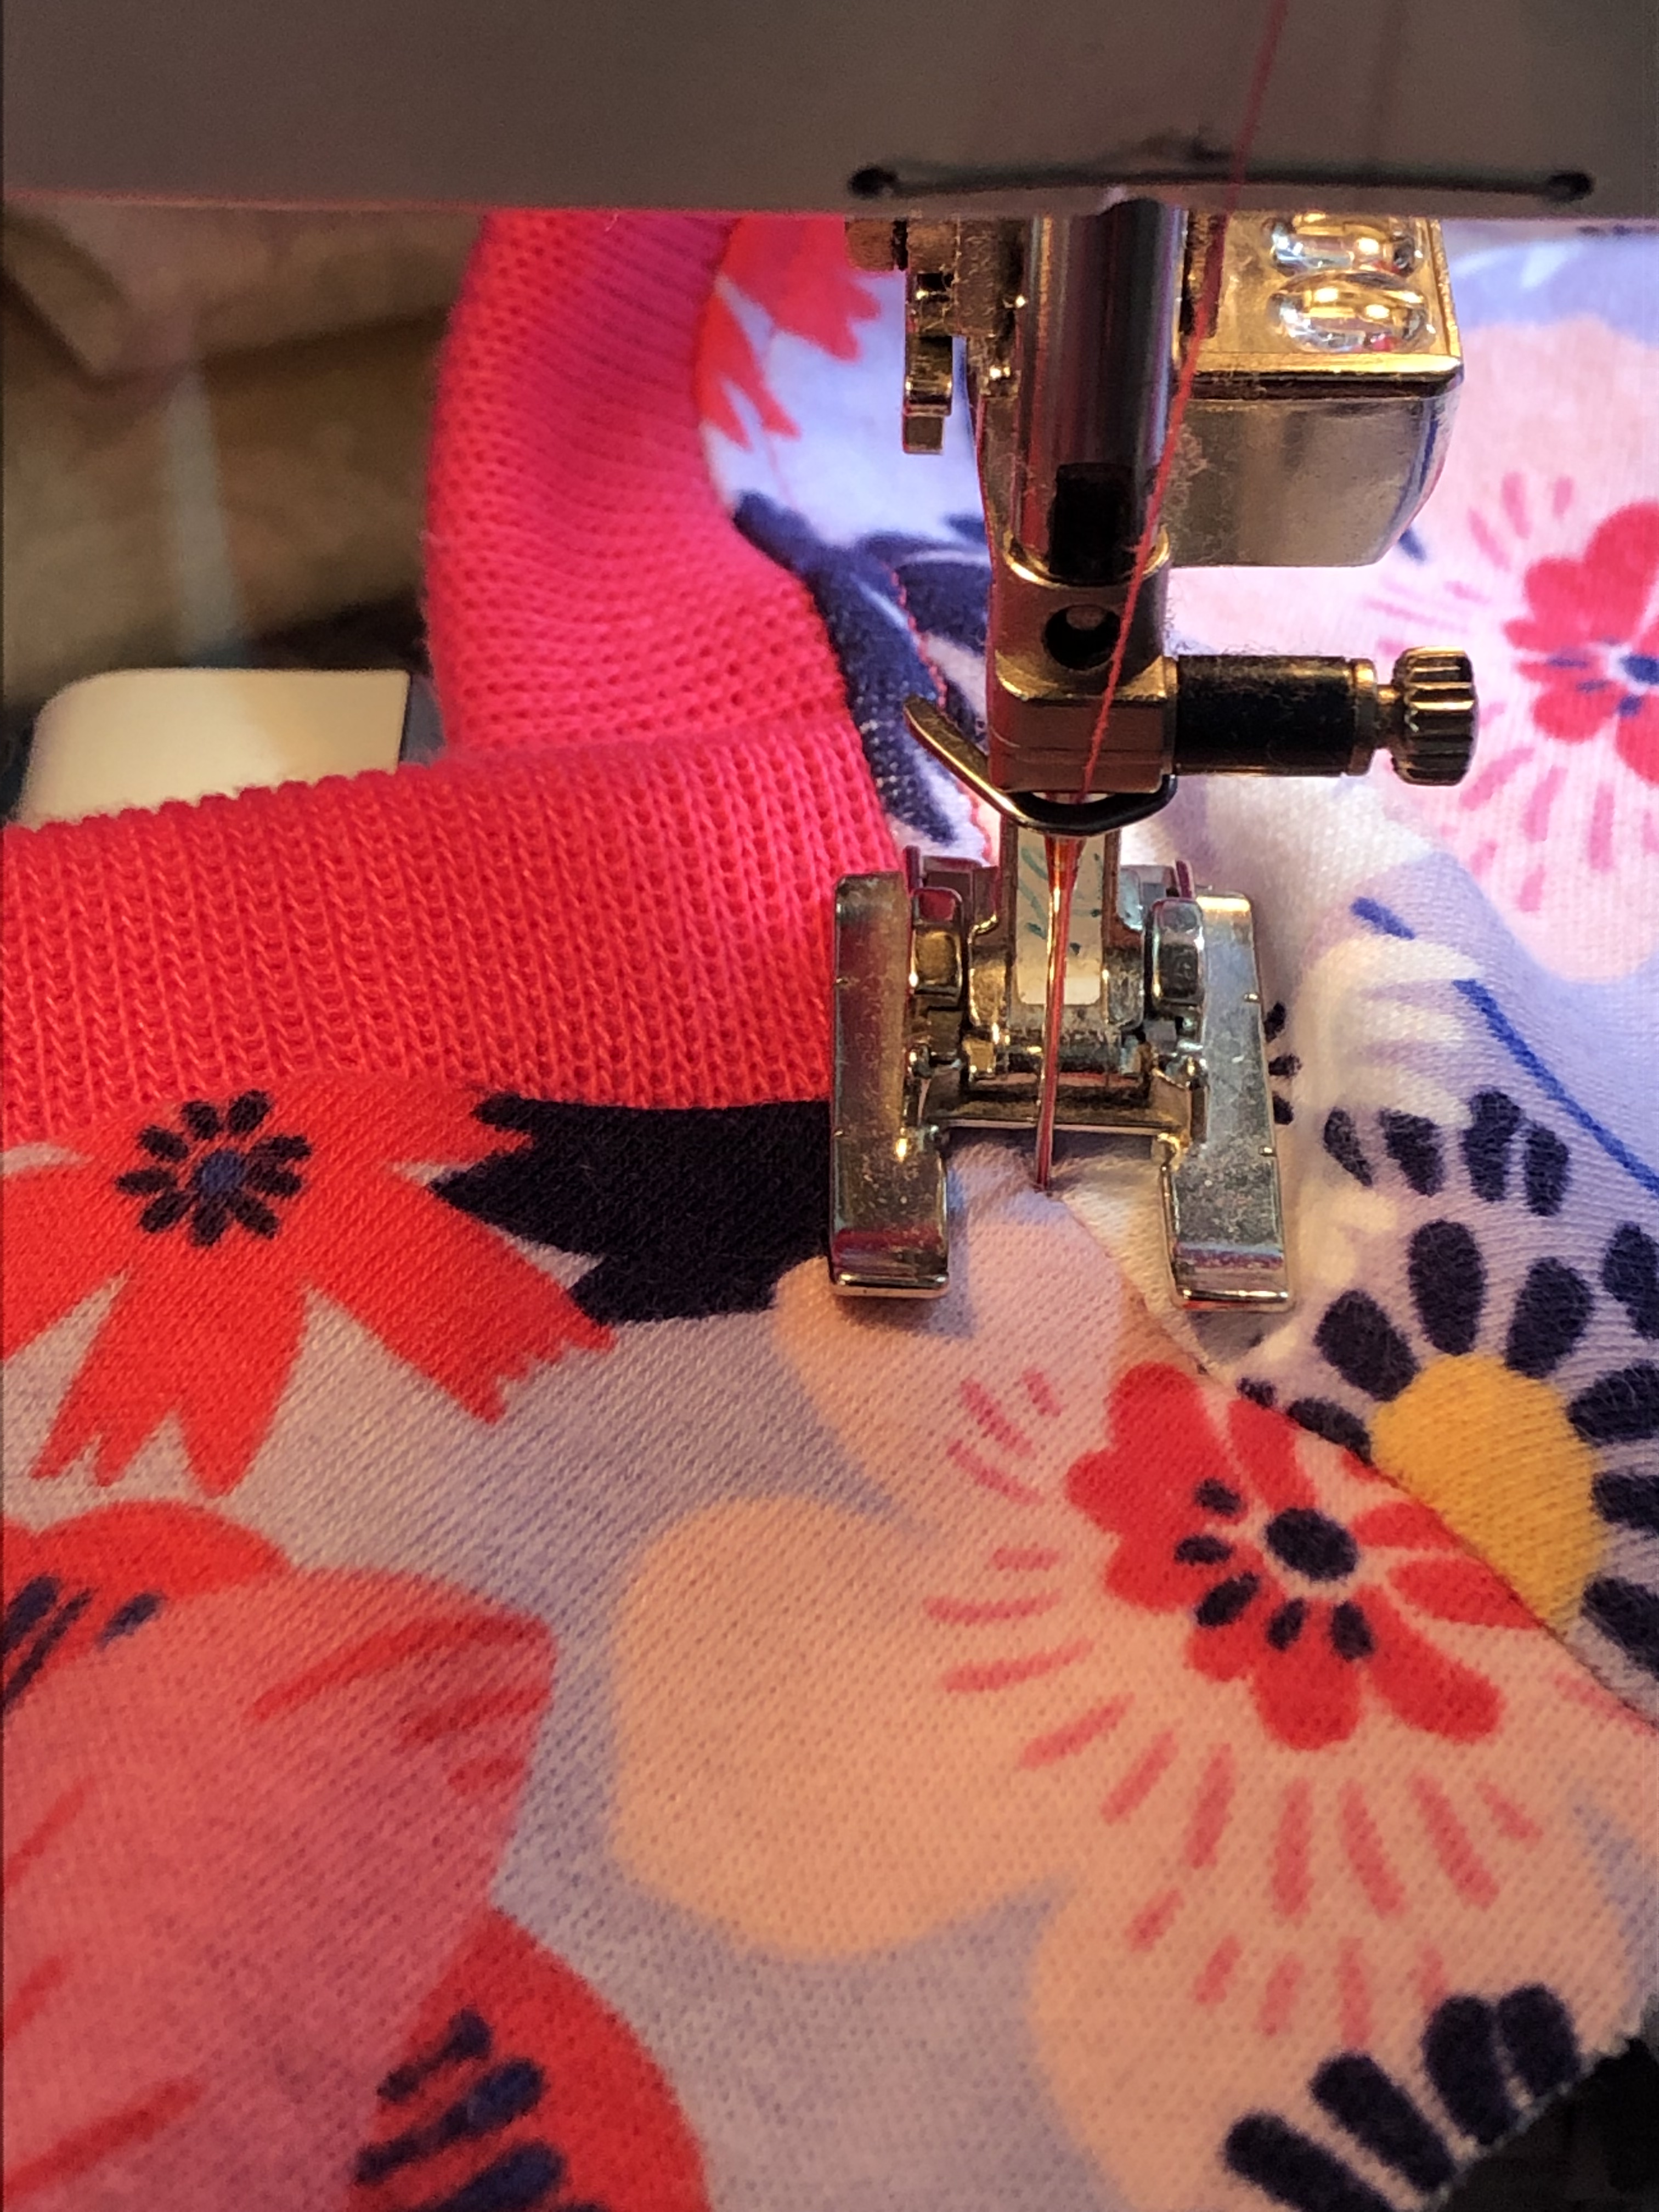
Super tempting, I know to continue stitching this seam, but don’t do it! Just sew the generous inch, to just past the end of the crossover of the bands.
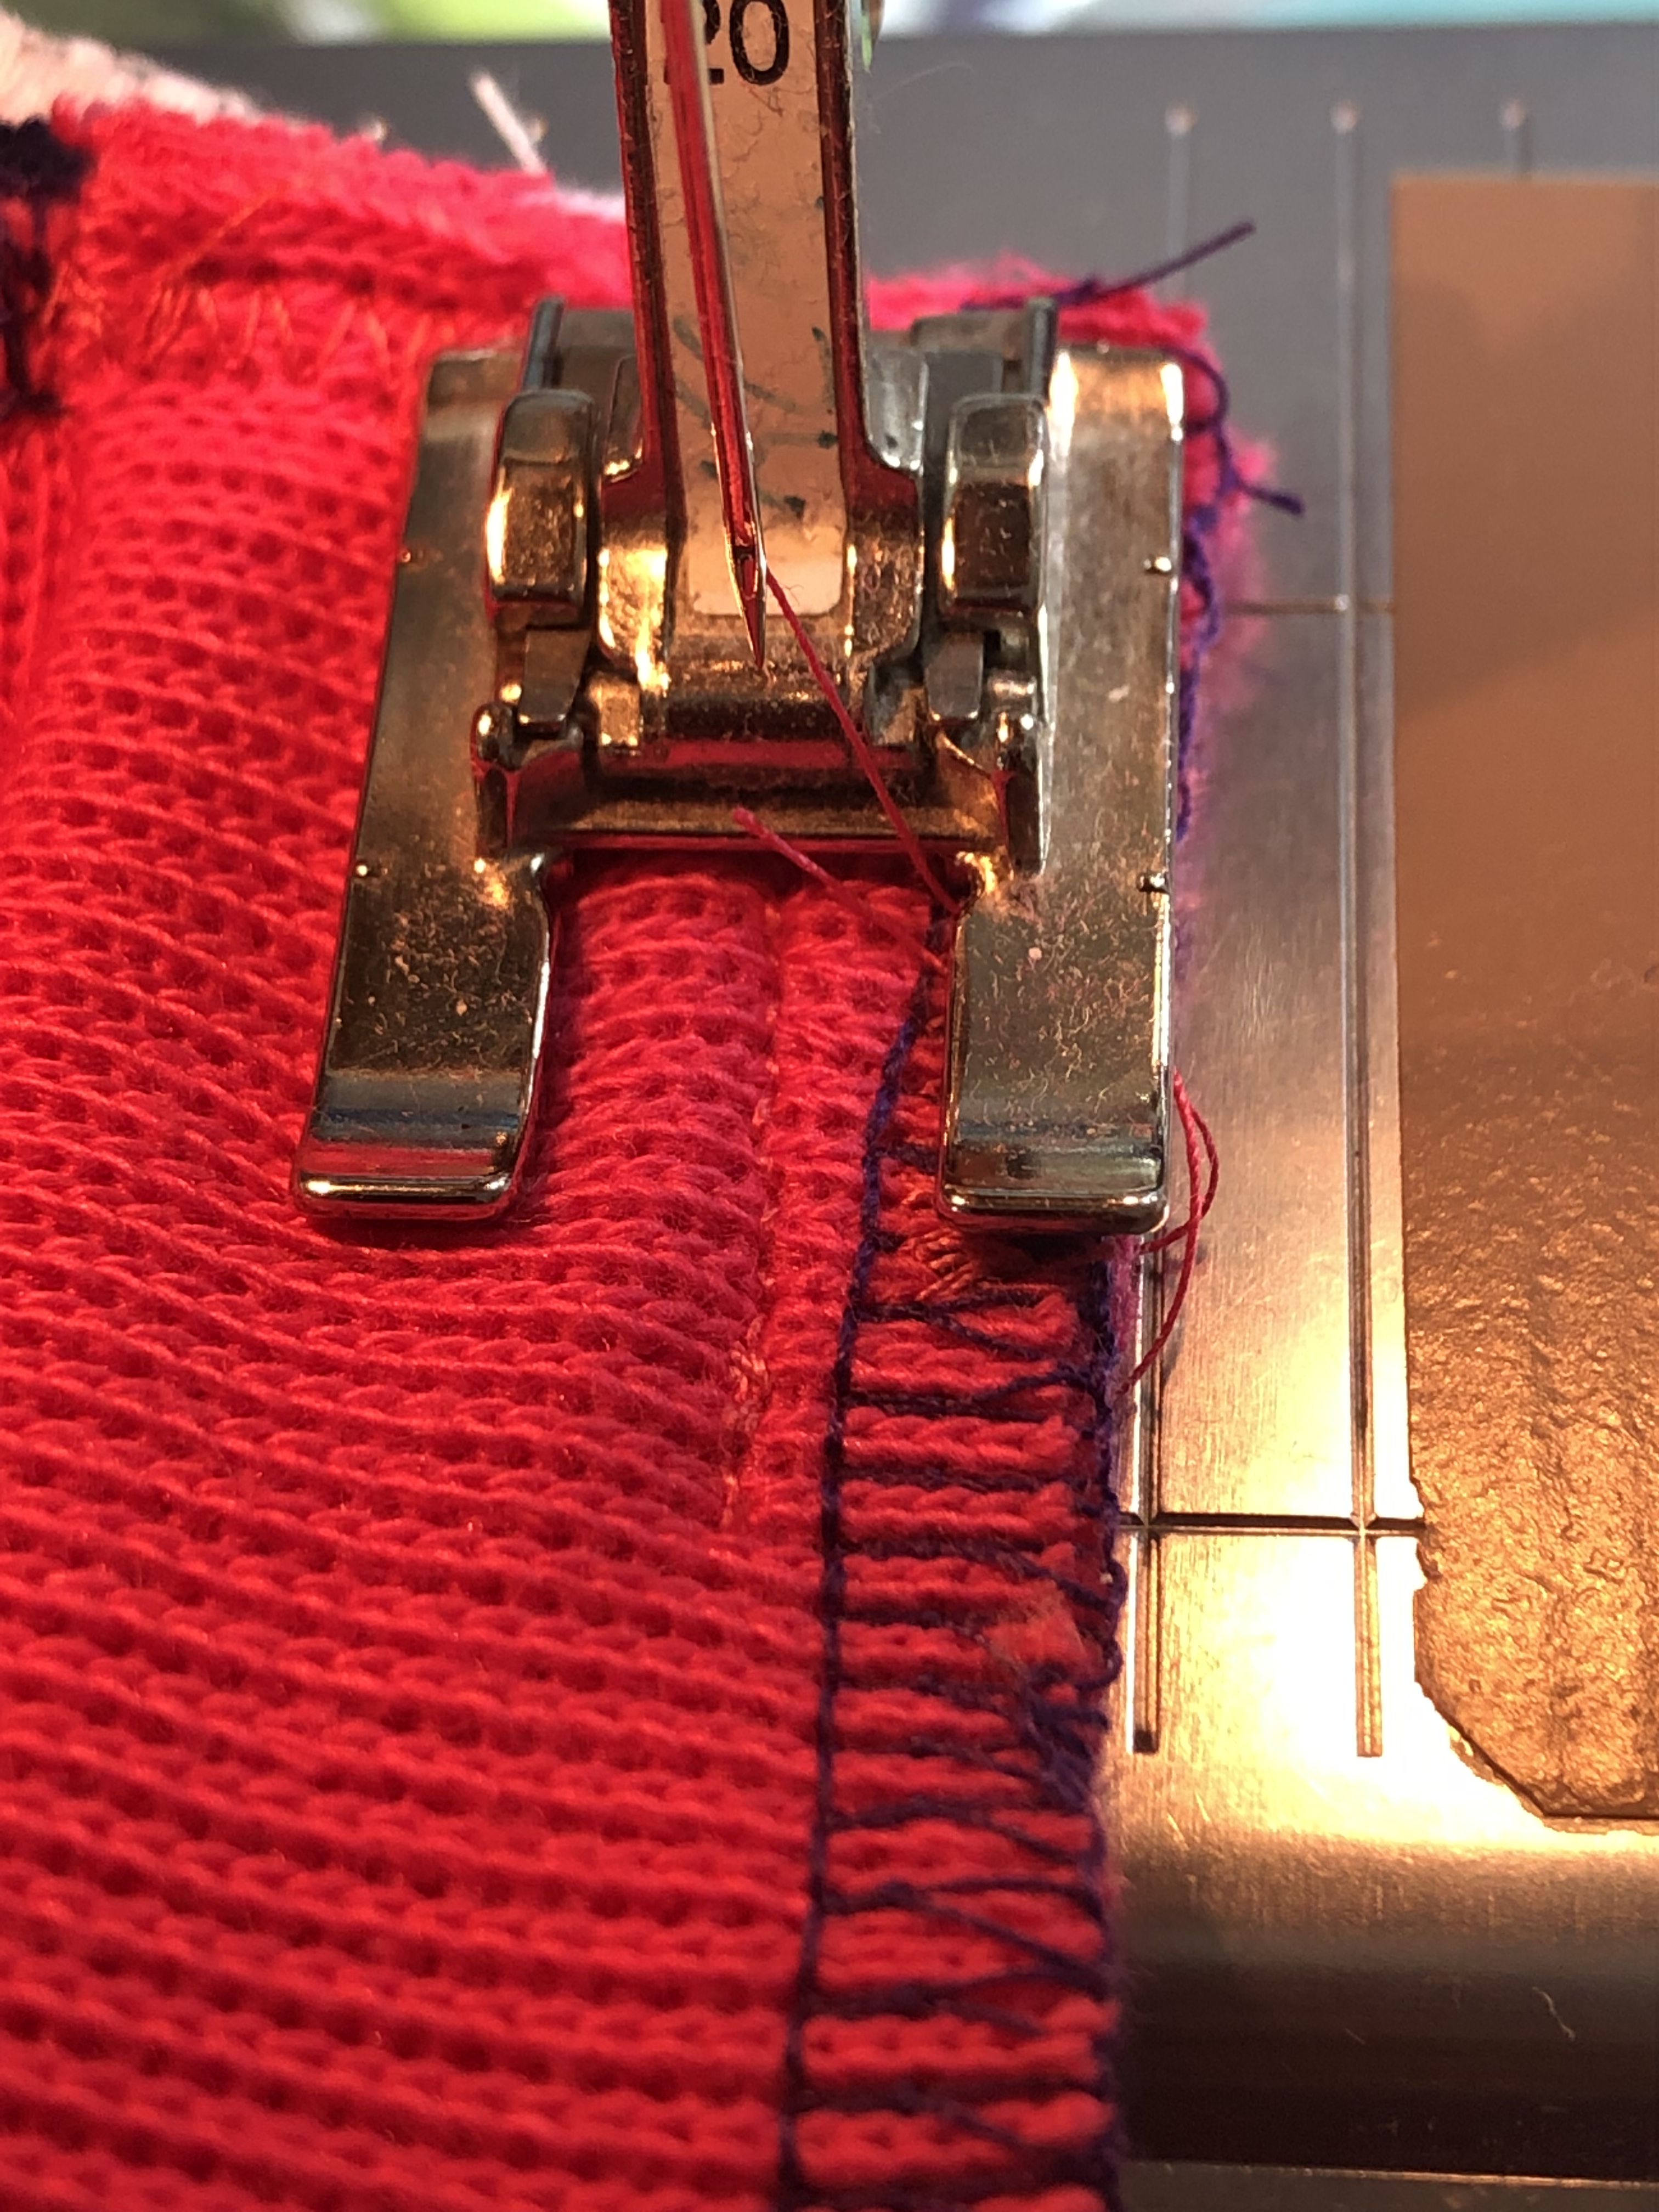
I like to secure the end of this seam with a tiny back stitch. I flipped this over and this is what the under side looks like. You are now a pro, hop on over and sew the other corner, making sure to keep your bands from twisting.
This is what the other side looks like. You can see I missed my mark by a few threads on the photo below. And this is close enough for me. One of the benefits of this method, is that you are not clipping into raw fabric, and there is less chance of a hole in this seam developing over time. Especially with a loosely knit fabric, like a sweater knit.
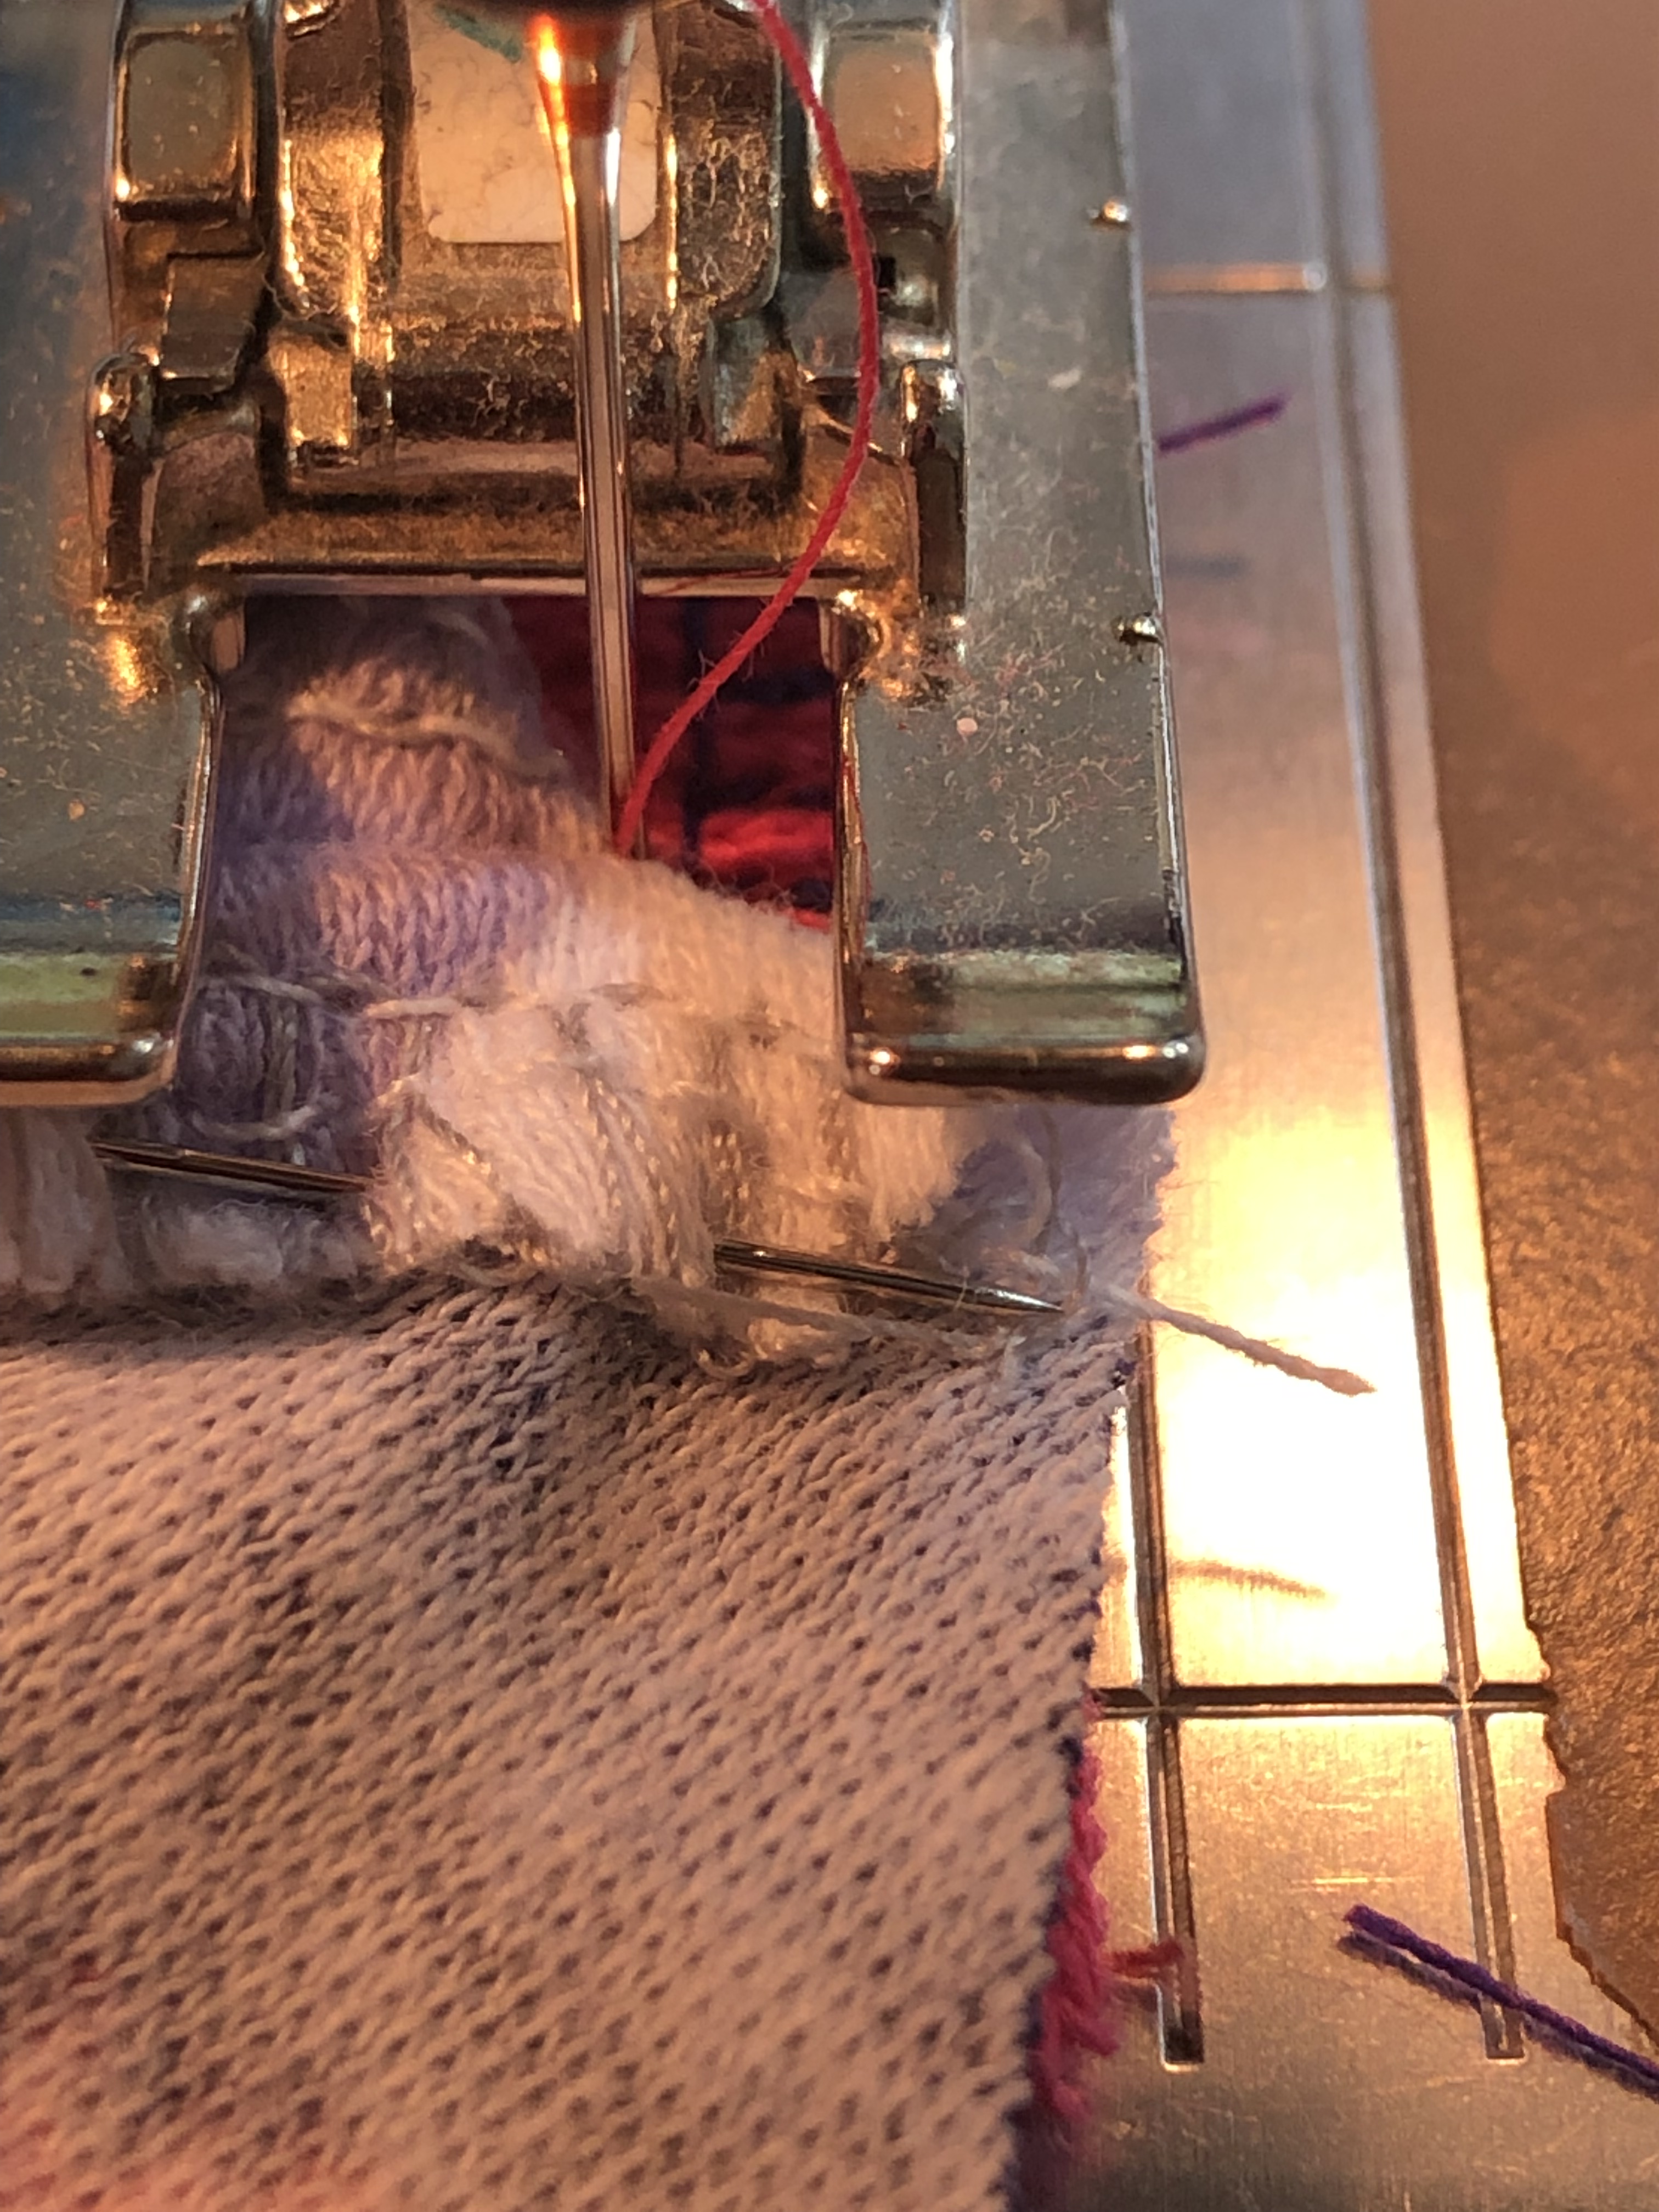
Now it is time to flip the top over and sew the band to the rest of the body. When I cut my front and back out, it is simple to make a notch at the center front and back. Actually I often seam my back, to offer subtle help with swayback pooling, so there is that. Match up center front band and center front top, and starting right on top of your one inch corner stitching, complete that seam. You can see my previous stitches in the photo below. Aim for an half inch overlap, and stitching right were you stitched before to avoid puckers. Sew to the center, remove the pin just as the toe of your foot gets to it, then to the other side, overlapping that previous stitching by a half inch. Then separately, do the same for the back neck. Why sew with the band up and body down? The feed dogs will help ease the extra body fabric into the band and since the band is up, you can see to make a more even seam allowance, which will visibly give you a more consistent band. Important if your band is a contrast.
You may choose to pin at more spots than just the center front. In the photo below, I stretched the band to meet the fabric of the body. You can see my center front pin at the very bottom of the photo. Just be sure your raw edges are together and all will be fine. More wobble stitch!
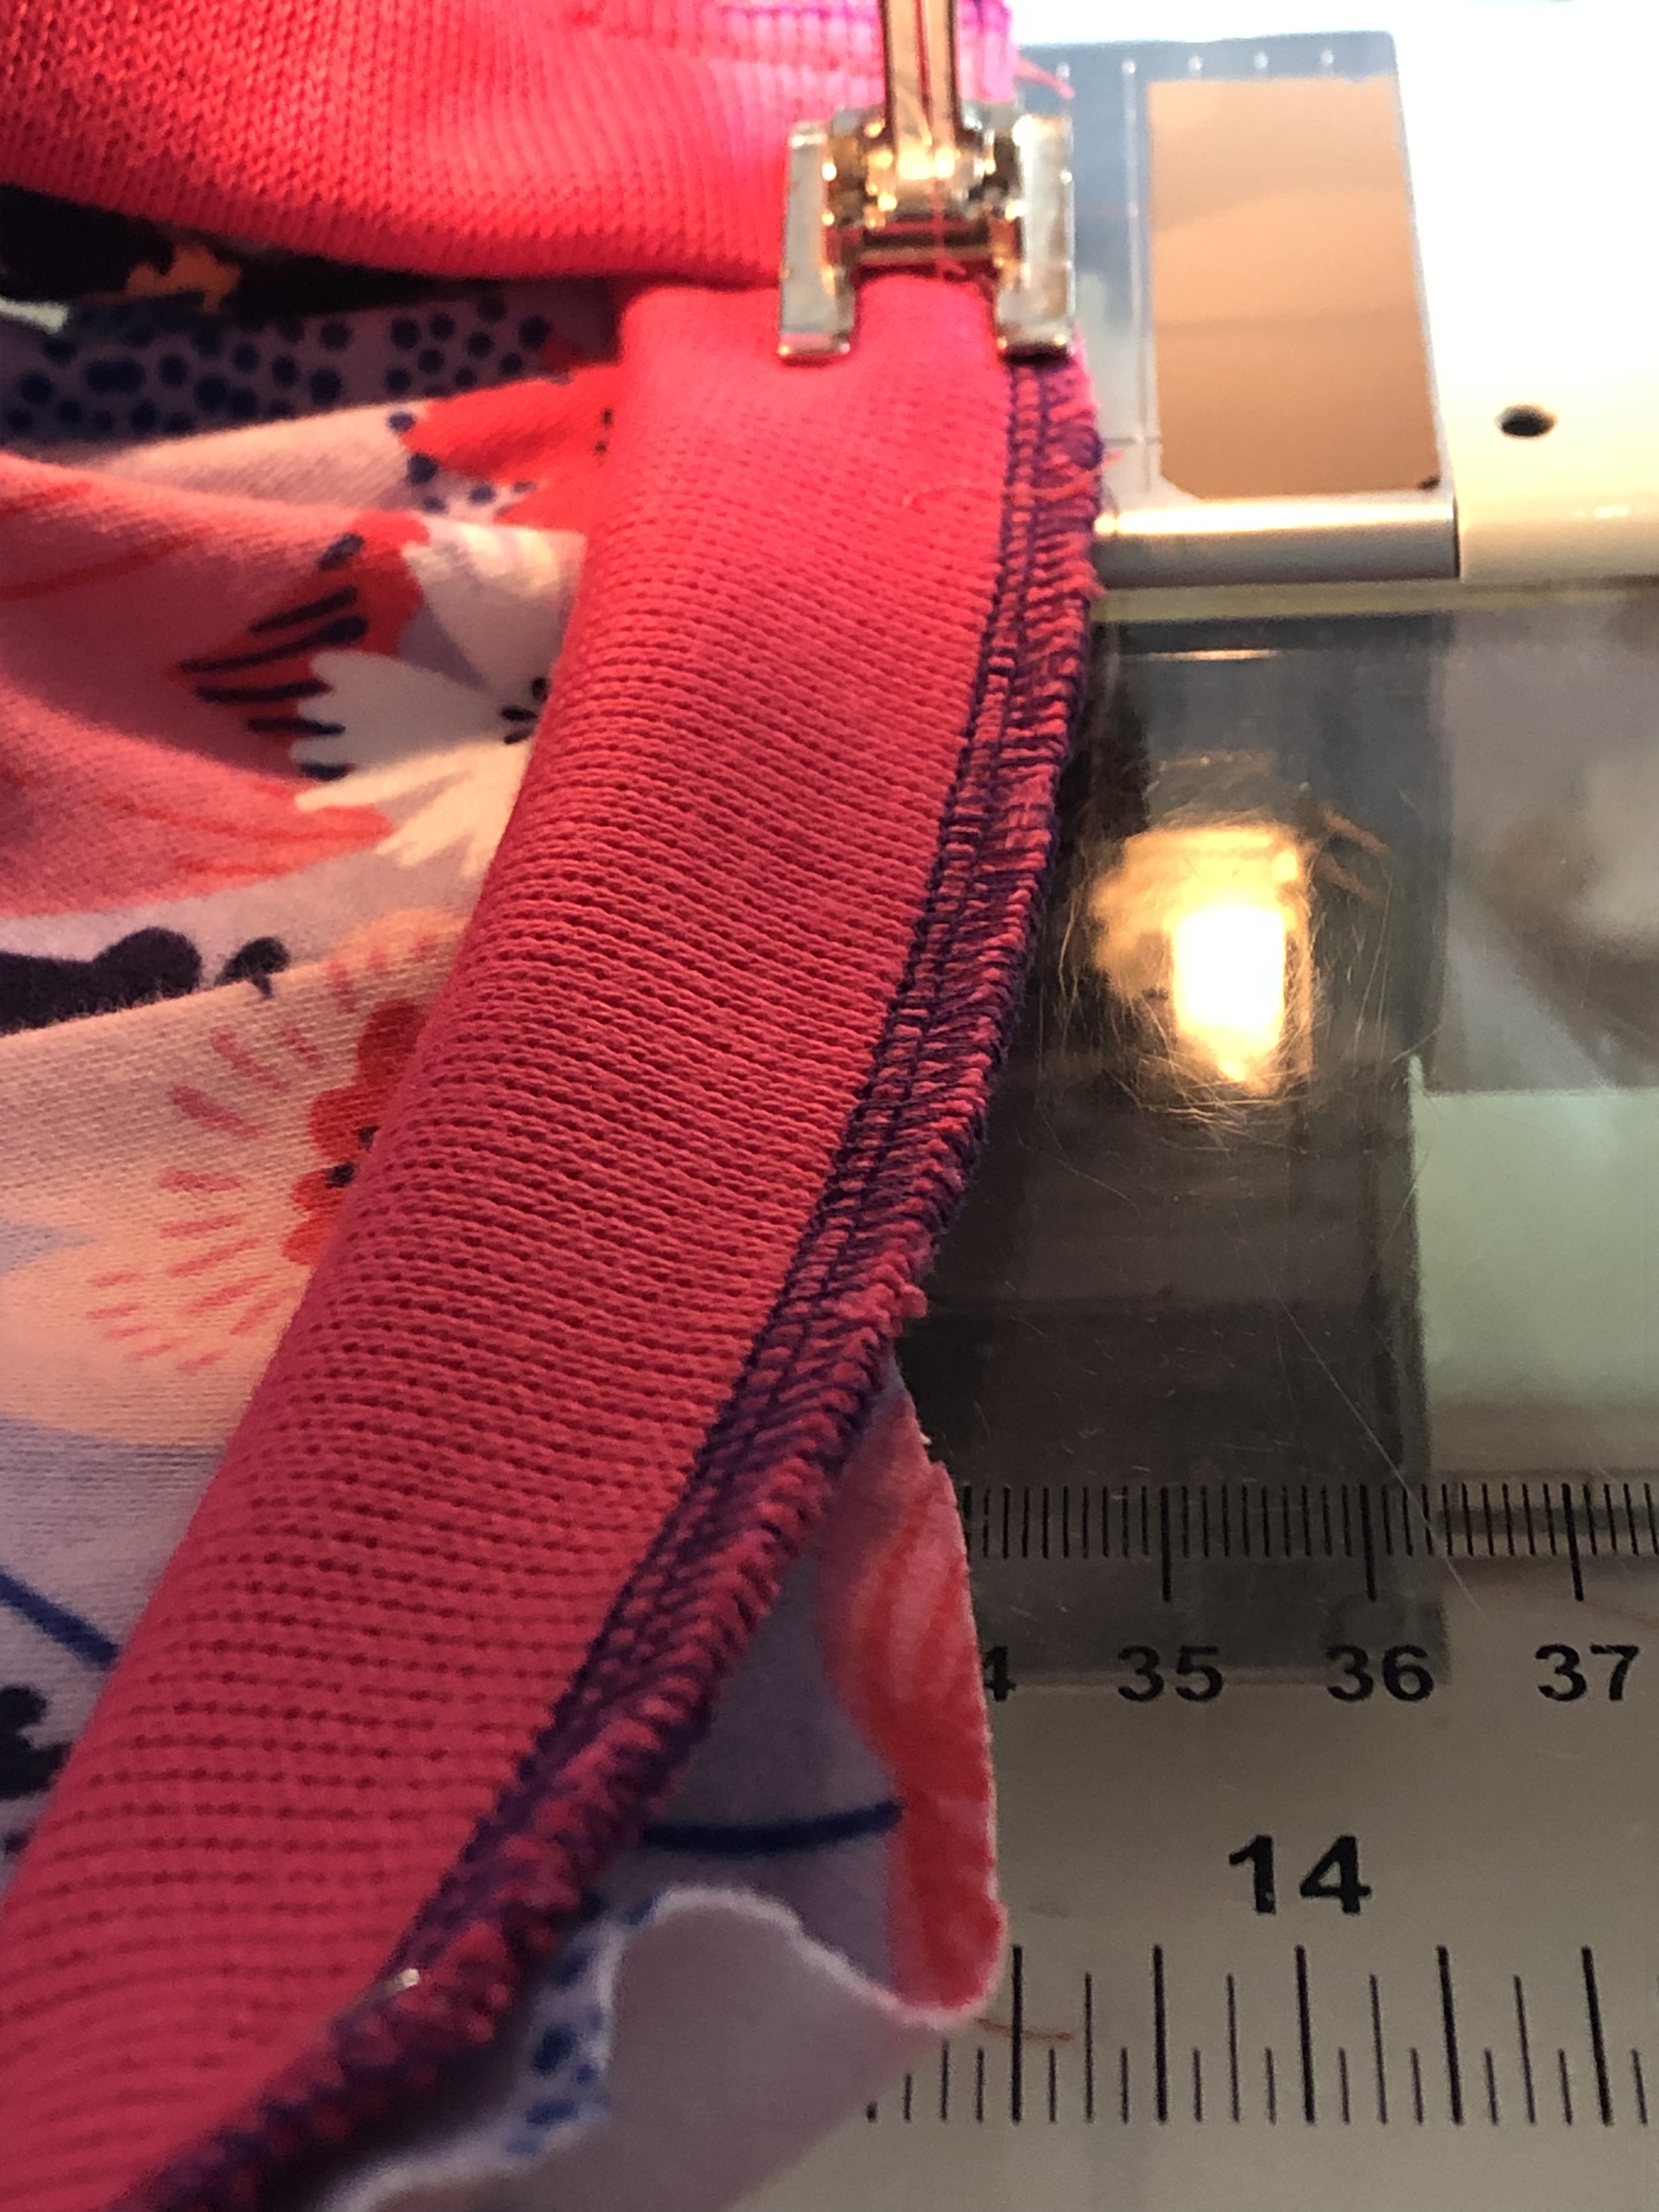
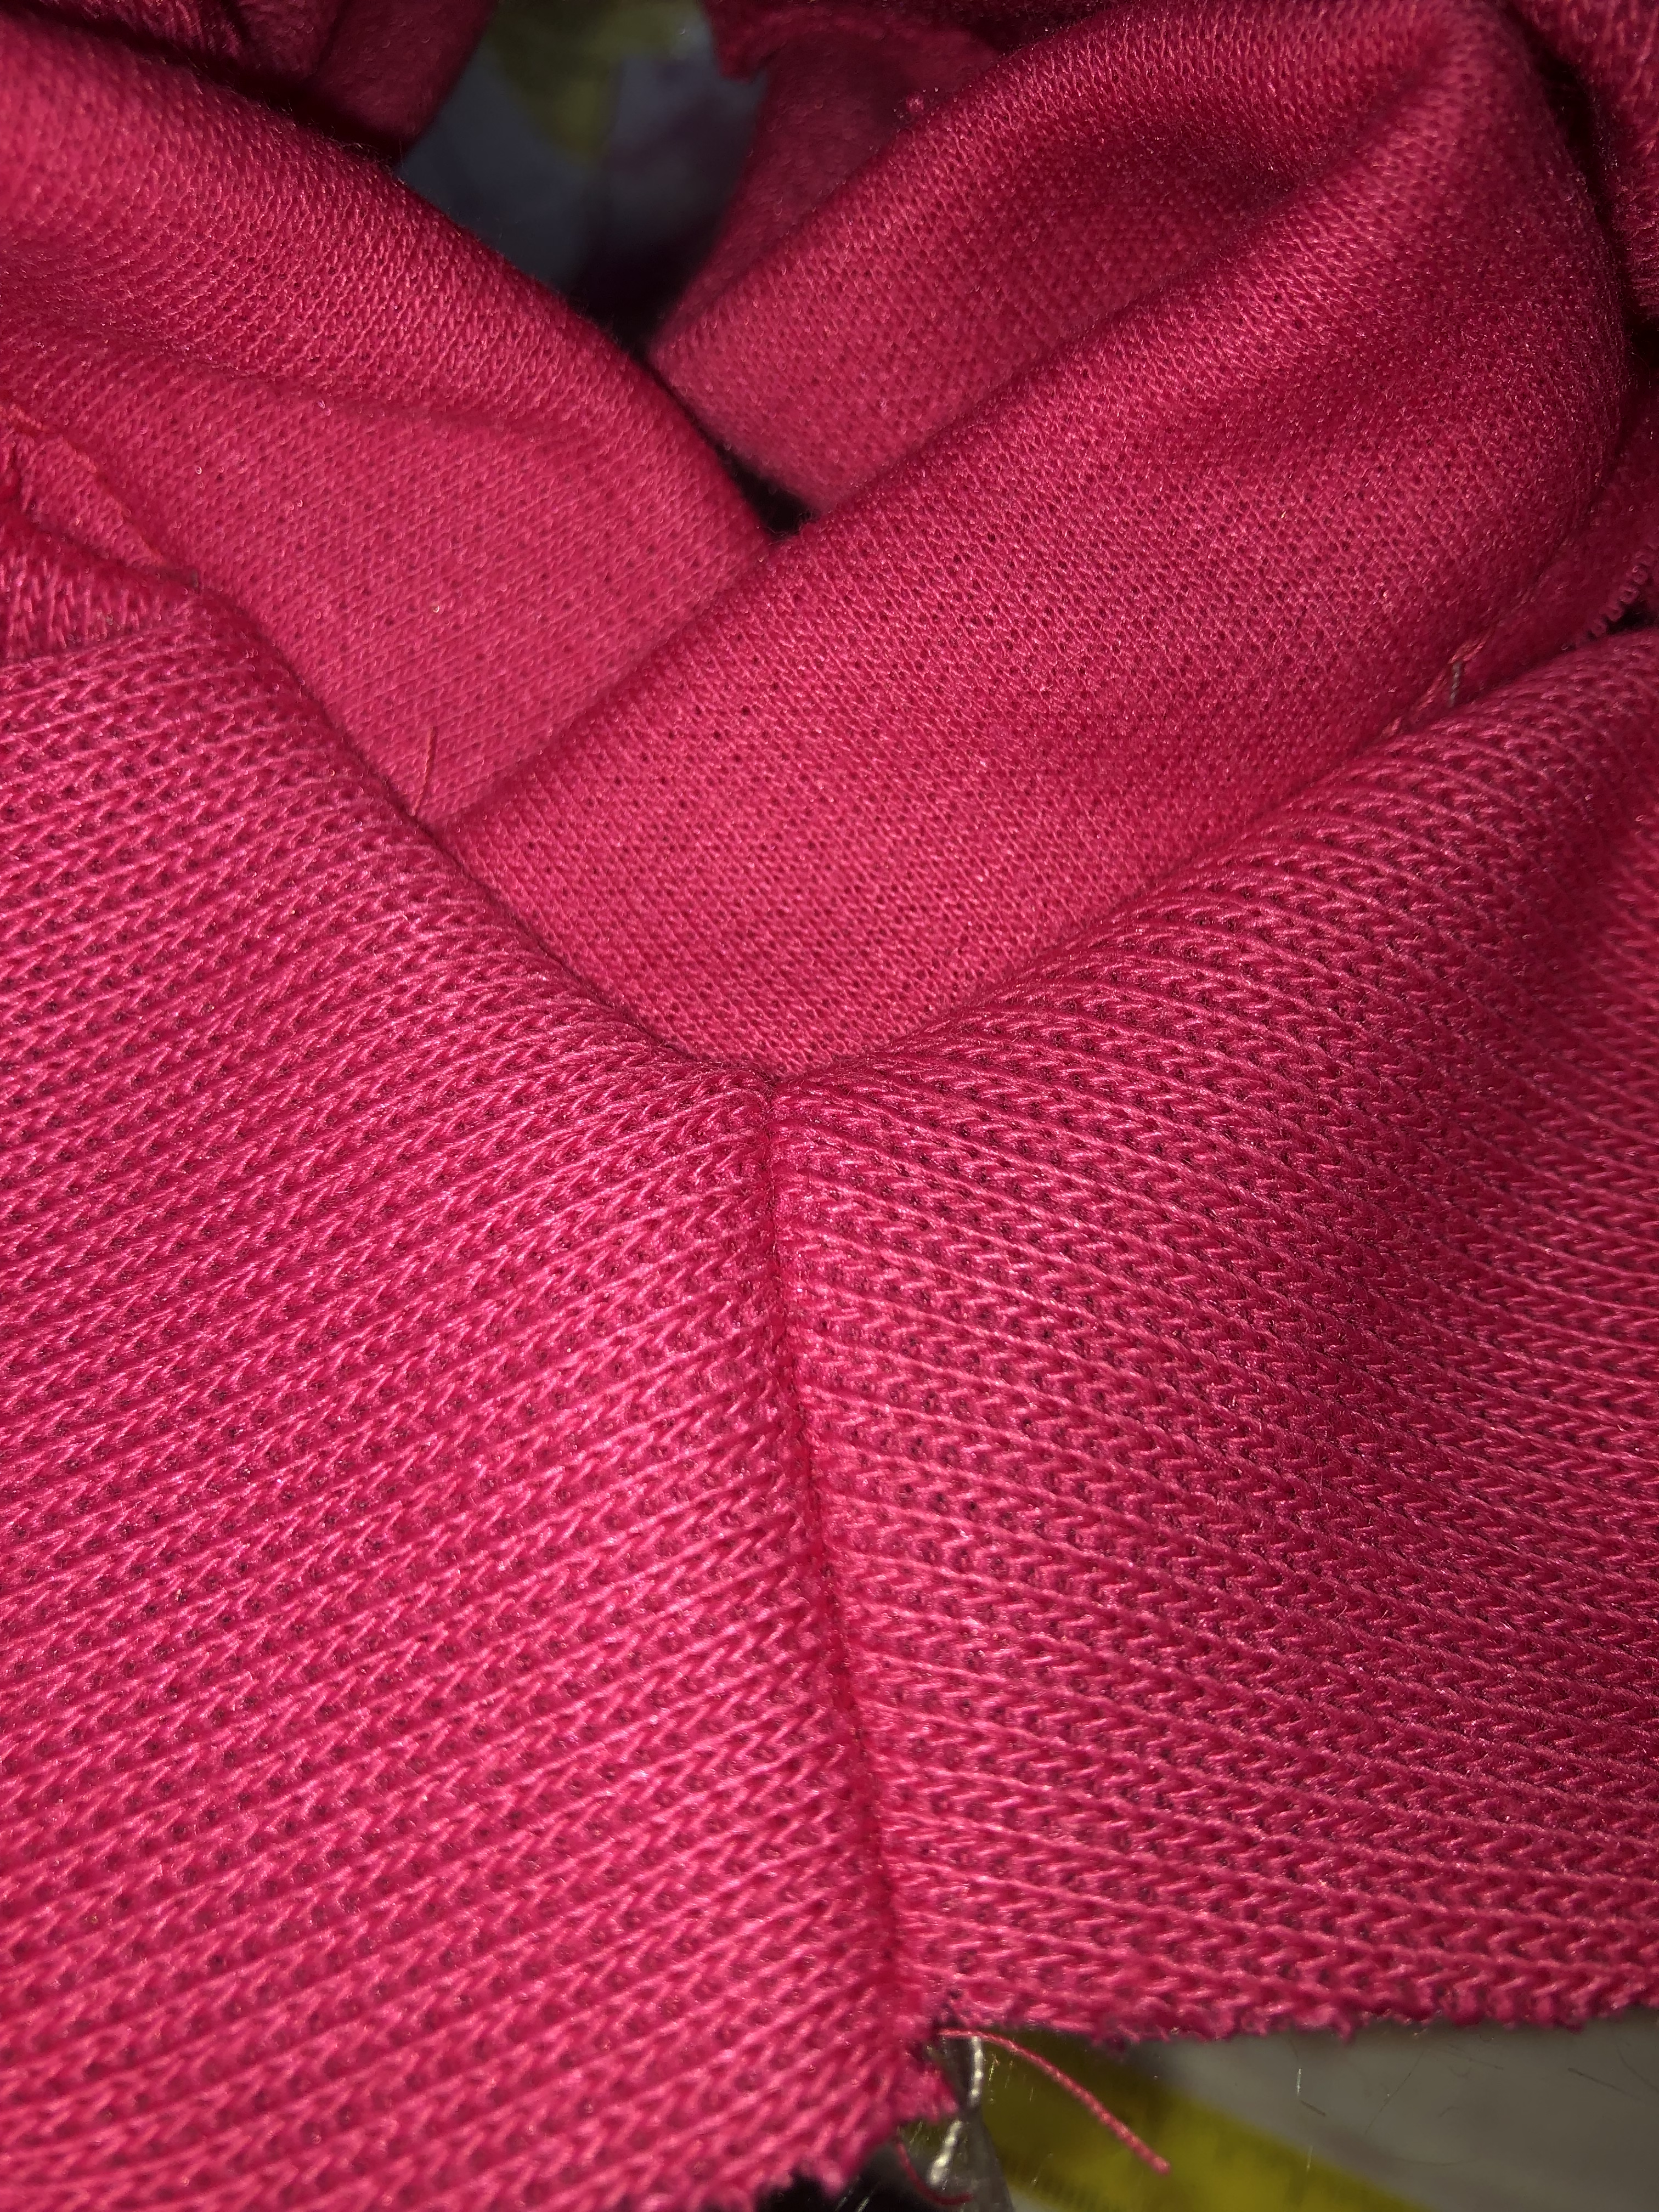
Take the time to top stitch neatly. Press first. I started at the center back, and using the open toed embroidery foot as my guide, I top stitched with a wobble stitch. A triple stitch works well too. Take that top stitch to the seam line. Sink your needle, lift pressure foot and turn the corner. If you are using a triple stitch, and do not want to over shoot your mark, try switching to a straight stitch for this last few stitches, turn the corner and switch back to the triple stitch.
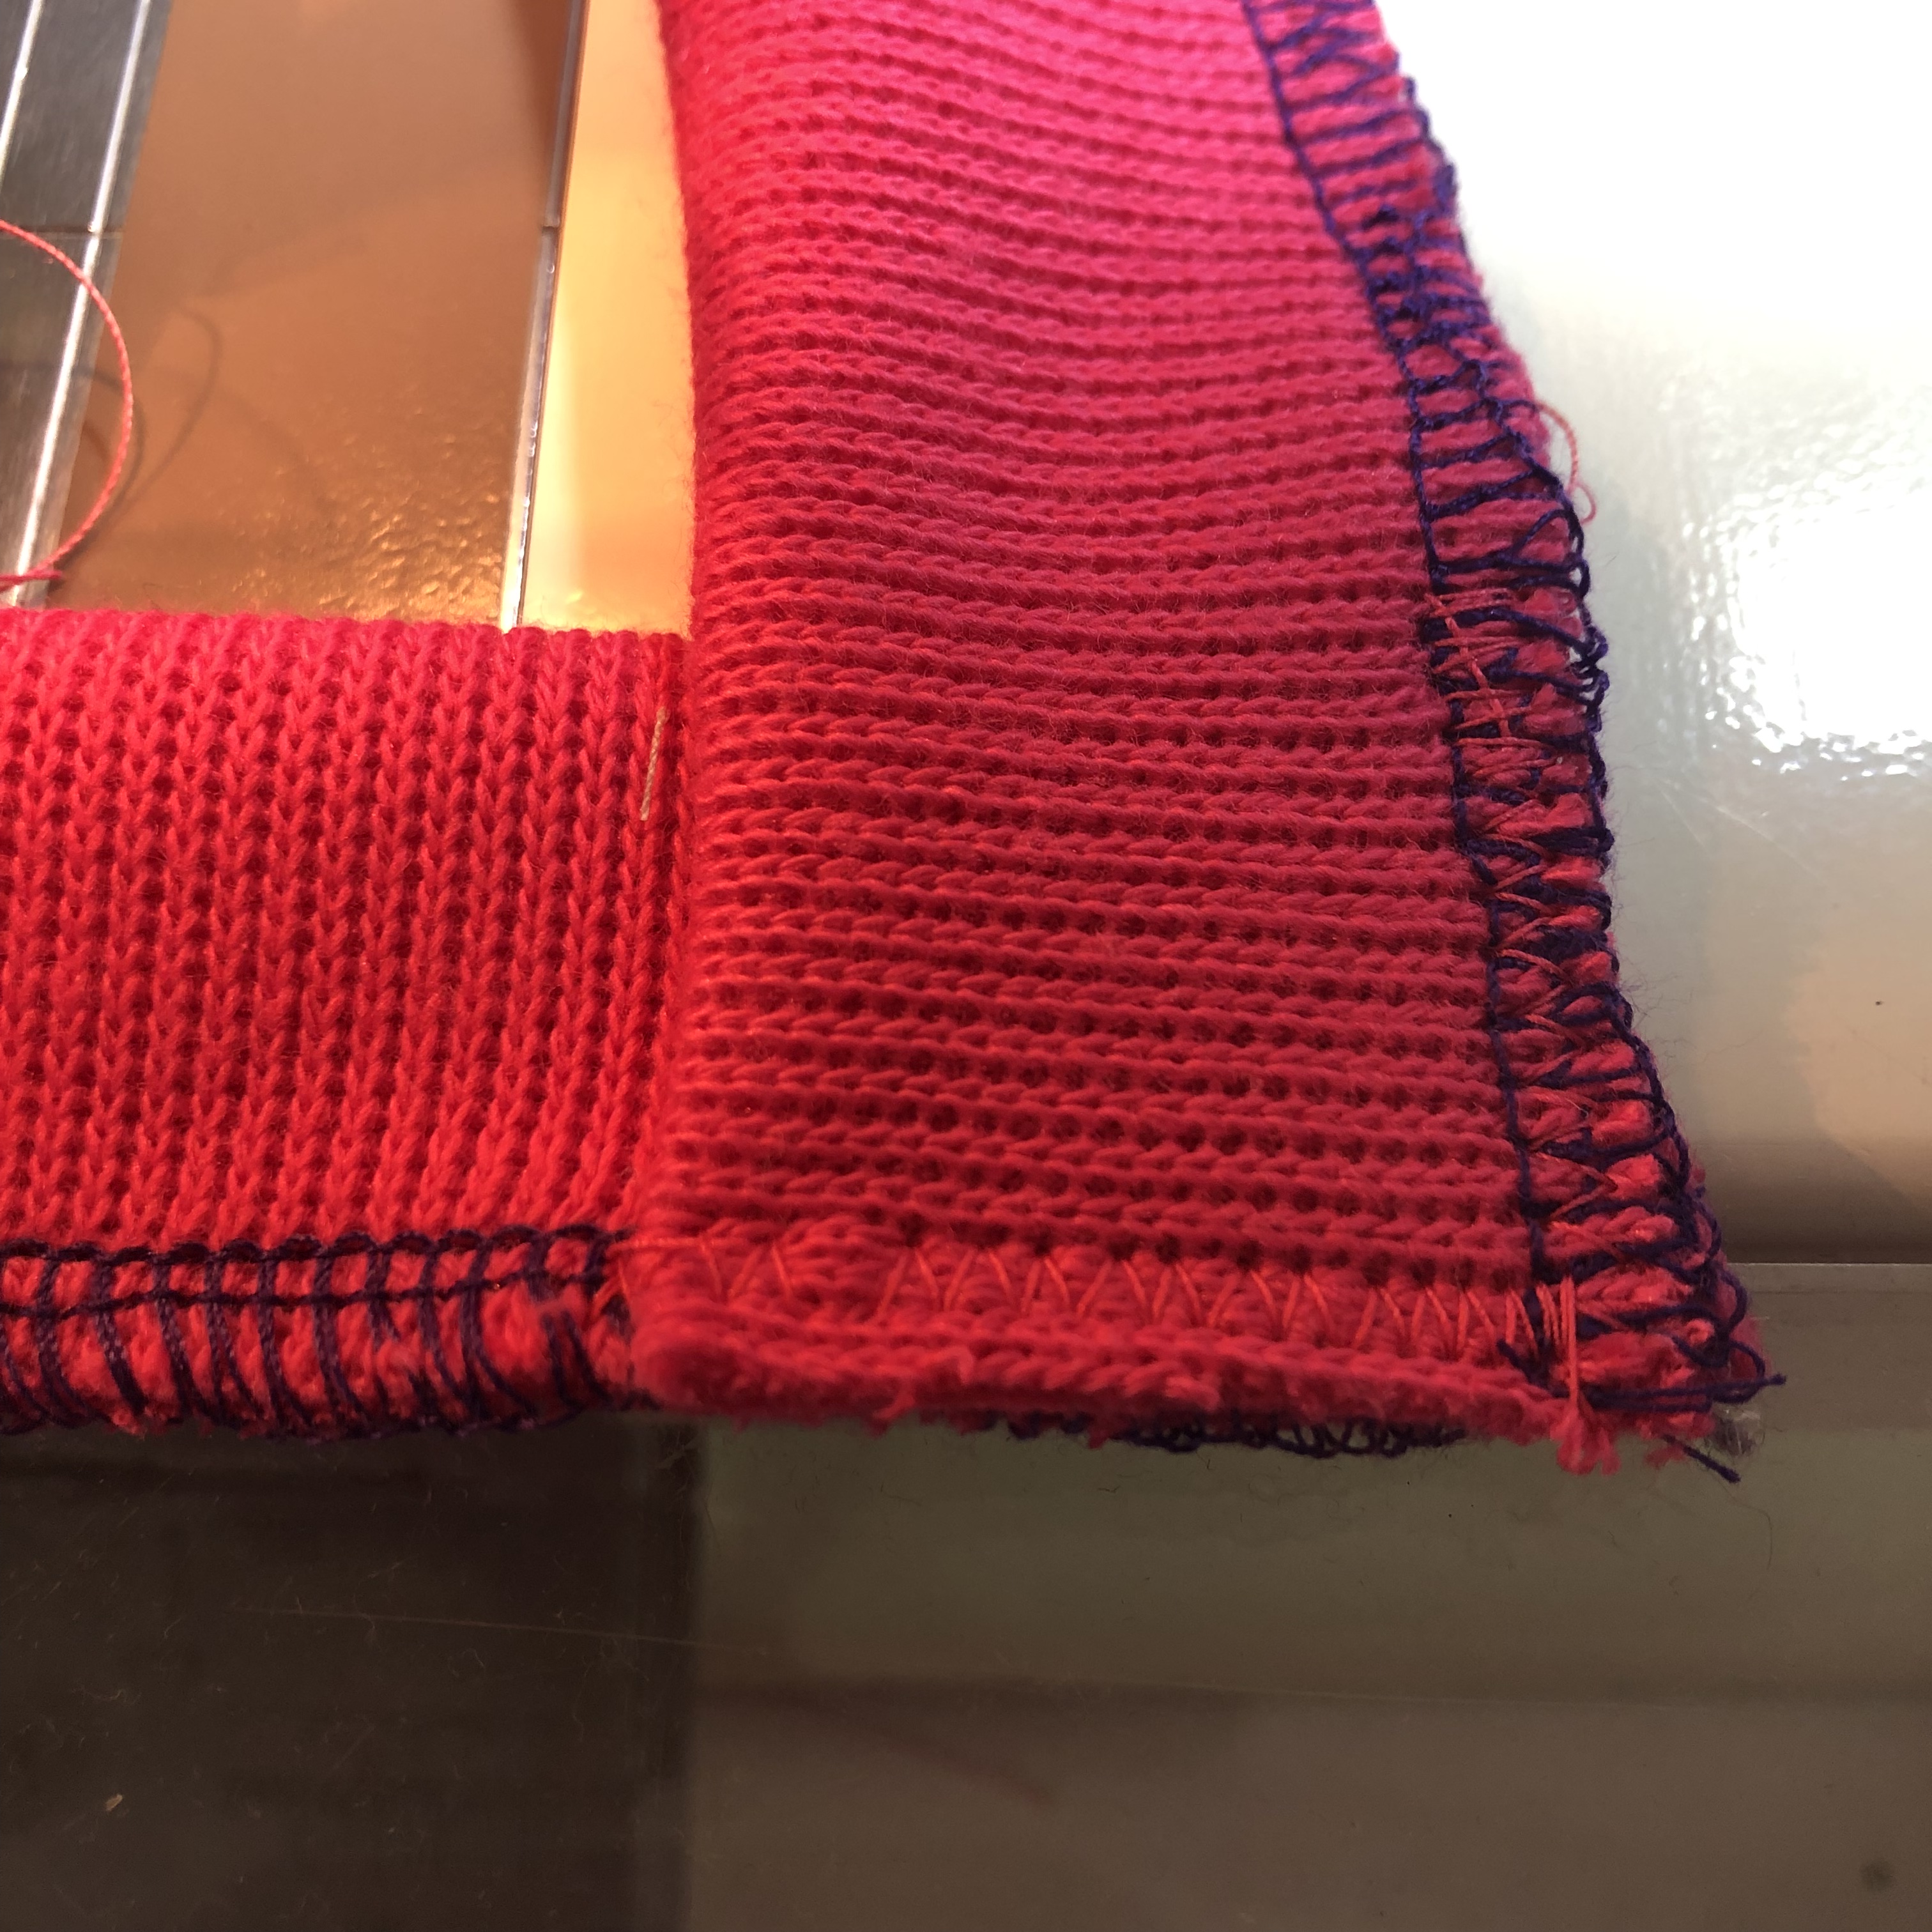
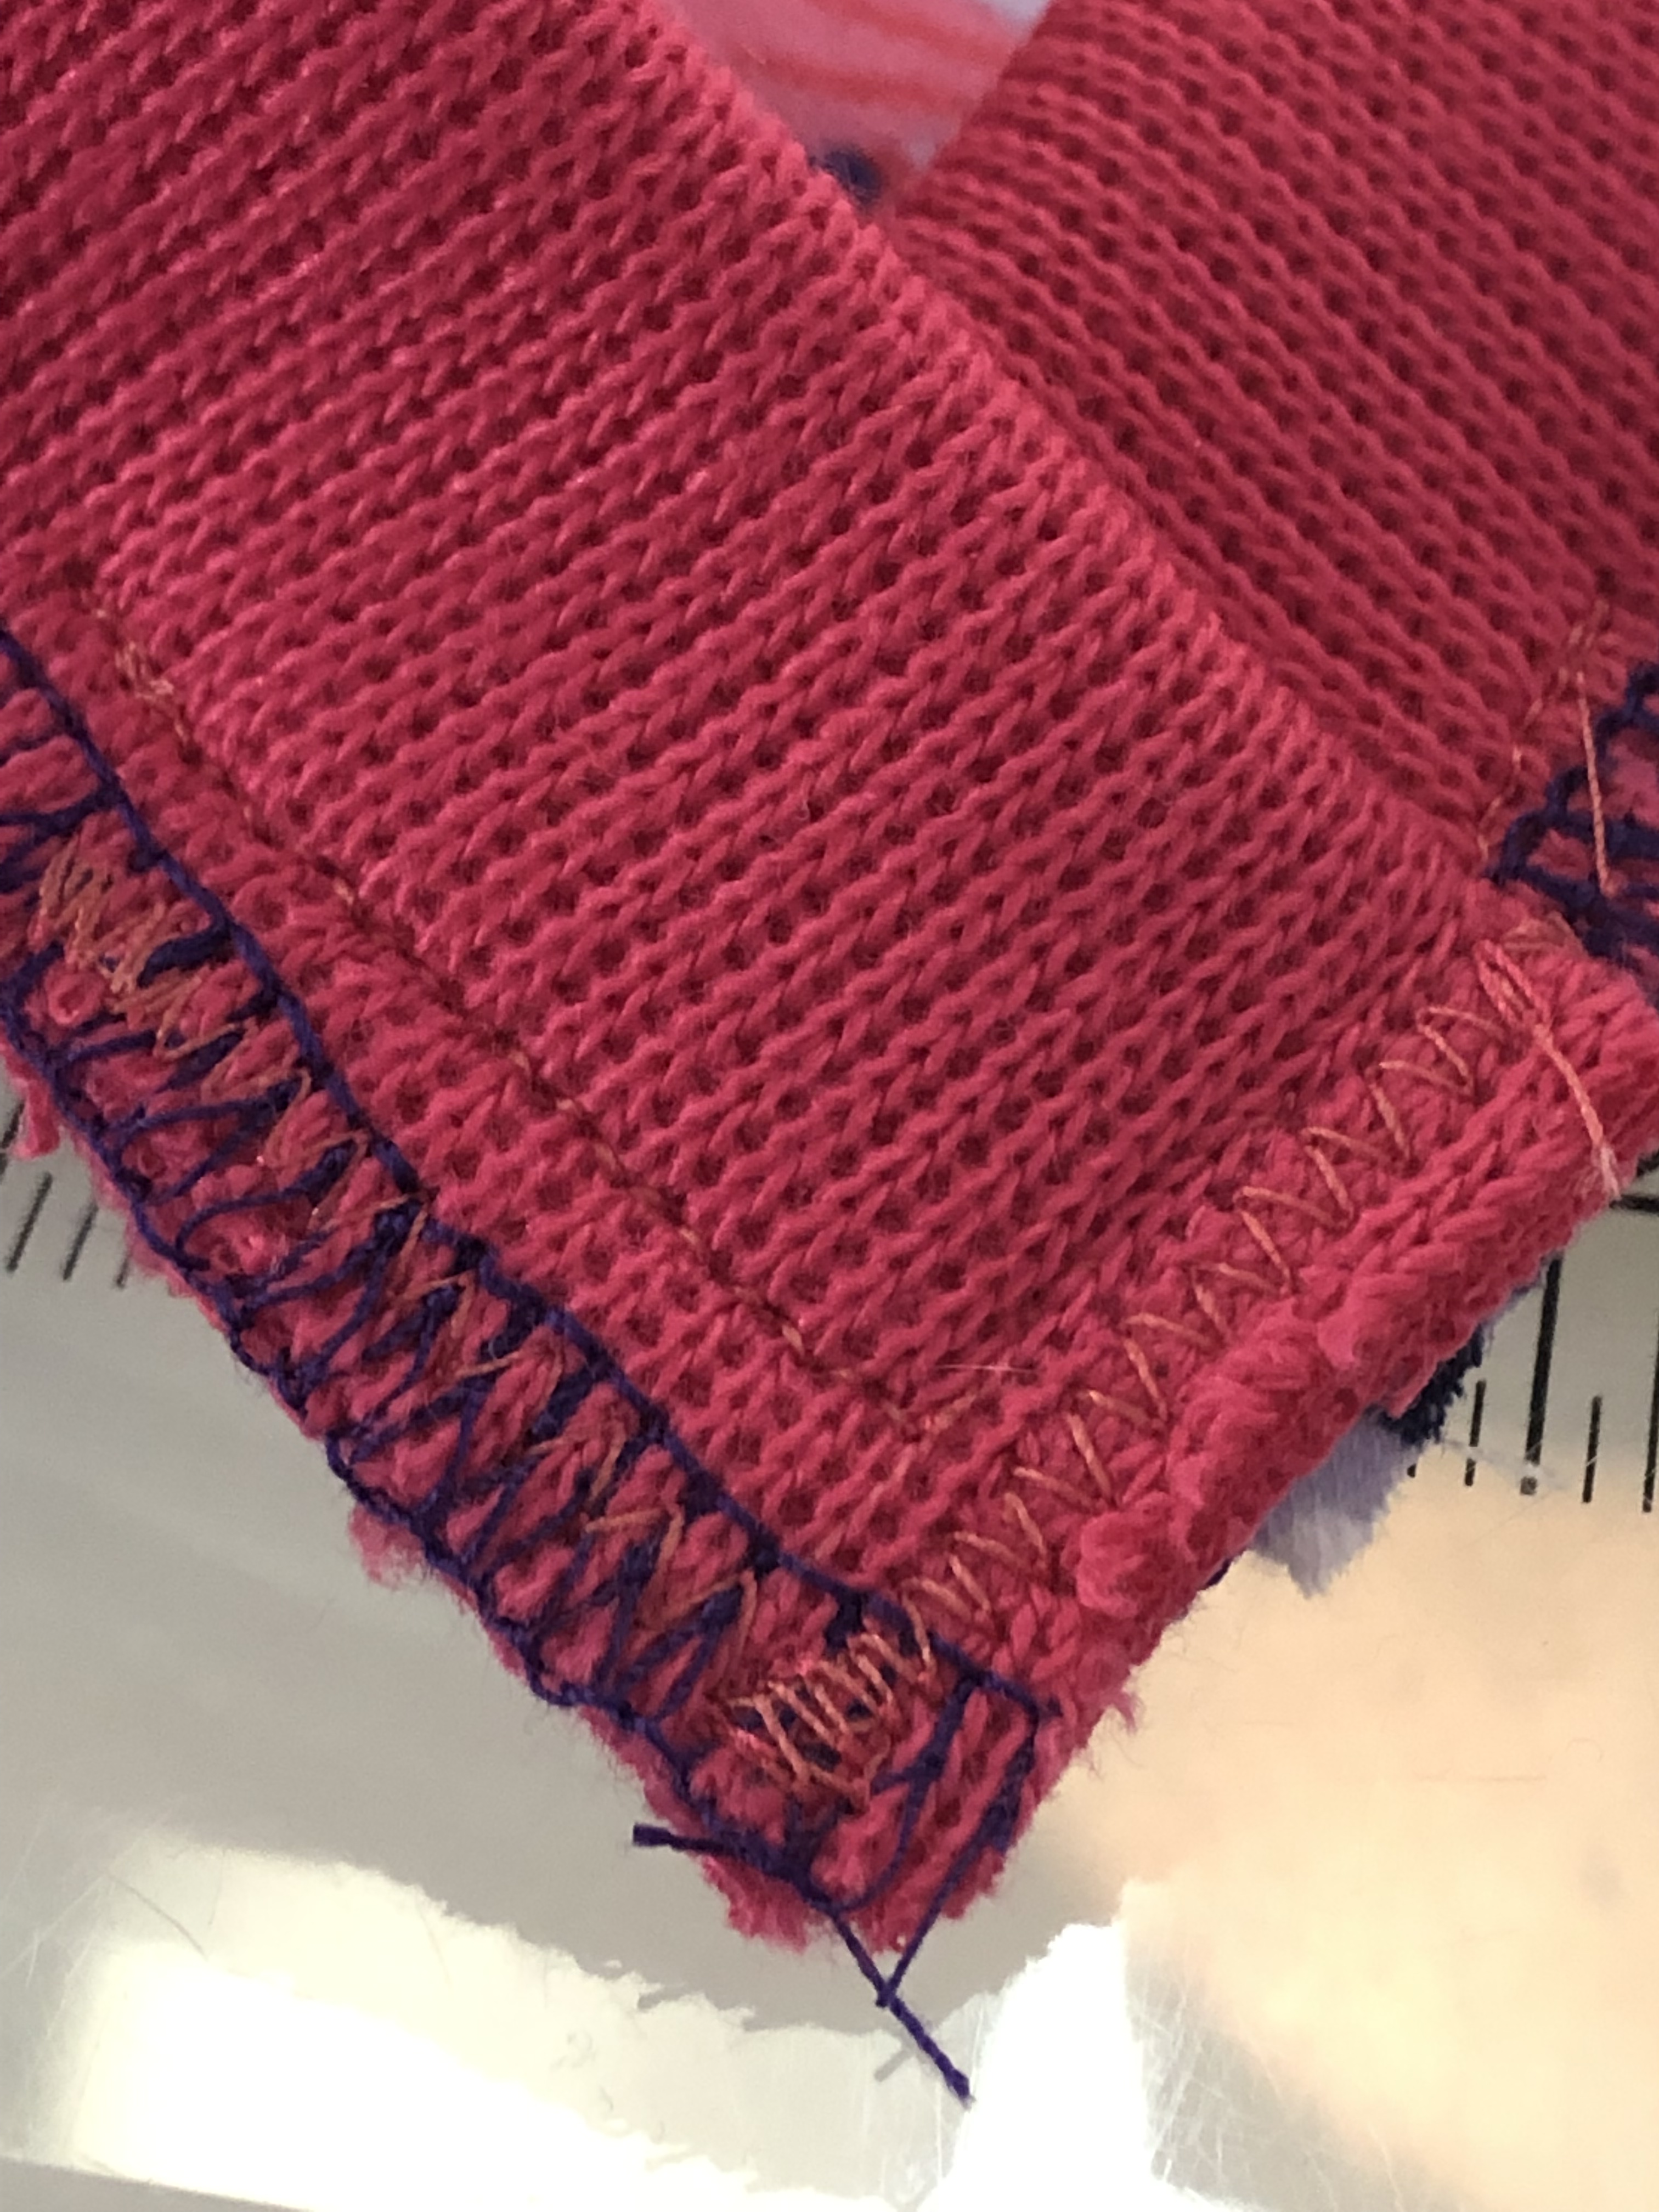
Below is a photo of the thick ribbing I used on my first version. It has a smoother side I used for the bands. I bought some rayon spandex to make this top, but do not think it will work well for bands. Bands should be beefy and elastic, with great recovery. A substantial cotton lycra would work. Stay stitching the raw edges of the bands together with a triple stitch would provide a stretchy yet stable band.
Super glad I tested this pattern. I feel like it is a nice tribute to my mother who encouraged and taught me so much about sewing. One of the reasons I write these posts, is for my daughter, who also sews, and may want to know about a particular technique when I may not be available to answer. Excited that she can pass the love of sewing down to her children.
This post may contain affiliate links. The links cost you nothing more to use, however I may receive a small commission if you purchase a pattern using my link. Thank you! For those who would rather see a video on this process, here is a great one! https://youtu.be/QZ9l6OZk3xU
For a traditional V neck with a mitered vee, check out this post.

One thought on “Why the Wye Seam? Partial seams are the answer.”