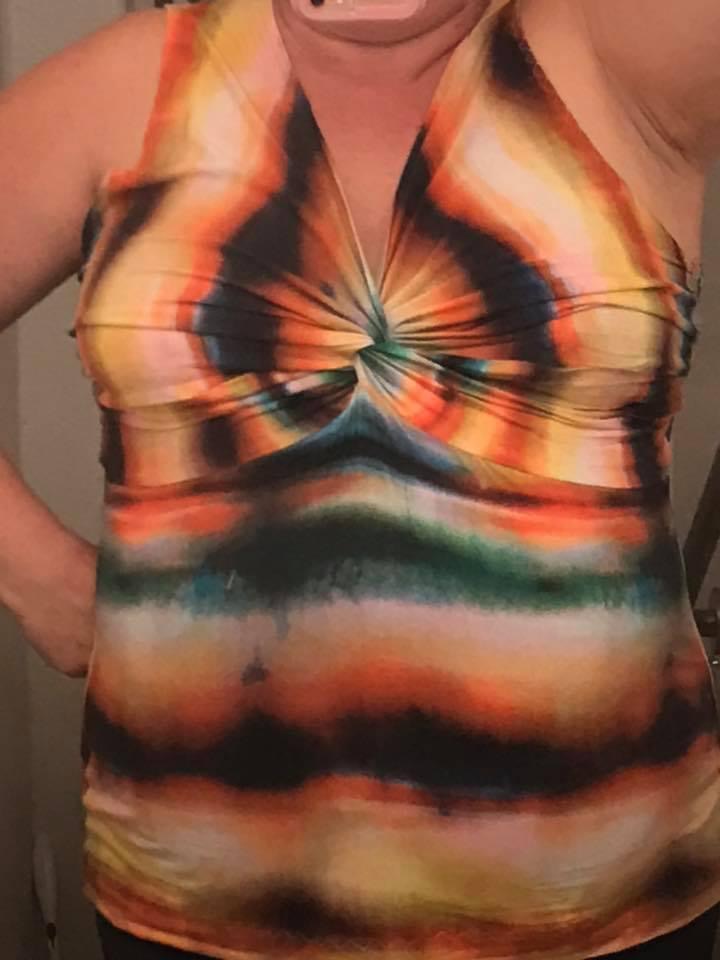
Love a top with a twist. The plot thickens a little more with this version.
Today, I am writing about one of my very first PDF patterns. This one that was similar to a favorite ready to wear top I found at a high end department store on vacation. It was my very first 5 out of 4 pattern, and I was really curious how it was made. The rest of my PDF journey has been a blast! You can find the pattern at my affiliate link here.
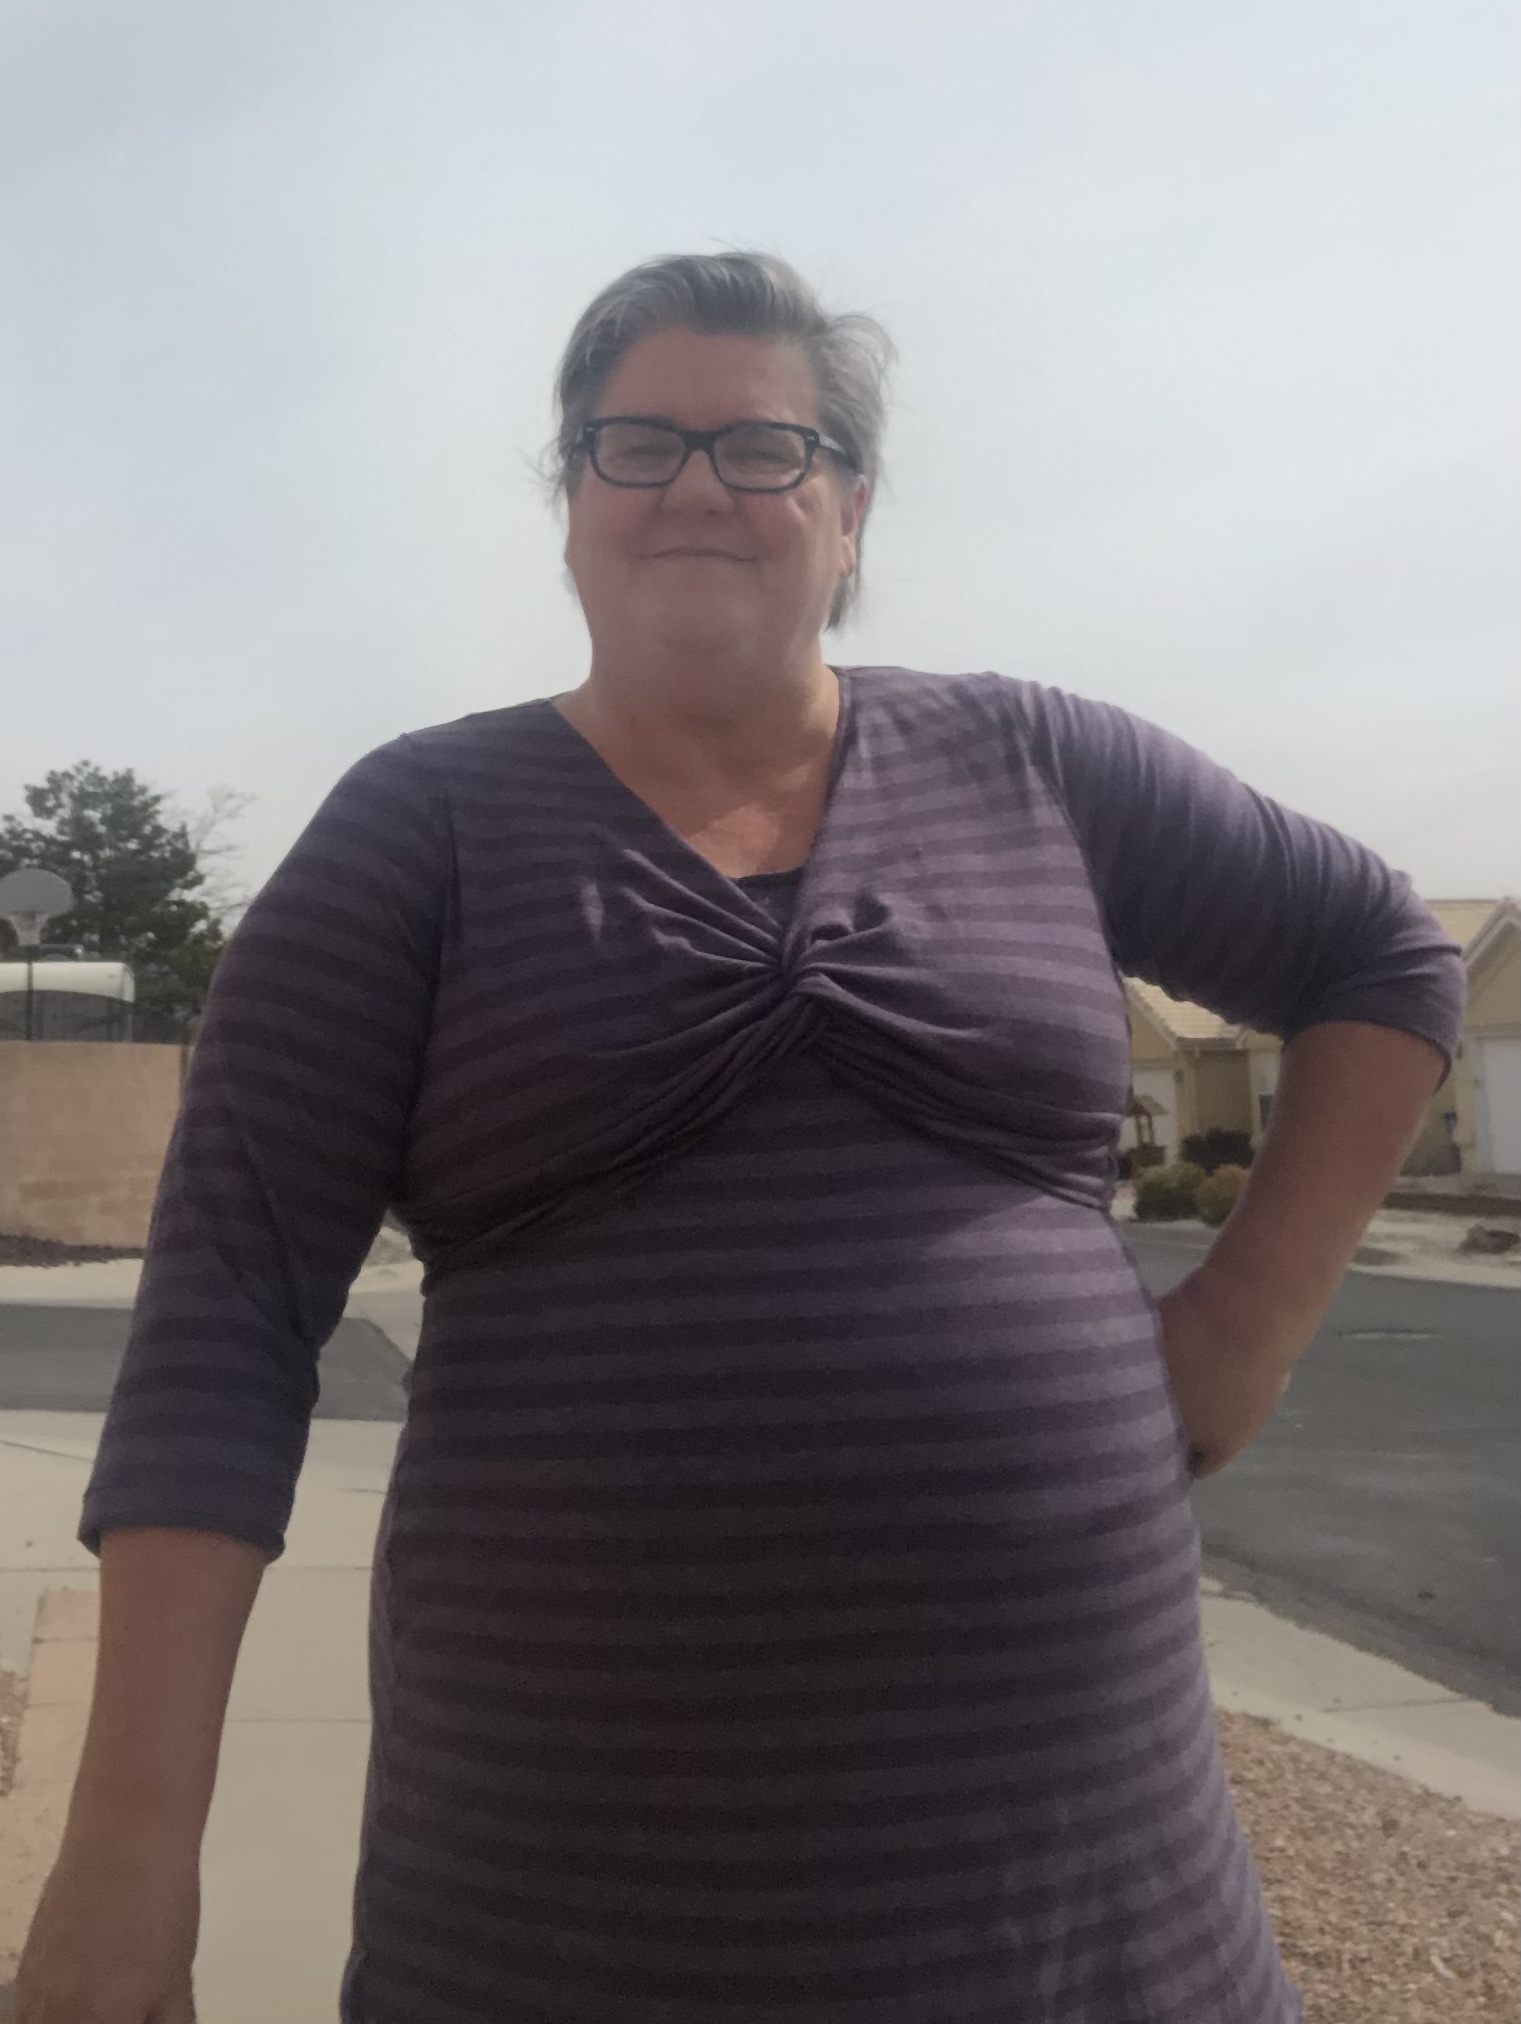
This version was made five years ago. Compliments every time I wear it!
When teaching a KYA class locally a few years ago, we talked about how cute the pattern would be if it were shortened to a shrug length. It really looked amazing on all of my students, and was perfect for my daughter in her nursing days, so today, I tried it! I used the Front Top Piece and a shortened back piece. Hemmed the back to match the front on the sides. Easy Peasy!
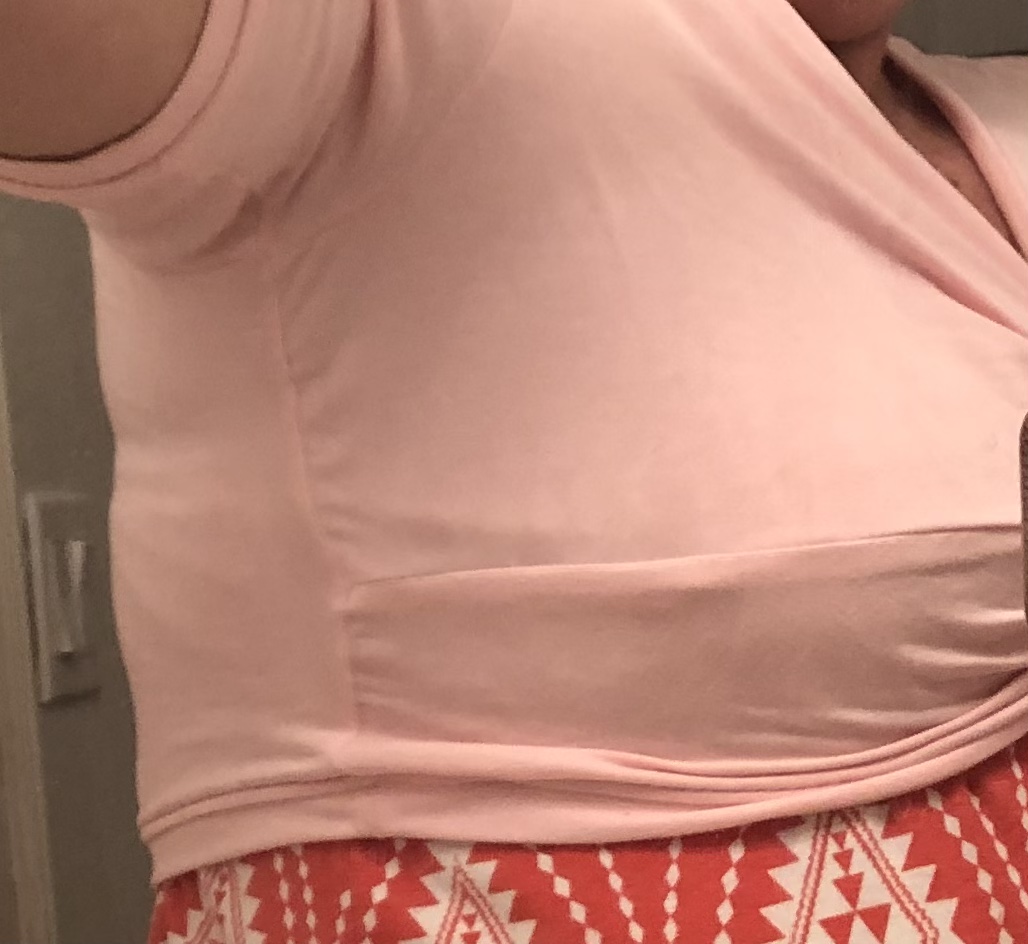
Added a band to the neckline of the light pink version.
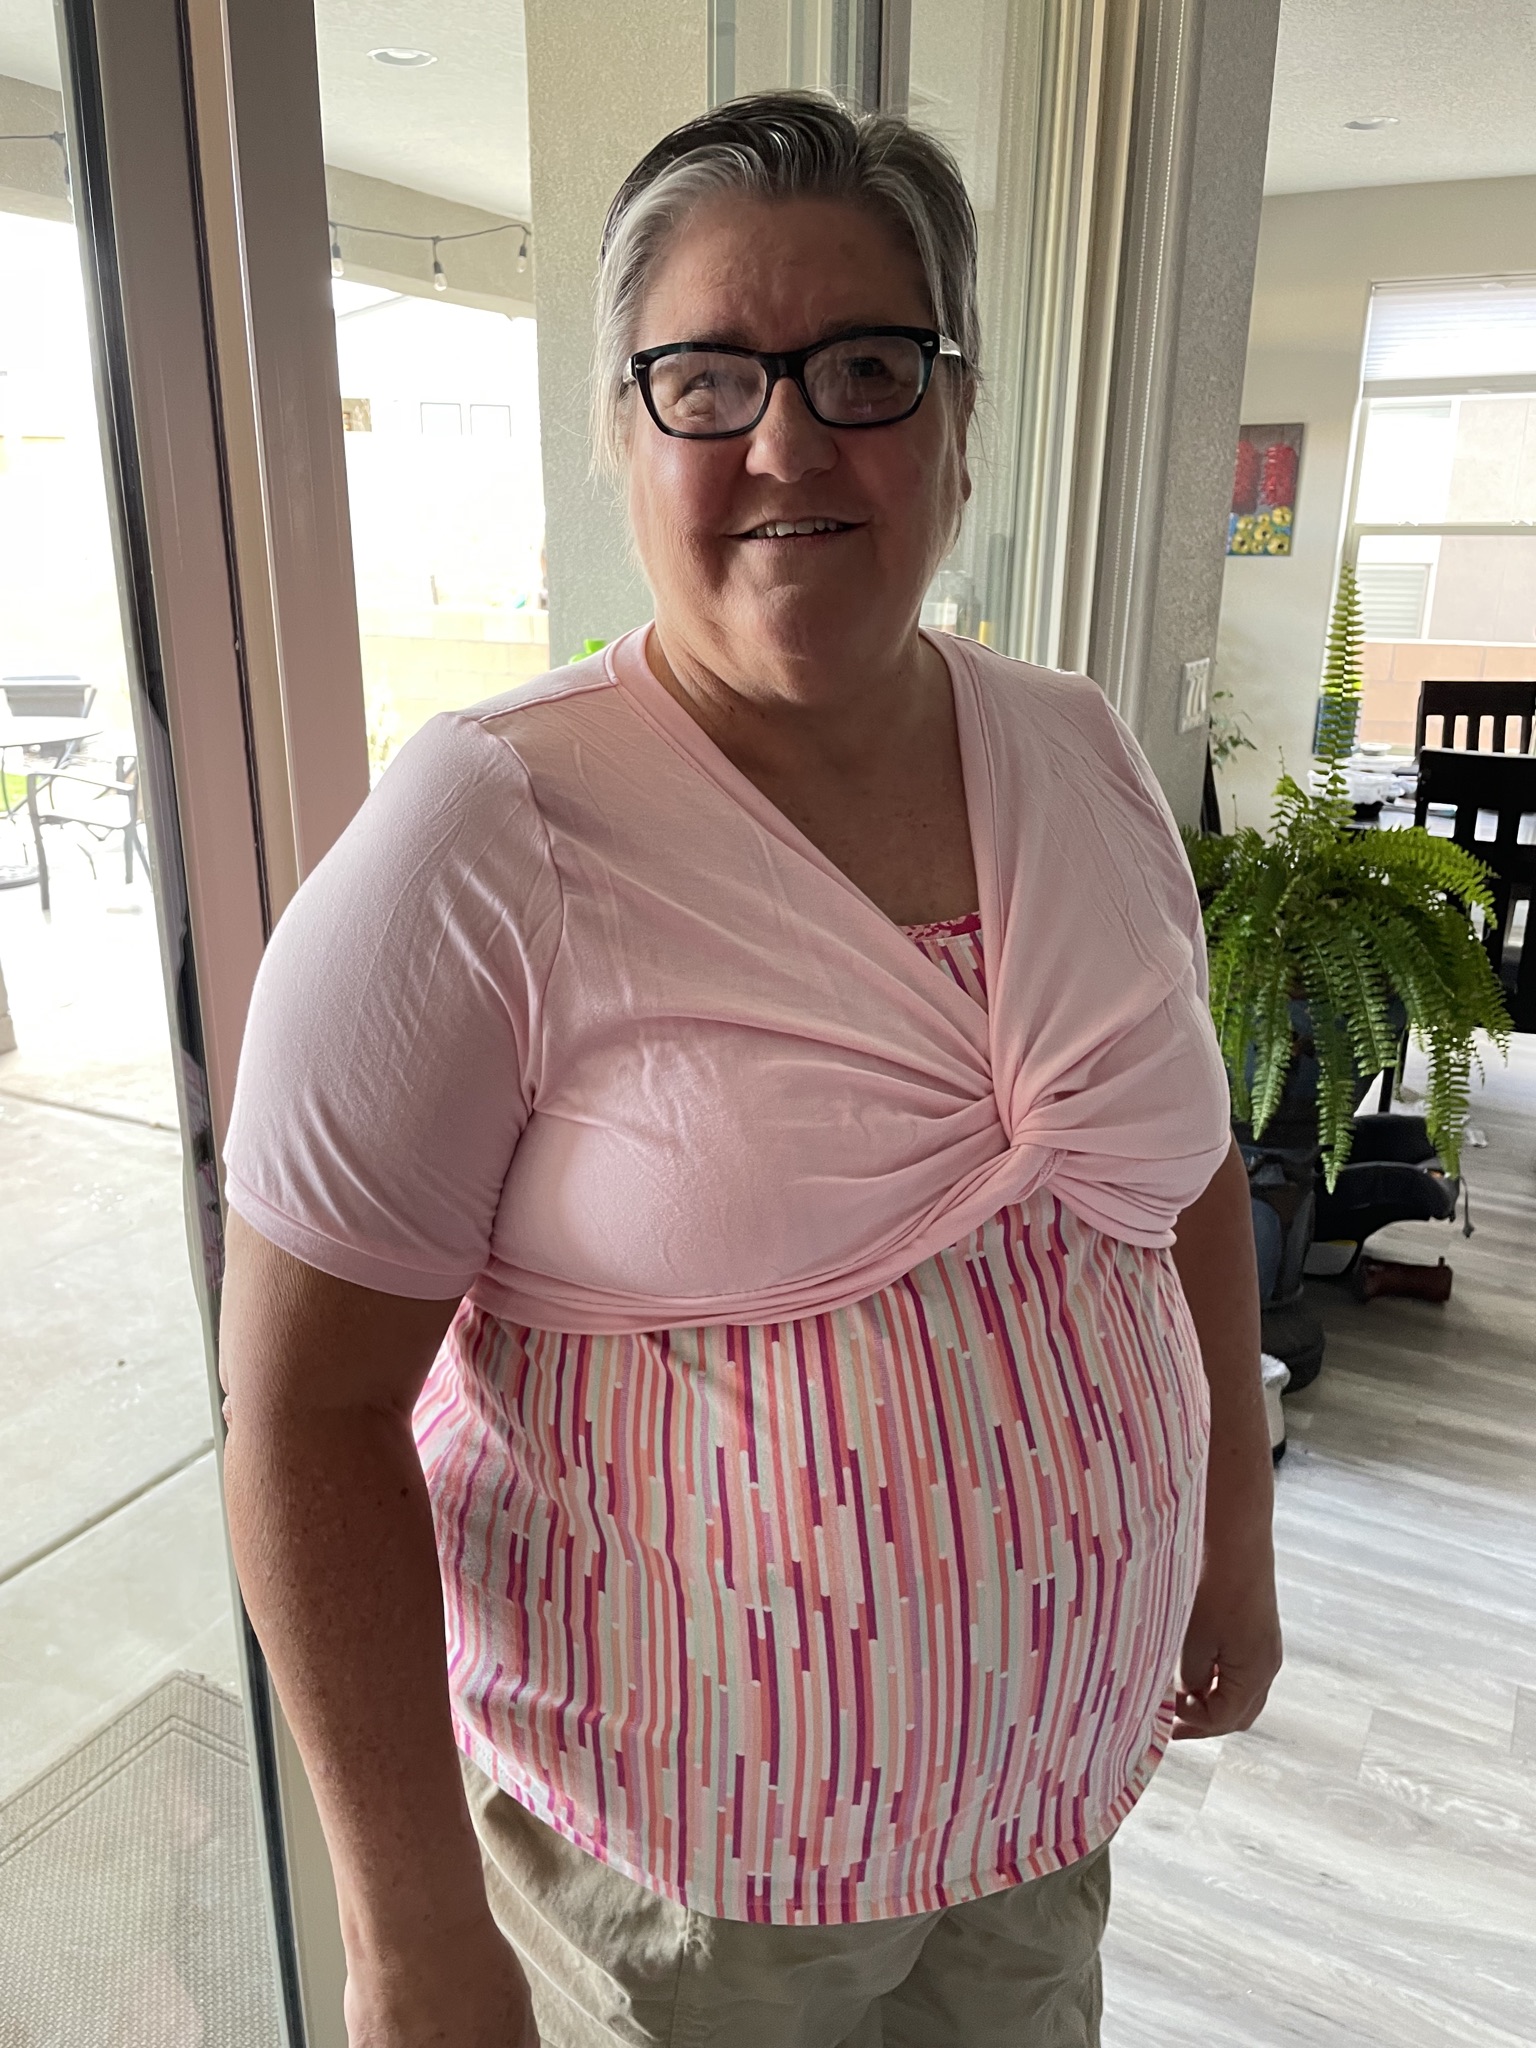
The next fabric I chose is a very lightweight rayon spandex. I wanted a sturdy edge for the neck and hem, so I cut a pair of two inch tall strips as wide as the width of fabric in order to make a band that firmed up the edges of the garment. It was a quick and fun sew, and I have enjoyed wearing it over my Virginia tank all day. You can make one too!

- Determine how long you would like the back piece to be. I chose to have a back piece that was 7 inches from the arm pit corner of the back piece down the side. I did not cut the back straight across, I curved it down so that the center back was a little more than an inch longer than the side seam. Trace a new pattern piece, and get help holding it up to see if it lands where you would like it.
- Stitch the shoulder seams.
- Serge the first band (folded in half hot dog style) to the neckline of the top. leave 3-4 inches of the band unsewn . Partial seams can be useful. Stitch across the front diagonal edge , round the back of the neck, and back down across the other front diagonal. Rather like a wrap front. I held the band slightly taut, and had a few inches left over on each side. There is probably a ratio for this, maybe 90-95%. Except, I did not serge the band all the way to the edge. I stopped short about three to four inches from each end.
You can find more on partial seams at this post about the wye seam.
- Top stitch the band around the neck, except start and stop a couple inches from the serged seam. I used a triple stitch.
- Neatly finish the long straight edge of the Front Top Bodice, mark the halfway point and two inches towards either side of the half way point.
- Same as the pattern instructions, fold one of the Front Top Bodice pieces in half and sew the seam from the open edge towards the folded edge. Stop two inches before you get to the fold of the fabric. Secure your seam. I used a triple stitch but a lightening or narrow zig zag will work here too.
- Slip the other Front Top Bodice piece narrow end through the hole that is created, and fold those right sides together and sew a seam from the open ends to the marks you made that are two inches from the center. This creates the twist.
- Sew your sleeves to the armscyes.
- Pin the sleeve seams and side seams together. You will likely need to gather the front to meet the back. This will vary greatly with cup size. You may prefer to stretch the back to match the front .
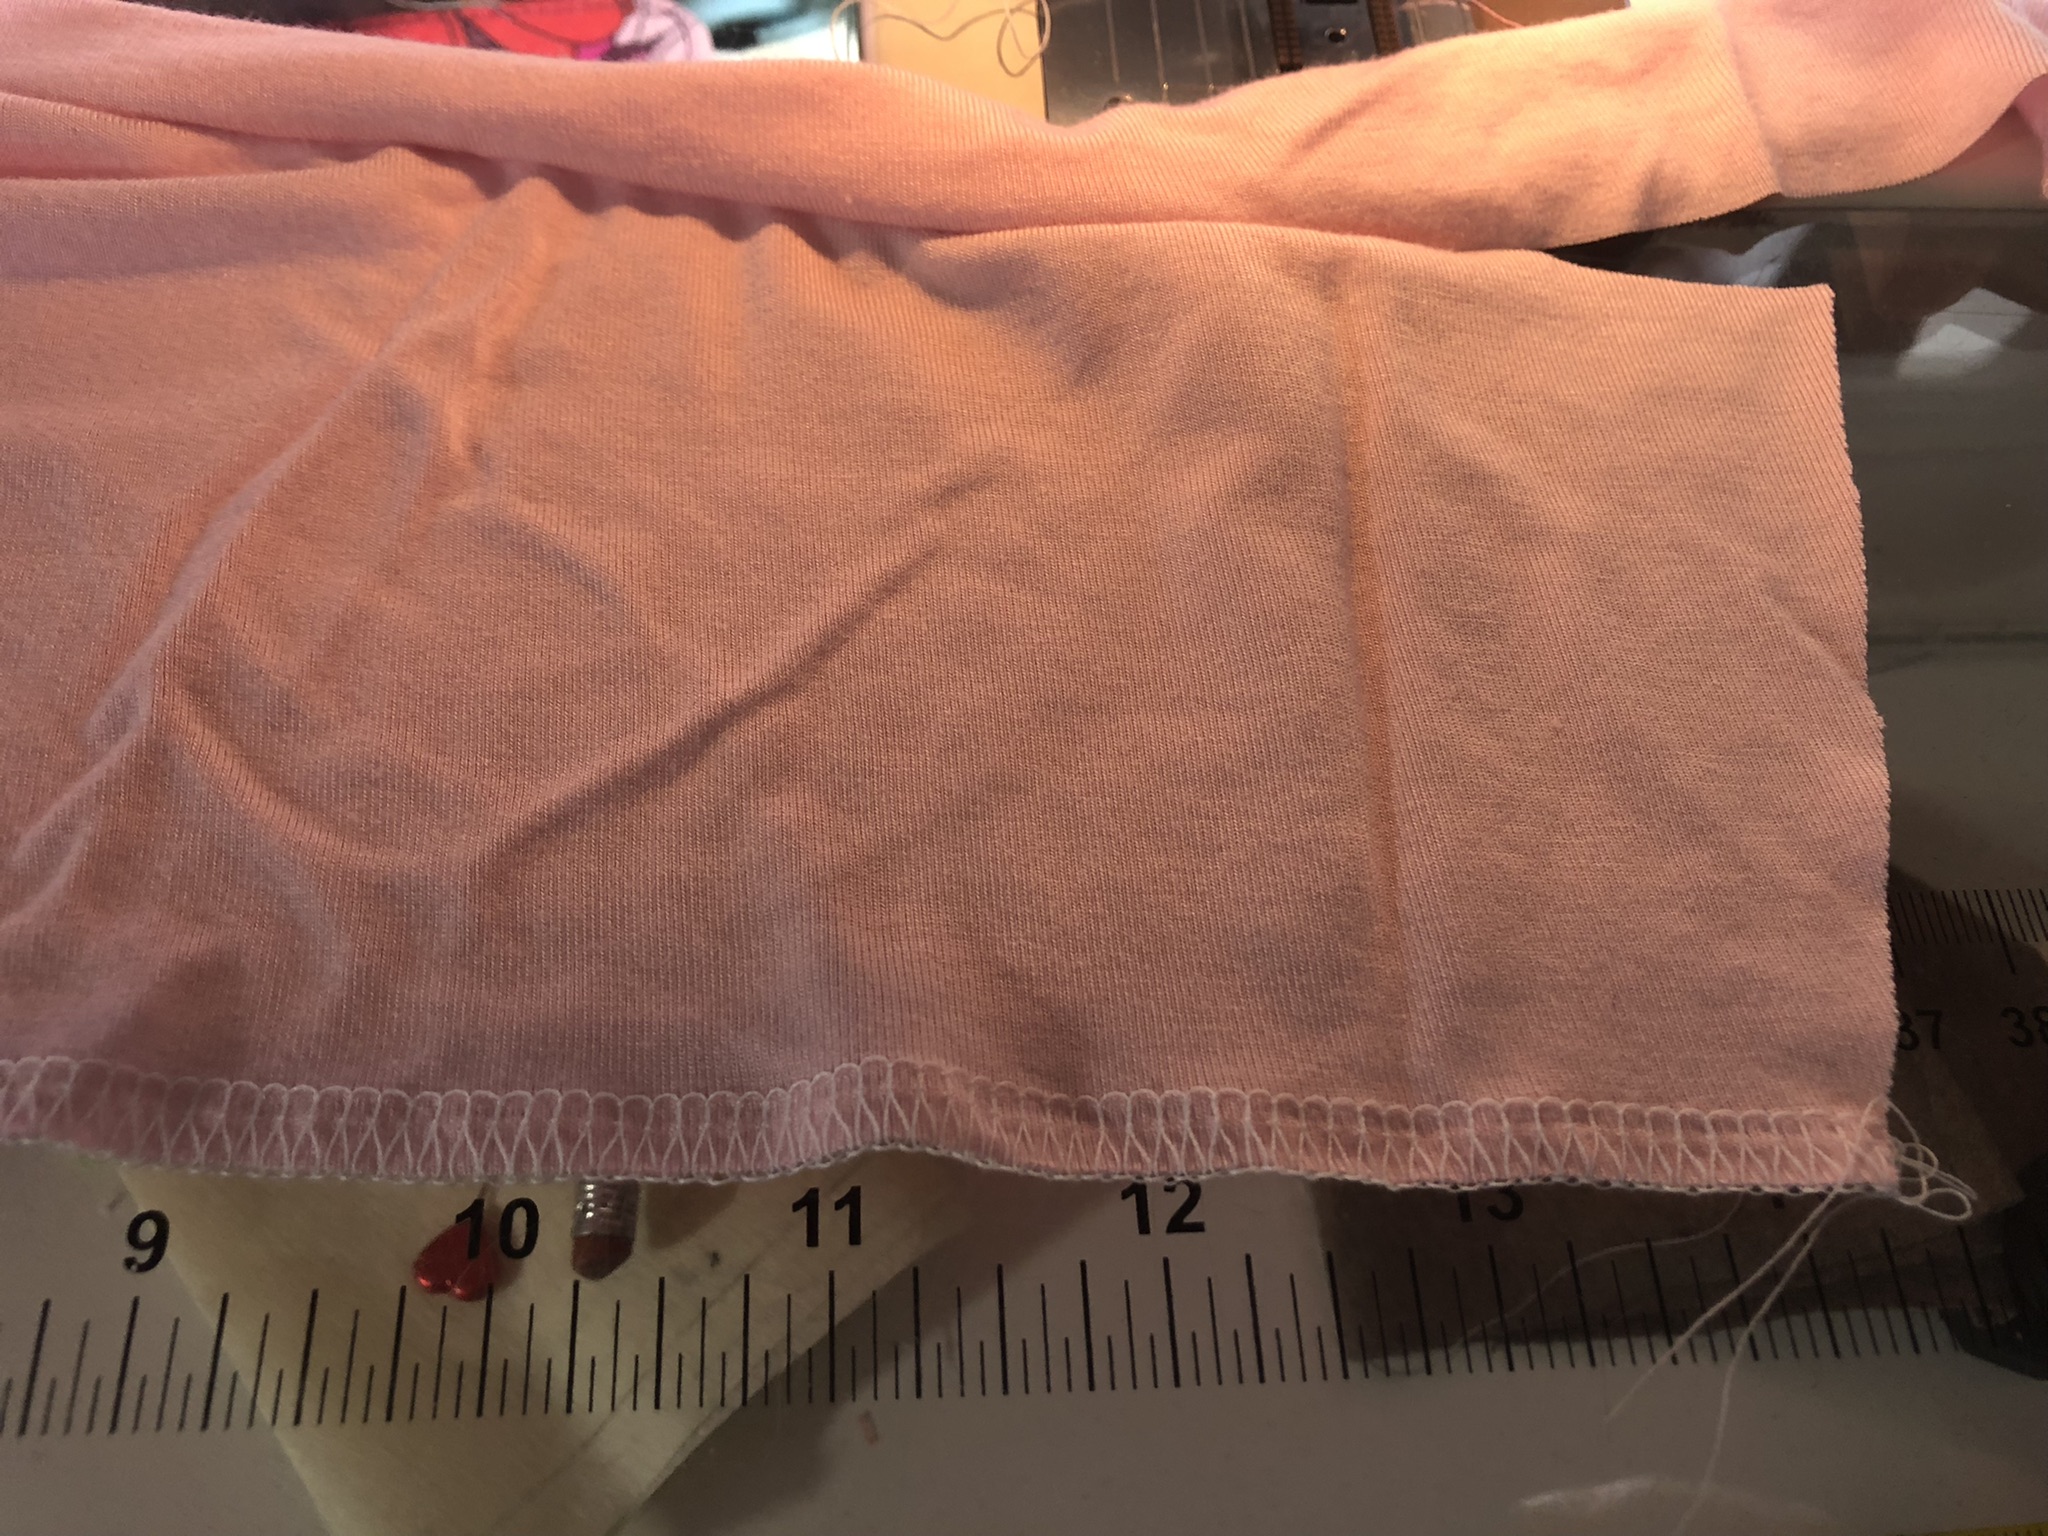
- Try on your cropped knot top. What do you think of the back length. Too long? Now is the time to adjust that, and mark your pattern. Measure the back piece across the bottom. Cut a 2 inch tall band that is 90-95% of this length.
- Carefully, without twisting, sew the short seams of the not quite finished band from the front to one side of the back band, and the other end of the back band to the other side of the unfinished band. Double check that it is not twisted.
- Match up the center point, and pin/clip. Match up quarter points and pin or clip.
- Serge the back and little bit of side front bands, and complete the top stitching.
- At this point, you can hem your sleeves. I had enough of the second band that I cut to add a band to the bottom of the sleeves. I measured the sleeve bottom, and cut my band one inch shorter than that measurement. Seam the short ends together and match up centers, seams, and serge.
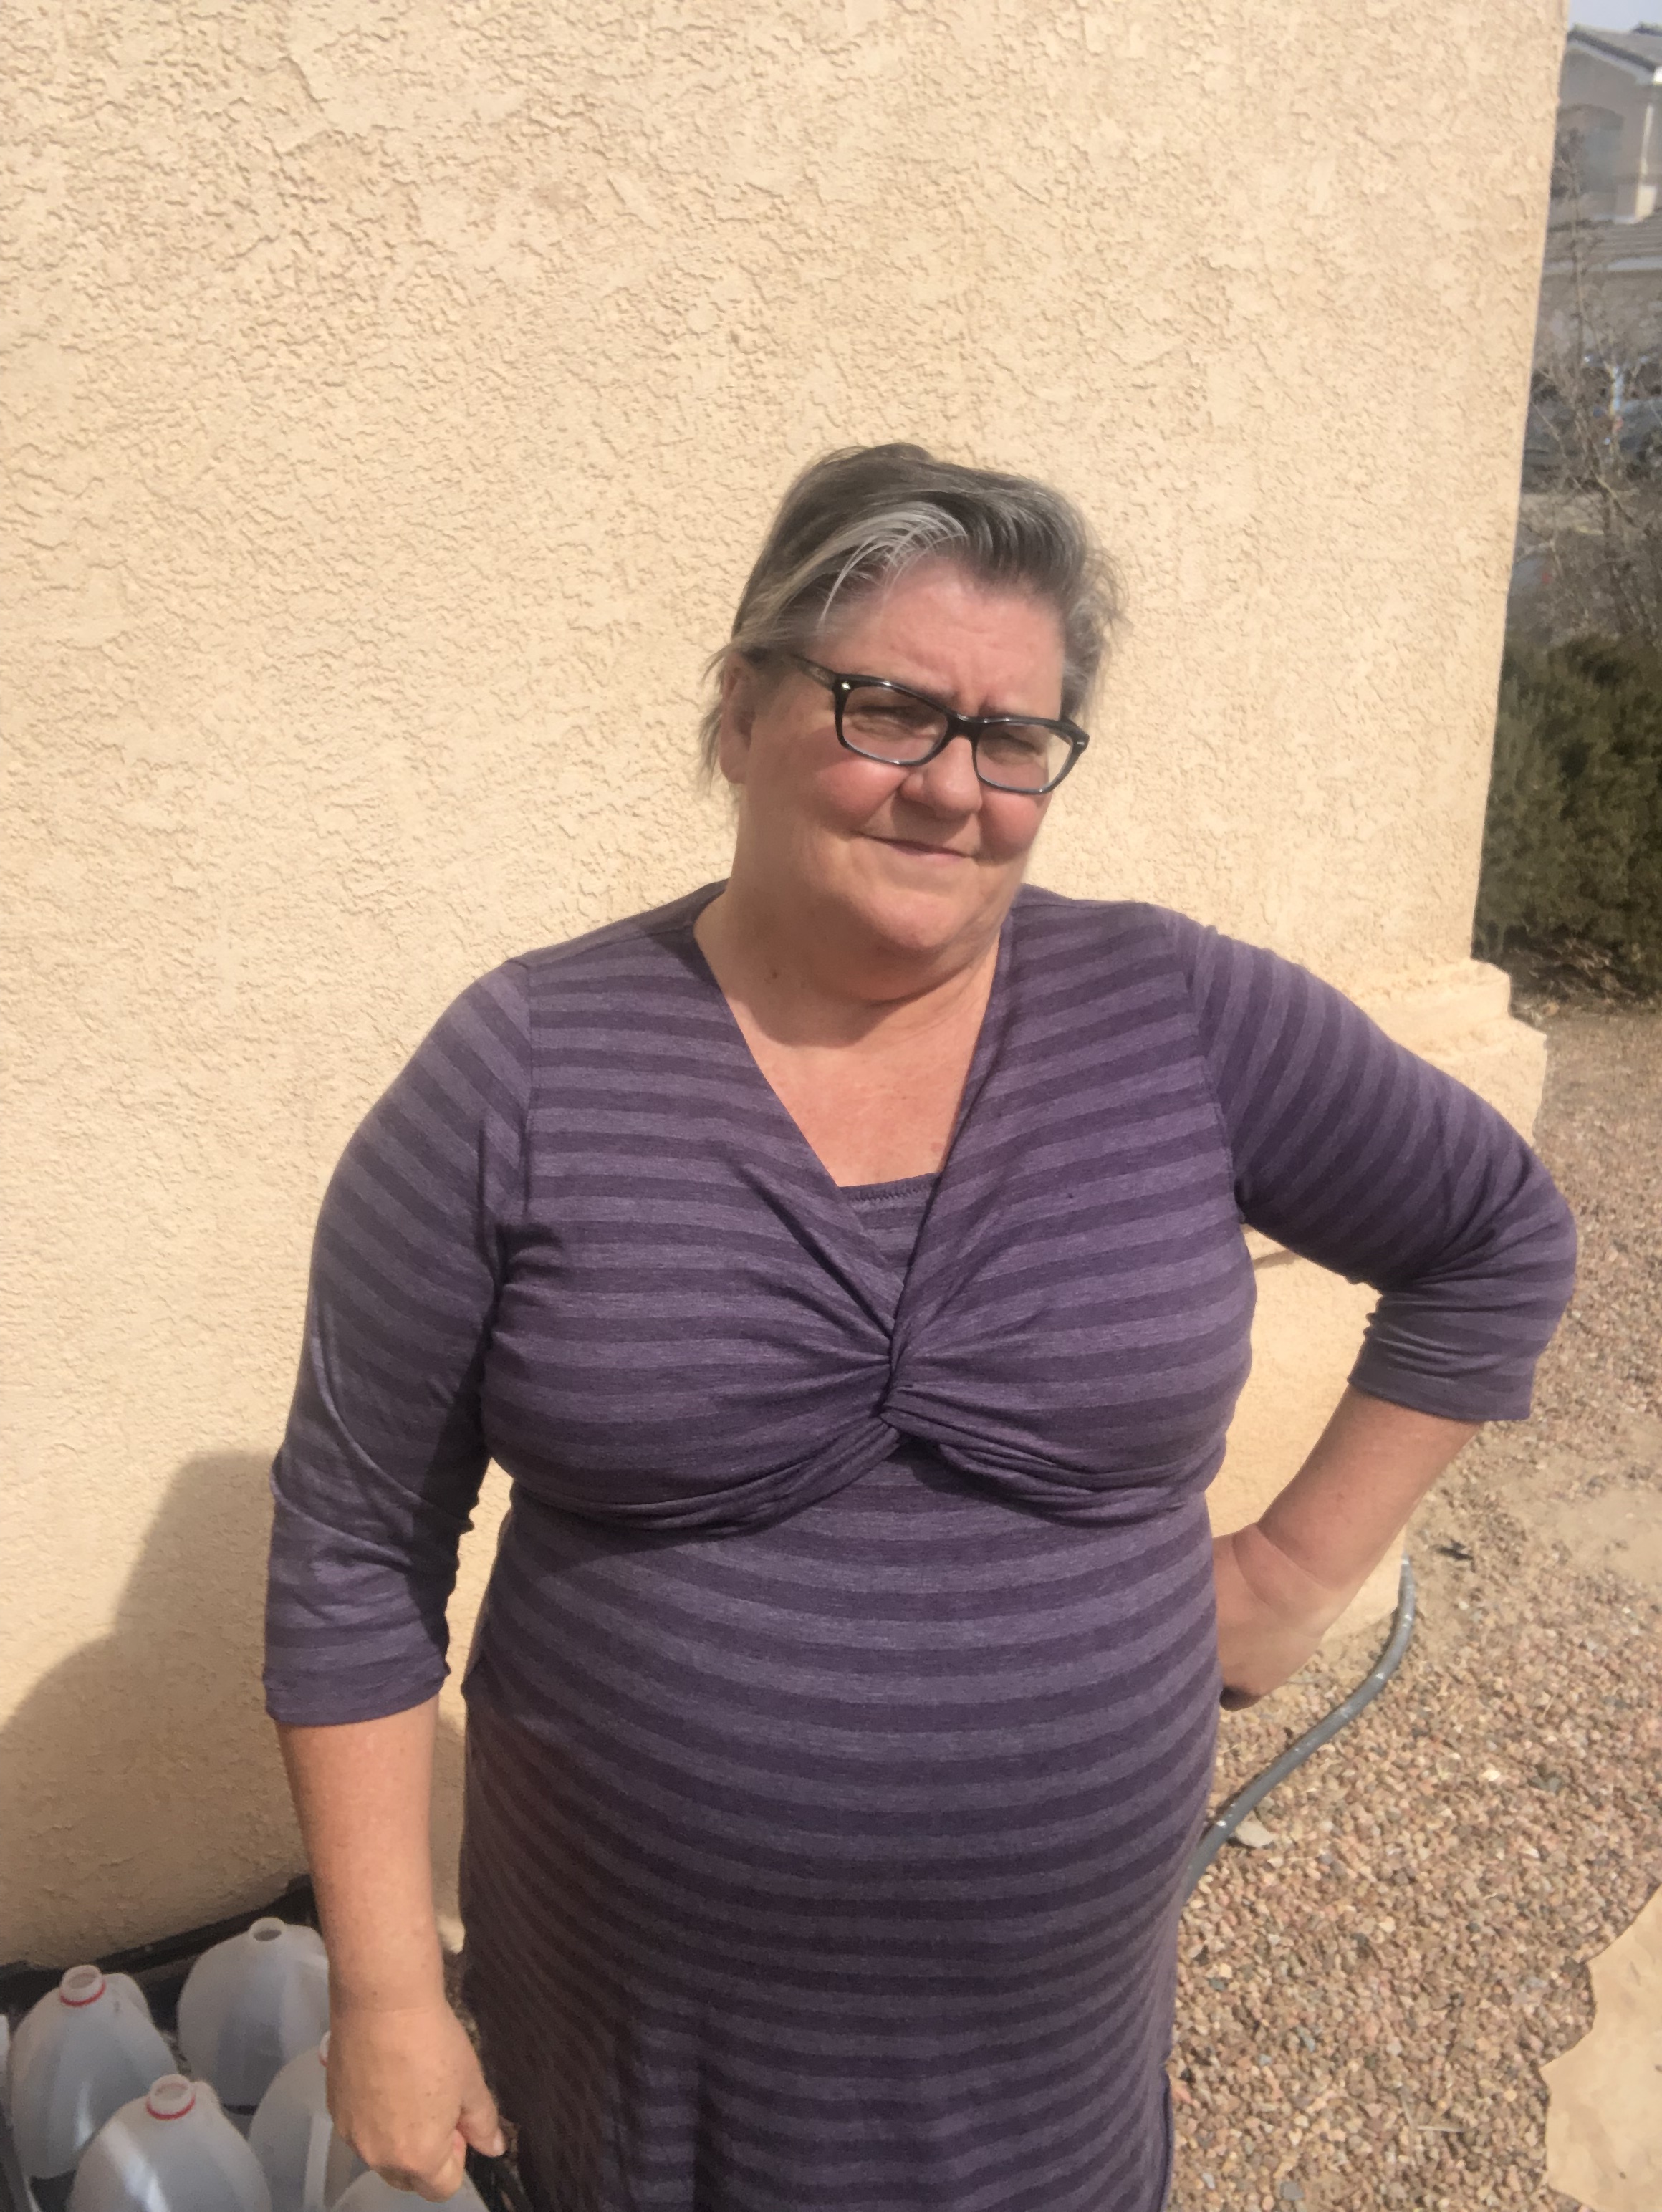
In a light weight fabric, it will extend the wear of any sleeveless top or dress into a cooler season, or just give you a tad more coverage for modesty or sun protection. A wardrobe extender for sure! Enjoy your cropped knot over a Virginia, Journey, Escapade, Key West, Cecilia, Maria and Taylor, you name it.
The floral Escapade dress in this post is packed away for summer. Cant wait to pair it with the pink version! Or maybe this Jessie! When I get my summer tanks and tank dresses out for warmer weather, I will be looking for the common solids that will work for more cropped knot tops to pair with them!

This blog post contains affiliate links. I may receive a small commission from the pattern designer if you use my link to purchase the pattern. Thank you! Happy sewing – Joan
