So many different ways to make a hem. For knits, it is important that the stitch stretches with the fabric. I love being able to take the time and enjoy the zen in a hand stitched hem, but sometimes I just want to get it done, so I can move on to the next project. This is where a machine made blind hem comes into play.
First step is to try on the garment and check side, front and back views to be sure the hemline is even. Now is the time to adjust and straighten.
Once that is done, overlock the raw edge. Then fold up and press the hem. In a hurry, I am pretty good at eyeballing a 3/4 or 1 inch hem, and baste with the longest stitch your machine can make.
Hem serged and basted into place. Notice the length and placement of the basting stitches in tan.
Some clips come with markings that will make this job a breeze.
Make this seam along the needle thread of your overlocked seam. This will give you a ledge to stitch on in the next step.
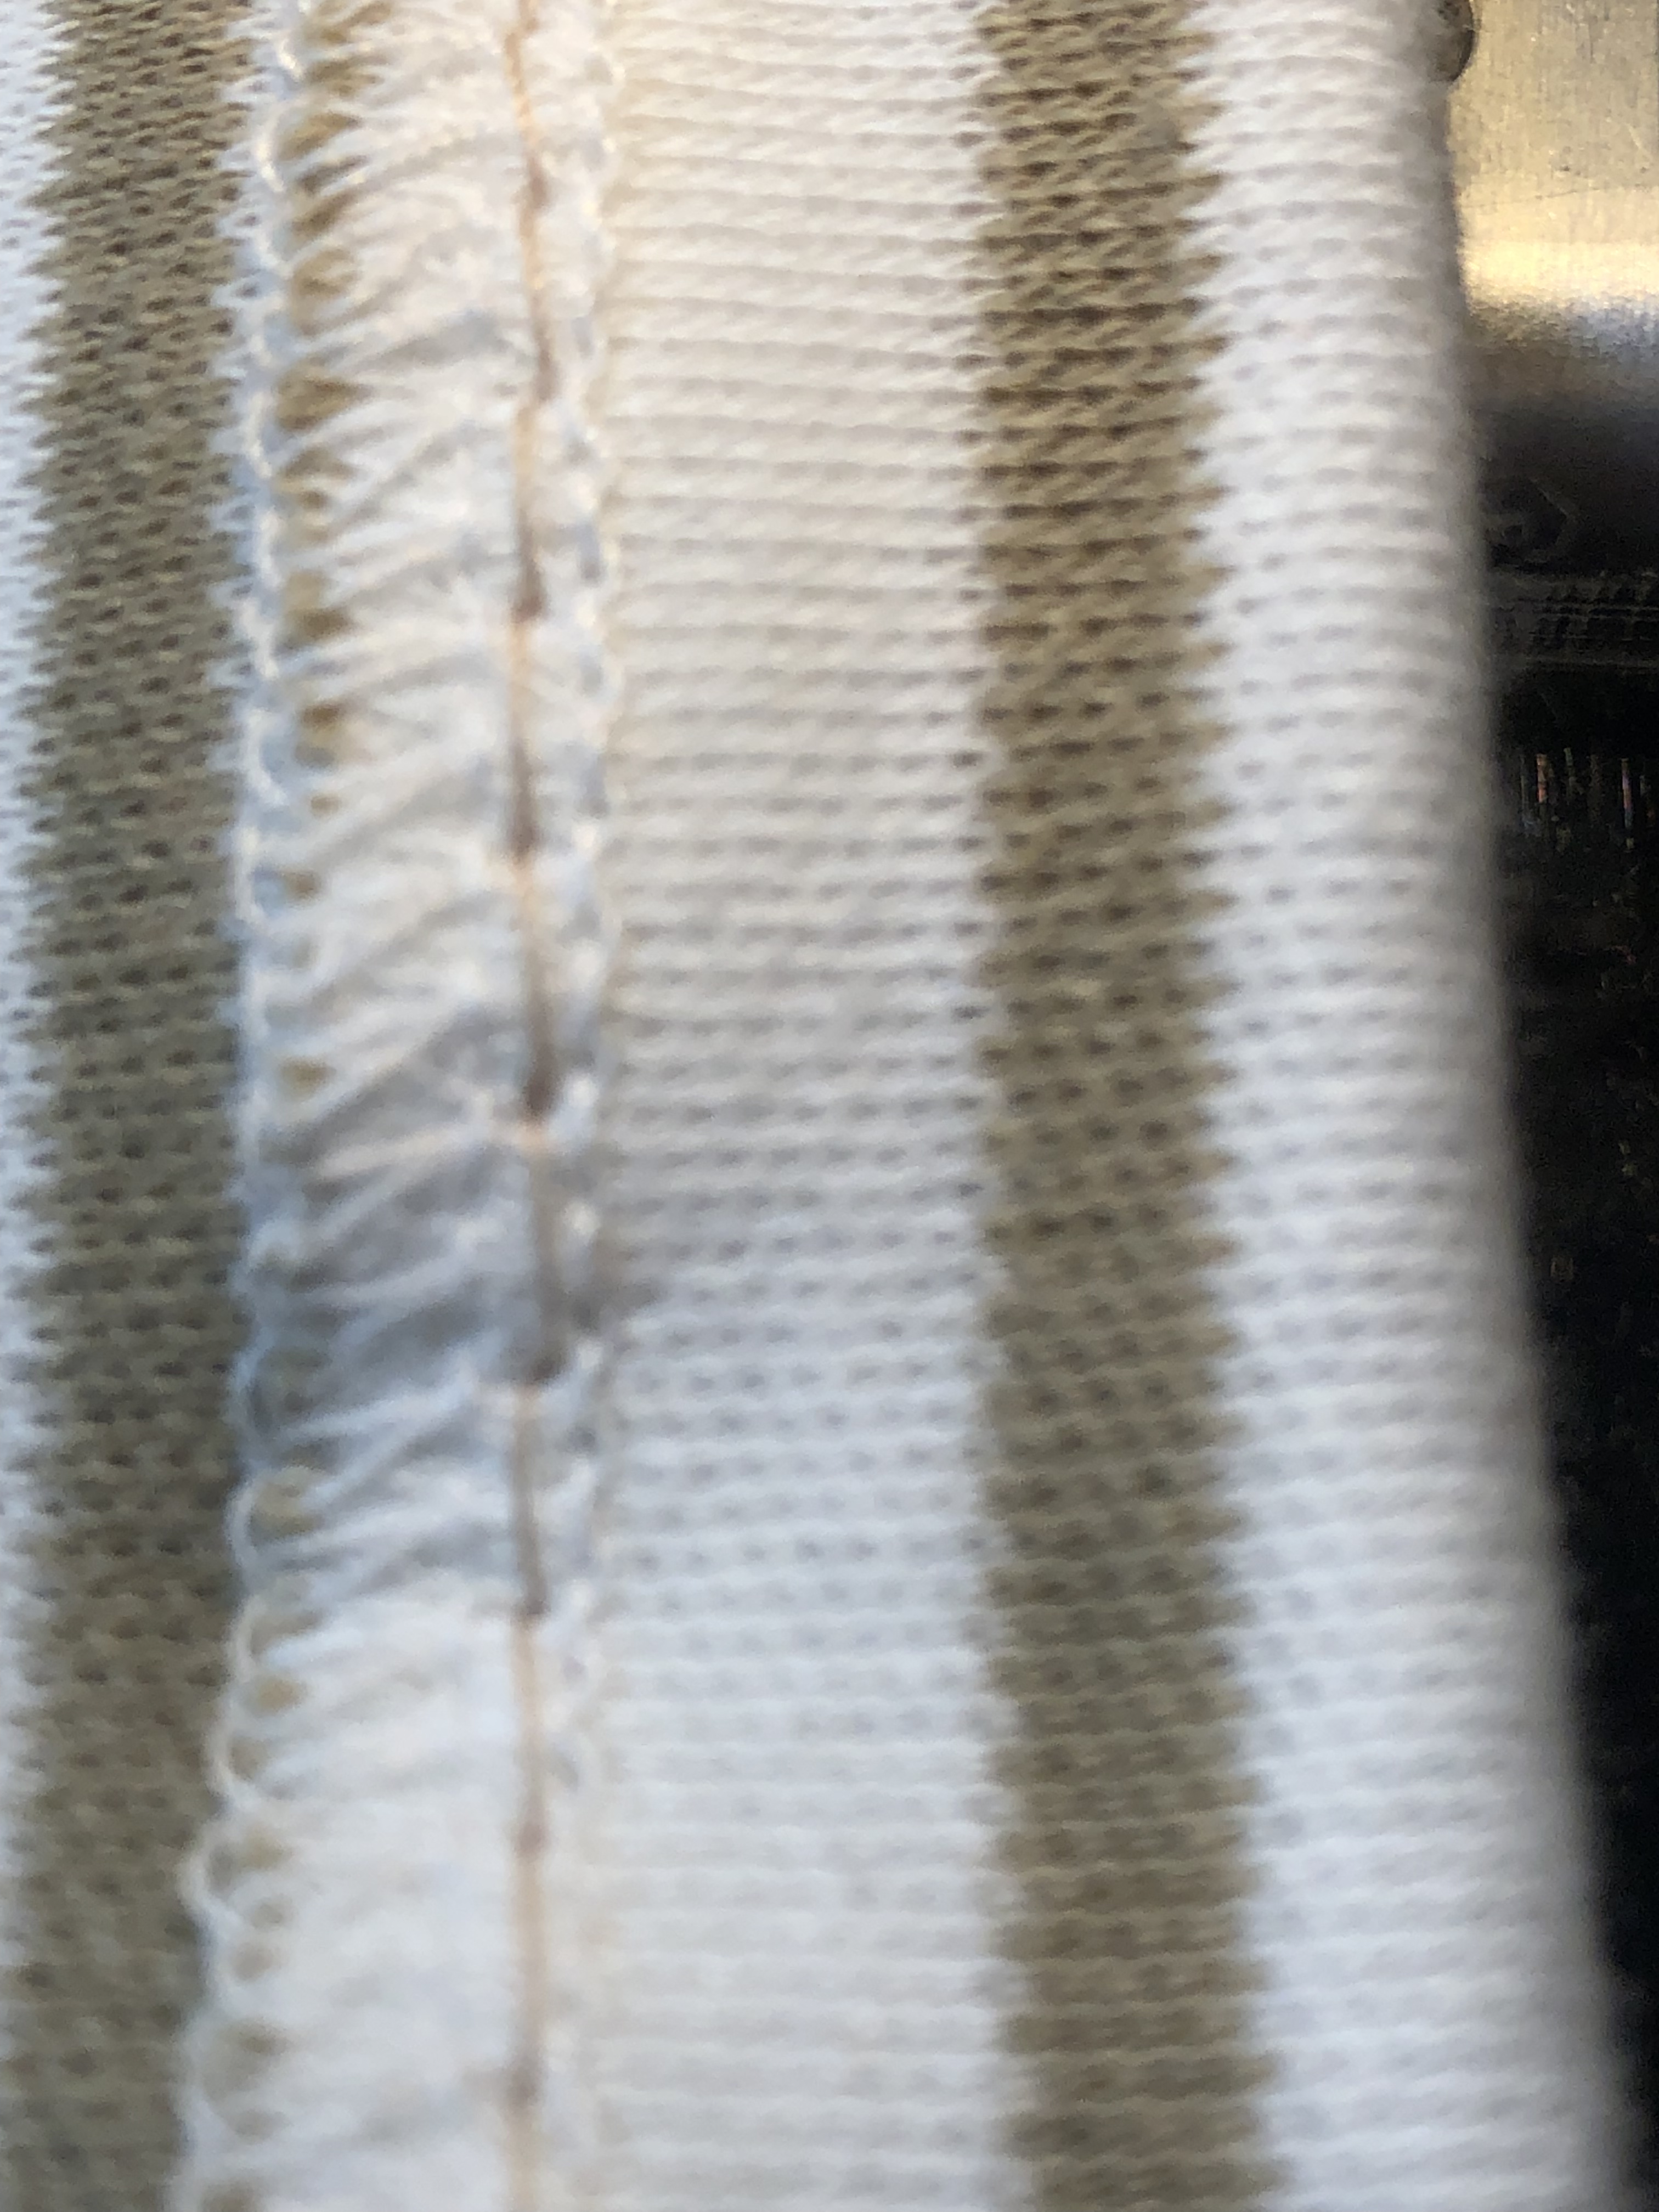
Fold the hem back up to the right side of your garment (like the cuff on pants).
Pull the quarter inch of serged/overlocked edge to the right. It is just a tiny bit. Everything else goes to the left.
Serged edge to the right and the hem is folded up underneath and moved to the left. If you look closely you may be able to tell that this picture was taken after the hem was sewn, making the serging look wobbly.
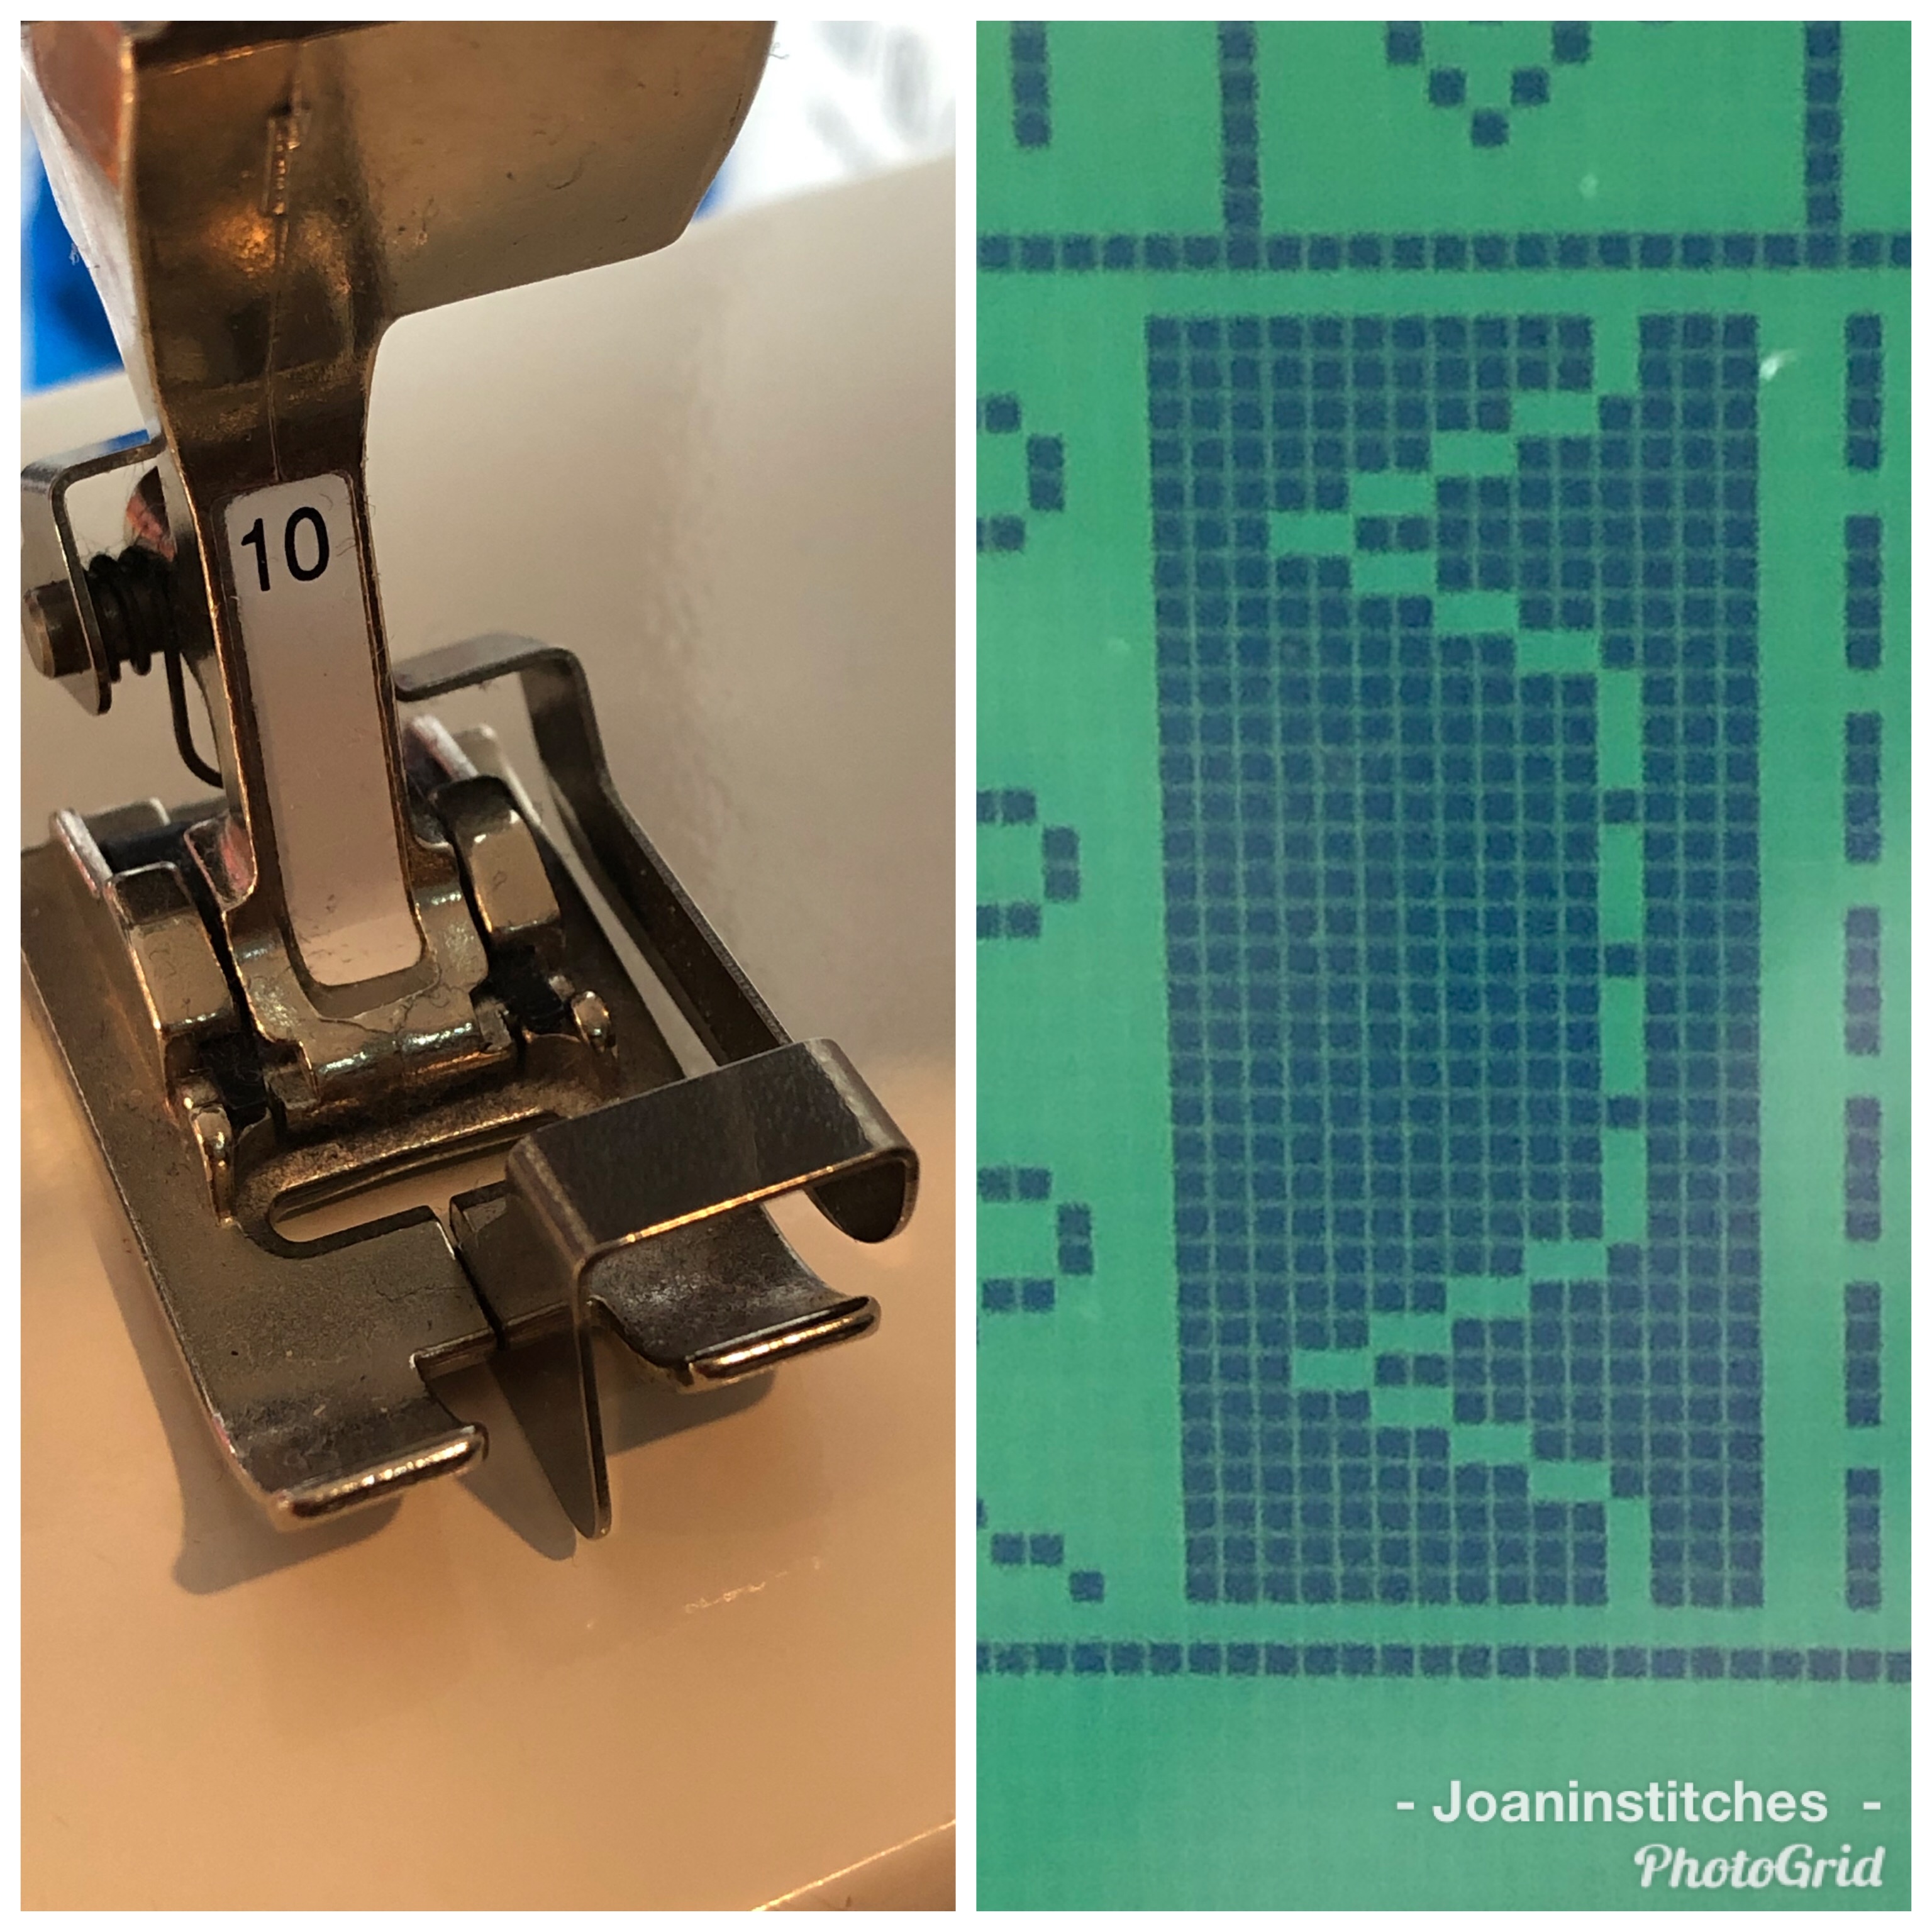
Attach a blind hem foot to your machine. Mine looks like this. The actual stitch is a modified zig zag and looks like this. Several straight stitches on the right, then a zag to the left.
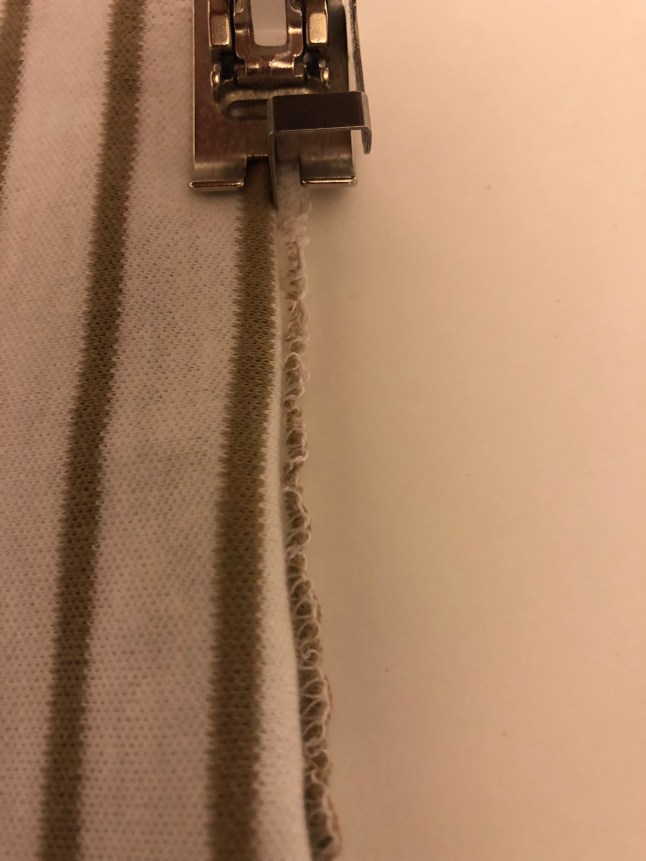
Set it up so that the guide/blade is nestled up against the fold of the fabric, and that the straight stitches are on the tiny strip of serging, and the one stitch that goes to the left goes into just a few threads of the fold. This is called the bite. This zigged stitch is what gives the blind hem some stretch.
It may take some adjusting in either moving the needle position left or right, or widening or narrowing the stitch width to get your positioning just right. Roll a few stitches by hand by turning the fly wheel manually. When you are satisfied with your bite, you can just sew around the circle of your hem maintaining the relationship between the blade and the fold of your fabric. I go round and overlap my previous stitches by several inches. Back tacking with this foot is problematic. The overlap will keep it from unraveling.

If the bite is too big, it will show on the right side of your garment. If it is too small, there will be no hem.
If you missed catching the fold on more than a couple stitches, it would be wise to stitch over that section, or go in with a hand stitch or two. If the bite is too wide, it is best to remove those stitches.

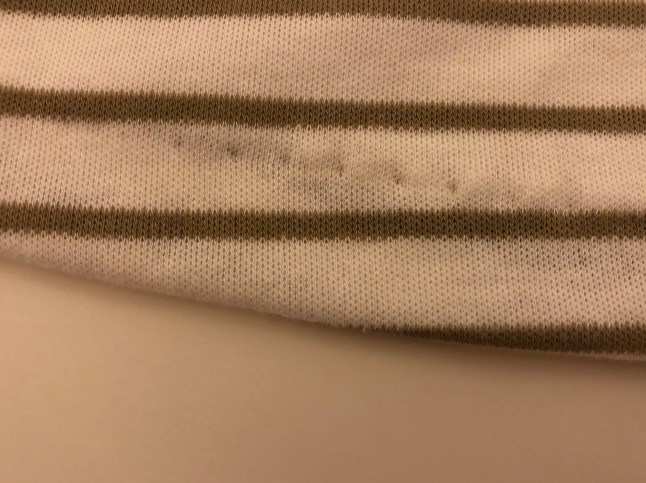
Can you see the huge stitch that was too big of a bite? This was at the beginning of my hem, and will be removed, since I overlapped and the newest stitches will take over.
Inspect your hem. If it looks good (nearly invisible on the right side) you are ready to remove the basting stitches and give it one more press.
The stitches should look like a tiny dimple in the fabric. Matching thread is a good idea here.
It is always a good idea to test for stretchiness of stitches on scraps, and with practice, the blind stitch just may become one of your favorites!
I am thinking that this dress may need pockets. Stay tuned!
This post may include affiliate links. They cost you nothing extra to use, and help me in sharing posts like these. Happy Sewing! Joan

2 thoughts on “Blind hem tutorial”