Reversible Shorts

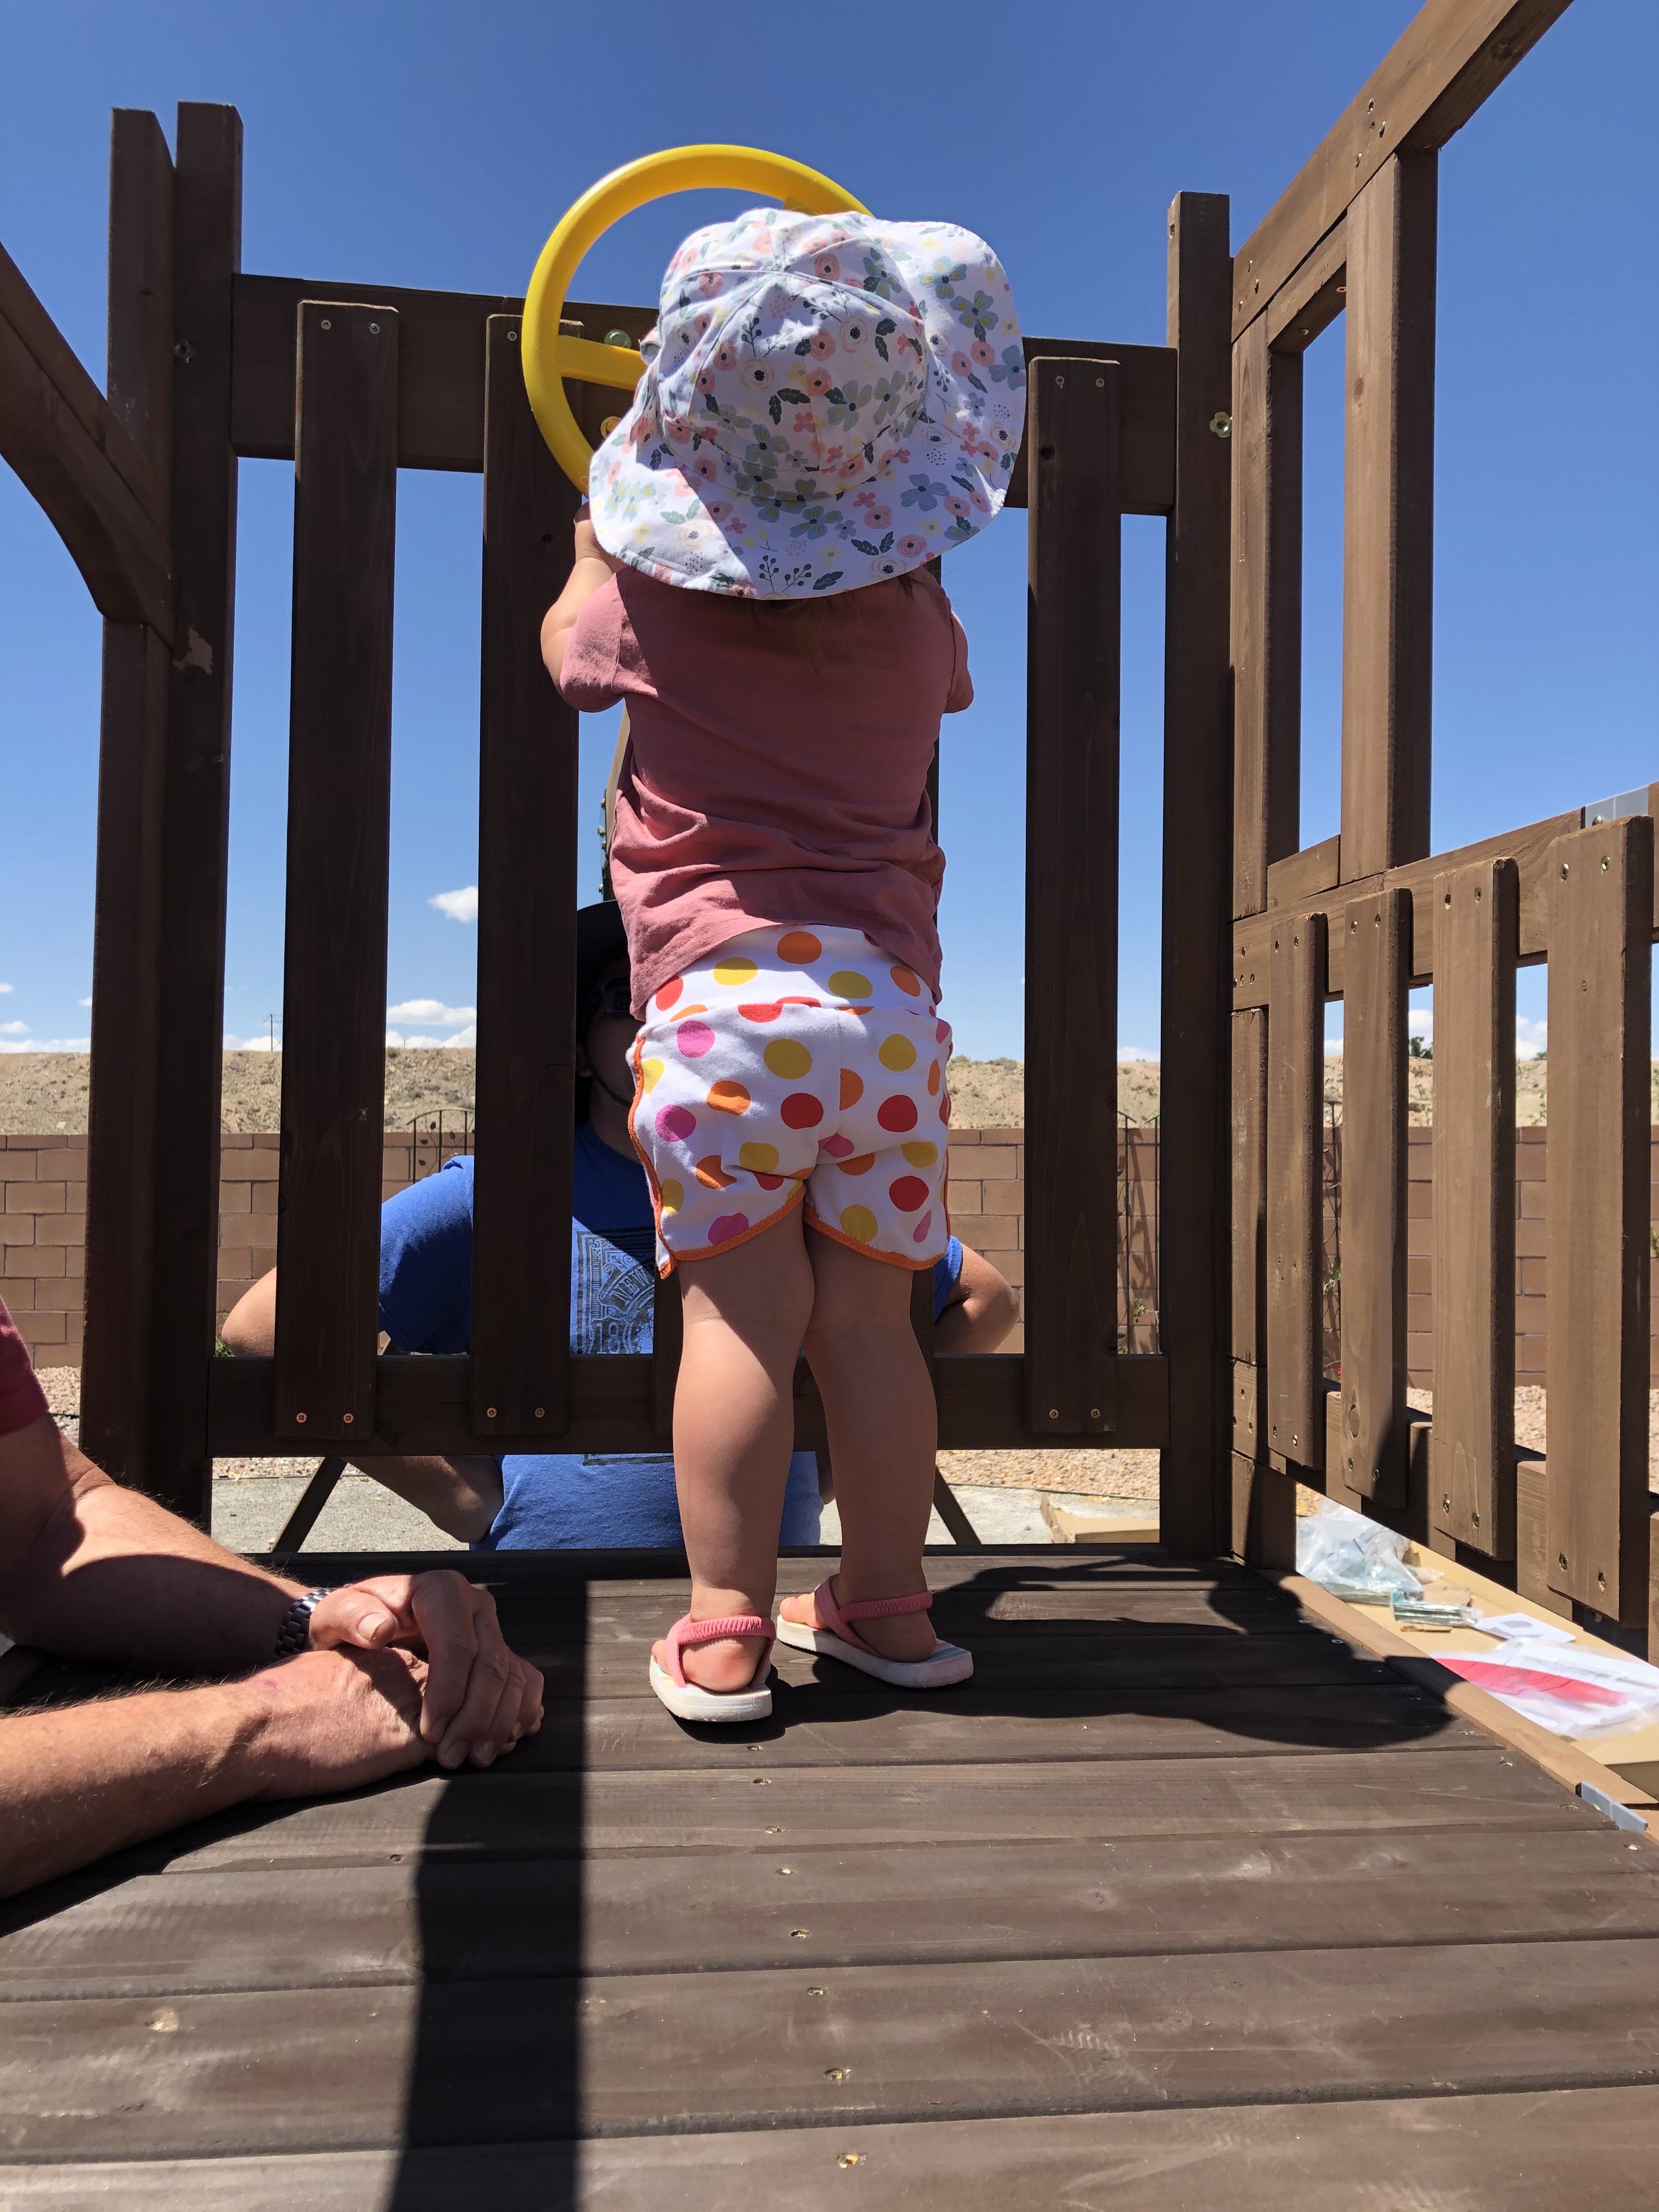
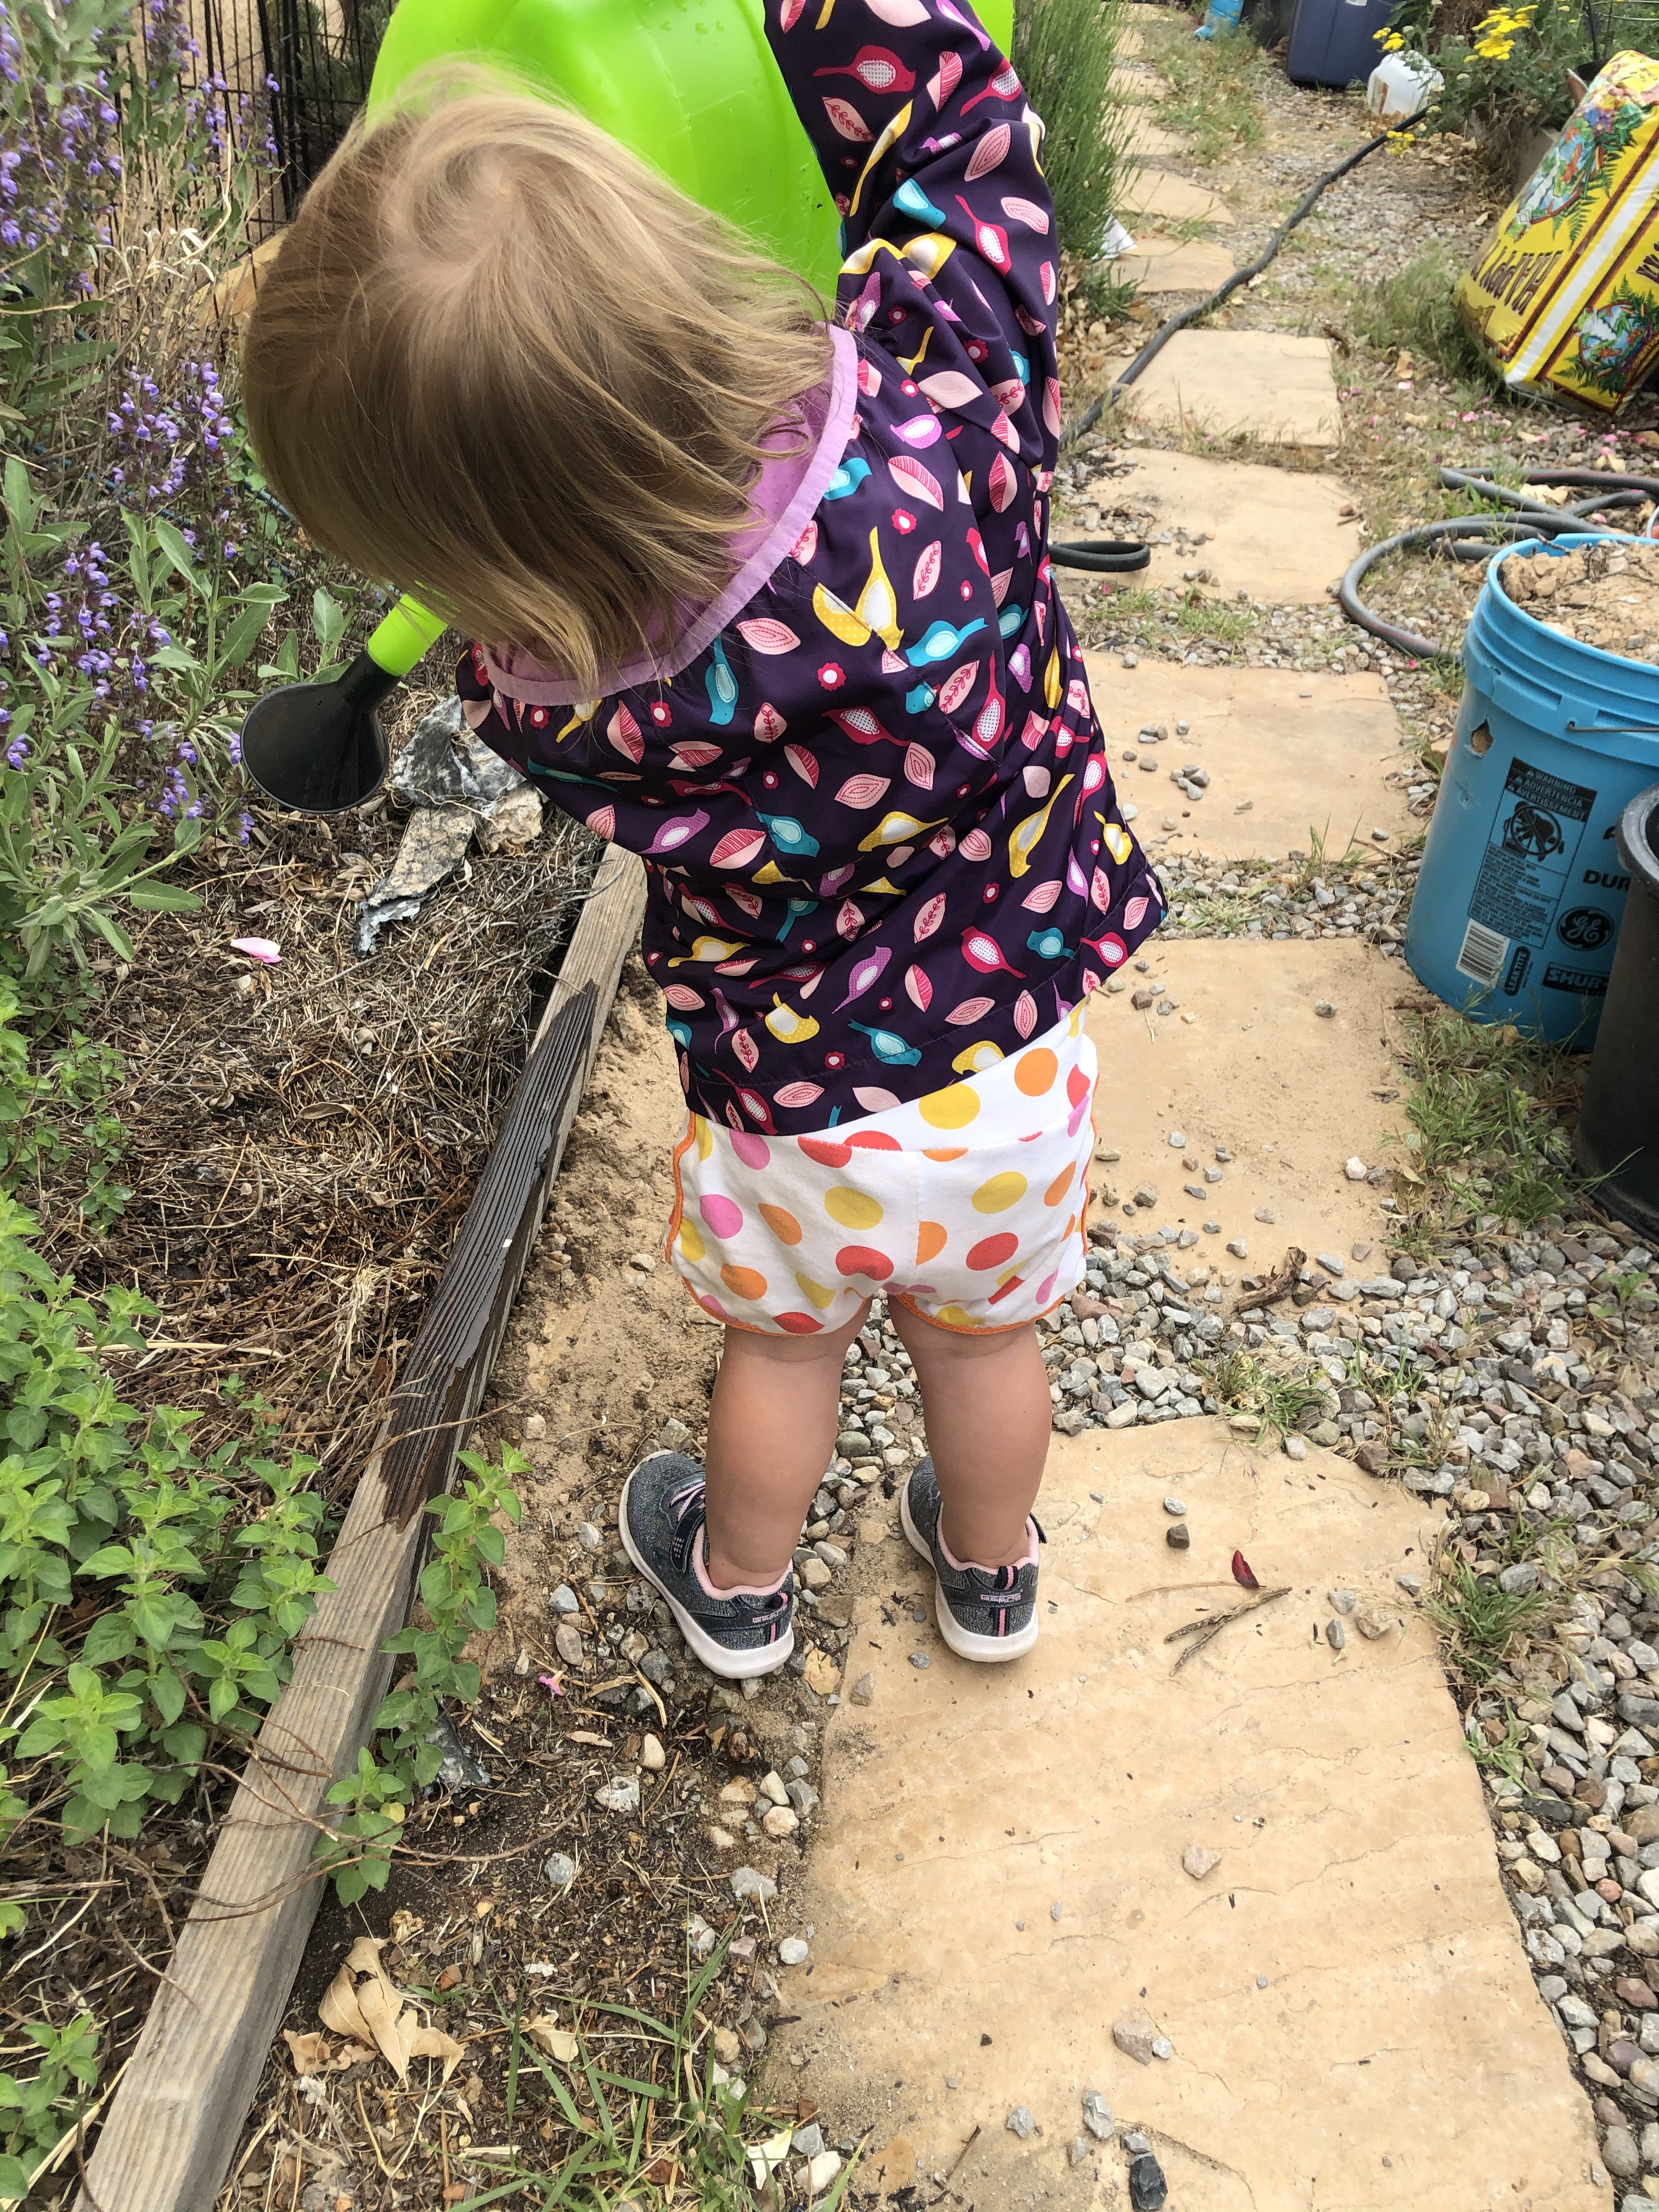
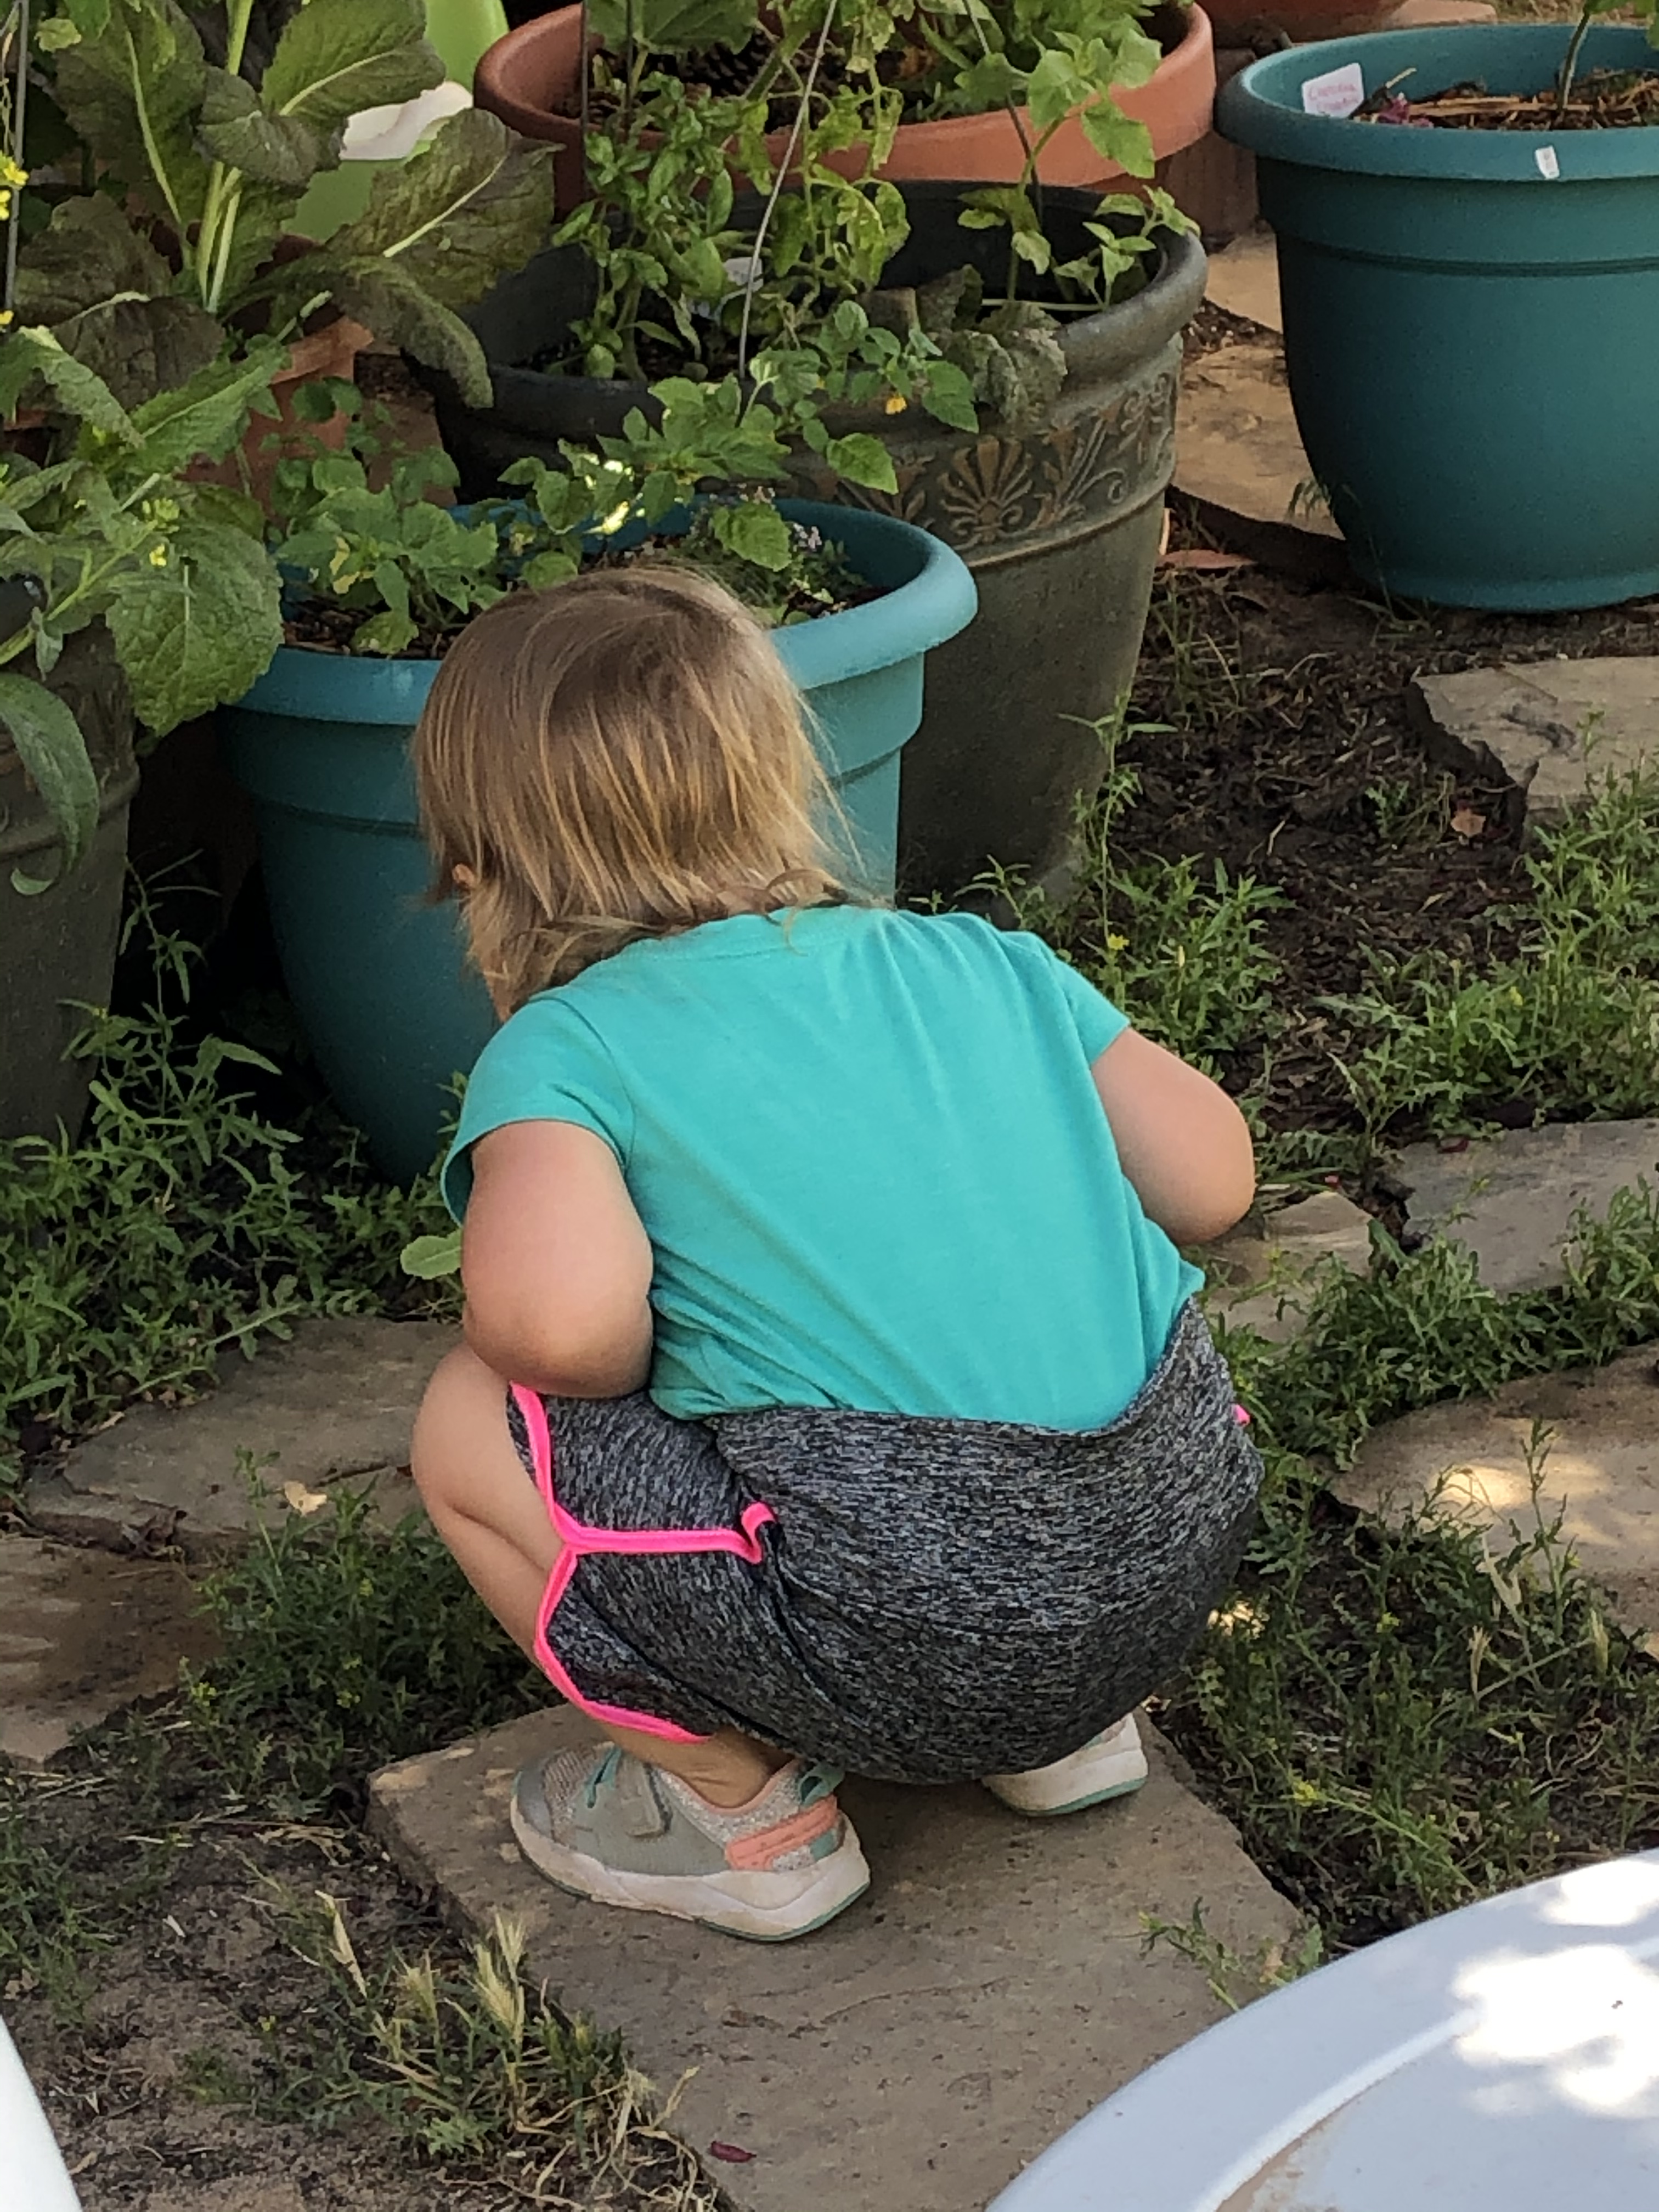
The last 7-8 years our local sewing guild has been sewing outfits for the first day of school for local first graders who are experiencing homelessness. This year, I had a mind explosion about sewing reversible shorts.

It took one late night/early morning thinking, a lot of seam ripping and looking on line, but I came up with a plan for me to sew multiple pair of reversible shorts with quilting fabric and novelty fabrics in my collection.

I will try to show you how I made them here.

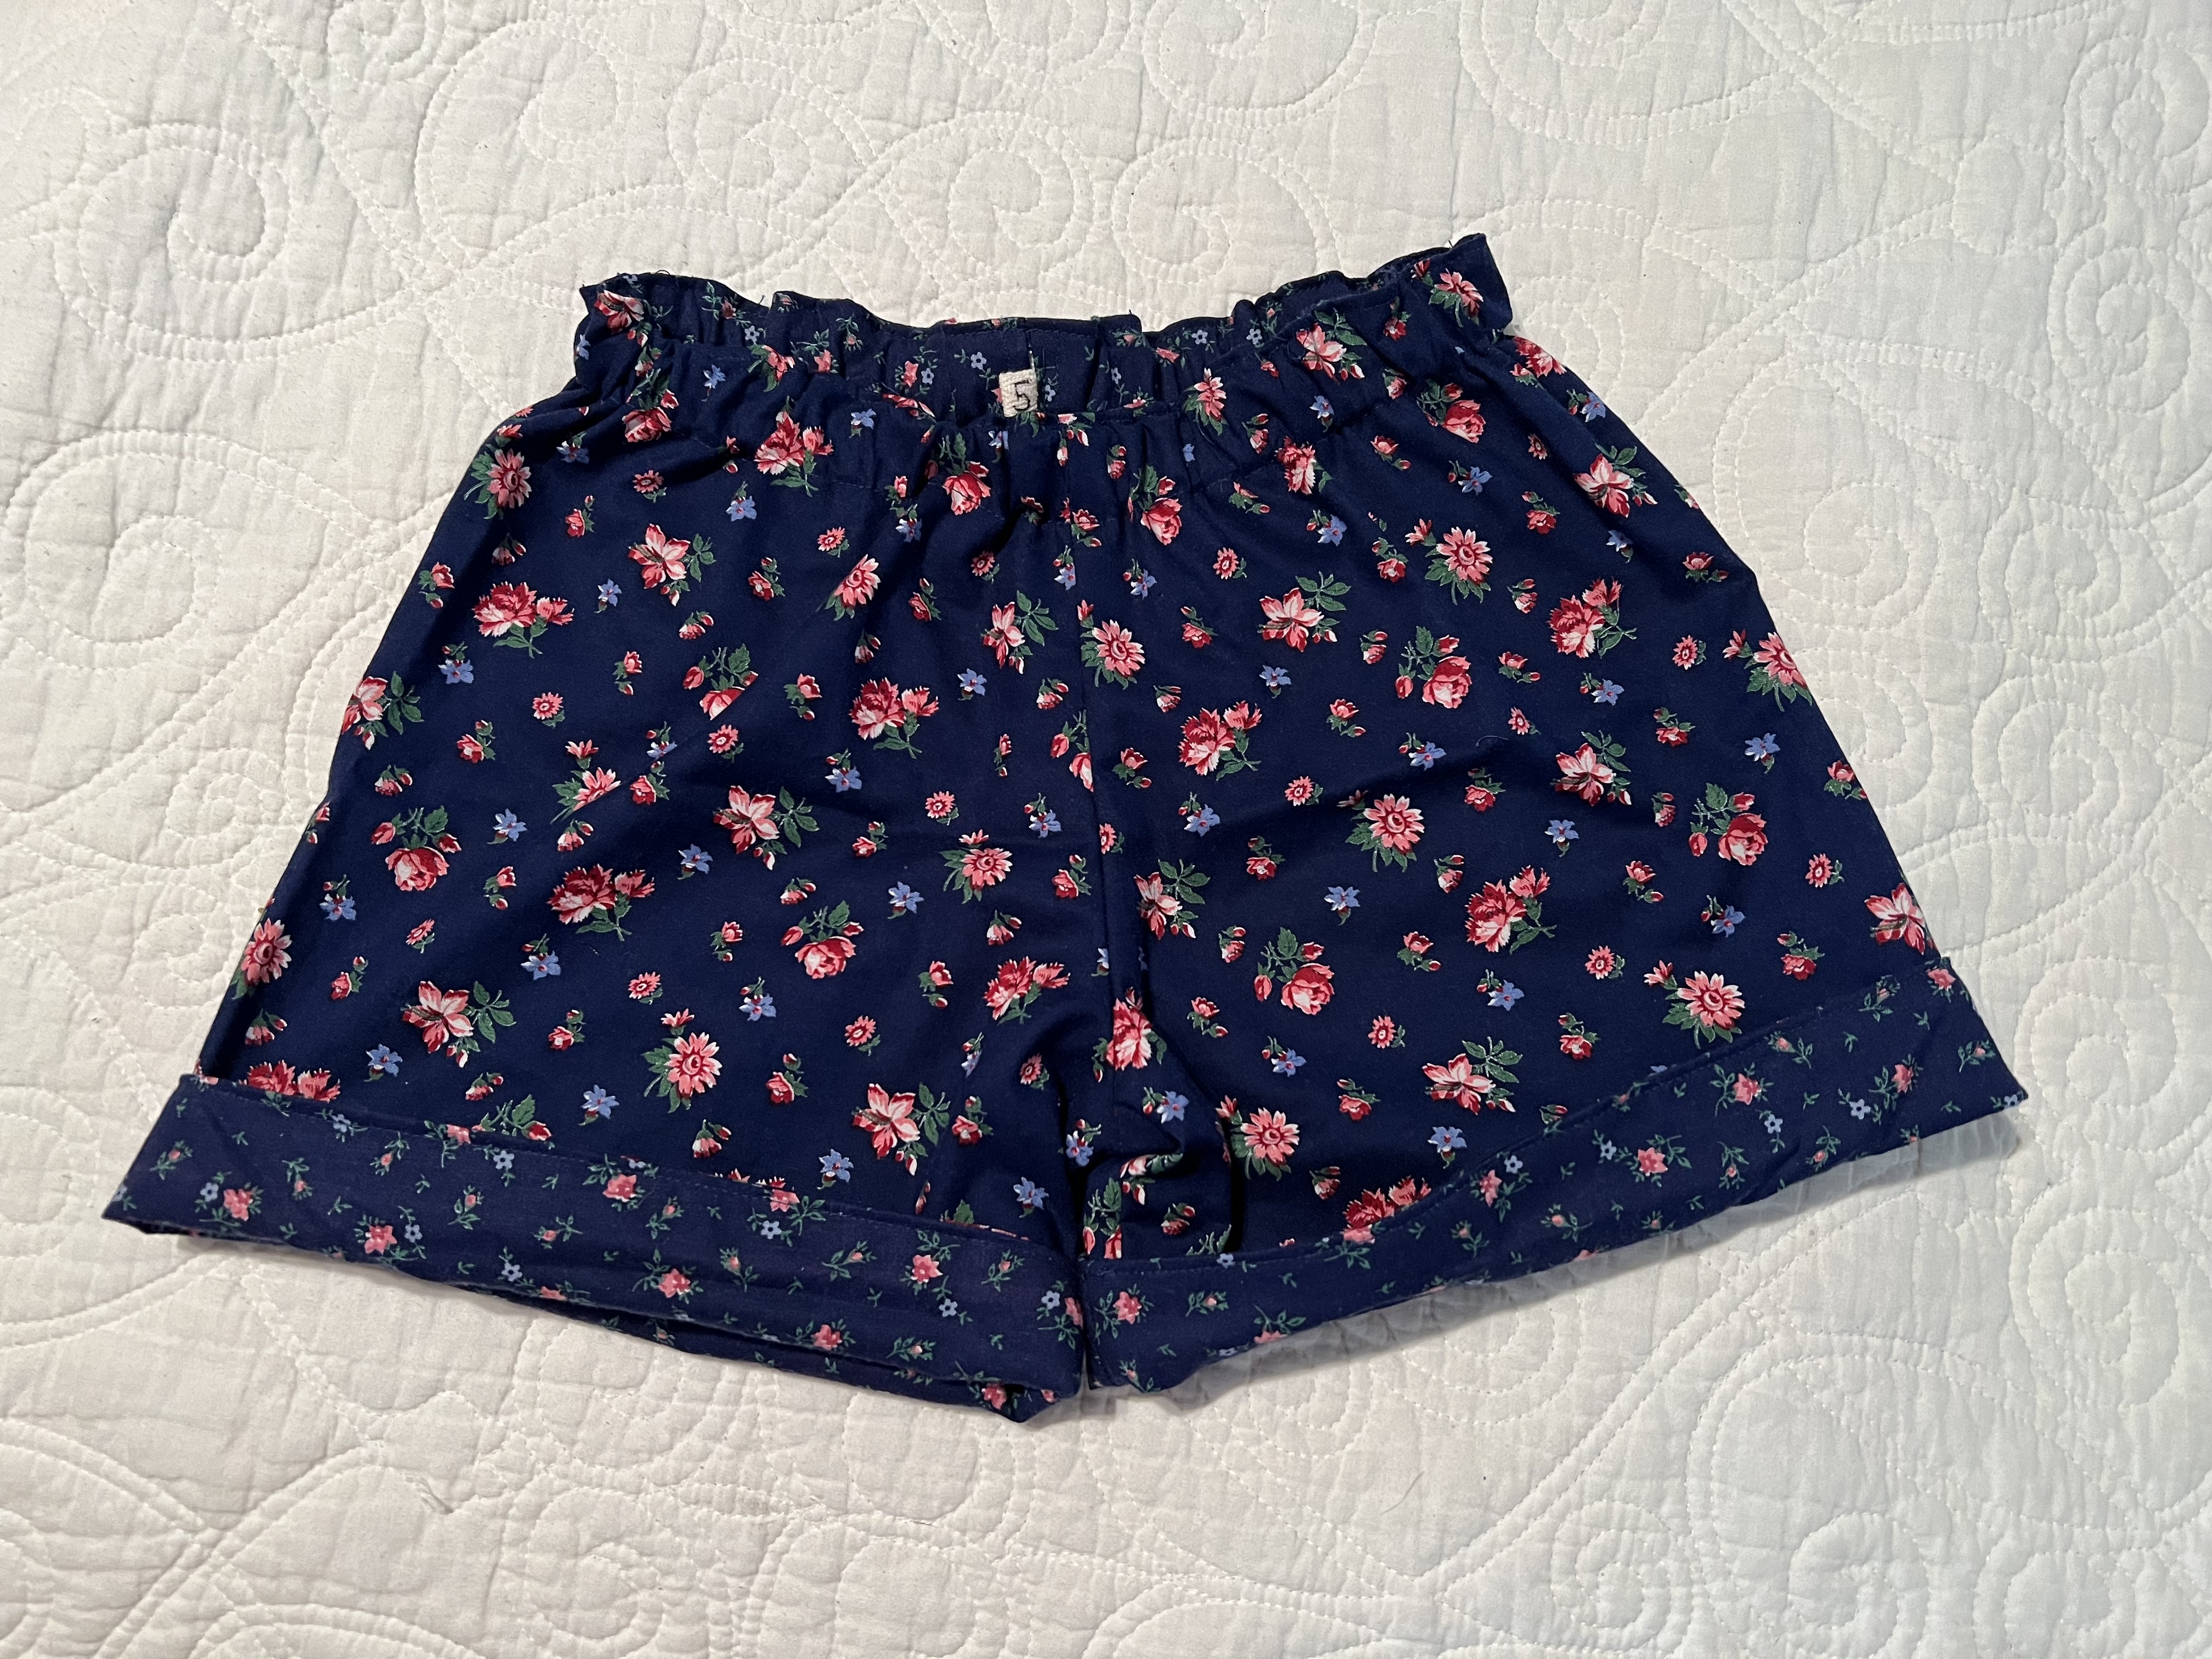
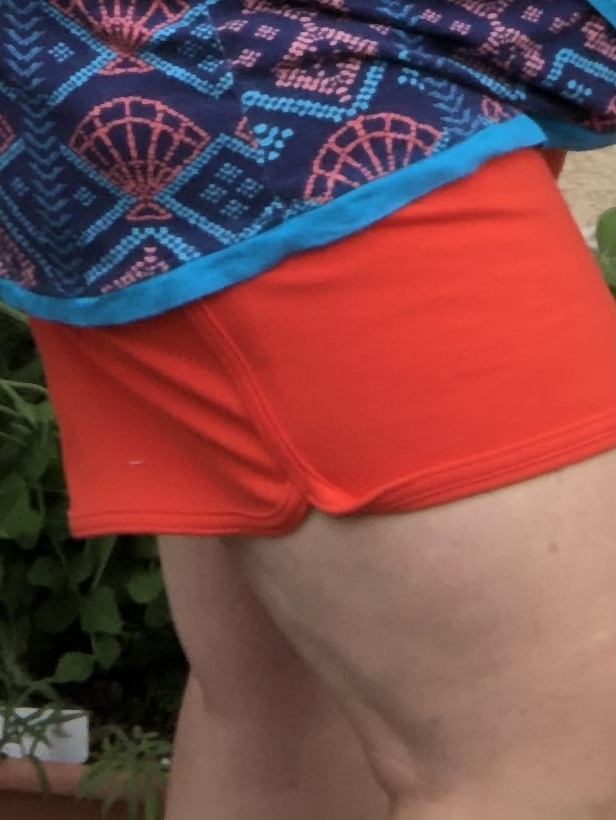
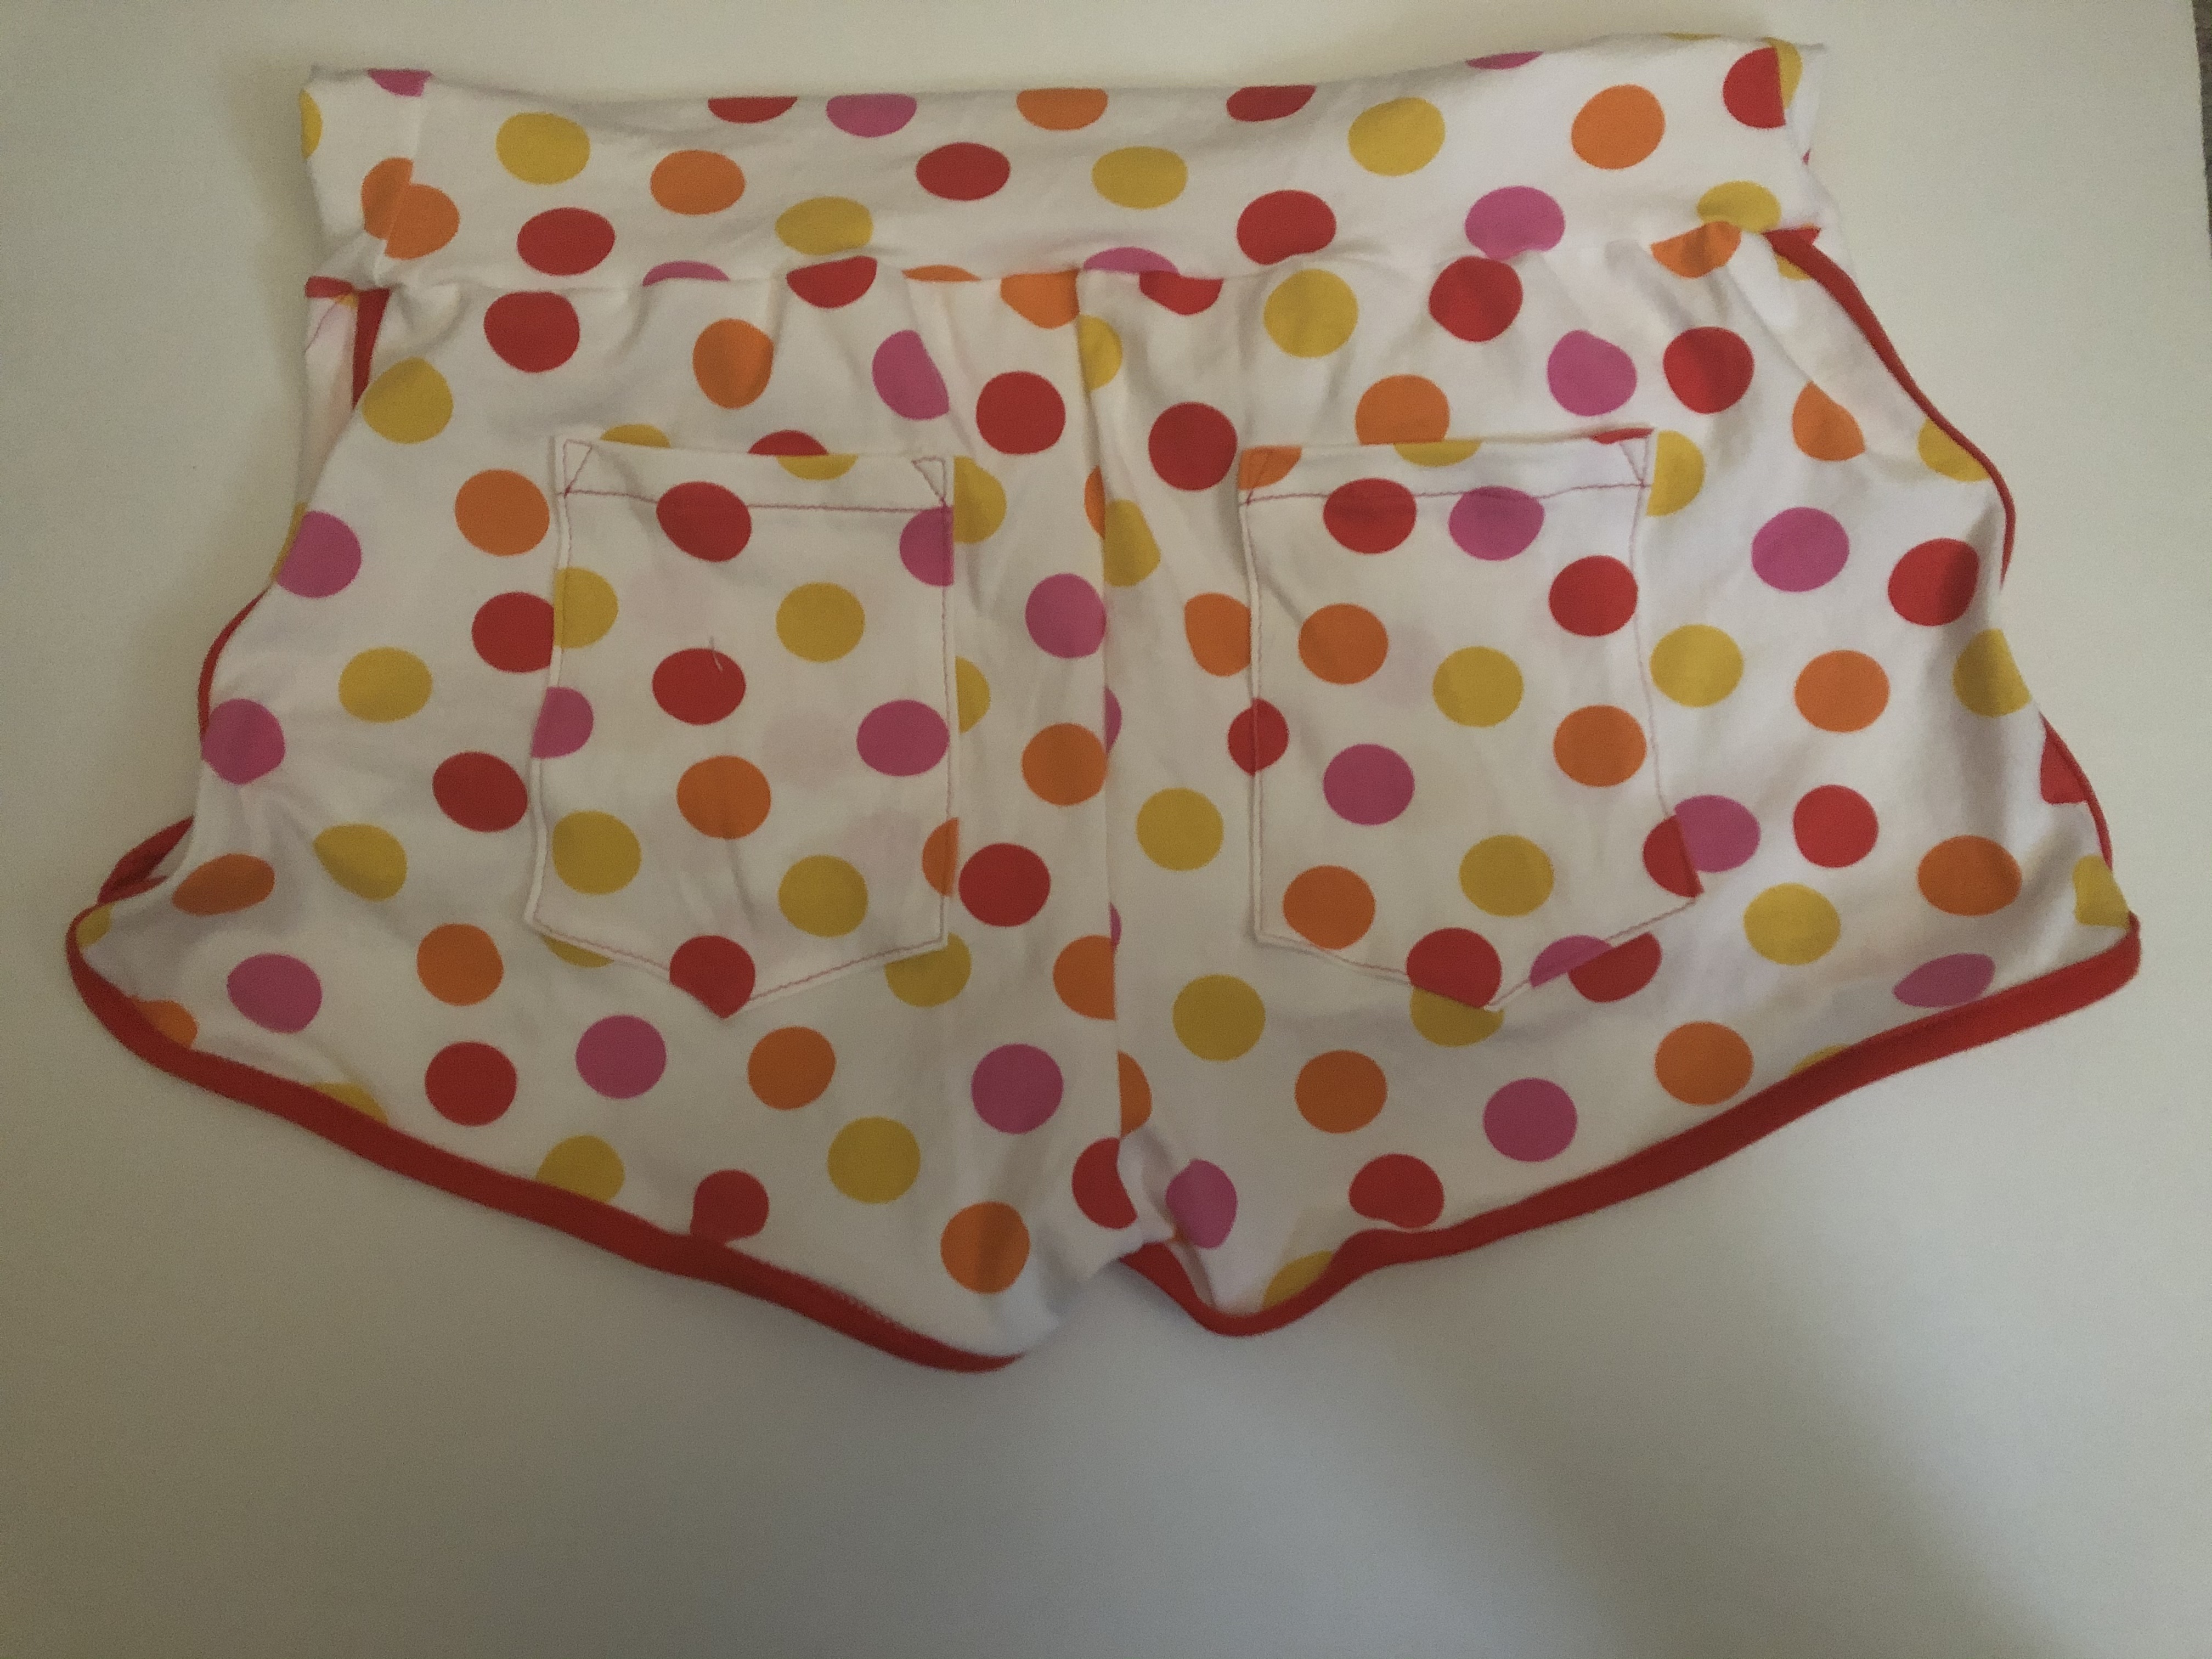
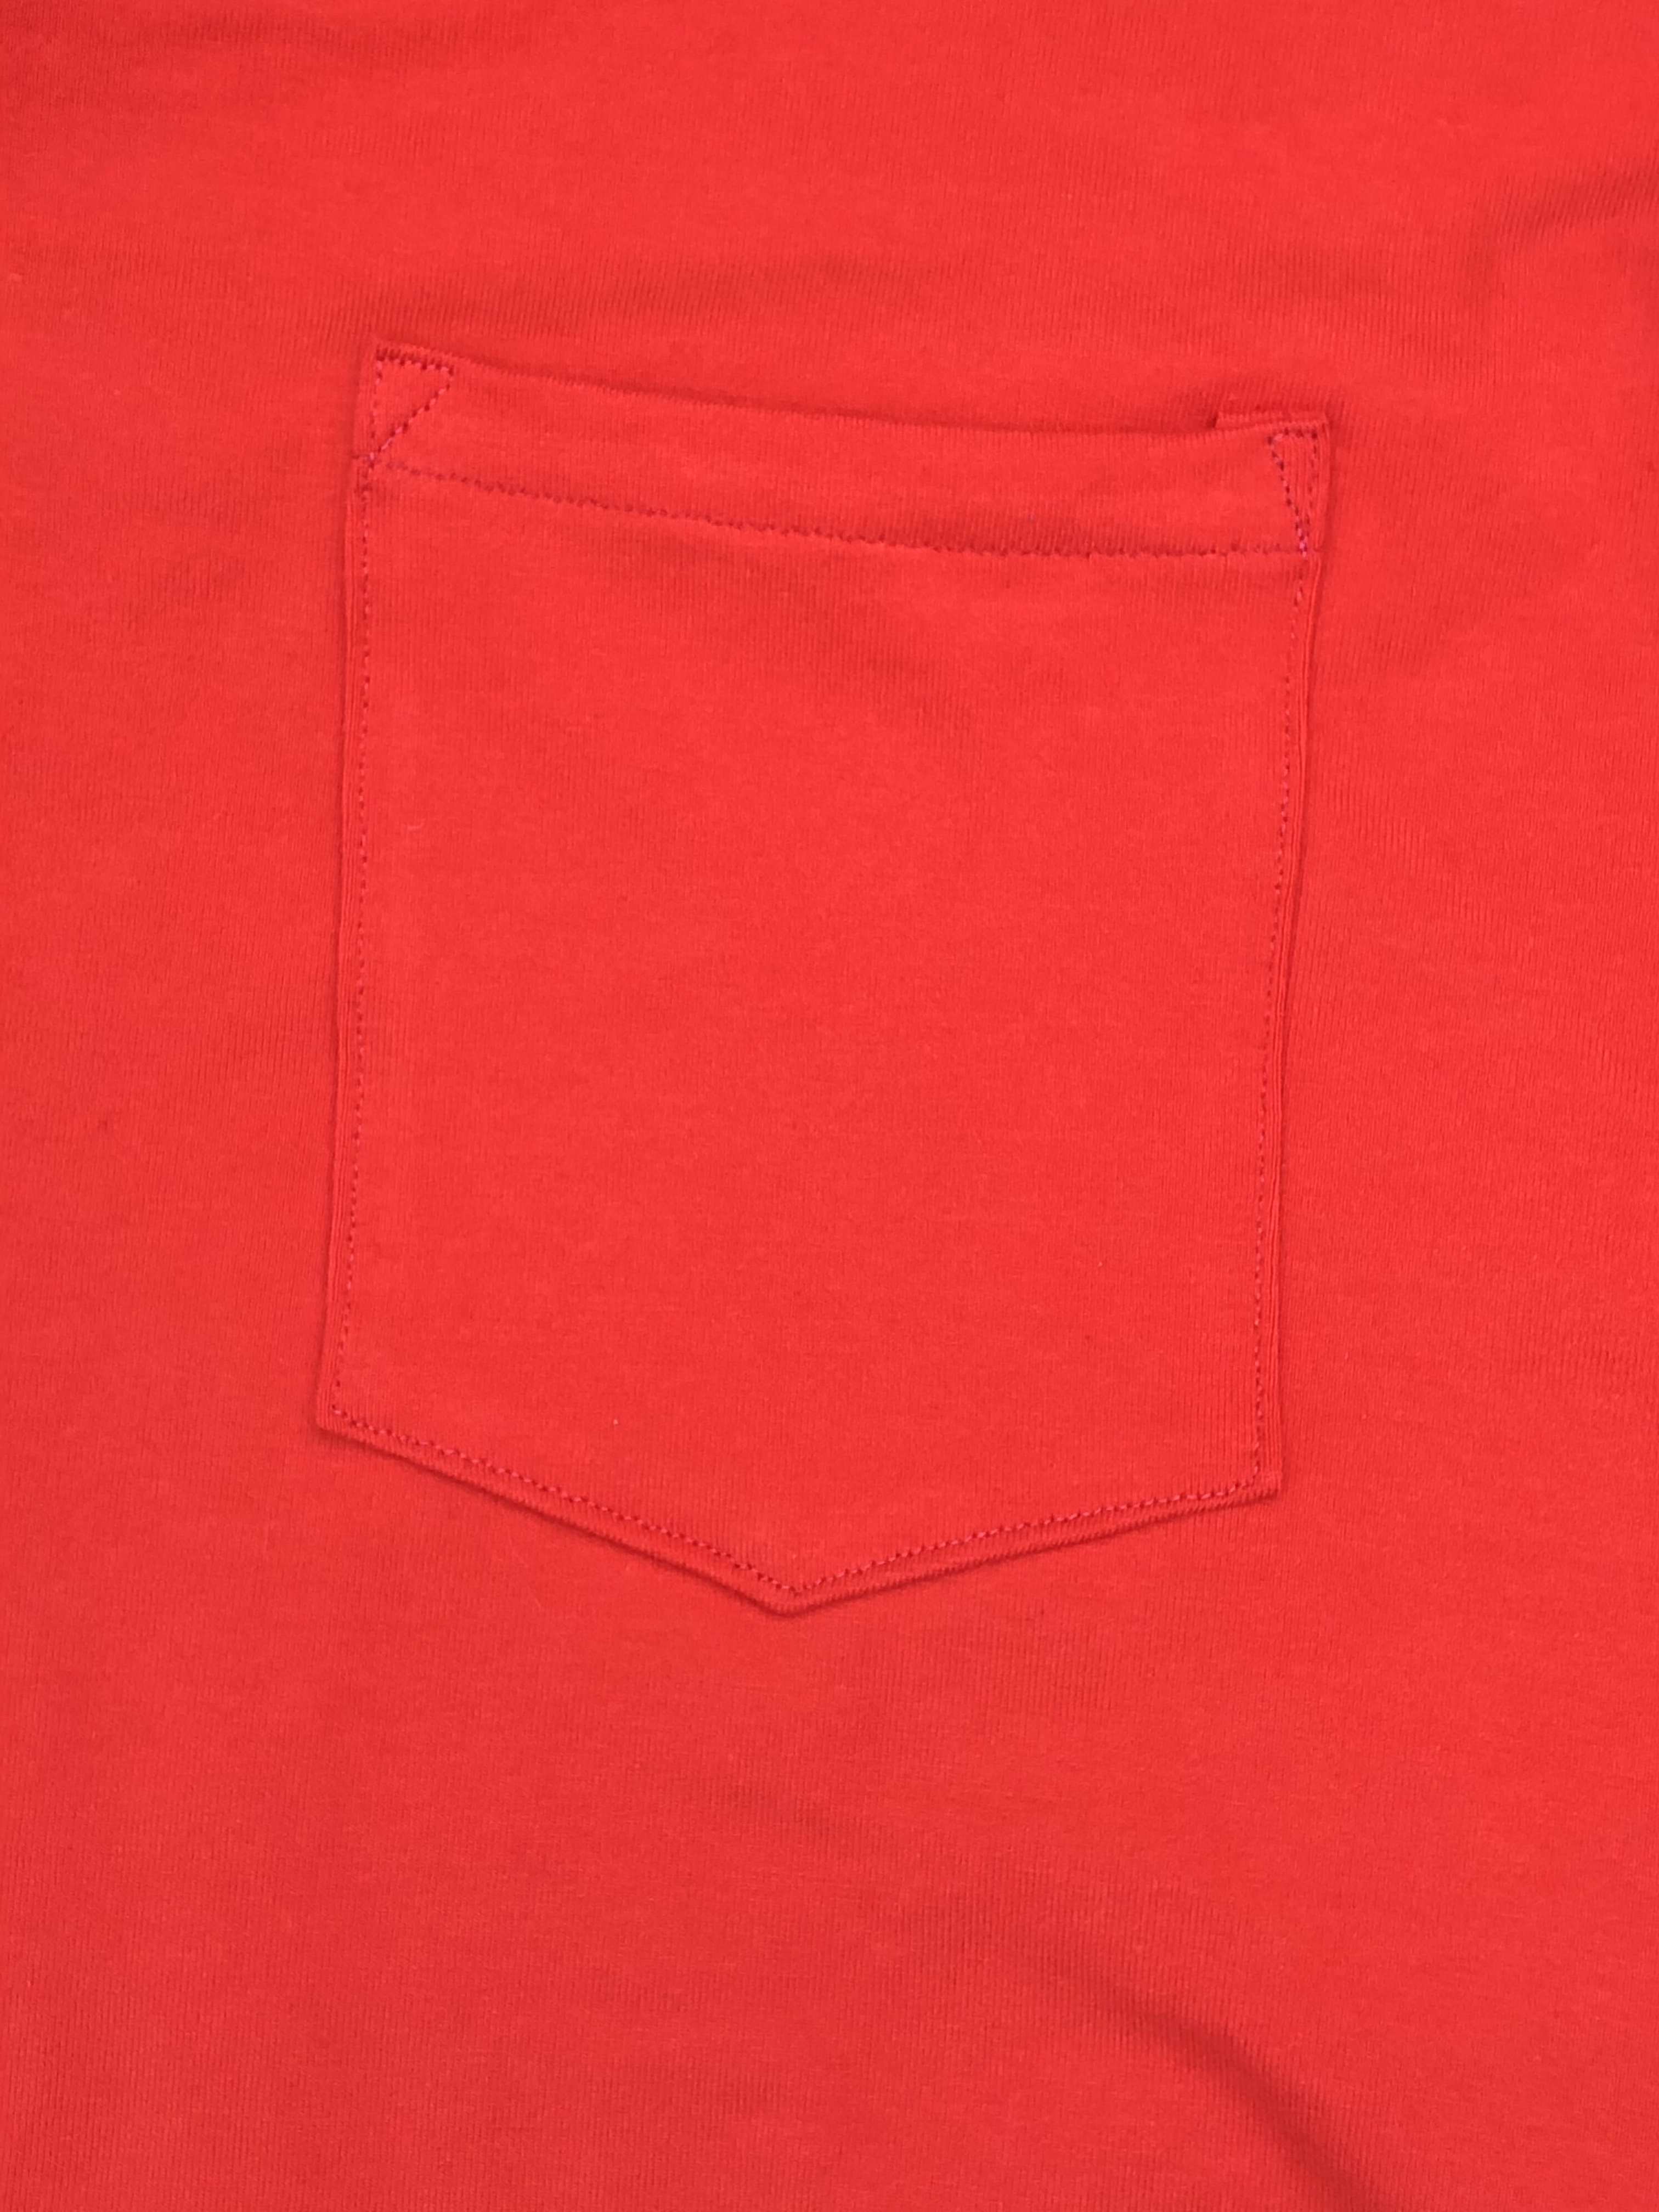
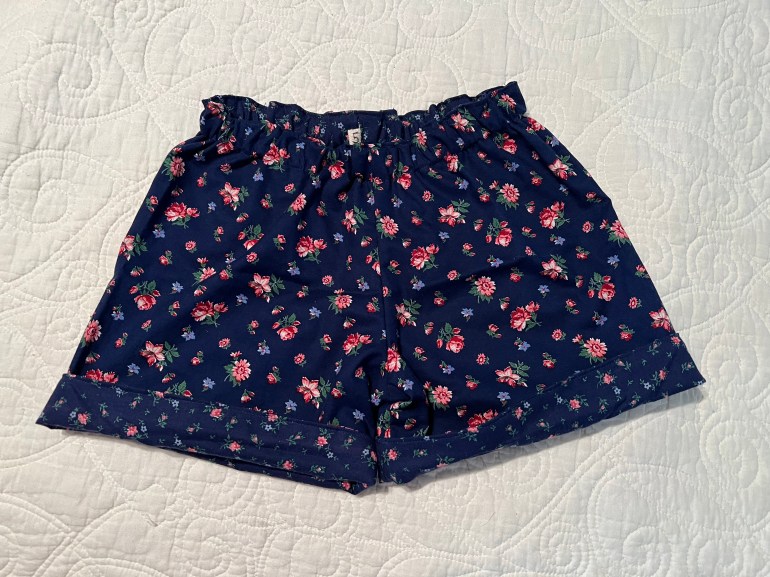
About pattern choice: Simple is better. For your first pair, skip the pockets. On this pair of size 5 shorts, I eliminated the side seam by overlapping the pattern at that point by the amount of the seam allowance. I used the free kids woven PJ pants pattern from 5 out of 4. The adult pattern is here. I have not tried it “reversible” yet, but love the regular version.

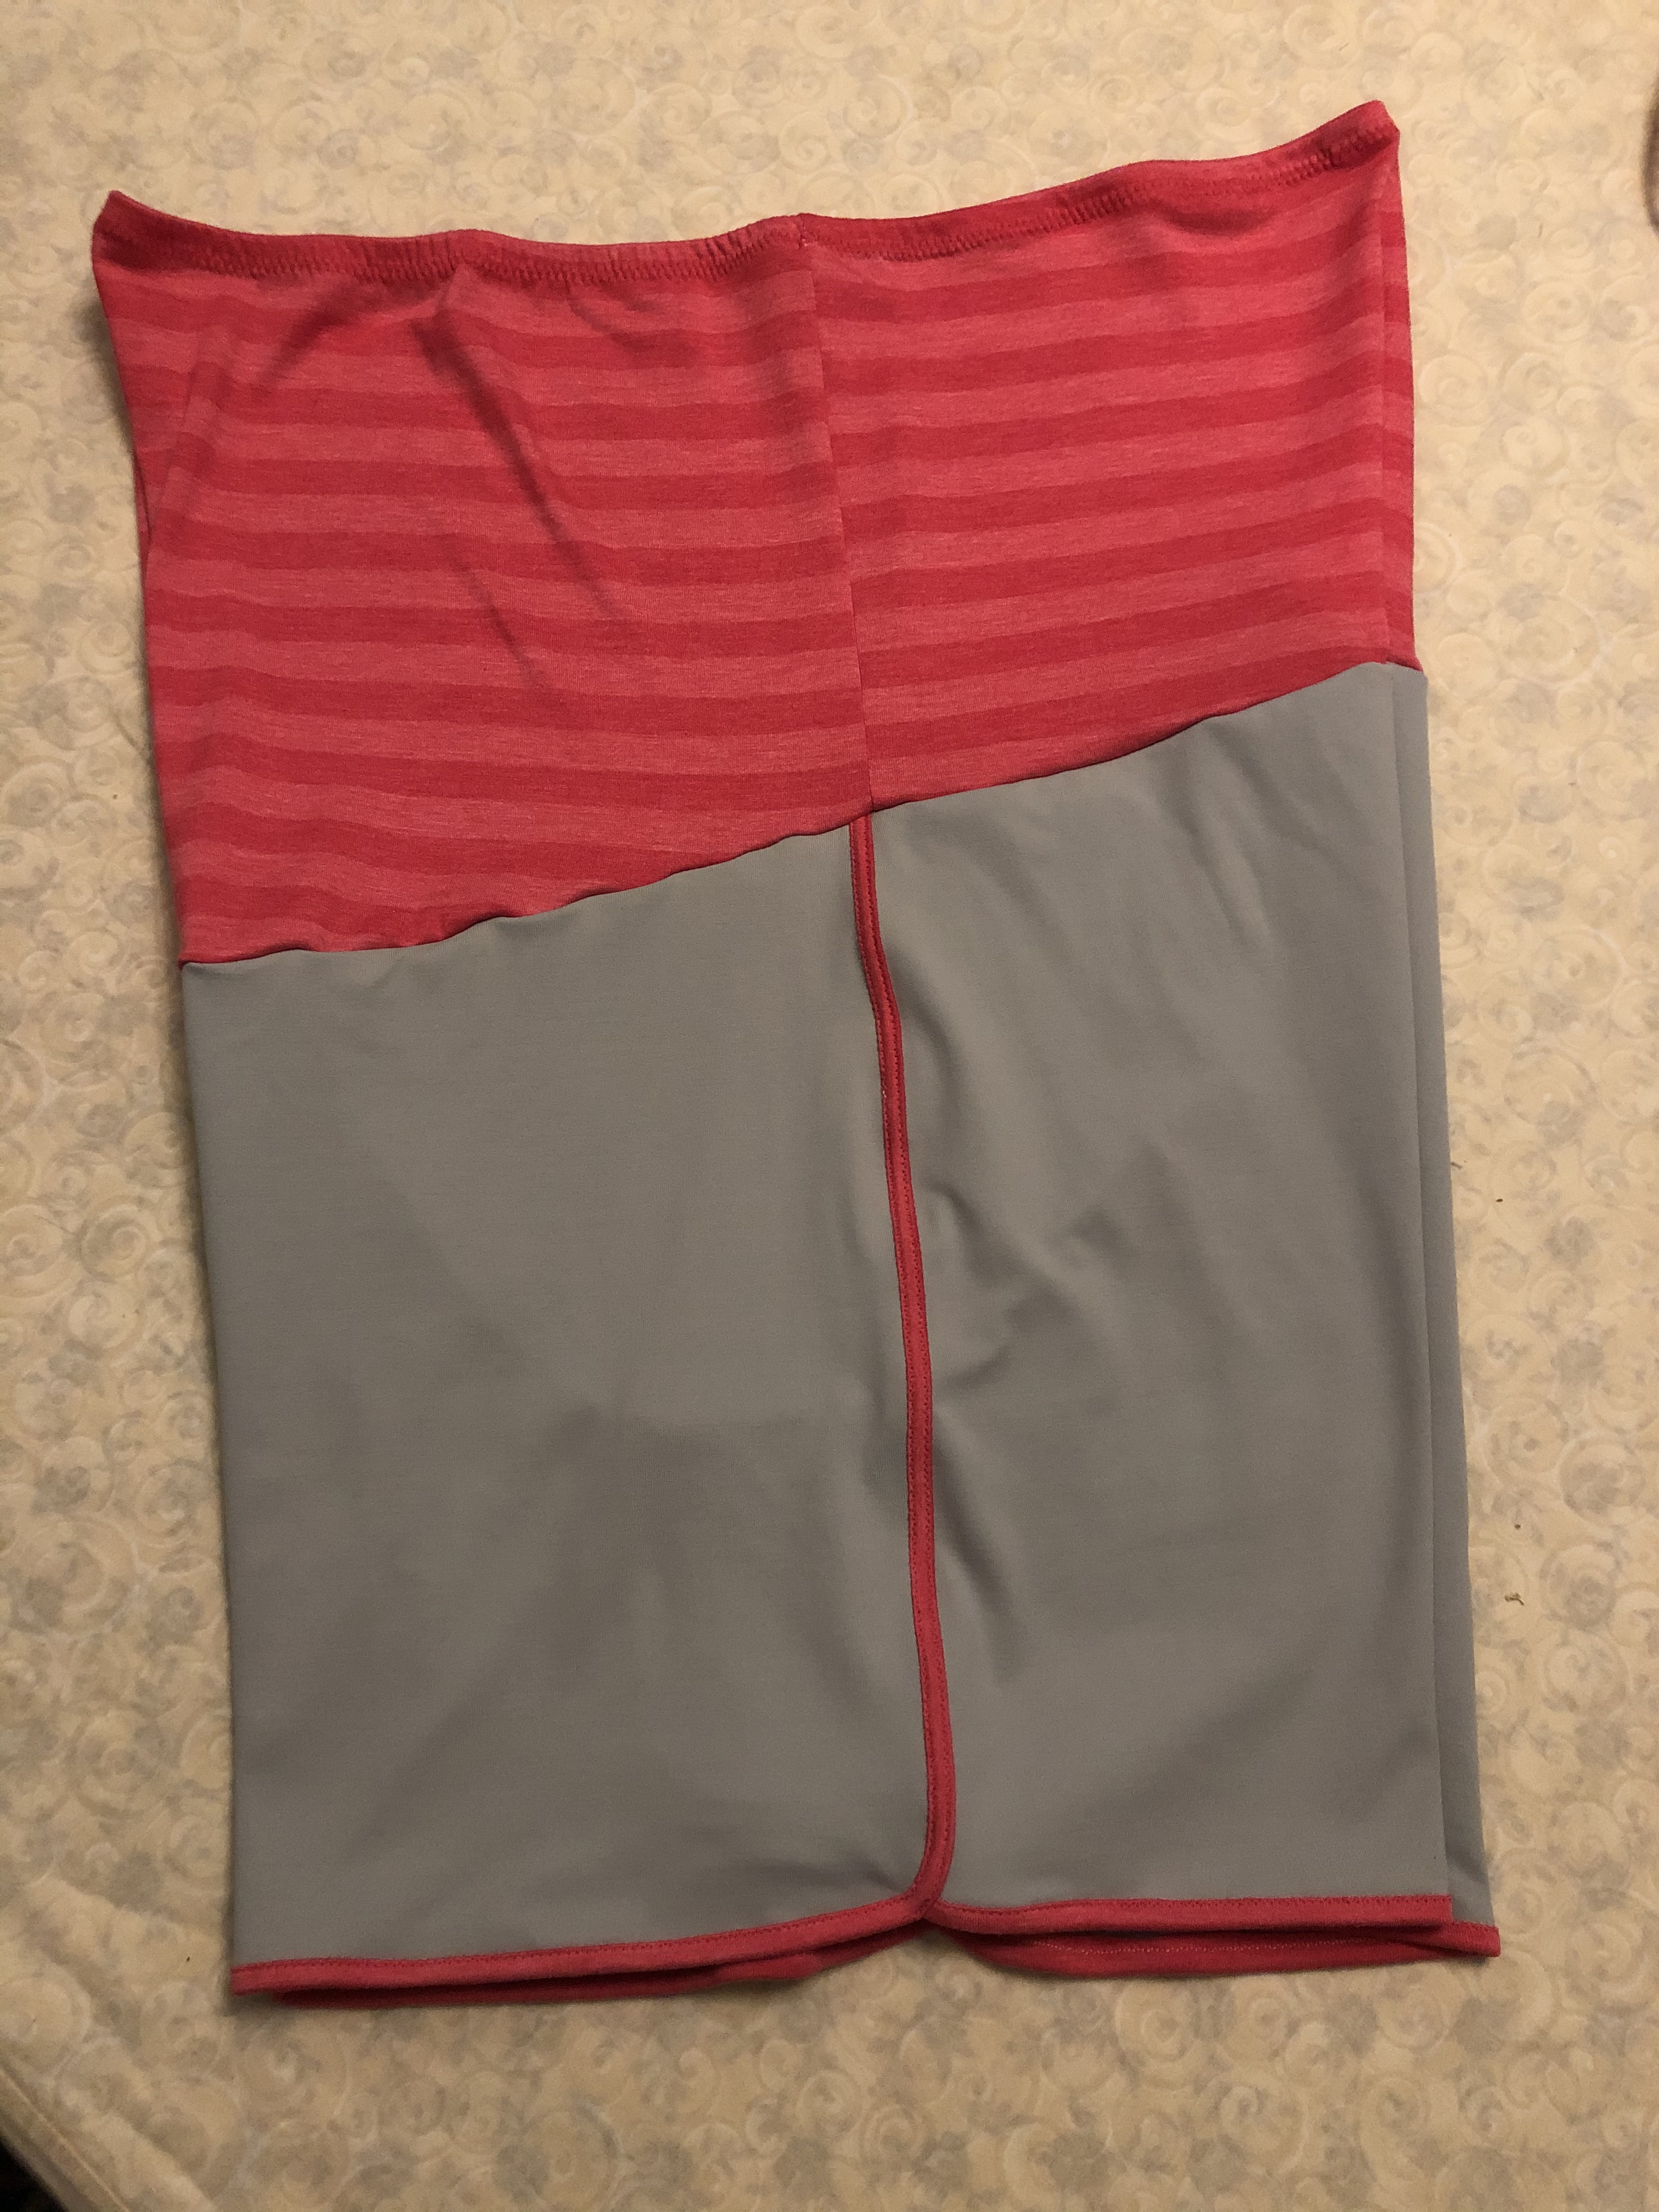
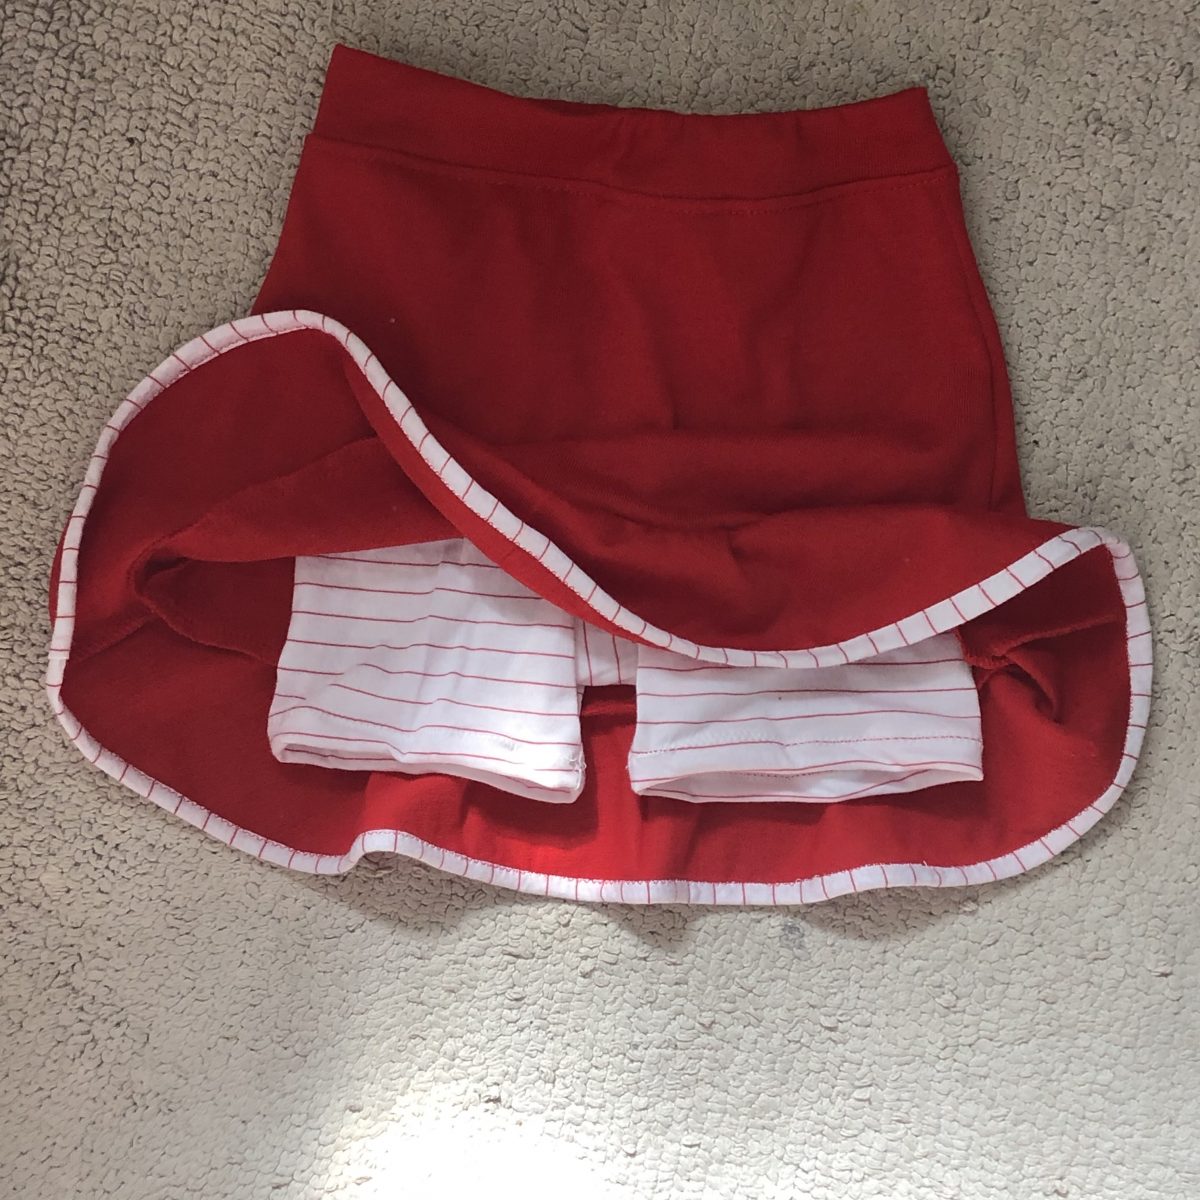
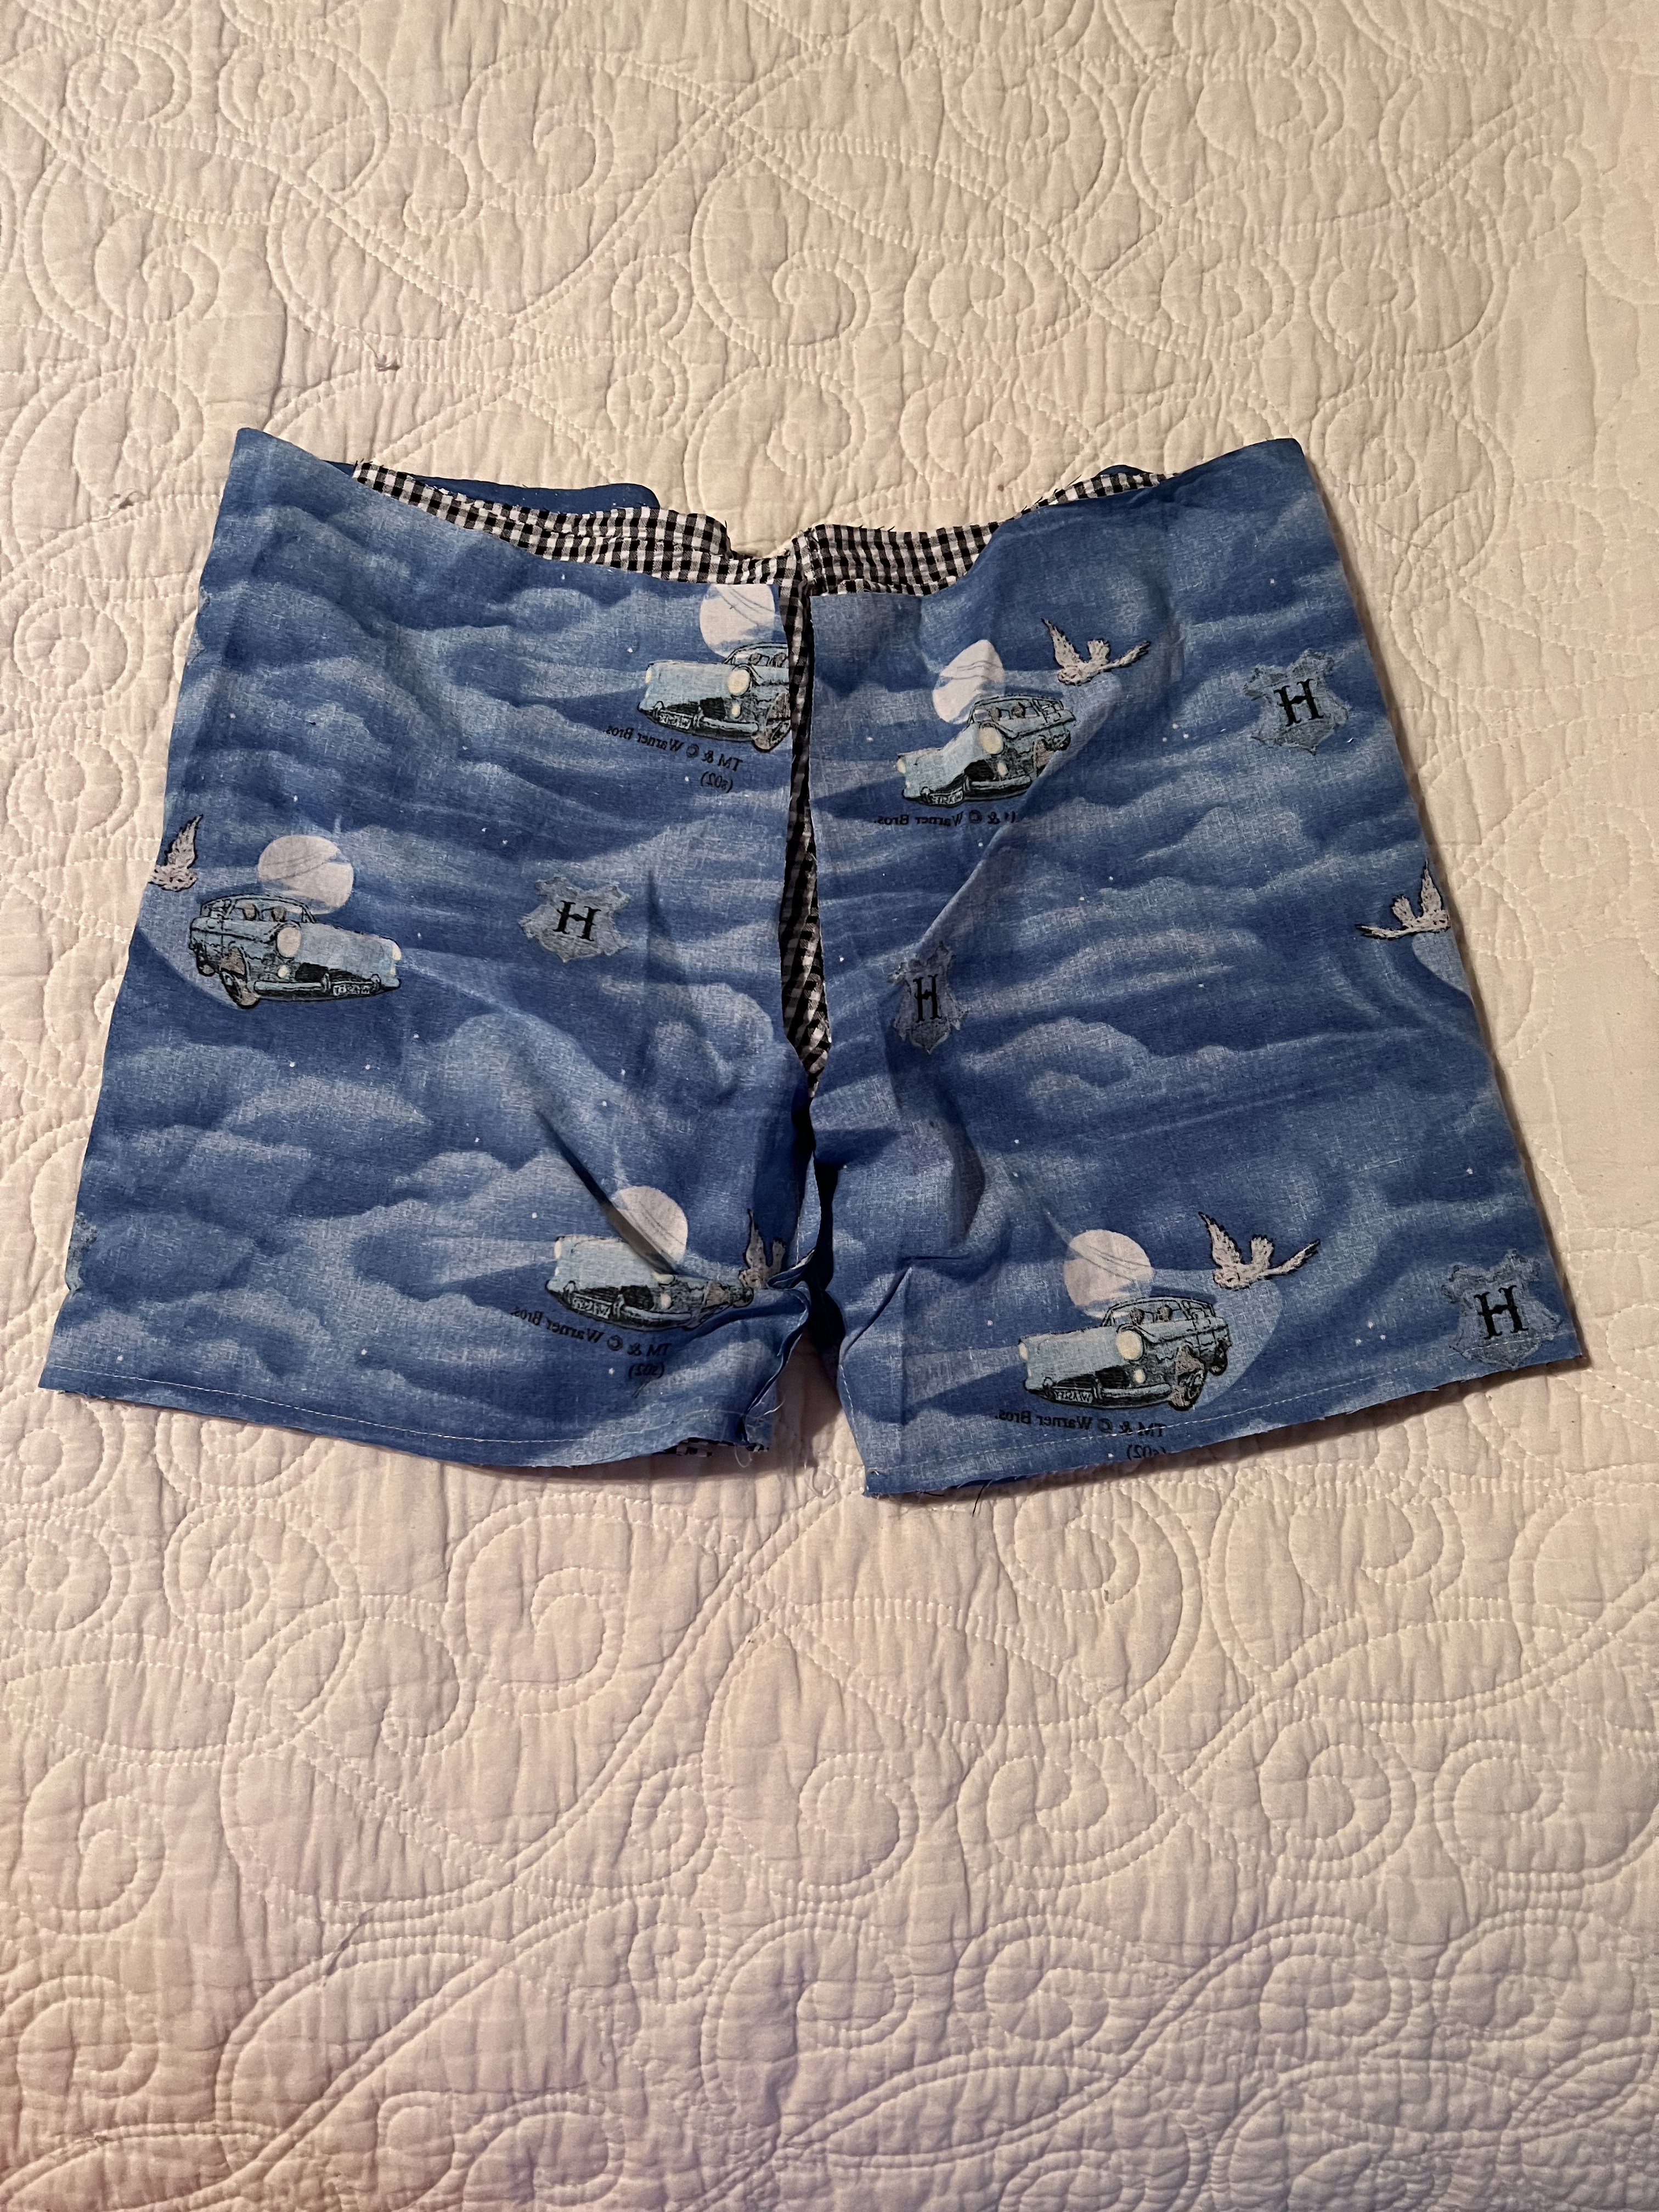
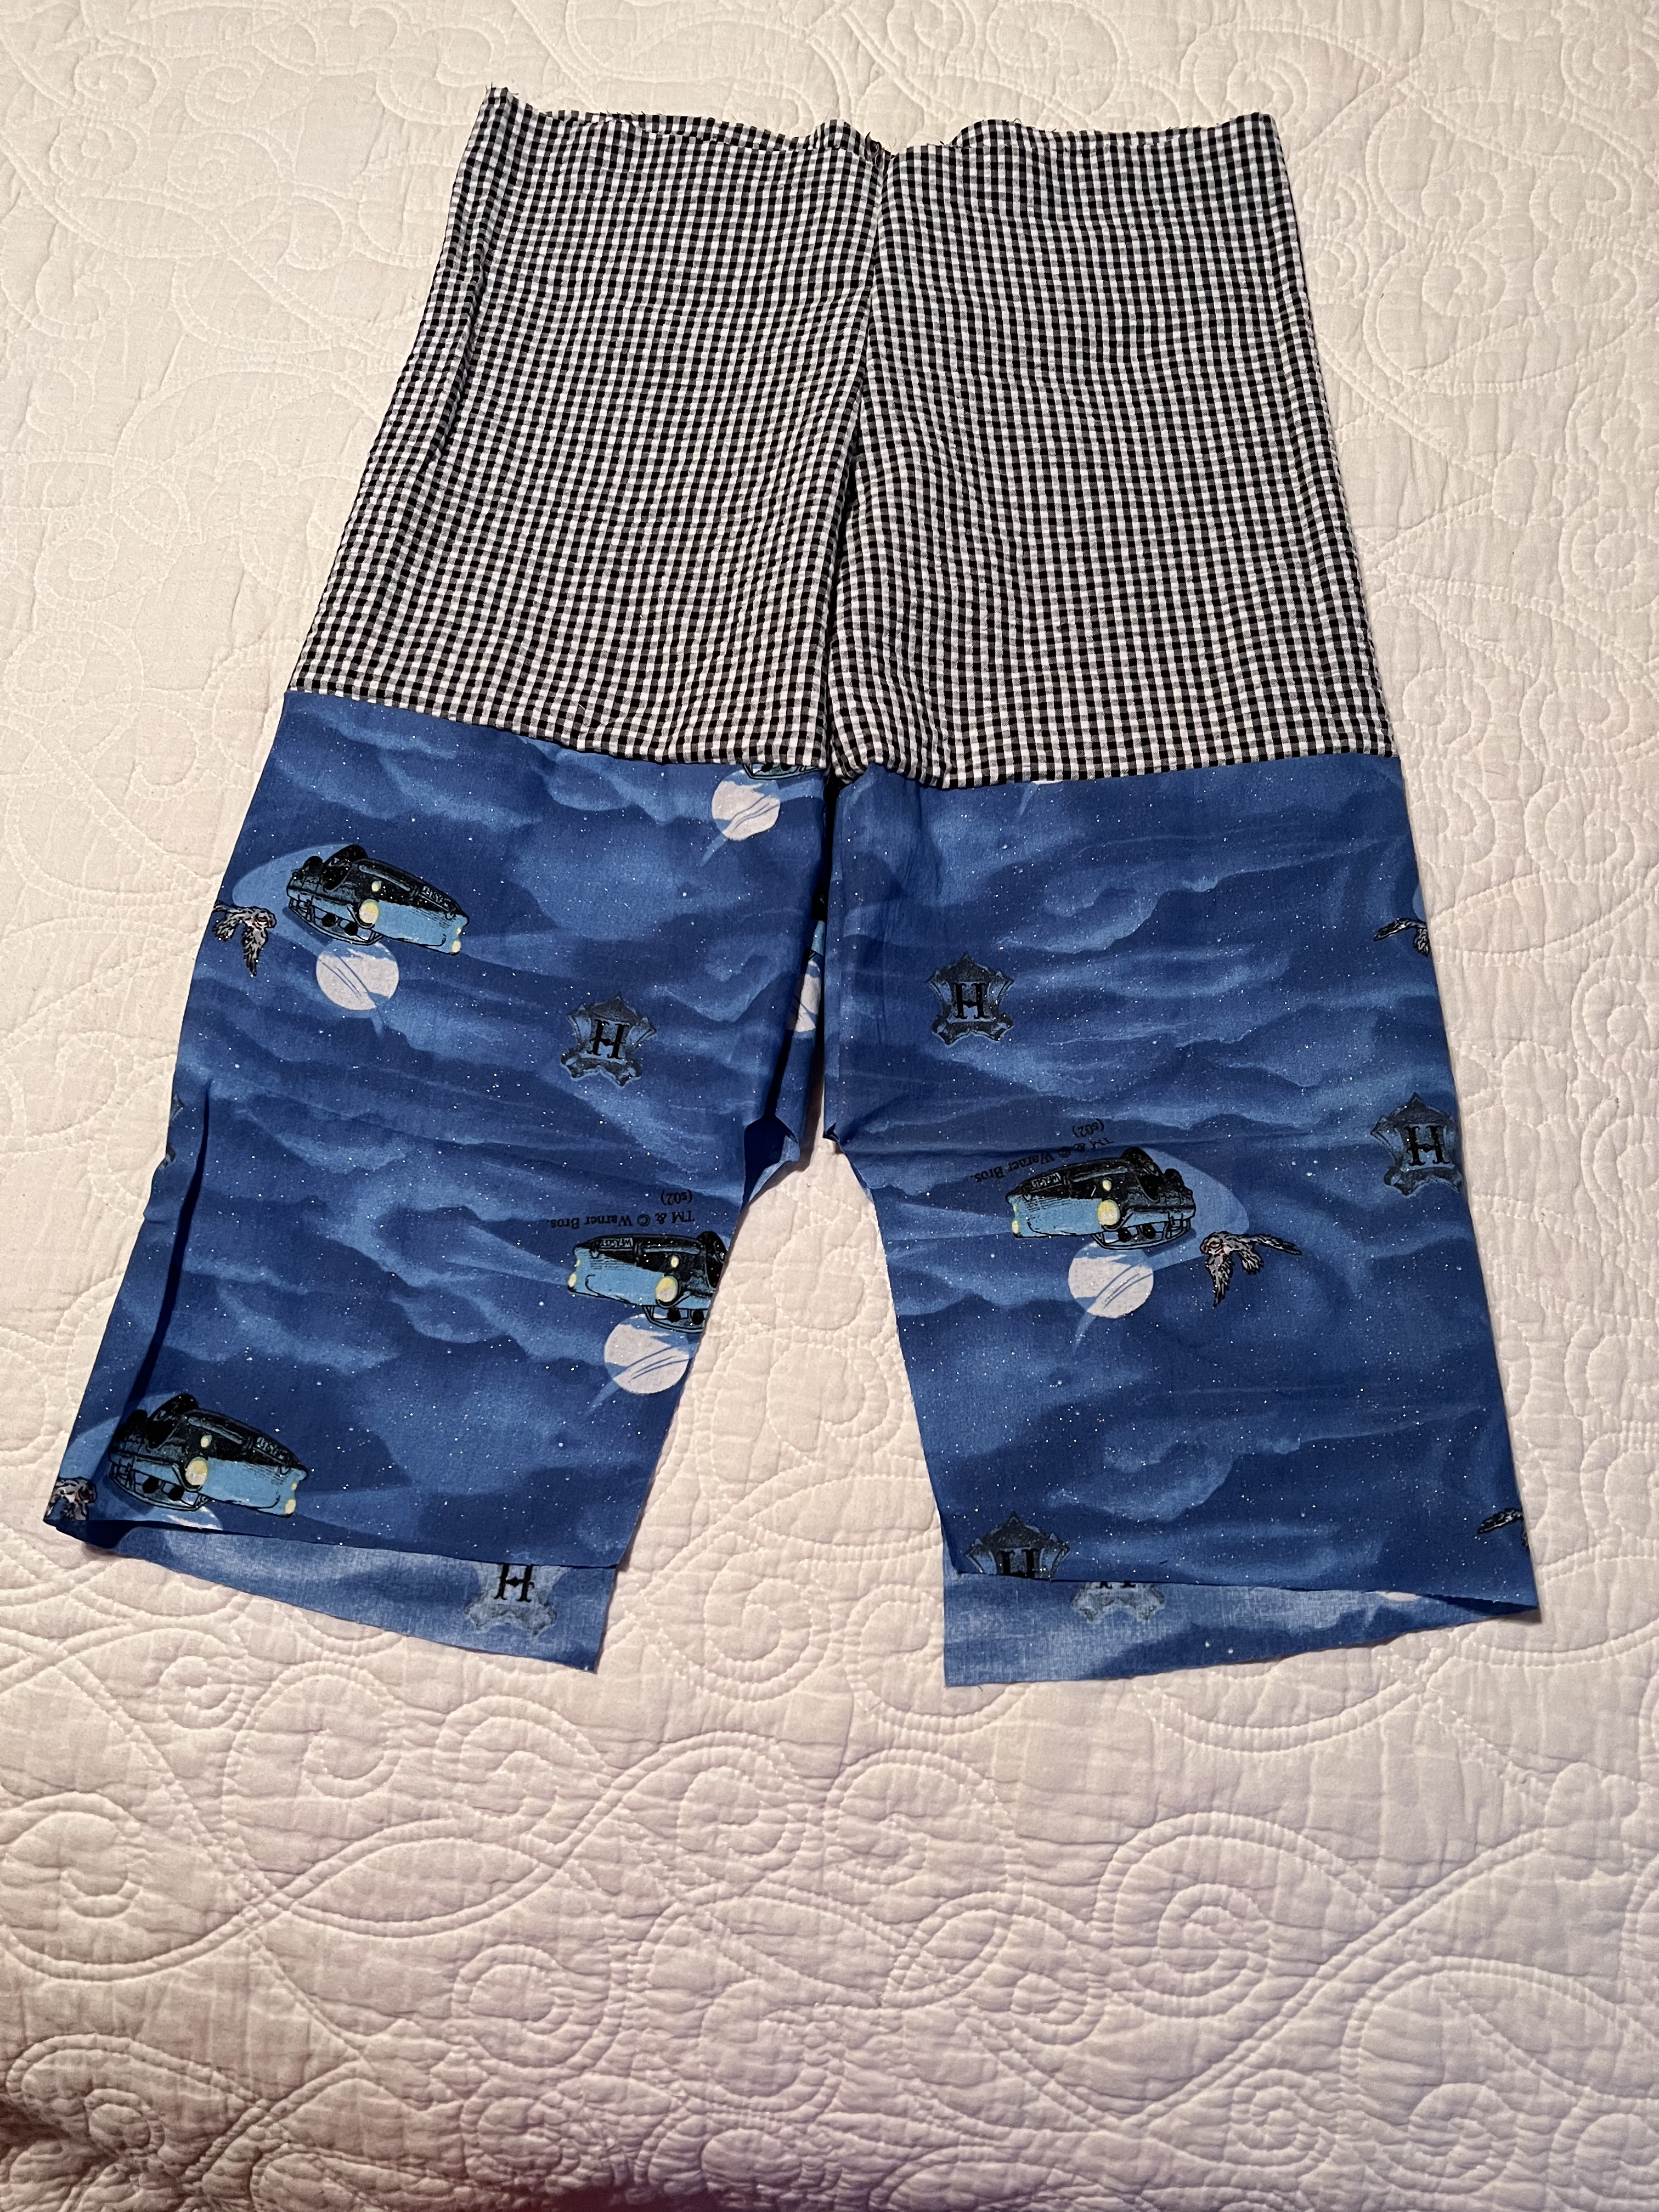
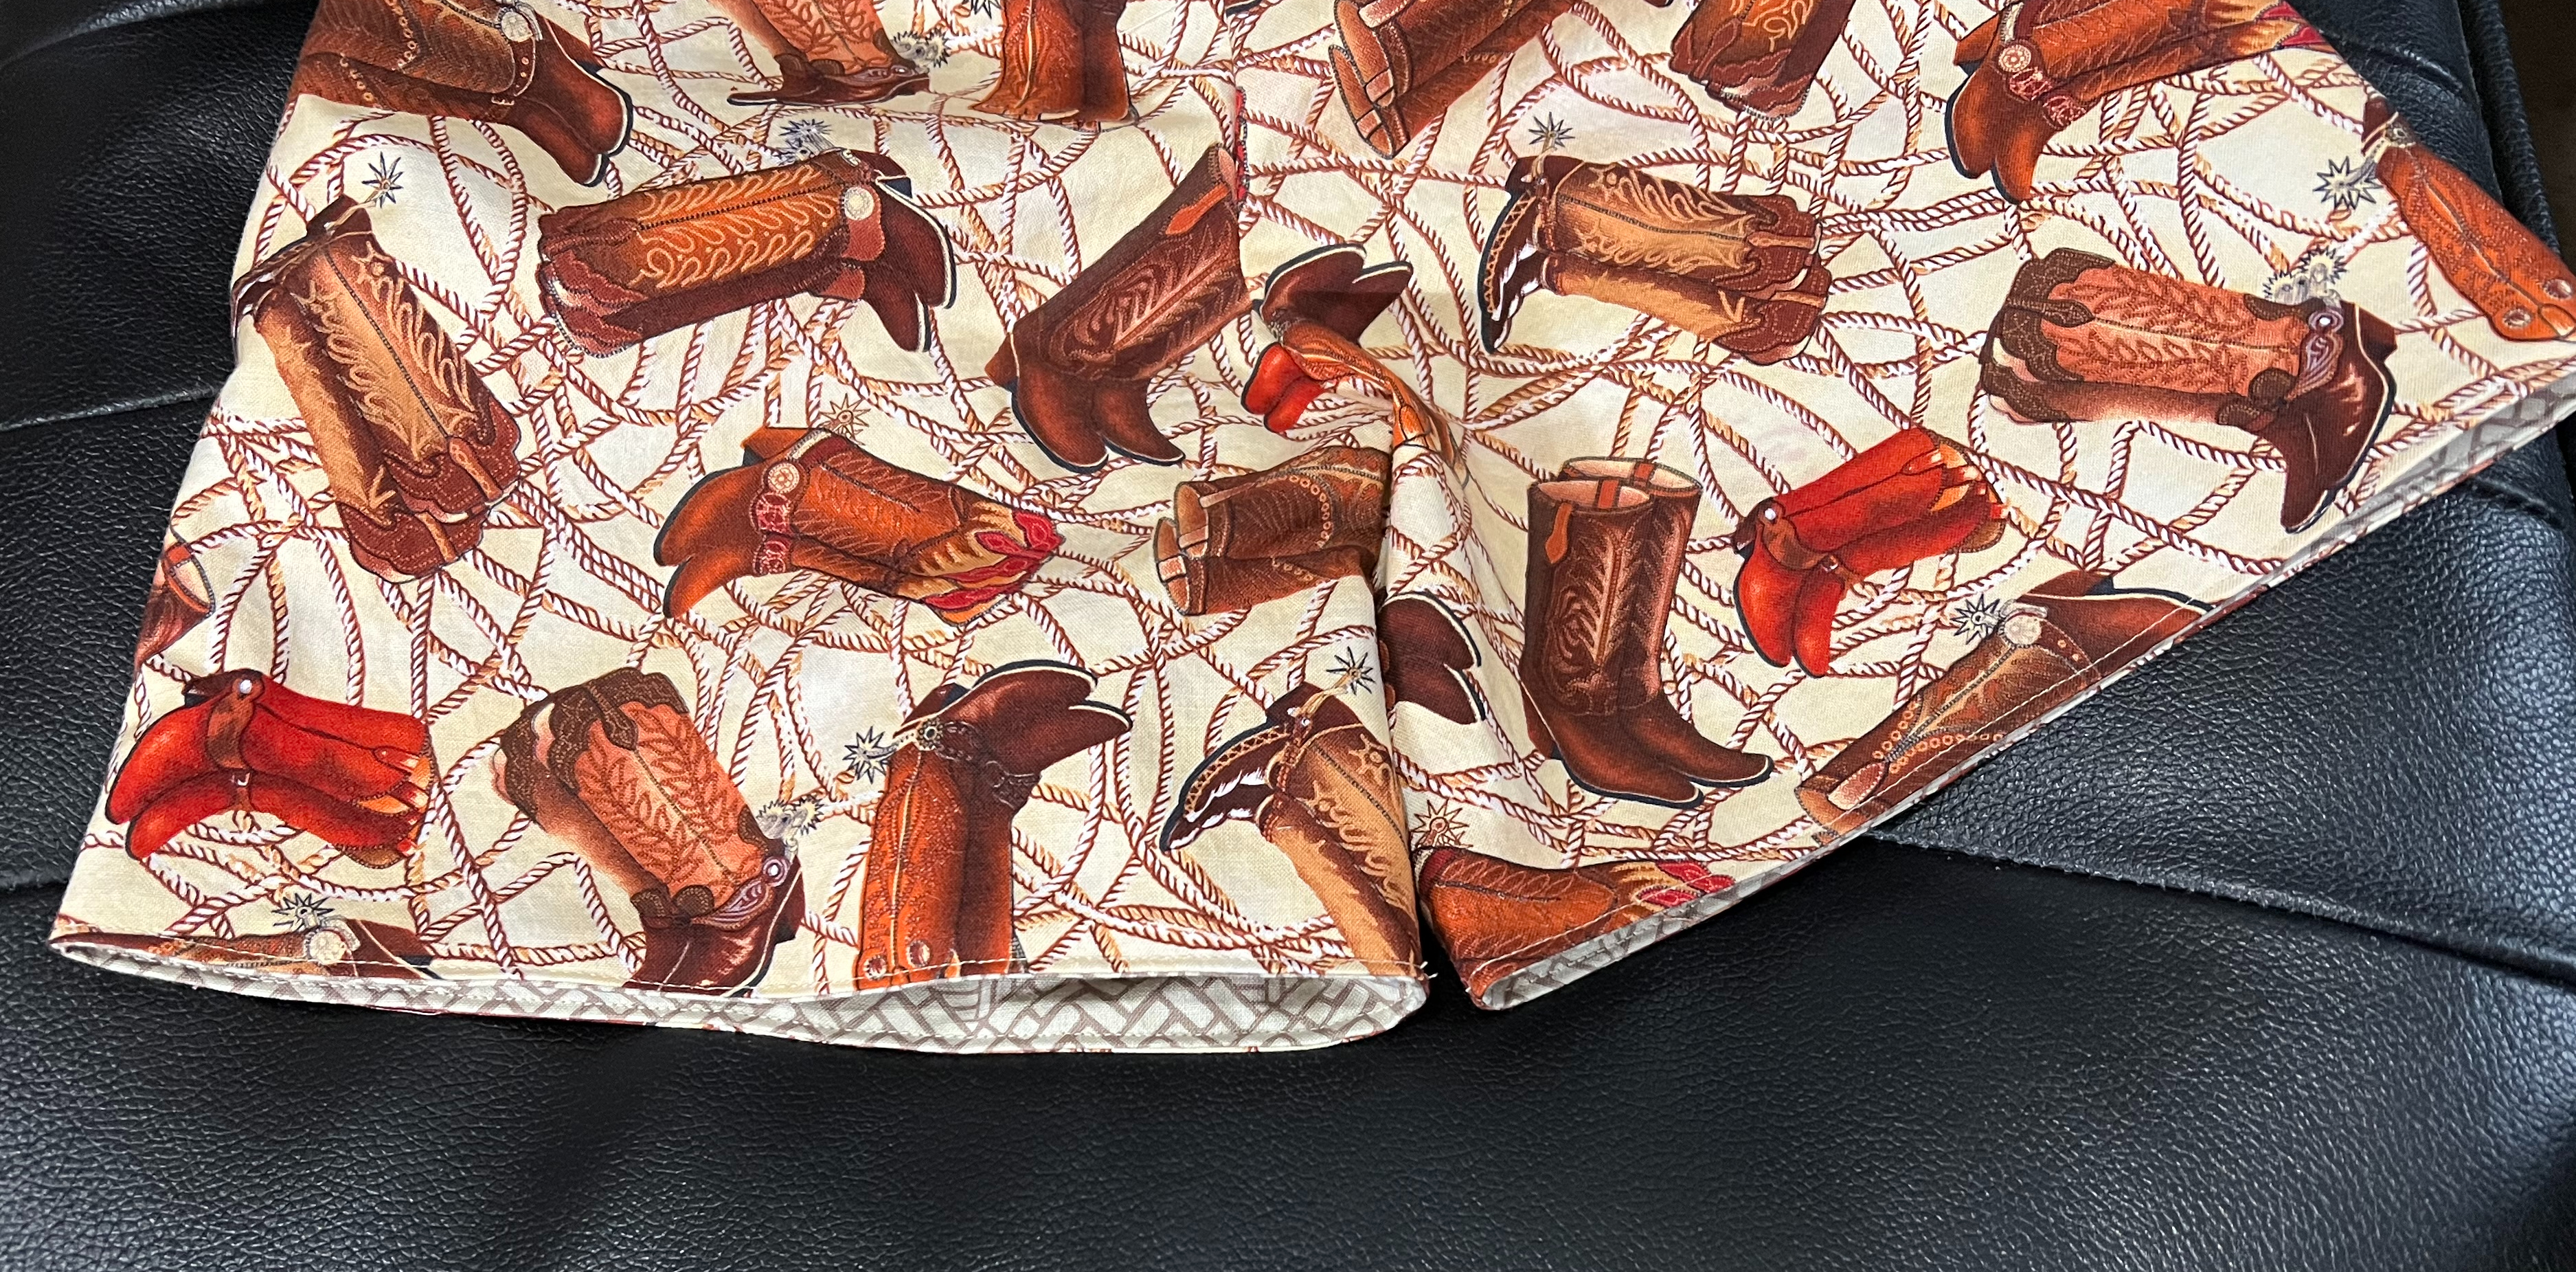
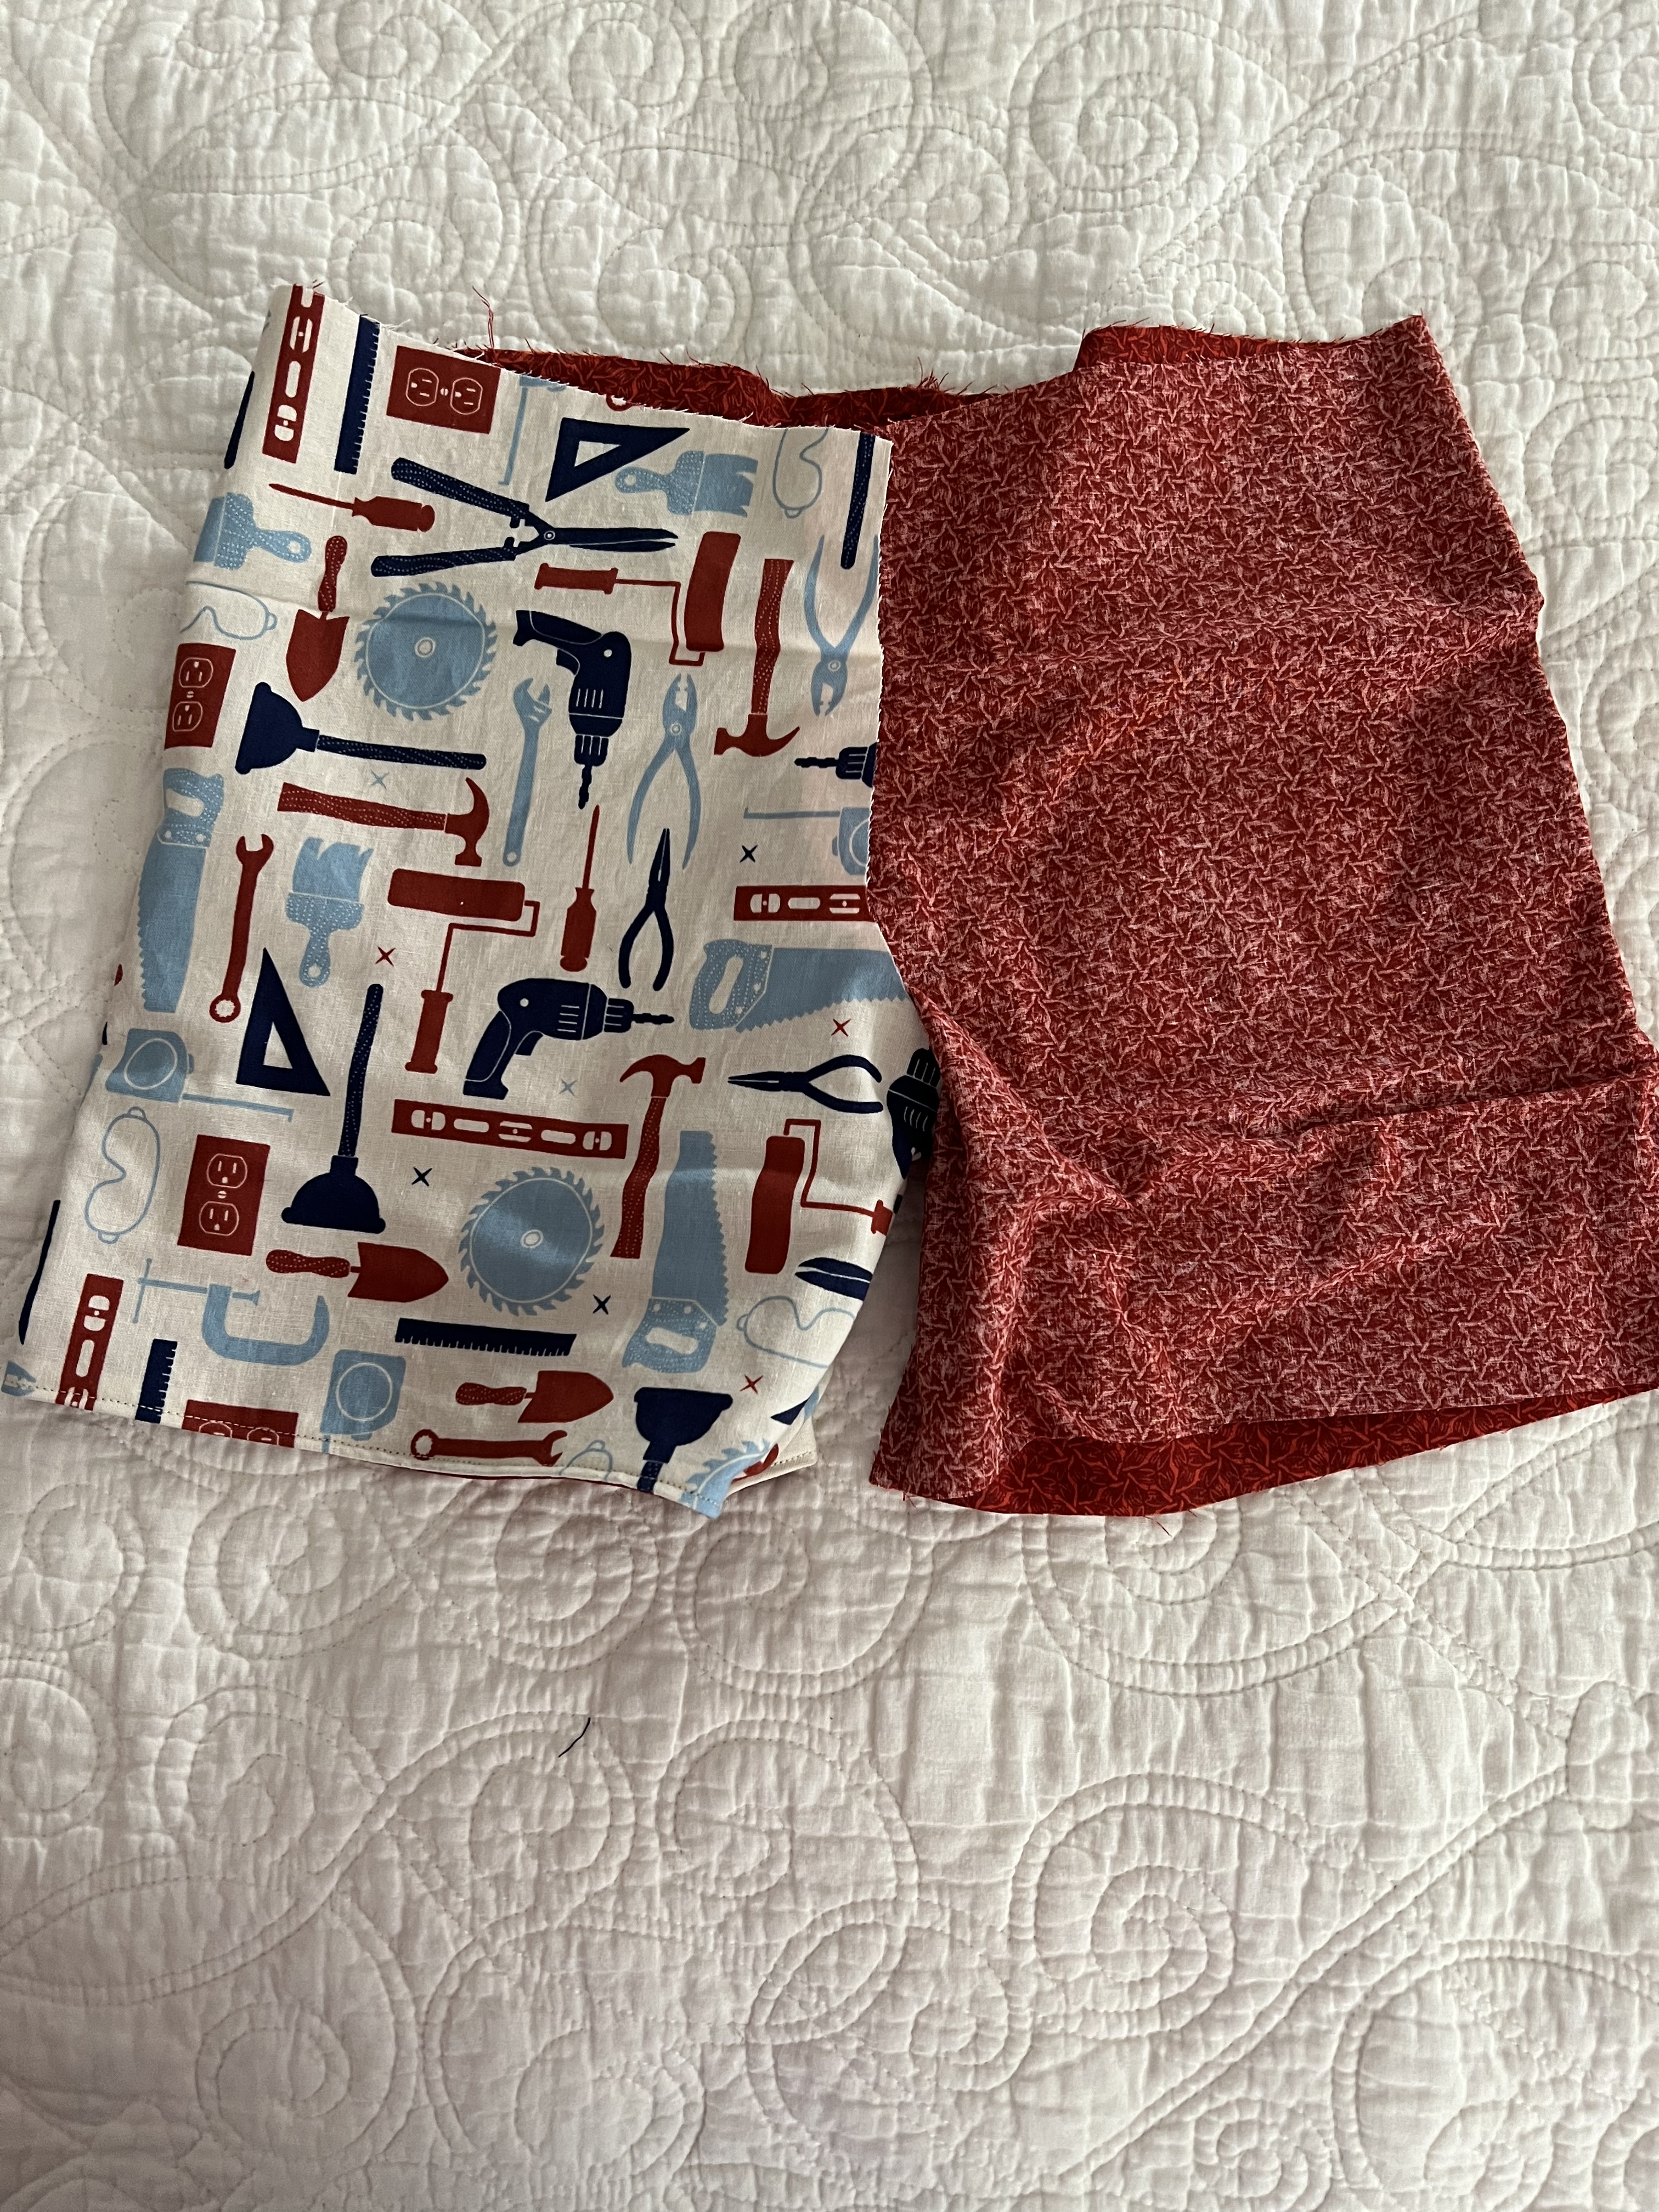
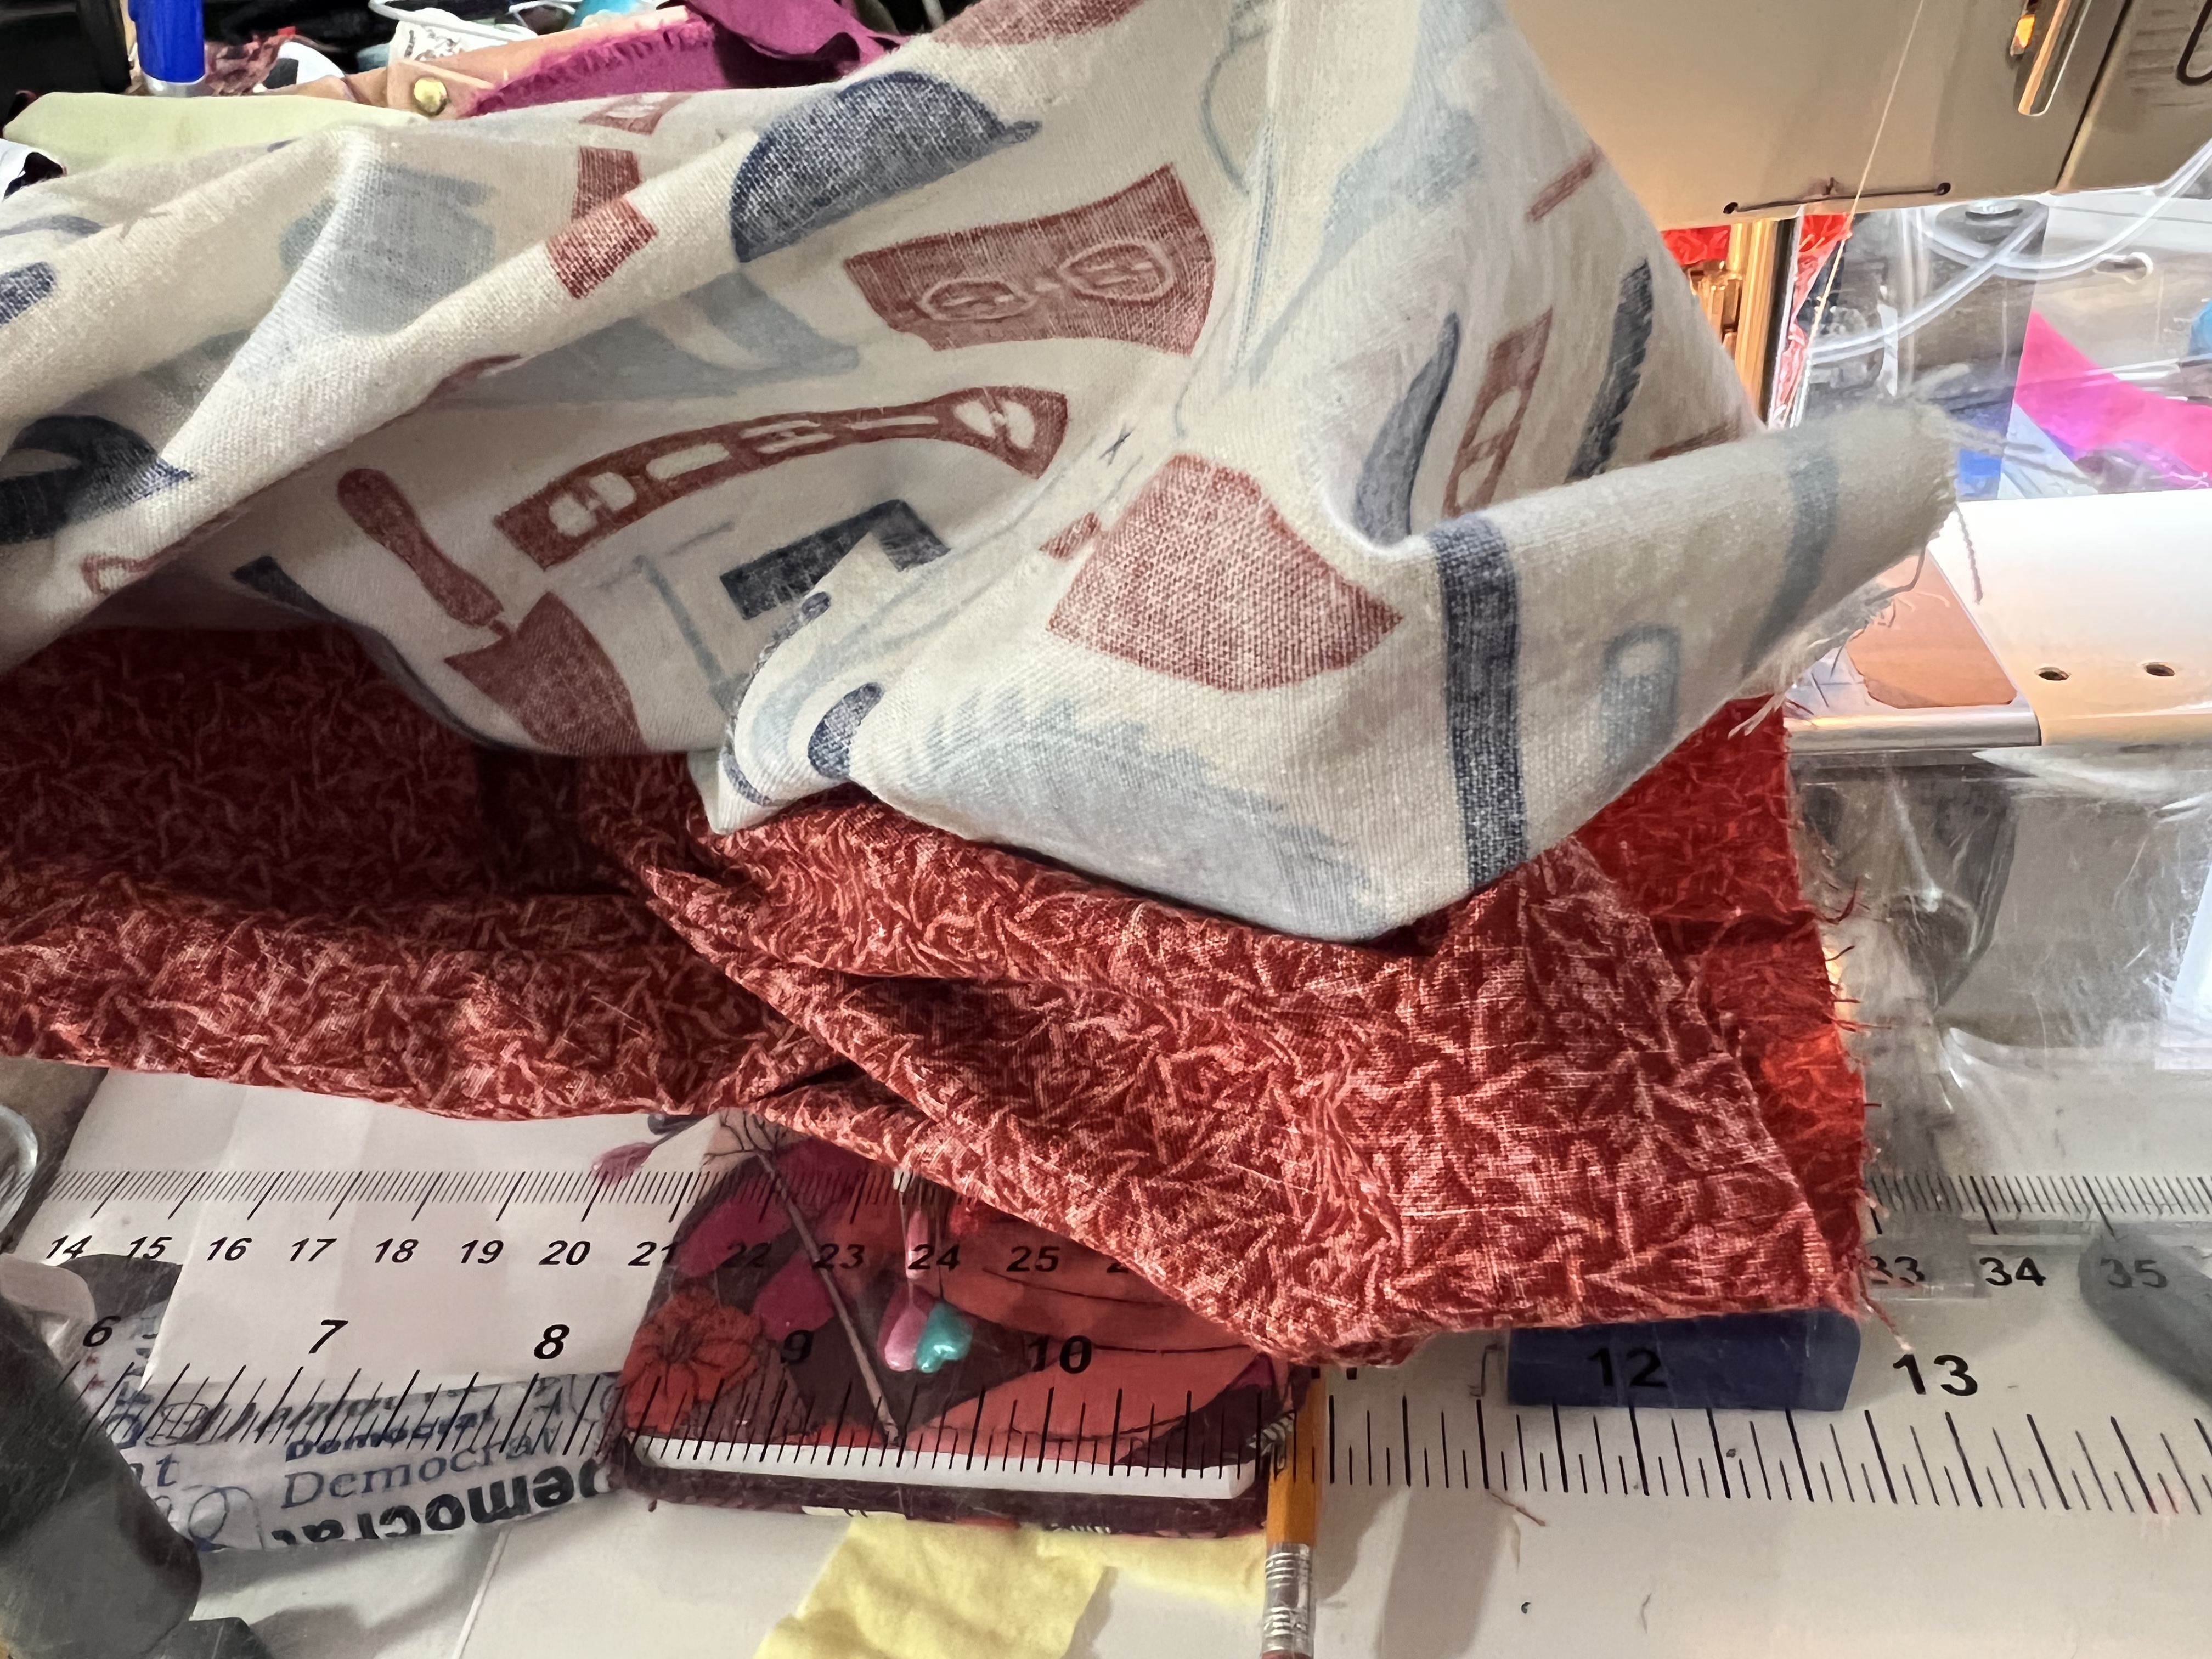
Fabric Choice: Choose two similar weight fabrics that are fairly light weight, opaque, and work well together if the inside shows a bit. If you use a fabric that is the same on both sides, take extra care to make one left and one right leg. It would be really easy to end up with two left legs with a solid or yarn dyed fabric. A print that is clear on one side will make it simple for your first pair. Fold each fabric right sides facing in, and stack them, so that you cut all four layers at one time. Having the pieces as close as the same as possible will give you a better end product.

Pattern alterations: No casing to fold over and sew means that we need to fold over the casing amount less a seam allowance all along the top of the pattern.

Construction:

1. Sew the inseams of all four legs first. Press one set to the front leg, and the other set to the back leg. That way these seams can nest both at the crotch curve and at the hem.

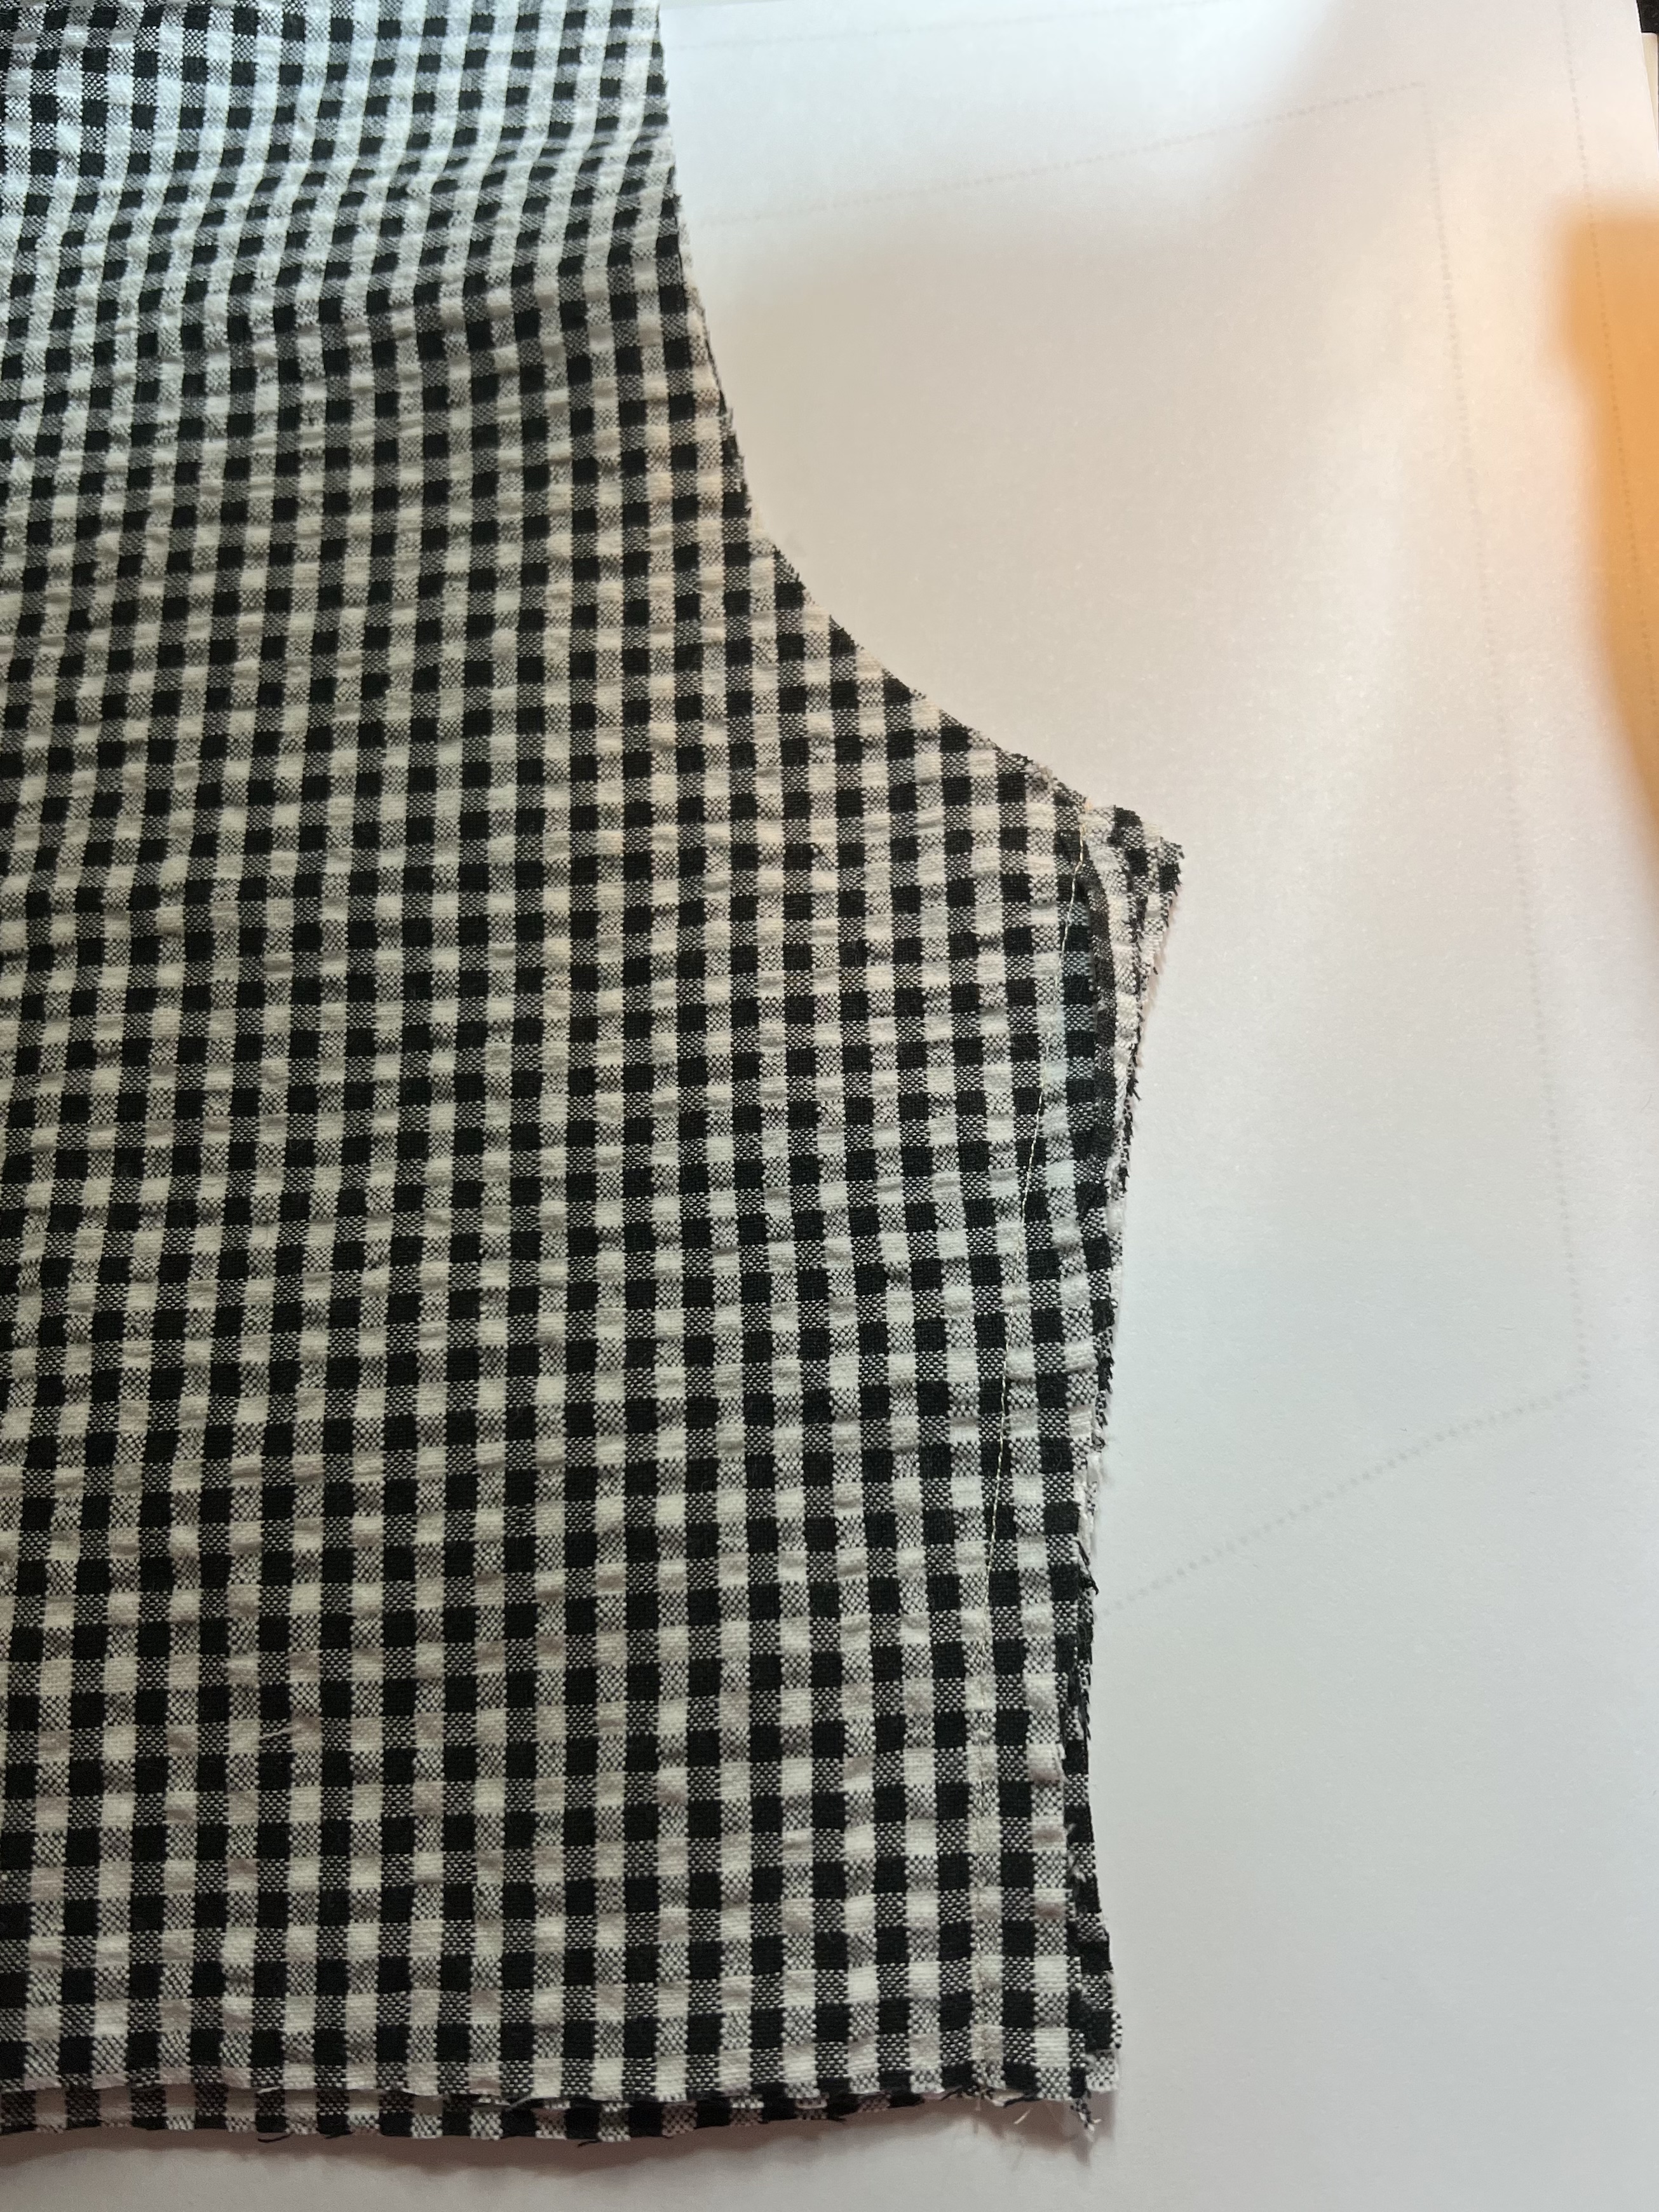
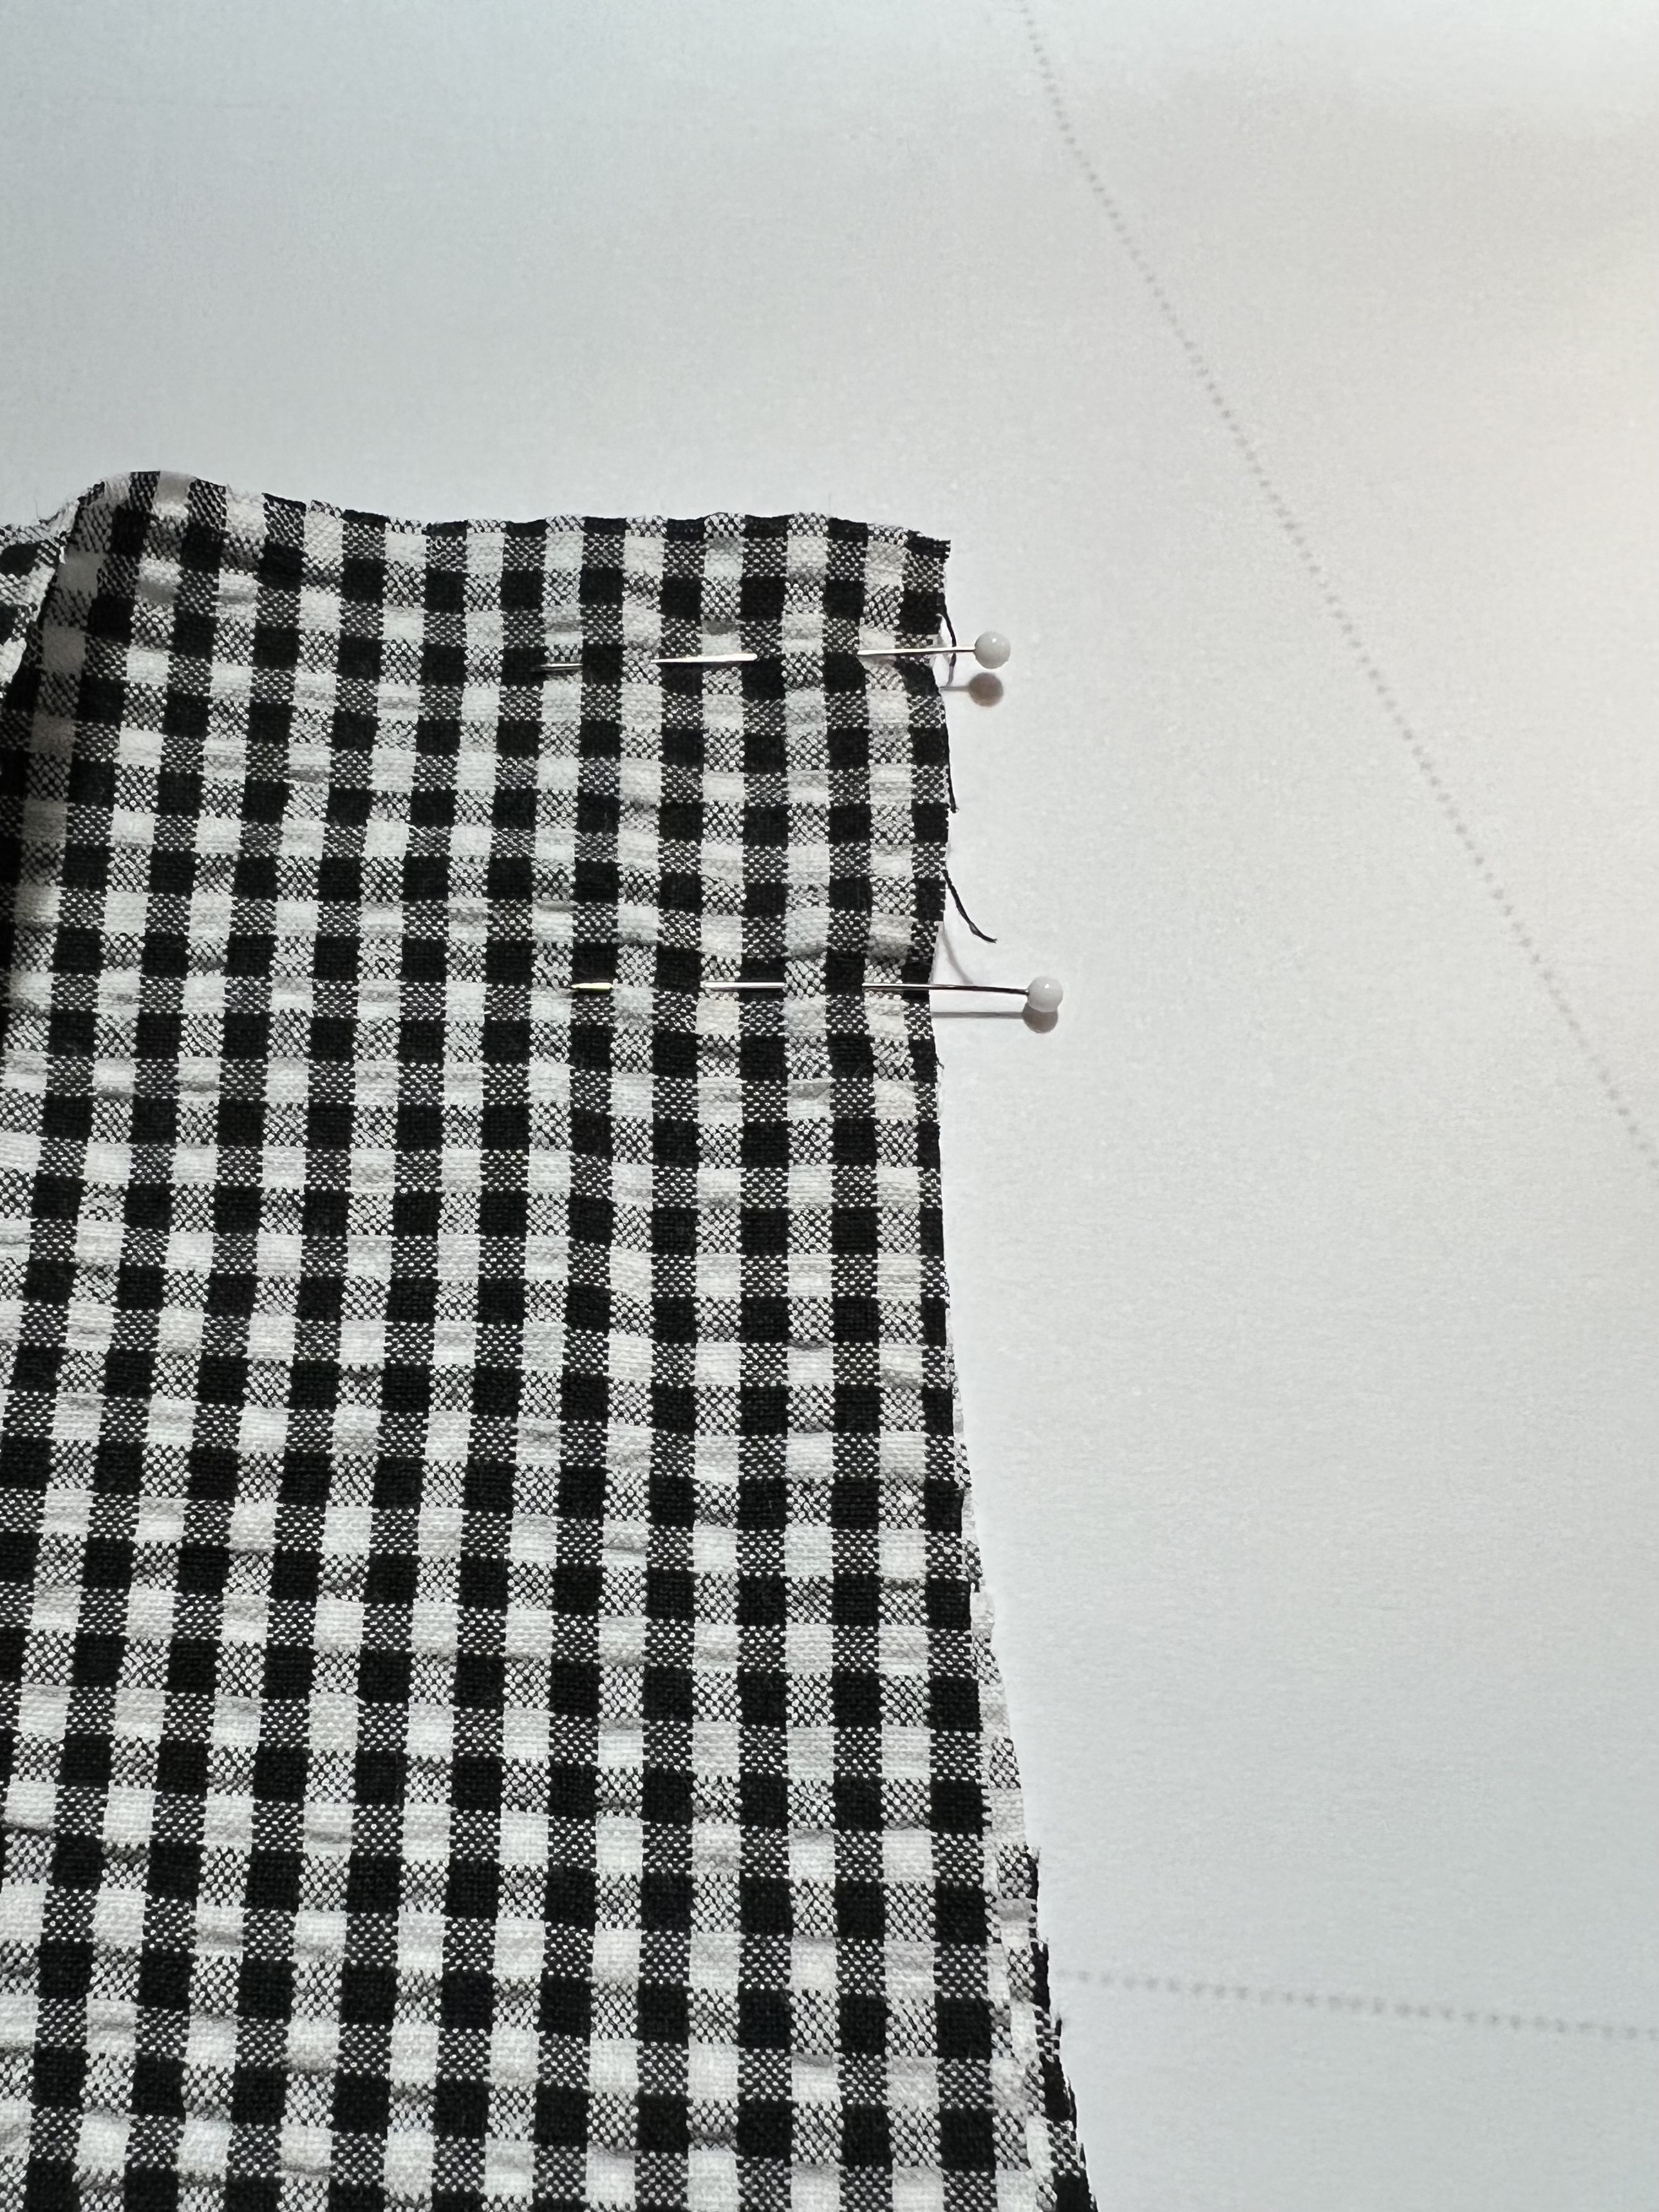
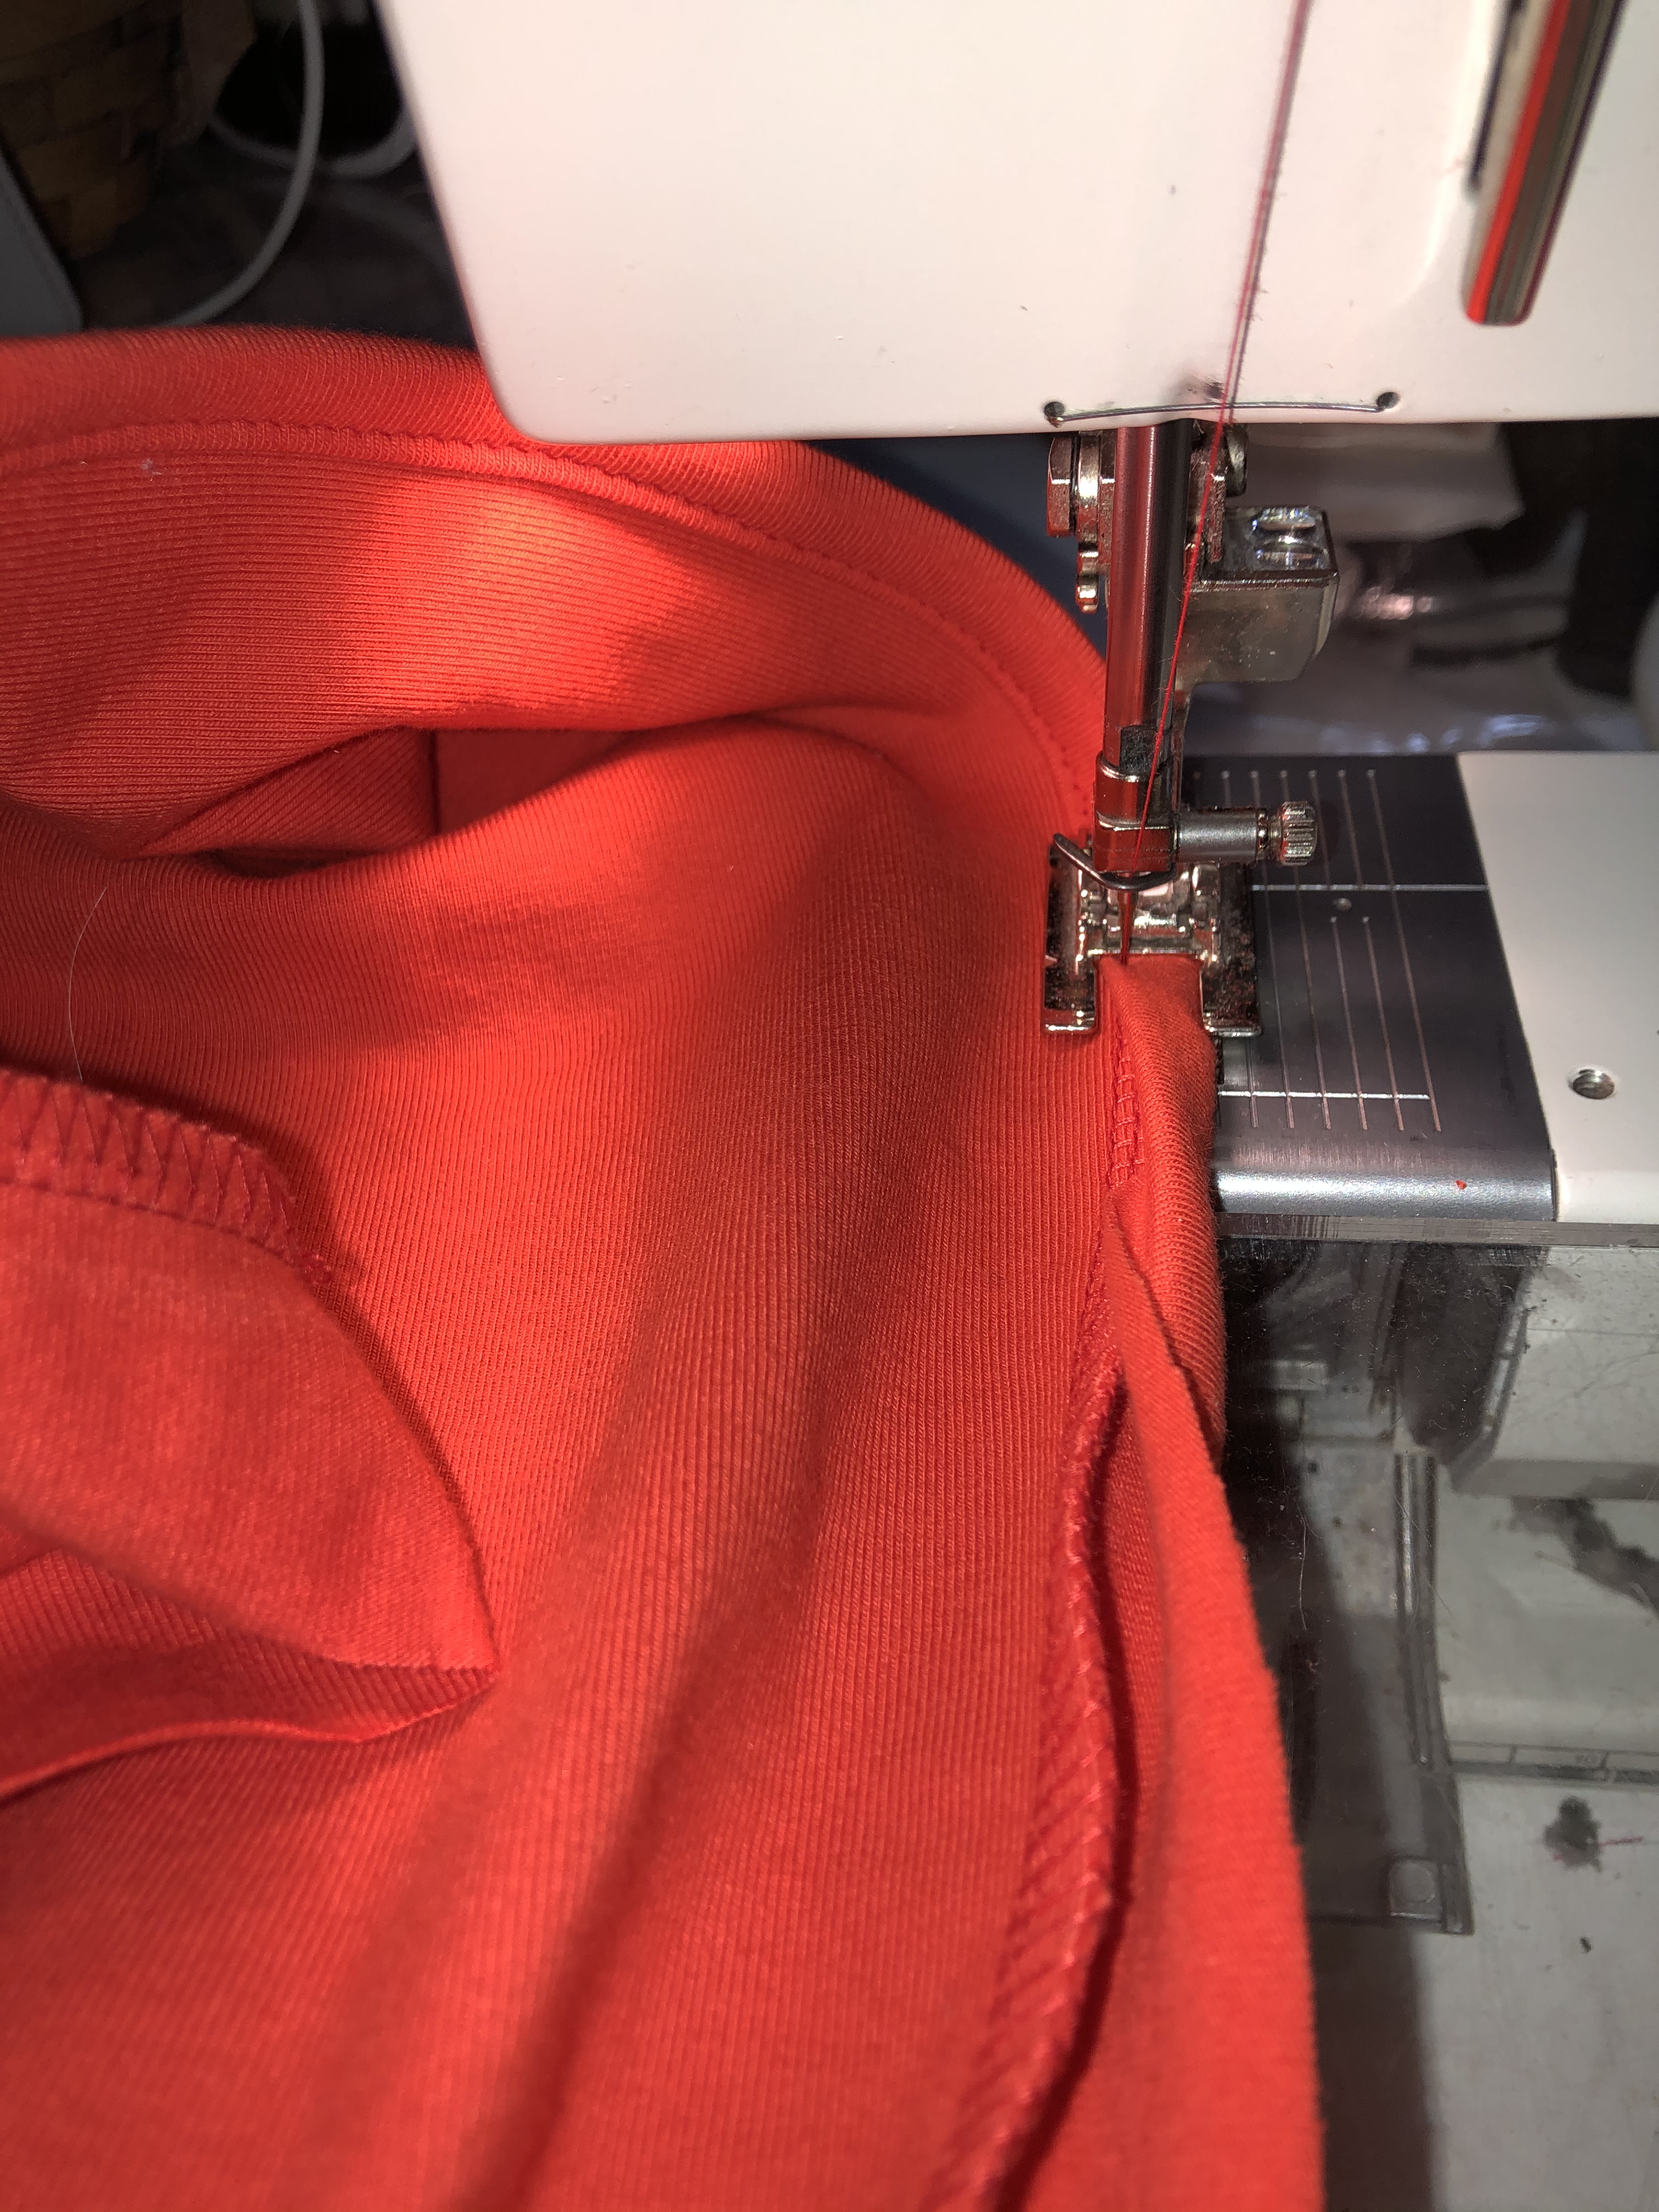
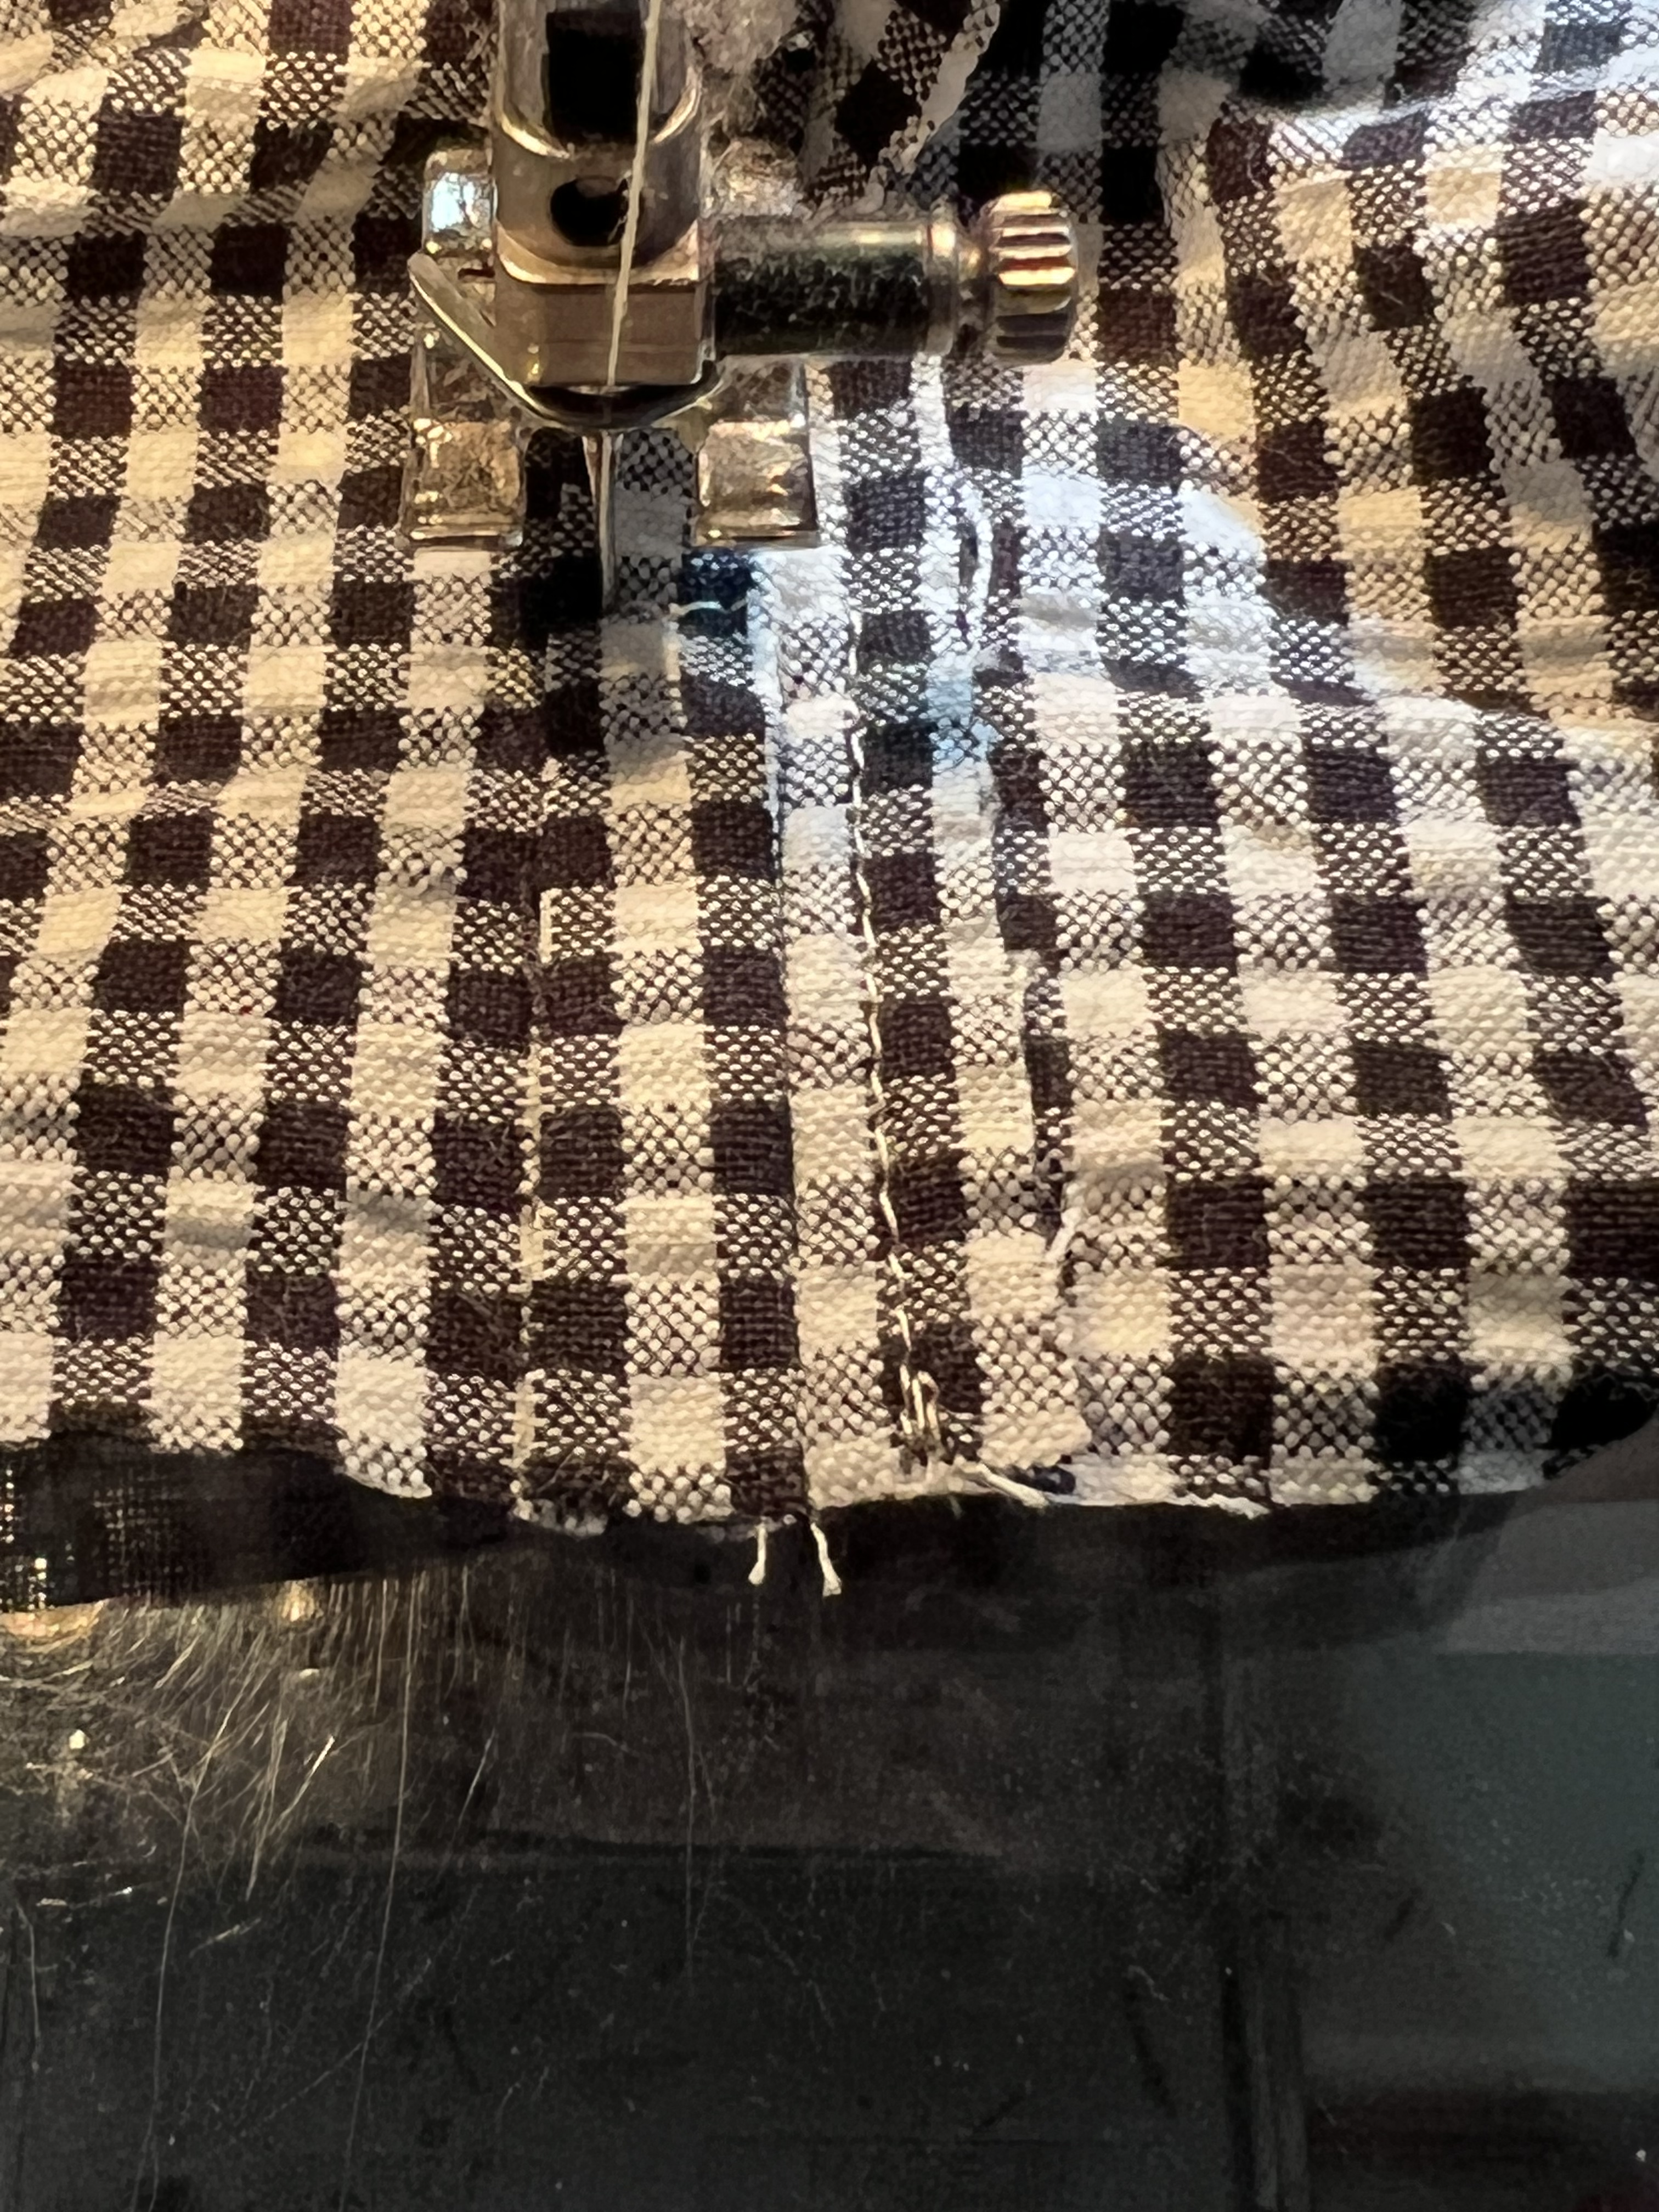
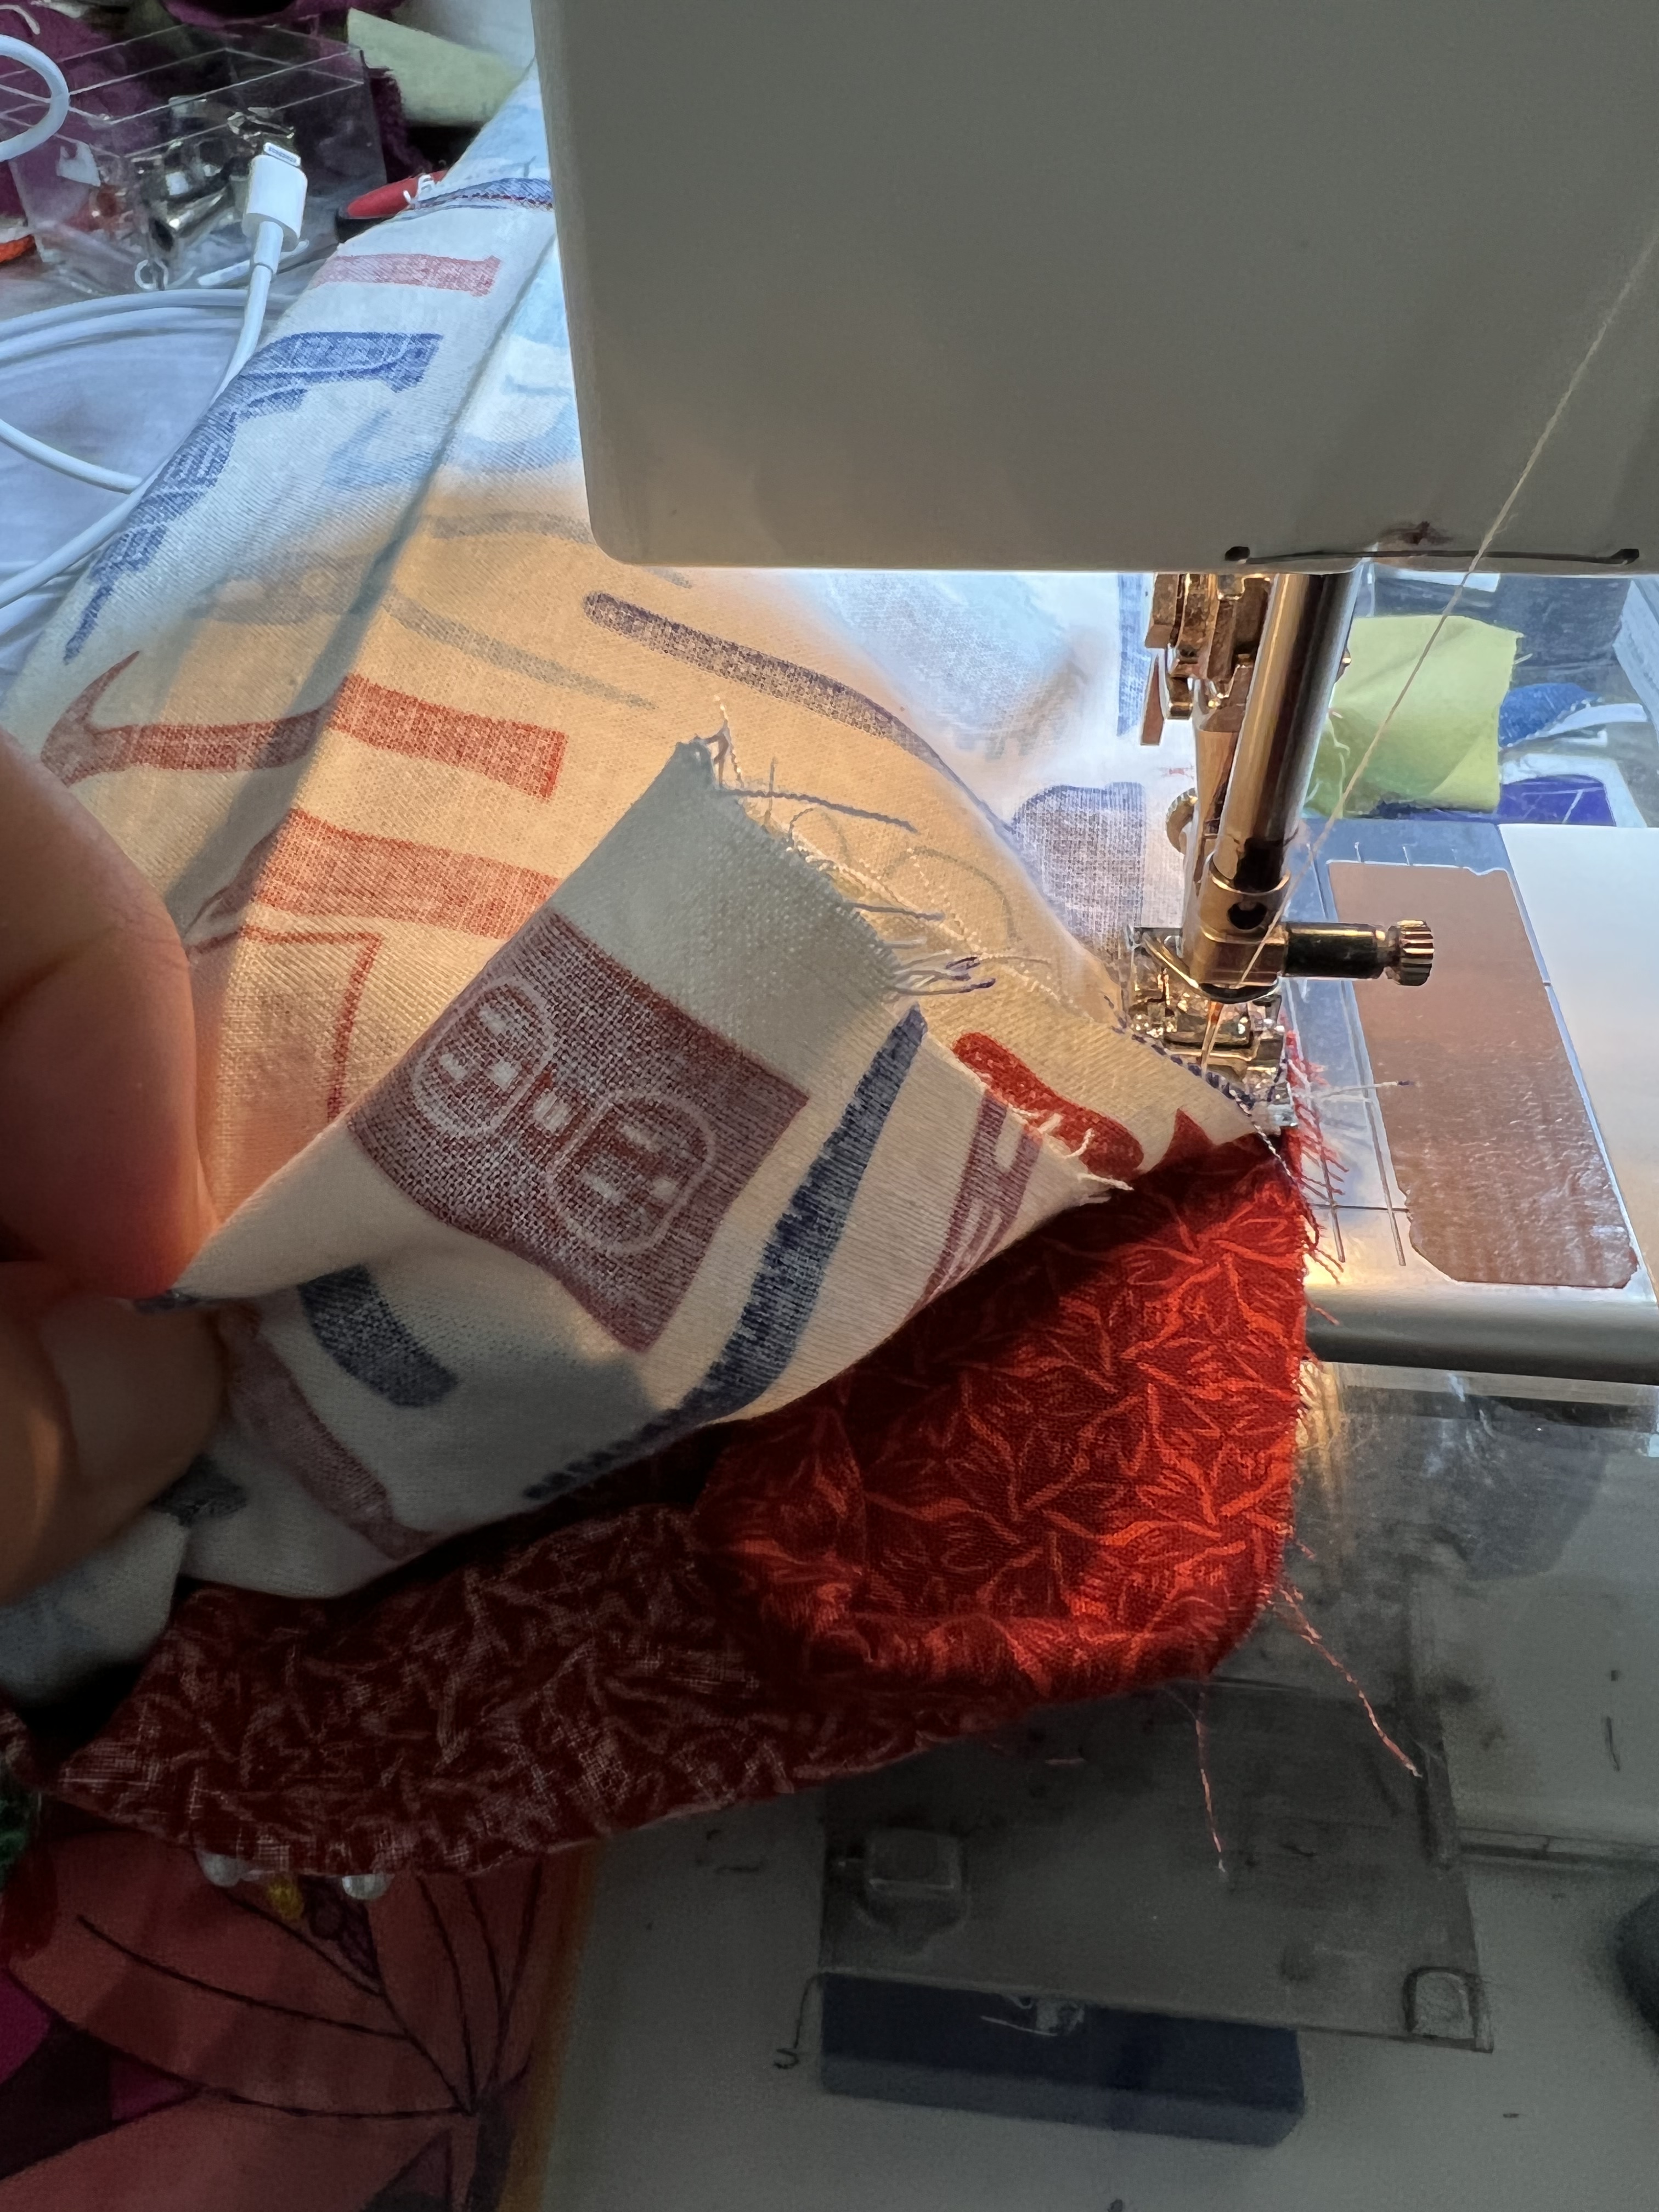
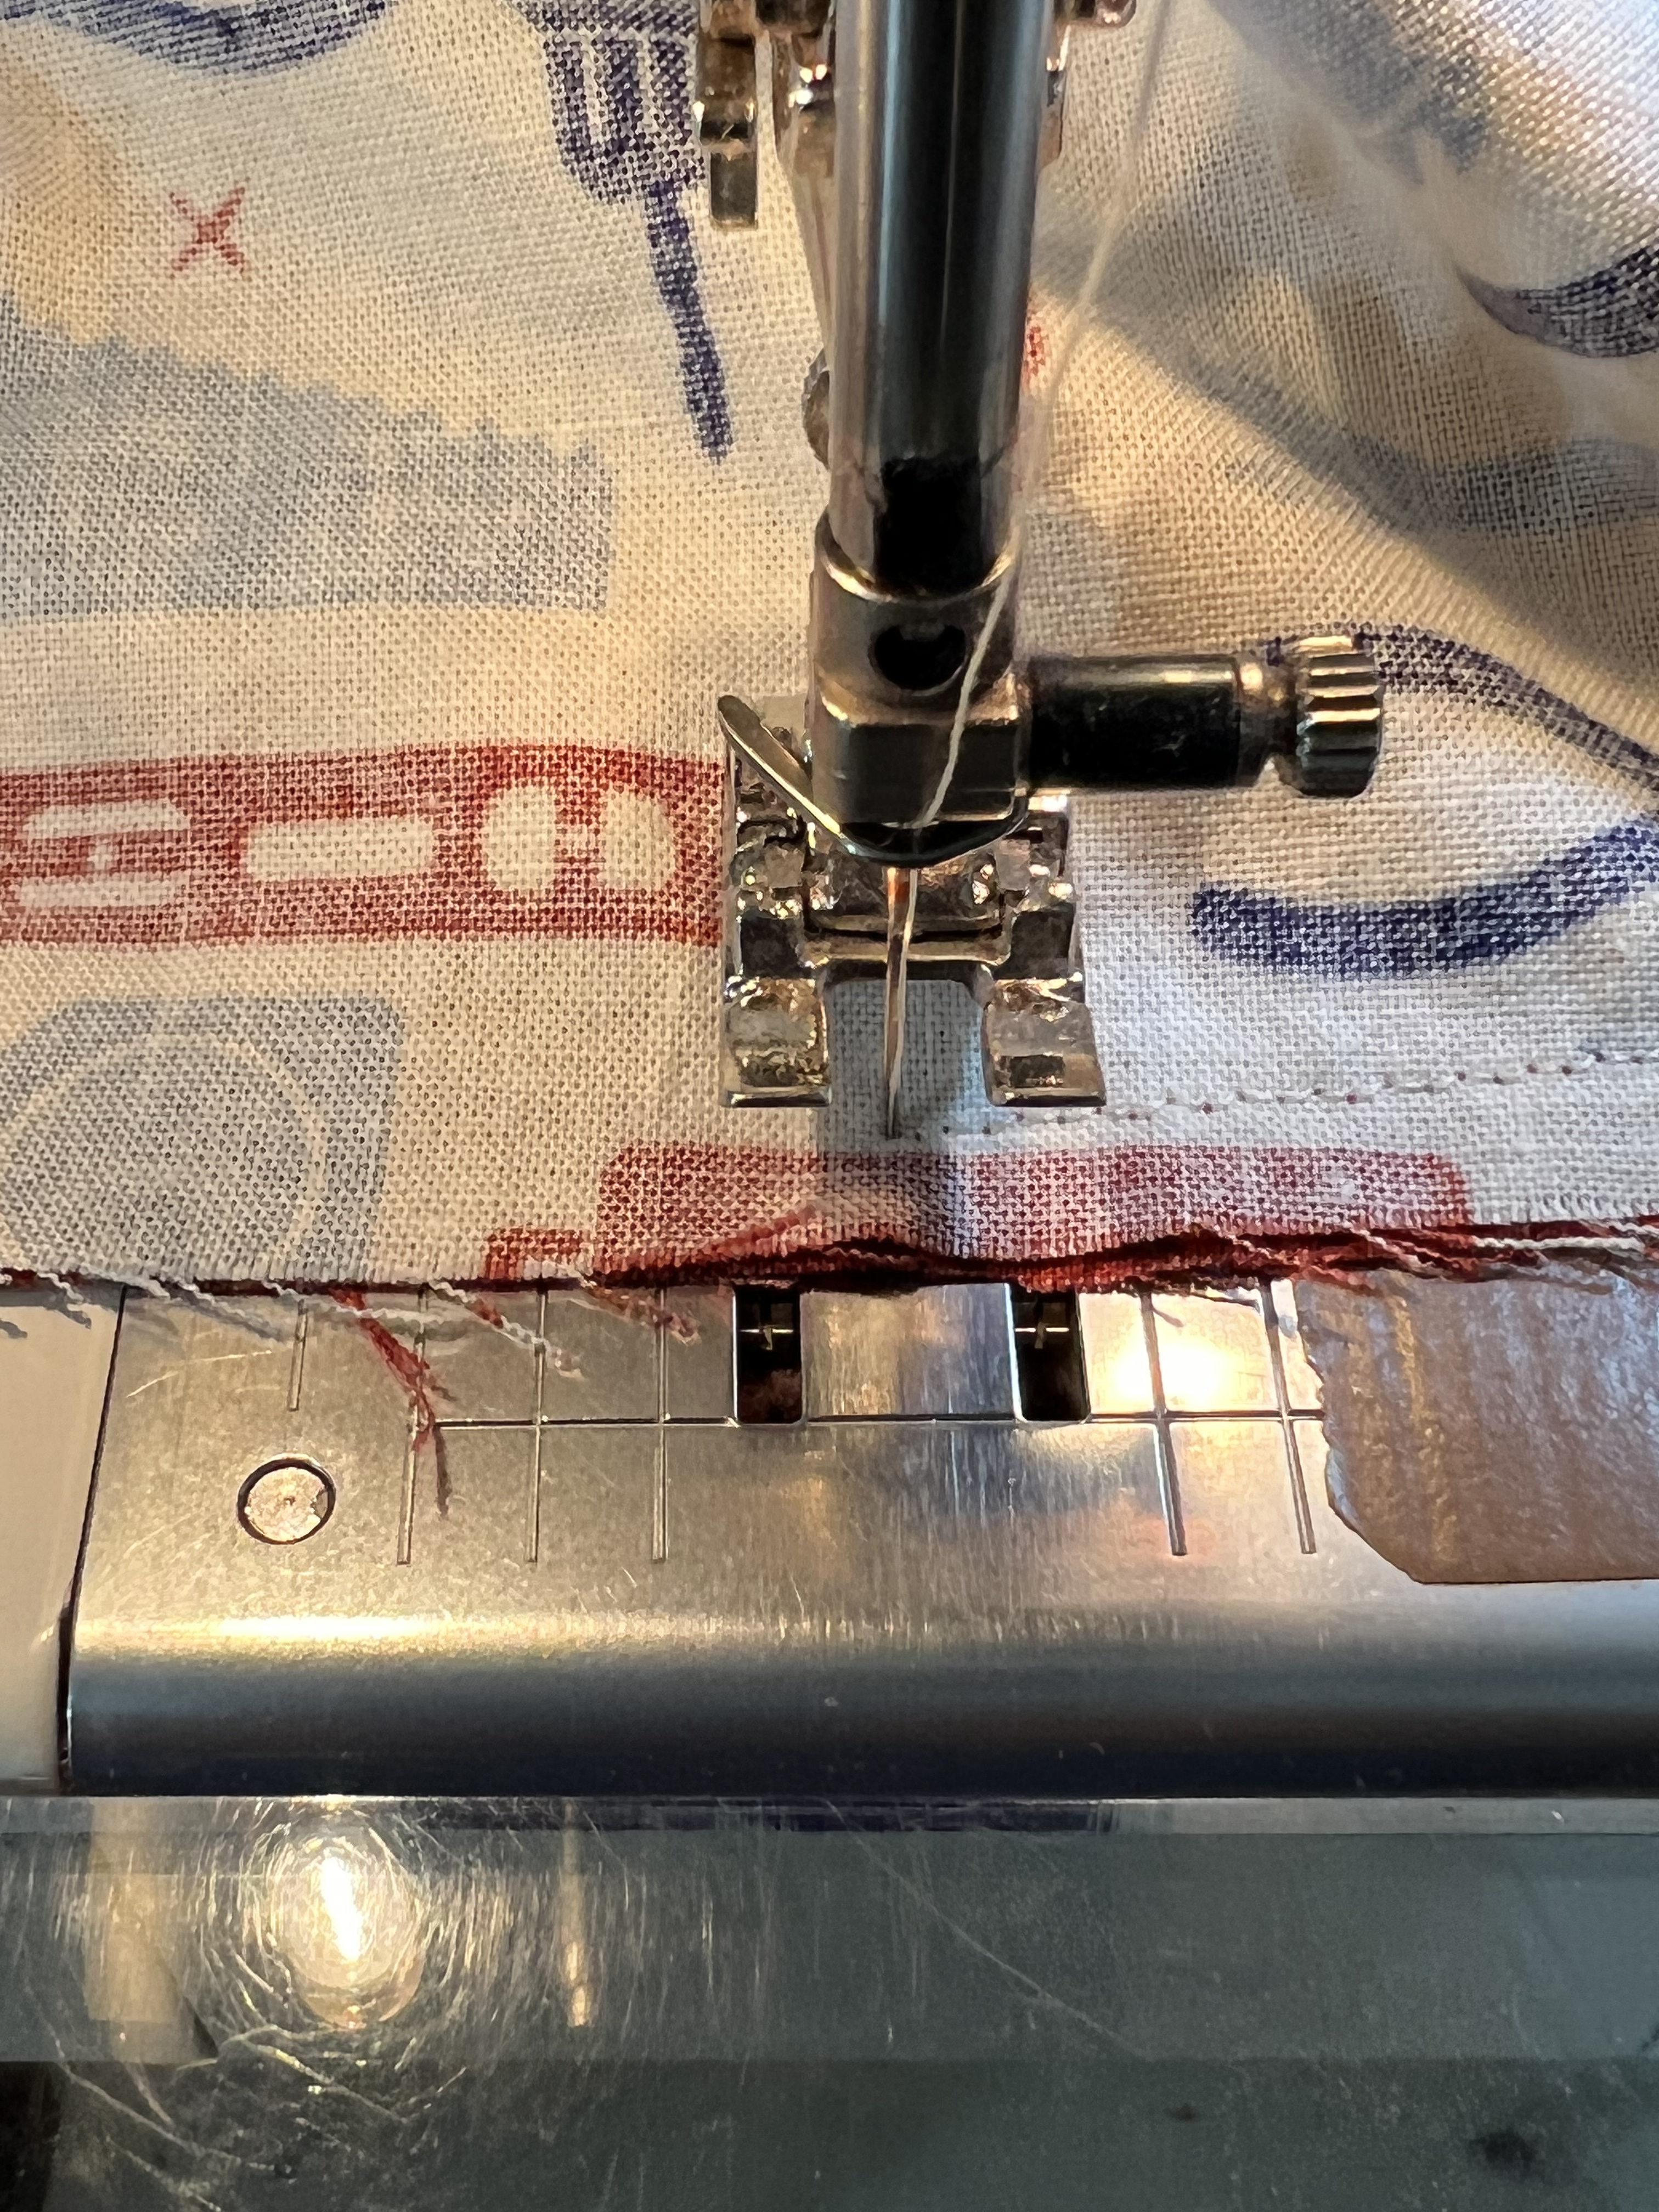
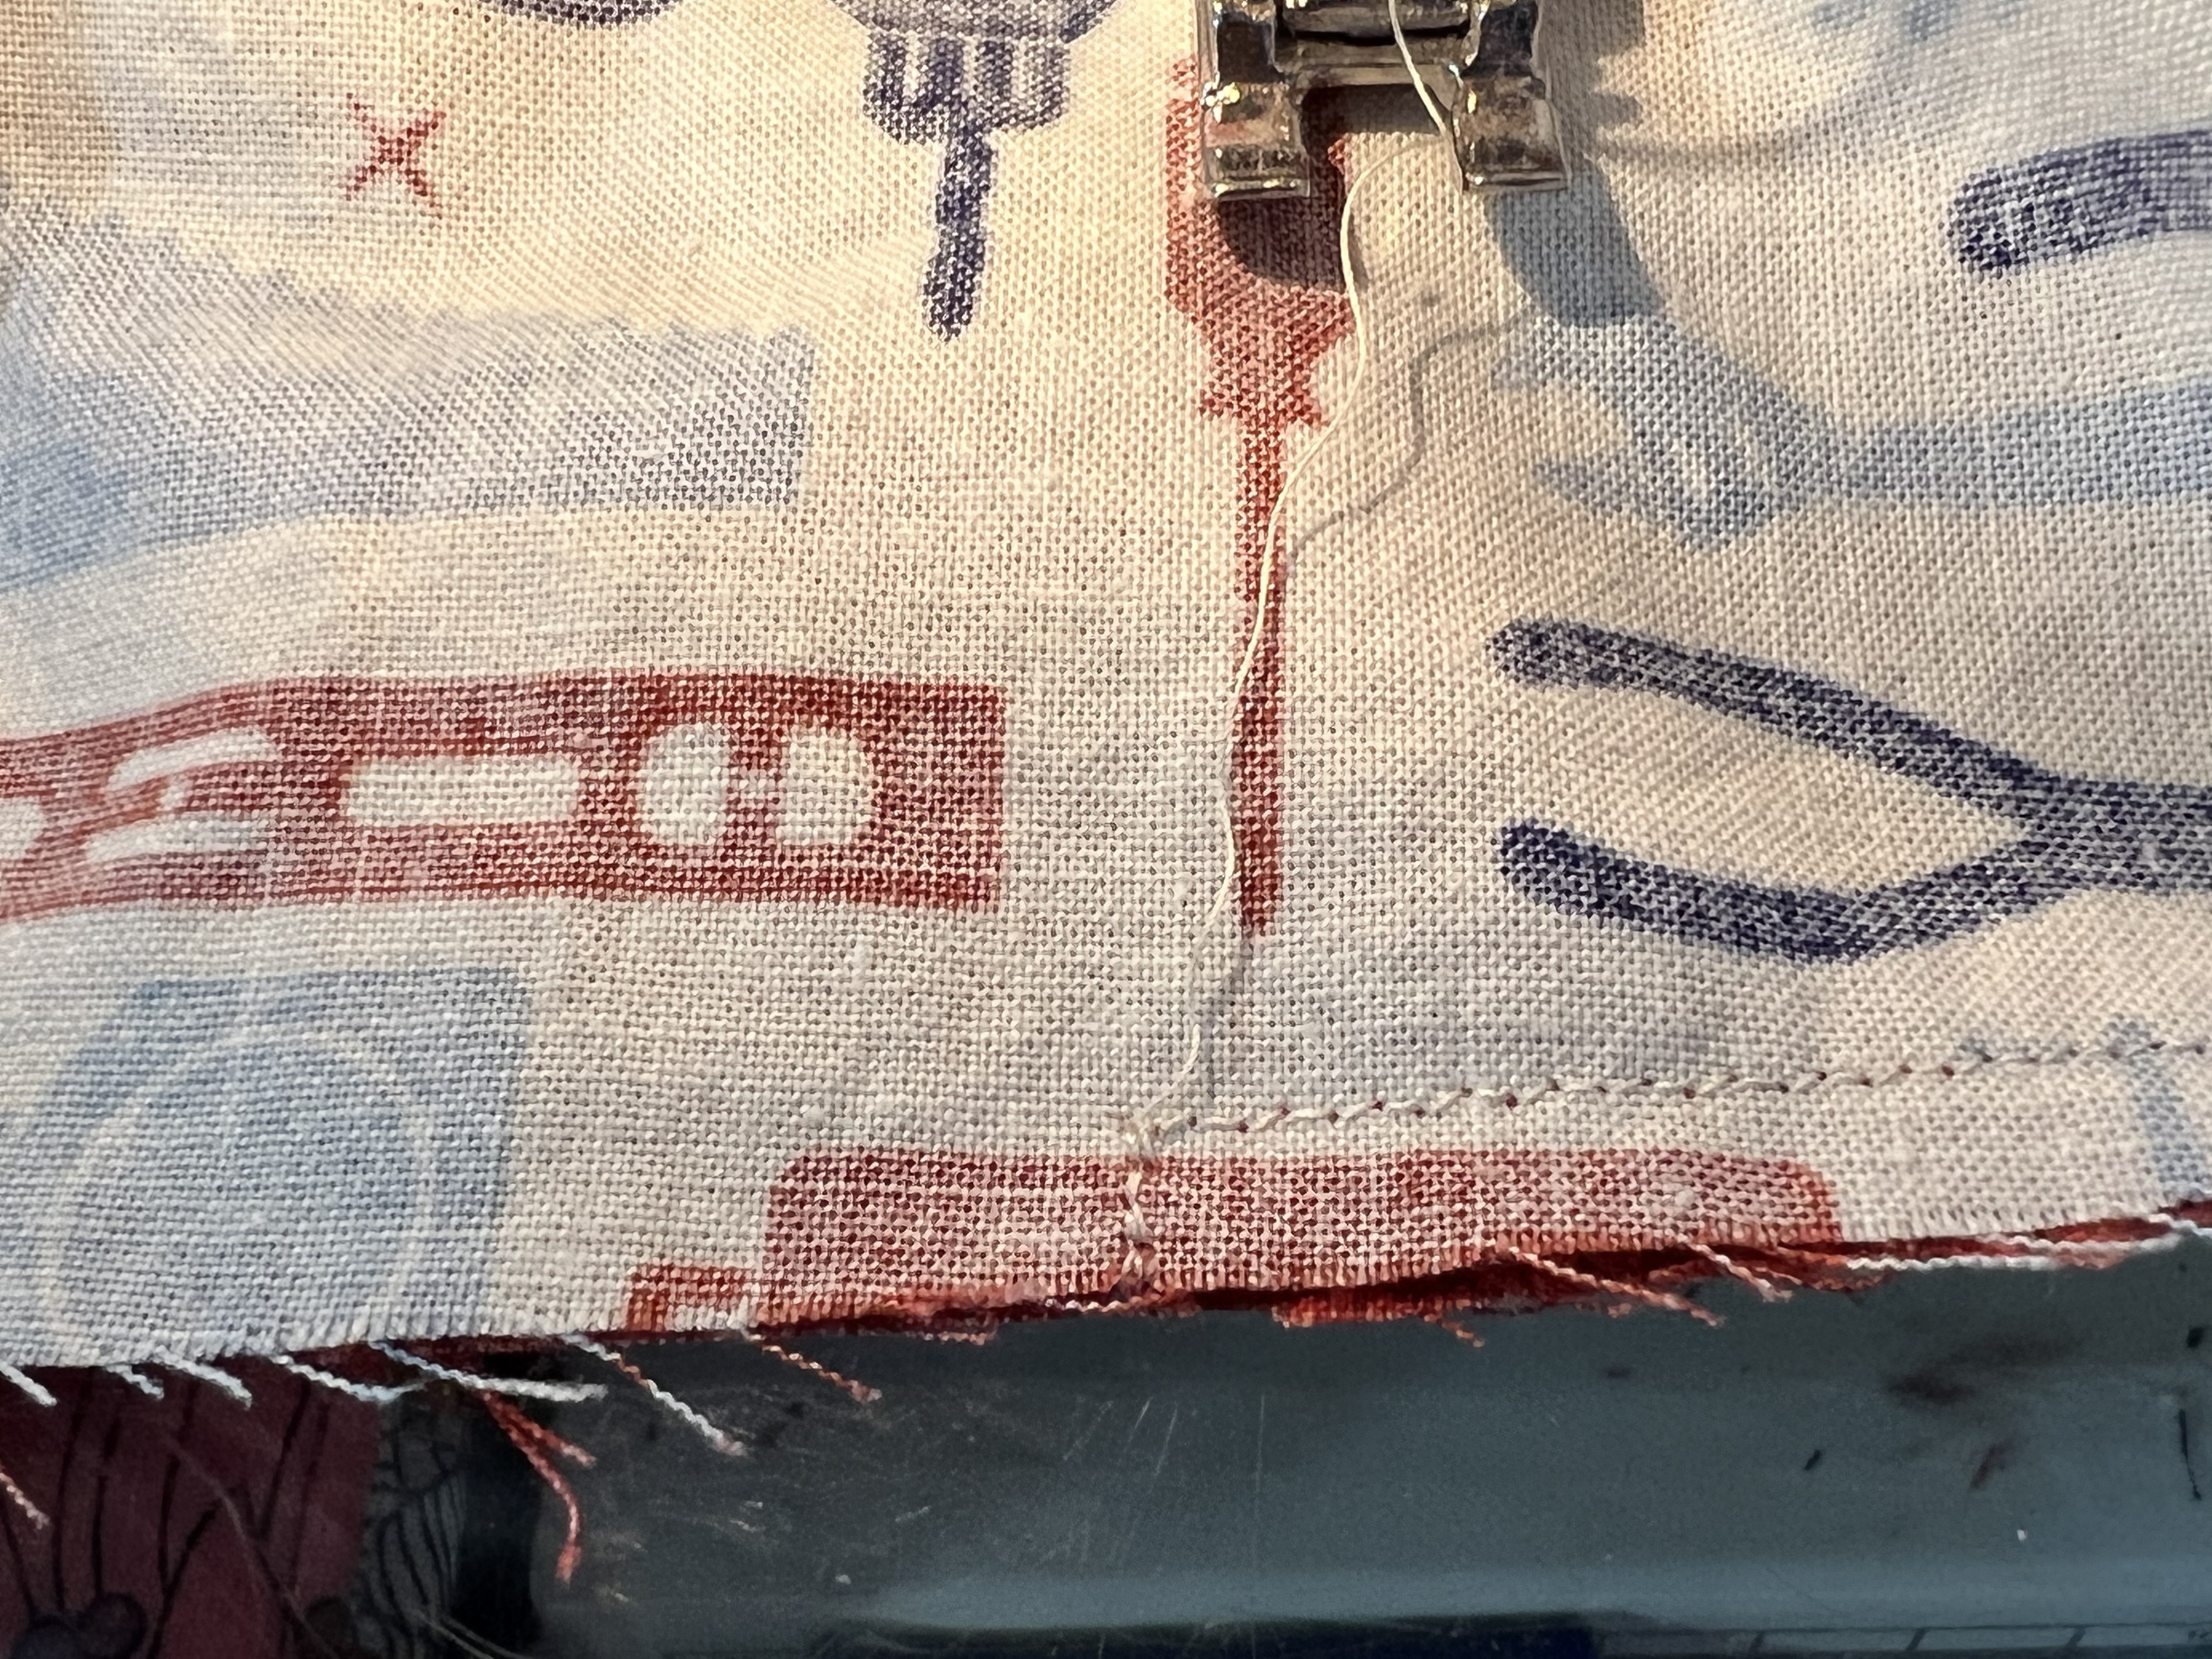
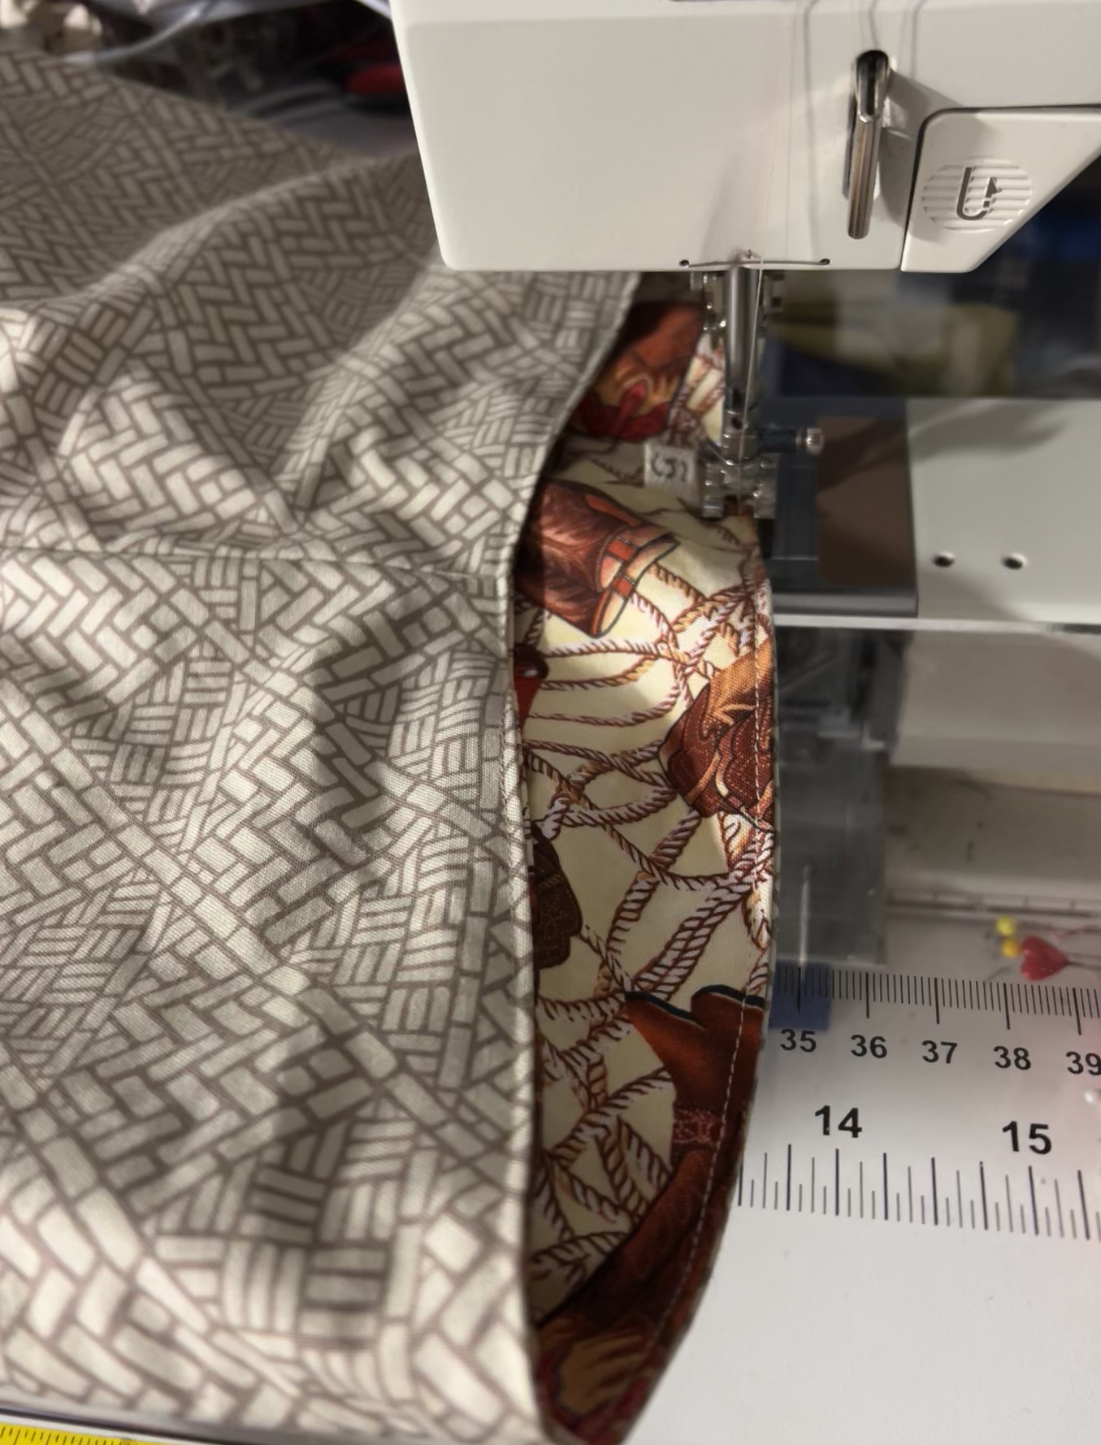
2. Sew the crotch curve of the inside layer. Starting at the top of the backs, mark 1/4 inch from the top, and an inch from that. Sew the first quarter inch. Skip the inch, then sew the remaining crotch curve. Take care to secure the end and beginning of your stitches here. The skipped inch will be the opening that we later use to thread the elastic. A note about crotch curves: sew this area with a shorter, or more secure stitch. Triple stitch or wobble stitch (zig zag set at 2 long and 1 wide) will bear the stretch of the fabric at the bias points, and prevent popped stitches. You can also sew this seam twice if desired. Since the shorts will be “lined” it will be hard to get to this seam later.

3. Reinforce the opening, by pressing open the seam at the back. Top stitch down one side, just past the opening, and back up. This will keep raw edges from popping out of the opening later. In the photo, we have sewn down one side, over and are just ready to sew back up to the top.
4. If you plan to insert a label, now is the time.
5. Opening from the right side of the shorts with the tag tucked inside the opening.
6. Peek-a-boo tag!

Leg Hems – two at a time.

7. Leave the crotch curve sewn shorts right side out. Slip the corresponding leg of the other side right sides in over the first. Nest the inside leg seams and sew the circumference of the hem. Repeat for the next leg.
8. With the sewn set left as is, pull each leg away from the main shorts body. Press the seams you just made to one side or the other.

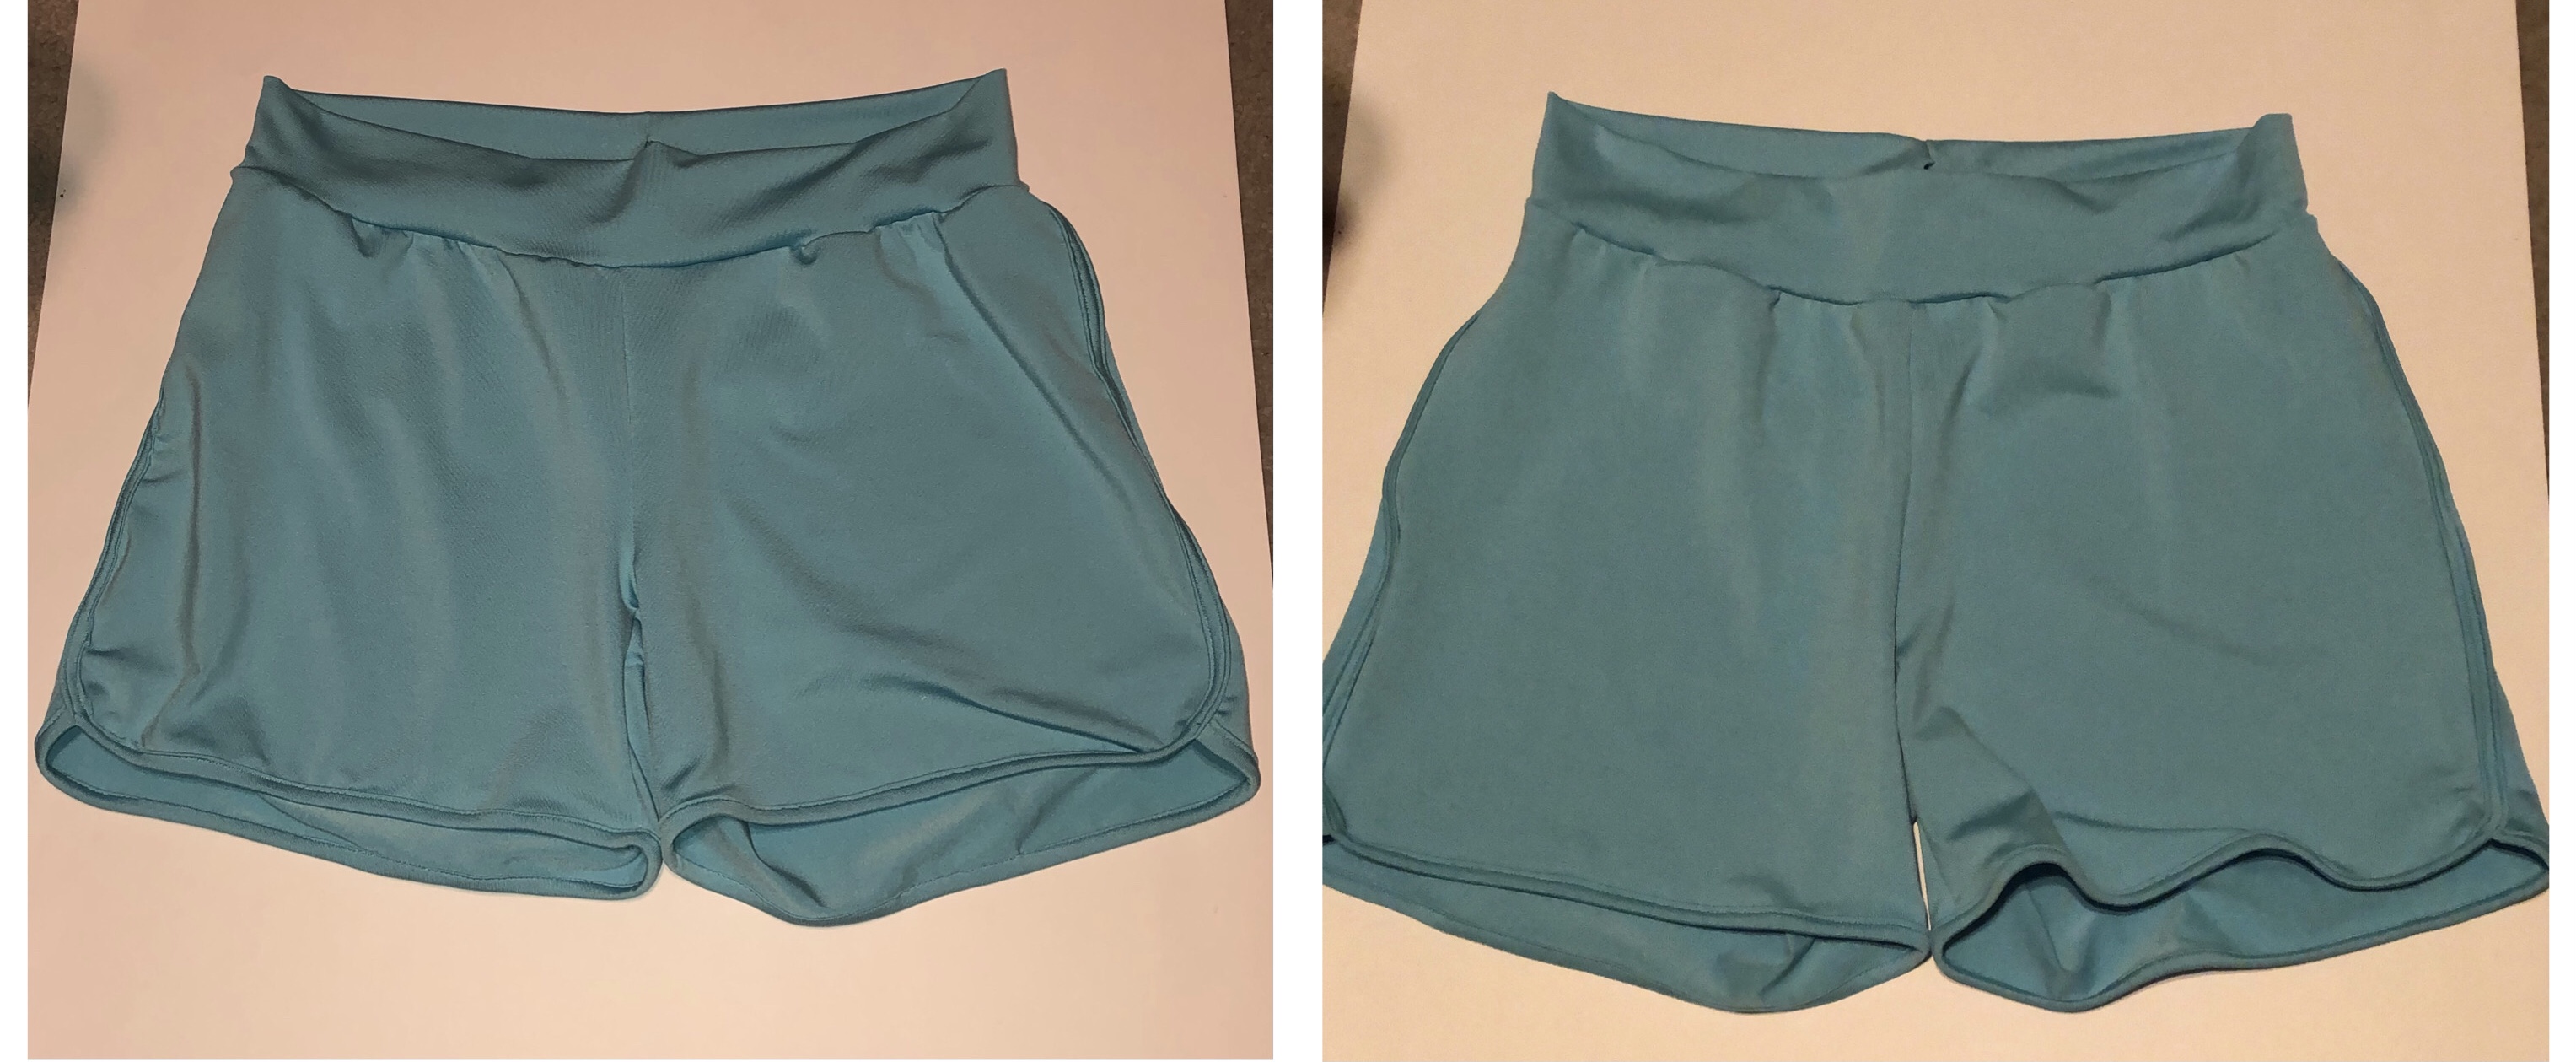
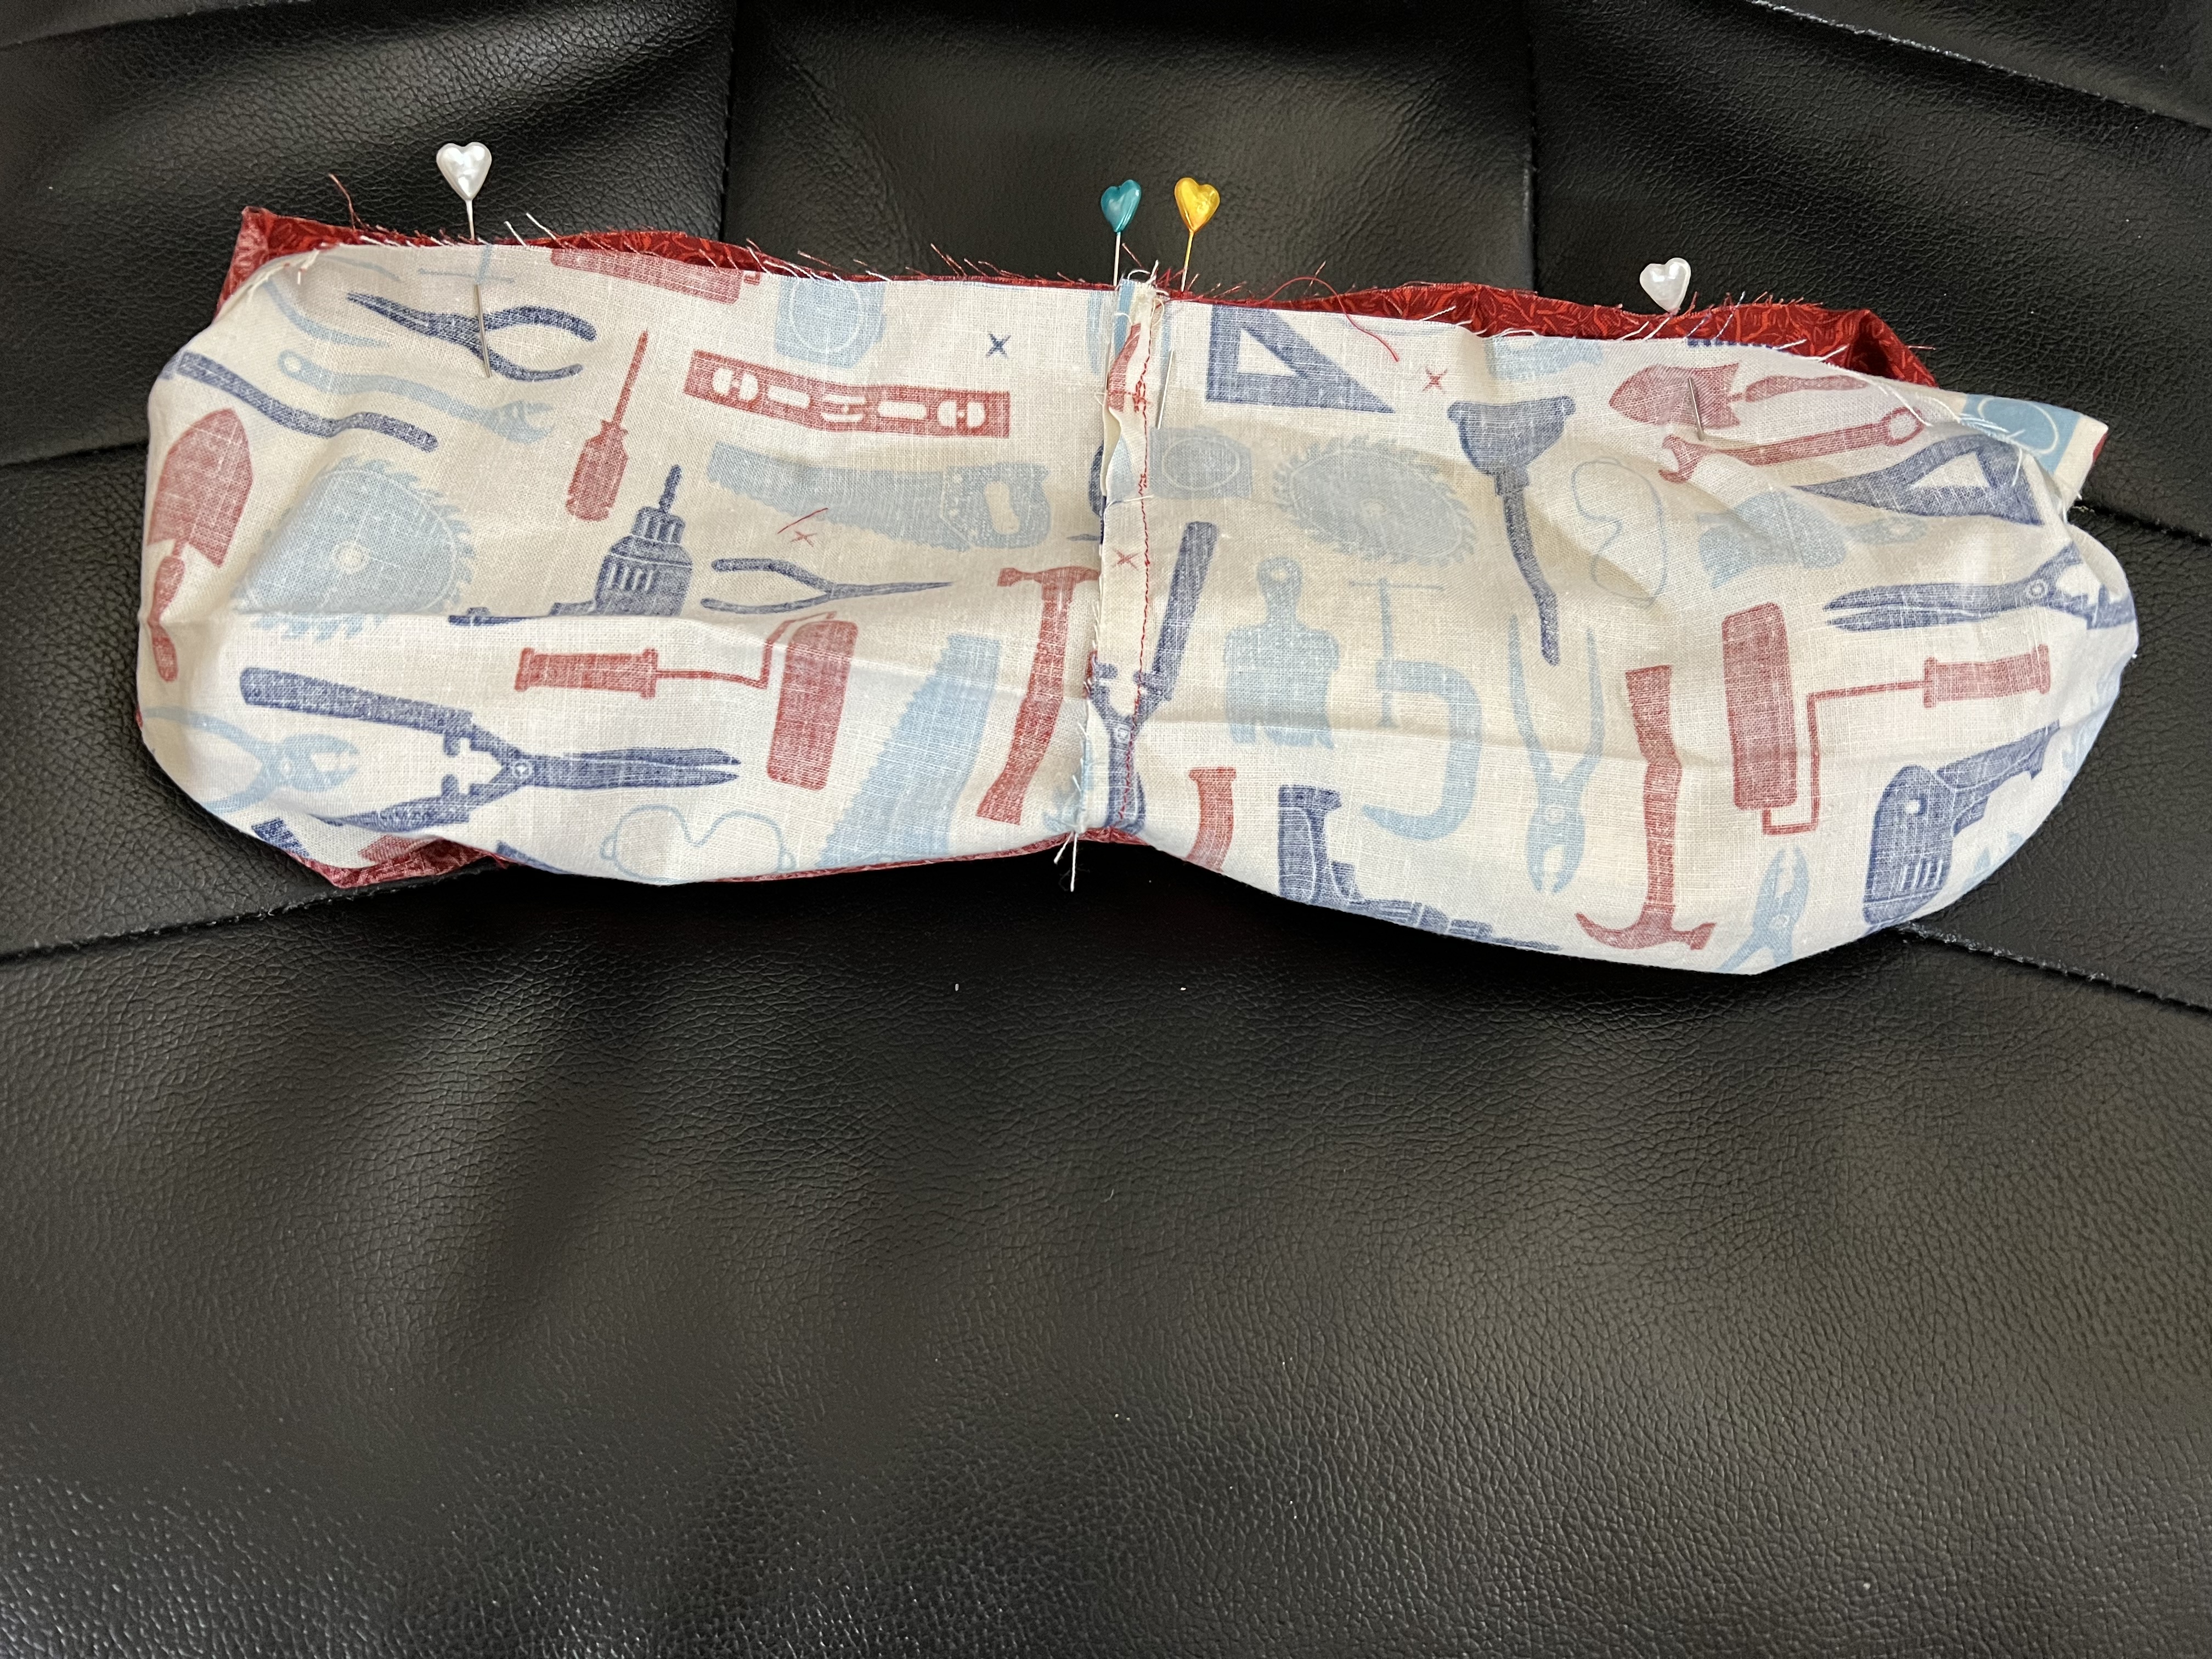
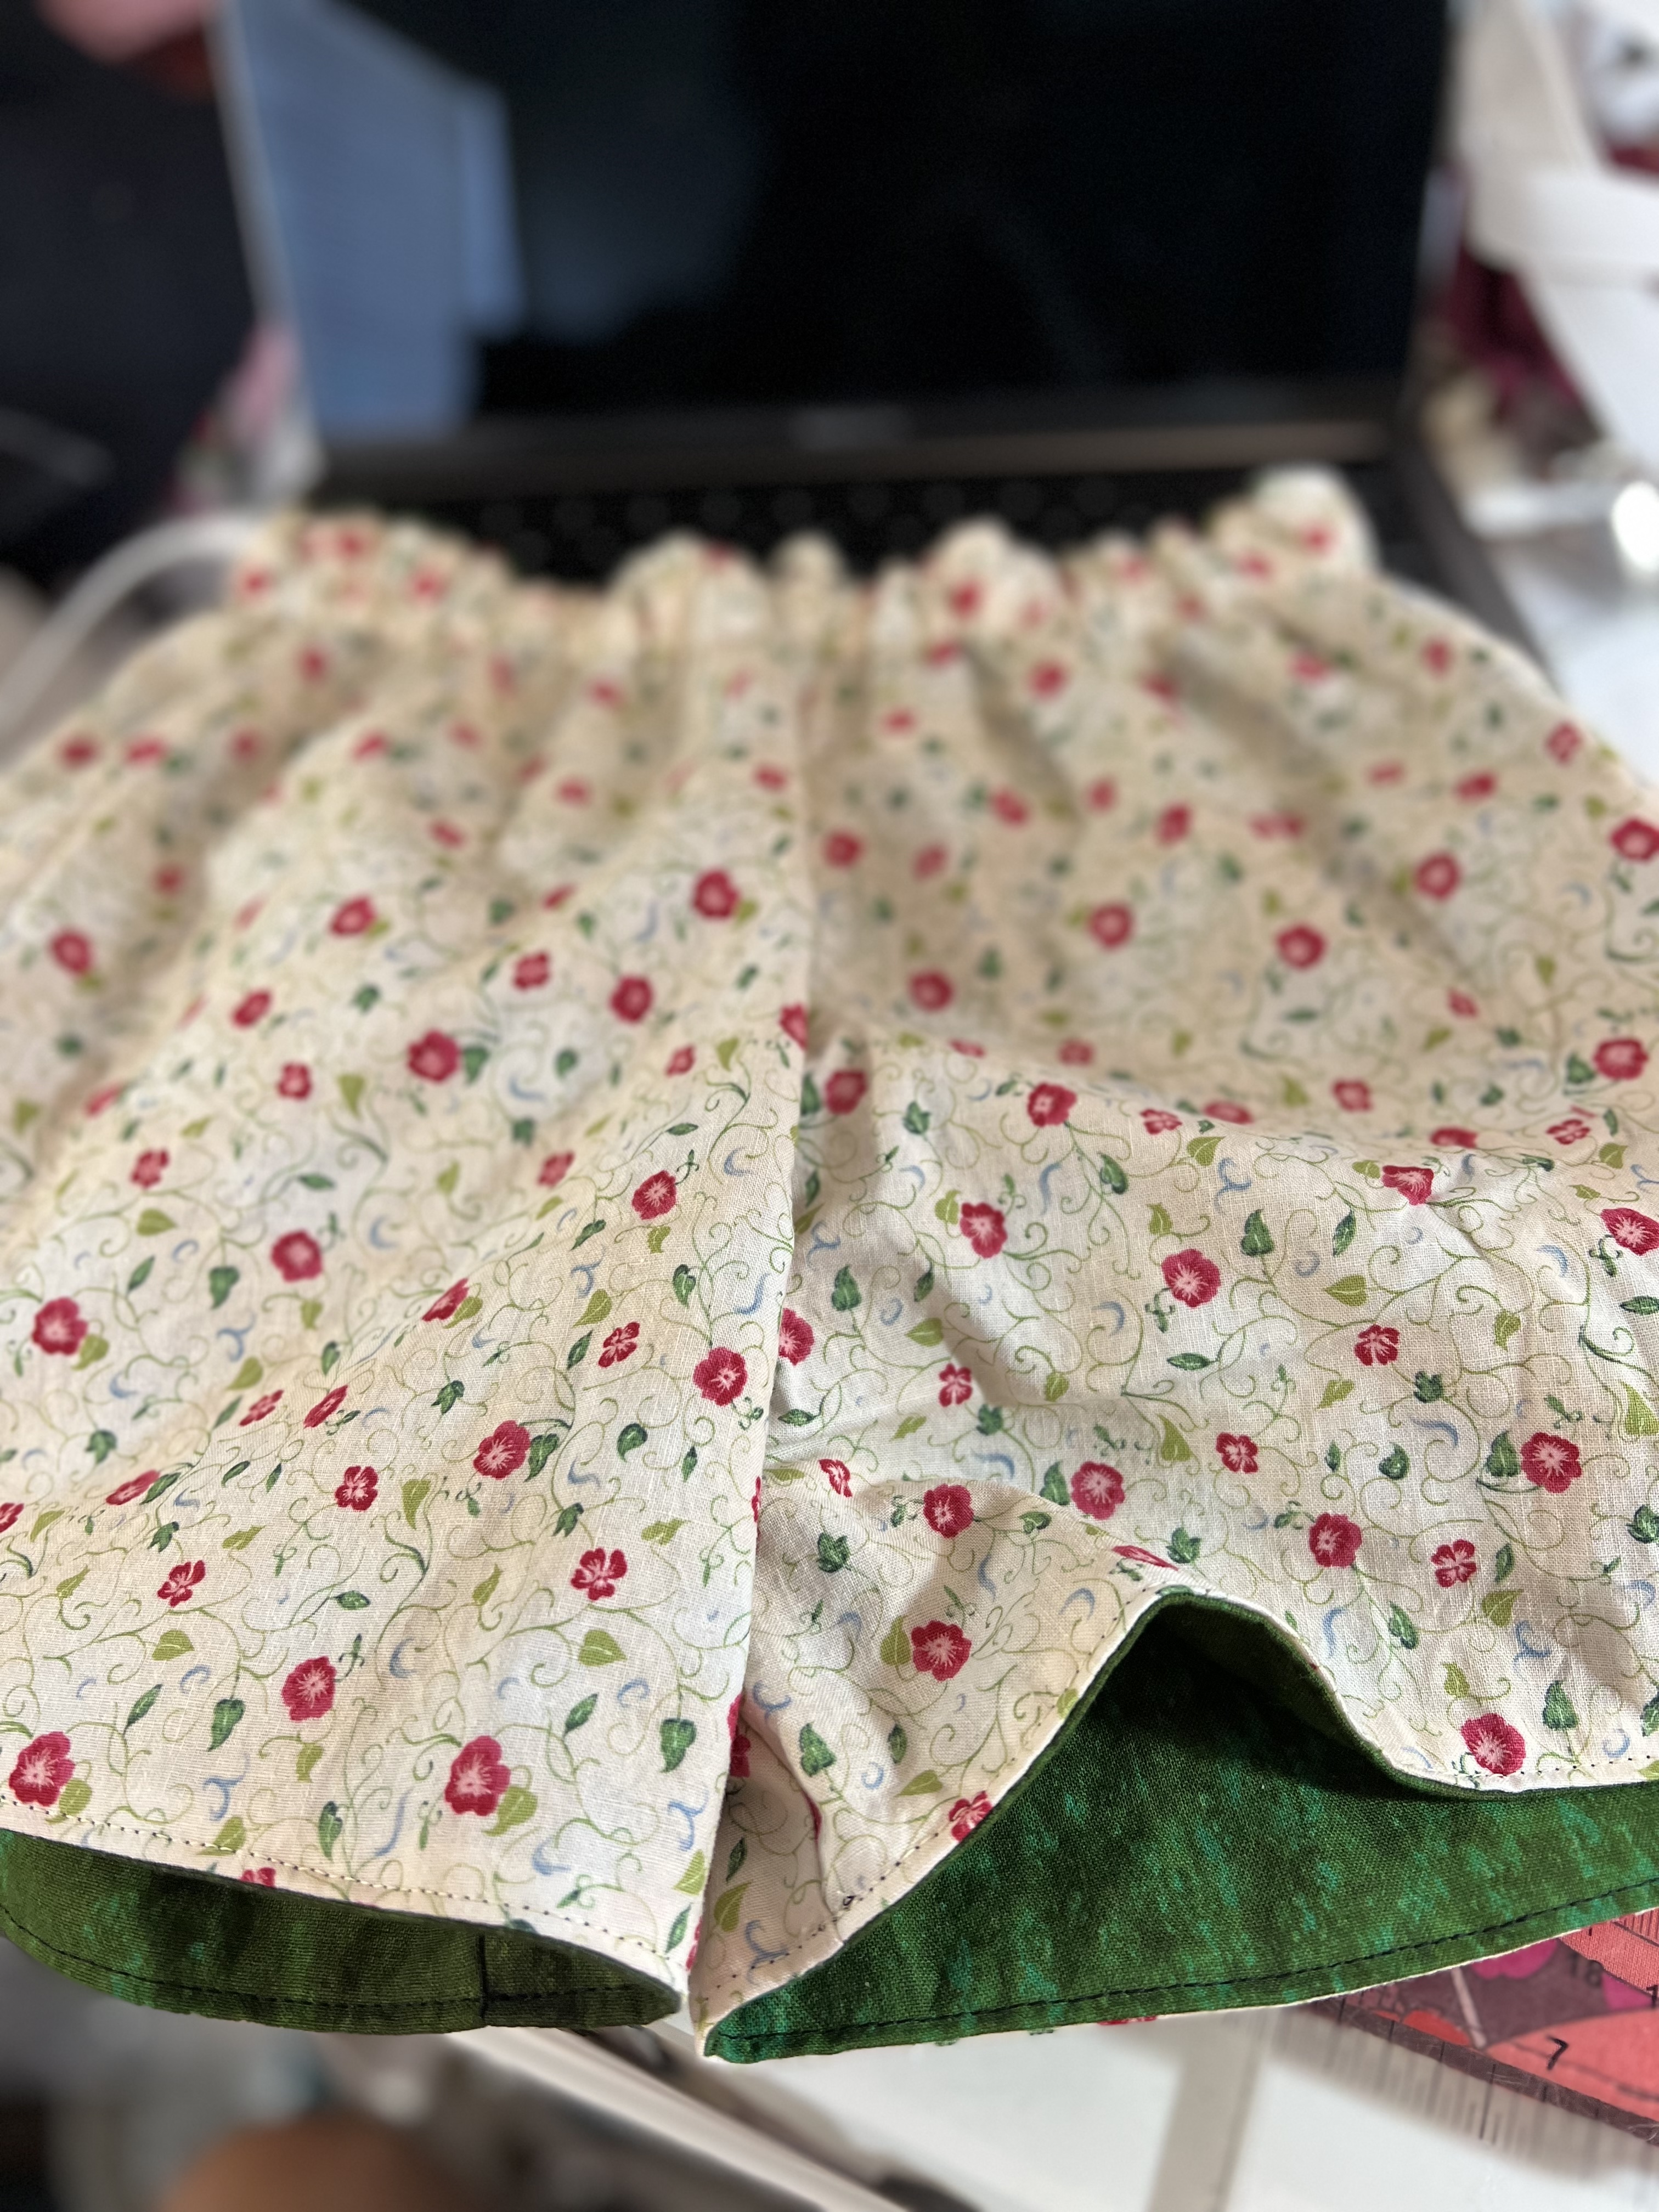
9. Tuck the loose leg inside the shorts, press the hemline so that the seam you just made is on the edge.

10. Edge stitch around each leg to secure the hemline.

Hems – one leg at a time. Further clarification.

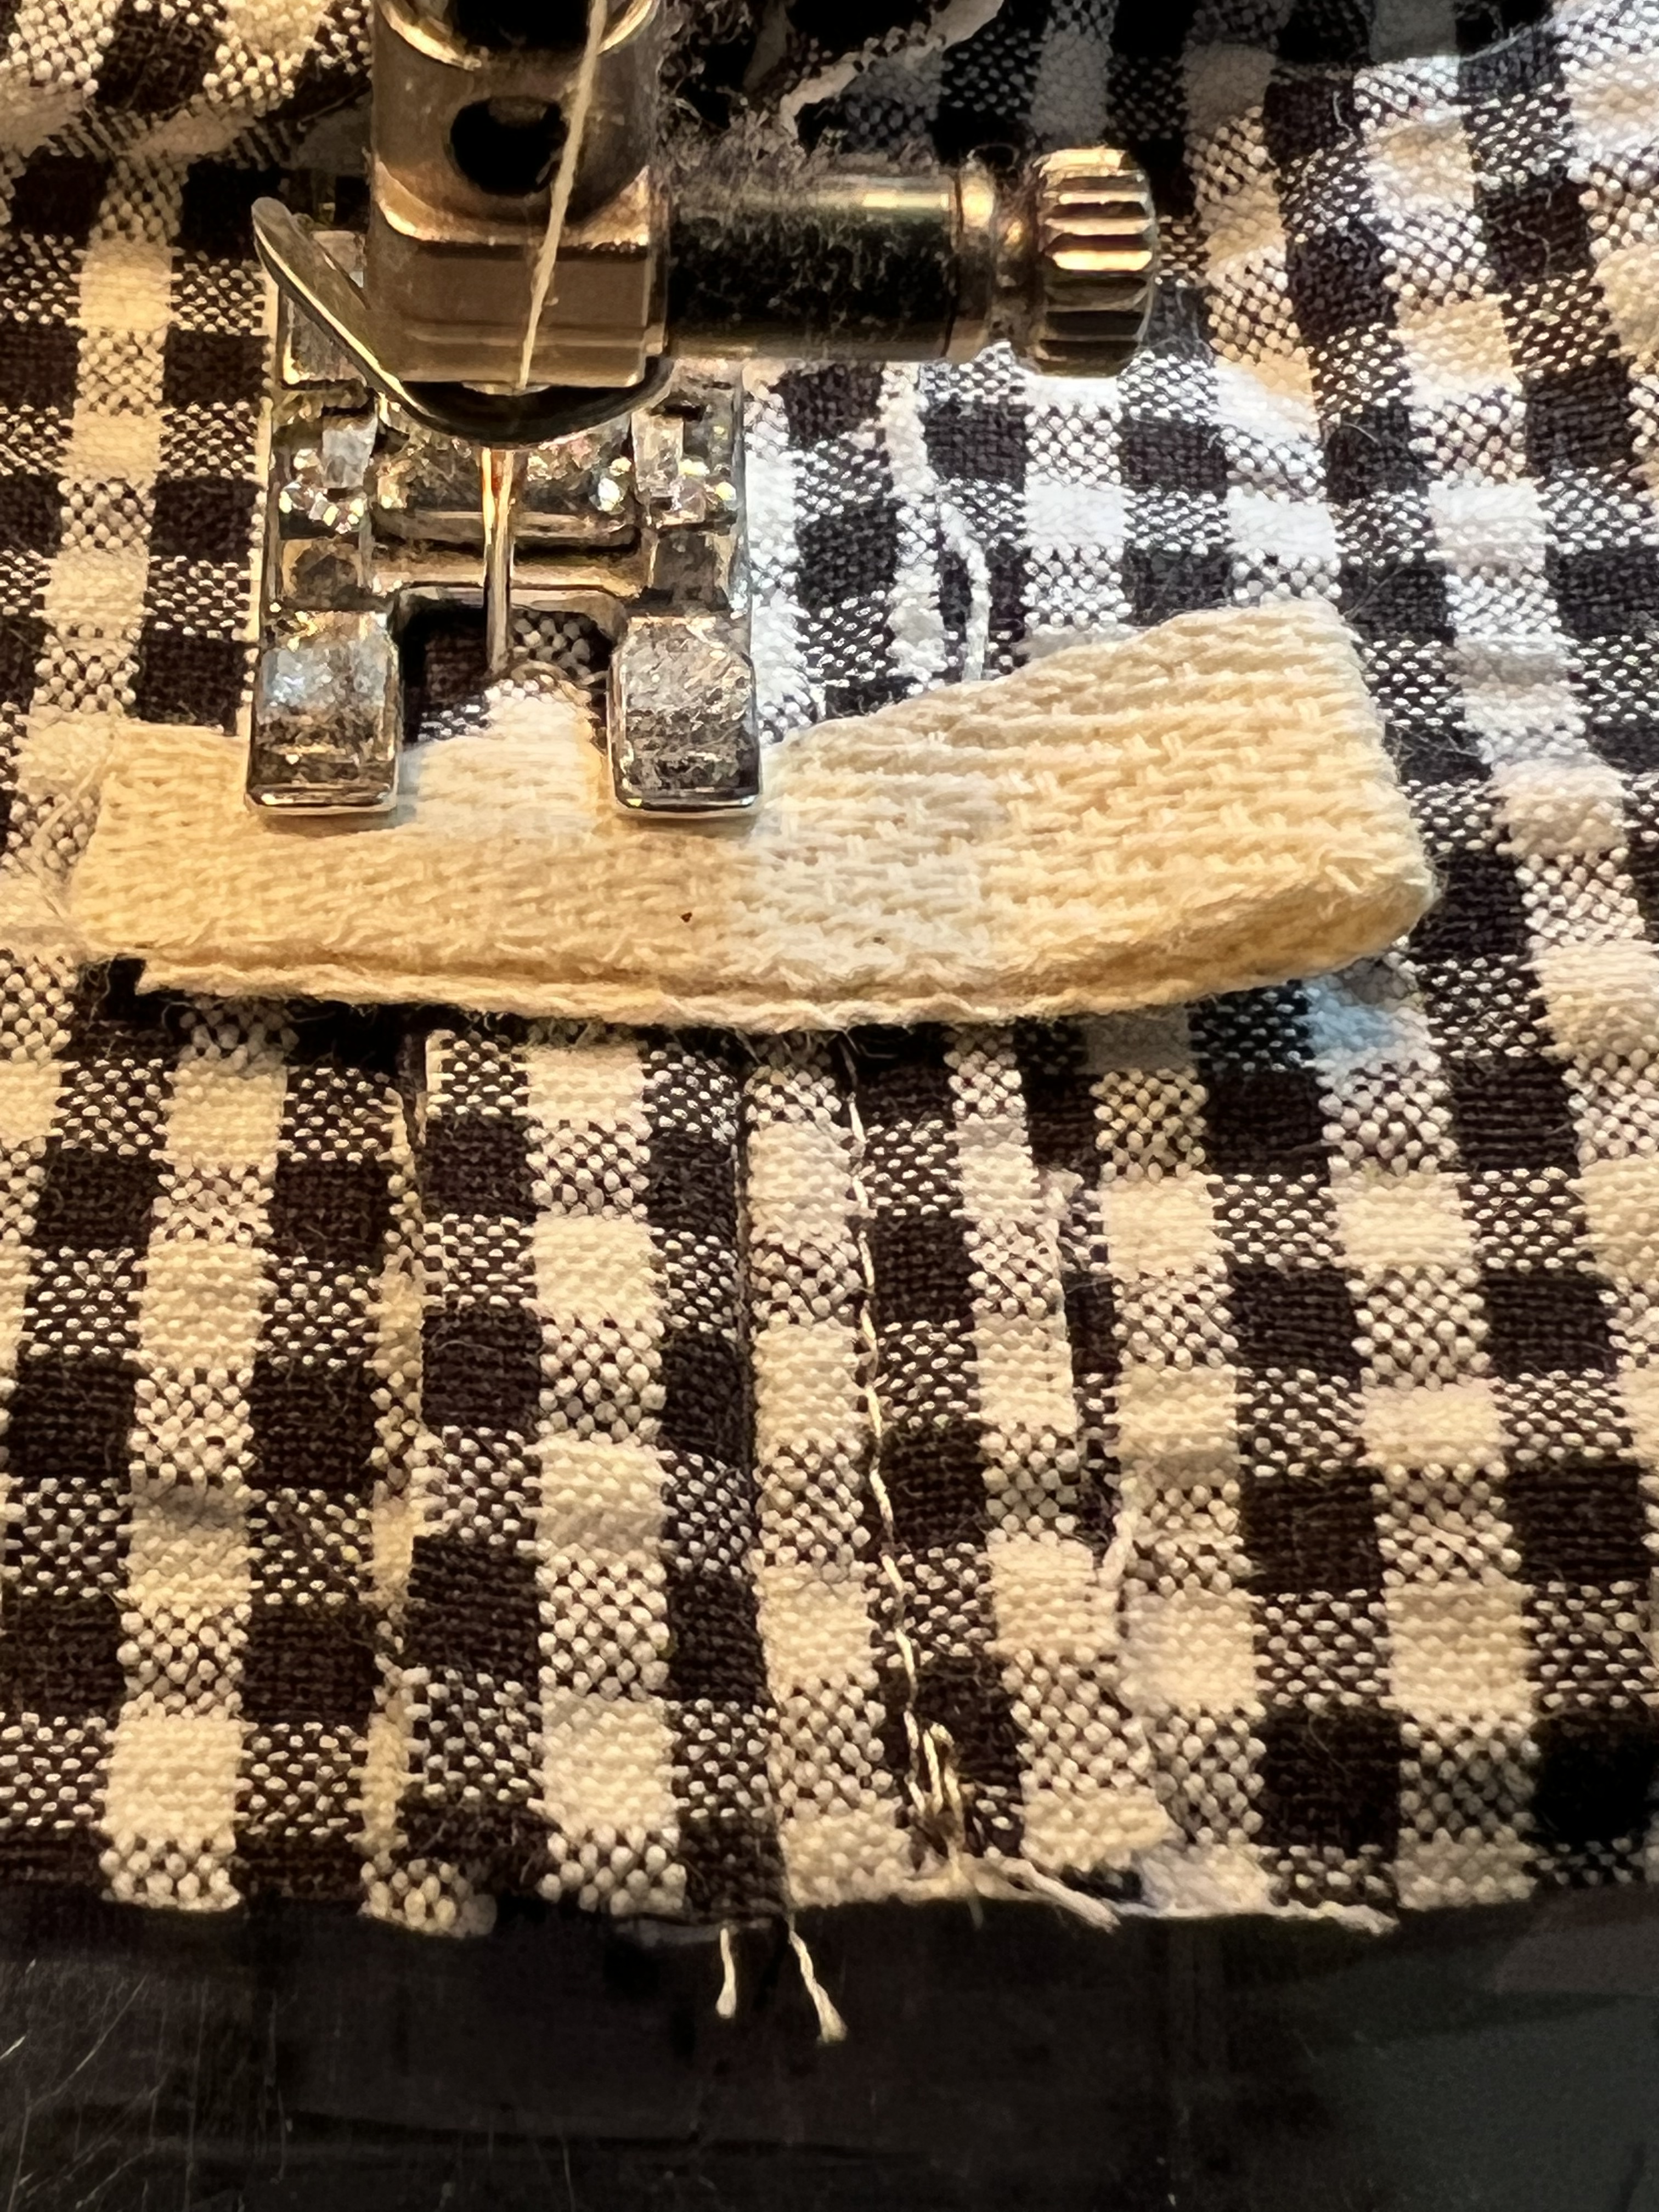
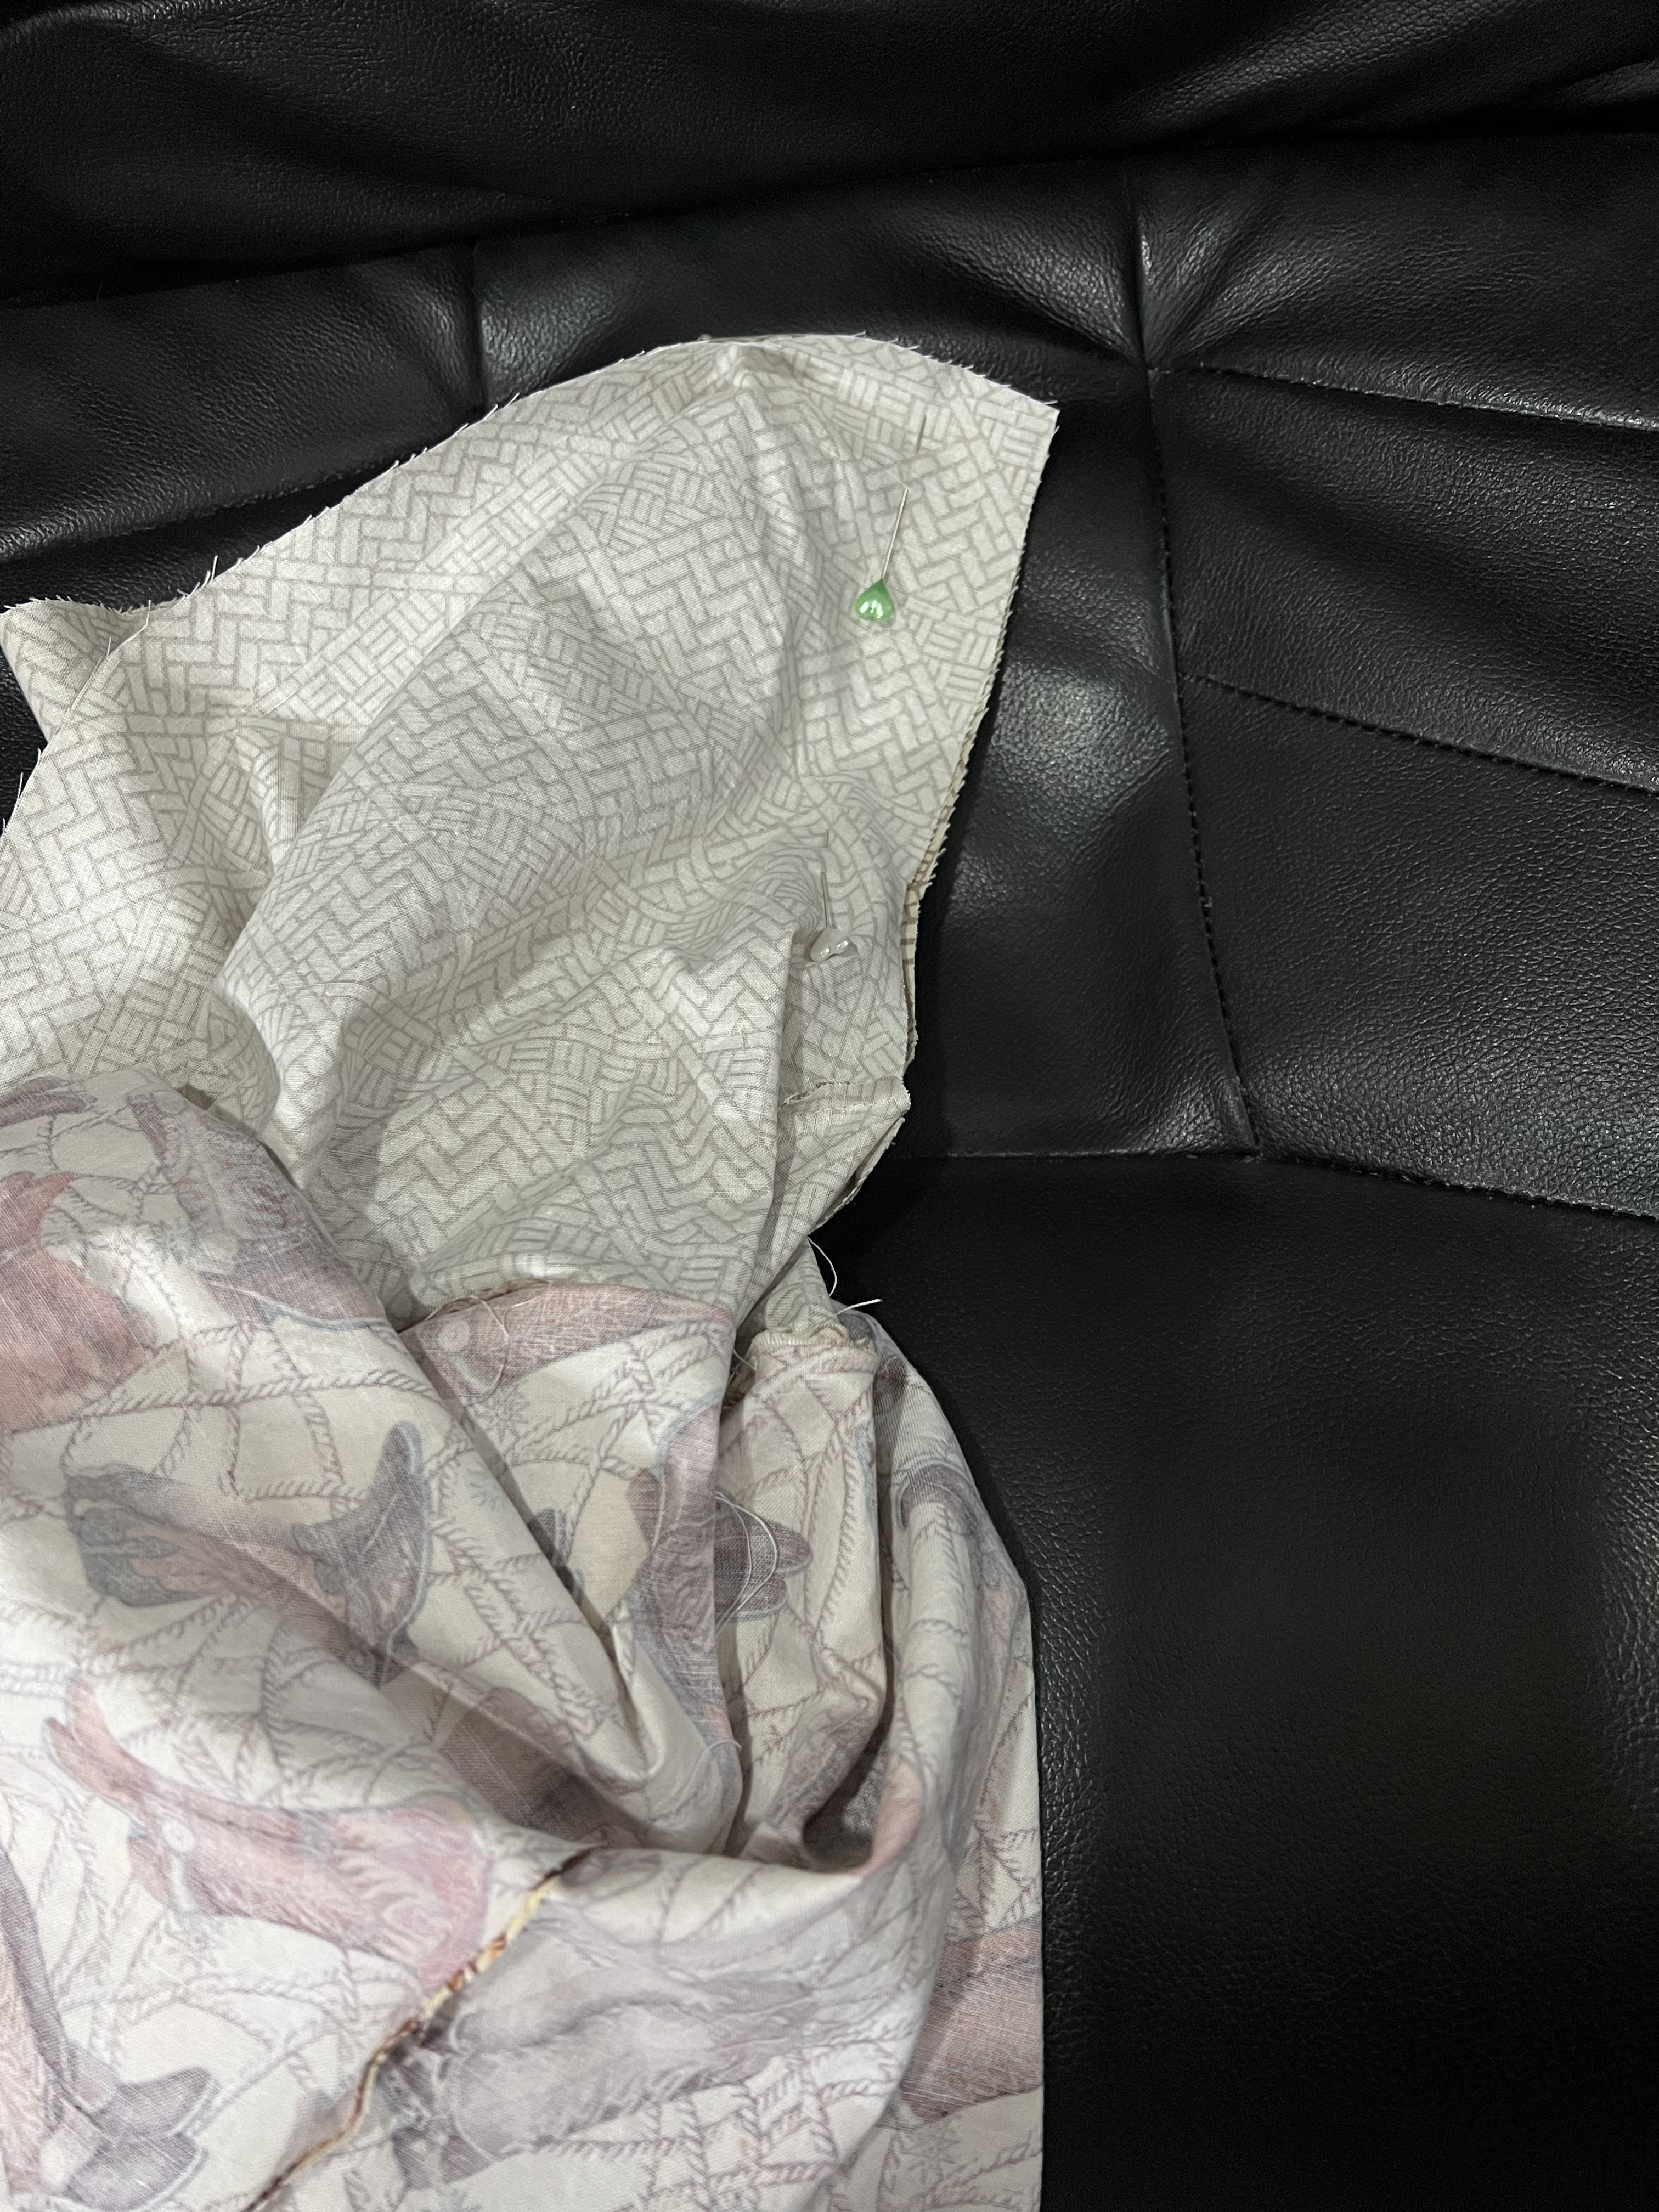
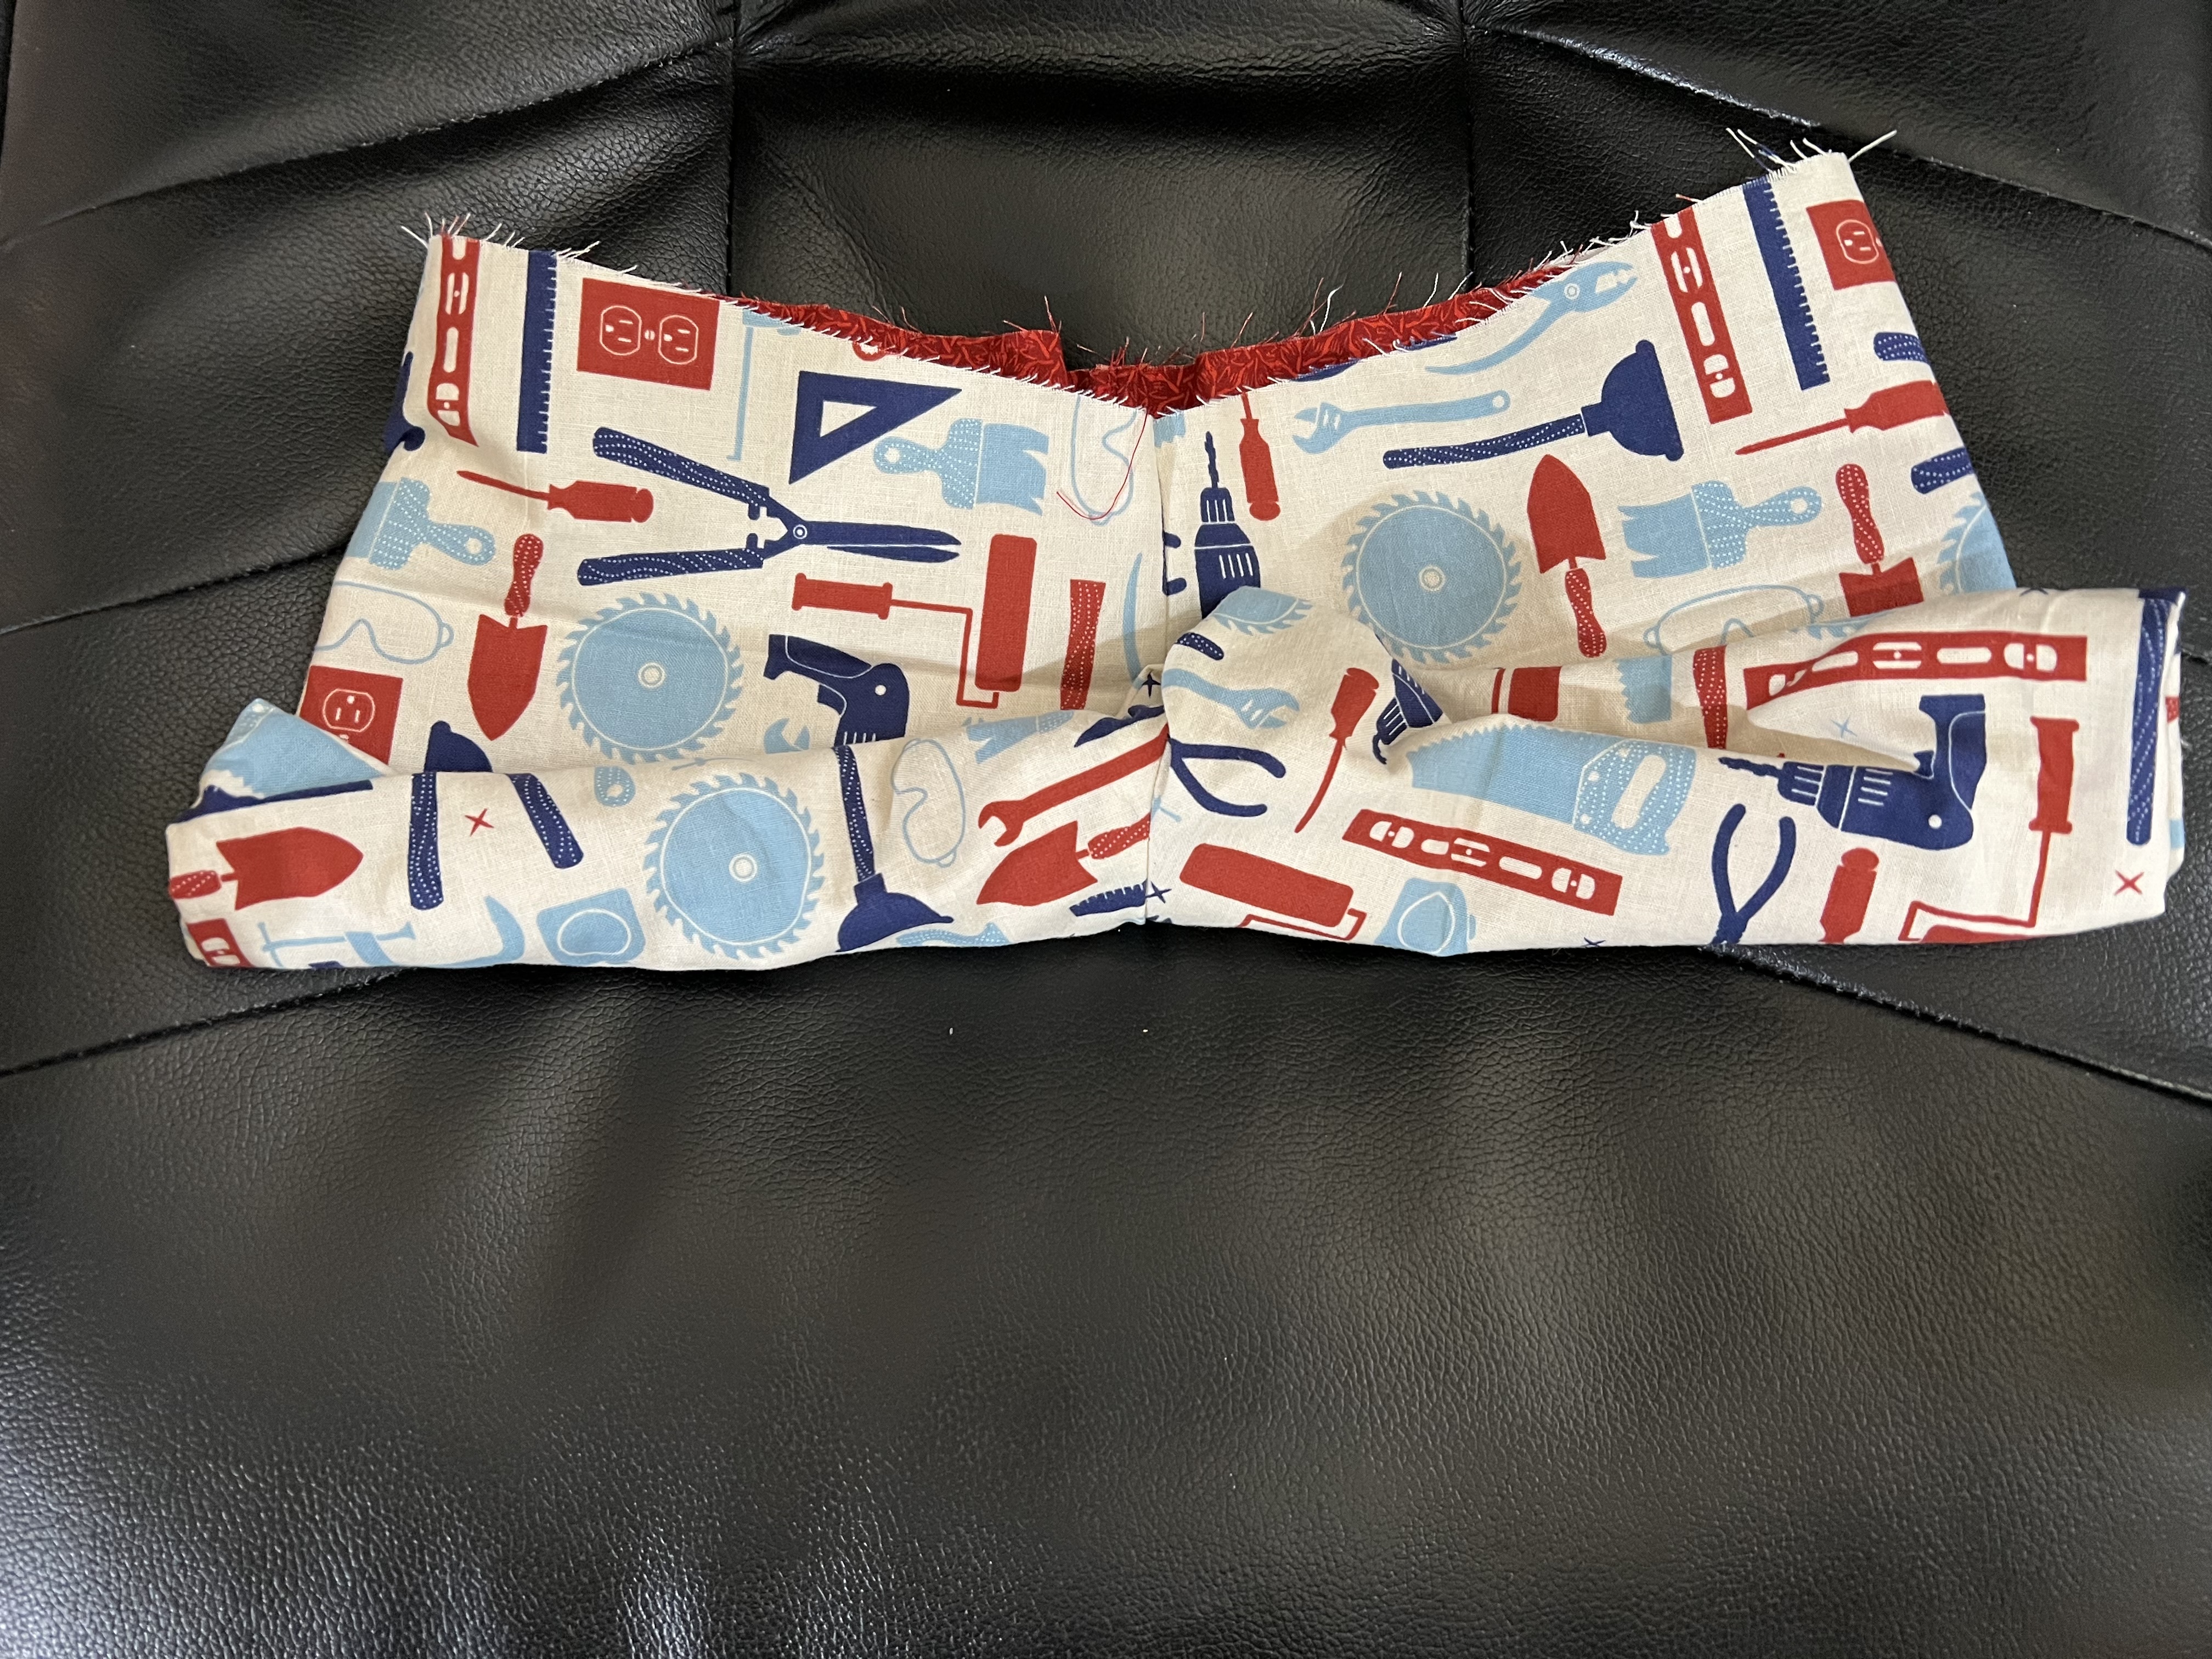
Left photo, Flames are right side out, tools are right side in. Slip corresponding leg over so that right sides are facing, and you are sure front is matched up to front. The crotch curve is a great indicator. Sew the circumference of the hem line. Bring the single leg around so that wrong sides are facing, carefully press the seam you just made to the very edge of the inside of the hem, and top stitch.

Second Crotch Curve – two ways.

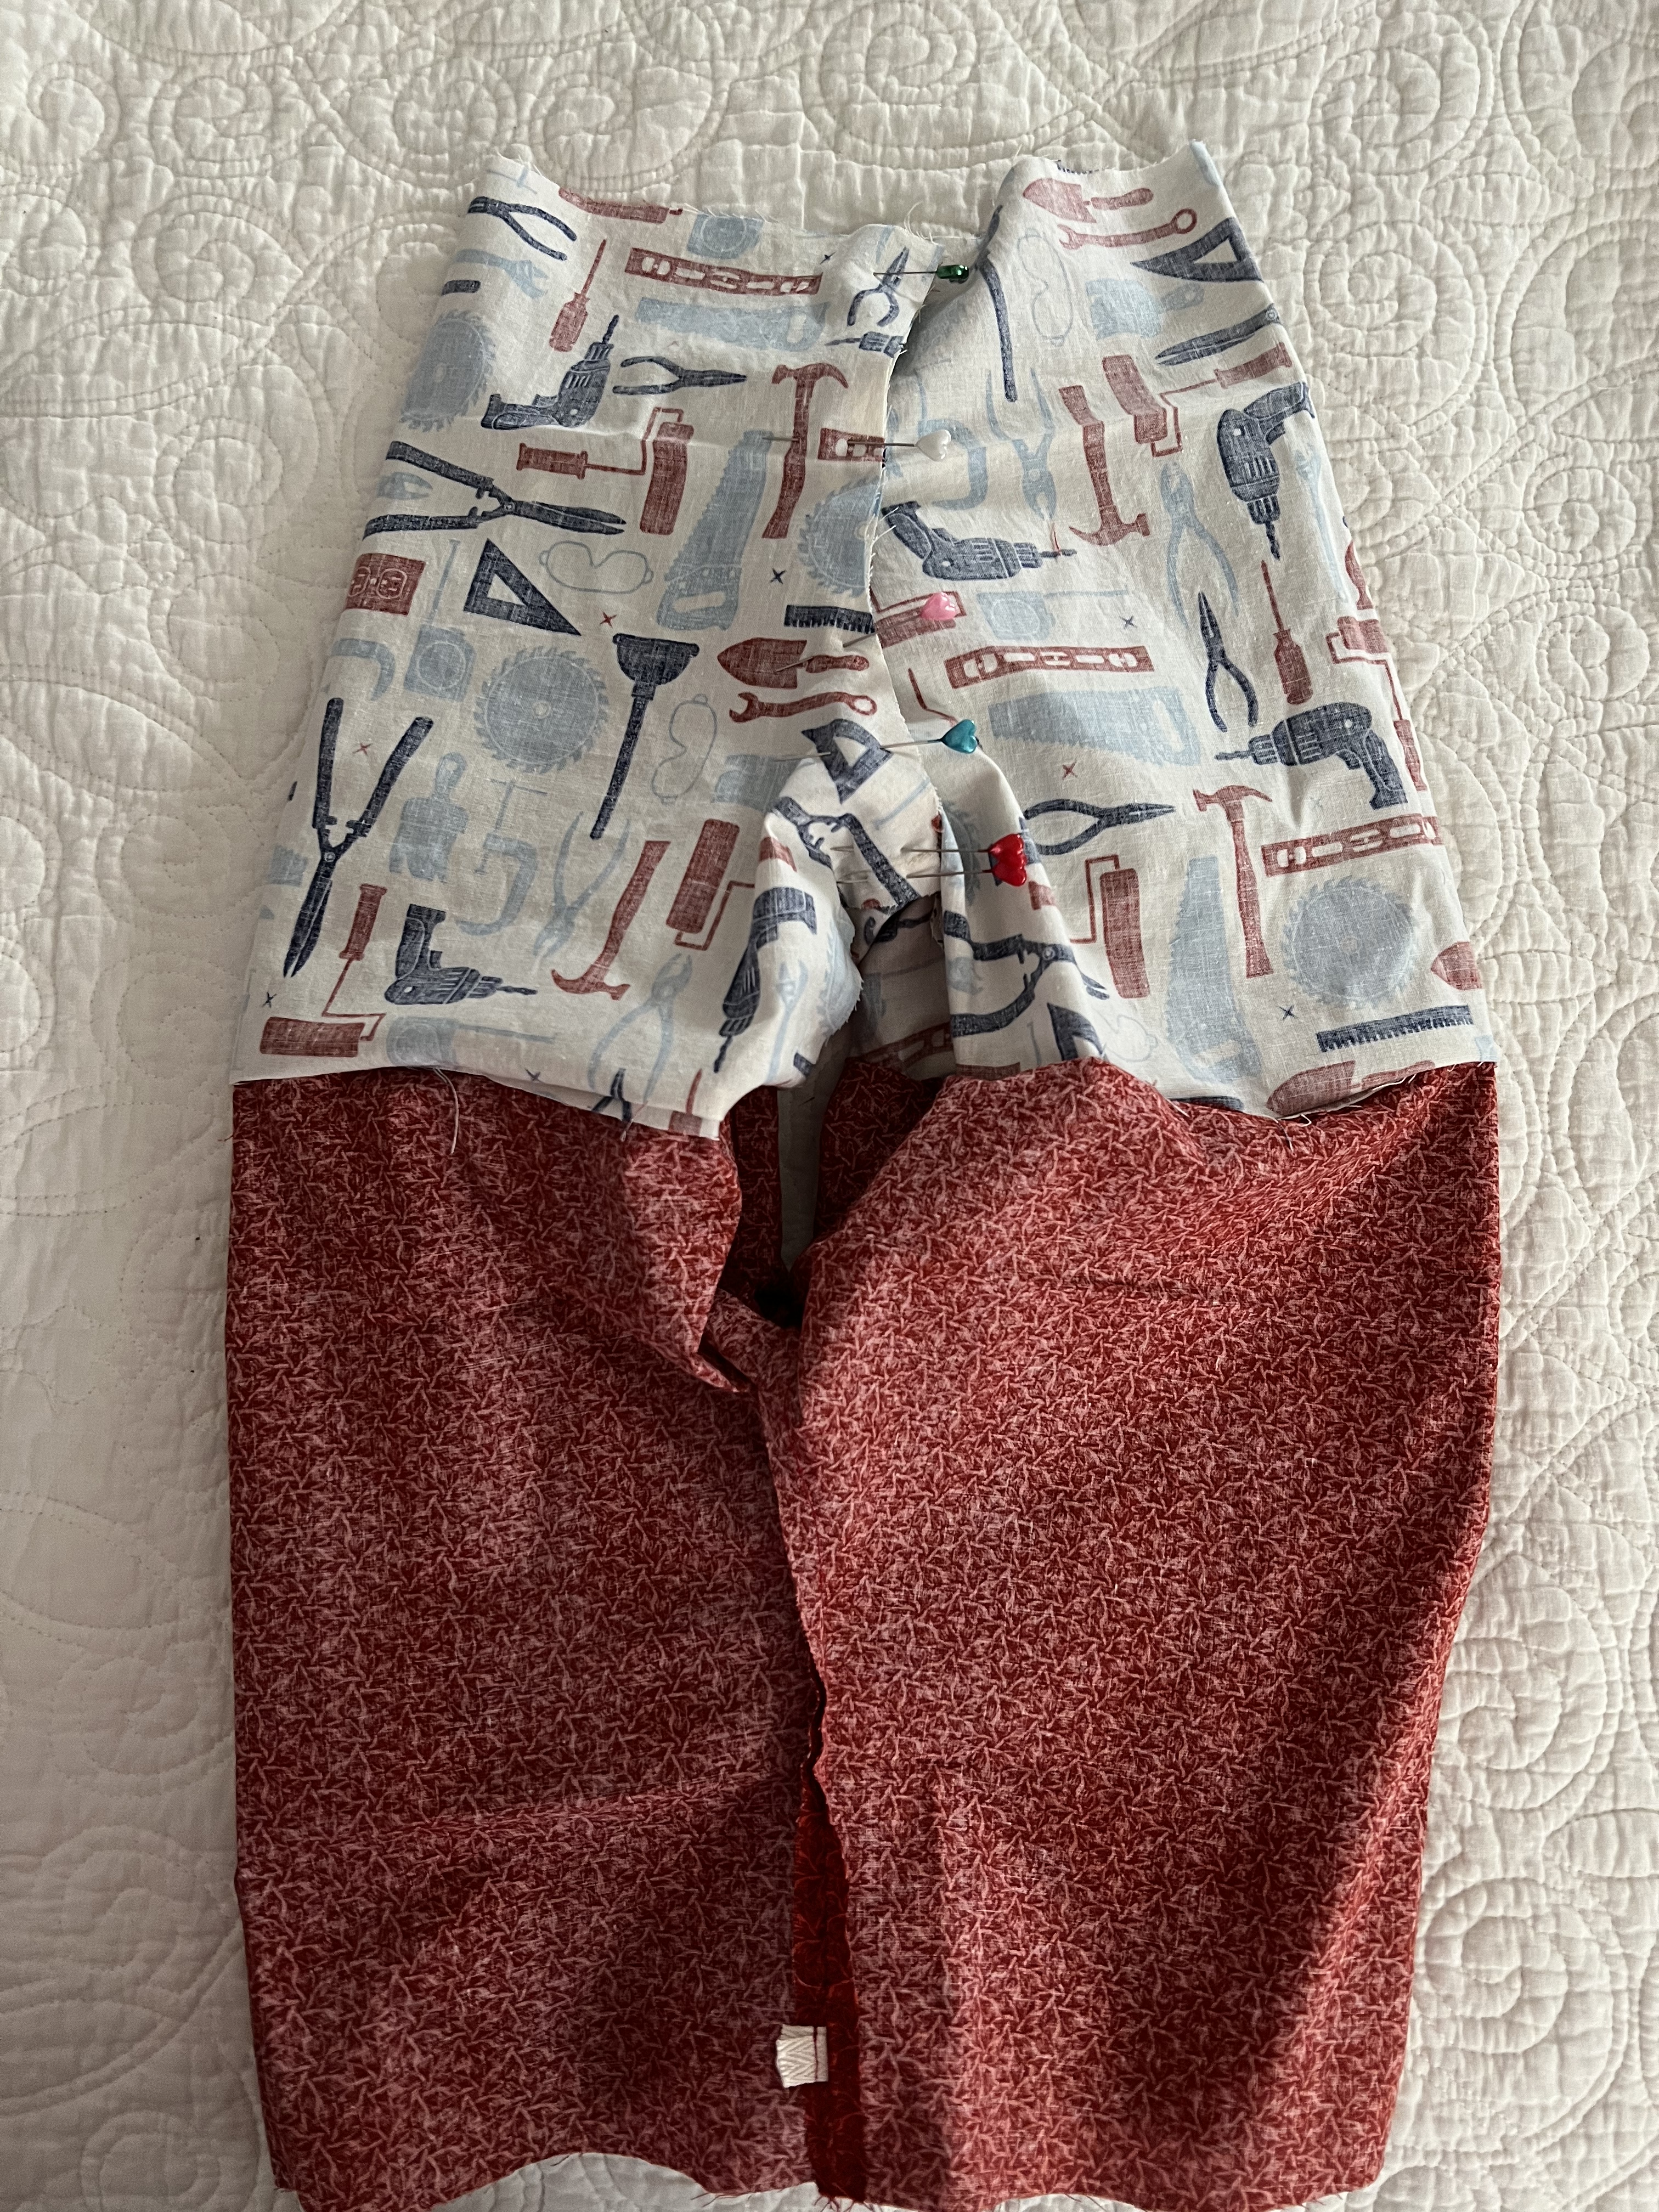
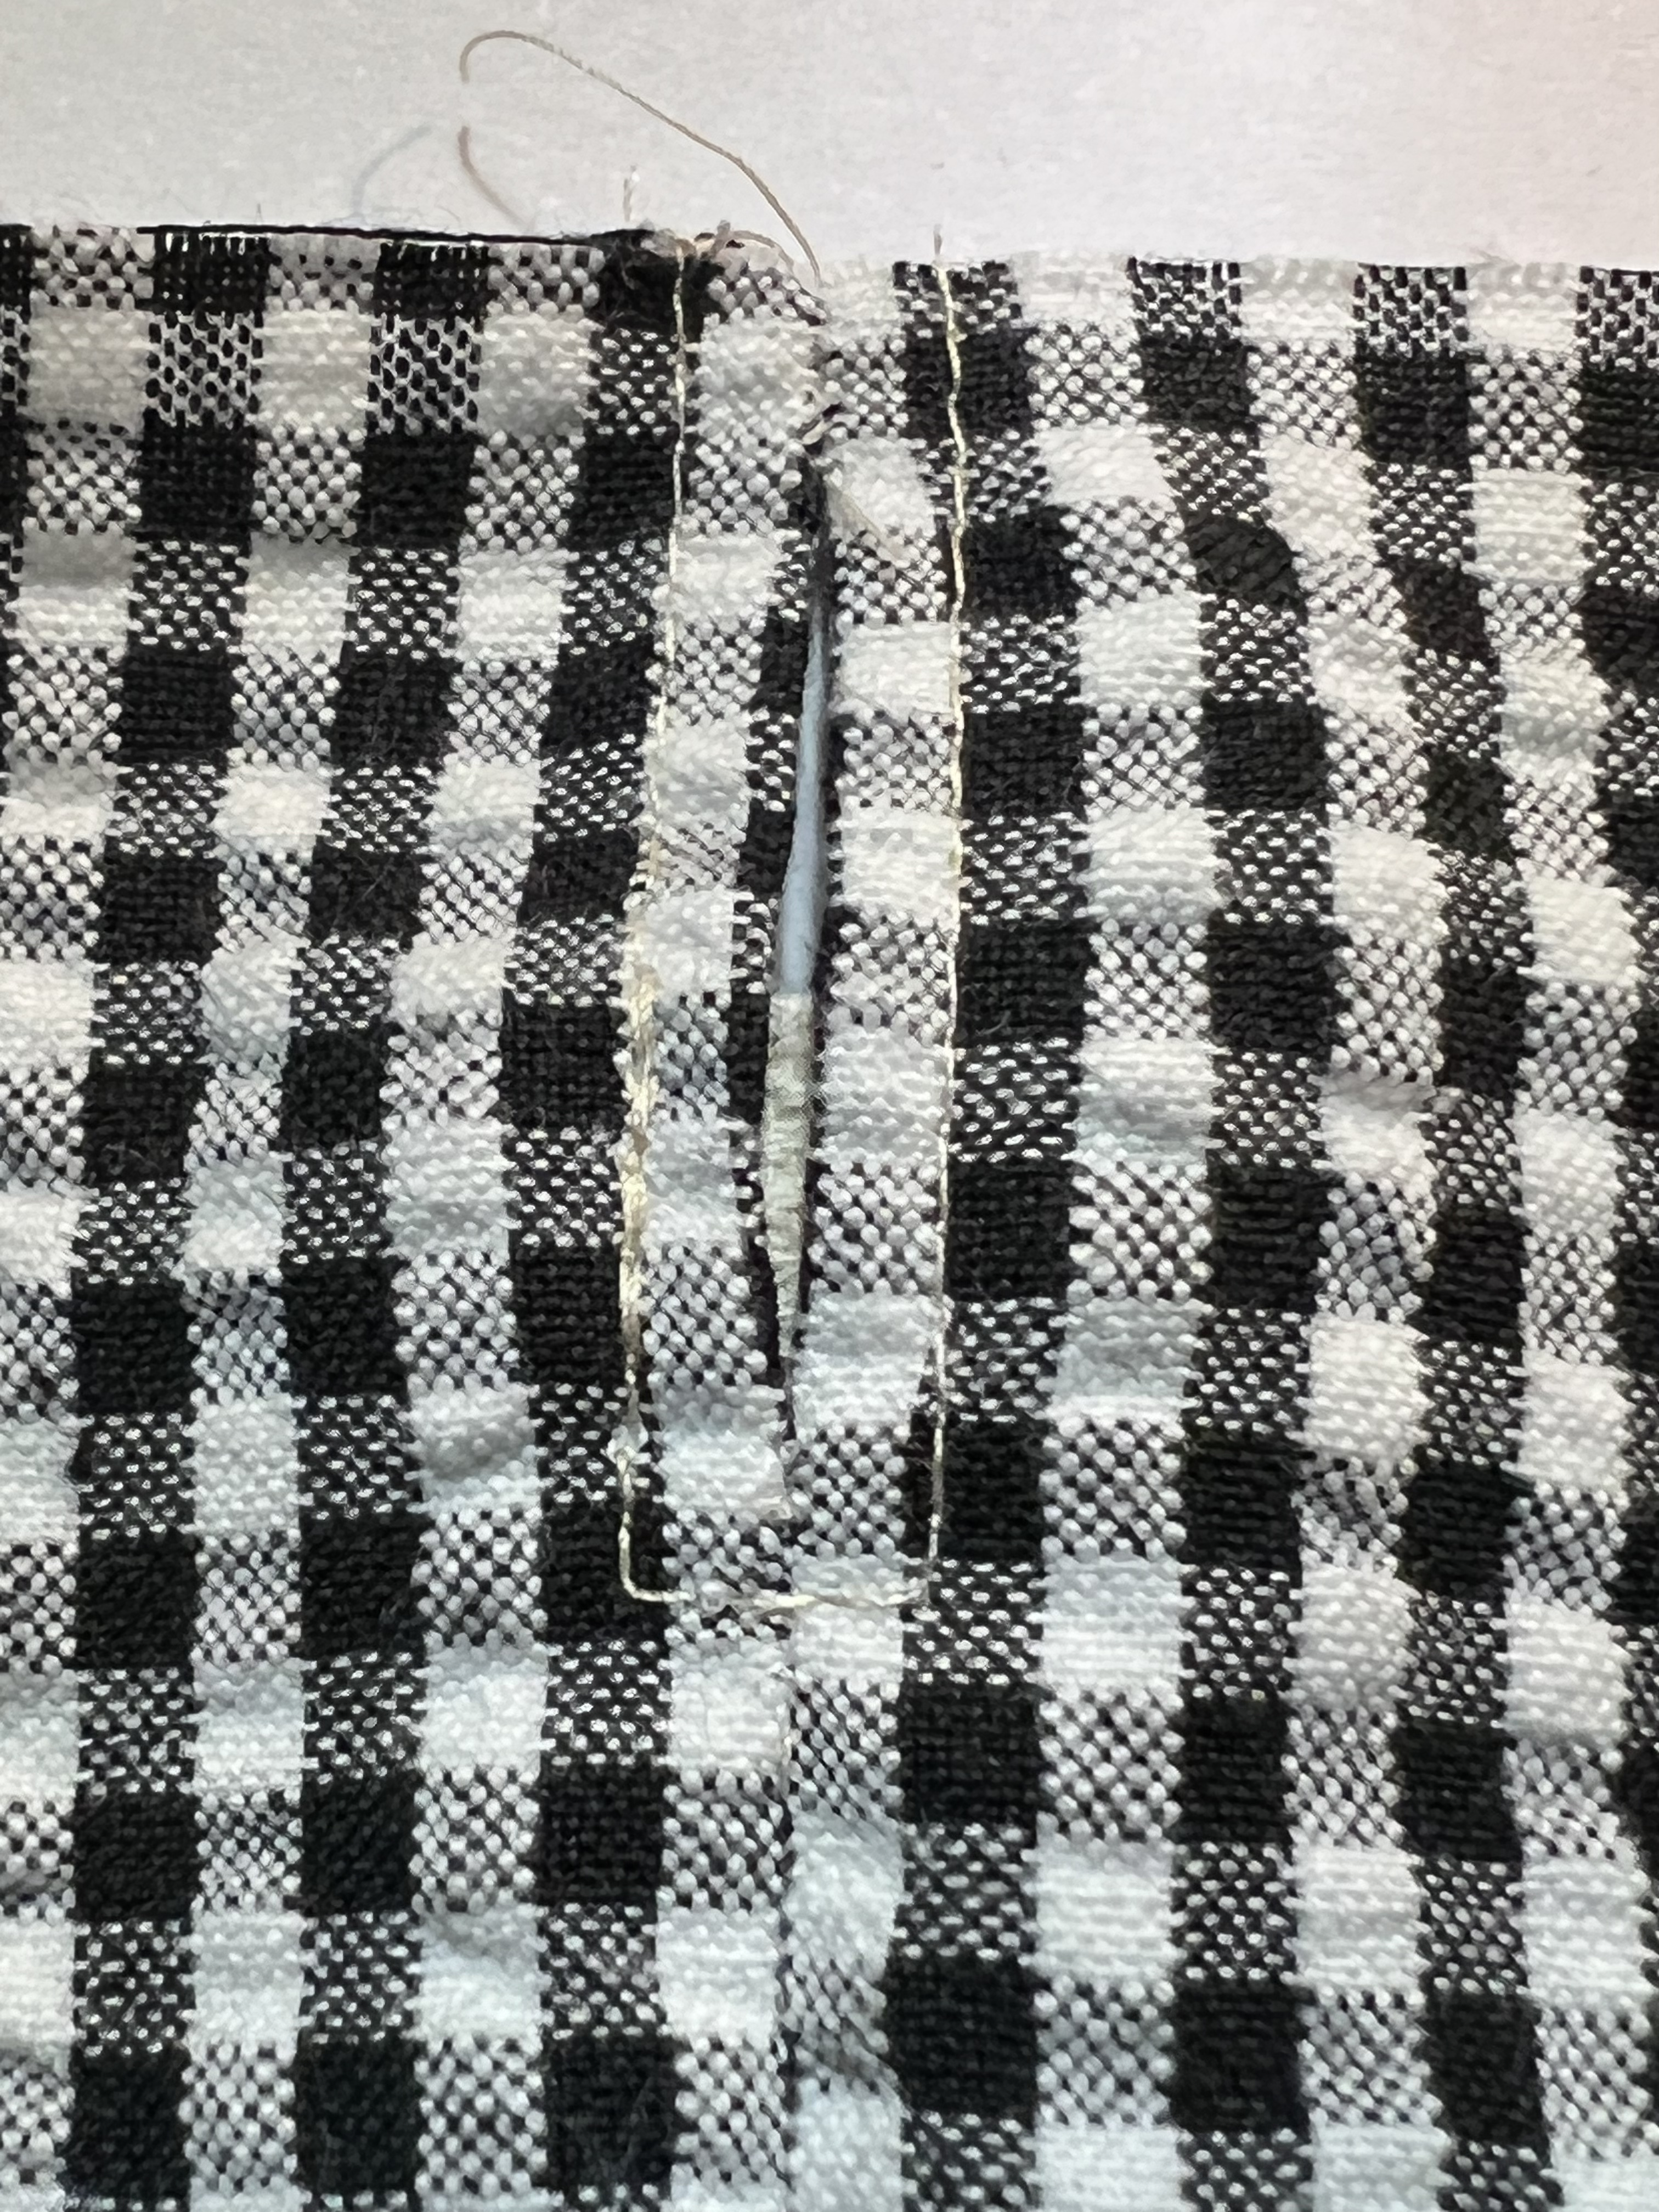
11. Pull the layers apart so that the right sides are facing. Pin the front and back crotch curves. Sew, with a secure stitch (remember that crotch curve bias) the front crotch curve then the back crotch curve. Make sure your seams overlap nicely at the inseam. Alternatively, I start the crotch curve at the center back, and just pull the fabric through, making sure to not stitch any additional layers, just the the crotch curve. When you are making these in multiples, or this is your 3rd of 4th pair you may feel more comfortable with just starting at one edge of the crotch curve and sewing. See photo below.

Who is ready to sew the waist seam?

After your shorts are straightened out so that wrong sides are facing, and they begin to look like a real pair of wearable shorts, we will sew the waist seam. I will show you two ways.

Burrito Method

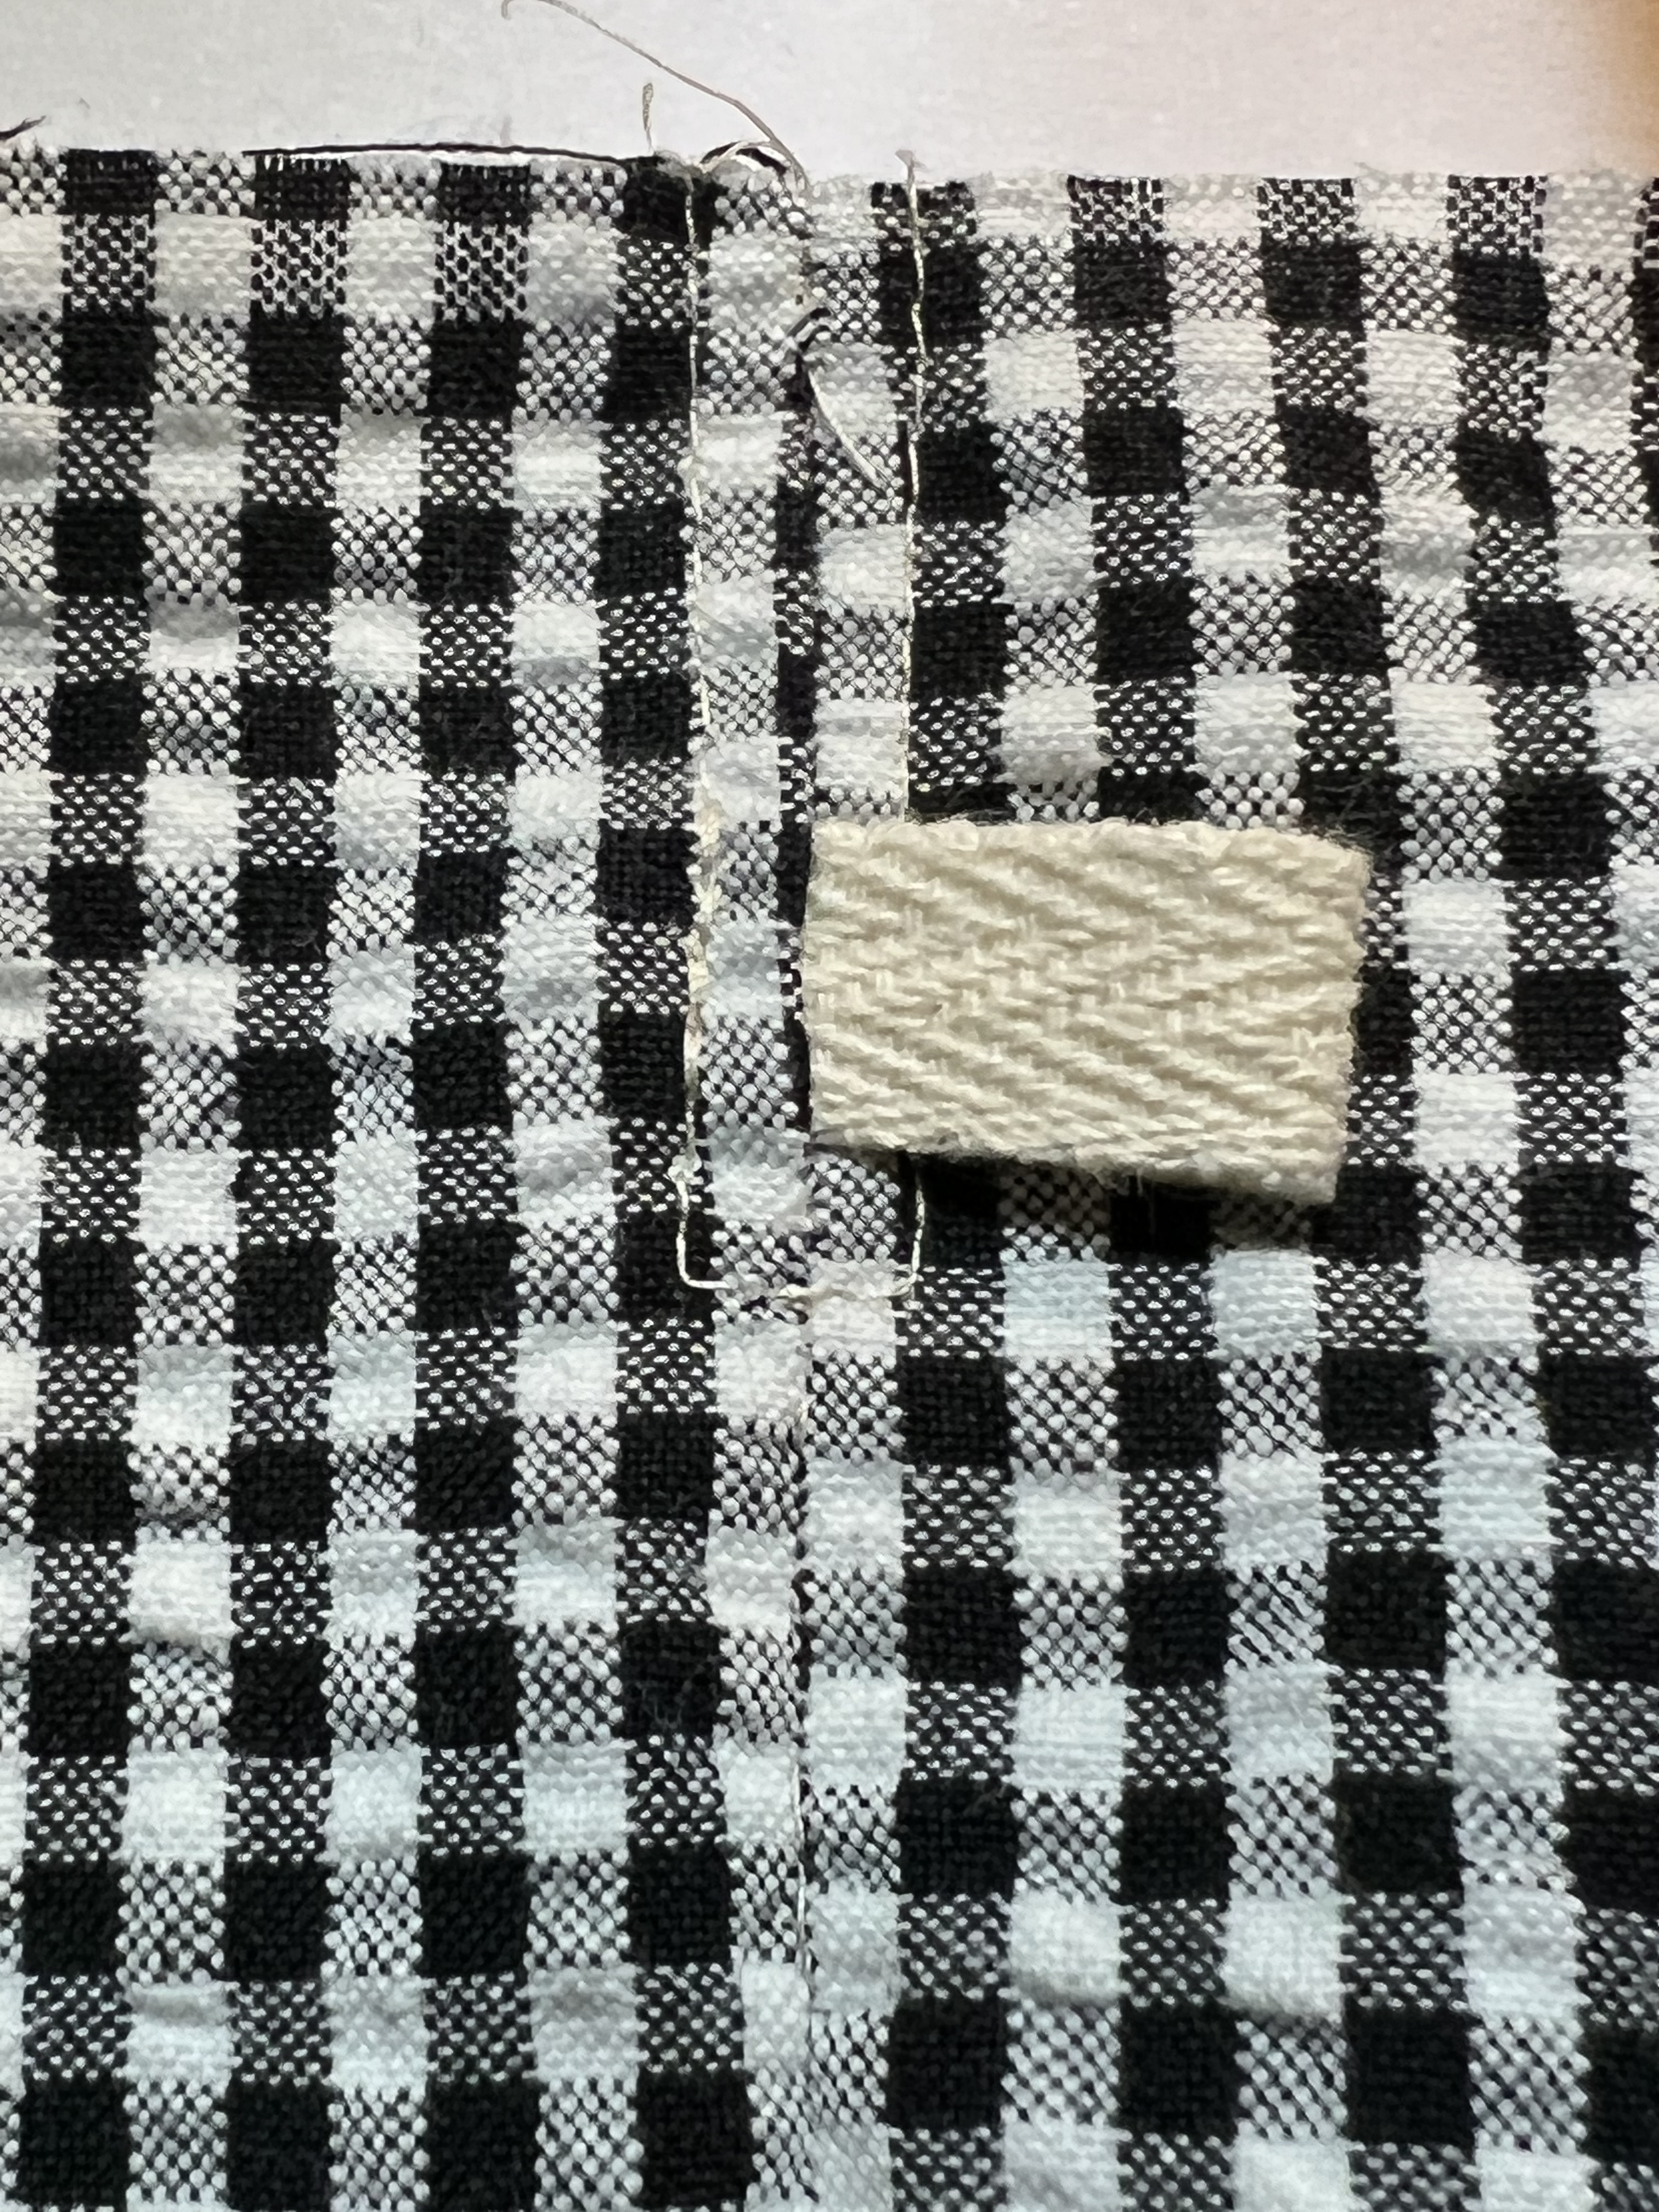
12. Roll up the legs of the shorts and wrap the back of one layer around to meet the back of the second layer. Pin the centers together, with seams open and as far as you can to either side. Make double sure that all the extra layers are pushed down and out of the way of your seam.

13. Start sewing just before the intersection of the seams, so that they are included in this waist line seam. It will seem like you can only sew a few inches before you run out of fabric. Unfurl the rest of the shorts as you go. The remainder of the waist line will reveal itself as you go. Sew across the front crotch seams on the waist either opening those seams as you go, or nesting them.

As you get to where you can see the point where you started, stop sewing about 3-4 inches before that spot to leave an opening to turn your shorts right sides out. The right two photos are an “L” seam. It makes for a super sturdy opening for turning and eliminates those loose threads.

Waist seam Alternate Method.

13. If you do not want to take the time to burrito your shorts, and your shorts are still wrong sides together, you can just flip the back sections. One clock wise and the other counter clockwise so that the right sides of that section are facing each other. There will only be a few inches that seem to work to sew together. Sew those, then pull the fabric from the center of the shorts, exposing more raw seams to sew together along the waist line. Be the boss of the fabric here. Consider sewing this seam with a longer stitch in case you need to remove it later. Half way around, you will run into the front seams. .

14. Match them up right sides together and either nest them or open both and keep sewing. You are able to sew the entire circumference of the waist seam in this fashion. Please stop short of doing that – about 3-4 inches short of completing the circle. This way you will have an opening to turn the shorts right sides out.

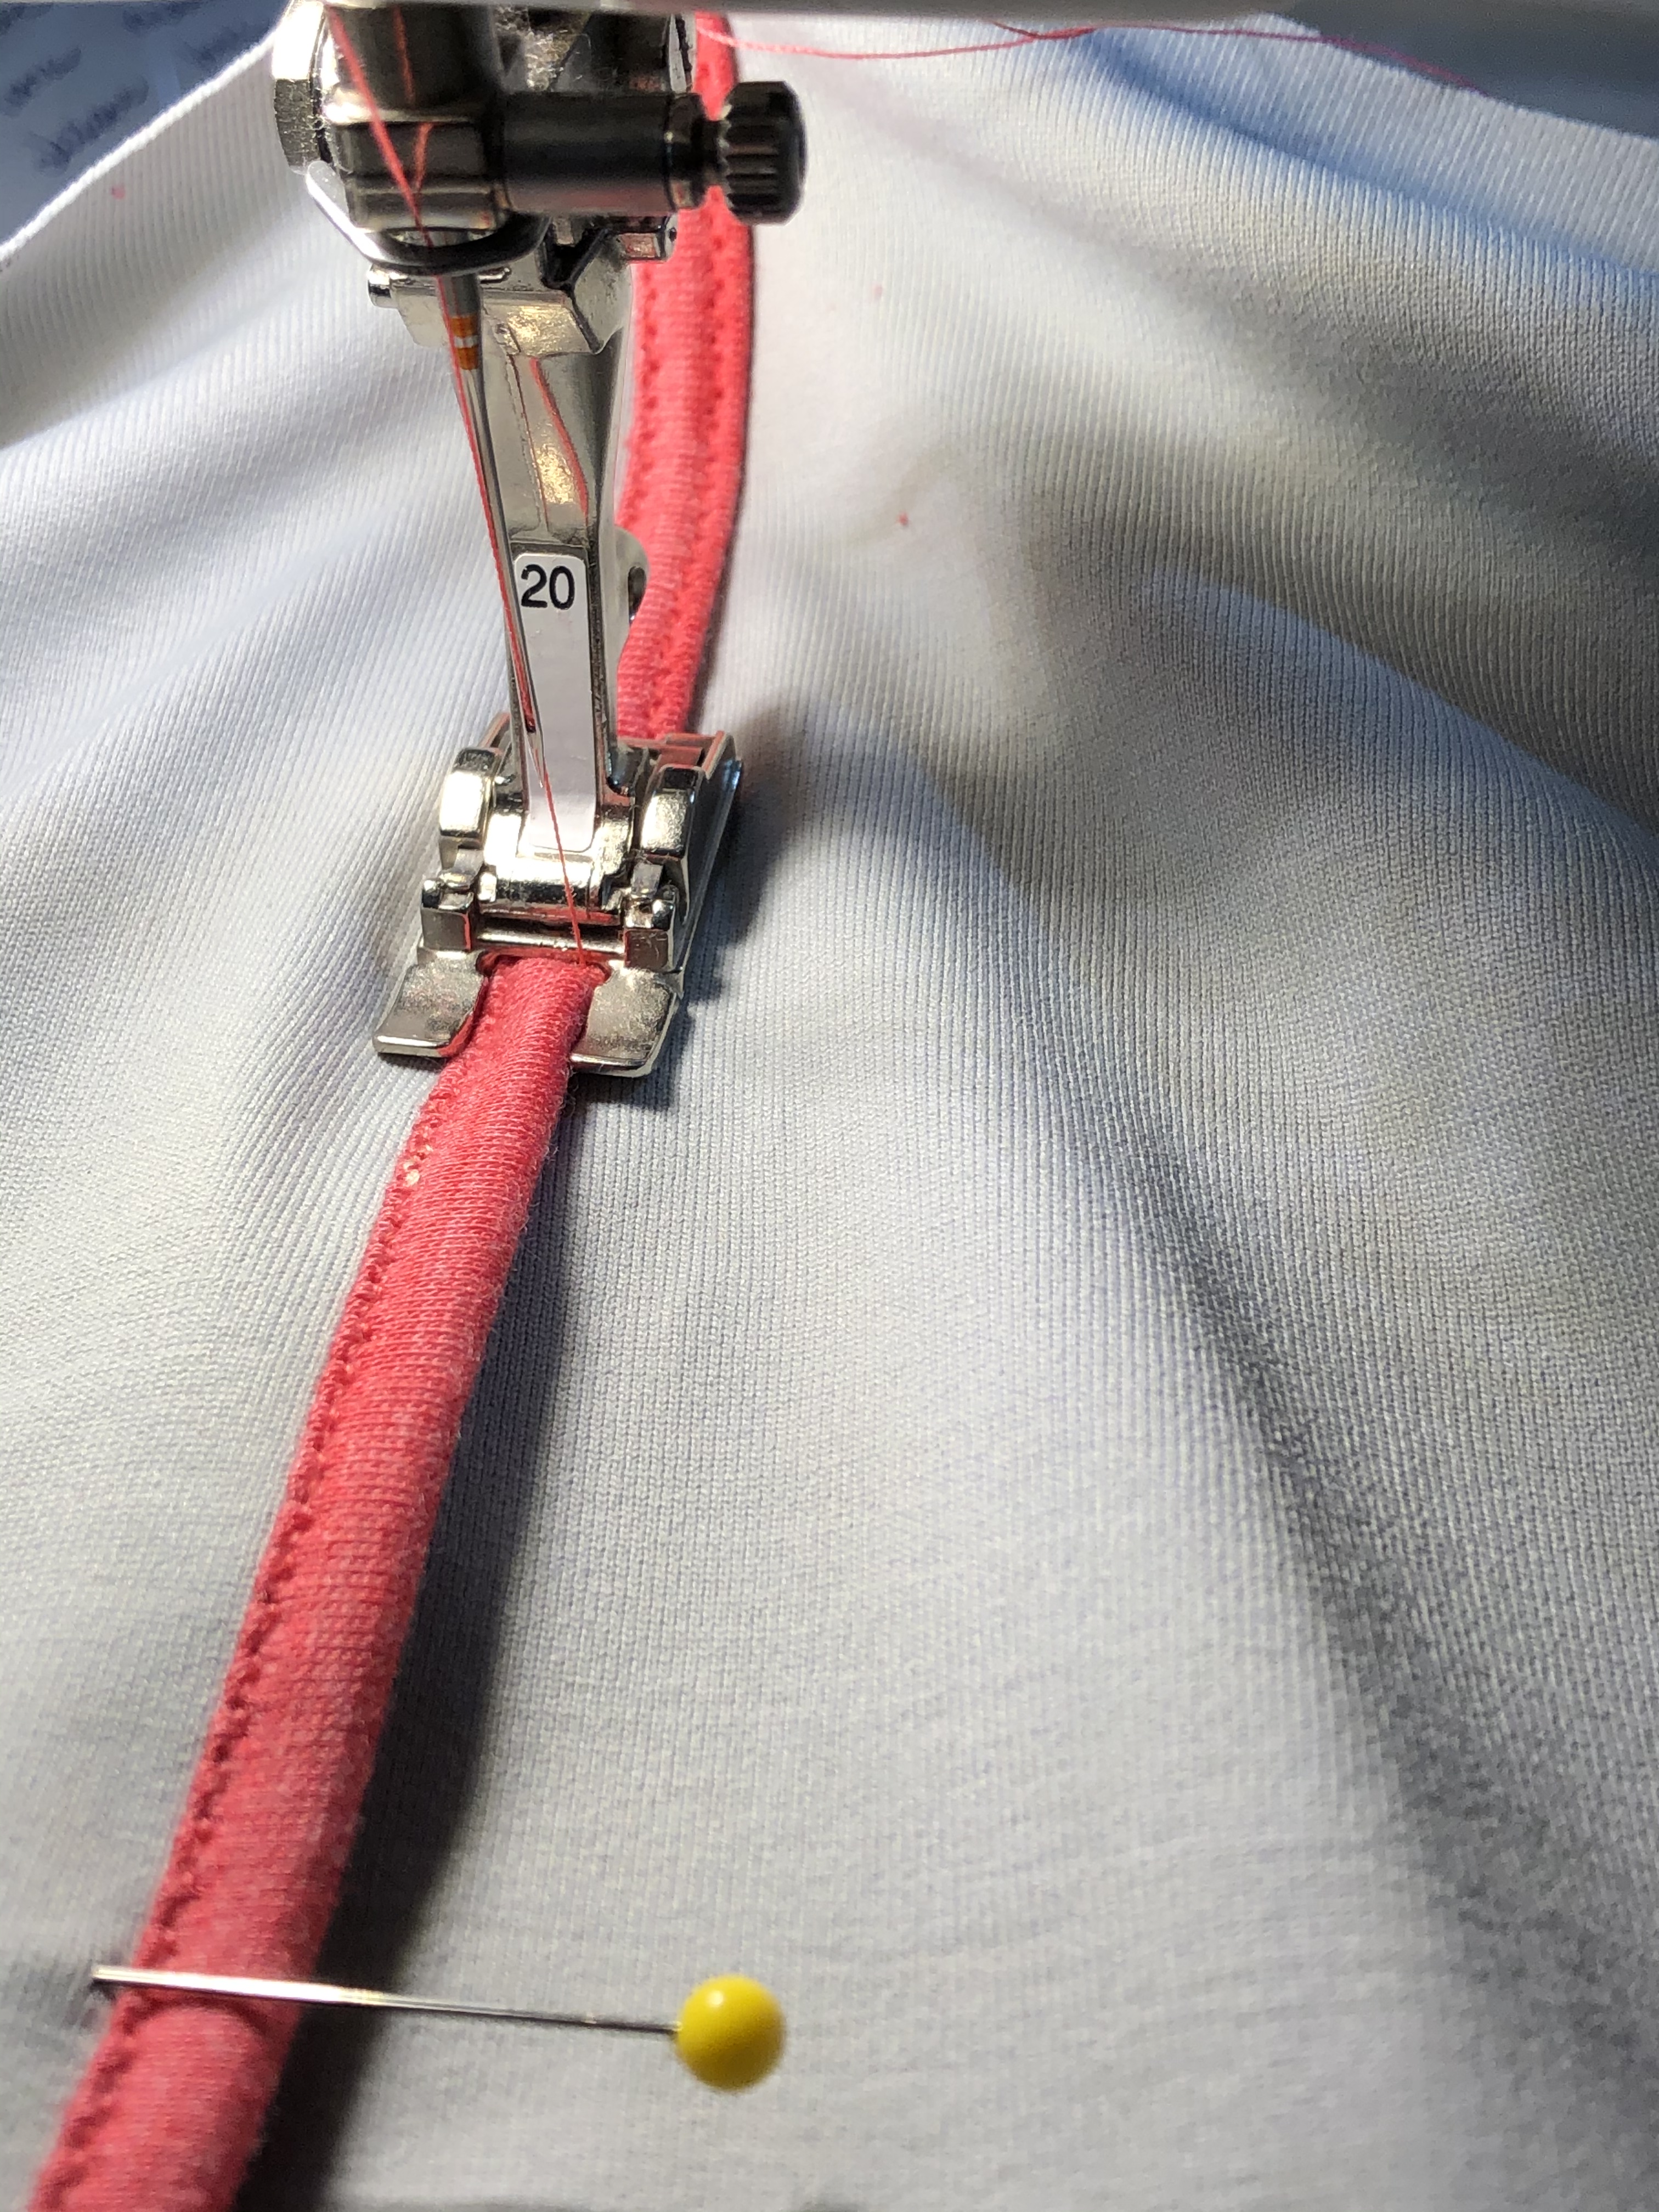
15. After you have turned your shorts right sides out, edge stitch around the top waist band. Pressing might be your friend here. Tuck in the raw edges of the opening and align them as close as you can. This seals the opening, and no one will notice it. Then make another seam one inch away from the edge. This forms your casing. Using the opening you created in step #2, slip the elastic through the casing and secure. A heavy duty safety pin or bodkin is useful here. I used 3/4 inch elastic for kids size 5 shorts. You can slip stitch the elastic opening closed if desired.

Think about top stitching with coordinating threads in the top and bobbin.

16. Congrats! You did it!

Tips: Start simple with a kid size and quilting fabric in similar hues, so that the thread in your top and bobbin will work with either fabric. Be sure to prewash and dry all fabrics used. Use single side printed fabrics for your first pair. Try a longer stitch length of 3. That is easier to take out than 2.5. Add strength to your crotch curve. Triple stitch or add a little width to the seam at the bias edges.

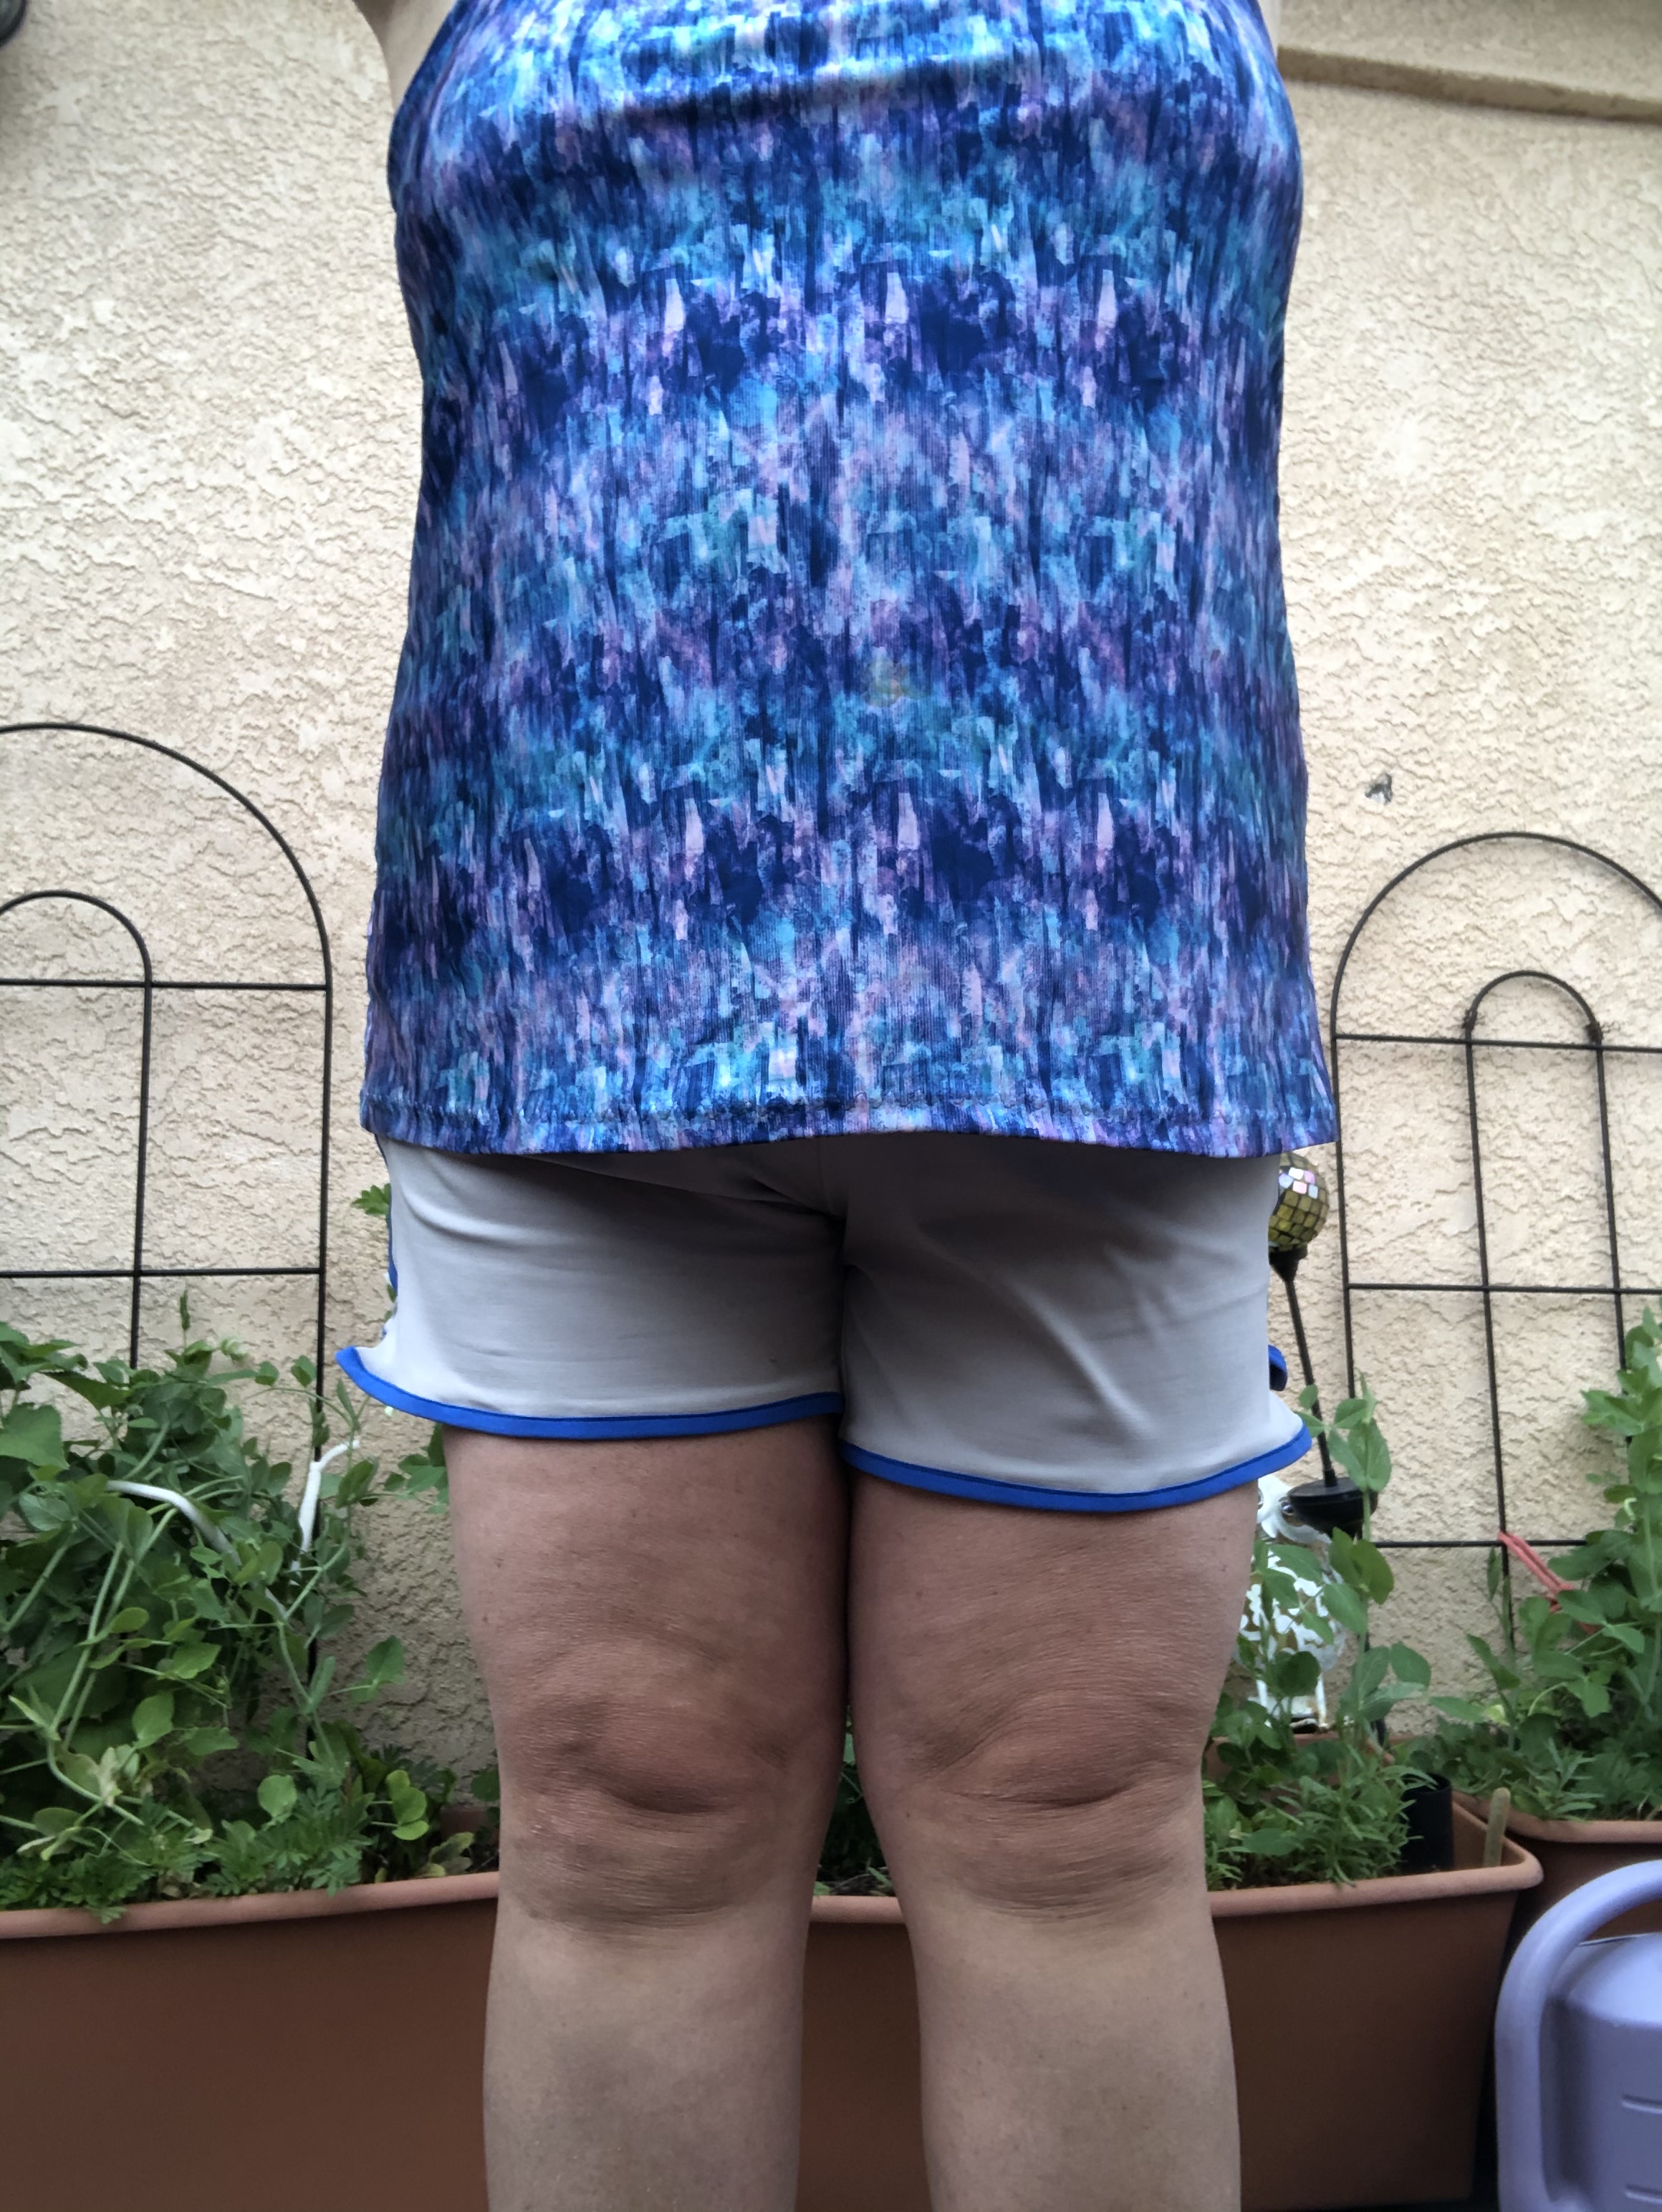
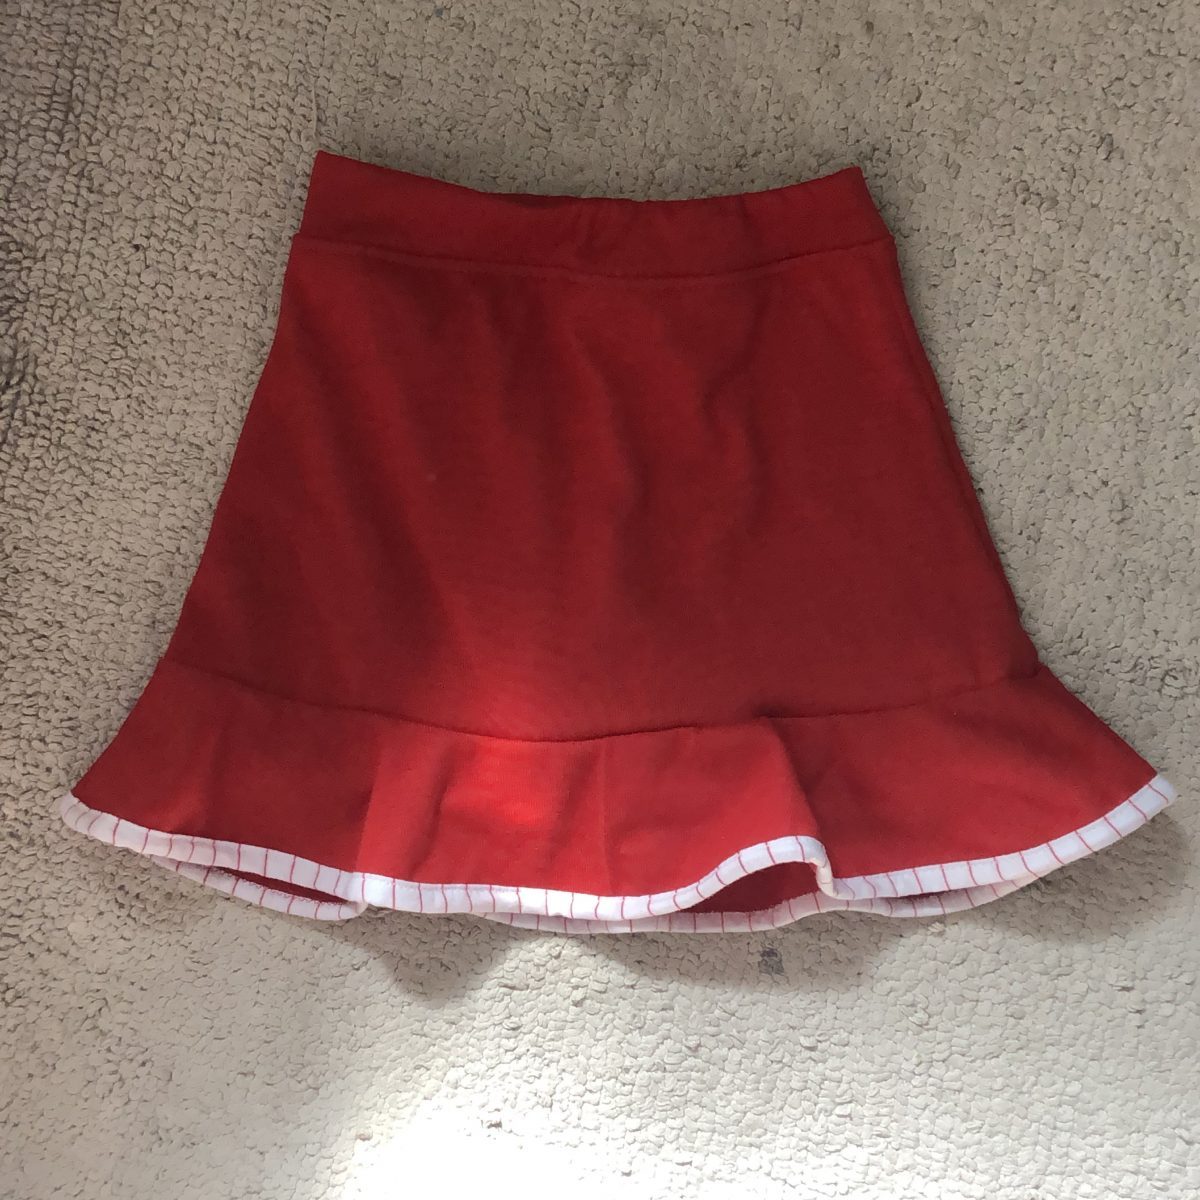
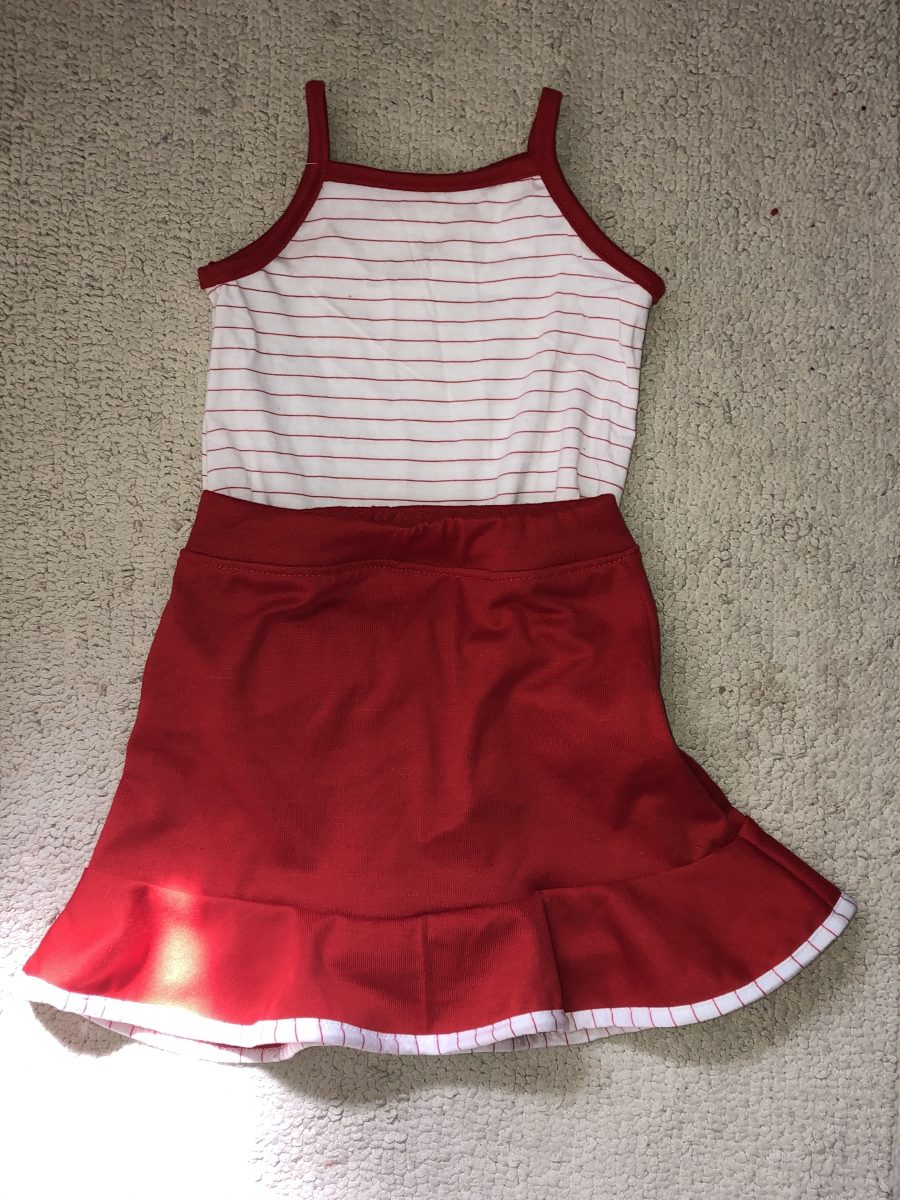
Want more reversible clothing? We sewed Tie Dye Diva’s Potato Chip Skirt pattern a couple years ago, that lead many of us making Chocolate Chip Skirts for our selves, and Puperita’s Baa Baa dress the year before that. I love sewing reversible!

This post may contain affiliate links. I thank you for using them. Happy sewing! Joan

Bethany shorts

Are you a toddler? Do you chase a toddler, or more than one? These may be your perfect summer shorts. All the vibes of gym shorts we wore in the 70’s meet today’s modern fabrics!

Bethany comes in a bundle with both kids and adults sizes.
The orange is a 14 oz cotton lycra with matching trim. Don’t let the trim scare you, it is easy. Rather like bias tape, but knit. An open toe embroidery foot and moving the needle right or left can make a difference! This was paired with the Jenny top. Love how the bands can bounce off each other and make an outfit sing. If you look closely, you can see that I folded under the binding on both the inside and outside. I cut the binding on this pair 1.5 inches wide. Serged the right side of the binding to the wrong side of the shorts and wrapped it around, folded under and top stitched from the front of the garment. This is different than the pattern instructions, and makes for a bulkier binding. Best to use a thinner fabric for this construction method.
This is a rayon spandex stripe on a nylon spandex short. I used the pattern’s method to make this binding. Love how it looks and how sleek it is. Bernina feet have this version and a wider version. Other machines may call it an open toed embroidery foot.

What about swim shorts? These are the same nylon lycra as above with one inch wide Fold Over Elastic to match a Key West swim top. At this point in my life, I am happy for a bit more coverage. Love the built in shelf bra of the Key West. There is an optional liner included with the pattern! Instant swim bottoms, with different length options give you so many choices.


Try a cotton lycra with one inch FOE! Bar tack not included in the pattern. I think I remember seeing them on the 70’s versions. I veered from the pattern and zig zagged the elastic to the back side of the shorts, then wrapped round to the front.

A lightweight wicking fabric for under summer dress kind of shorts.

They are perfect for driving to the store. While your family builds you a playset.
I made the polka dot pair at my daughters house on her machines and fabrics while the family was building this play structure. They are fairly fast and easy, and were ready for her to model once she got up from her nap.

And tending the garden… I know I will be wearing mine in the garden.

Maternity options include a below the bump waistband. Good news! The above the bump waistband from the Candy Pants is a perfect fit! Choices are great!

Athletic knits are perfect for wildlife observation. Note that this was an early version. The kids waist band has since been lowered, and the opening on the side leg is more narrow. Here I used a narrow fold over elastic to add a pop of color.

The shorts with the hot pink binding were made from the very last of the fabric that the Escapade and Candy pants were made from a few weeks back. More on the Escapade here and here.

Momma needs maternity shorts and has been wanting matching outfits, so I made her a pair of polka dot shorts. She gets pockets. I upsized them a little, and hope her phone fits! When she tried on the first version, she immediately folded them under to make them shorter. This is the 1.5 inch inseam. Excited to see her wear them!


While I had orange thread in the machine, I added pockets to my orange version. Also phone sized, cause functional pockets work for me. If you plan to make yours for swim, you may want to add water drainage, in the form of grommets or buttonholes to the bottom of the pockets, and add the inside brief. There is a cool video about that here.


Last night I stitched up a medium in a high and low rise. You can see the difference here.

My sweetie likes his pair!


Much appreciation for the versatility of these patterns! To make in swim or not in swim, to add a liner, or not add a liner, lengths, rise heights, maternity, a world of choices. I made 10 pair in testing, with more planned, and my family will enjoy them all summer!

There is a video here and here.

A note about the binding, a lighter weight fabric for the binding seemed to work better for me, than a heavier weight.

-Take a moment, or ten, and practice making the curves with the binding on scraps, till you get the feel of it. Just like bias binding in woven, a 1:1 ratio on the straight parts worked great for me, and going round the curves, stretching the shorts to match up with a little extra binding will help to make them lay flatter once completed.

-Maybe loosen the pressure on your pressure foot, and try wash away basting tape or the like.

-Experiment with different stretch stitches. Basting will be your friend here. Totally worth a few minutes basting to save ten times that time ripping.

-Matching thread camouflages wonky stitching. Matching trim also helps minimize tiny sewing imperfections. Try that for your first few goes. When you feel good about your efforts, then try something more bold.

I sure enjoyed making all the summer shorts in this pattern. I hope you do too. This post contains many affiliate links. I appreciate your use of them. At no cost to you, I may receive a small commission from the designer when you do. Thank you!

Happy Sewing! Joan

Shenanigans – Plays well with others

I love the Shenanigans from 5 out of 4 patterns for a quick getting dressed in the summer when you want to step up your shorts game. The ruffle at the hem is optional, and gives it a little kick. Also provides a bit of modesty. I made this one a little extra fun by binding the hem with a tiny stripe instead of hemming the circular ruffle. A rolled hem would be fun as would just serging it.

This is the kids version. Shenanigans plays well with other favorites from 5 out of 4. Here it is paired with the kids Stella. Stella’s strength is that she is also a romper and has a great shorts pattern. They can be made separately, or as a one piece. I used the solid from Shenanigans to make the bands for Stella. For myself, I was able to lengthen the top on Stella and if I seamed the back, could make a nightgown length dress from one yard of non directional fabric. Favorites since I tested them a couple summers ago. I did not make the romper, but am considering making it for sleepwear.

Shenanigans with Stella

If you are like me and live in the desert where it starts out chilly in the morning, or gets chilly in the evening, then add a Rocket Raglan with a hood option to the mix and you are covered for the day. Worn alone or layered, Rocket gets along with everyone. For an adult size raglan, Annabeth and Nancy are both awesome.

Now that Rocket and Shenanigans are friends, they may approach Rachel for a game of tag. Seriously, I believe that there is a pair of Rachel pants in this red solid.

Located said Rachel pants!

Been working on capsule sewing for my grand child, and it has been a blast! Sadly there is no adult version of Rachel….. yet.

Shenanigans is getting a little flirtatious in this photo. I love using the larger gusset for a cloth bummed baby. Gives a little extra space where it is needed. For the hem binding, I cut a 1.75 inch strip of knit the length of the hemline – about 45 inches for a size 3. Used the serger to stitch it to the back of the hem (with the right sides of the fabrics both facing up). Then wrapped that around, folded the raw edge under and top stitched with a small zig zag to the front. Covering my previous serged stitches. I believe I have written more about that process here

I have made many leggings based shorts over the years, and last summer made just the skirt part of the Shenanigans to toss on over my shorts when we are going out. Remember that, going out?

The shorts under Shenanigan’s are basically the Ninjas, or little Ninjas. If you are on a budget or just want to give this designer a go, they are both free patterns, and worth trying.

This post is riddled with affiliate links. If you use them, I may receive a small commission from the pattern designer at no cost to you. You will receive much gratitude from me, and a super cute well designed tried and true tested pattern. Happy sewing! Joan