 I was pleased to test 5 out of 4’s most recent pattern for aclassic one piece swim suit. It has really nice fit detail and options to make it your own. There is an adult version too, as well as a bundle. I made two in testing in swim fabric, and got a request for a rashguard.
In the interim, a cotton lycra mystery box arrived from Nick of Time Textiles. My youngest just graduated from college and has requested t shirts that are a step up from the graphic tees he has grown out of.
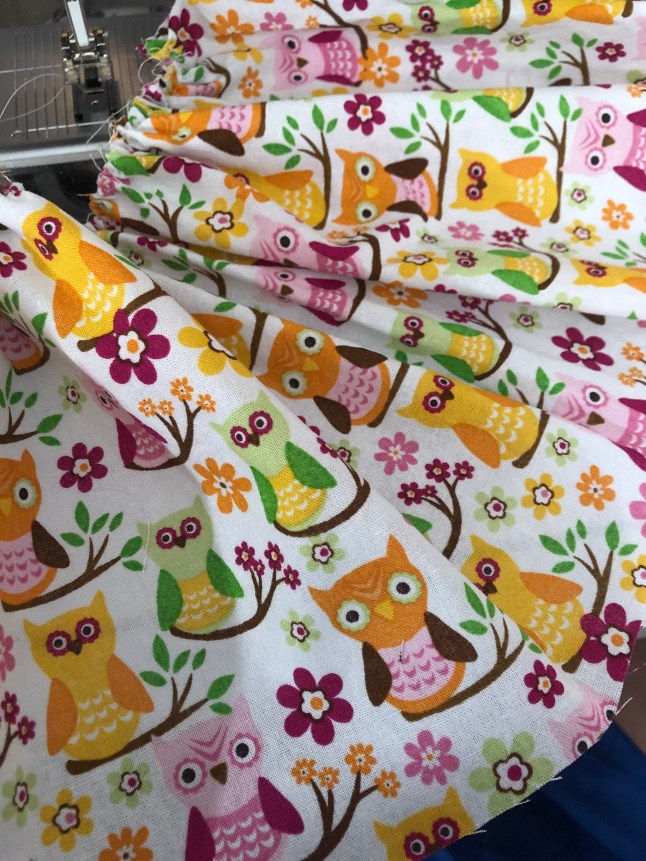
The pink was up for grabs. I really liked the peplum on the purple suit I made and the simplicity of the red one. I found about 3/4 yard by 20 inches in these festive owls. And thought they would be cute together. Normally I might make a muslin from a sale cotton lycra before cutting into dear swim fabric. This time it worked out the other way around.
The swim version has a circle peplum (cut 2 on fold). I knew that that wouldn’t be stretchy enough for this application, so I cut two rectangles for the skirt about 7 inches tall. The rest of the fabric was cut into 2.5 inch tall strips to make a ruffle.

2 7 x 20 skirt strips and 6 2.5 x 20 ruffle strips
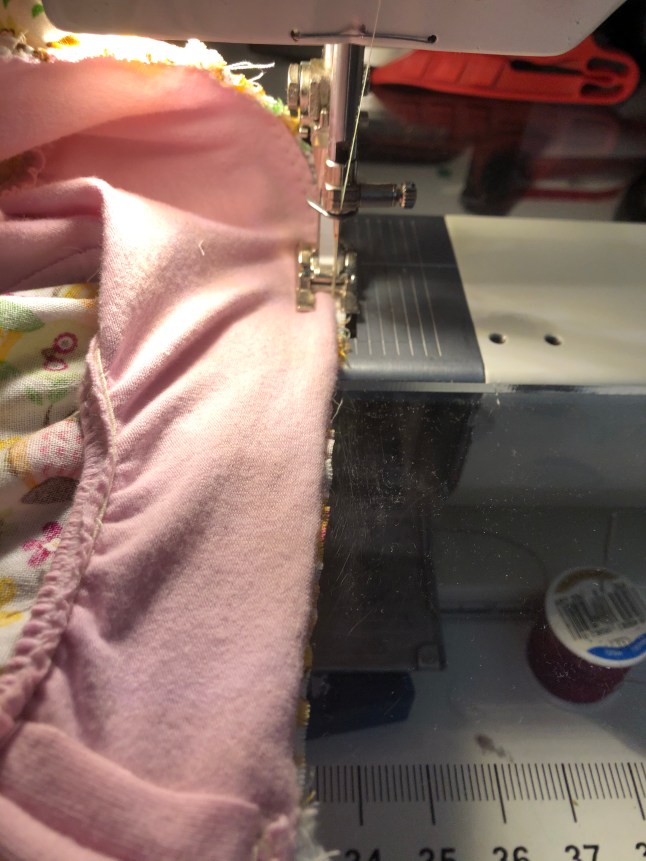
I cut out the remainder of the suit as directed from the pink cotton lycra, with one exception. I added 1.5 inches to the back crotch length.
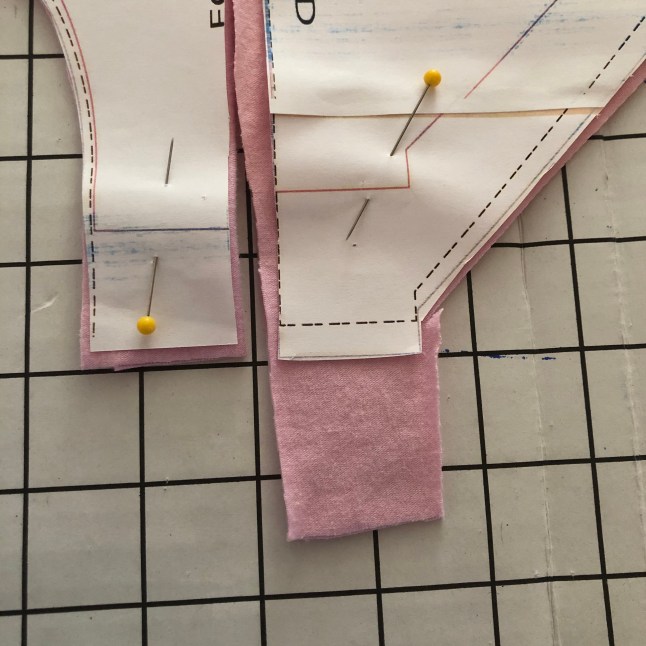
Since I couldn’t get the back on the fold, I seamed it narrowly and top stitched.


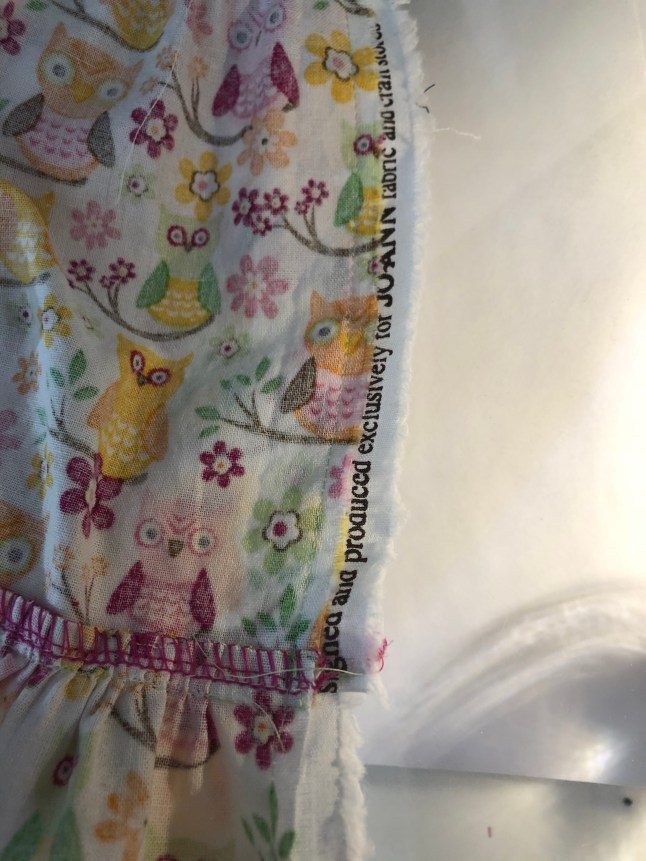
To reinforce the area for snapping purposes, I stitched 1.75 inch wide woven selvage strips to the front and back crotch edges. Top stitched towards the woven.
 Folded the snap tabs back on them selves with right sides facing the right side of the garment. Stitched side seams, and ready for elastic!


I added 1 inch to the elastic length from the chart and zig zagged that to each leg opening, taking care not to stretch the elastic over the tabs. In future, I will mark the middle of my elastic to match up with the side seams. A serger or clear elastic could be used here.


Flip the tabs, exposing the right sides. This brings the elastic to roll over right where it wants to be top stitched with a 3 x 3 zig zag. A twin needle or cover stitch would work here too.


Straight stitched across the selvage edges of the woven on front and back so it looks pretty from the outside. Ready for Kam snaps! The bottom is covered.


For the arm and neck openings, I cut 1.5 inch strips from a contrasting cotton lycra, and it probably wasn’t necessary, but I 3×3 zig zagged clear elastic on one edge of each strip. Then sewed them into loops.


Quartered the neckline and halved the arm bindings attached, the right side of the band to the wrong side of the bodice. Folded this and topstitched with a narrow 2×2 zig zag with my coded BERNINA #20 foot – open toed embroidery.
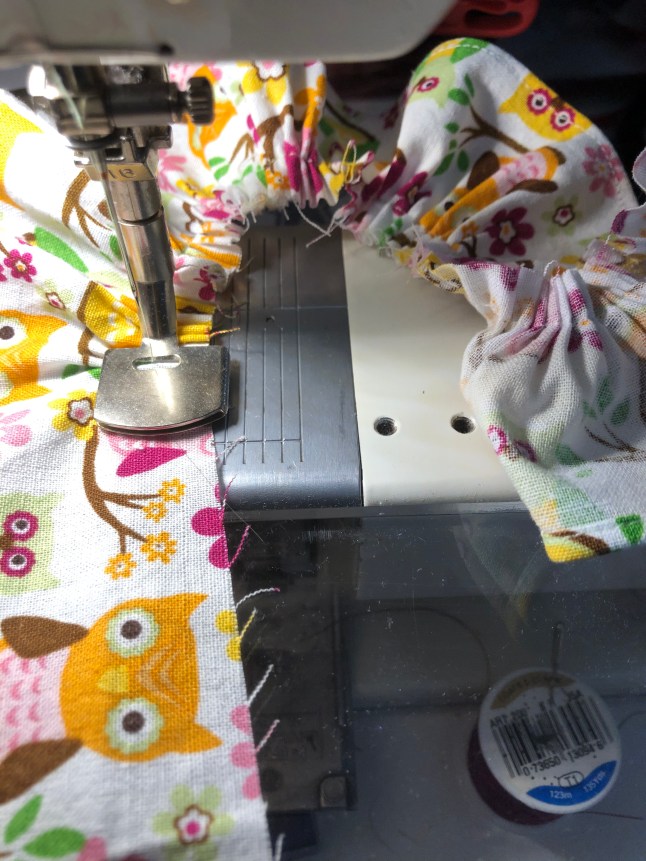
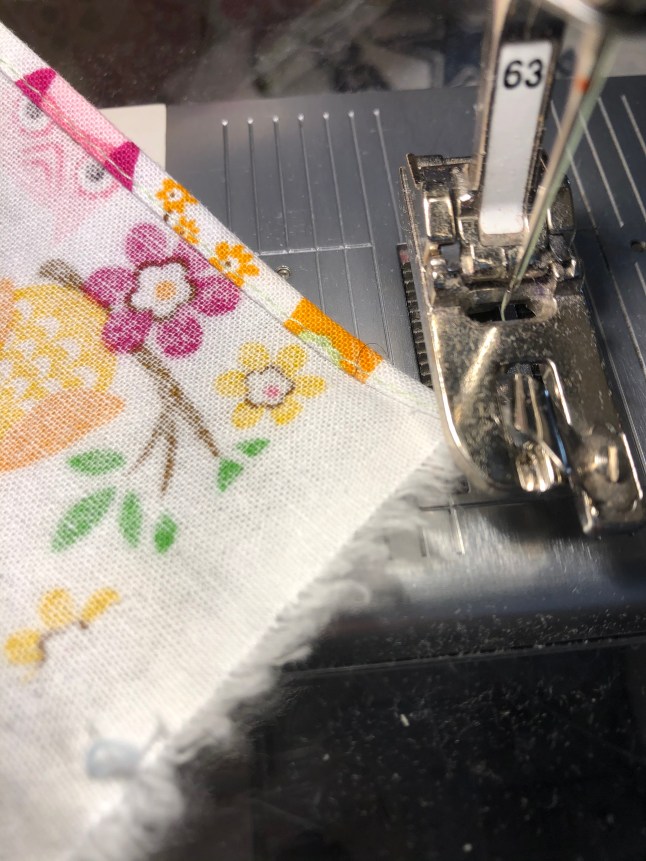 Then I took my rolled hem foot and hemmed 10 feet or more of ruffle. This one takes practice.
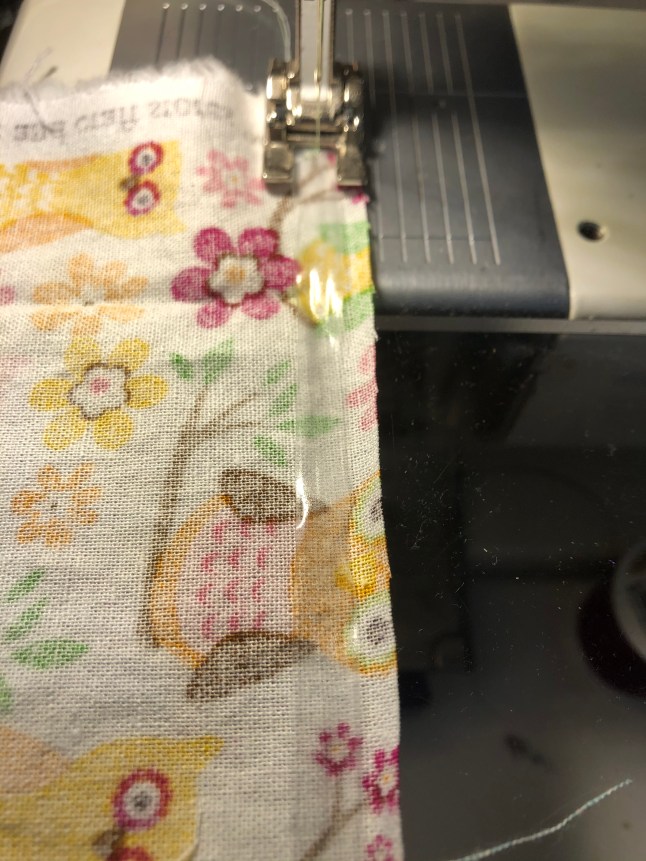 To gather the top edge of the skirt I measured a length of 1/4 inch clear elastic, and wide zig zagged that to the end of the skirt panel which I had sewn together. Luckily I marked the middle of the elastic and the seam marked the middle of the skirt, so this is more even than the leg openings.
 Like magic, one gathered (and still stretchy) skirt. I used a different foot for the ruffle.
 Meet BERNINA #16. The gathering foot. I marked off 10 inches of strip, gathered, and it ended up being almost 5 inches. I had 5 ruffle strips and 2 skirt strips so the math was in my favor. I ruffled on.


Back to my favorite #20 foot where I can see everything under the needle, I attached the ruffle strip to the bottom of the skirt strip. As I was nearing the end, I broke the gathering thread so that there would be no ruffles getting in the way of my side seam. Then we went to the serger and clean finished that seam. It could be zig zagged as well.


Then #10 foot with the center guide came out to play. Moved my needle to the left and top stitched so that the ruffle will behave better, and because I really do love topstitching.
 Aligned the skirt side edges, After I cut off extraneous ruffle, and stitched the side seam!
 With the skirt right side down and the panty portion right side down, I stitched the two together matching side seams. I used a 3×3 zig zag.
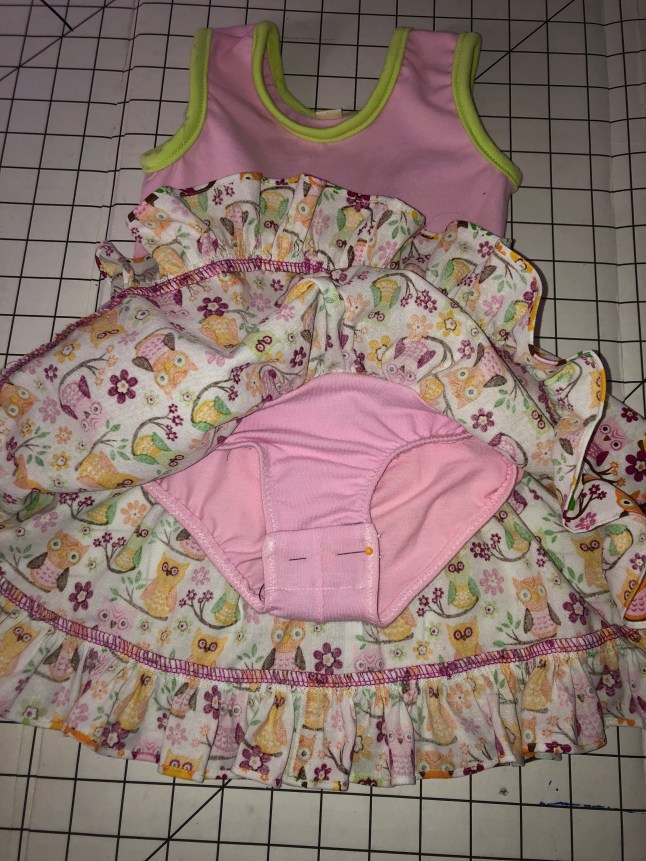 Oops no photo of sewing the right side of the skirt to the right side of the bodice, but that was also sewn with a 3×3 zig zag, after I was sure I had front matched to front and side seams together.
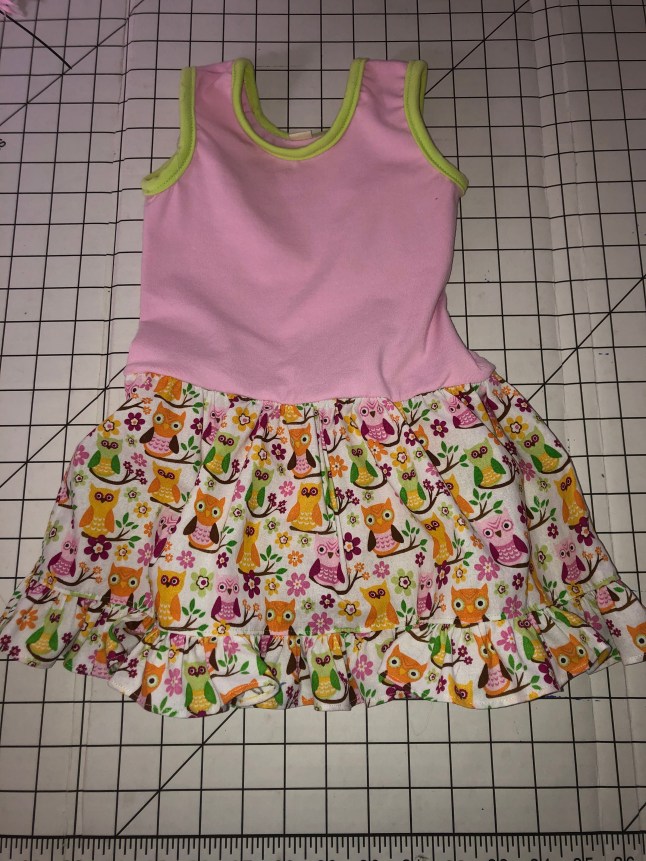
I am really happy with how this came out and can’t wait to see my grandbaby toddling around in it!
This post may contain affiliate links. If you use them, the seller of the pattern may pay me a small commission at no cost to you.
Happy sewing! Joan
