Seeing the massive crafting efforts for our neighbors in the Southern Hemisphere ignited a spark in me to figure out a way to participate. I found many instructions for the various types of animal pouches on line, and they were a little overwhelming . So when our school director decided on a school service project, I opted to organize something I was already familiar with.
Re-enter the Boomerang bag. A trend started in Australia of up cycling fabrics that might otherwise find their way to the landfill, then distributing these to library patrons and encouraging them to bring the bags back with their books for reuse. I adore that the design is fabric efficient. Two bags from one yard of fabric, and no waste!
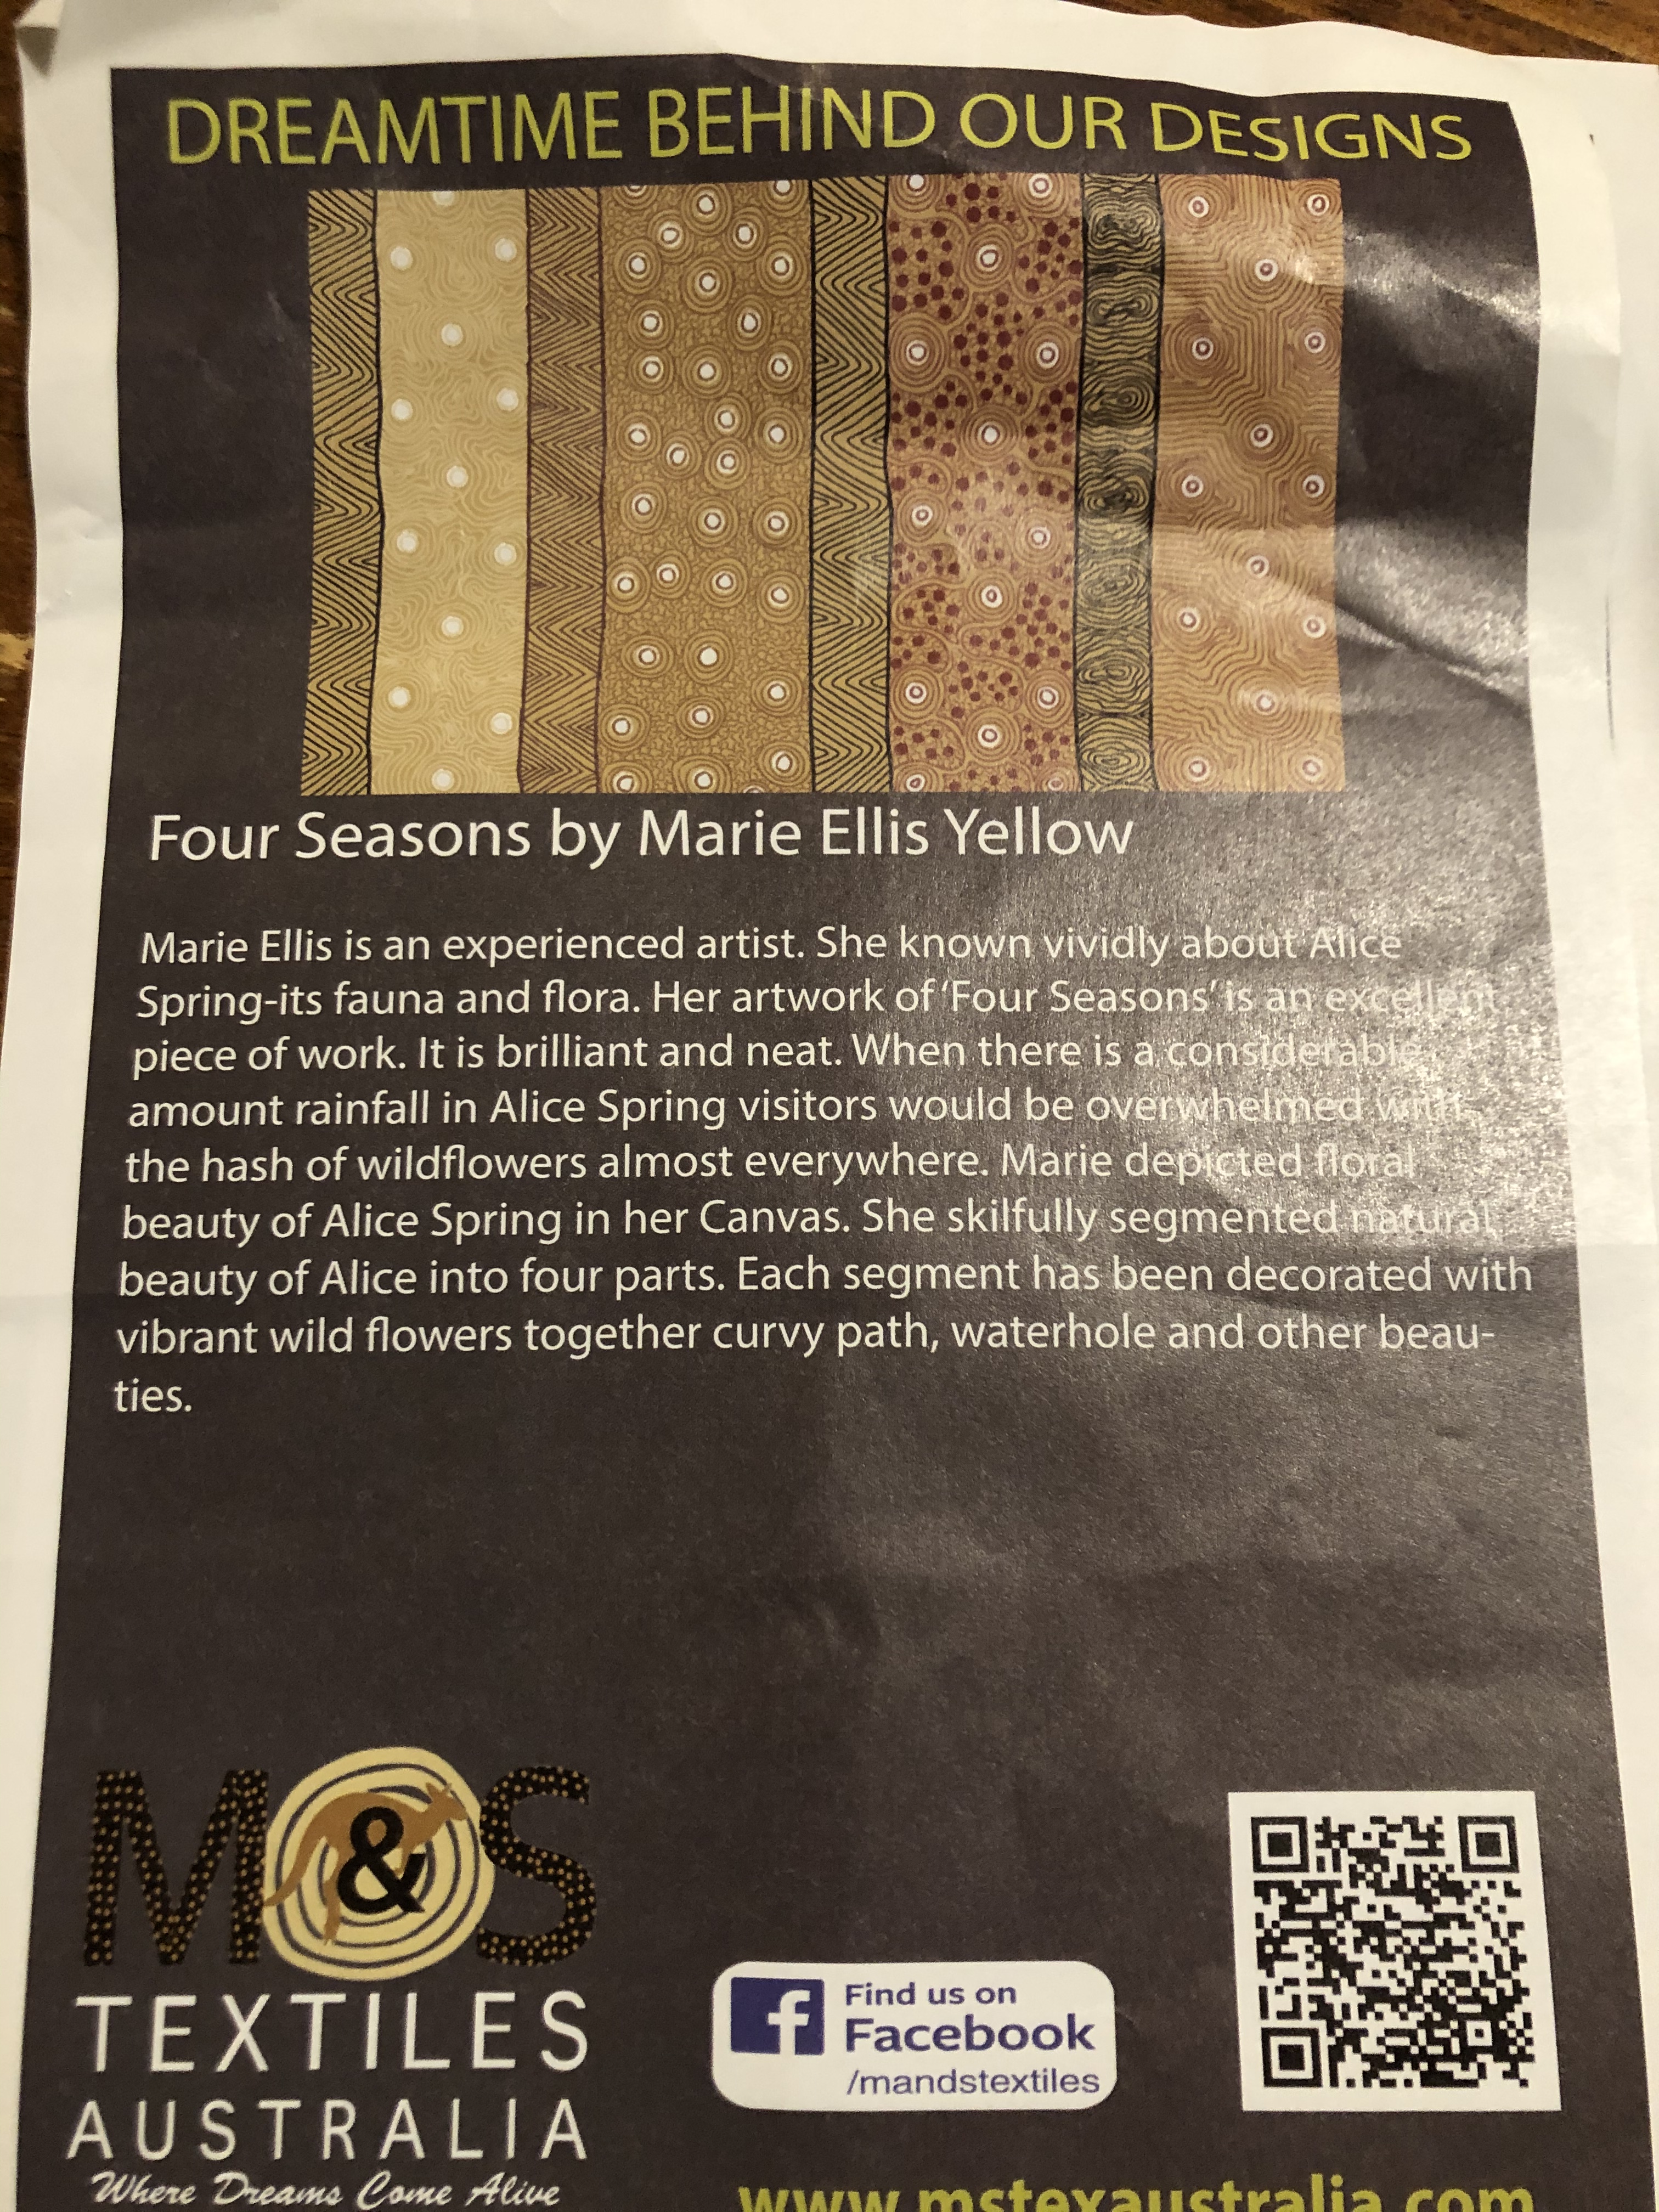
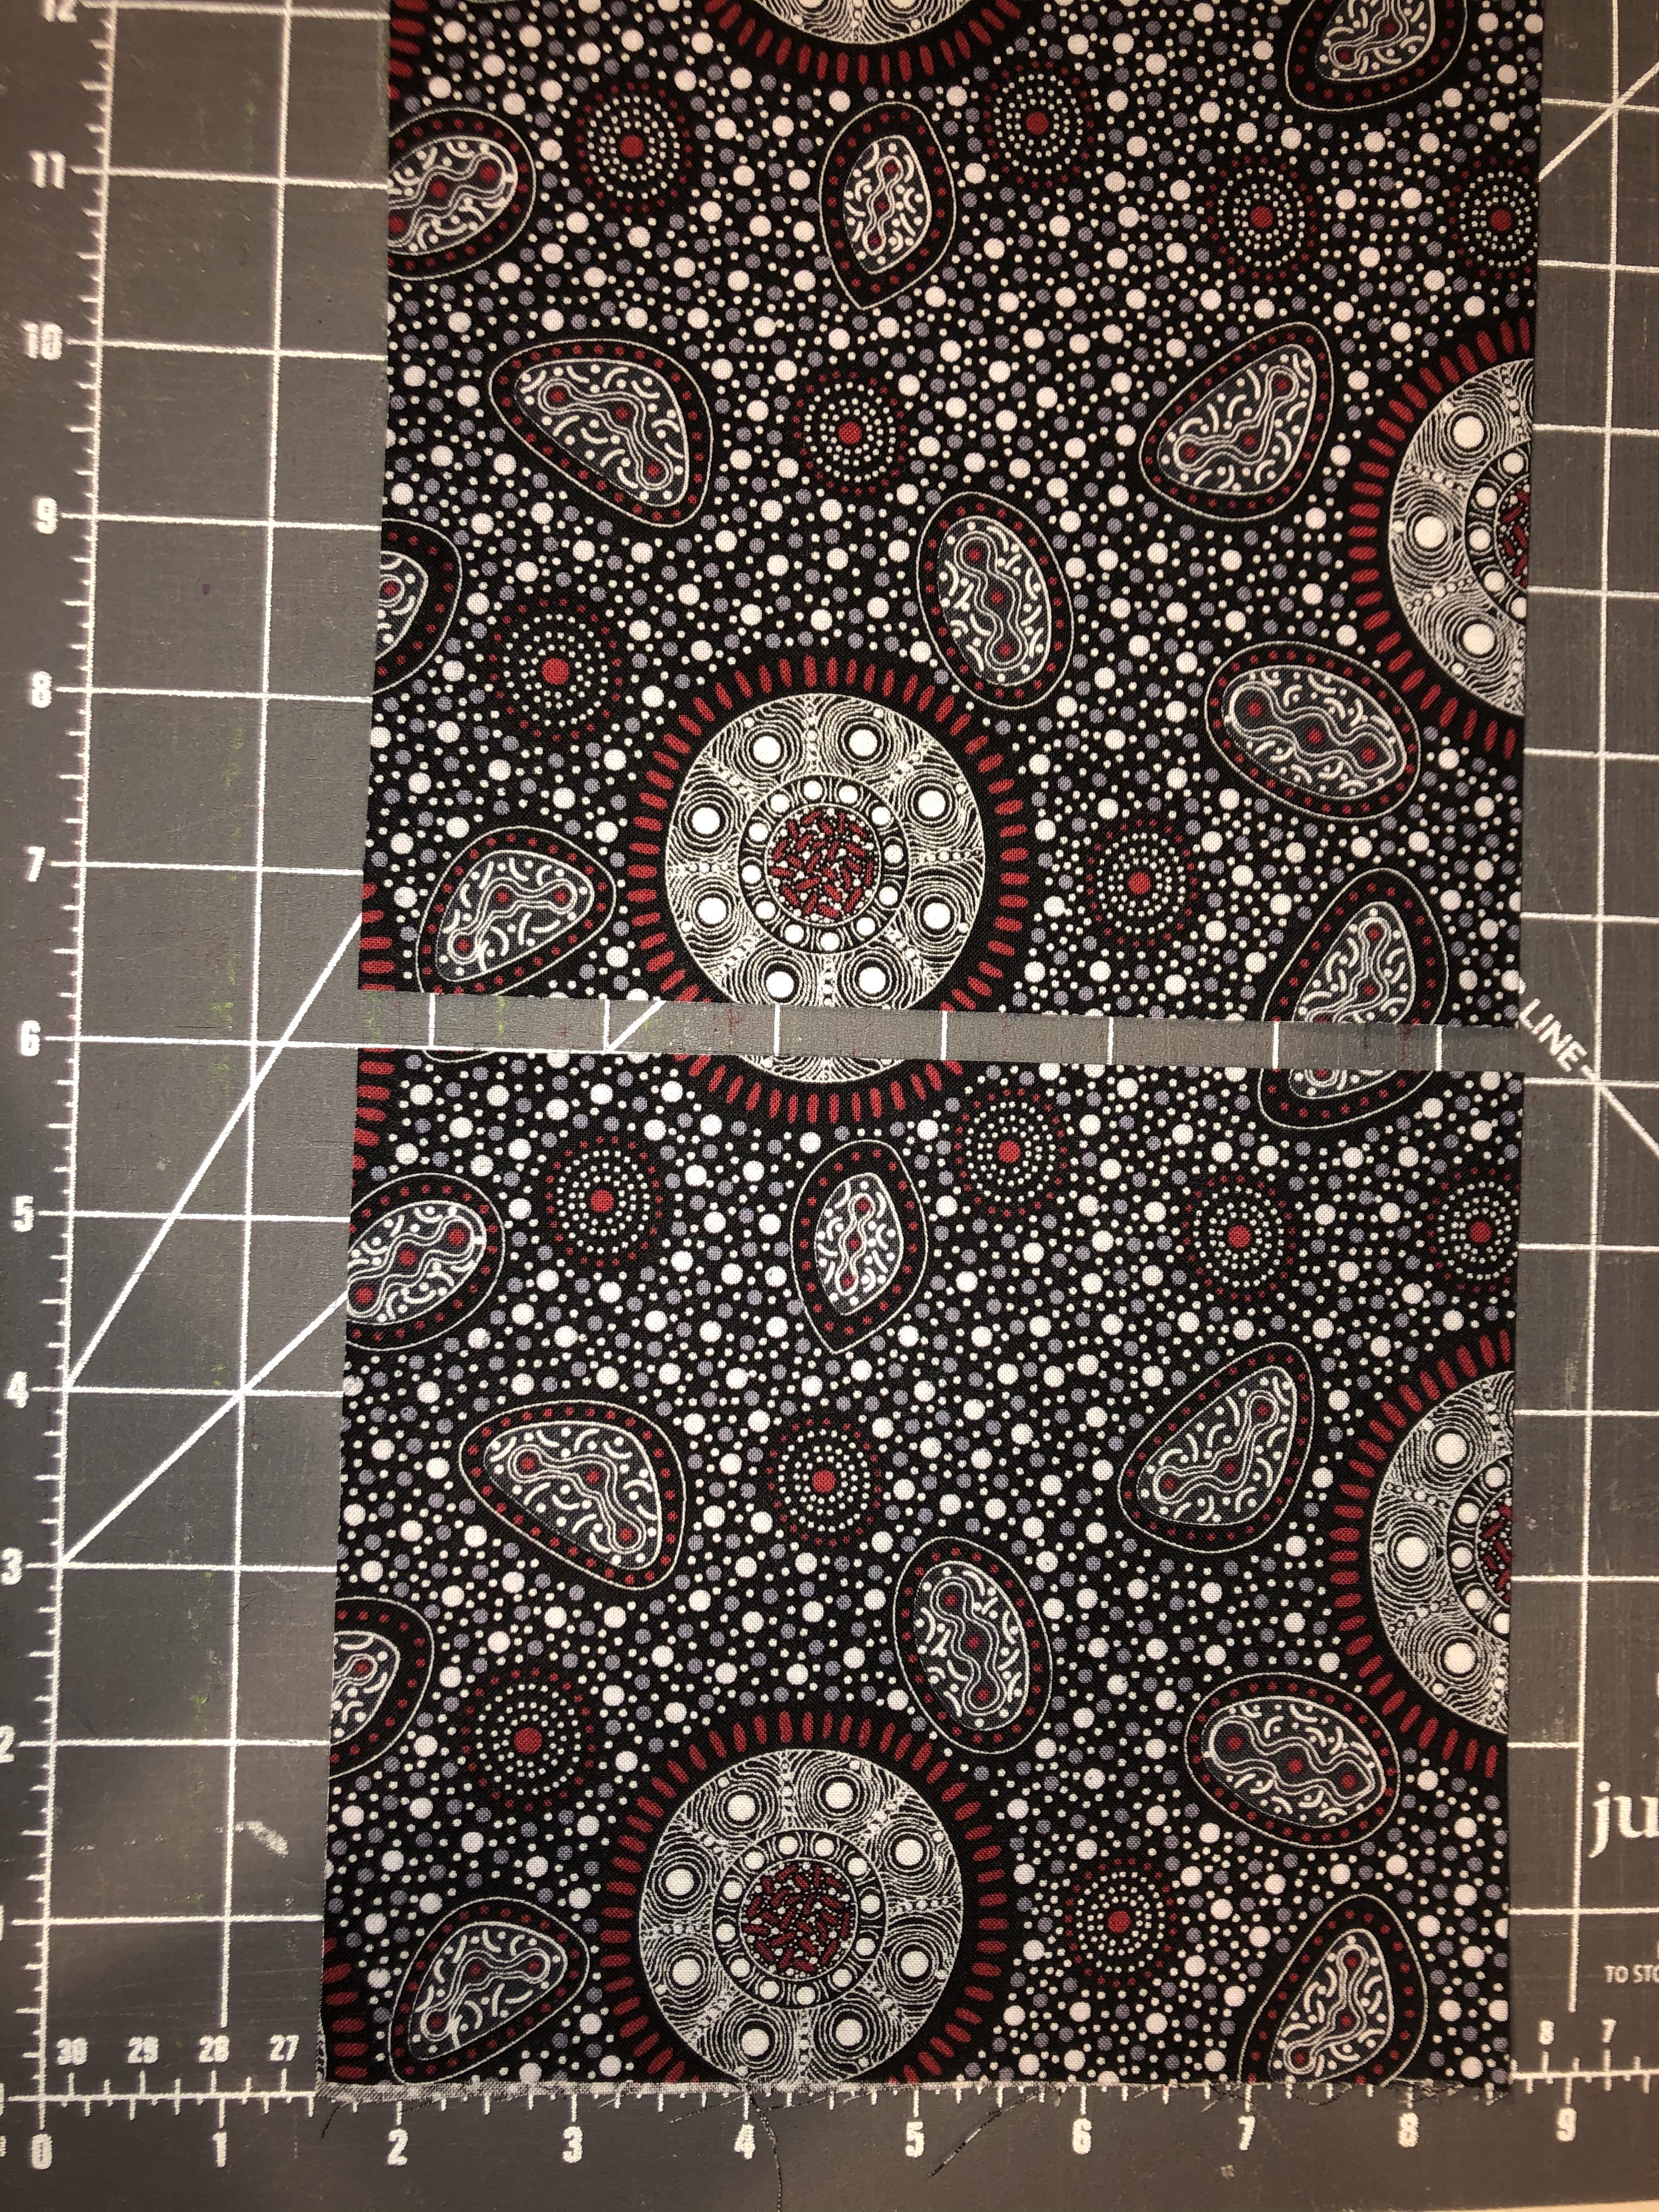
To incorporate this service project into the art class I teach weekly, we shopped local and purchased 10 different prints of fabrics designed by aboriginal artists.
There is quite a bit of prep work before any sewing can happen, and this is how I did it.
With one yard fabric that is 44 inches wide, folded like it is from the shops, cut a seven inch strip parallel to the fold. From this strip, cross cut an 8 inch piece, then cut this on the fold and you have two 7 x 8 inch pockets.
Fold down 1/4 inch and one inch again and press. Below, I made one pocket “portrait” and the other “landscape”. Stitch across both of the folded edges of that one inch to hem the upper edge of your pocket. After that fold in the other three sides of the pocket 1/4 inch and press.


Fold under the short ends of the larger pieces you have left by 1/4 and again by 1 inch and press. Set these aside till later.
For the straps, take the remaining 28 x 14 inch piece of fabric and cut it into four 3.5 x 28 inch strips. These will be your straps. 
Fold each strap in half lengthwise and press to crease. Open that, the fold the raw edges to almost center, press, then fold that in half to form your strap and press again. Sew the open edge of your strap closed, 1/8 inch away from the edge. Do the same with the other side. My Bernina has a #20 foot that is perfect for this!

Pin your pocket on the inside or outside of your bag where you would like it. I like mine centered and about four inches down from the raw edge of the body of the bag. With the hemmed edge of the pocket pointing up, sew around all three edges, making sure to reinforce the top edges of the stitching with a short parallel row, so that your pocket is secure.
Each of your bag bodies will have one selvage edge. Clean finish the other edge. In the photo below, I used a narrow zig zag stitch.

Next stitch the side seams. Once those are done, square off the corners of the bag, making marks that create a square from the sewn or folded edge. The handy tool here is a needle case that is 1.75 inches square. 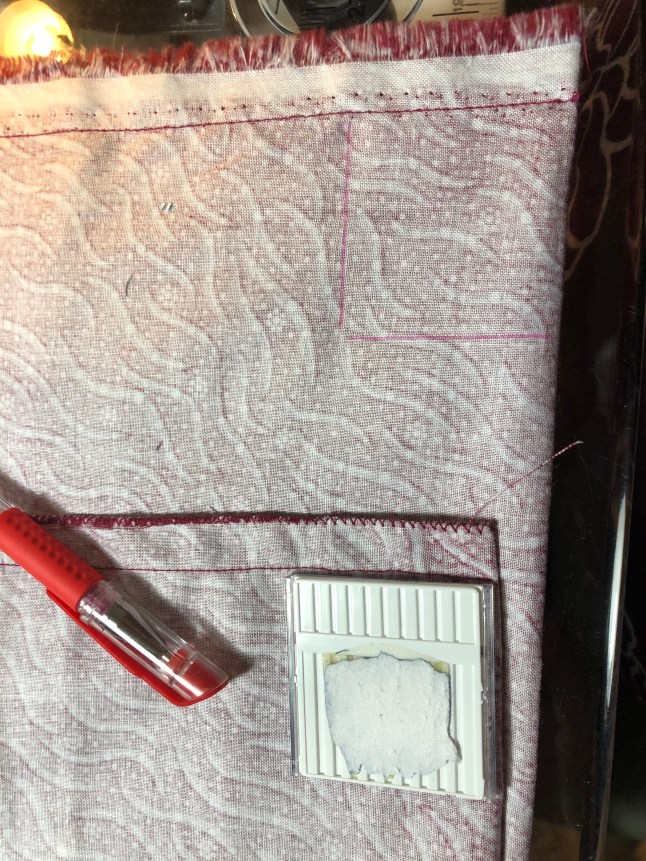
From here, we will box our corners. With one hand in the bag, open it up, so that all you see is a diagonal line across the corner. The seam line will match up with the folded edge. Keep the seam open and stitch across this corner along the lines you have drawn. Do this on both bottom corners of your bag. 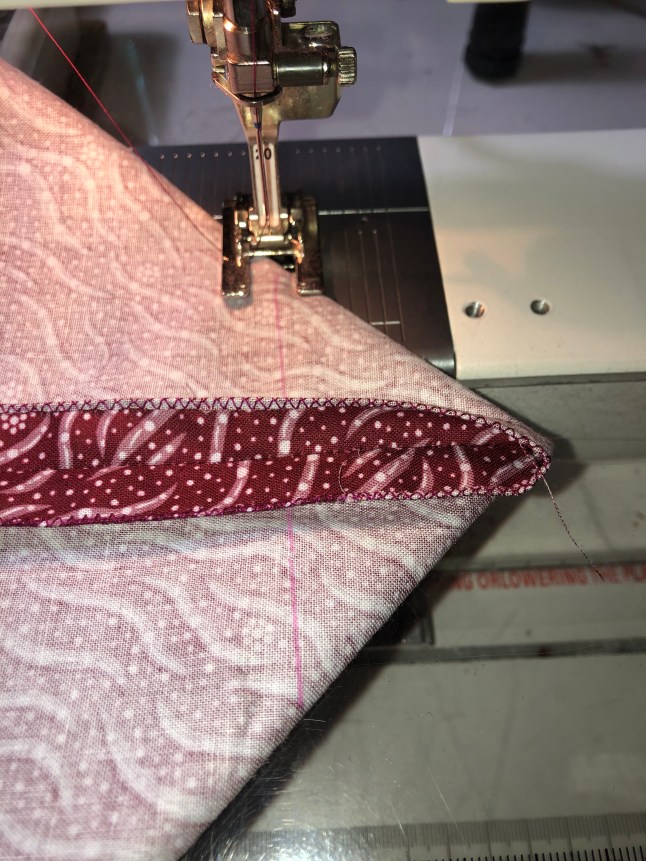
Mark strap placement. From the seam line, mark a spot five inches into the bag from each seam on both sides of the bag. This is where we will insert our straps.

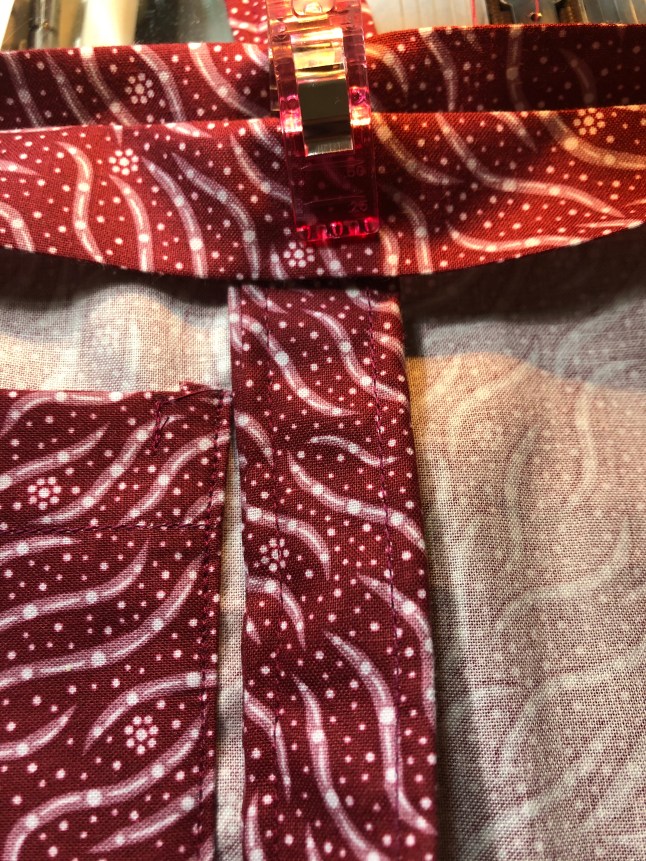
Here, I centered the strap on top of that 5 inch mark and snuggled the raw end up to the inside fold of the top of the bag. Without twisting the strap bring the other end of the strap up to the other 5 inch mark.
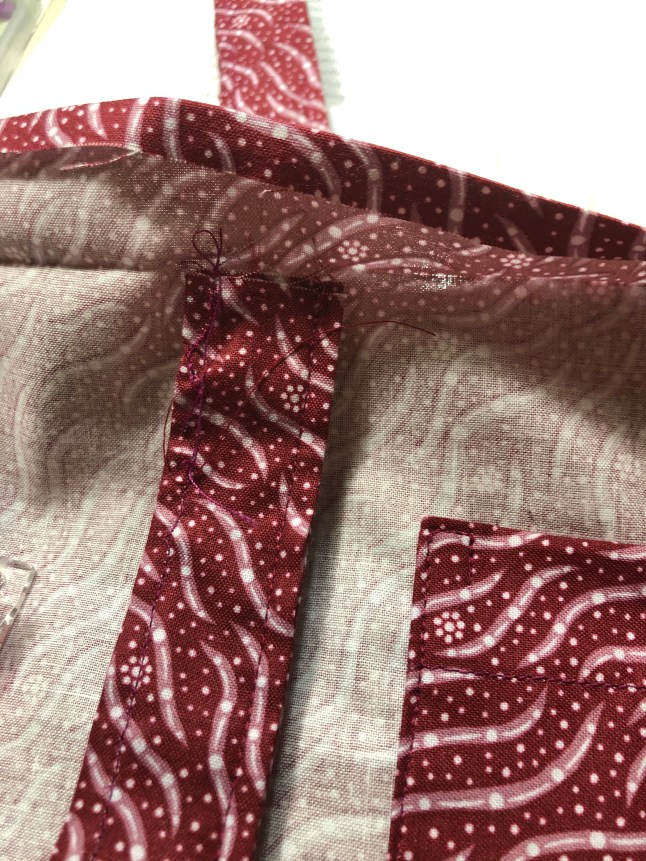
Clip your straps in place, and stitch around the folded edge to secure it down and encase the ends of the straps in your hem.
I like to enclose a 6 inch strip of elastic in the upper hem of the bag across from the pocket. It enables me to roll up the bag and secure it with the band for storage.

When you have completely circled the bag with a row of stitching to secure the loose end of your hem, bring the straps up out of the bag, and sew the top edge of the bag, including those straps. You may want to back tack over the straps to secure them further.

I enjoyed sewing these bags with the students at school. We sold them and have been able to raise $275.00 for the World Wildlife Fund, where we studied about the food drops to the affected areas of Australia. Thankful to the families that supported this service project, and hope they remember to use their bags here in Albuquerque to reduce the plastic bag issues we have here.
Thank you to Liz at Nob Hill Fabrics, for carrying the aboriginal designed prints. I feel a special kinship with them. Also thank you for providing me a space to teach. $200 in class fees from the bag class held January 25th was donated to help Wildlife Victoria.
My goal was to raise $500 total from both efforts, and we very nearly got there!


