Fall planting with an oversized cloche

Beefed up my garden this year with more containers, and with fall upon us, I really want to continue growing. Living in the desert, I am continually seeking ways to conserve water. I found a few huge grow bags at my local nursery, and popped them in the masonry pans you can find at hardware stores. Was hoping that this would work like a sub irrigated pot, allowing excess moisture to hang out at the bottom and get wicked back up when needed. I use earth boxes and love them for basil and marigolds, thyme and winter savory. To get a leg up on planting, I created PVC frames that fit just inside the lip of the earth box. Cover those with green house plastic, nylon netting, upcycled nylon sheer curtains, or garden fleece. They make a difference at the beginning of the season to help baby plants through the chill of early spring.

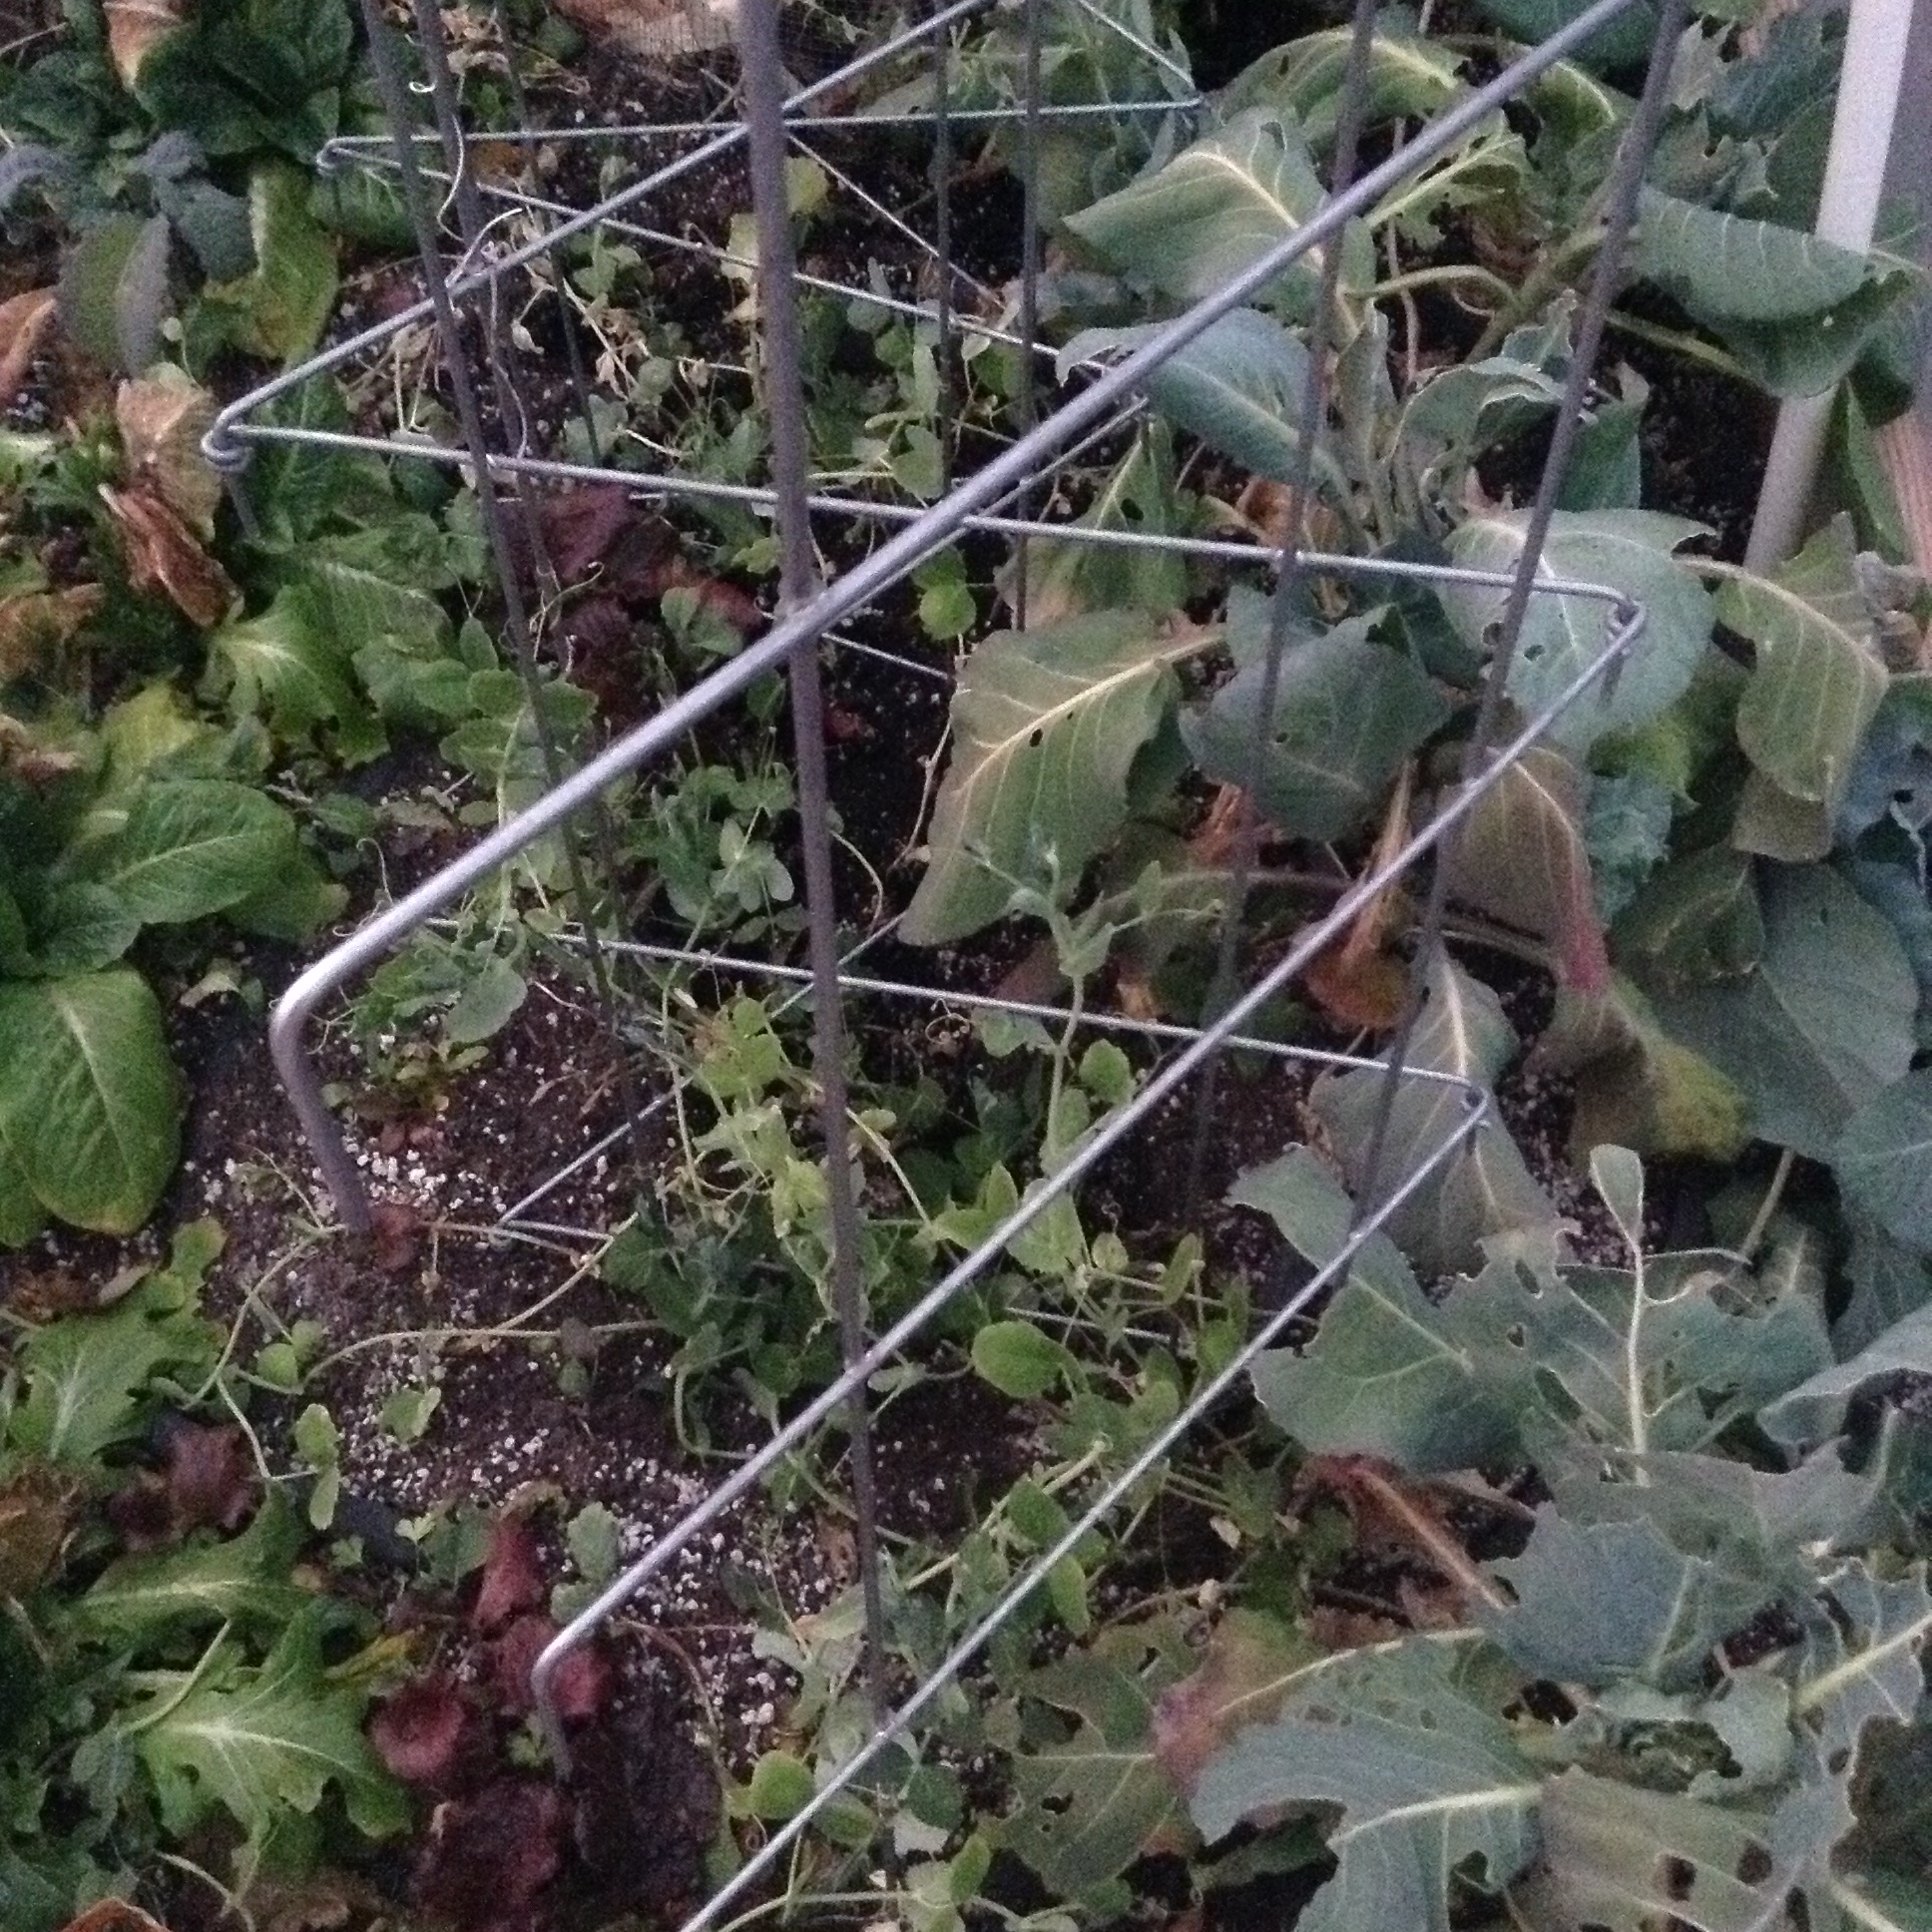
Location Location Location. I have been noticing spots in the yard where things might be a little happier growing. The spot below is where the compost bin had lived for years. With the sun hitting the south wall of the house, this was a seriously cozy spot. Sometimes too cozy, and certain plants struggled there. However, Okra, who likes it hot, did really well in a 3’x3′ box I planted along the wall next to the lavender this year. Used compost that had been collecting, and netted three volunteer spaghetti squash from it! In late summer, I decided this area would be great for winter growing. Moved some masonry pans (with holes drilled into the sides about two inches up from the bottom for drainage) into this spot with grow bags and home mixed soil. Peas and spinach are happily growing in this area. Well, happier after I added some shade since these are cooler weather loving plants. The folding plant supports are helpful in holding up the shade cloth for now, the peas will climb on them. I have used and loved them for years. They are versatile! Plans are to use either floating row cover or green house plastic over this area when the weather cools. I am also considering building a PVC frame for more protection in this area.

Peas and spinach in grow bags.

Asters and beans grow, up a chain link fence. I measured the masonry pan, which is about 20 x 27. Plan to put two of this bag/pan ensemble side by side in the PVC “cloche” in a sunny area of the garden to grow beets, turnips, and salad greens. The asters I planted the first time this year may have been happier in a shadier part of the garden. I will mark the bag so that we may see them come back in the spring. In the mean time, this bag can give us winter greens.

I used the dimensions of the masonry pan to cut my PVC pipe.

Here is the recipe for this version.

Six horizontal 27 inch pieces and eight horizontal 20 inch pieces and six vertical 24 inch pieces came from three ten foot lengths of 3/4 inch PVC pipe. There was an almost 12 inch piece left over which was cut in half and used to raise the center bar.

The 3/4 inch fitting pieces were found locally at Lowes. Two cross tees two 90 degree elbows and eight 90 degree side outlet elbows. I went on line for the two – four way furniture fitting side outlet tees.

This design with the raised center should deflect snow, and rain so that there is not a sagging issue. It feels sturdy and heavy enough to deflect wind. I just got notification that the garden fleece I ordered from Ace hardware is ready for pick up. I plan to use clamps to clip the fleece onto the PVC pipe. This may cover my pots of basil and lemon grass when we have a cold spell next week. I often use these to start beans and peas, and keep critters from eating the plants. Unfortunately they blow away in our wind and the staples they come with are not quite long enough for NM winds. Used in conjunction with a heavier cover, they are great for double cover.

Above are end of season second or third generation Marigolds in earth boxes with tarragon cascading over the side. They were started under a small PVC frame. The clear cloches fit nicely underneath the frame for a little extra warmth and protection. For more great information on extending your season, check out Eliot Coleman’s video here

Happy growing! Joan

Gardening under cover

Staring at the end of January, wondering when spring will ever arrive, I got the itch to plant some seeds.

Planting by the Moon always conjured images of the witch in Rapunzel and her magic garden.  However I am looking at Farmers Almanac Gardening, and found that the last couple days of January this year are good for starting seedbeds!  So, on a sunny Saturday, with visions of a magnificent harvest, I pulled the remains of last summer’s garden from a 4×4 raised bed.

The soil seemed to be low, so in one corner, I dug a hole about 18 inches deep, and placed tree limb cuttings my friend and I scavenged from what a neighbor was giving away last October.  Why plant wood in your garden?  In the spirit of hugelkultur (making raised garden beds filled with rotten wood) I covered that area with the soil from the next hole, added a couple logs and move around the circle till it was complete.  The wood behaves like an underground sponge, absorbing excess moisture and then releasing it back to a soil that is somewhat drier. The wood eventually bio degrades completely. Until then, I believe the roots of the plants will figure a way to wind around them.  I had two half empty bags of garden soil that topped off the ensemble nicely.

Mr. Mischievous Odin couldn’t stop  himself and helped to put holes in the soil.  He makes great company in the garden!

There is a basket in the middle that collects compost that feeds the soil below, keyhole style.

Did a quick inventory on my seed stash, and found several varieties that do well in cooler temperatures. Mostly some form of brassica and mache, sometimes known as corn salad.  Some will germinate, some will not, but in a week or two some little green thing will poke it’s head out of the soil and make me happy.  All of these greens can go in a nice salad, and give me something to do while waiting to plant melons and squash in April.

After these were scattered in the bed, I looked for the sugar snap peas I wanted to plant around the edges, so they could climb up the barrier I installed to keep my furry friend from getting in again!  I like to buy them by the pound, so that they can be planted several times in a season.

The PVC idea came from a too-short hose.  Holes drilled every 6-8 inches allow for more even water distribution. One of the corners is a 3 way elbow that my hose end fits in snugly.  Turn on the faucet and tend to something else for a bit.

The garden trellis keeps my friend from planting his toys in the soft soil, and does double duty to hold up the reemay and  plastic layers that cloche the little plants from the elements.  It is a hopeful gamble.  More sewing in the garden.  I cut squares of reemay off the corners of the big fleece blanket and sewed them together like four darts so it fits snugly over this garden bed like a loosely fitted sheet.  Sew reemay before it goes outside, just take my word on this!

Last fall I planted cabbage, lettuce and peas under cover, and they are doing nicely!  The uncovered peas produced a few pods then succumbed to the first frosts.  No peas yet from the covered plants below, but I am hopeful they will jump into action once the weather warms, and give me something to munch on when I am putting out tomatoes in March. They are covered in plastic and get water when I remember it about every three weeks.

image

Eliot Coleman, I hope you are right with your four season gardening advice and the double cover method of growing in winter.