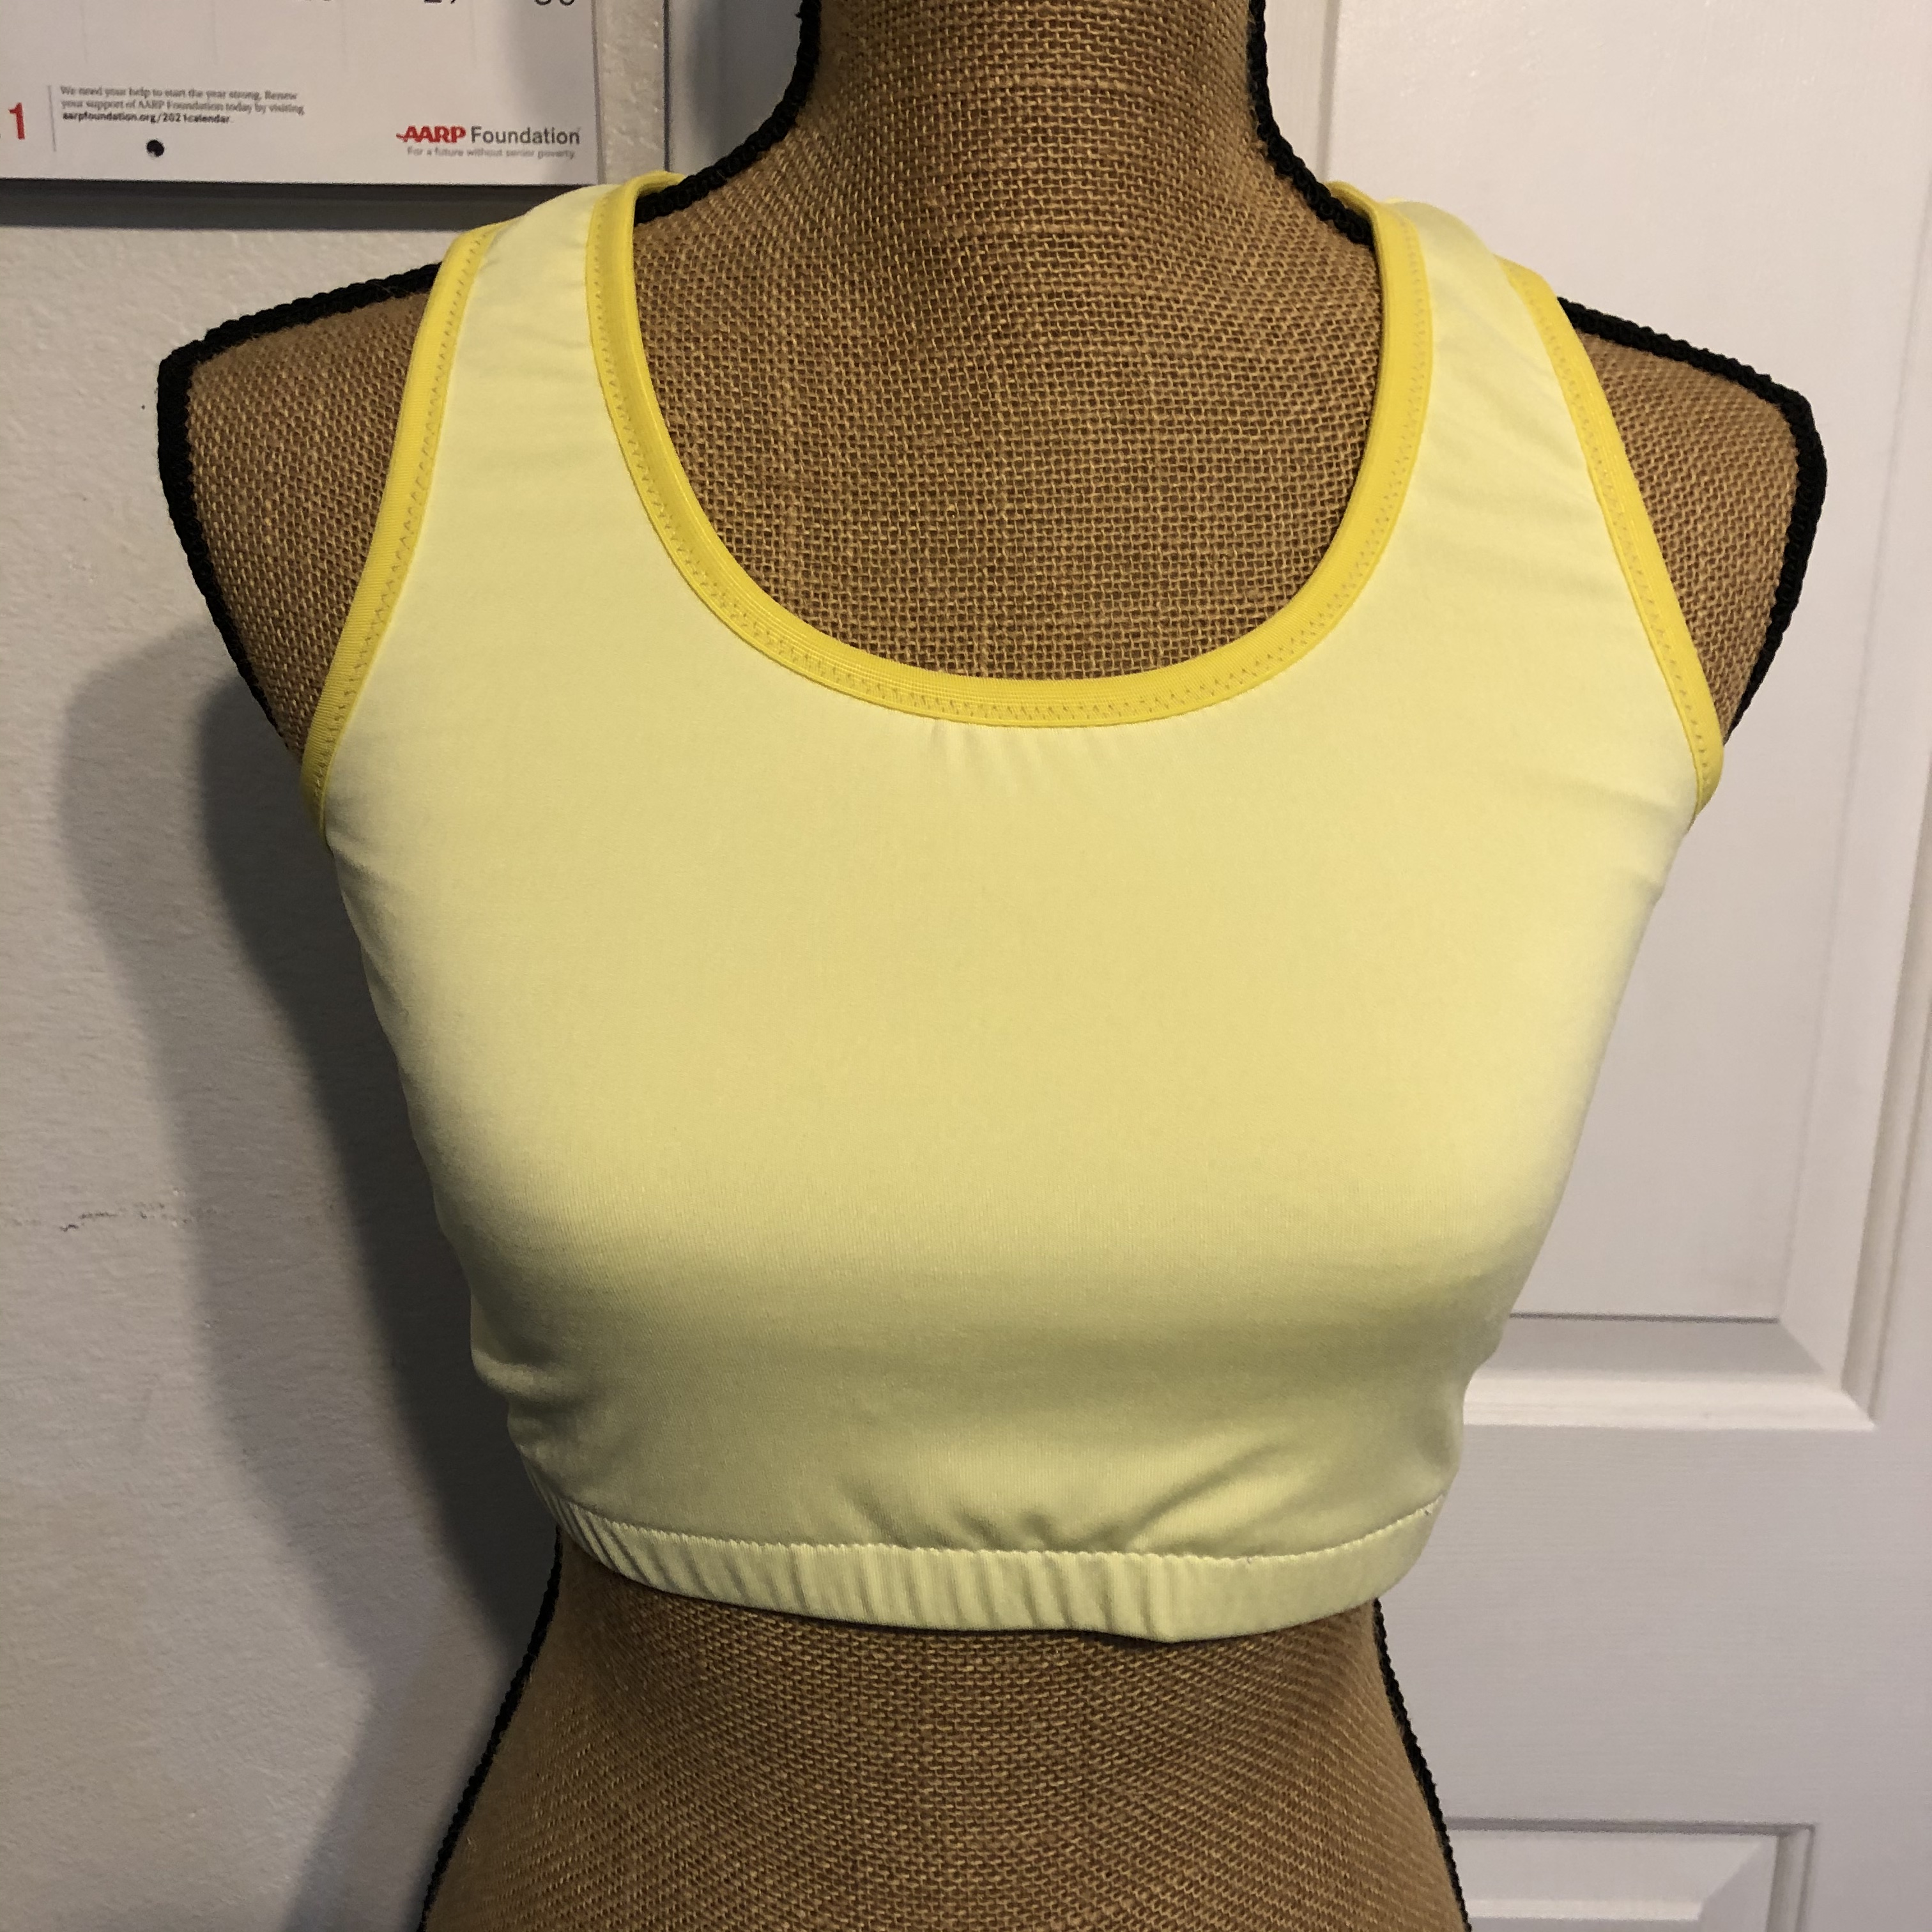
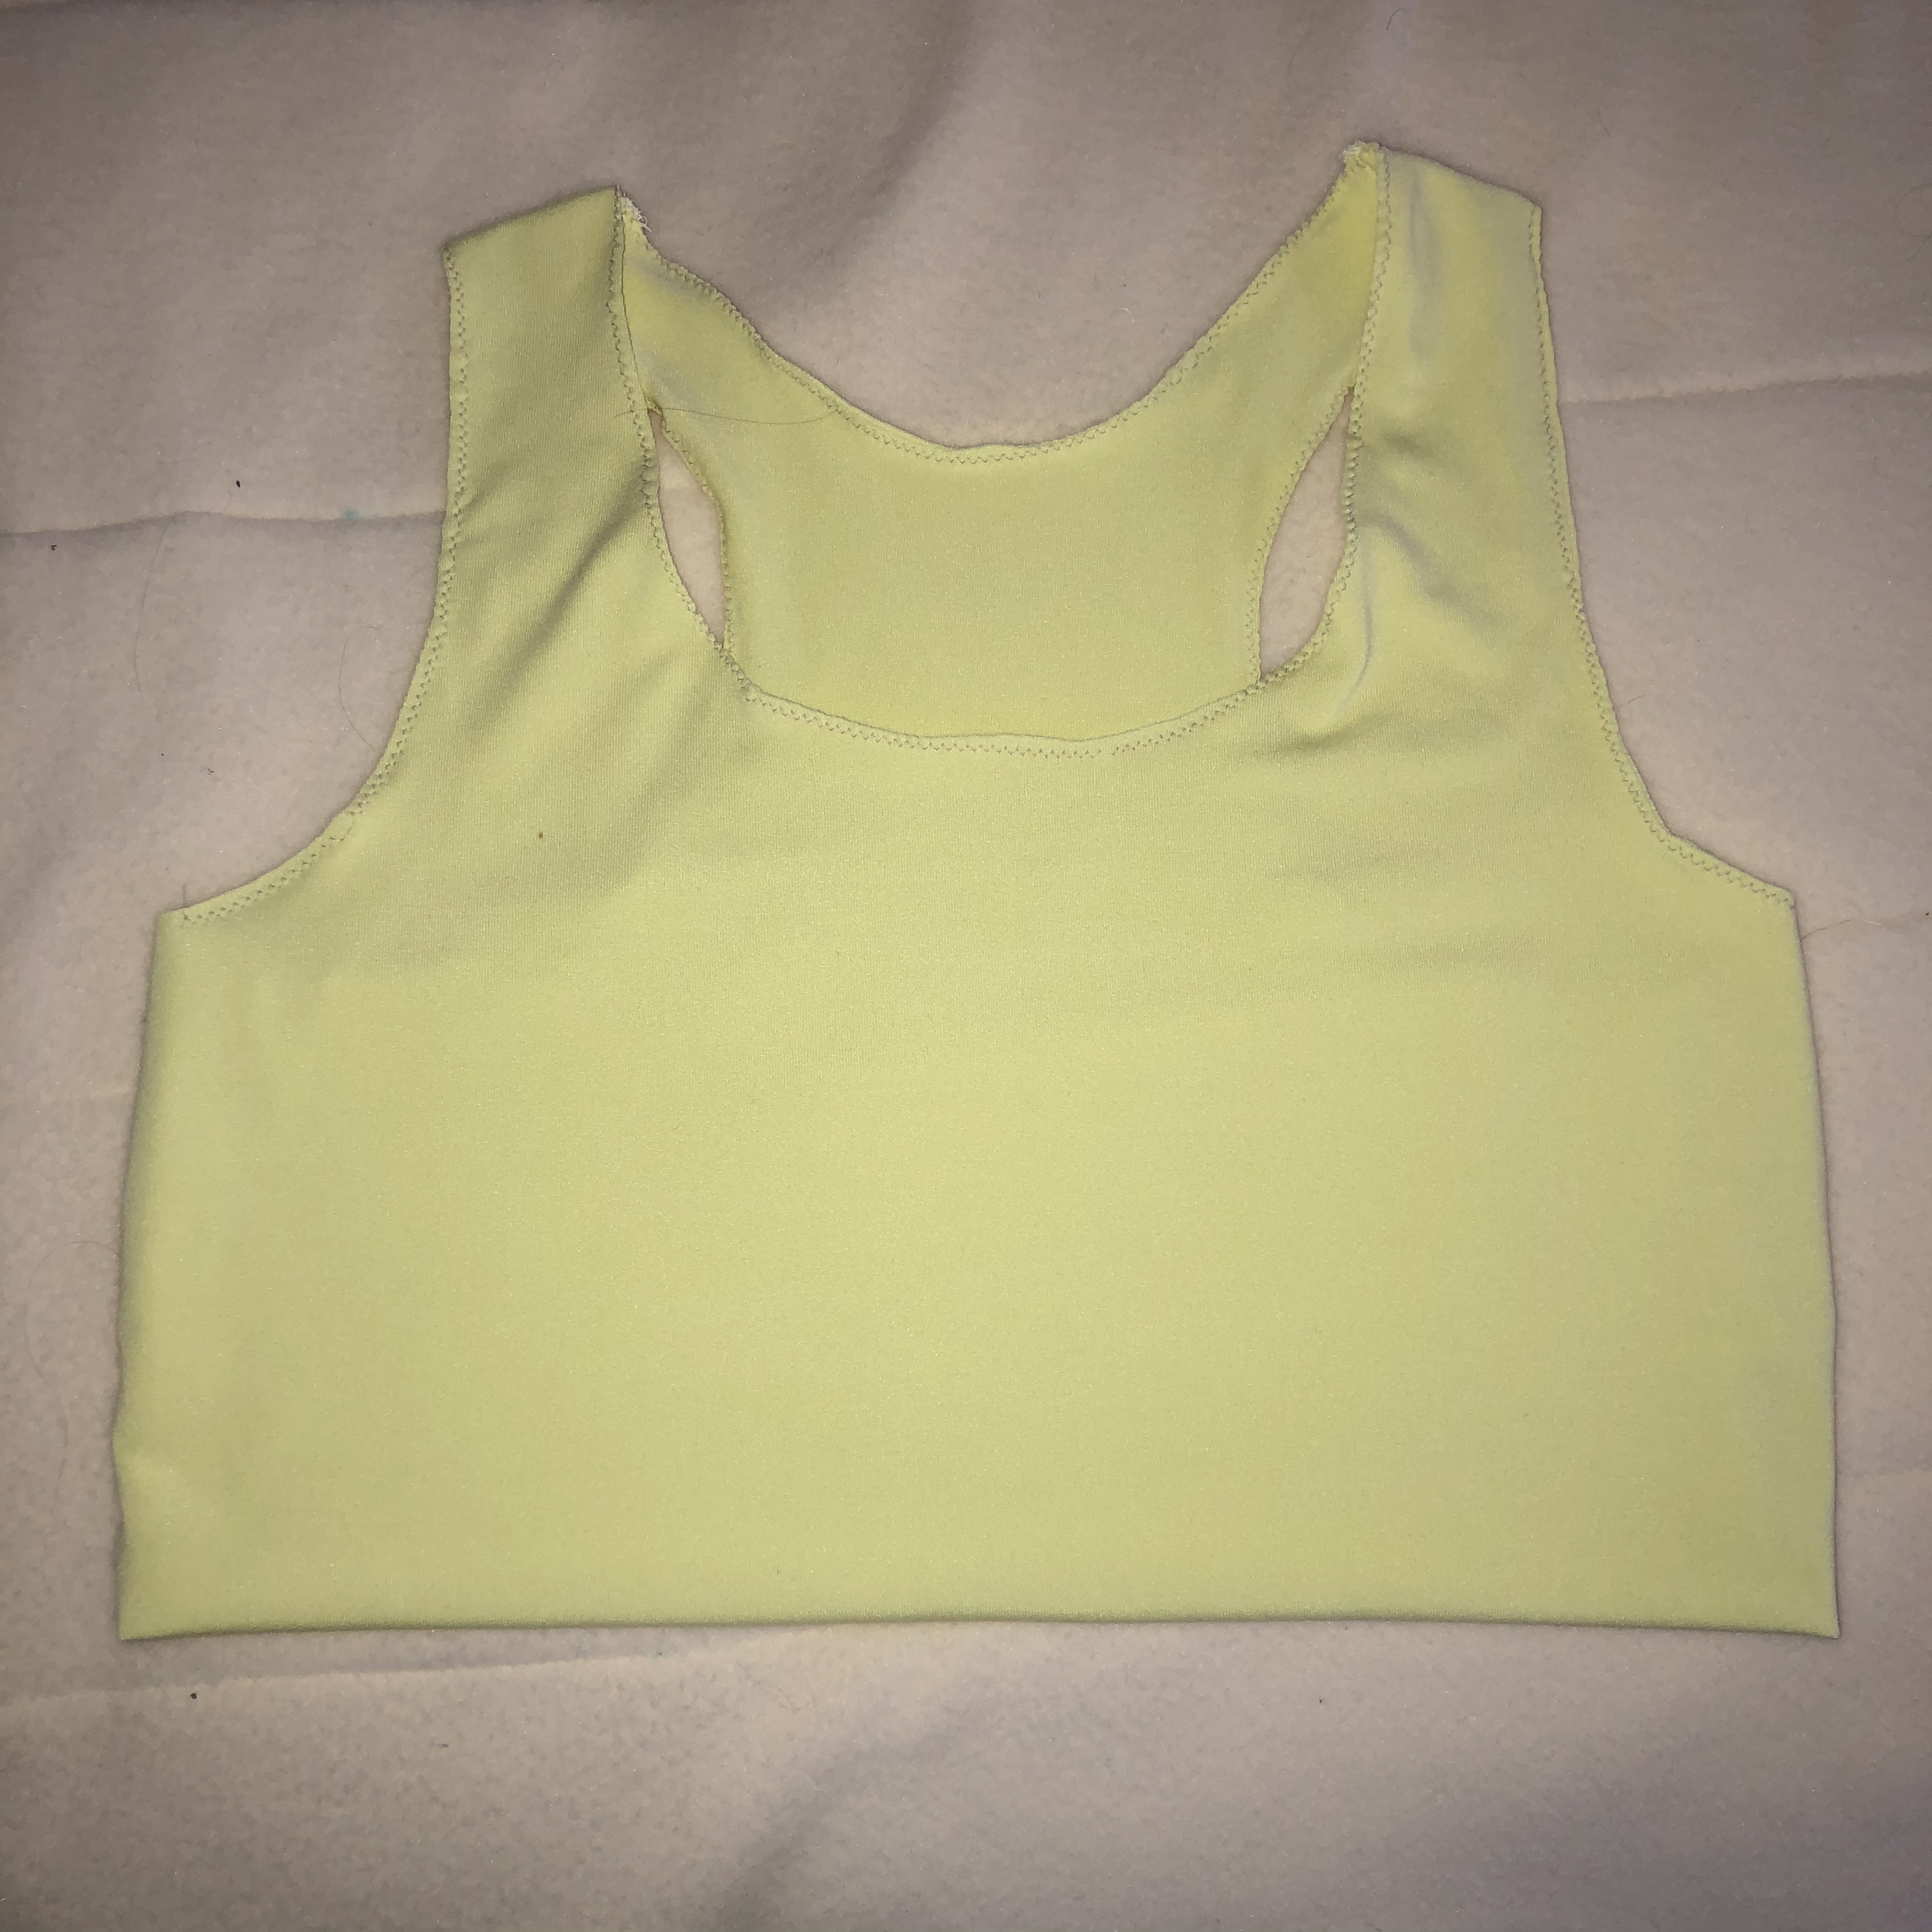
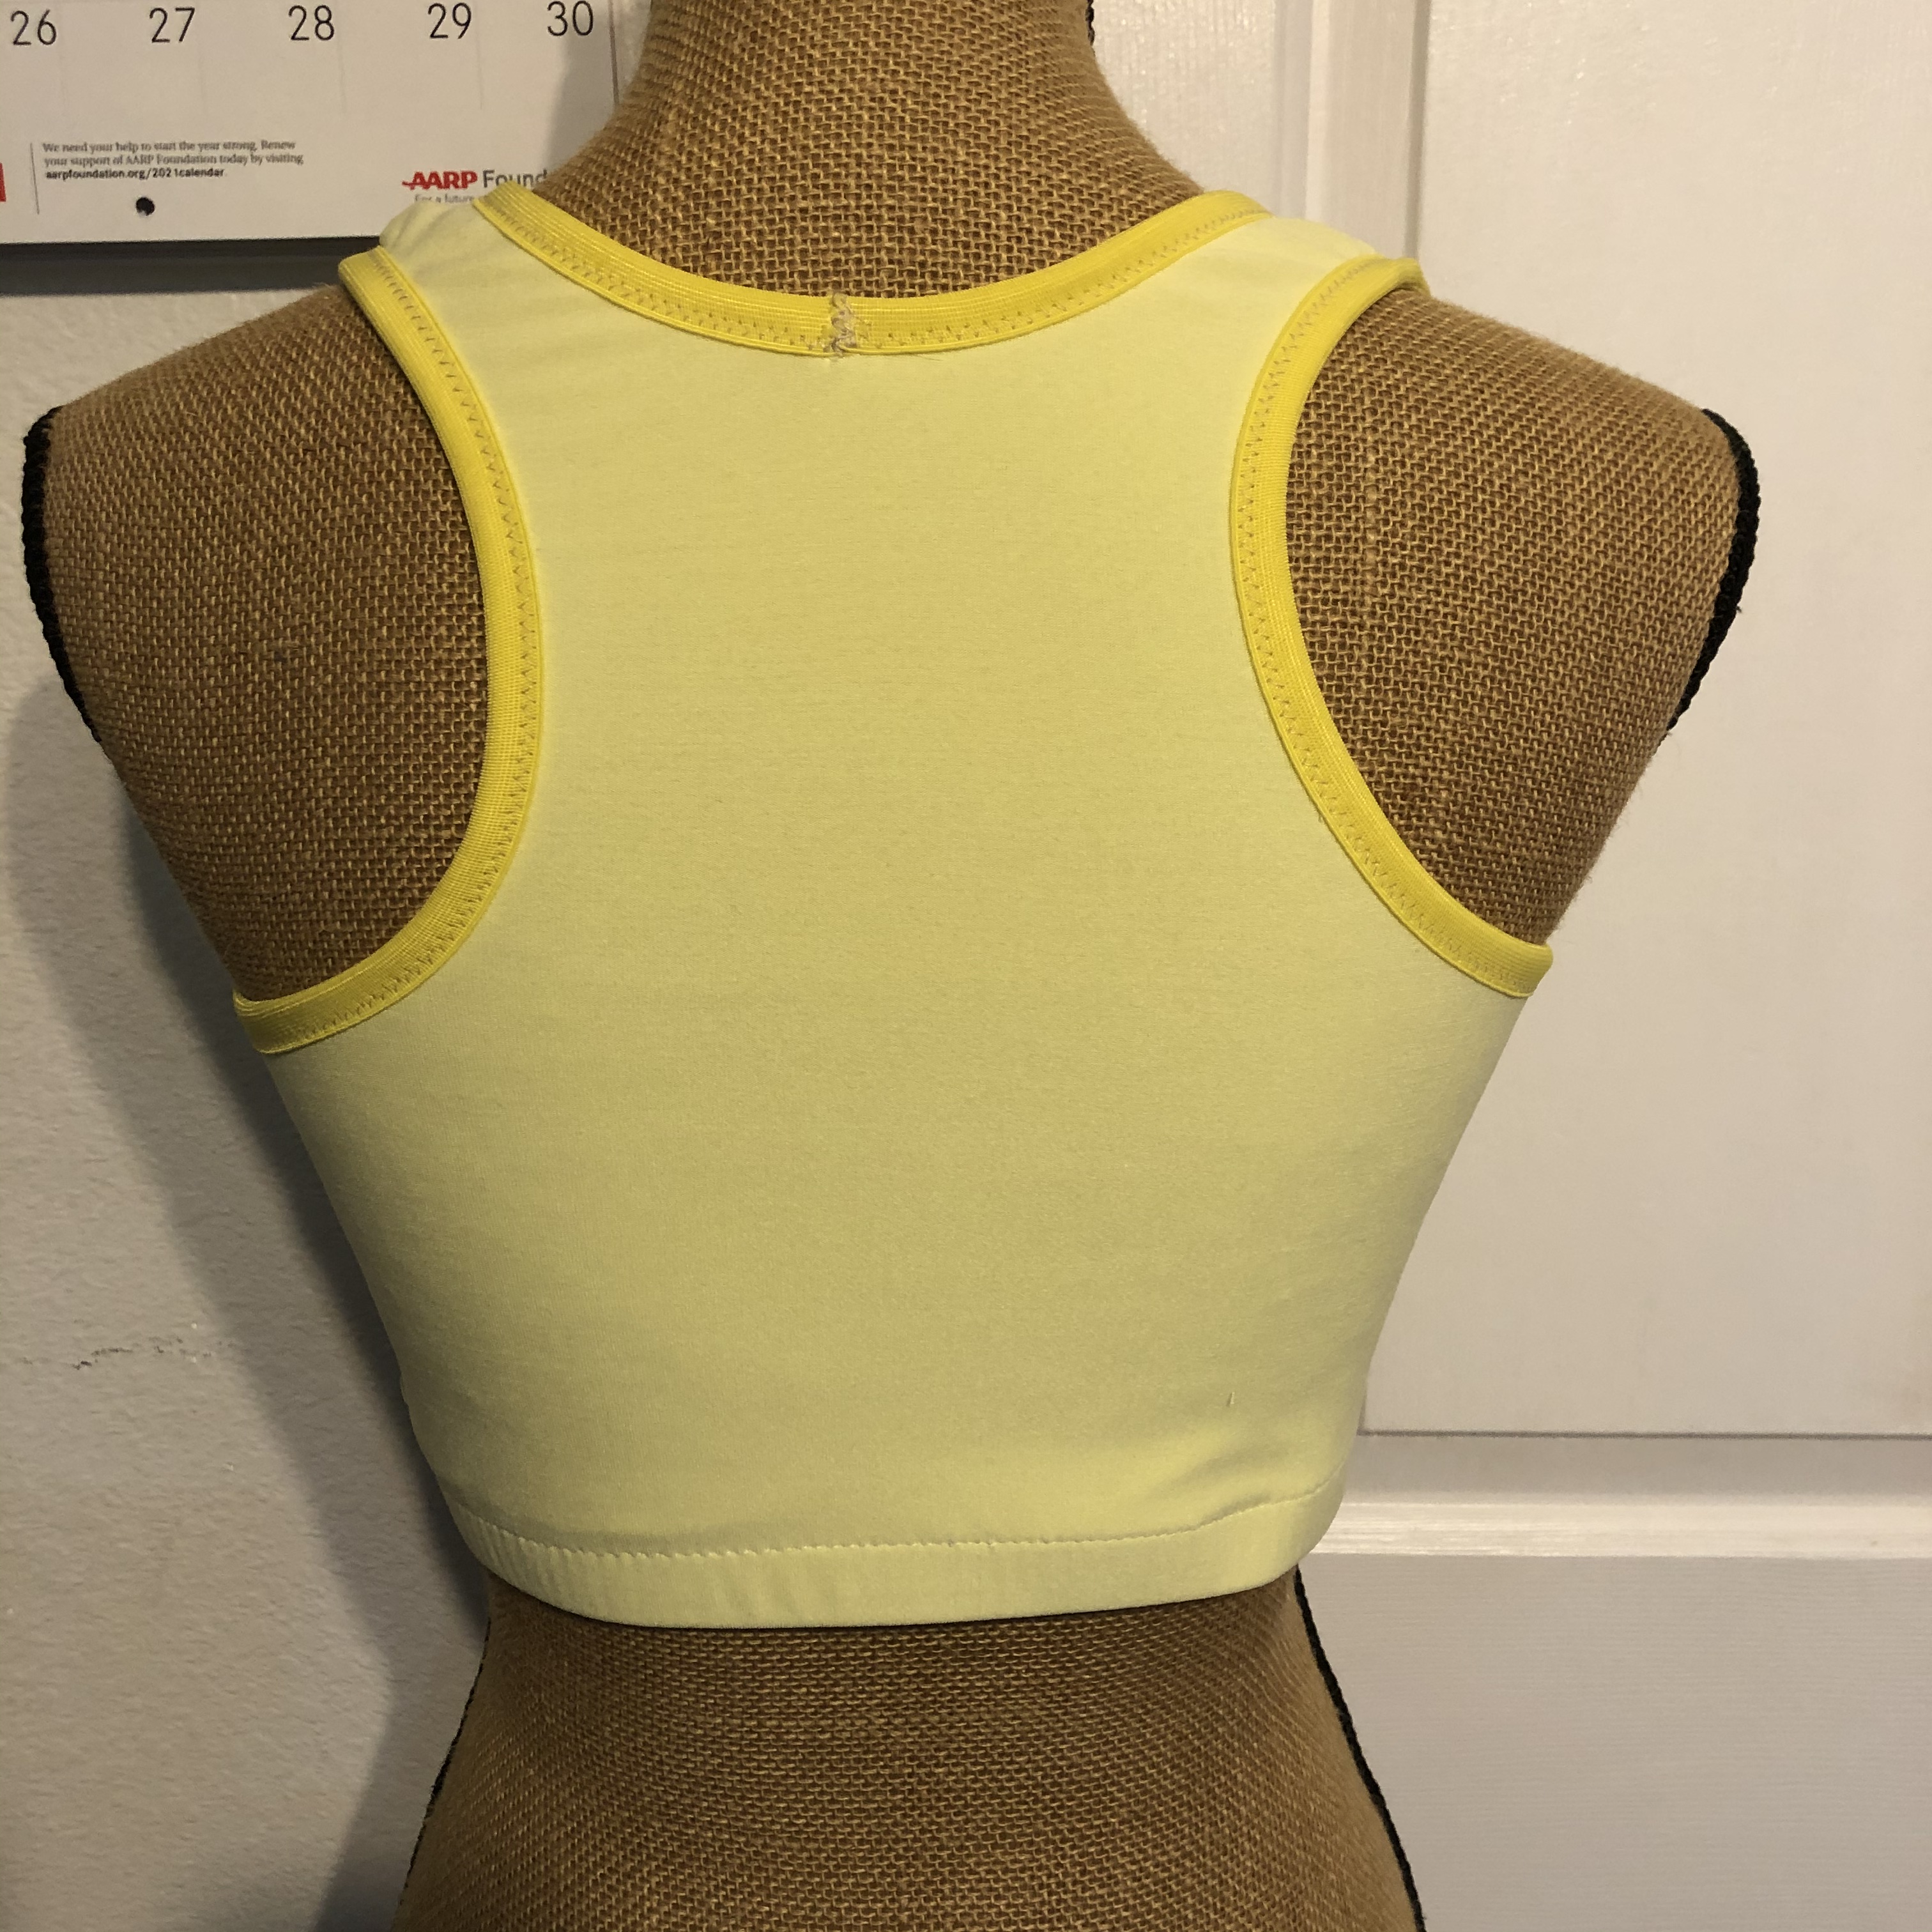
After learning to make my own sports bras, I tried all the patterns. I like the Resolution for its simplicity. I modified this one to have about a 1 inch lower back neck and the back arms to be cut about 1 inch less deep. It works great under the tops that need this cut. The pattern calls for a single layer to be finished with binding, and an elastic under bust that is folded up and top stitched. It might have been the Agility that I made in a heavier weight fabric, and self lined. With 4 layers of thick fabric plus elastic things got pretty bulky. Not what I wanted in summer, so I made some changes.
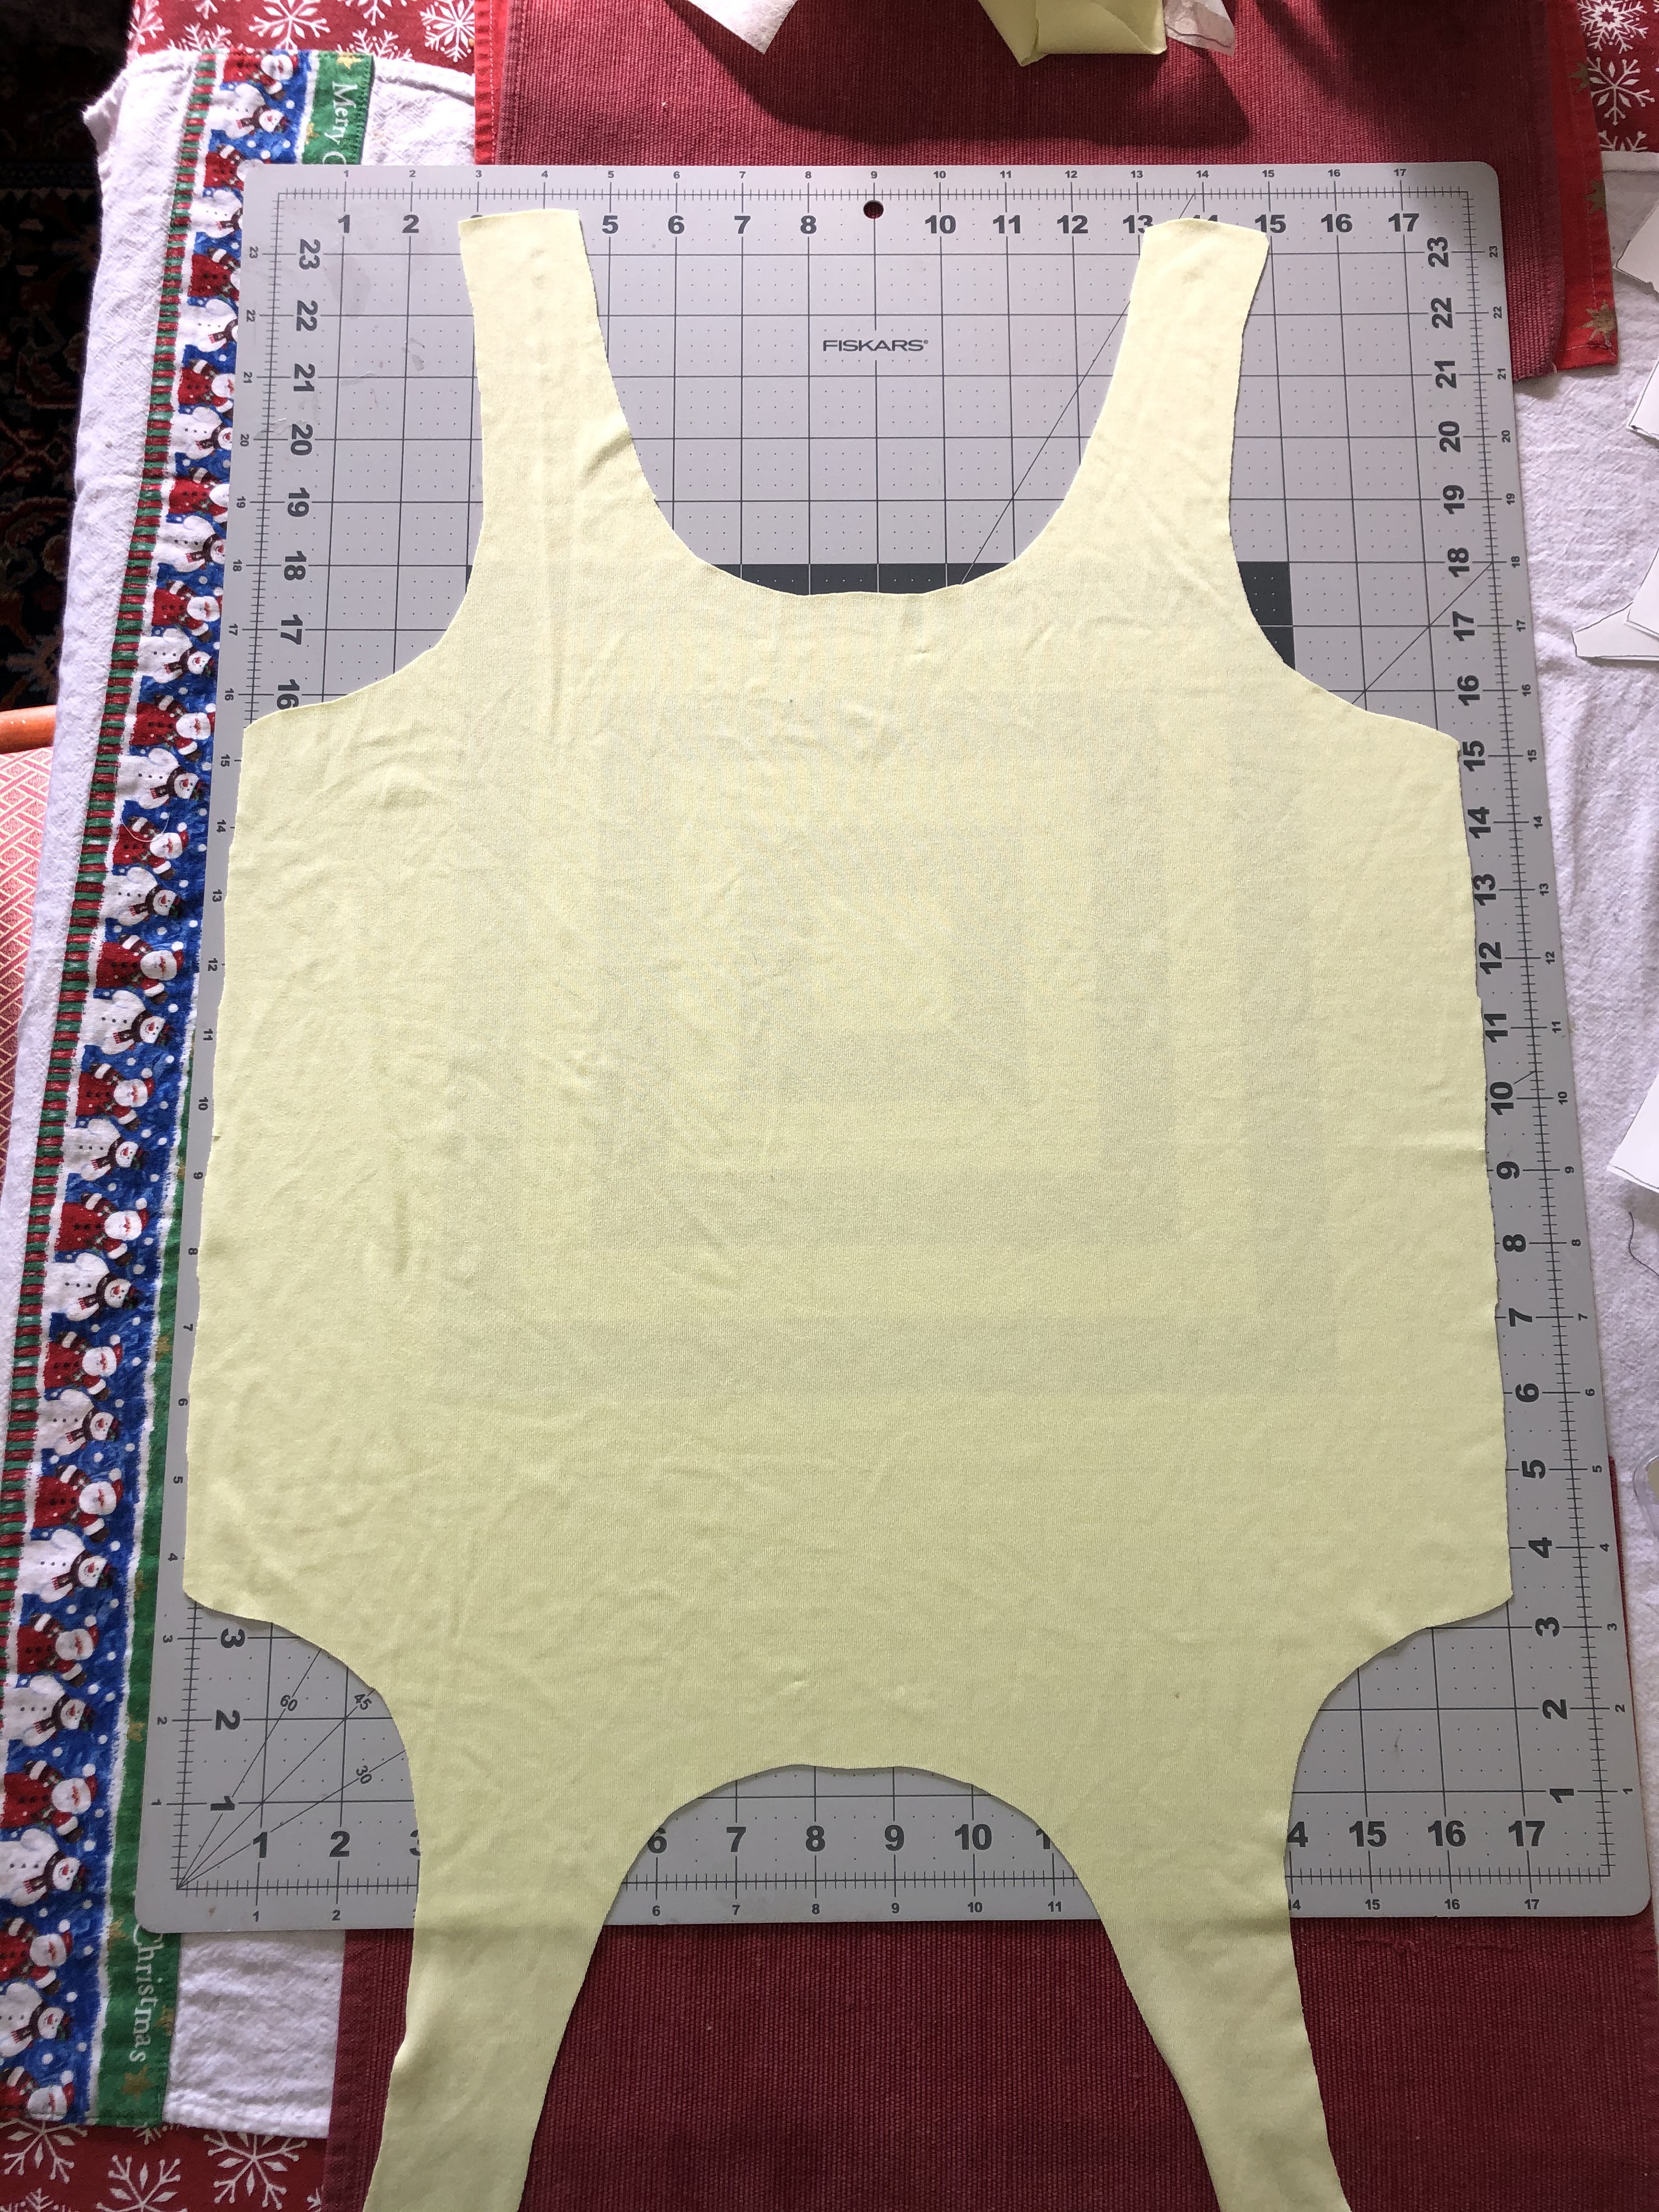
I folded my fabric vertically and horizontally, so that there were four layers. Then placed the pattern on the vertical fold and one inch higher than the normal cut line on the horizontal fold. Hang tight, it will become more clear in the next photo. ** Alternatively, you could cut a new pattern piece on both folds which may make things easier.

This method of cutting results in this shape. My husband laughed when he walked by and asked if I was making a shirt for CatDog. Repeat the same for the back piece.
With right sides facing, stitch the shoulder seams and side seams of the front and back together. Very often the front may be longer than the back piece, just ease that extra amount in. If needed, pin two underarms and center to get the easing to be more even.
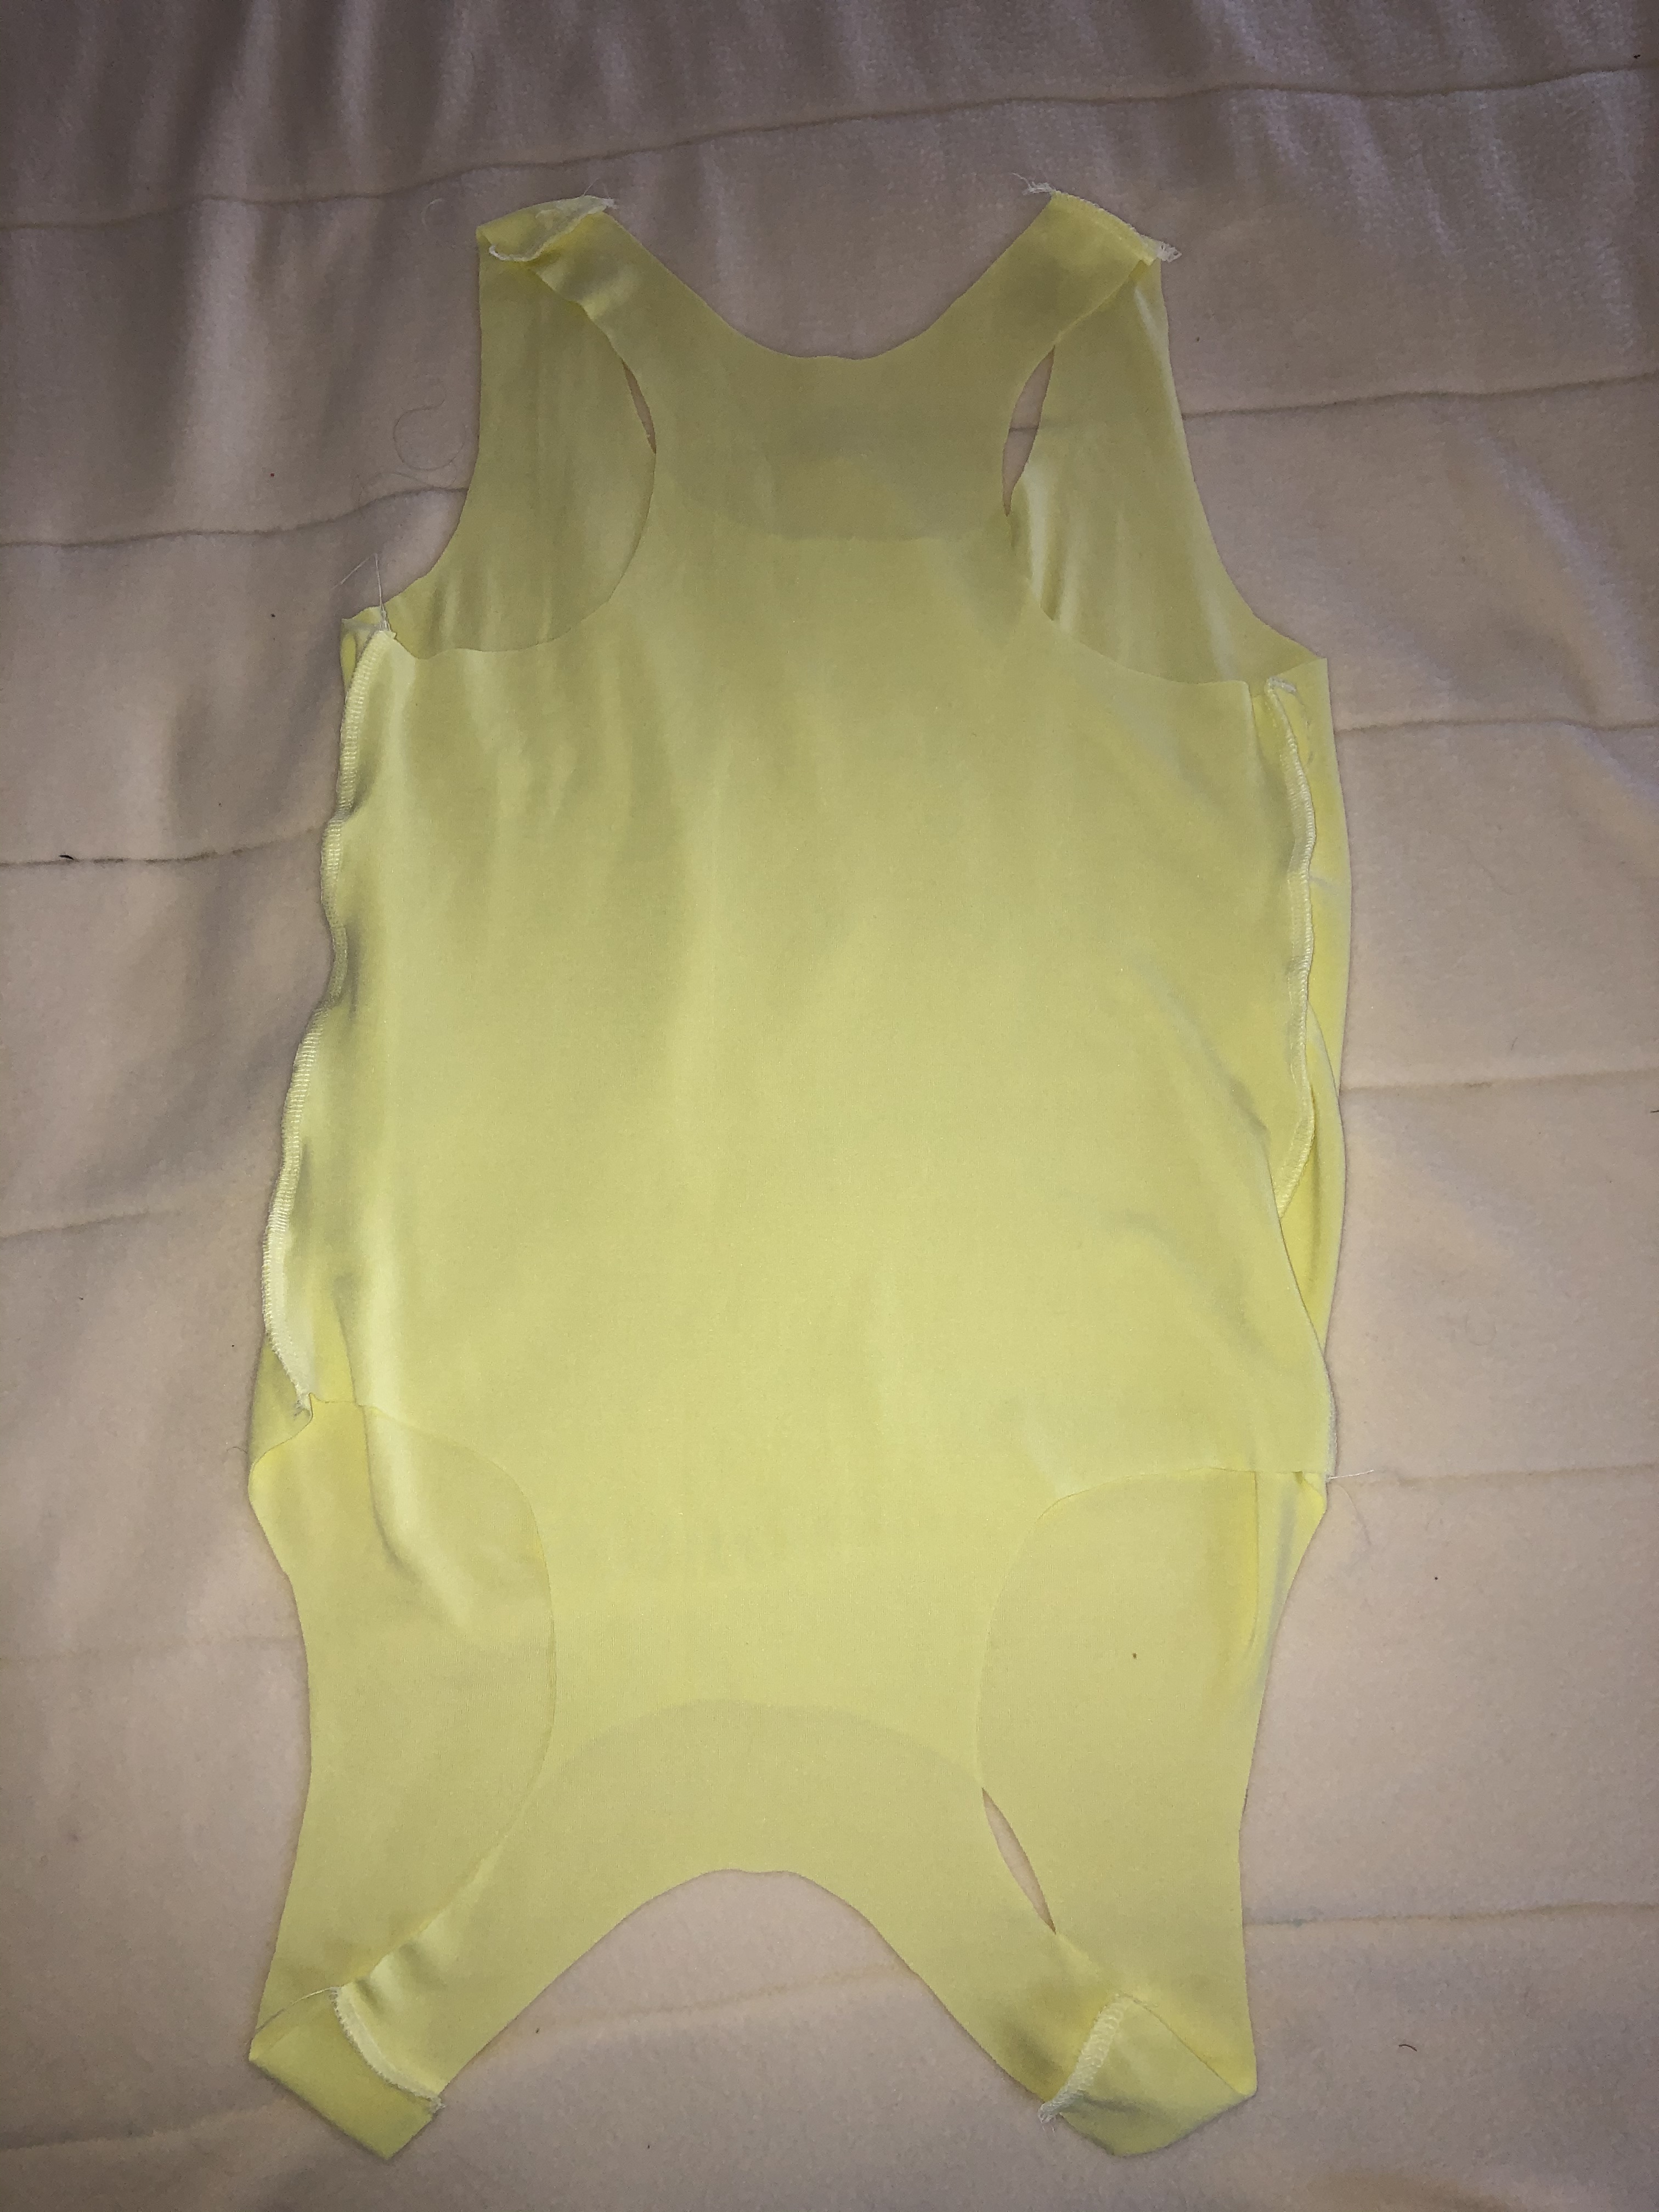
Bring bottom up to meet the top at the shoulder seams.

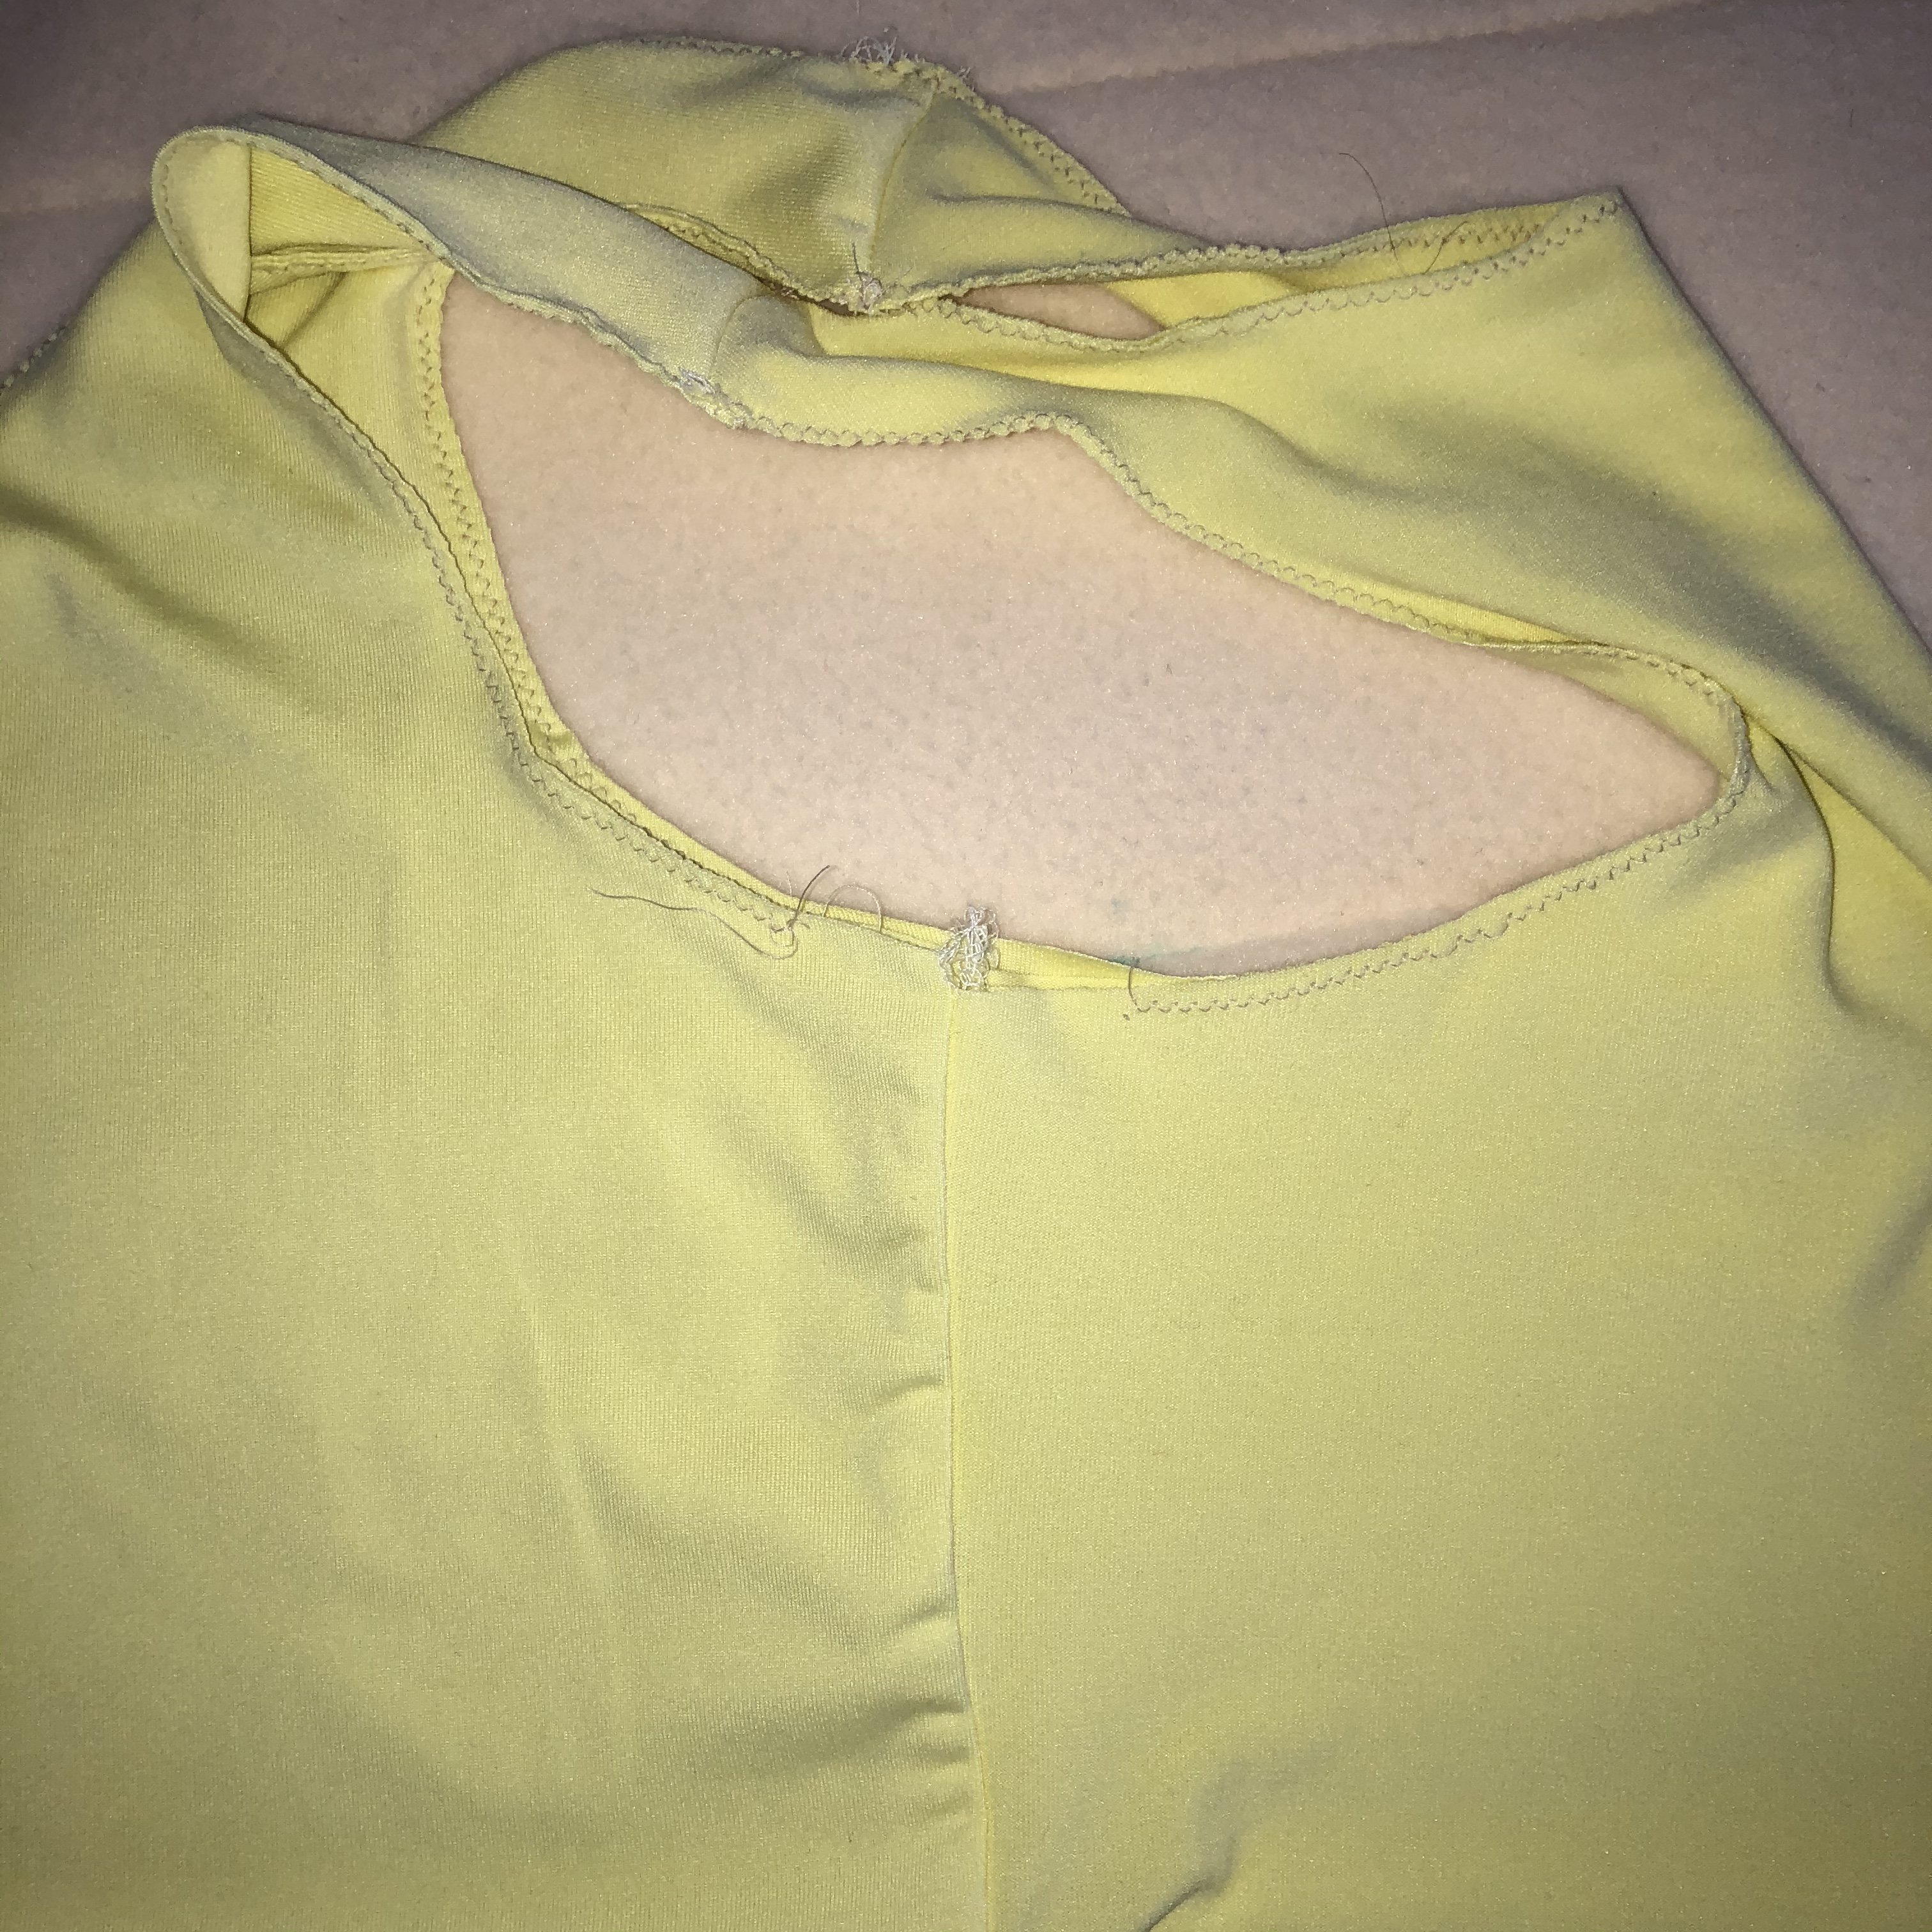
Flip one layer, just the very top layer over to the back side, and your cat-dog bra will start to take shape.
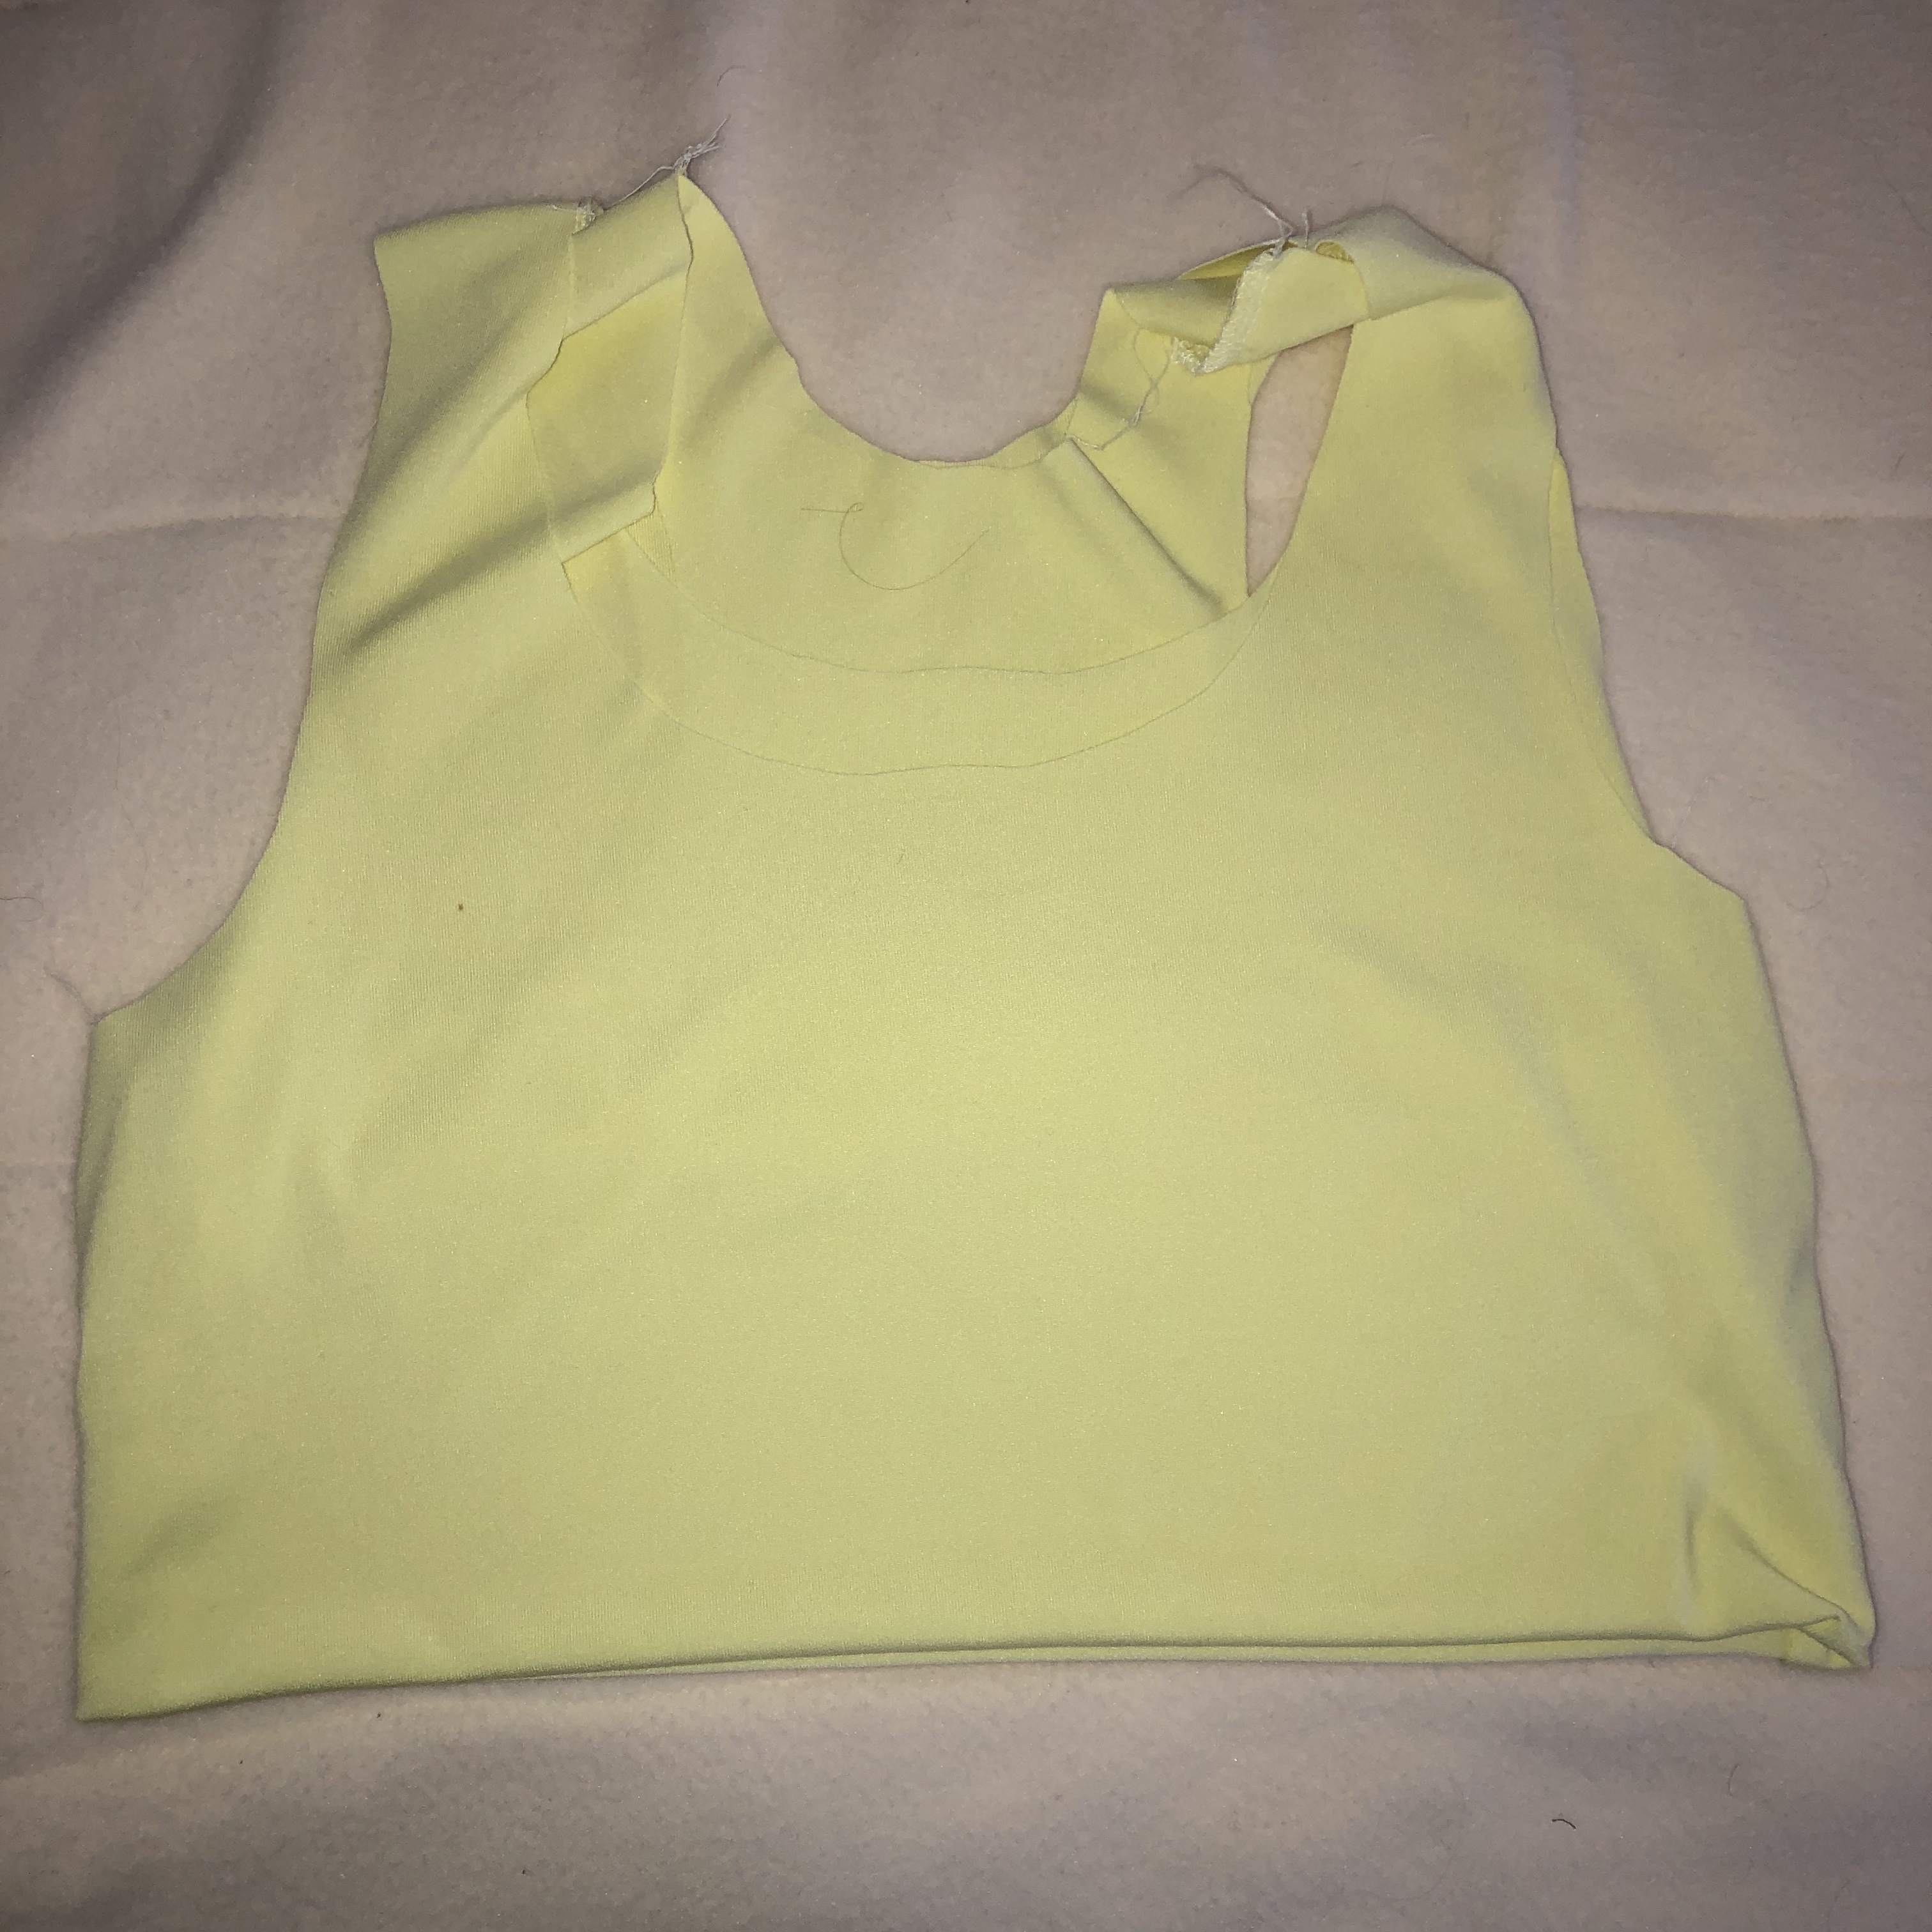
Using a stretch stitch, baste your neck opening and most of the arm openings. I used a 2.5 x 2.5 zig zag on the very edge of this sample.
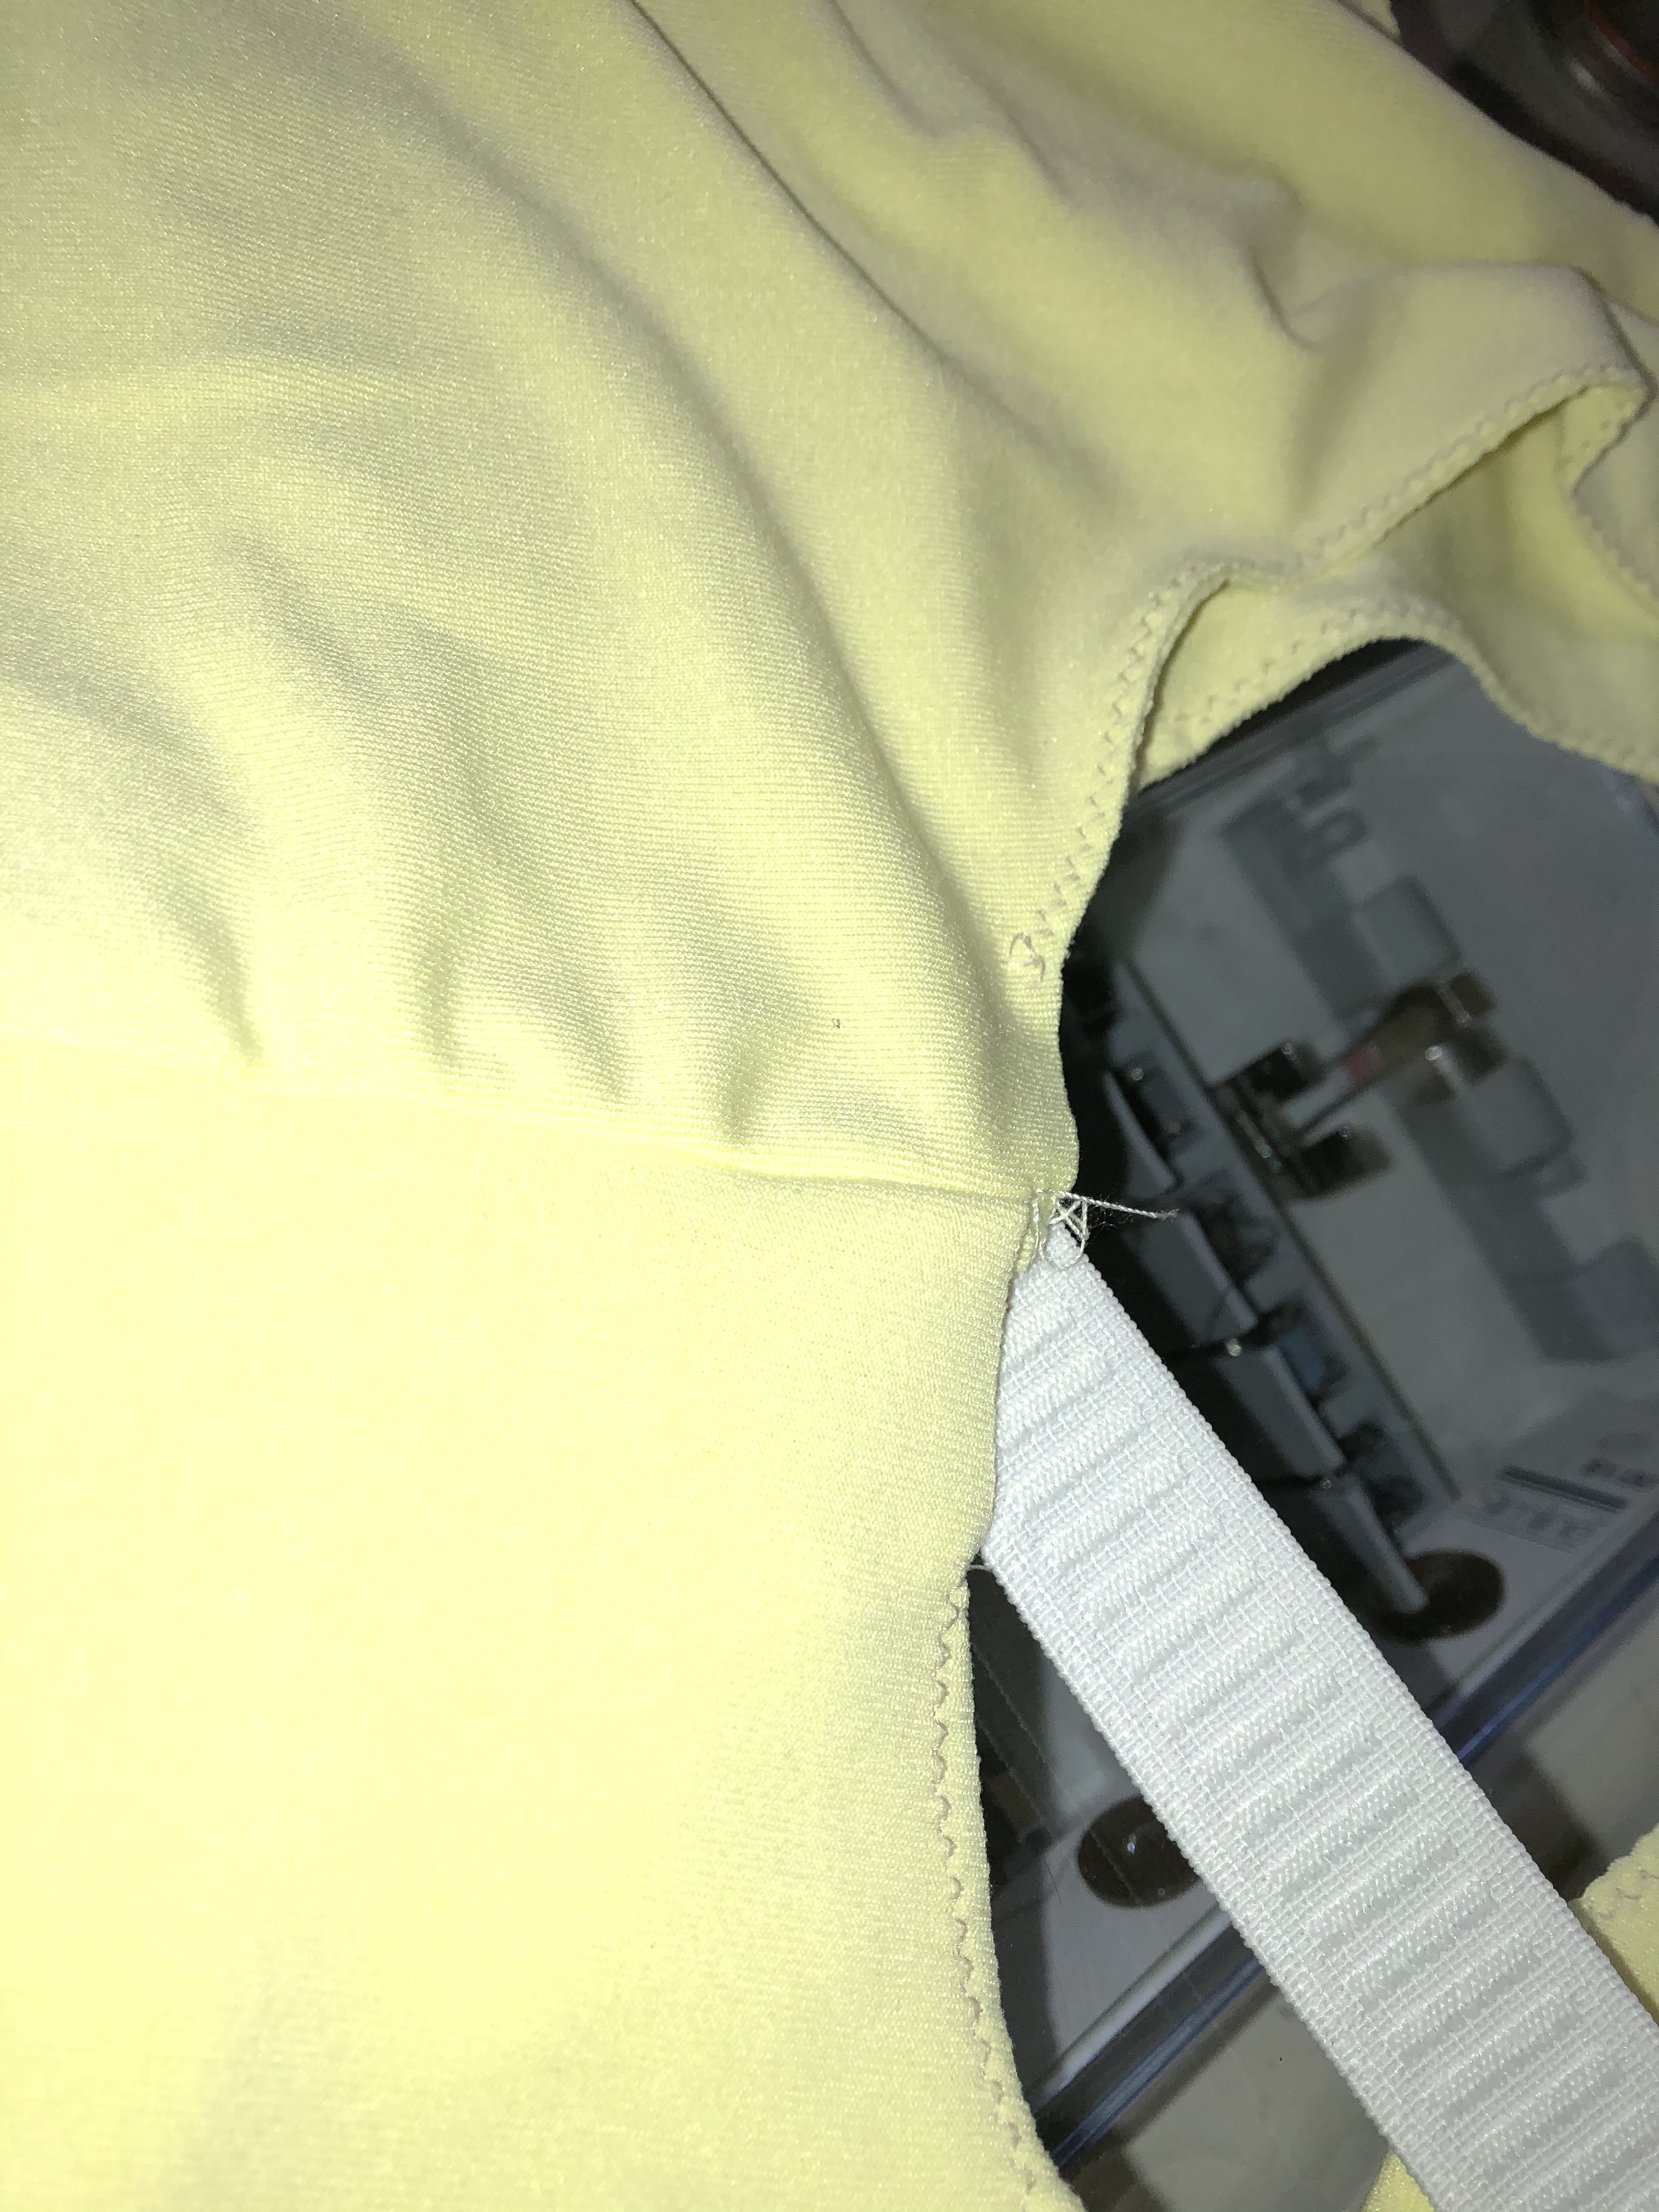
Be sure to leave about an inch of either side of a side seam not basted. This is how we will get the under bust elastic in.
After you have pre stretched and exercised your elastic, wrap it around your body, and see how long it will be to be snug and supportive. Cut your elastic 1/2 inch bigger than that, and attach a large safety pin to one end and snake it into the opening of your cat-dog bra. Non roll, braided, what ever you prefer best in a 3/4 to 1 inch size. For larger busted folk, a wider elastic, and longer cut front may add more support.
Once you are 100 percent sure you have the elastic all the way through without twisting, bring the ends together, overlap that 1/2 inch and stitch securely.

Hang your bra on a hanger or just hold by the straps, to be sure the elastic is not twisted. Then let gravity help that elastic fall to the lowest point (remember the horizontal fold). Distribute any fullness, and pin at the sides and centers to hold the elastic in place.
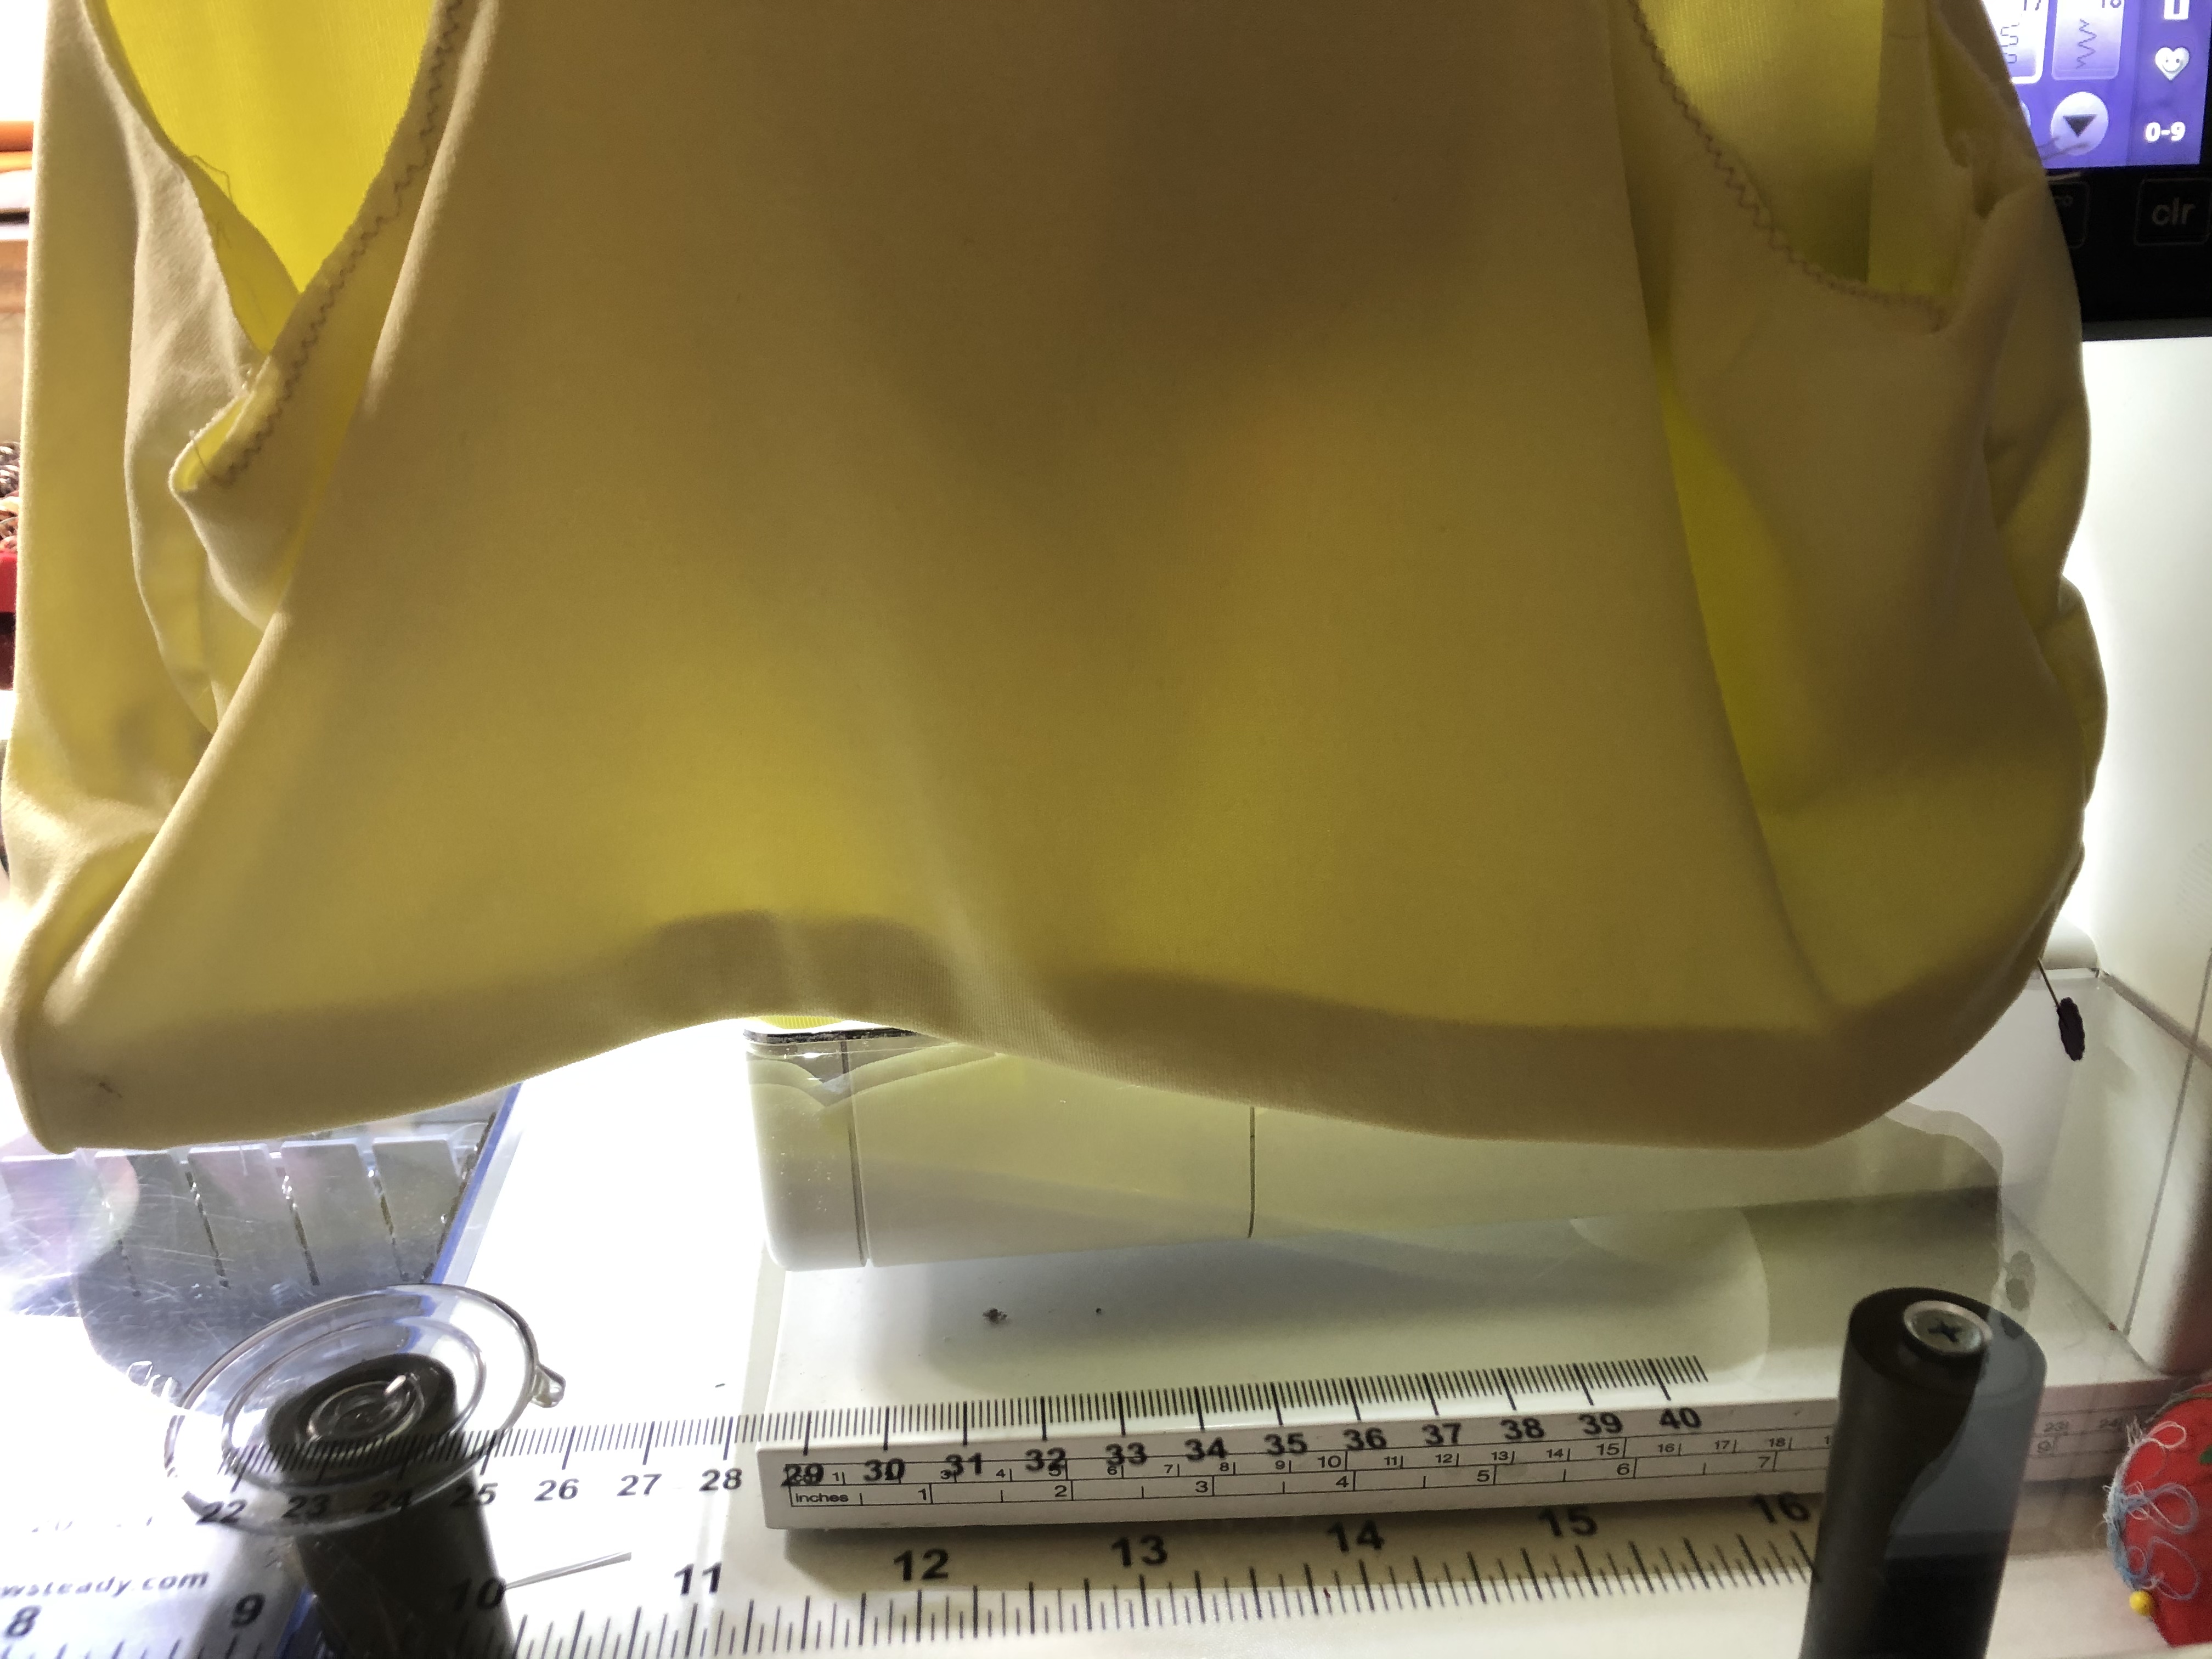
Stitch that elastic into place. Non roll elastic will work well with a lightening stitch. An elastic that rolls may work better with a serpentine stitch to hold the majority of it in place. Just be sure that the stitch is sufficiently stretchy.
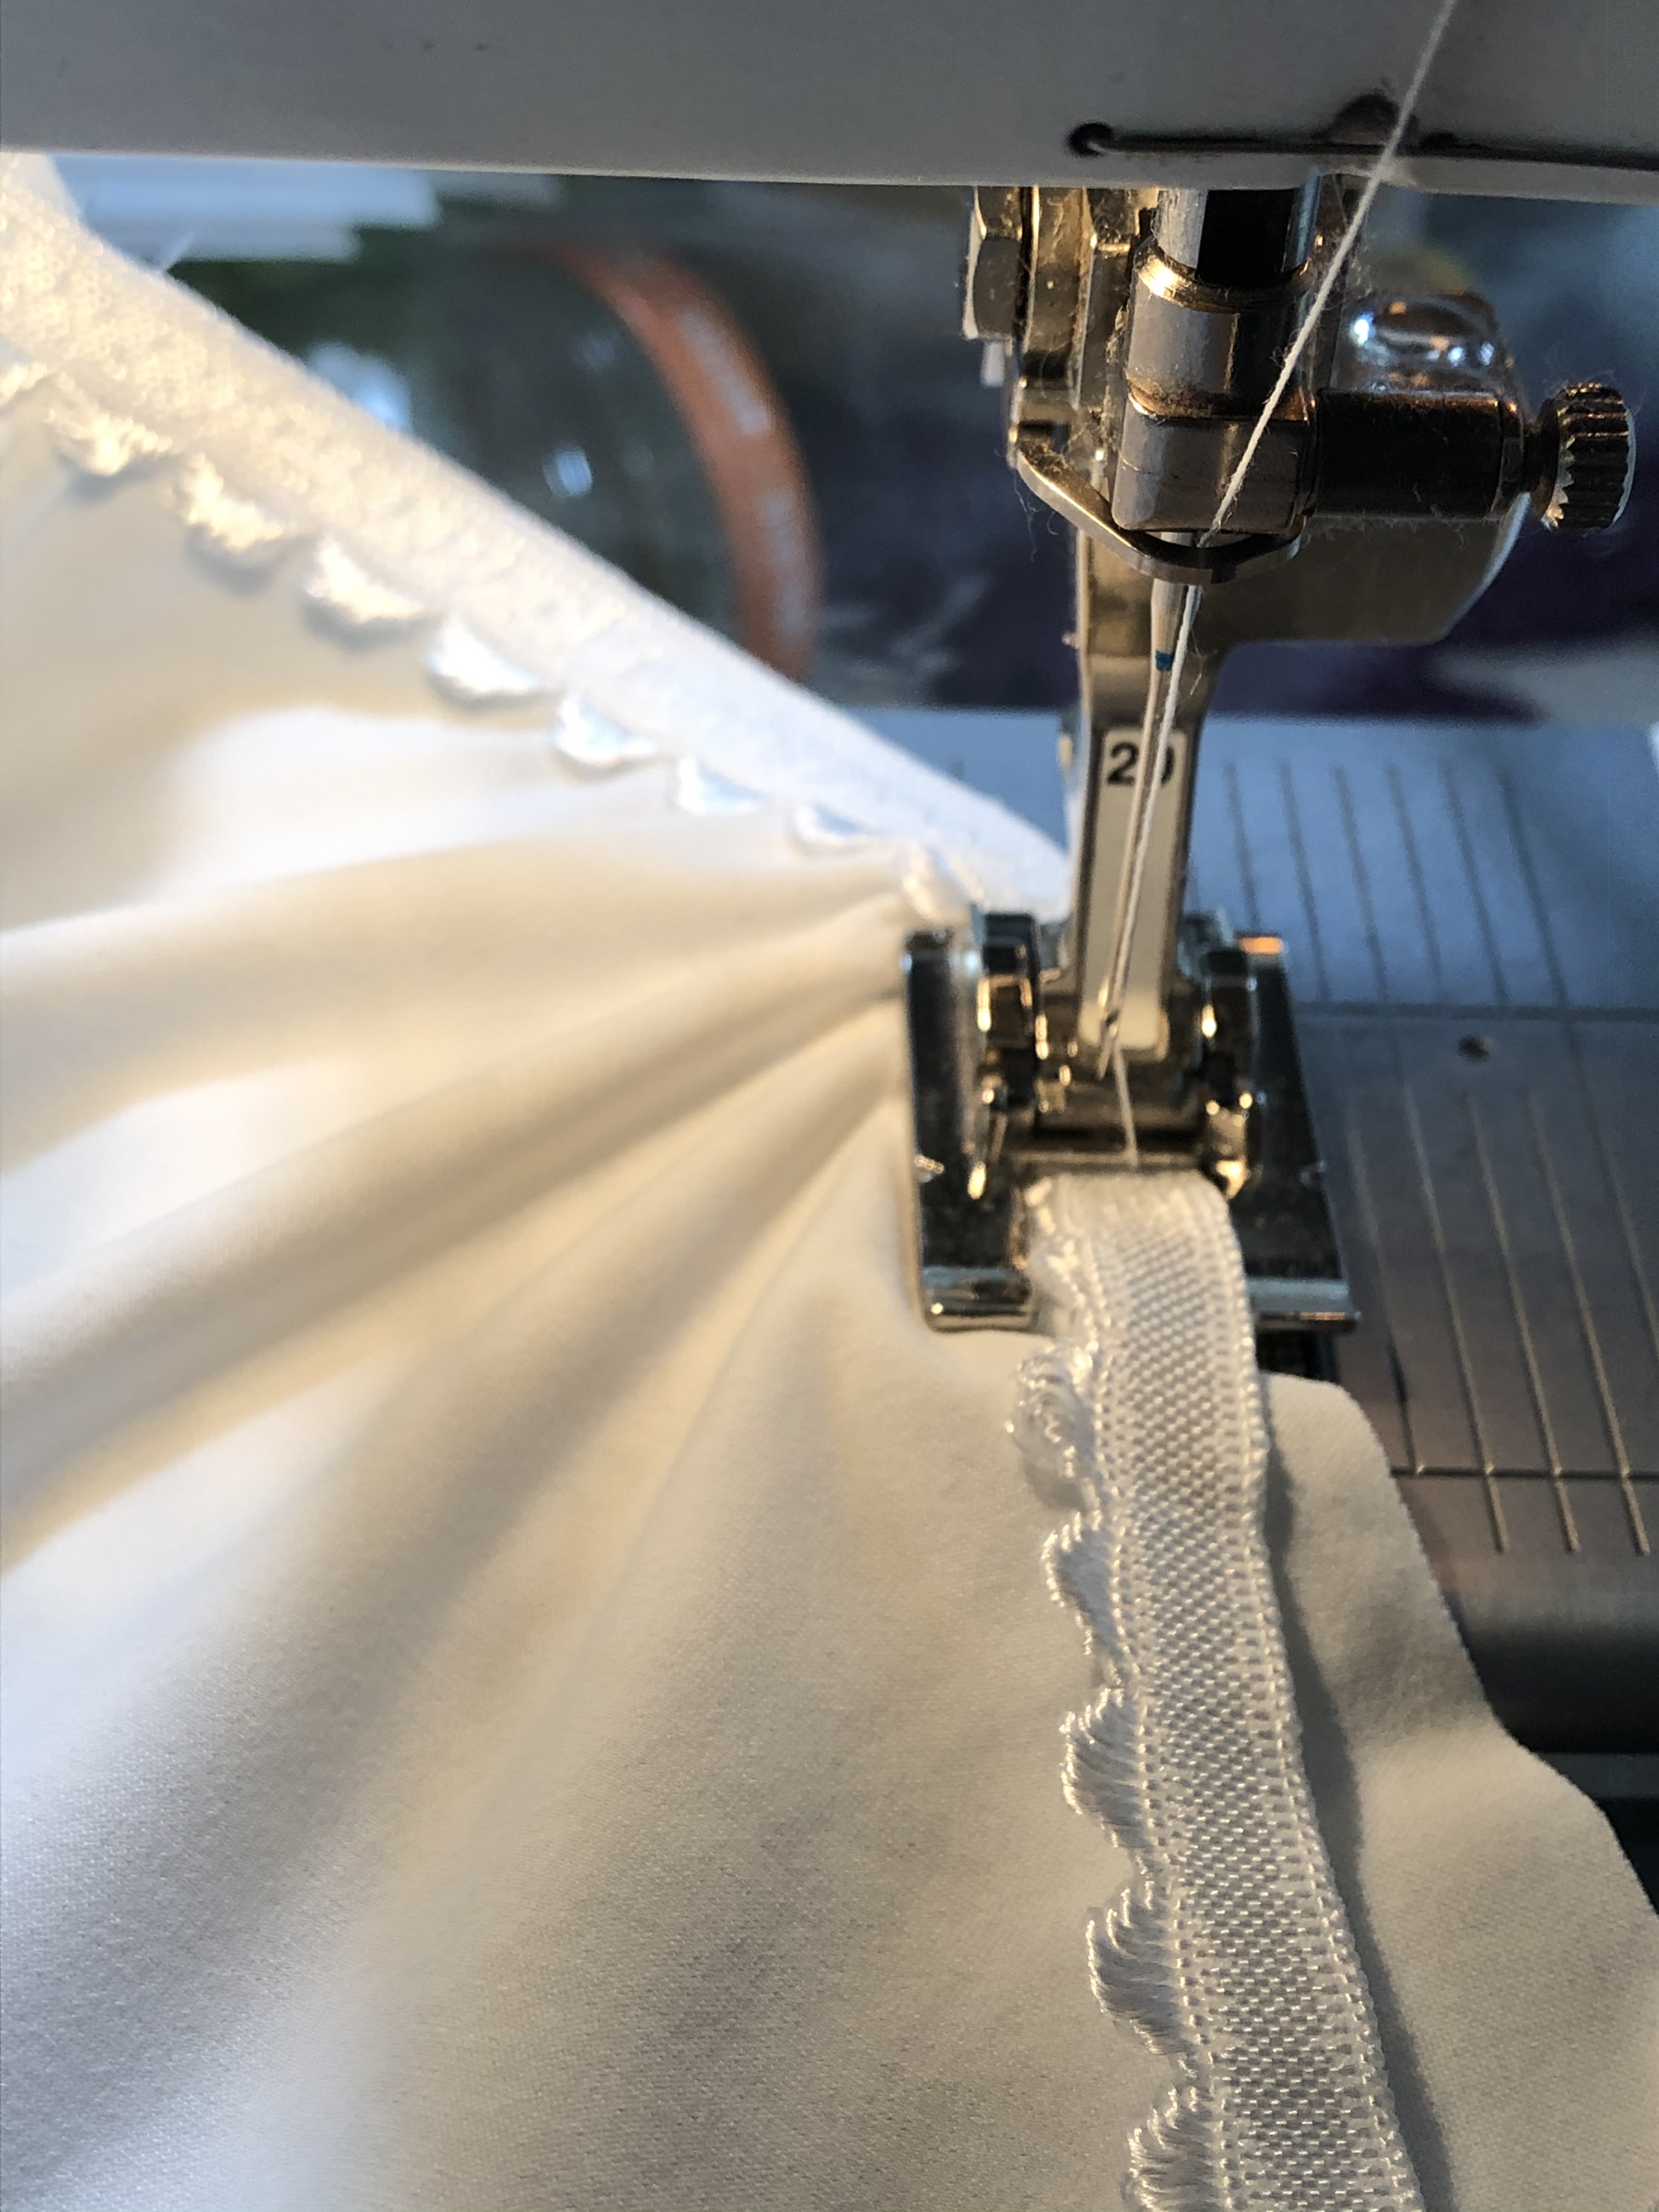
Cut your binding strips as the pattern directs. and bind the openings. There are lots of binding options. This is a 1 inch wide fold over elastic. I really like the elastic from here.

You can apply a decorative elastic like this scalloped elastic, which is sadly out of stock.
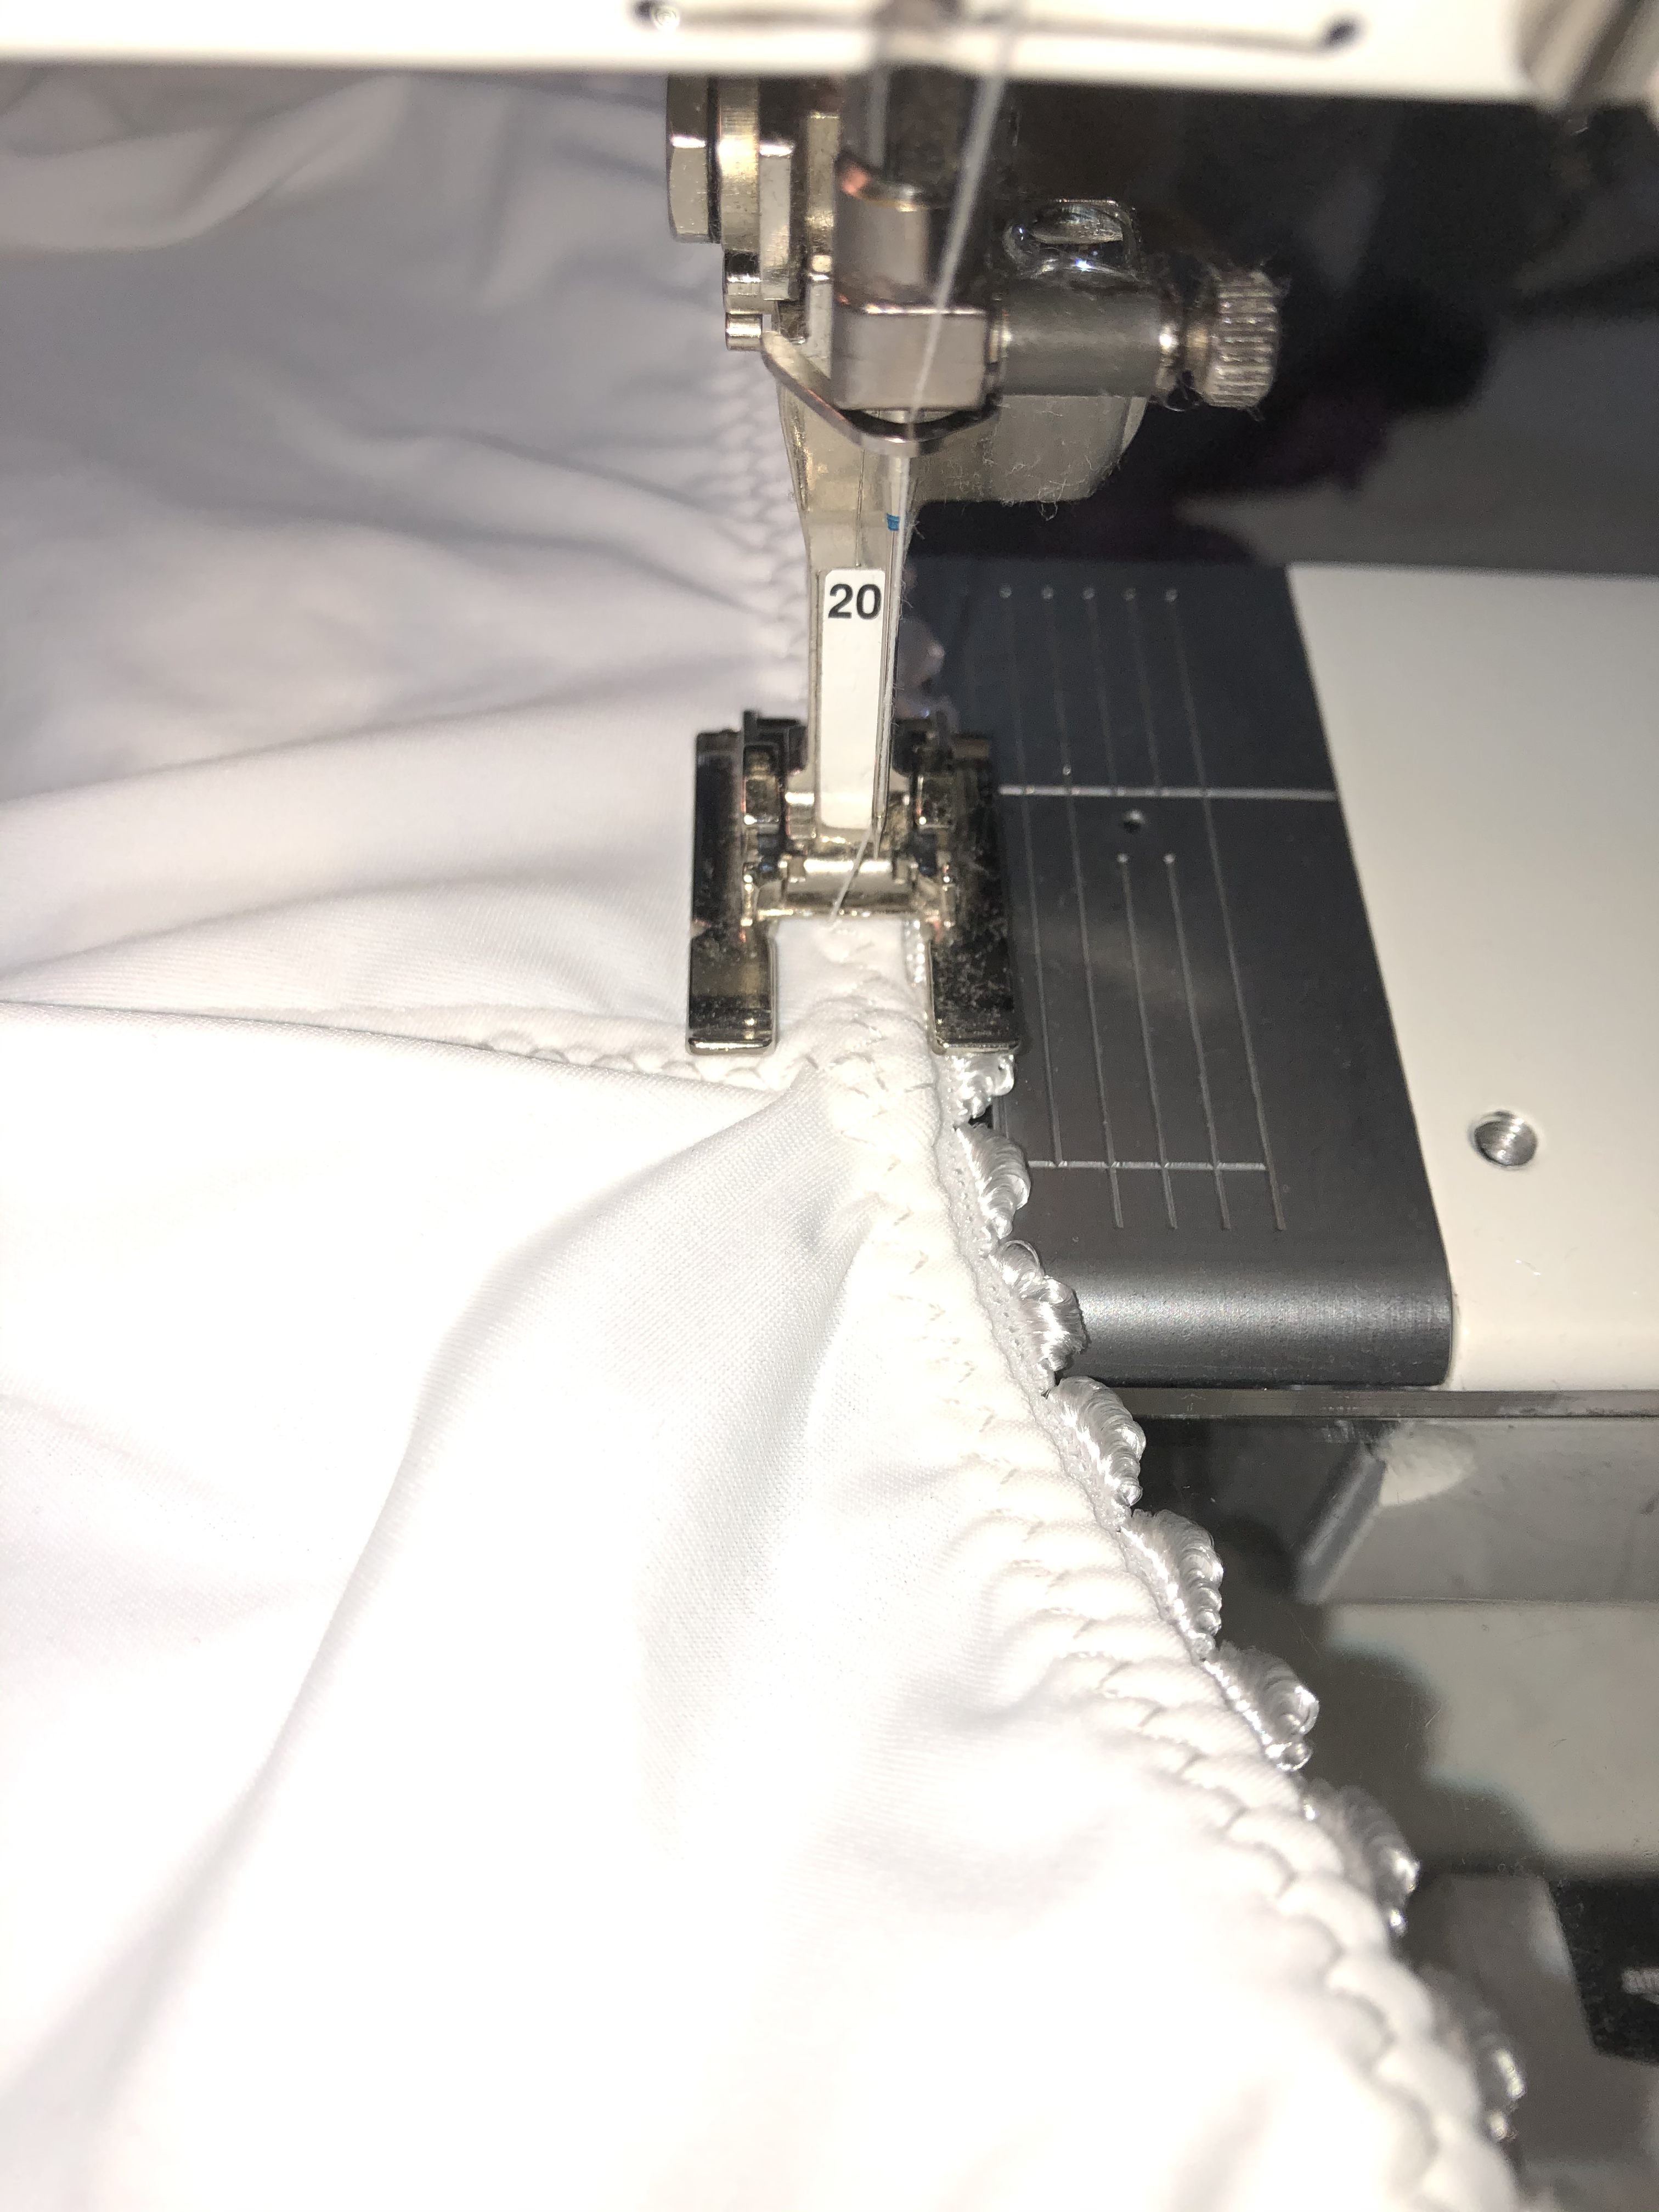
Then flip and top stitch the elastic for a picot edge.
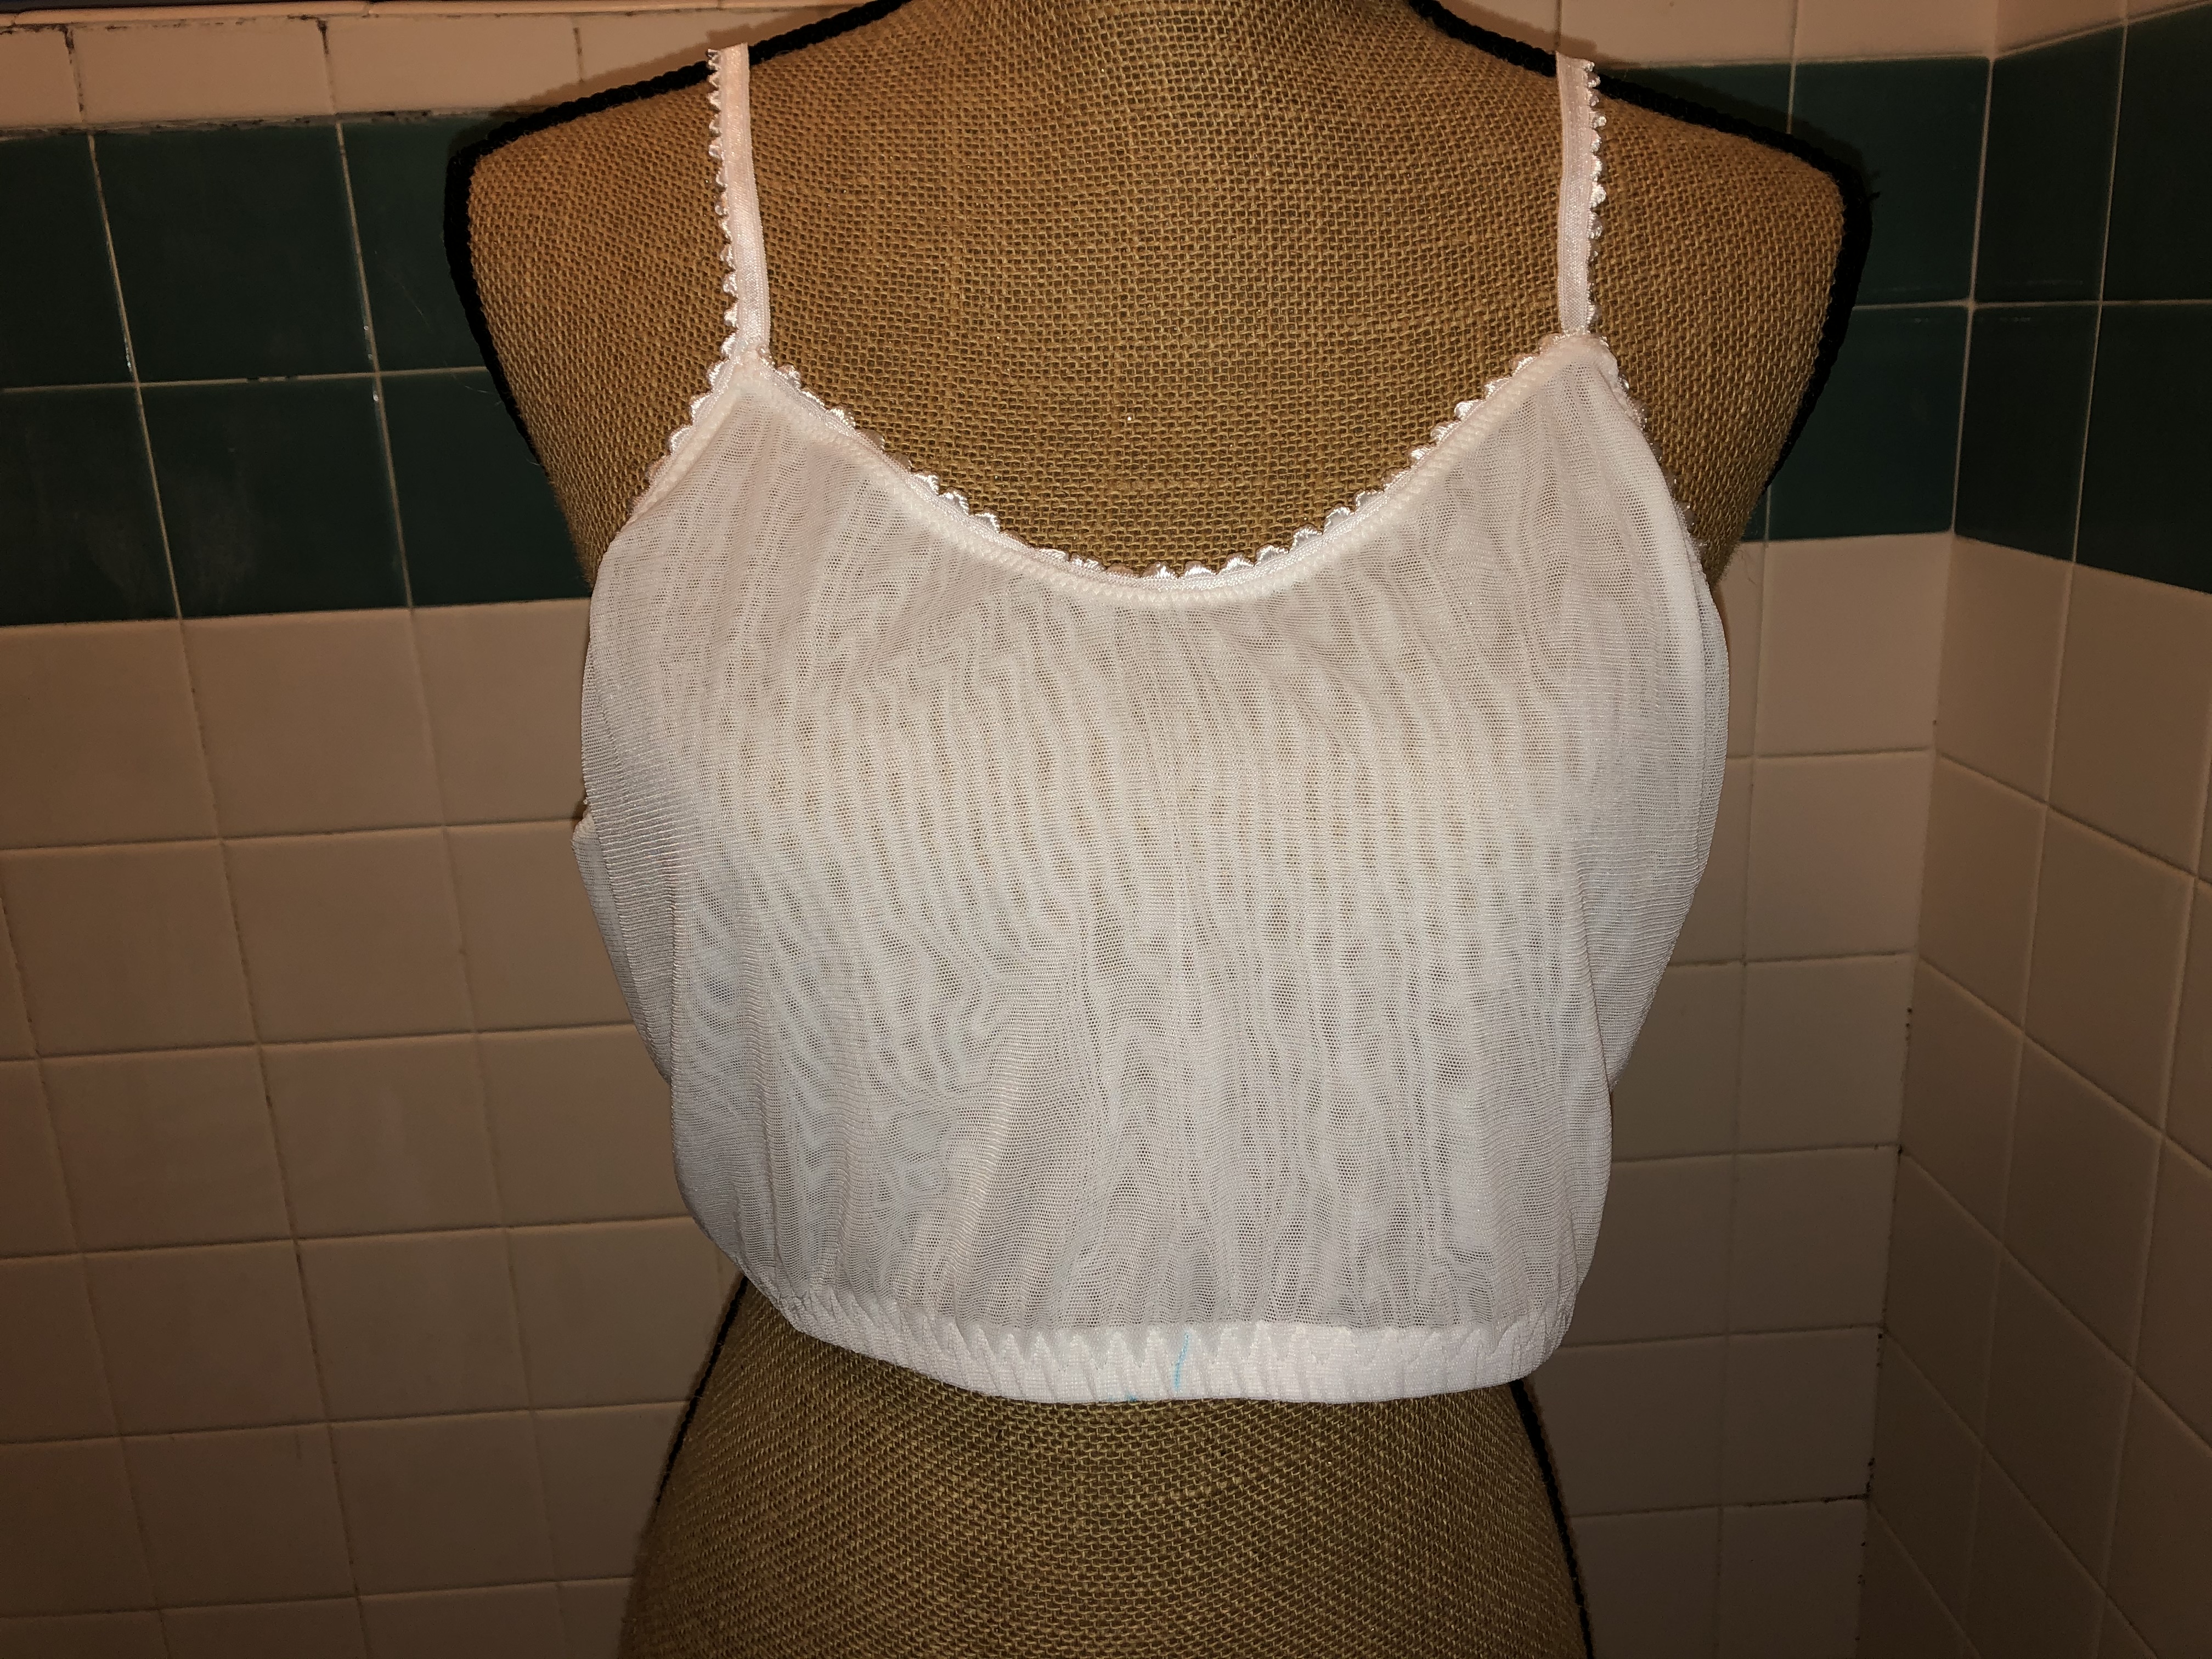
This is picot elastic on a breathe mesh from Discovery Fabrics that is not super supportive but enough and very lightweight for a summer bra. this is a Cecilia that is modified the same way.
And here is a fun binding tutorial. https://www.youtube.com/watch?v=VdWgntXEmTY
** Alternatively, you could fold tracing paper in half vertically and horizontally to create your pattern pieces. Important is to keep the fold line of the pattern the same as the fold line for the elastic, not the cut line, or your bra will be too long.
This post contains affiliate links. If you purchase with those links I may receive a small commission, at no additional cost to you. I appreciate your support!
Happy sewing! Joan
