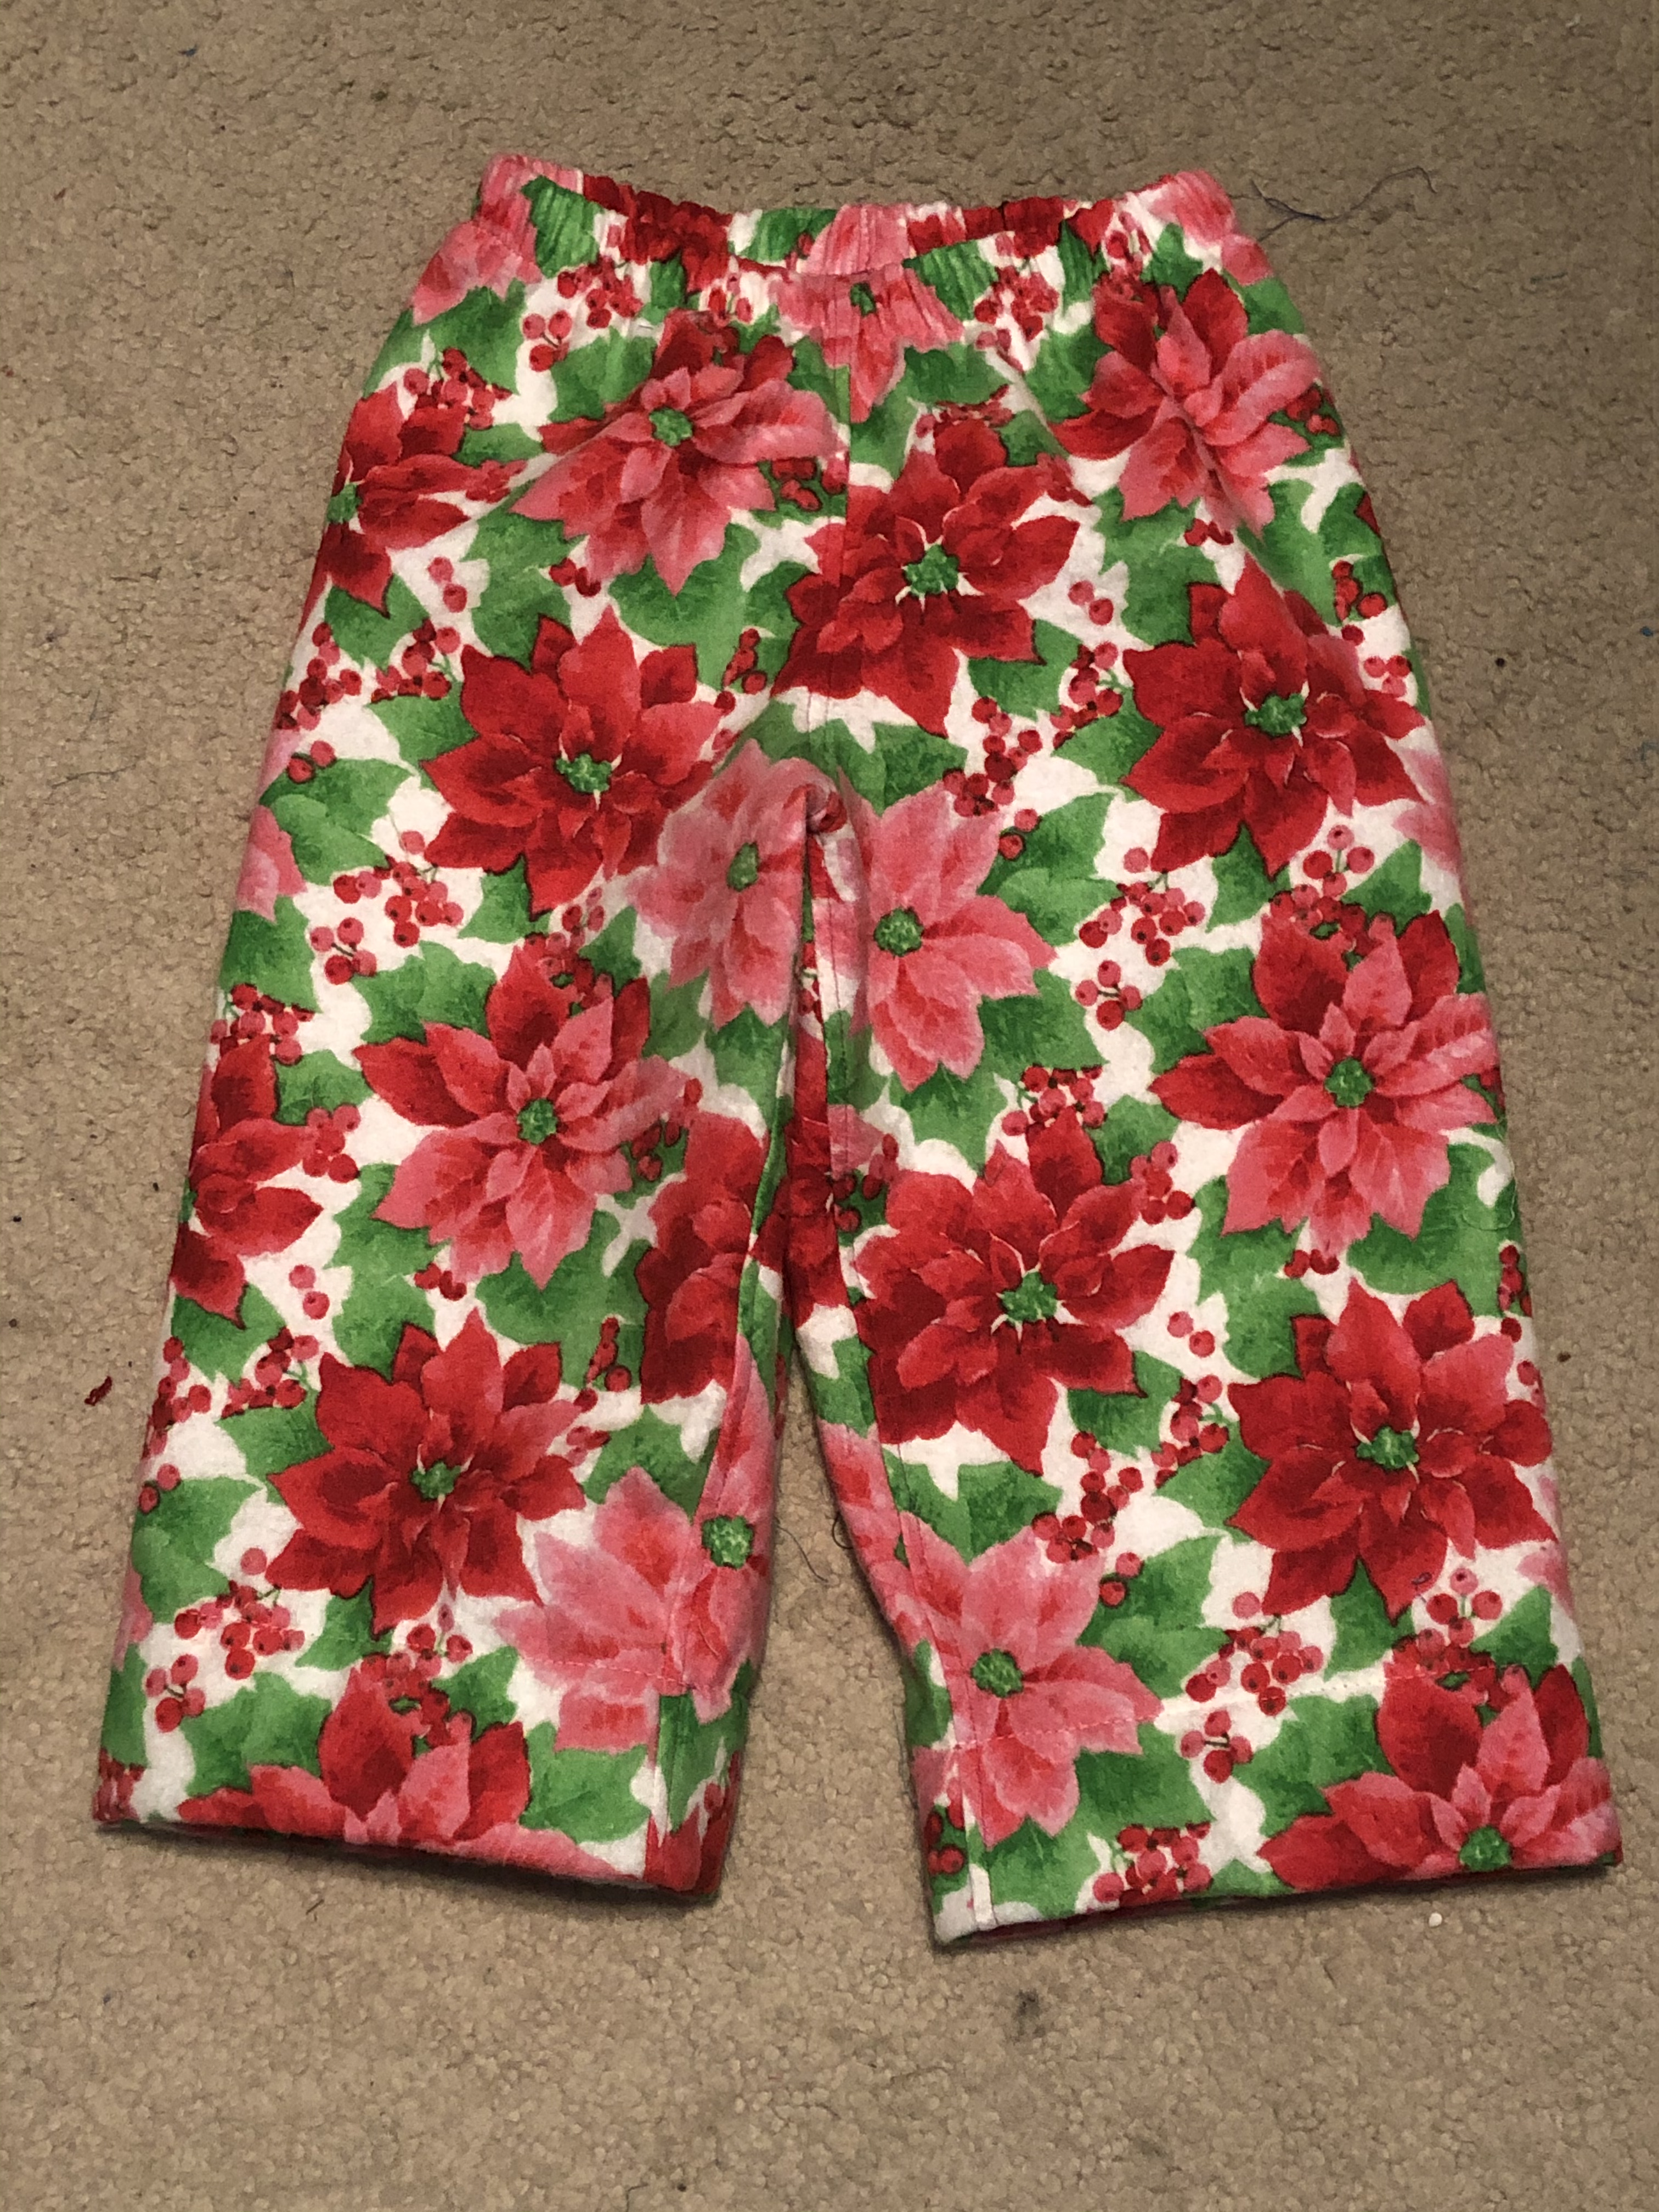
I love the drafting of the adult version of the free PJ pants. My younger students have loved and learned loads from making the smallest sizes of the adult version. So I jumped onto the test for the kids version. There is always so much interesting insight to be gained in pattern testing if you pay attention. Recently, I found out that I would be keeping my grand daughter an extra day early, and wanted to get photos of her in these, but had limited time. So I made this pair in about 45 minutes. You can make them up quickly too. Here are some tips!
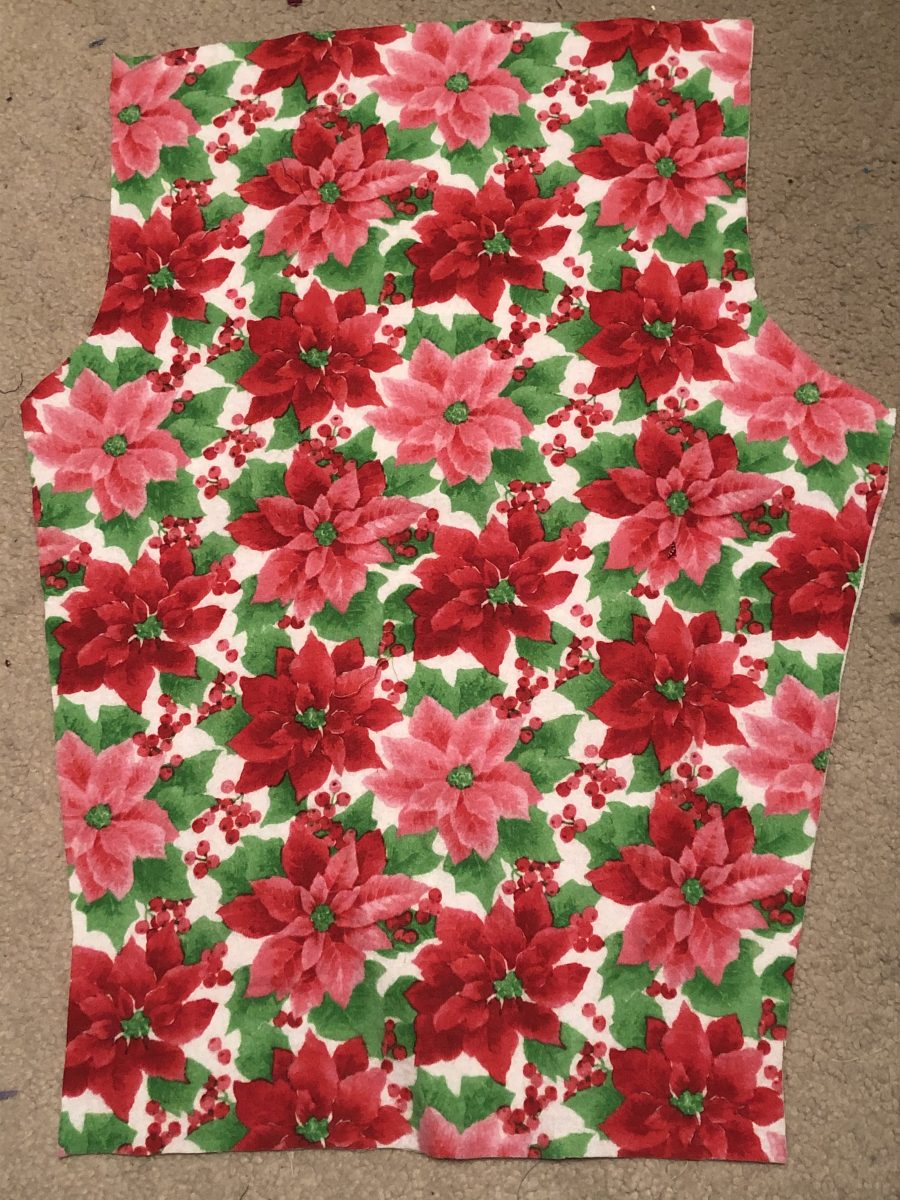
1. Skip the pockets. If you are making these for photos or for small children who have not yet discovered the joy that pockets bring, or are inclined to leave messy things in them, just skip them. Don’t get me wrong. I am 100 percent a pocket fan, but we are in a hurry here. This remnant was only 23 inches long, and there would not have been room for pockets on the fabric.
2. Skip the side seams. The side seams of these pants are fairly straight. Mark the seam lines on the outside leg (the longer side) with a highlighter, crayon, or whatever is at hand. Line them up so that the seamlines are on top of each other, and, with your fabric folded, cut around the perimeter of this new shape.
3. Serge the single layer of the top waist band edge and the bottom hem edge to give them a clean finish. Chain serge to save thread.
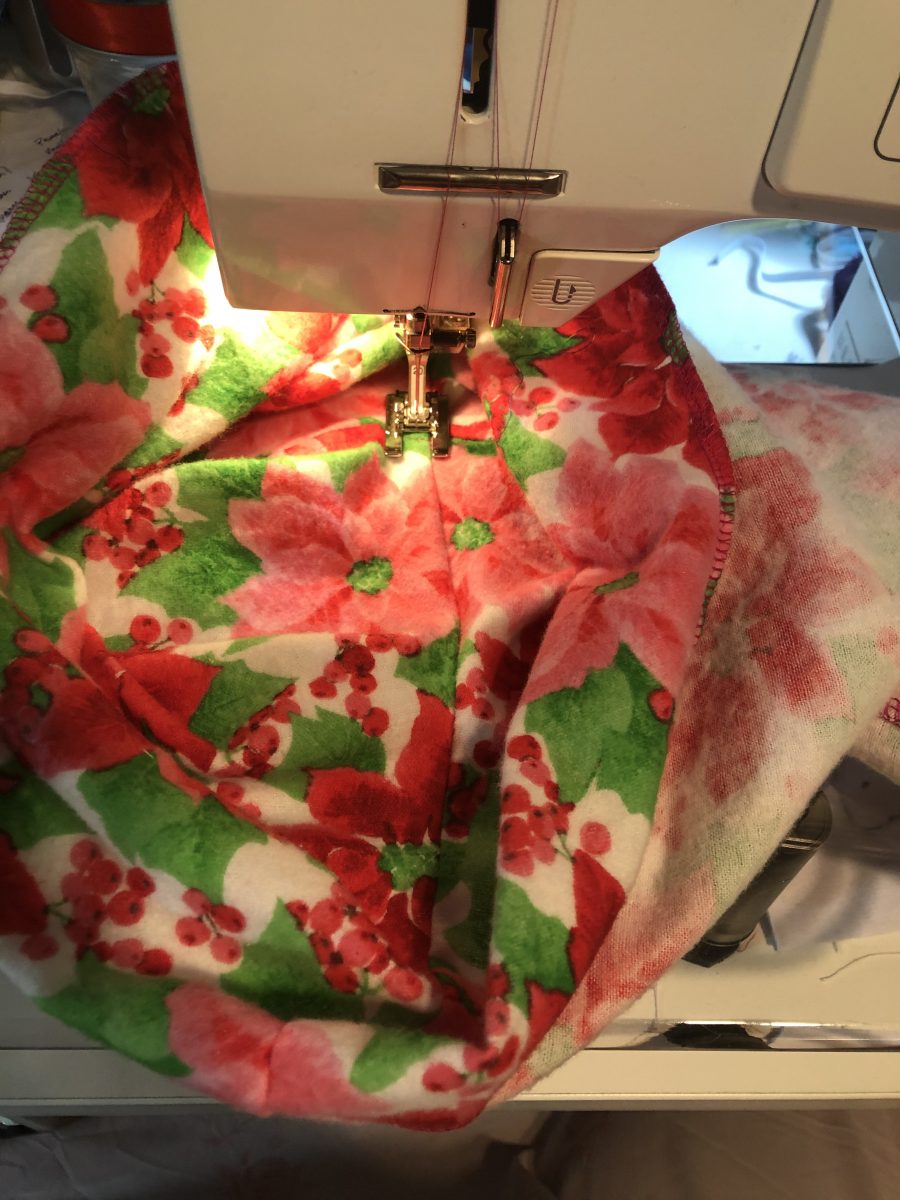
4. Sew the inseams. Fold each individual leg right sides together and serge the inside leg seam. In the photo below, I serged and top stitched the inside leg…. And also hemmed. I was in a hurry and forgot to take shots of that.
5. Hem the pants. I know my models inseam, and found it simple to hem each leg before sewing them together. The inseam before hemming measured at 16 inches. I folded the pant leg up 2 inches and hemmed, then another 2 inches, and this time hemmed with the longest stitch, and just enough back tacking to hold this together. This gave me a 12 inch finished inseam. While hemming twice seems like it takes more time, and seems a little bulky, it will allow us to remove that long stitch hem and give the wearer another year to wear these pants. I like the idea of a more sustainable, grow with me wardrobe. Pants can also be finished, tried on and then hemmed for a more accurate hem.
In the interest of a grow with me option, the same can be done with the waist band. It can be cut one inch taller front and back and elastic applied then folded down once more and basted, so that when the model grows taller, the waist and or hem could be let out to wear for another season. The flip side of this is it will take longer for these to dry with the extra bulk. You choose what works best for you.

6. Sew the crotch curve. Turn one leg inside out and place the right side leg into the inside out leg, so that right sides are facing, then serge the curve, matching up the seams at the inside leg. Below is a photo of me top stitching that seam to one side. Since the crotch curve has some bias and stretch to it, a bit of a stretchy seam will last longer than a plain straight stitch. .5 wide zig zag is sufficient.
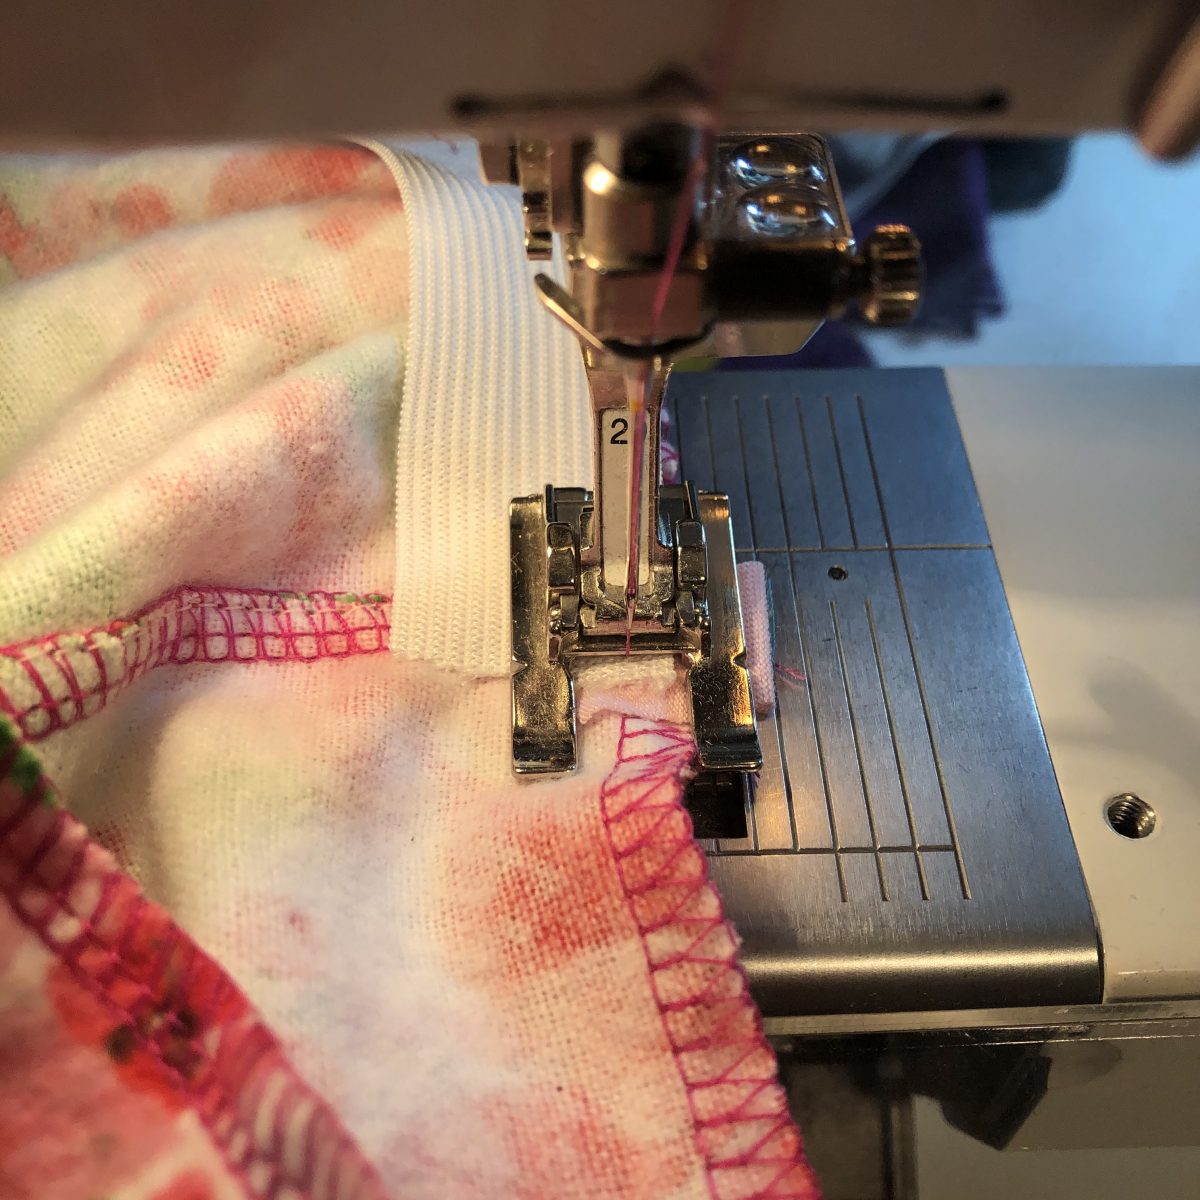
7. Add elastic. The fastest way for me to add elastic is to quarter mark my elastic and quarter mark the pants. The seams are half of that, so just mark where the side seams would go. Then starting in the center front, and the center mark of the elastic. Stretch the elastic as you sew from matched up mark to matched up mark. The first one is easy.
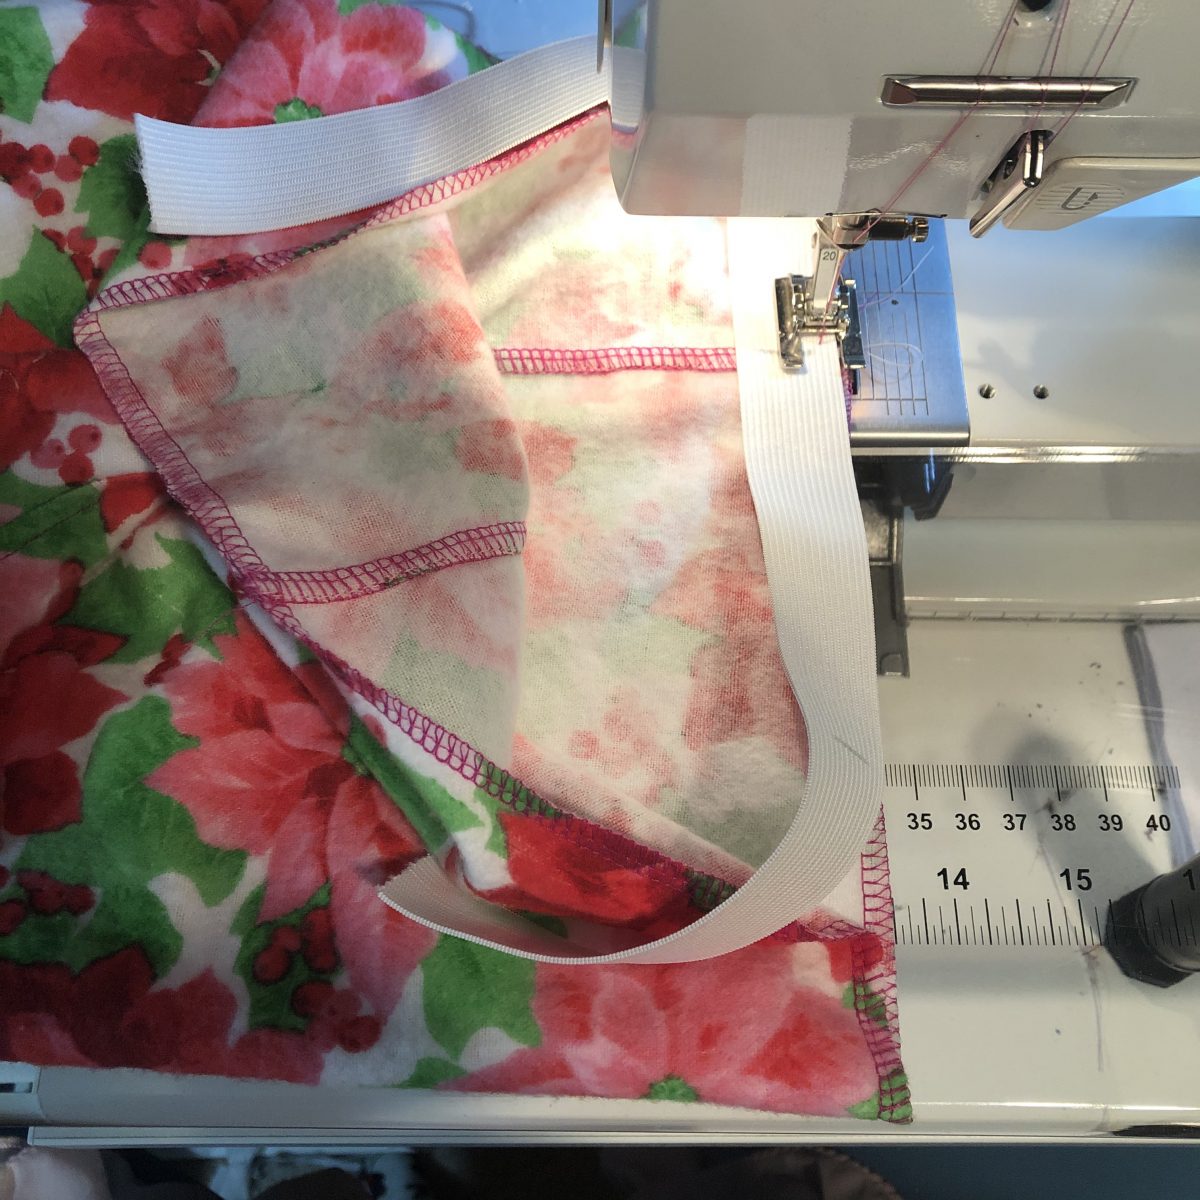
8. Overlap ends when you get to the back of the pants, add a tag here if desired, sew to the end of the elastic, then back up half an inch, and without twisting, place the other end of the elastic on top of this, stitch without stretching for 1/2 inch, and keep sewing that elastic from mark to mark.
9. Secure the elastic ends. Go back to where the elastic ends are overlapped and sew down the center of the elastic. For me this is enough to mark the back of the garment. Since a little one or her parents will be helping with this garment, I added a strip of knit fabric just to denote the back.

10. Fold elastic to the wrong side and top stitch. And just like that, you are done. One more gift on the “finished” list!

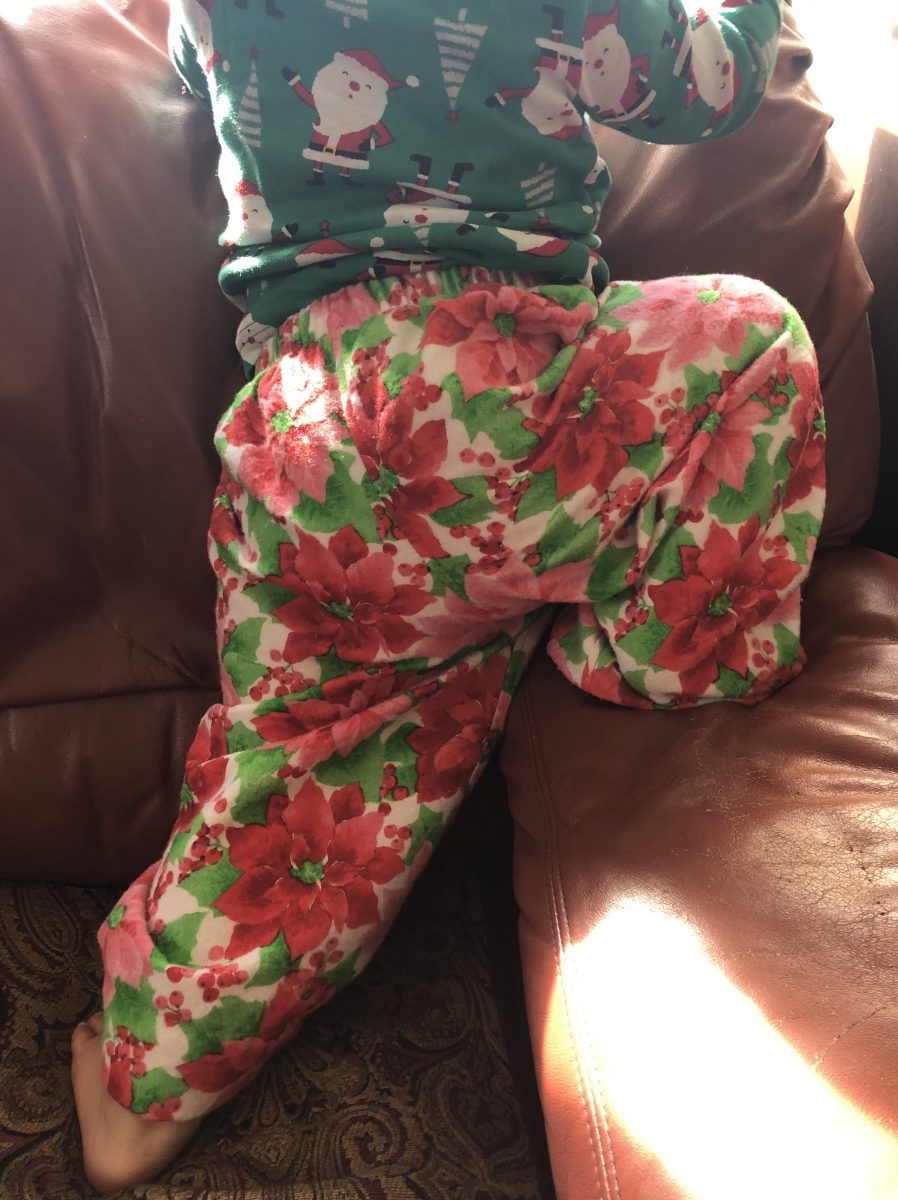
I sized these according to a hip measurement wearing a cloth diaper. Lots of room for play in these fun and quick pants!
This post contains affiliate links to free patterns which may generate a small commission to me from the pattern designer if you purchase the patterns using those links. Much gratitude from me if you do!
I made a pair of these pants – slow sewing style – with pockets, flat felled and French seams on the treadle. Watch for that post, it may be a while.
Wishing you happy sewing! Joan
