Eternally grateful for the opportunity to teach sewing. One of the interesting parts of that is how much I learn from my students. A year ago, I met a woman who was instrumental in getting the ban on plastic bags in our city. That has all taken a big back seat since the pandemic, but it really made me think about what is truly important. And what kind of a footprint I want to leave behind. I love to sew, truly, I do, but how many garments do I really need? Luckily, I have a grand child, who is growing and actually needs clothing, so I am having fun with sewing kids clothing. Another student, introduced me to dyeing fabric. She is a proficient seamstress, and really wanted to learn better finishing techniques. We were able to (pre pandemic) meet for sewing get togethers, which was great therapy for all who attended. Everyone worked on their own project and were inspired by each other to learn more and become better, both as people and as sewists. So this is some of the reasoning behind why I spent a lot of time stitching up a pair of PJ pants from a cotton LLBean sheet that I rescued from my parents linen closet. Plus, I have a newly refurbished treadle and wanted to practice.
If you have left this to the 11th hour,are making a bunch in a hurry, are impatient to get this done, or ended up using a scrap that does not leave room for pockets, skip to this method.
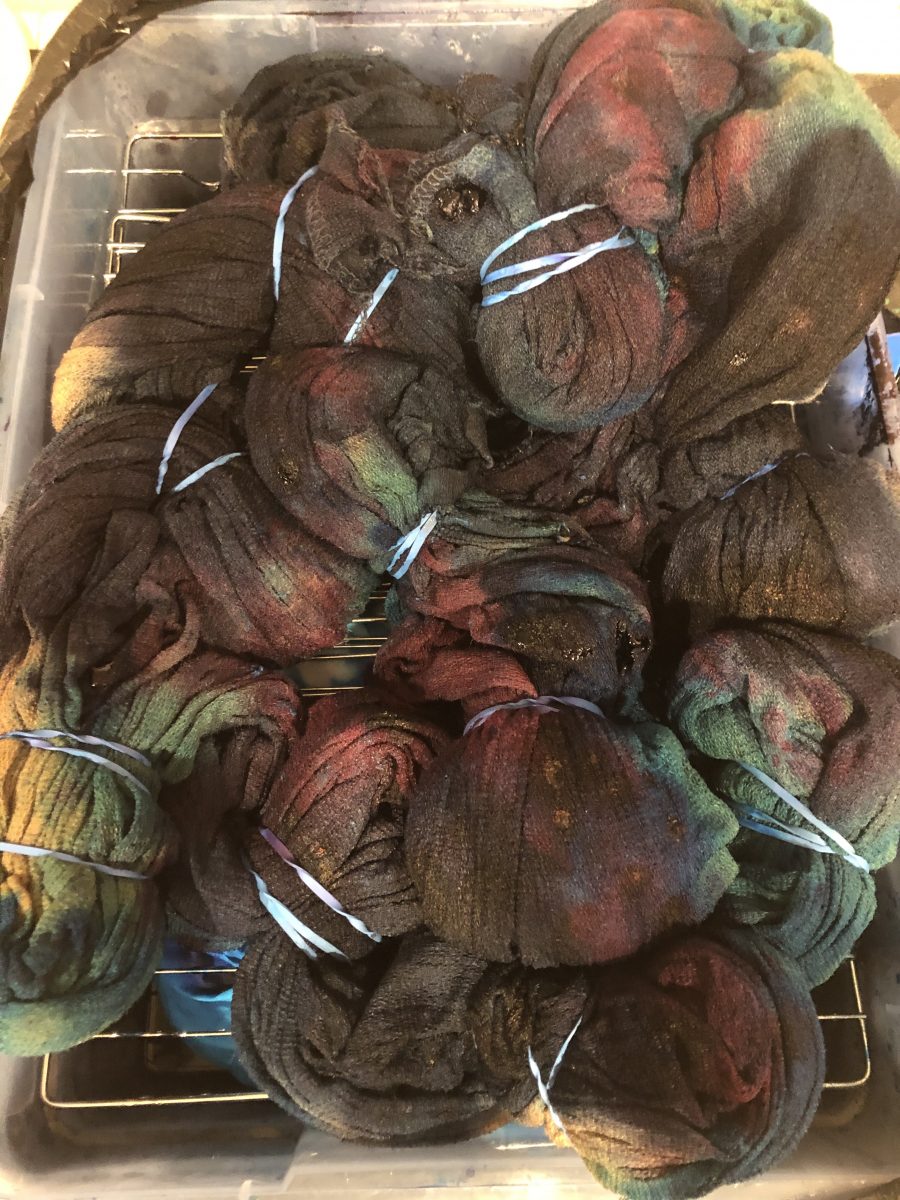
The sheet – wow, they still make them, and they are nice with a high thread count and pretty pricey. This one had lived a long and happy life. The center parts were tissue thin, but the edges, were still solid, with more wear to give. I washed it and set it in the bottom of this tub, where I ice dyed some rescued rayon gauze that I recently found. She sheet, old, and torn in a spot, just caught the drippings of the dye intended for the newer focus fabric in this ice dye experiment. Double left overs happening here.
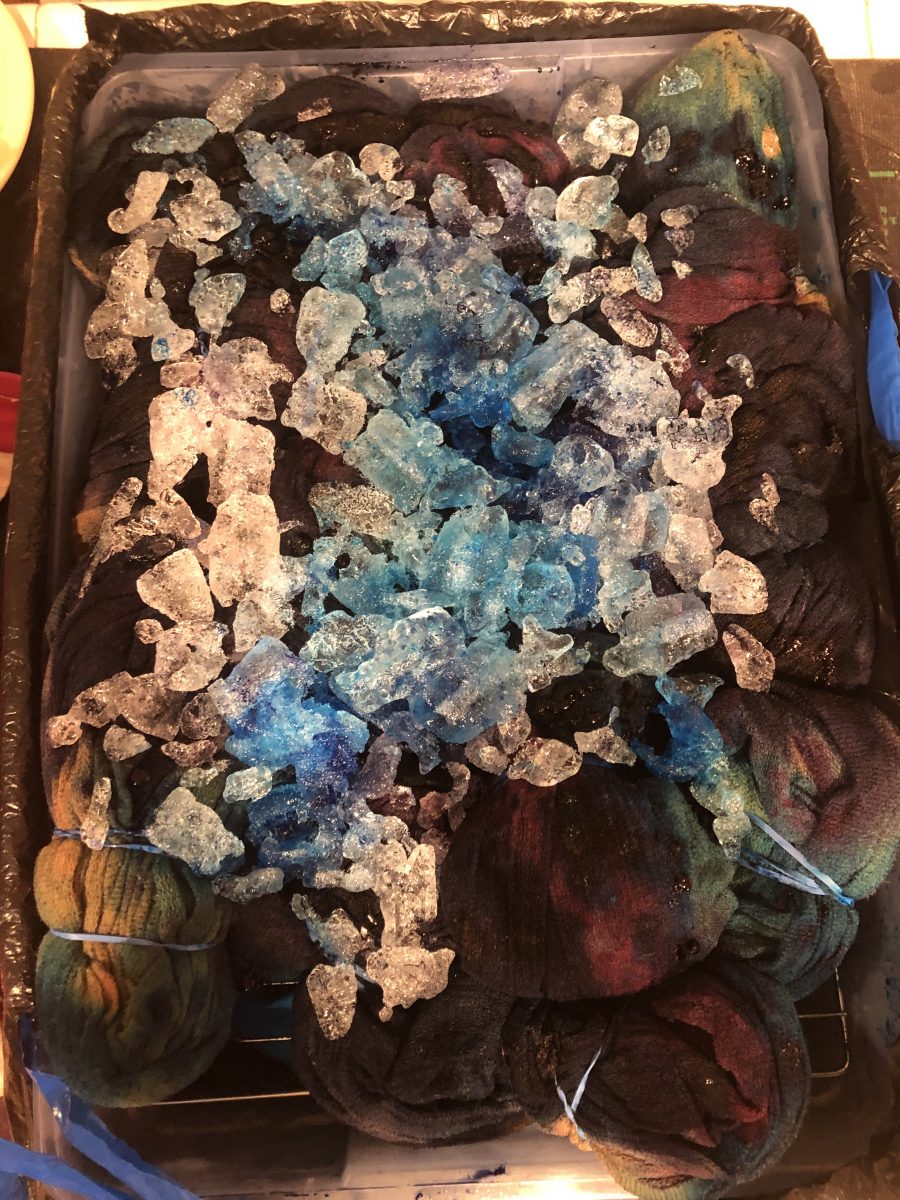
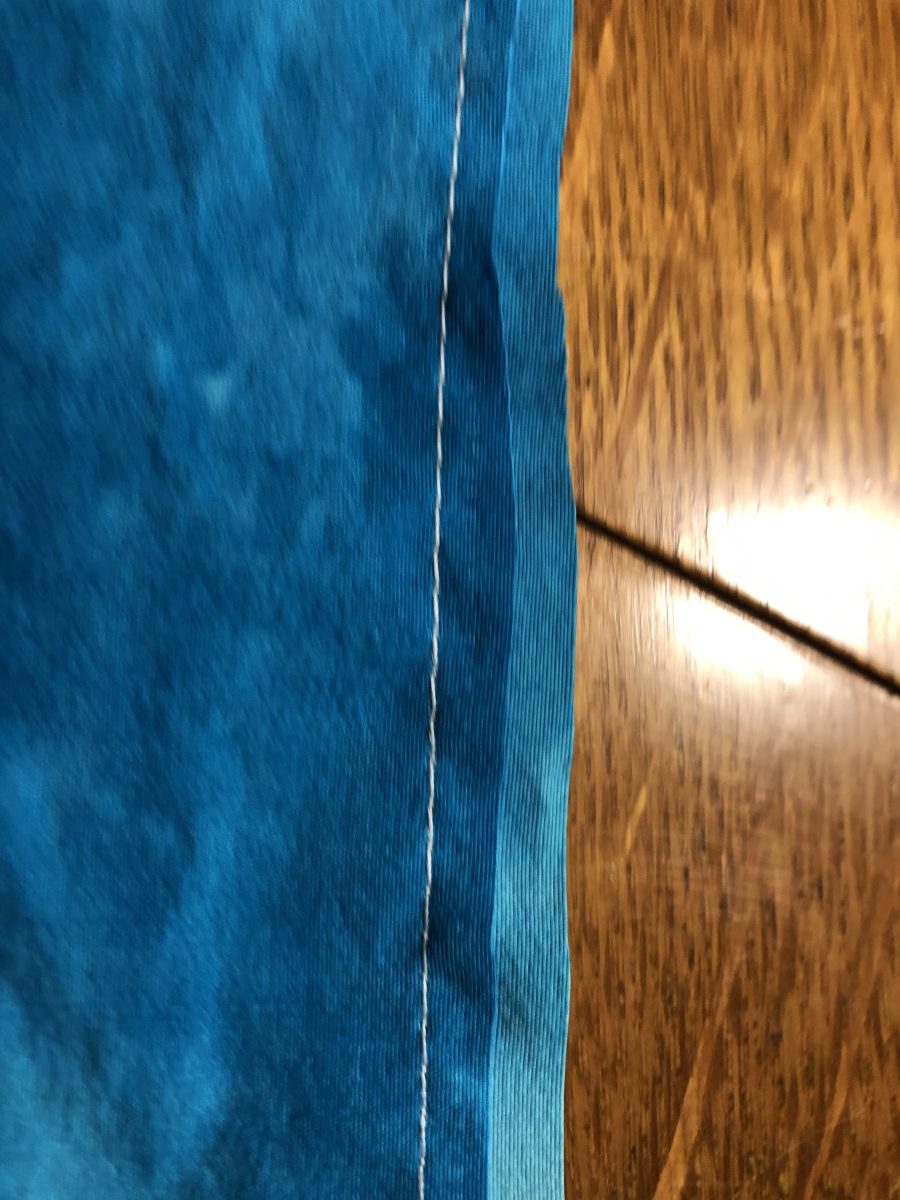
You can see below the rack, said sheet, which surprisingly picked up mostly the blue, maybe turquoise. This is my second try at ice dyeing. Fun to experiment. I purchased a small amount from my local fabric shop, then went on to Dharma to purchase larger quantities. I have had the dye materials since summer, and was worried about doing it “correctly” so put it off. Then I remembered a lesson I learned in learning to teach art. Sometimes it is more about the “process than the project”. A valuable lesson that enabled me to experiment with things that may “fail” but are worthwhile in doing for the learning opportunity. A recent snow inspired me to give it a try. This is what it looks like after the ice melts.
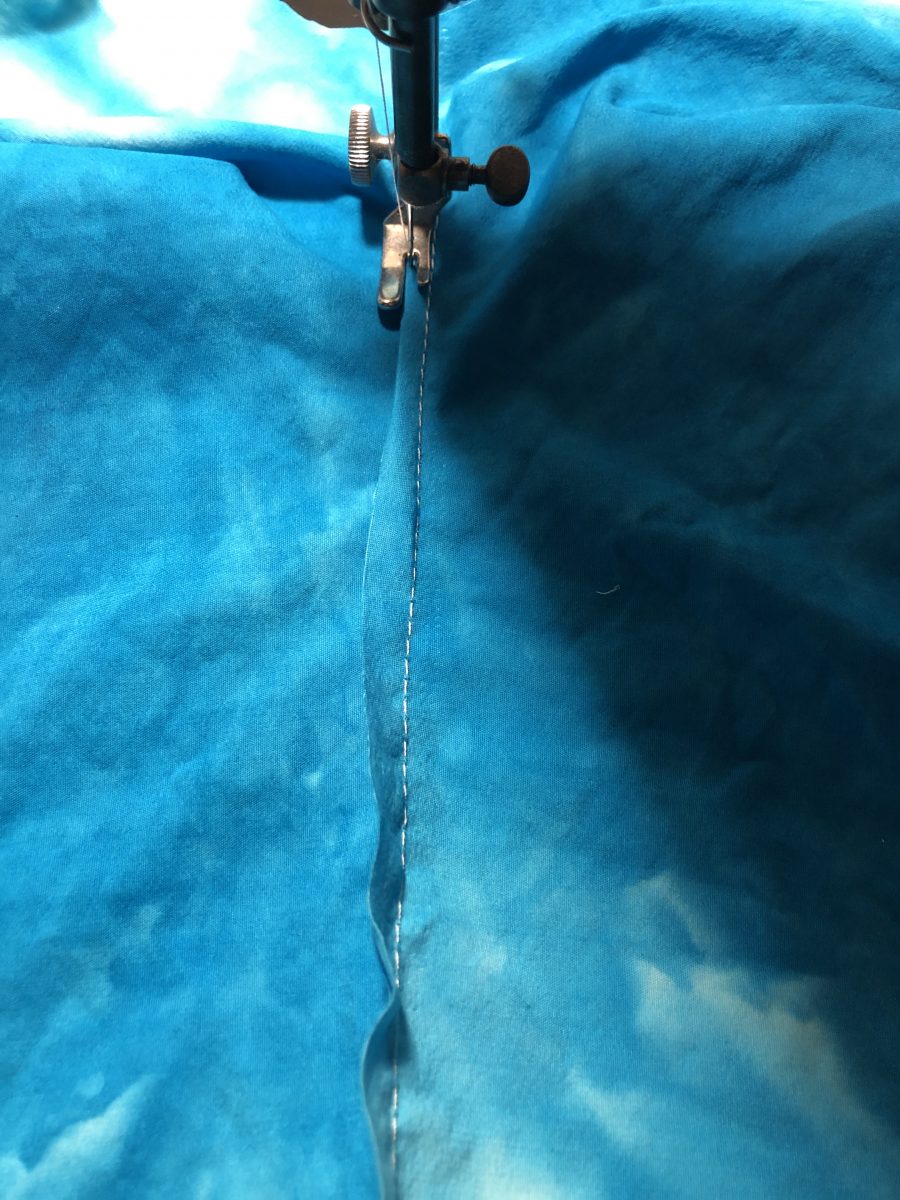
The pattern calls for a 3/8 inch seam on woven, quilting cotton or flannel. After serging around a garment my daughter made in flannel, in which the edges frayed so badly, she was going to pitch it, I decided that this one was going to get a clean finish. Here is an extreme close up of the beginning of a flat felled seam. Normally, one would stitch at 1/2 inch seam allowance, then trim off 1/4 inch of one side. I offset the two pieces by 1/4 inch. and sewed a seam 1/2 inch on the back piece, and 1/4 inch away from the edge of the front piece. The 1/2 and 1/4 total the same amount of fabric in the seam allowance as both pieces being 3/8. If you are more about cutting quickly than perfectly smooth, you can cut a generous 1/8 inch bigger and trim later.
Stitch both front and back crotch curves.

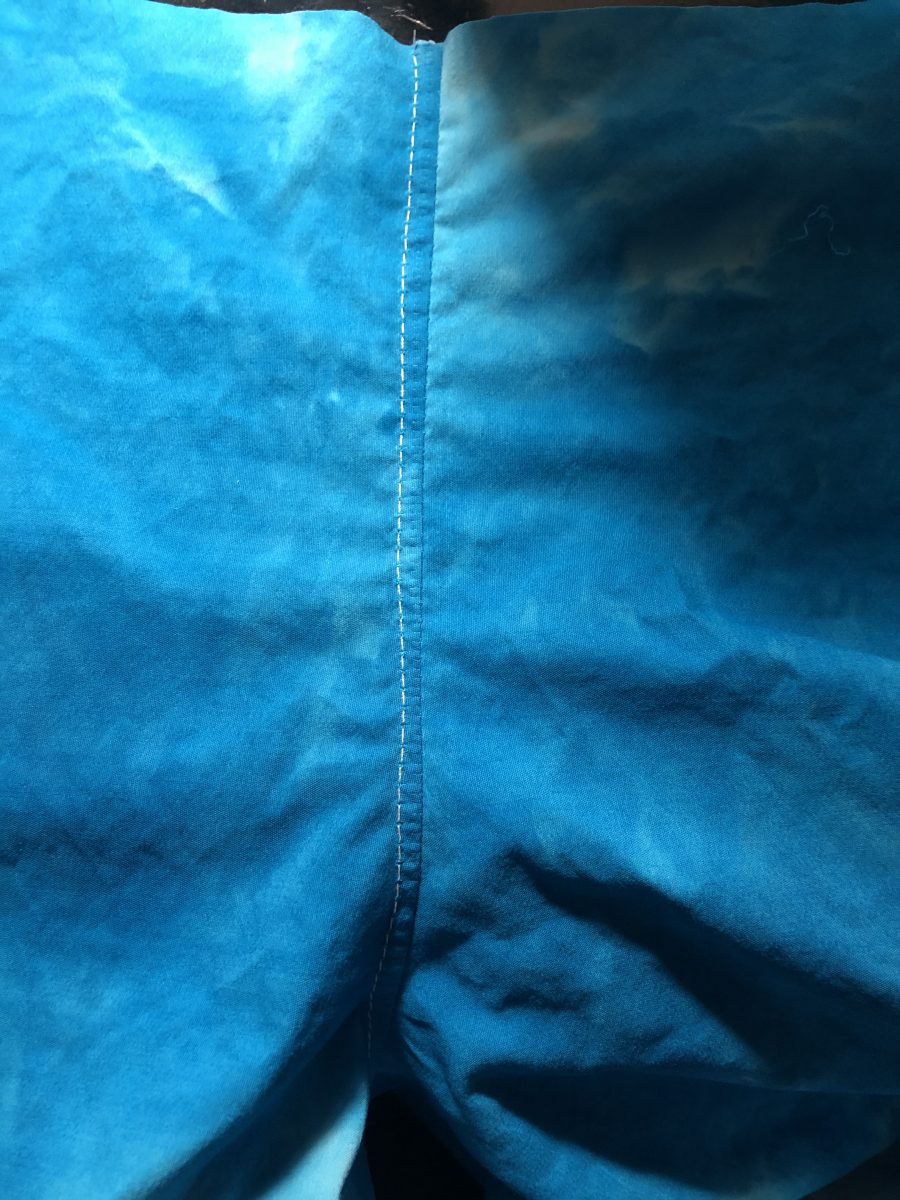
Fell that seam. What I love about a flat felled seam is that it is finished on either side. One side will have the double rows of stitching, the other will have a single row. On fabric that is a looser weave, and may stretch more on the bias, like crotch curves for me, I will not sew with a straight stitch but a very slight zig zag, .5 wide. Not noticeably zig zag, but with enough give that your seams do not pop. See more about seam finishing here. If you want to go for really slow sewing, you can press that larger seam allowance first. These pants were sewn in the wee hours of a December morning, so I was trying to sew quietly – on the treadle. The crisp sheeting finger pressed really nicely.
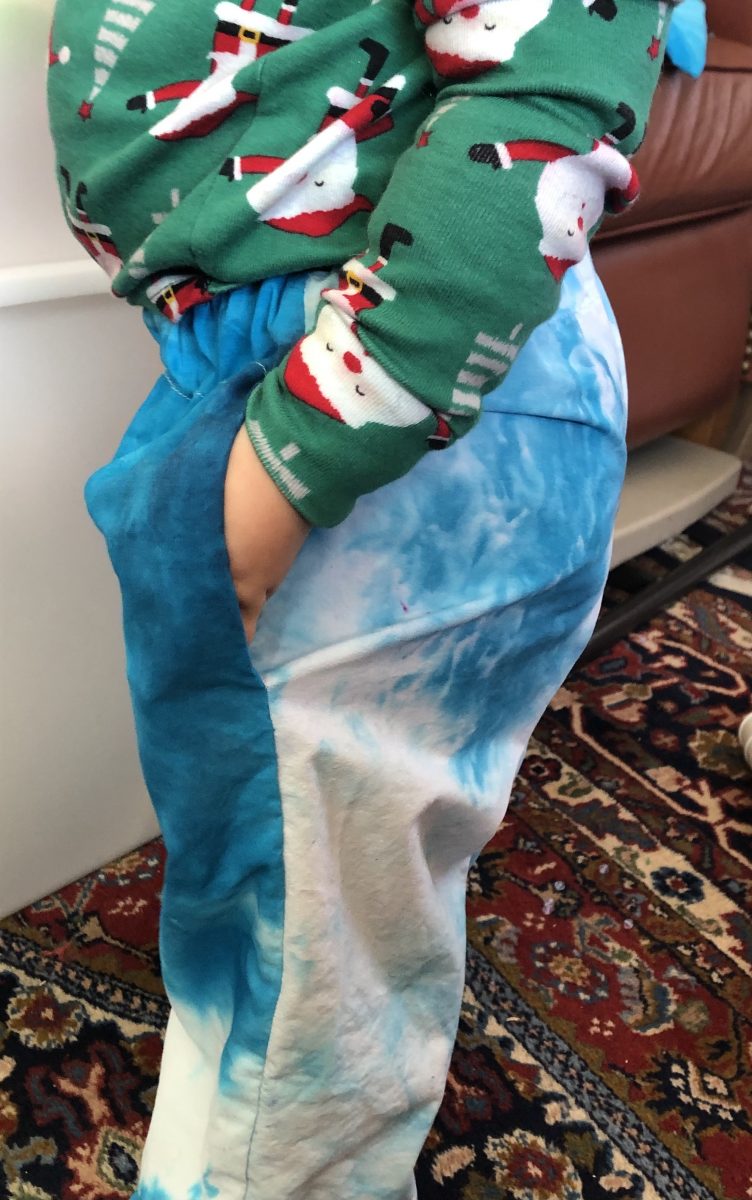
Finished flat felled back crotch curve. It is not completely perfect, so I decided that this could go on the inside. Perfection takes loads of practice, and I am really enjoying re-learning to sew on the treadle.

The other side will do nicely, thank you! Since there is no right or wrong side to this hand dyed sheeting, it will work either way.
Pockets. I firmly believe they are worth the effort. You can see that I traced out the pocket a tad bigger than the pattern. I had plans for that little #extra. Matched up the notches and stitched the pockets right sides together. One thing. Since this machine, a 1920 Singer Red Eye has no reverse stitch, I have been playing around with how to nicely end my stitching so that it stays put. While sewing on what was once a sheet that my mother slept on, I could hear her stories about how they would leave tails and pull the threads to one side to tie square knots to finish each seam. Well, I was slow sewing, but maybe not that slow.

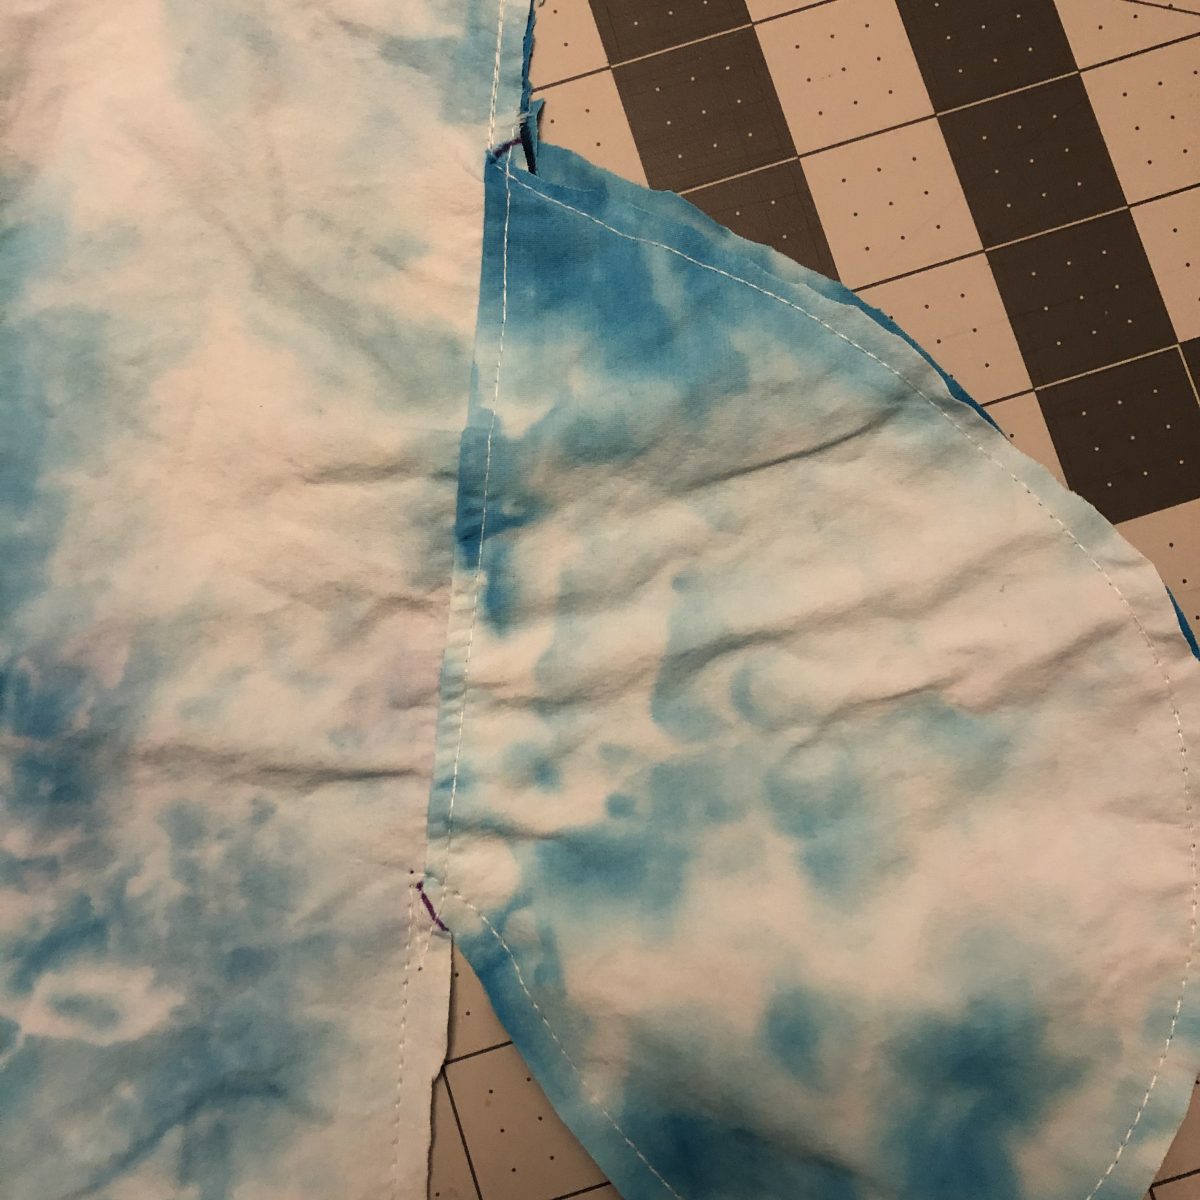
Under stitch the pocket. So after I under stitched a pocket or two. I realized something.

You don’t have to cut every thread. Sewing a single layer made this bunch up a tad – on the dark blue piece. It smoothed out easily, since the threads were not secured. If you look closely, you can see the initial seam where I attached the pocket bag, continued stitching 2-3 stitches, then turned the work around to go back and under stitch. The extra stitches will remain in the seam allowance, so that works. I realized I could do this on my electric machines too. Slow sewing time saver, yay! I love learning.

French seam the pockets. After I flat felled the inside leg, and created a narrow hem at the bottom of each leg – who wants a smoother inside leg in their pants, right? But did not get photos, I opted to French seam the side seams. With wrong sides together, sew the side legs and around that pocket bag with an 1/8 inch seam. With the pockets cut a little larger, I had more wiggle room to line them up. This may have been sewn with a generous 1/8 inch seam then trimmed.
Clip diagonally into the top and bottom of the pockets, where marked below. Do not clip your seam.
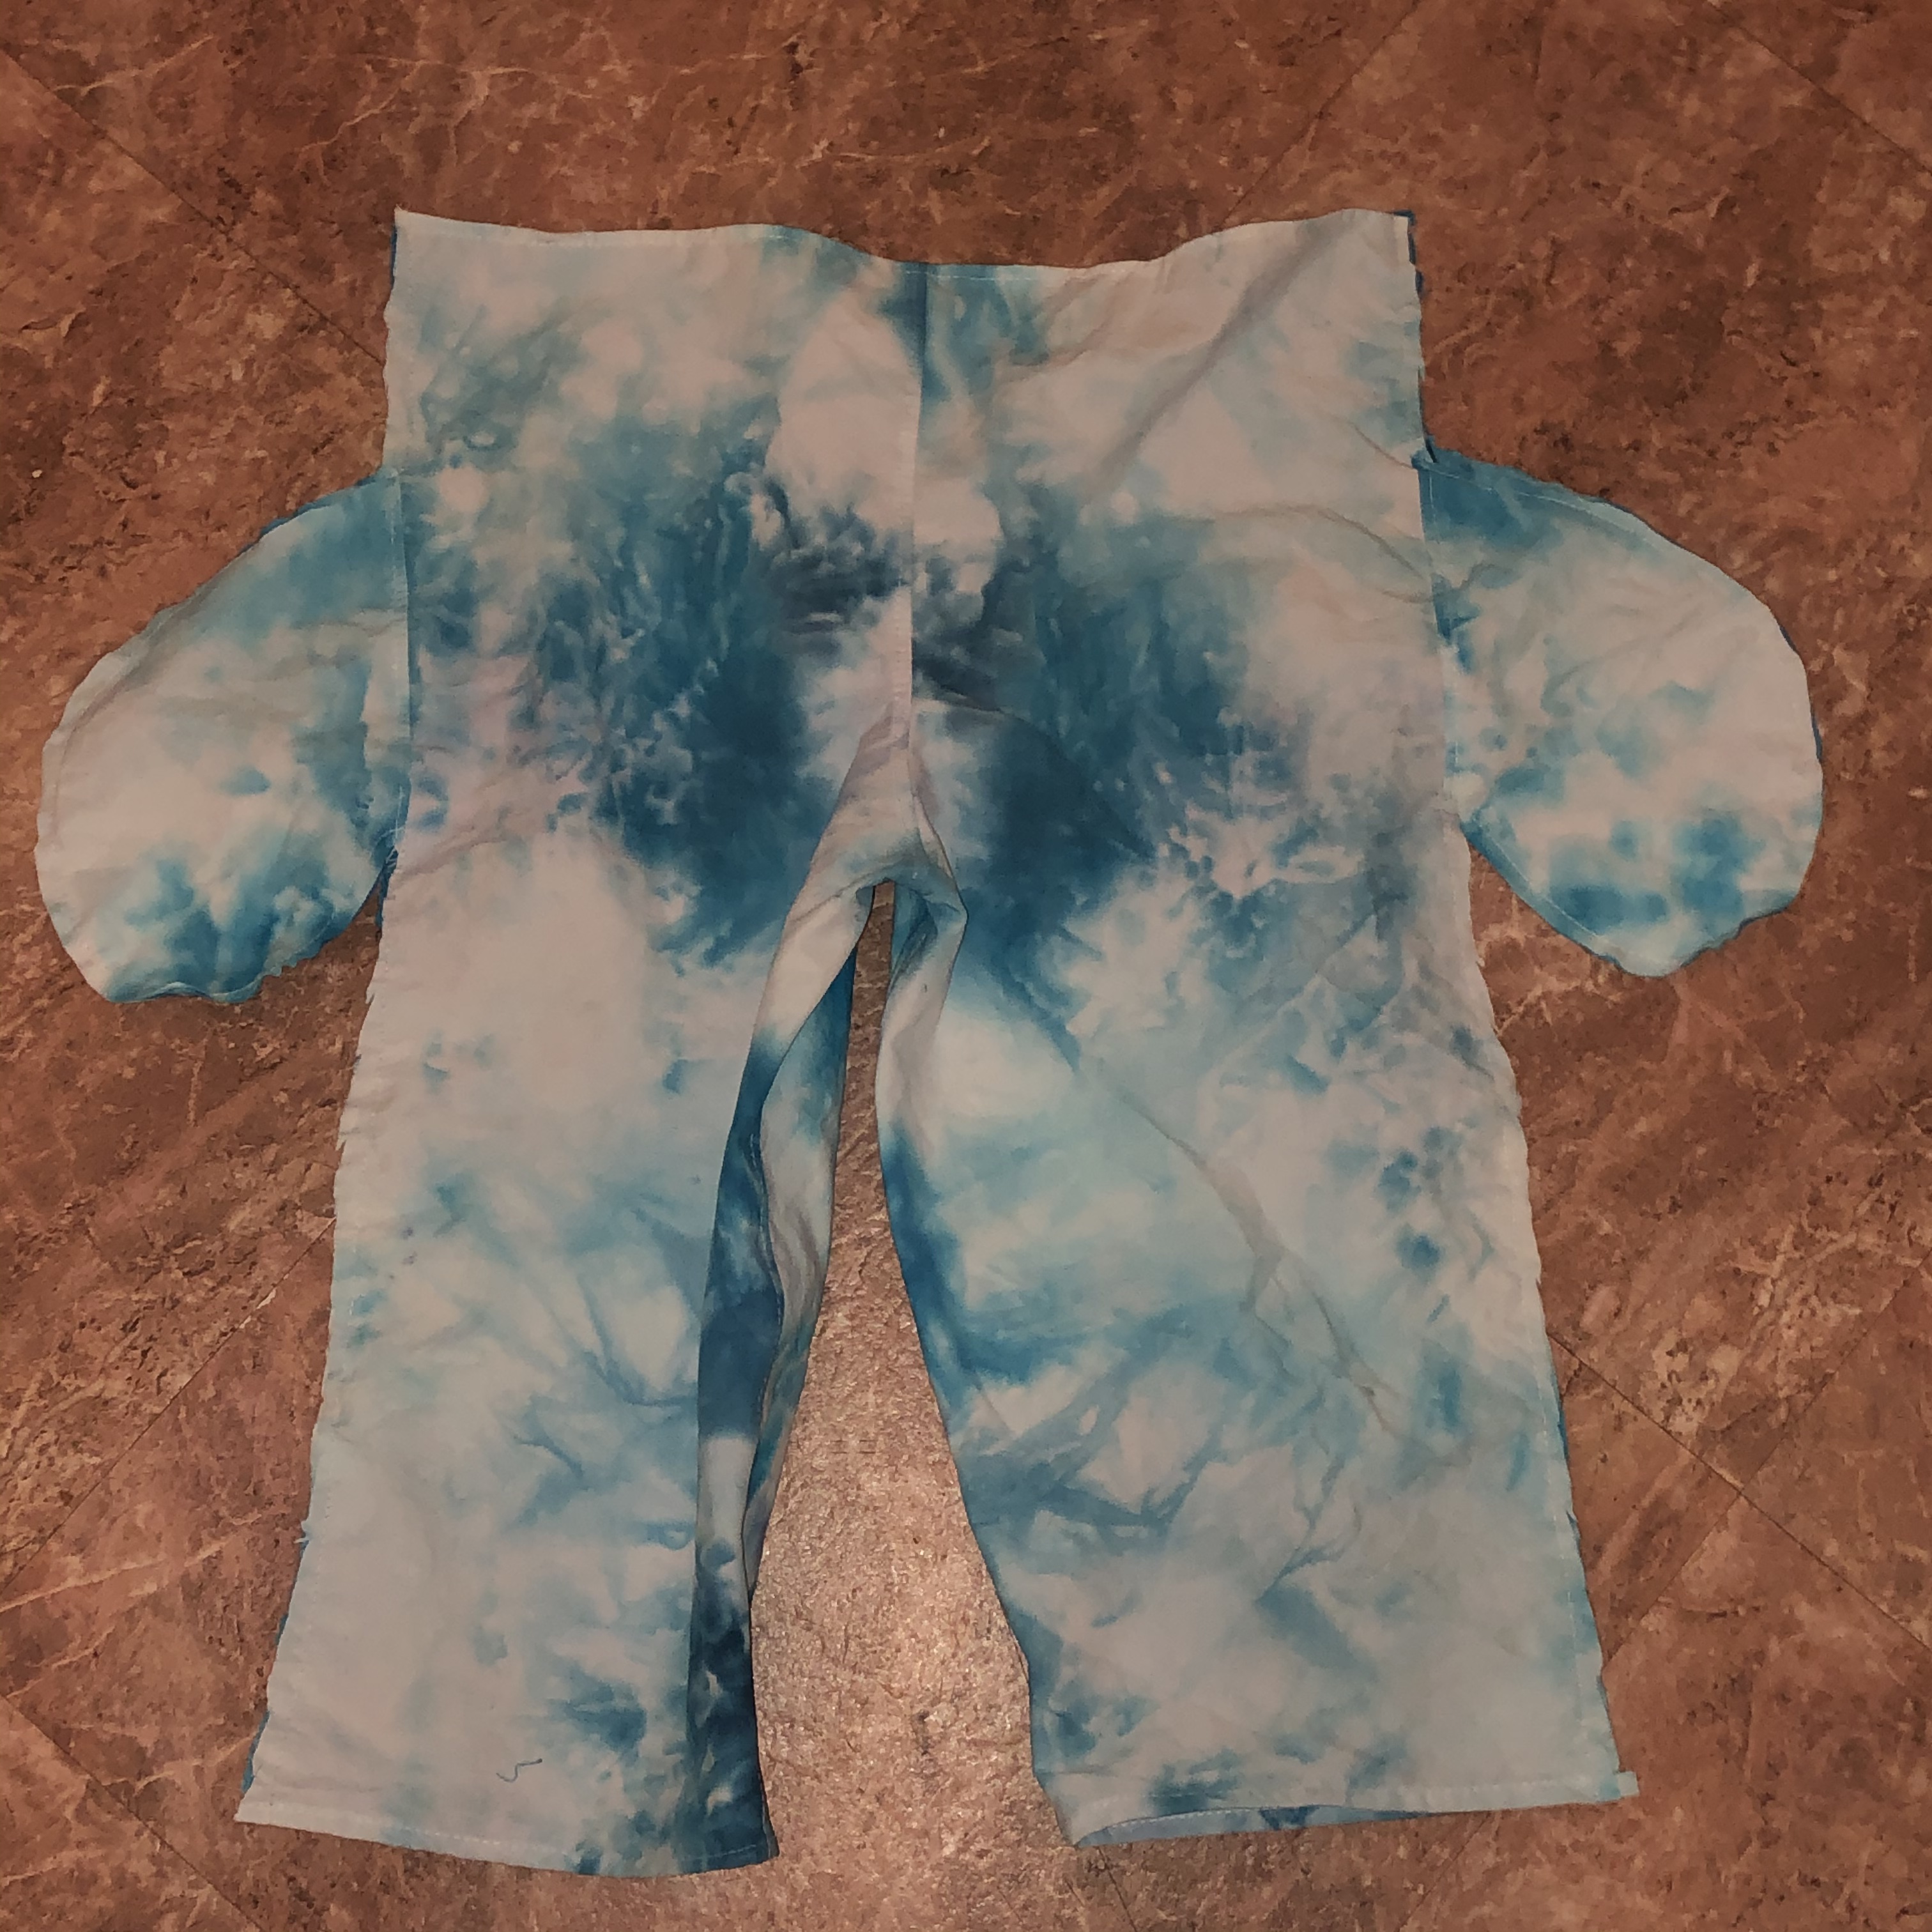
Sew each side. Pants with side seams sewn and ready to trim. Notice that a narrow hem is already done, and the top edge was basted 1/4 inch to the wrong side. I used to shun basting as a waste of my precious sewing time. After teaching new students, I am now a basting fan. I would much prefer to spend 2 minutes basting than 10 ripping. Basting is also faster than waiting for the iron to heat up. And another chance to practice sewing a straight seam.
Flip the pants wrong side out, and sew a slightly deeper seam. If you trimmed to 1/8 inch, then a 1/4 inch seam will do nicely here. I was able to get my hand in the pocket to smooth out the edges before sewing. The clipped tops and bottoms of the pocket bag make it easy to get around those areas, and keep them smooth.
With side seams pressed towards the front, make a casing, and insert your elastic. Try on the pants and hem to the length you need now. For kids being able to let this hem out in 6 months will allow these pants to be worn longer.

Here are my affiliate links to both the kids and adults patterns which are currently free. With an affiliate link, I could get a small commission on the price of the pattern if you choose to purchase with my link. It costs you nothing extra and is much appreciated.
Oh, if you are wondering what I plan to to with the rest of that king sized sheet? Reusable gift bags, of course! I hope my kids get as much of a kick out of receiving and reusing these as I did making them. It will allow a “presence” of great grand parents at the celebration too.

Happy sustainable sewing! Joan
