 I had the pleasure of testing 5oo4’s first woven top. Jessica did not miss a beat with this one. A lightweight woven sleeveless top is my go to all summer long. The placket on this one is worth working on. It elevates a simple tank into something special.
THE SOPHIE SHIRT AND DRESS INCLUDES:
– Women’s sizes XXS – 5XL
– Bust darts
– Collar or bias binding for neckline
– Sleeveless binding, Ruffle, or Half-circle Short Sleeves
– Shirt can be hemmed or have a split hem
– Dresses can be hemmed or have a ruffle
– Shirt, Knee-length dress, or maxi dress
– Pockets!
– Interactive tutorial that links to Sewing School videos
With a v neck, and a fun angled placket, you can end up with a diamond shaped box. My first placket was not as tidy as I would have liked. So I put some thought into it. The pattern calls for a drapey woven, which would probably comply better to the bit of curve required here. I used light weight quilting cotton and plan a lawn for the next one.
I extended the V shape an additional inch straight down and used a wide bias tape, instead of the straight of grain placket pattern piece. Say that three times quickly! I marked the width of my bias tape (just under an inch) centered in the middle, 1/2 inch below the spot where the split ended. Made my own dots, so it was clear to me where to stop stitching. 
I trimmed one edge of the bias tape so there was only 3/8 inch remaining from the outside fold. Then stitched it to the back of the vee portion of the neckline. Clipped diagonally to the dots, as the pattern instructs.
Wrapped the bias around to the front and top stitched. The bias allows for the placket to follow the curve nicely. Ending up with less of an angle where the two plackets end helped the box be more square. Don’t get me wrong, the diamond shaped placket bottom looks really cool.
For nursing access, one could extend the placket a little further and add buttons or snaps.
I used me-made wide bias tape for the neckline, and cut the remainder in half lengthwise for the armcyes. I really should have looked at what I had on supply first, but I was so happy to be sewing something other than masks, I just went for it. With the placket opening on the front, I wanted a split hem to keep in the theme. Jessica was a real champ to add it to the pattern, even though it meant writing more instructions. That was my first hack. I am holding the vents closed in the photo so fit and ease could be ascertained. Then, I took that hack a step further….
I also recently tested a placketed shirt for my grand baby from another designer. It takes the split hem to another level by facing the opening and reinforcing it with a narrow strip of bias. You will want to get the pattern for best instructions, but it had me looking at my father’s old polo shirts to see how this vent facing thing worked! Glad I saved those for upcycling. I used one of these shirts to make one for my grand baby. So interesting to see the different vent options inside and out.

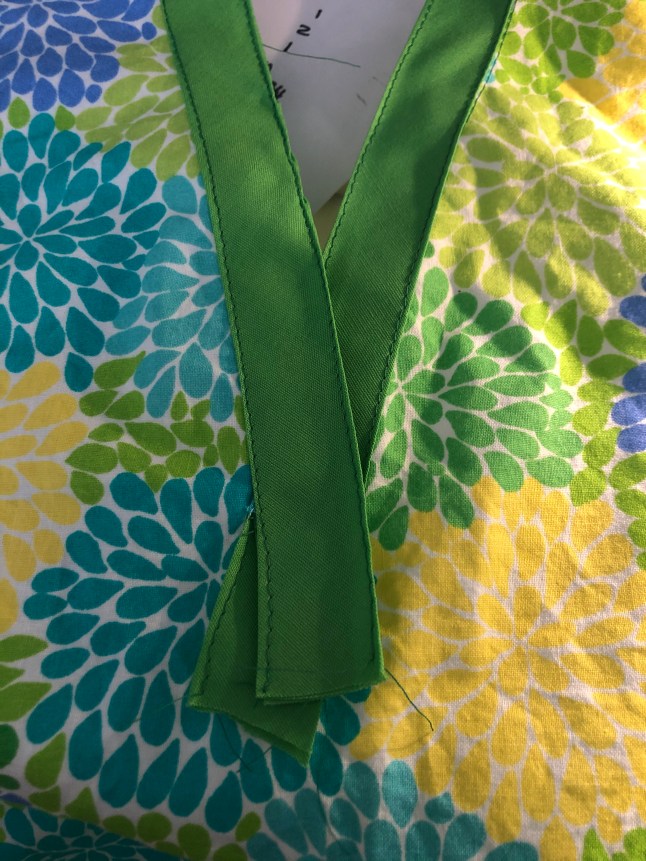
I had a little bit of this bias tape leftover, and used Tie Dye Diva’s tutorial from Cee’s Tee to reinforce the hem vent.
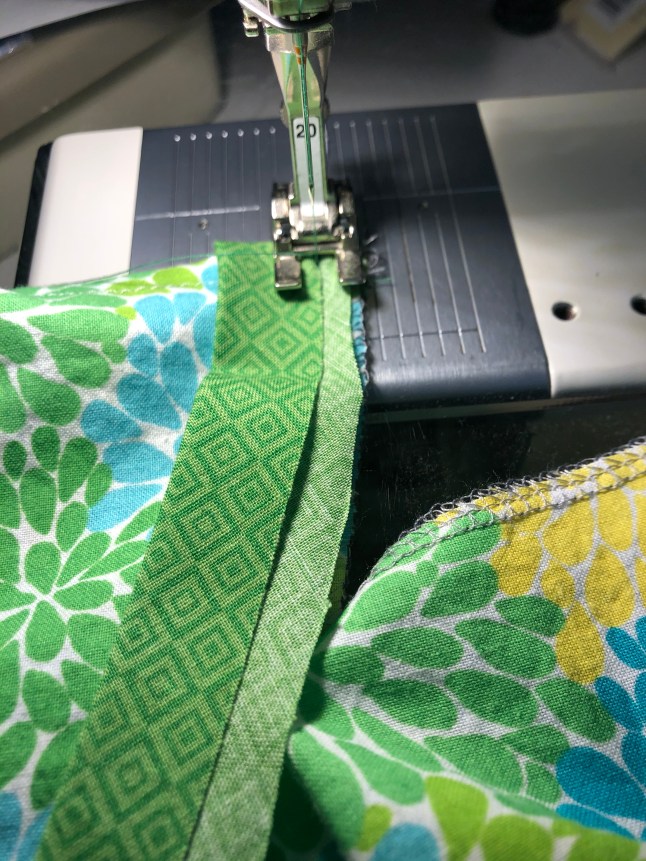
The gist of it is like this. I had to read through the instructions many many times. First you hem the top. Then cut the bias tape a couple inches longer than twice the opening. With one end of the bias tape tucked under stitch it up the side of the opening to the point where the seam begins. Leaving the excess at the top of the opening. Stitch the other side.
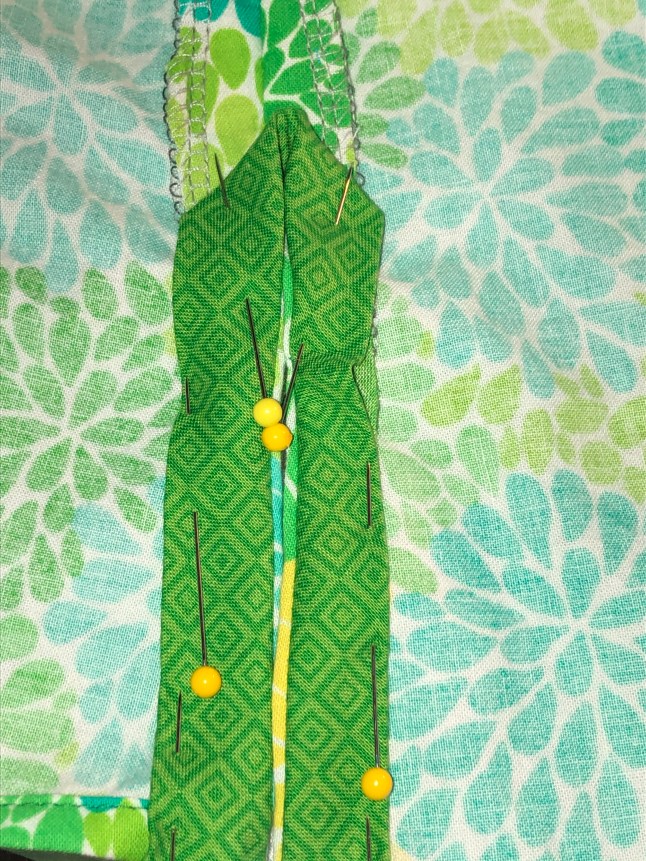
By some kind of TDD magic there is enough at the top to create this fold. It is taller than the opening, but we will address that later with a bar tack after top stitching the edges.
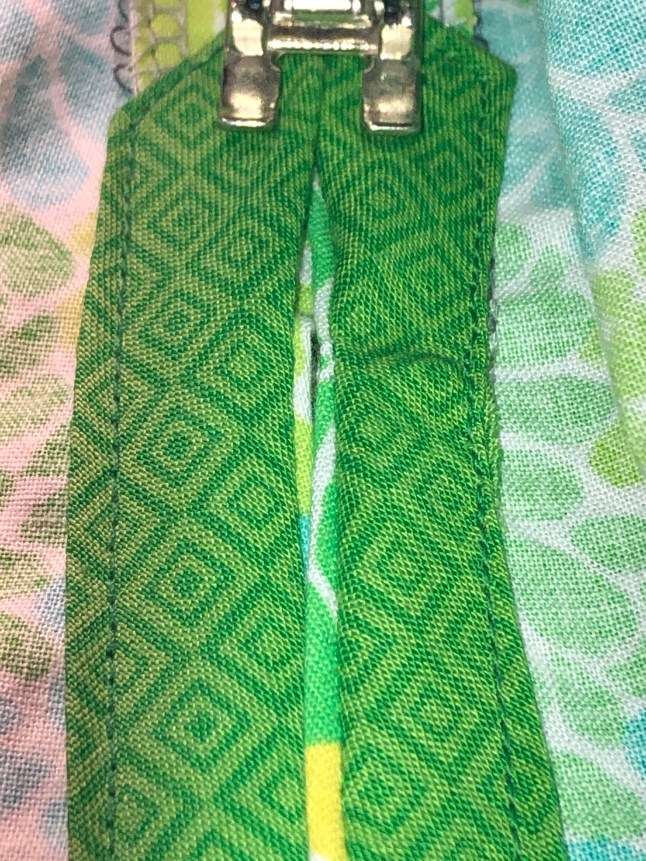
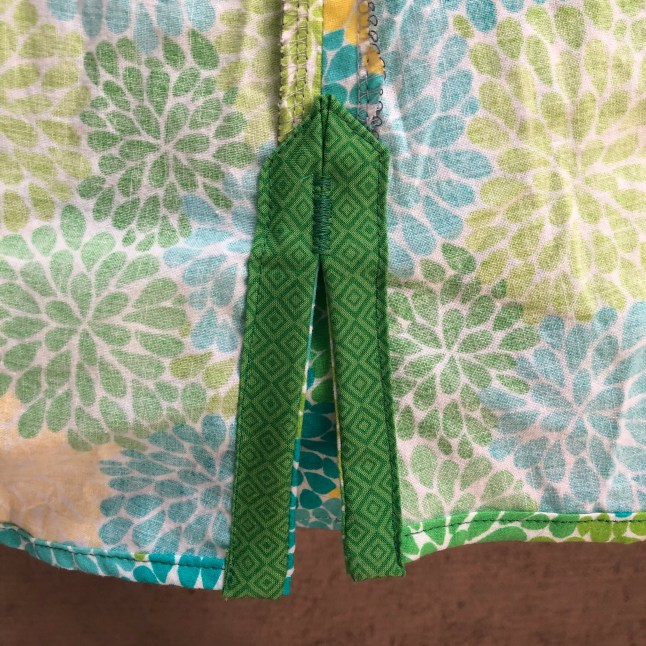
Below is the photo with the edges of the vent facing top stitched down, and getting ready to bar tack that top area closed, down to the opening.
It really adds a fun pop of color and speaks to the neckline opening.
Totally making this top again. I find woven fabric much cooler than knits when it gets really warm. Planning to stitch my color popping vent on the outside of the split next time!
This post contains affiliate links which at no cost to you helps me with a tiny bit of commission from the sale of the pattern. I appreciate it very much, as that helps me to buy more patterns.
Wishing you good health and happy sewing! – Joan
