 March 6, 2019, at the onset of the Covid19 crisis, we were warned against hugging, shaking hands, and were advised to wear masks. This was in yoga class, by a student with medical training. Lucky me, I made masks the year before in hopes of seeing my first grand baby before we had all of our immunizations. This post is purely a “how to” using the mask pattern from Craft Passion. That site has been updated to include a version with a pocket, so the end user can add additional filtration if desired. Do your own research about the efficiency of mask wearing. This is all about the making.
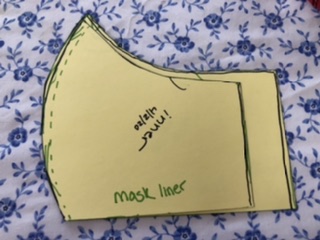
- Print the pattern, choose your size. I traced off both the outer mask and the liner on card stock so I could trace off multiples. Note that seam allowances and casings need to be added to the pattern. I made my liner just a little smaller.
 I like the seam to roll to the lining side.
- Cut your fabric. With careful folding of your prewashed and dried fabric, the both the outer and liner pieces tessellated nicely. Using two different fabrics and the chemicals used in fabric processing, prewashing is a must do item! I traced with a coordinating sharpie. Tip, fold your fabric right sides together, so you can pick up a pair and sew, without the fiddling of placing each set right sides together one pair at a time just before sewing.
- I like to cut in sets of 4 or 8. Choose 2-3 coordinating fabrics, mix and match. Start sewing from the bottom of the mask. With the pointy end of the mask towards you, stitch the curved edge of your mask with 1/4 inch seam allowance. That pointy end is skinny and has a better chance of getting stuck in the hole that your needle goes into. Chain piece to save time and thread. I highly recommend chain piecing in manageable batches for each following step.
- Separate the mask lining from the mask outer pairs. It is easier to do this now, rather than later when it is hard to distinguish between the two.
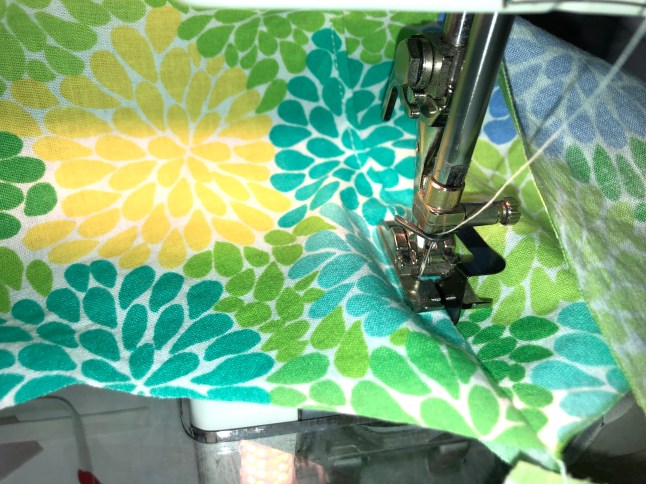
- Top stitch that center seam. With the seam allowance facing left, and your needle in the left position, top stitch the curved seam of your mask and lining. If you have a blind hem foot, the guide helps aid in straighter stitches. Carefully ease your pieces away from each other to avoid puckering. Tip: start at the bottom of the mask like you did above. Those pointy pieces still like to find their way down to the bobbin. Do this step on both the inner and outer pieces.
- Put the outer masks aside and gather up the lining pieces. Fold the side of the mask over 1/4 inch and 1/4 inch again to create a narrow hem. Stitch this down as shown. Repeat on the other side.

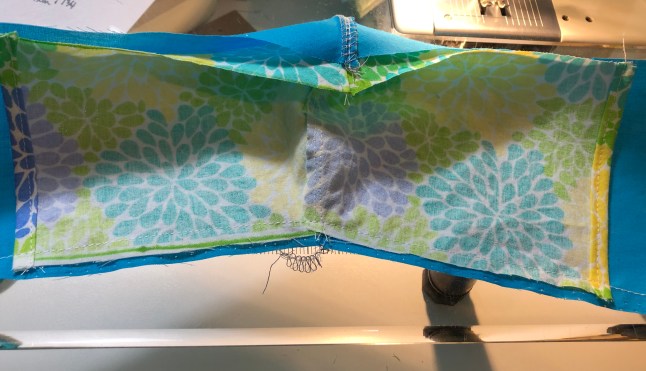
- With right sides facing, place one lining on top of one outer. Match up center seams. The top stitching from step 5 will be offset with one pointing right and the other pointing left. Stitch with 1/4 inch seam allowance across the bottom (mostly straight) edge of the mask. Start on the longer piece, and stitch all the way across. The stitching on the single layer may seem redundant, but it allows for a firmer edge to the casing.
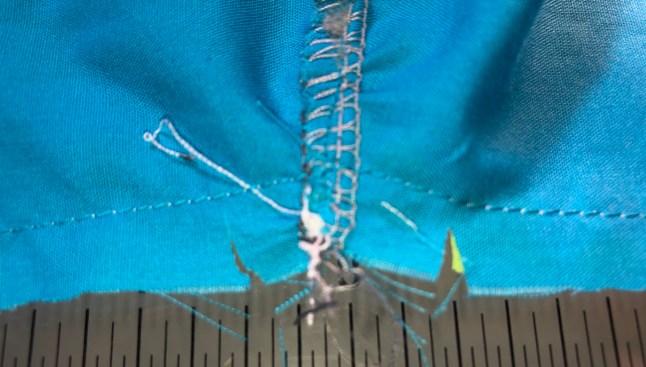
- Clip into the seam allowance up to 1/8 inch from your seam either side of center. This will prevent puckering later.
- Under stitch the bottom seam. With the mask opened up and seam allowance facing toward the lining, stitch 1/8 inch away from the seam you just made on the lining. All the way across. This helps the lining roll to the back of the mask, reinforces the edge, including the single layers that will later become the casings.

- Fold the mask right sides together and make a 1/4 inch seam across the top of your mask. Just like the bottom seam there will be about an inch and a half of single layer mask before you get to the lining. Stitching here reinforces the casing opening. Carefully stitch across the upper curve, matching the center seams, then down the other side. You just created a filter pocket!
- Flip your mask right sides out, press out the edges. Use an iron if you wish. Lining side up, fold the seam allowance over and top stitch as if to hem, continue top stitching across the entire mask edge.
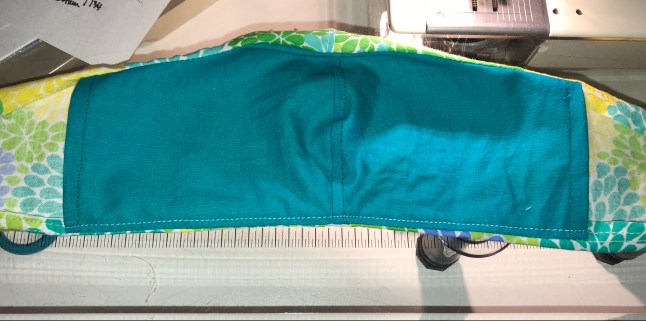
- Top stitch the top edge, taking care around the nose curve to prevent puckering. If you would care to add a second line of stitching to create a pocket, here is where you can add that.
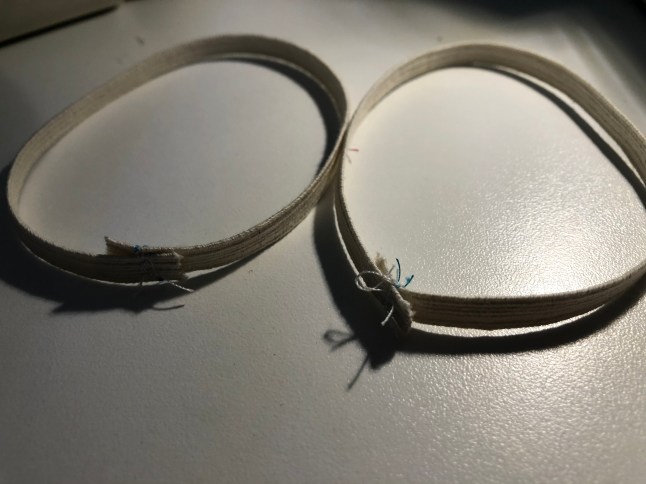
- Casings: I chose to make my 9 inch long elastics into loops prior to slipping them them into casings.
 Lots of things can be used as a drawstring as well. Shoe strings, strips of tee shirt, longer elastic, twill tape, bias strips. Overlap the elastic ends 1/2 inch and stitch back and forth two times. This process can also be chain pieced.
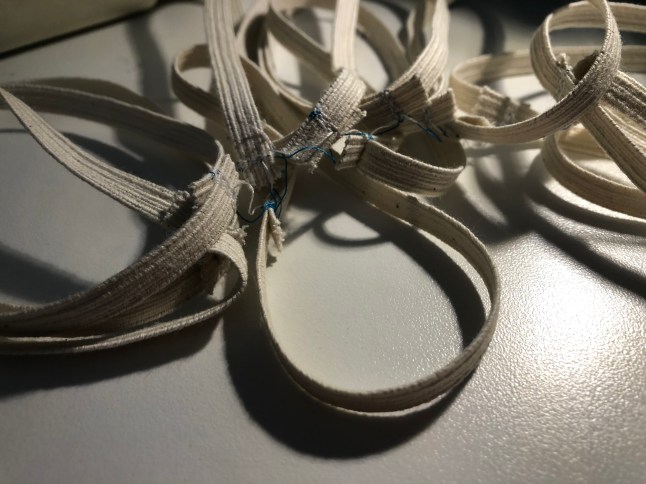
- With or without the elastic enclosed. Fold the casing to the wrong side twice, so it snugs up to the hem in the side of the lining. Pull the elastic out of the way, and sew across the edge of the casing. Secure the ends of the stitch.


- If you are not using elastic, make your casings, and thread the drawstring through. I have made two drawstrings that go through the casing at 30 inches long. or one at 45 inches long that goes through both casings.
Edit: I hope to have time to add photos of some of the steps above. They should be self explanatory. Off to make pleated masks now. I helps with the tedium to switch back and forth.


Wash your mask before each use. Stay safe. Joan

Wow, Joan, as if you are reading minds! I love this mask the best and your instructions are so helpful to make it sew faster. I use tshirt yarn for the tie and cut the longer piece that passes around the head and ties at the bottom. (Not a very good description, you are the master of instruction writing! ) Thx is for staying on top of things, as usual.
LikeLike