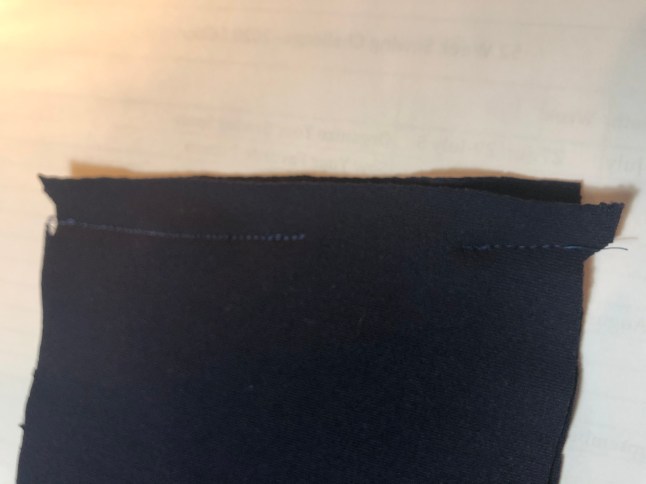
Spring will soon be here, so better hurry to finish those pants I bought fabric for in the fall! After making the standard crotch depth adjustments dictated by my flexible ruler, I sewed two pair along side a student who was making her first pair in black. After our first session, the waistband and hems were all that remained to be done. I thought I would try something a little bit different. I chose the waistband labeled “contoured”. The ends of the rectangles were at a slight angle. Pattern instructed me to cut four. I sewed each pair into a loop. When sewing the last side seam, I left an inch long gap in the seam.
Sew from the top edge to an inch past center. Skip one inch and sew the remainder of the seam.
The loop with the hole will be your lining piece. Clean finish the longer edge of this one.
The waist band lining is the loop with the gap. Finish the bottom (longer) edge of that loop.
Sew both loops right sides together at the top edge (the shorter edge). Measure a length of elastic around your waist, where the top of the pants will go. Make sure this is tight enough to keep your pants up, but not so tight to be uncomfortable. Sew it in a loop, and mark the half and quarter points. Mark the half way points between the seams on your waist band.
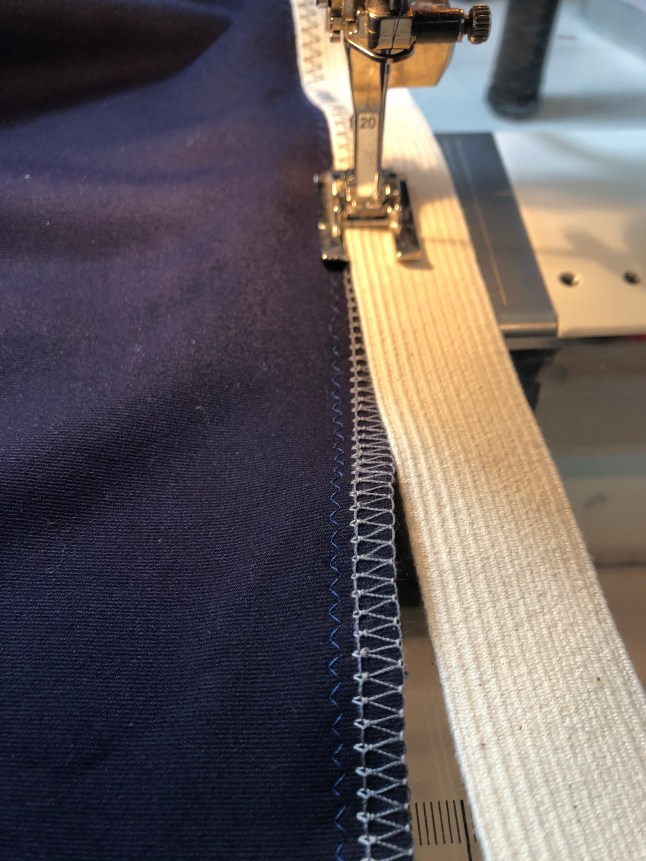
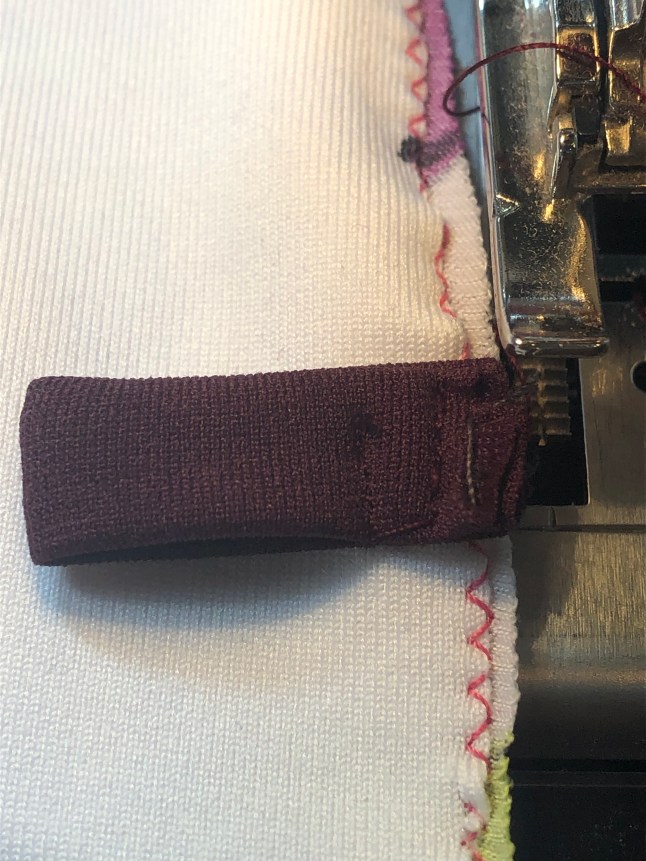
After the two loops are sewn together (rst) around the top edge, attach the elastic to only the seam allowance with a stretch stitch. In this photo, I overlapped 1/4 inch and zig zagged.
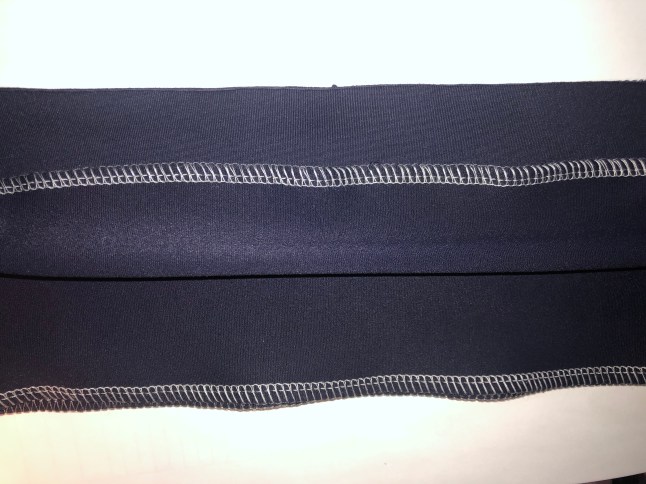
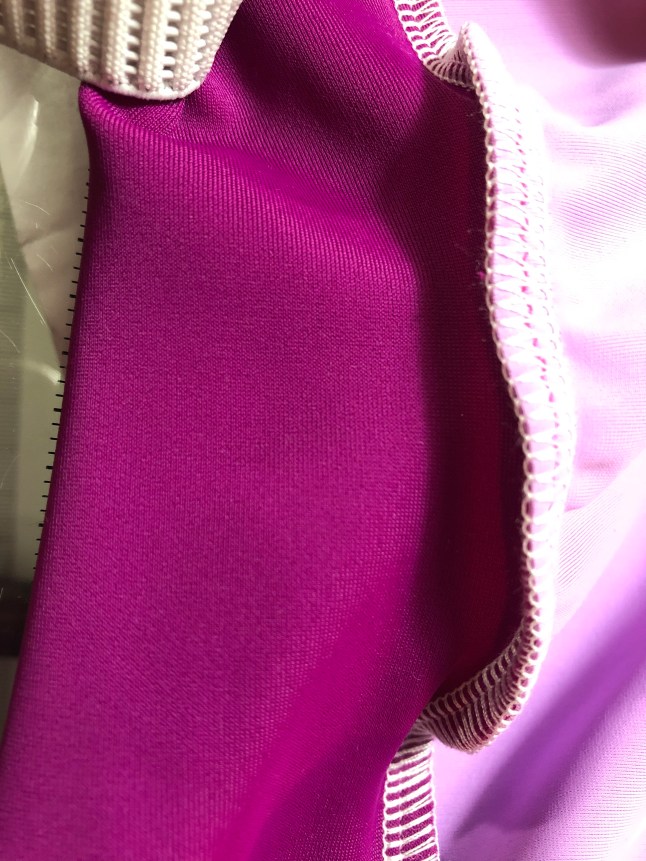
You can see in the photo above that I used grey serger thread. In order to keep the lighter thread from showing on the right side, I added a short narrow zig zag in a thread that more closely matches.

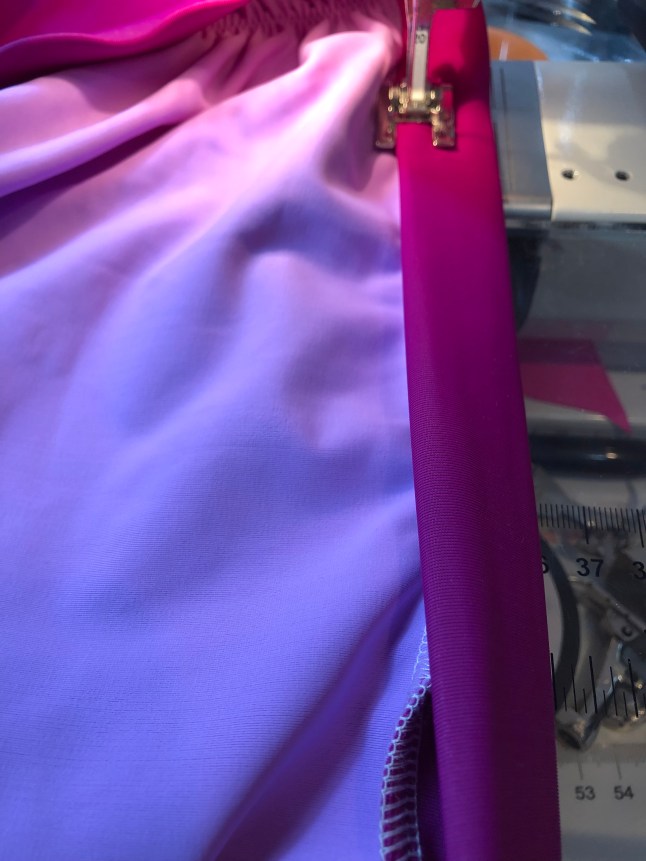
Elastic in any width can be used. This is 1 inch wide, and slightly longer than the fabric waistband. This causes a little rippling on the hanger, but is smooth and comfortable when worn.
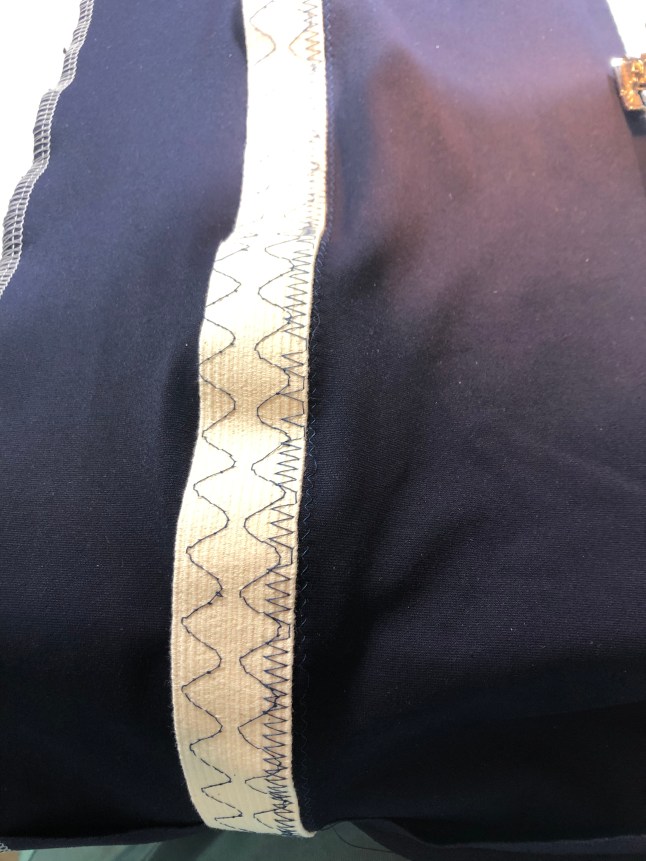
Fold the elastic towards the lining piece of your waistband and stitch it down to the lining with a wide serpentine stitch.
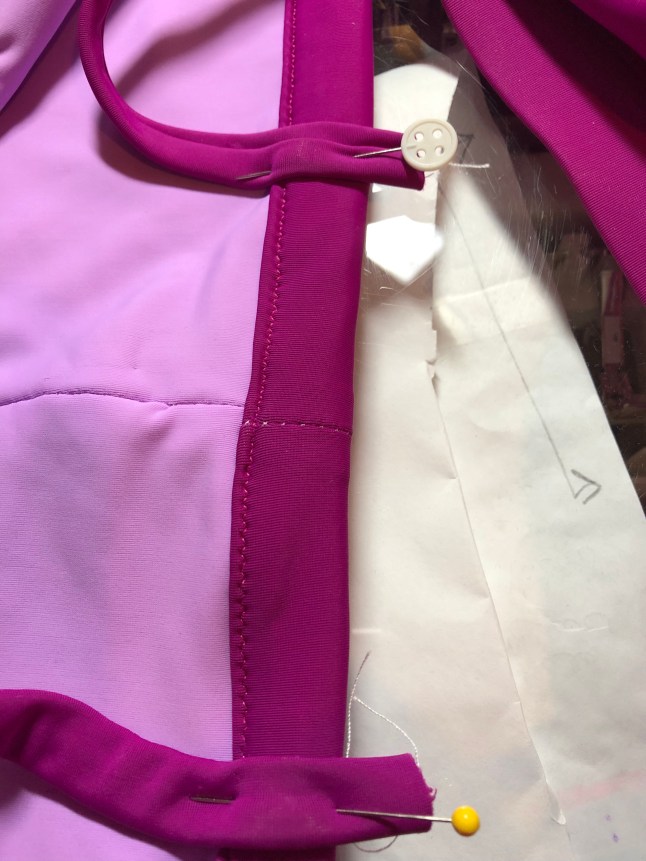
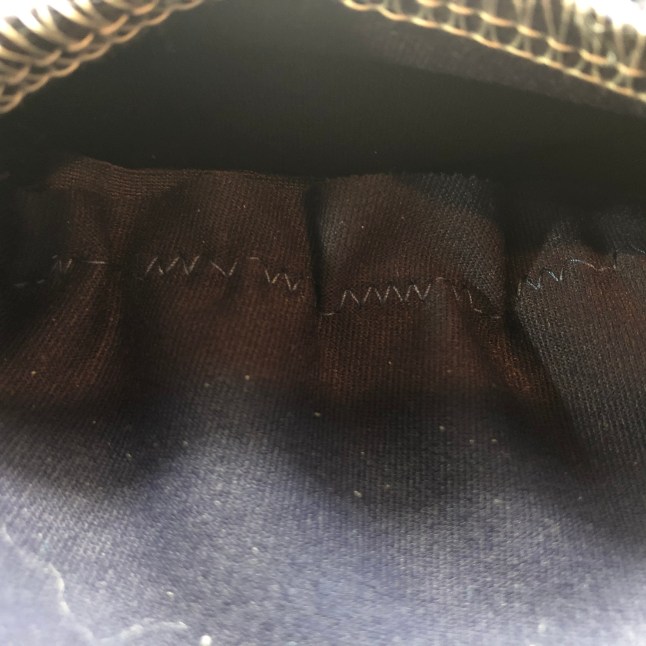
Elastic needs to be secured to the lining. In a big understitch fashion, using the widest serpentine stitch, I sewed the elastic to the waist band lining in two rows. From the inside it looks like this.
From right to left, zig zag stitch that secured the elastic band to the seam allowance, first row of serpentine, second row of serpentine.
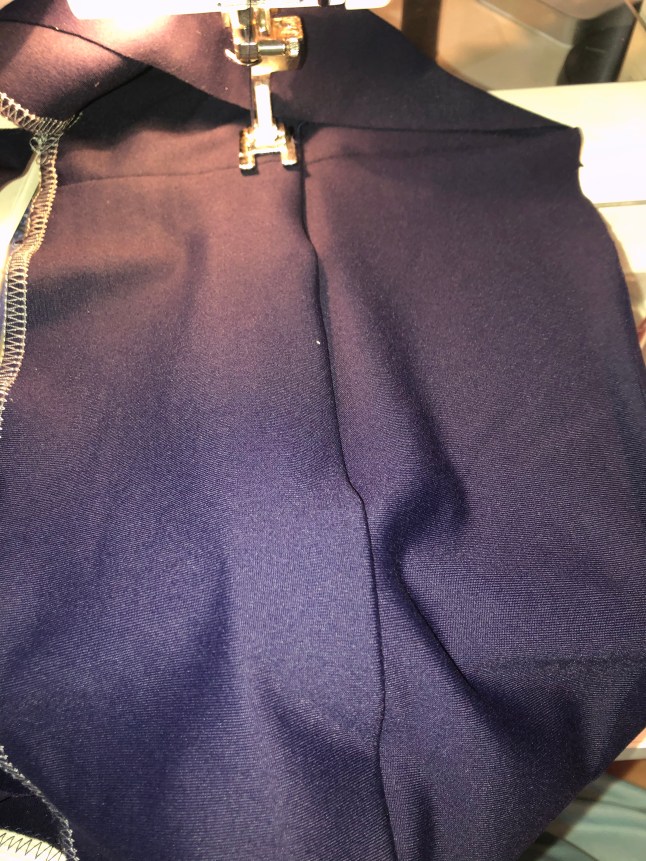
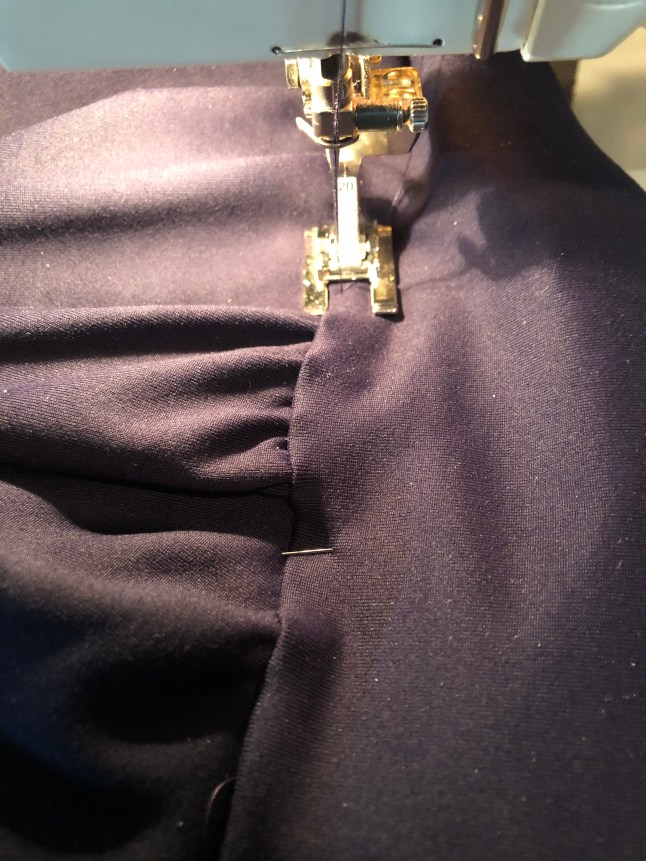
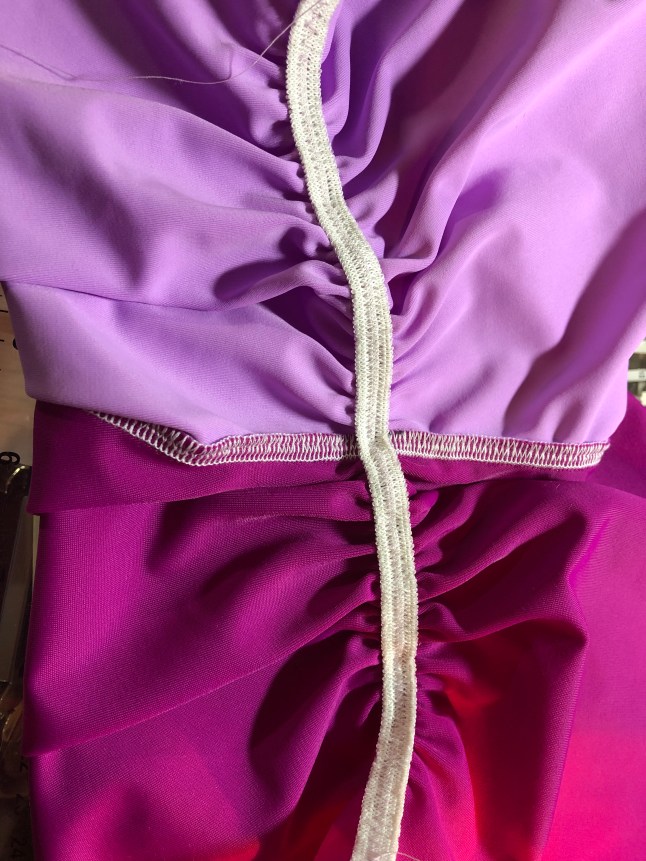
Pin or clip your waistband in quarters, attach the right (unfinished side) of the waistband to the right edge of the pants, aligning the side seams. Divide these sections in half again and pin or clip. Stitch the waistband to the pants with a stretchy stitch and a half inch seam allowance all around the circle. I was surprised at how much easing was needed.
With the seam you just made tucked up under the waistband, lay the facing over top with the previously finished edge down towards the pants. Pin so that the seam allowance is secured and pointing up.

With the seam allowance tucked under the waistband, lay the lining over top, and pin around the circle through the seam allowance. Flip the pants over and top stitch along the bottom of the waistband.
 I used a short narrow zig zag and stretched while I sewed. Remove each pin as you get to it.
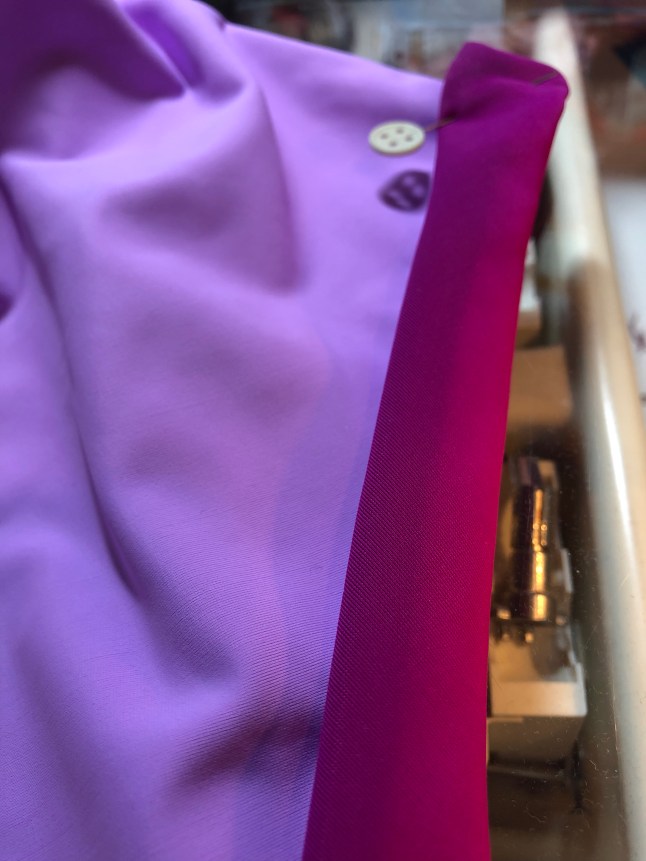
About that small gap in the lining side seam we left earlier… if your waistband ends up not quite tight enough, that is an excellent spot to thread another piece of elastic through just enough to snug them up.
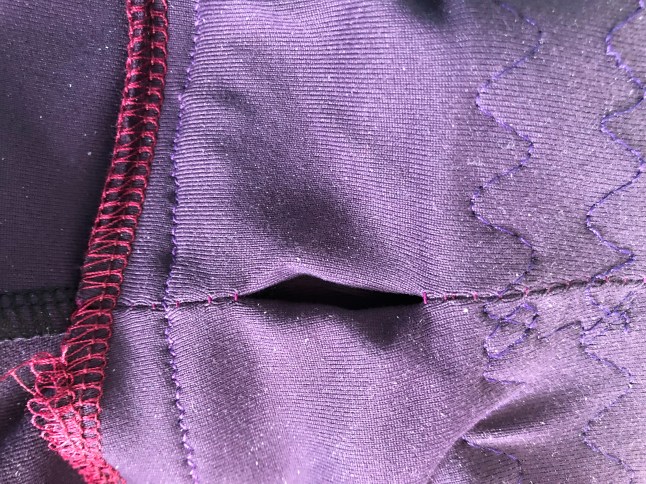
Secret area left open to add more elastic later if needed.
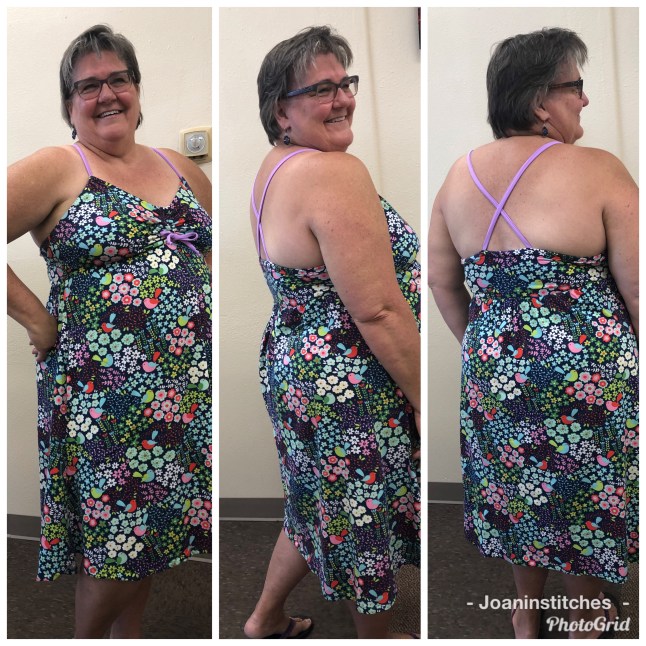
Dubious about the gathers while sewing. I put them on and by magic the gathering went away!

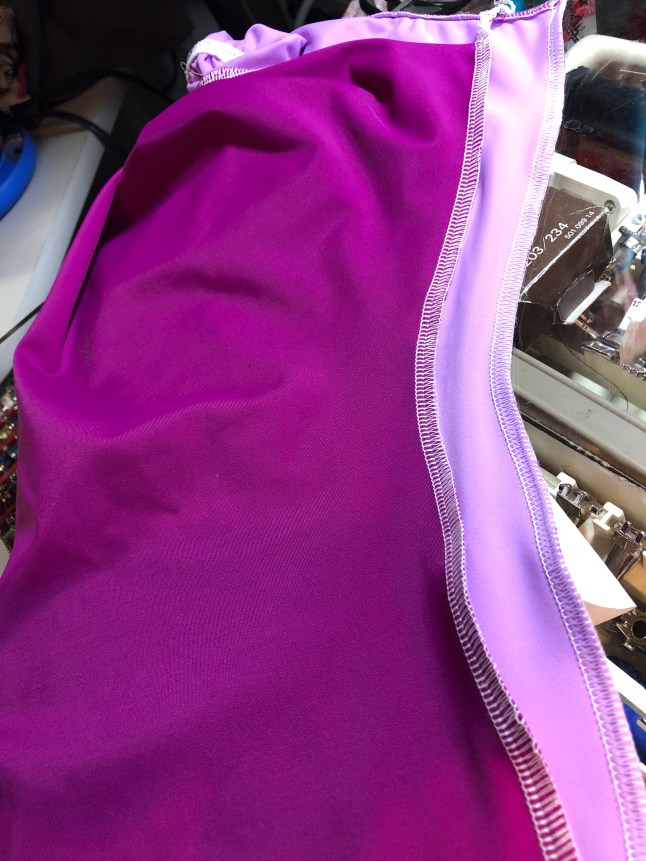
By overlapping the facing, the multiple layers of waistline are dispersed and reduced at the point where waistband meets pants which reduces bulk. Those small details add up to a nicer garment.
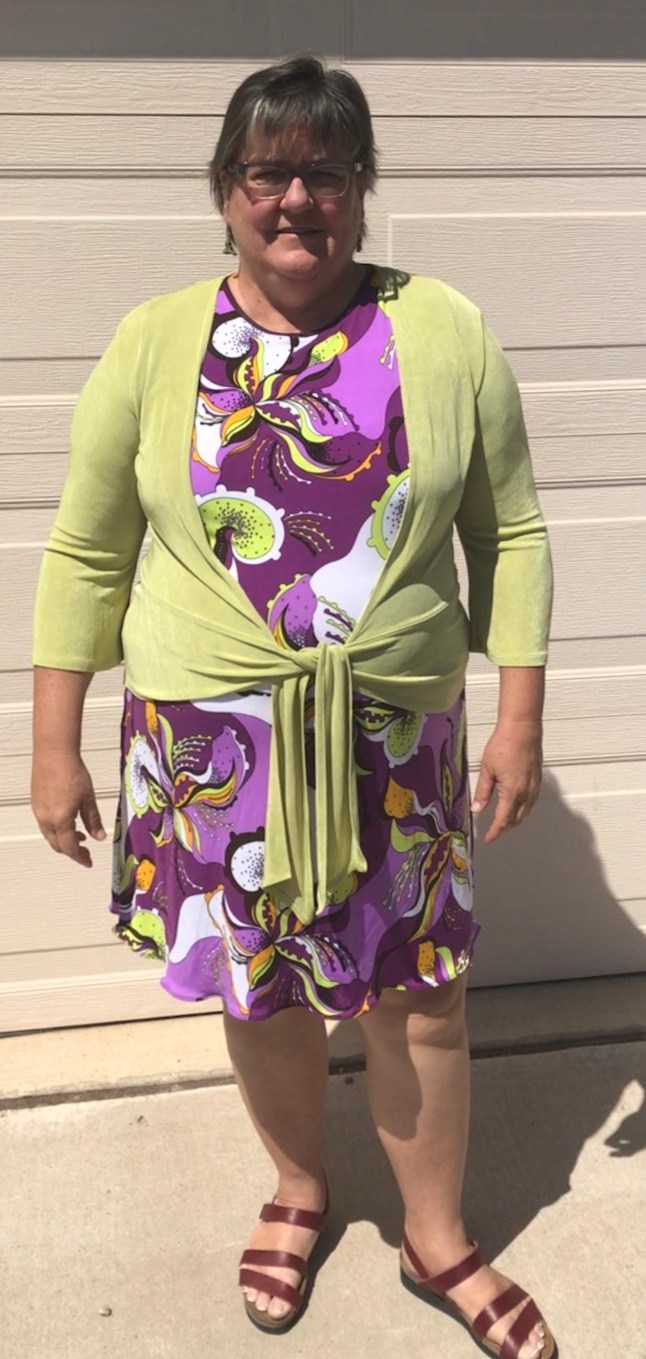
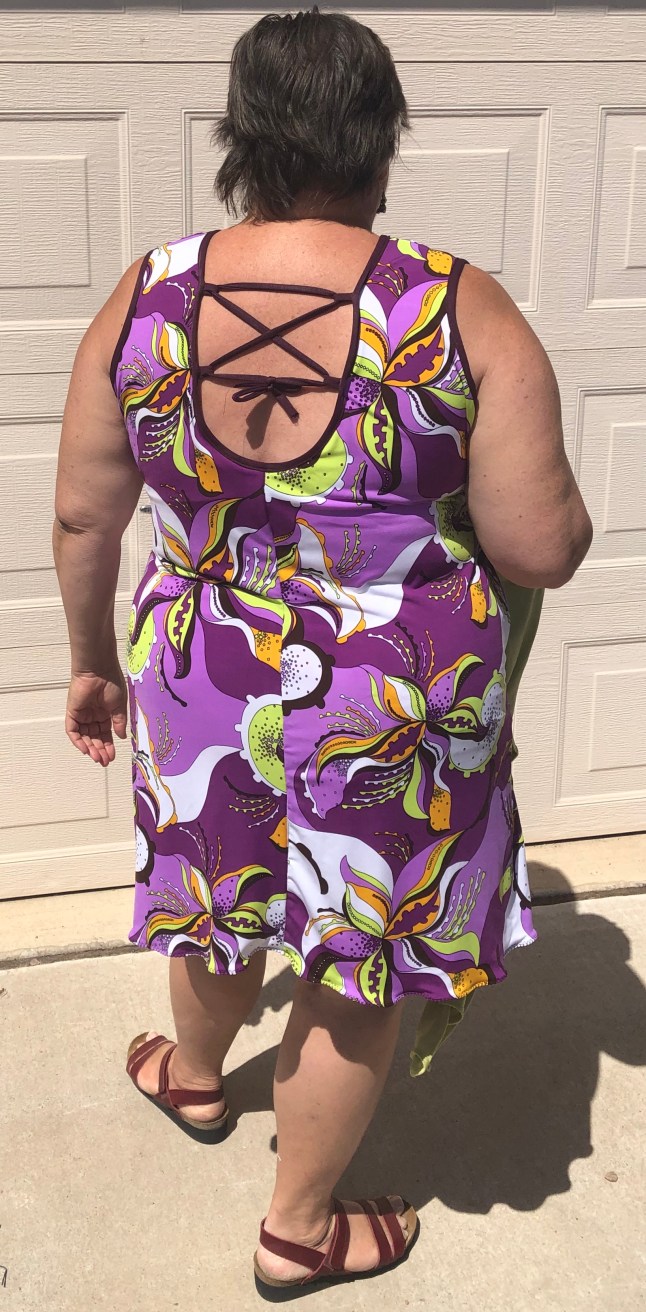
For these pants, I took photos of both the navy and purple Supplex I used.
The pattern used is here. Another pattern that works would be this one.
These are my affiliate links for patterns. At no cost to you, the designer may compensate me with a small commission when people use them to purchase a pattern. Thank you for using these links.
Thanks for reading, and happy sewing! Joan


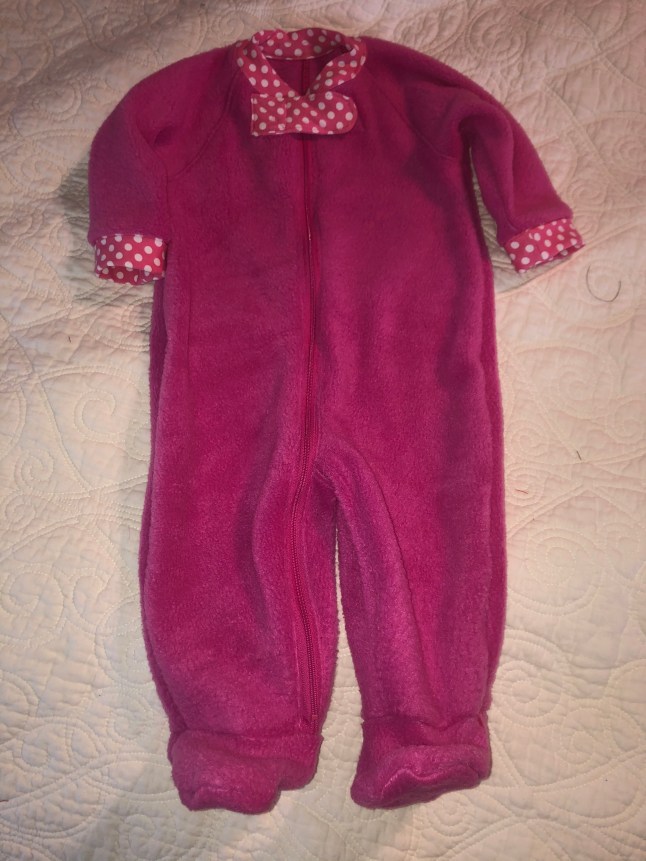 My oldest mentioned she was having a hard time finding the footed version for her baby. Baby is not yet crawling. Once she is standing there will be appliqués of gripper fabric on the soles of these.
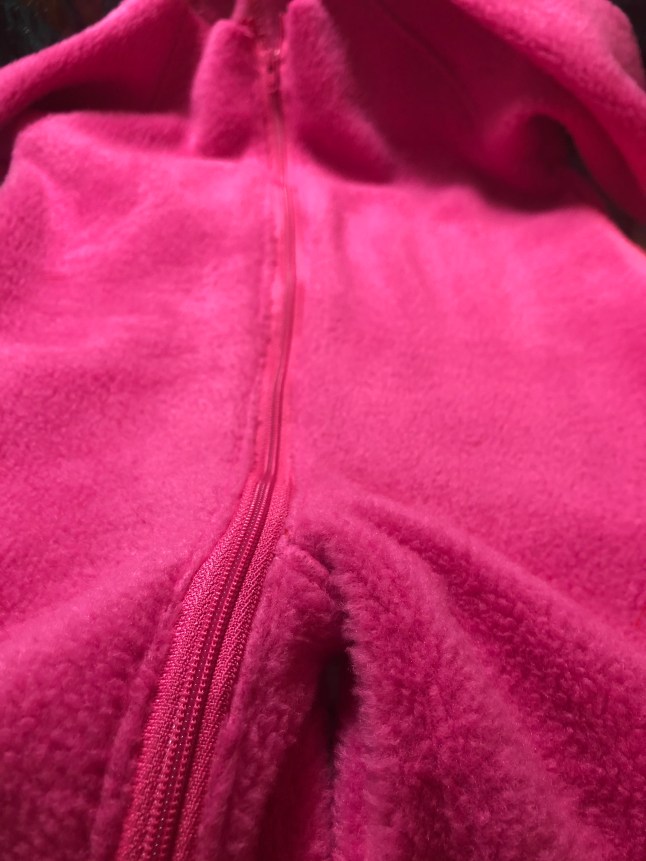
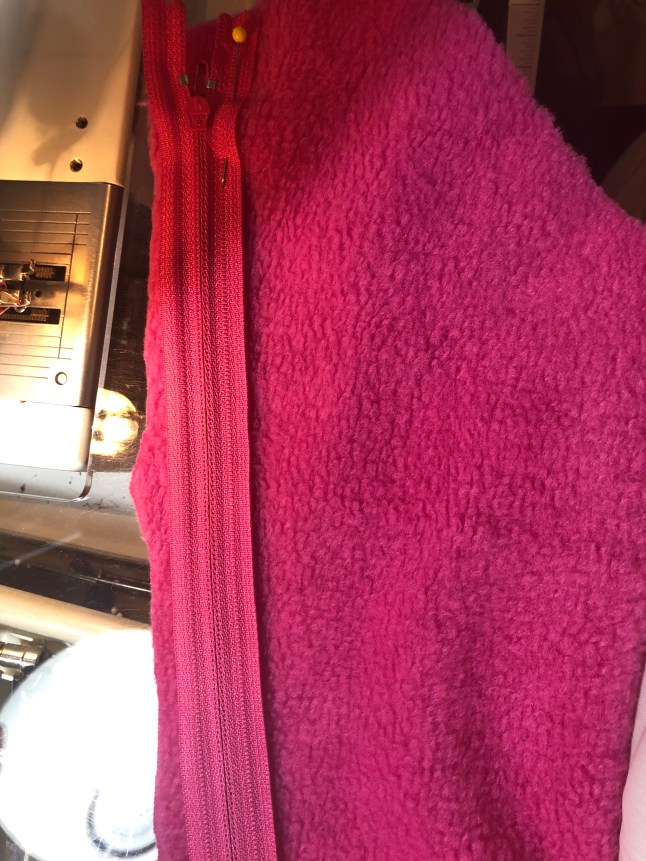 Using my quilting foot, since my zipper foot was no where in sight, stitched the zipper along the long side of the center front/leg. Flipped the zip over and top stitched.
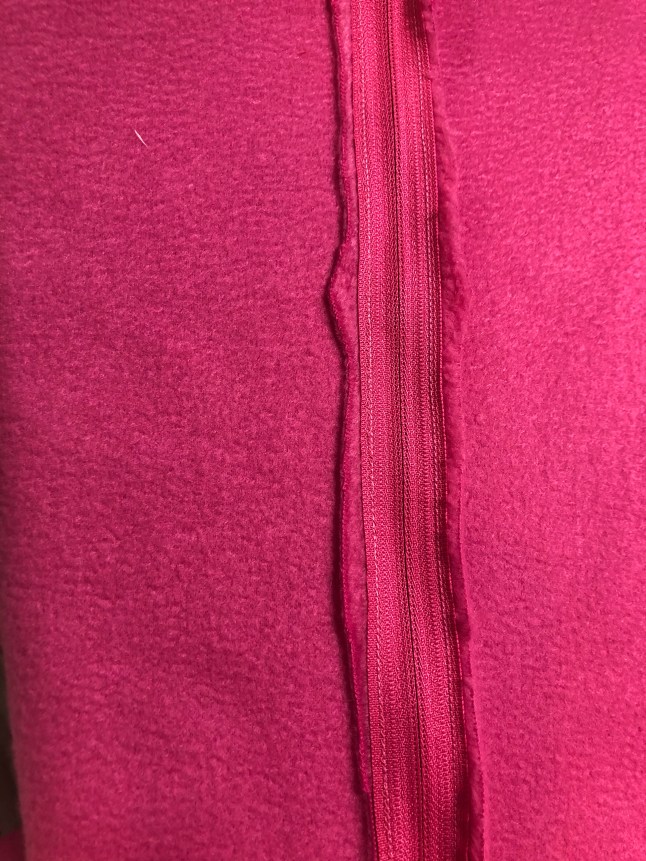 The front section where three seams intersect are a lovely match up to the “notch” on the single front side where i decreased that inch.
 I made the little feet separately, since the side seams would not line up.
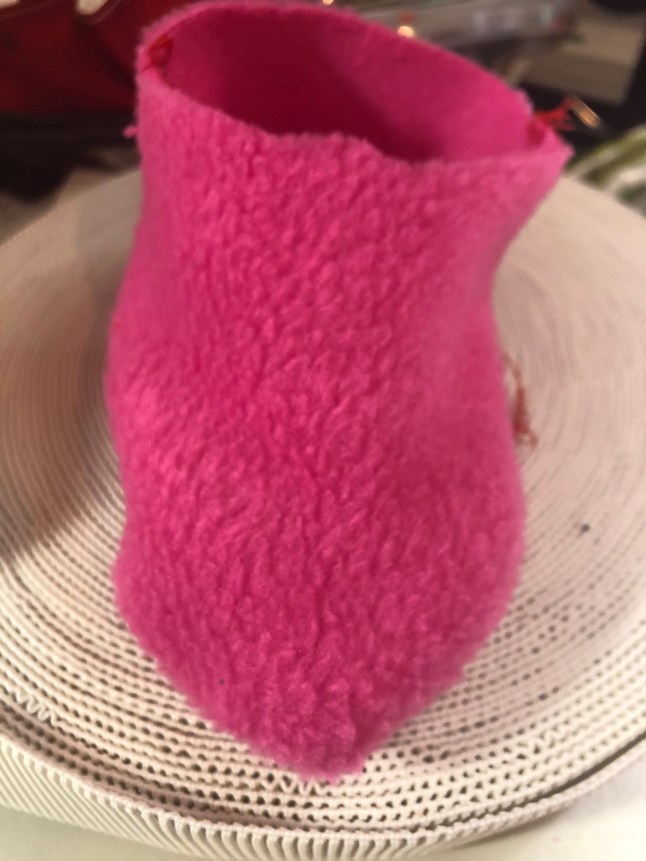 It was simple to slip them inside the PJ legs, match up notches and sew them on.
 I found this cotton lycra polka dot for cuffs and neckband, and zipper cover tab. It was a scrap from another project and just enough. In more than one pattern review I read that cuffs were snug. I cut these a bit bigger.


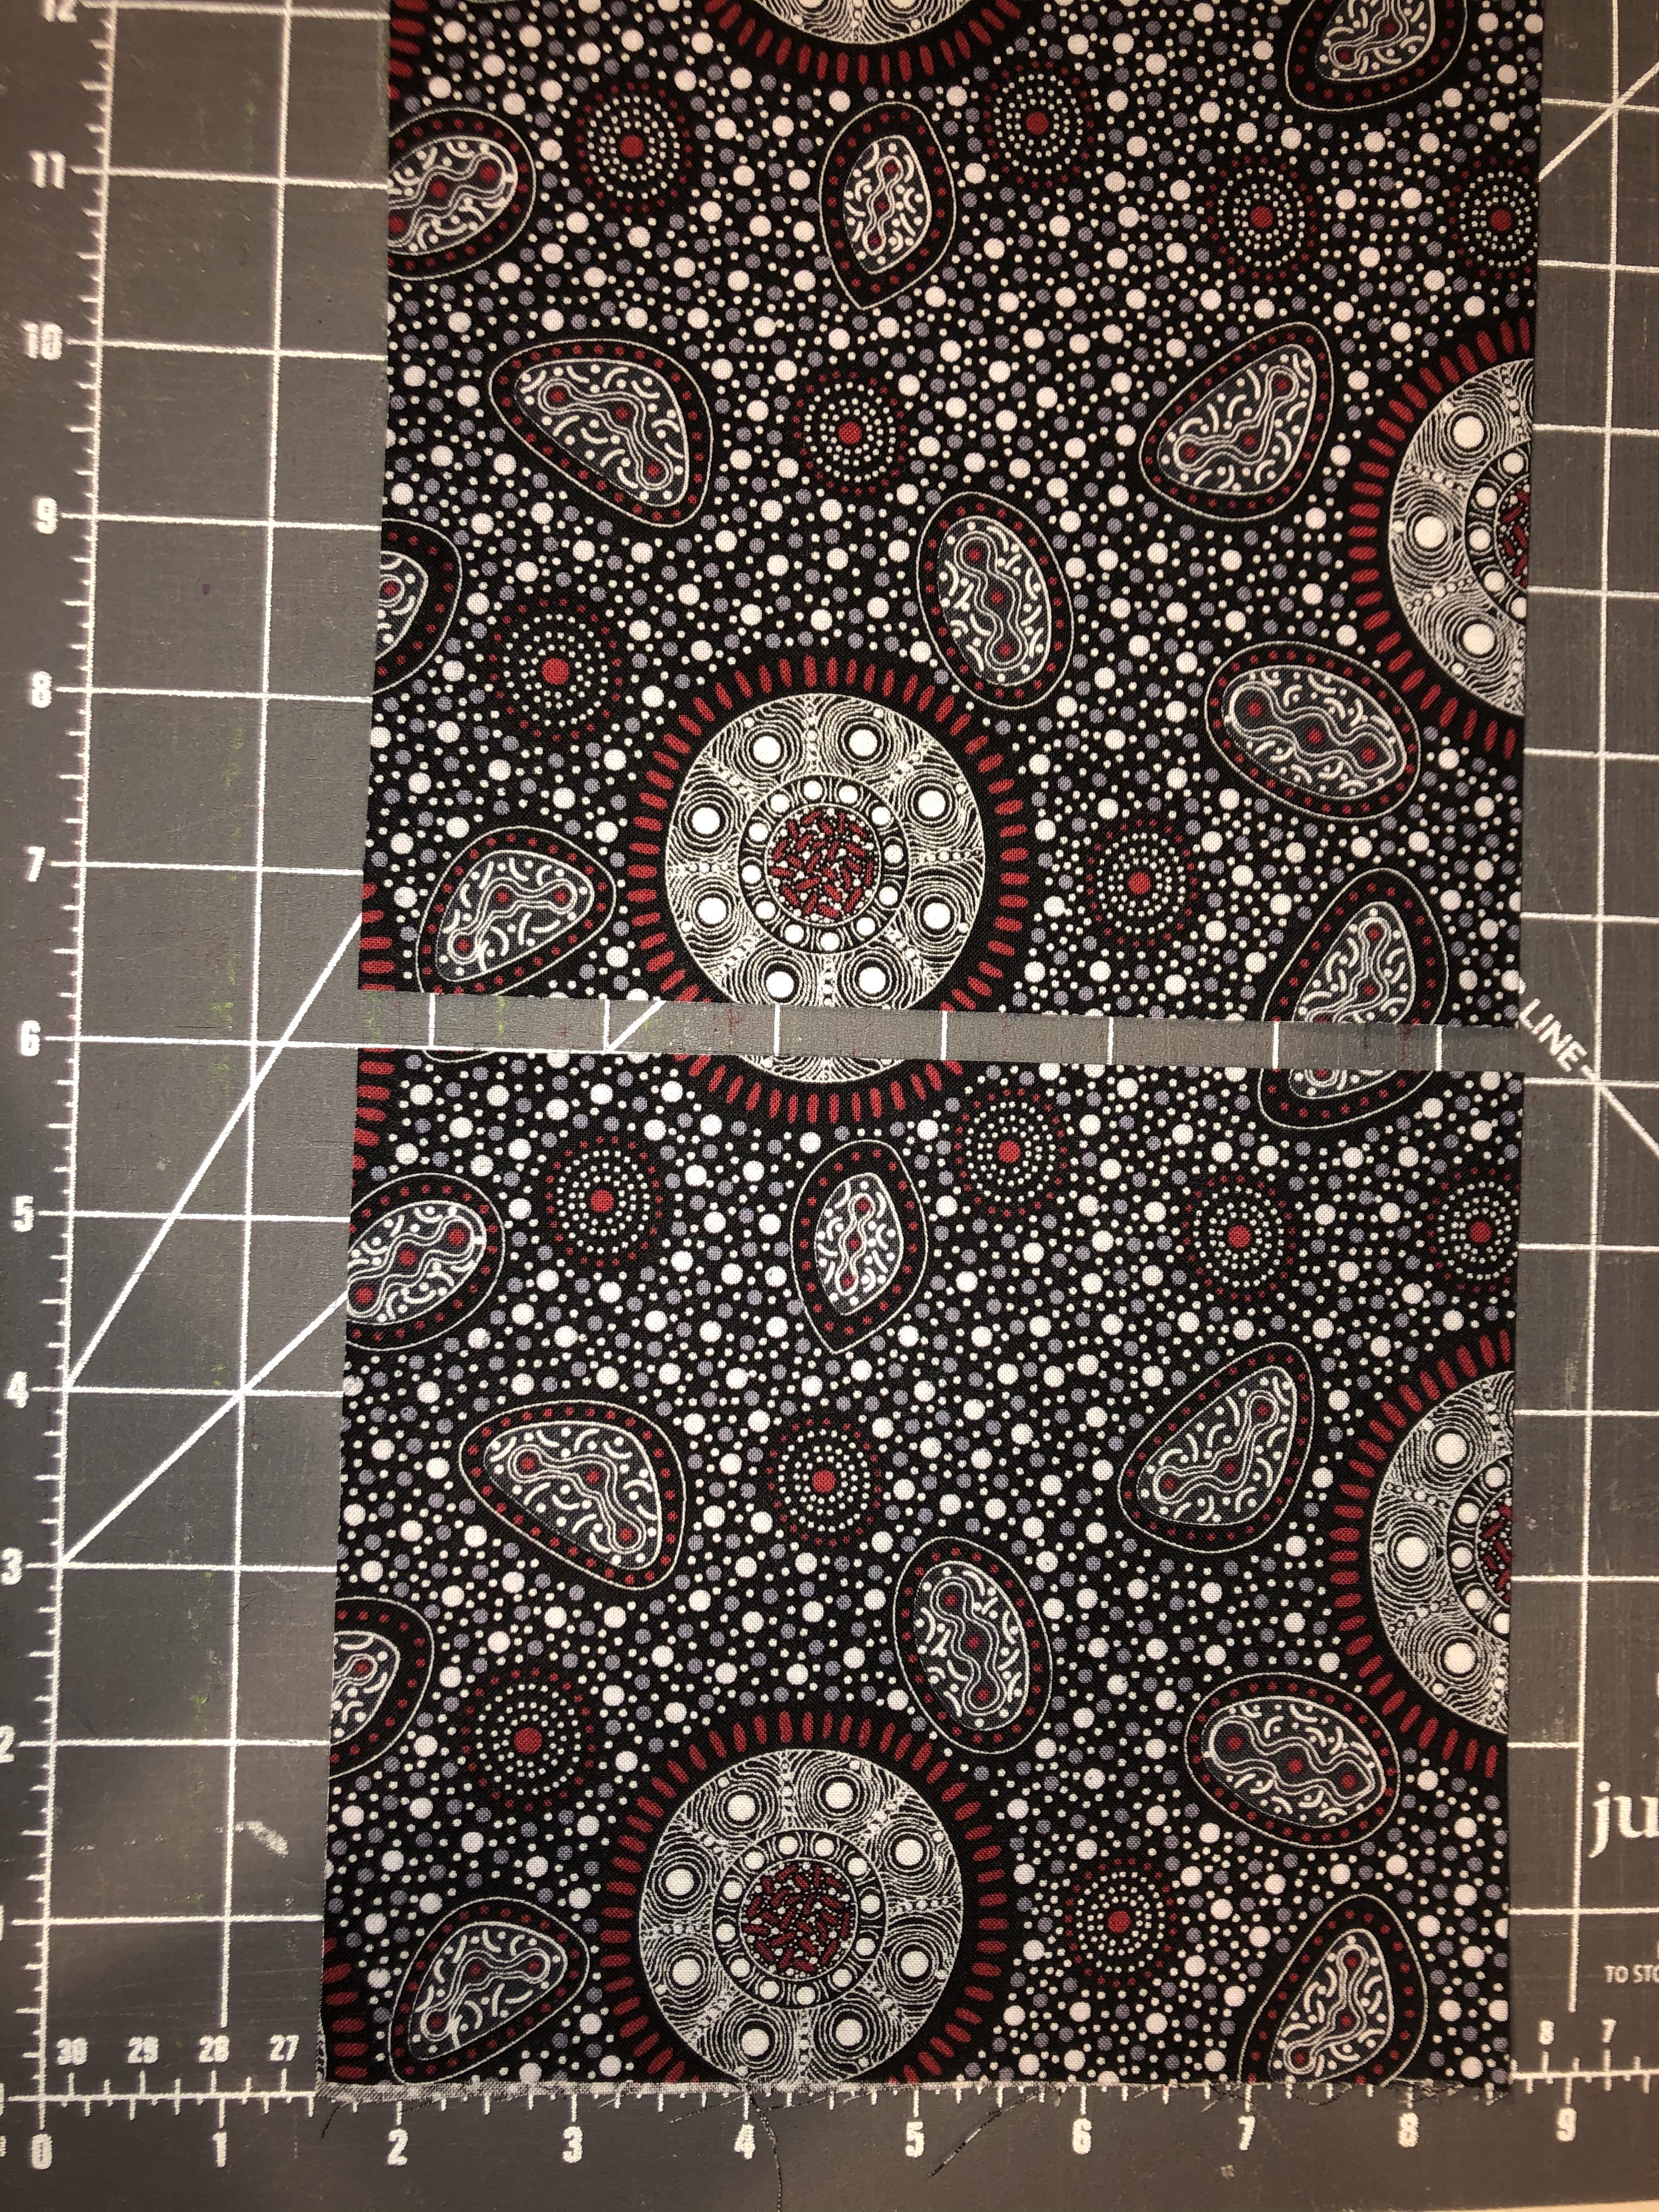
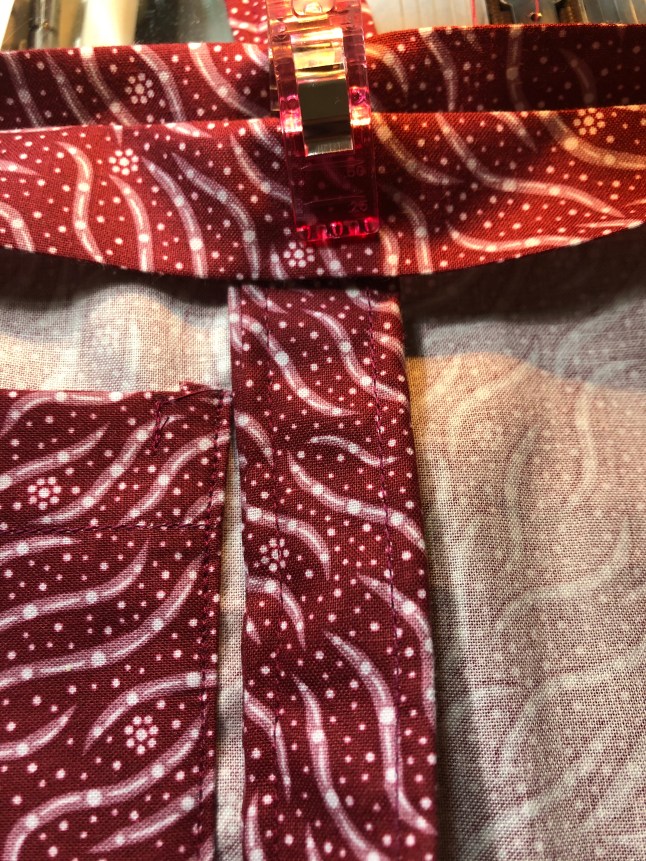
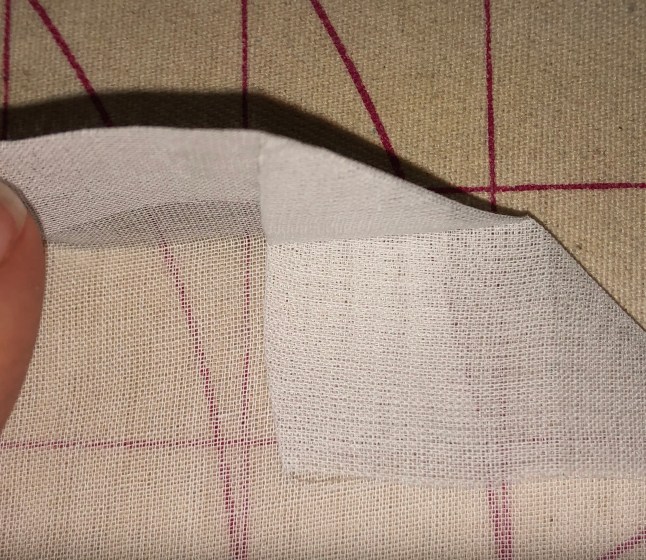
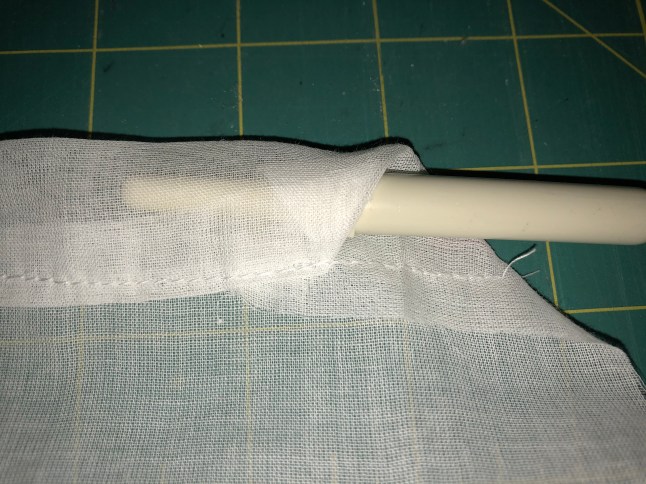
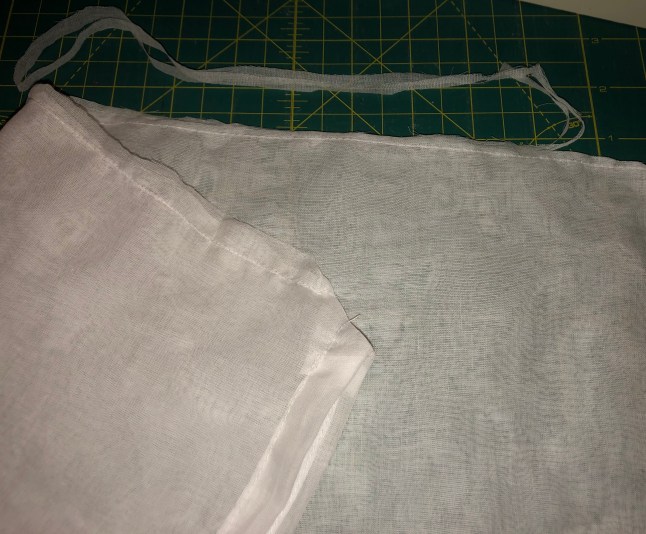
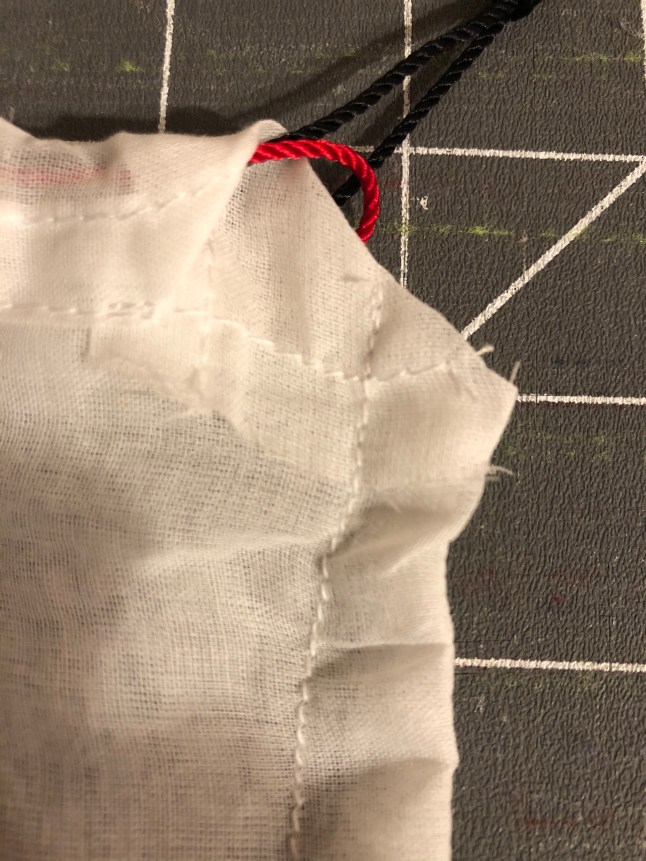
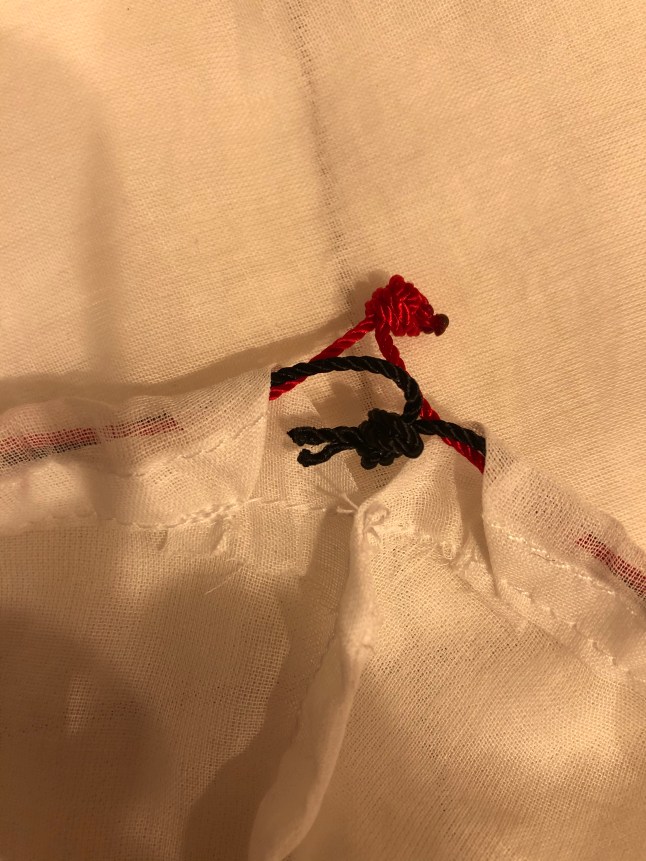
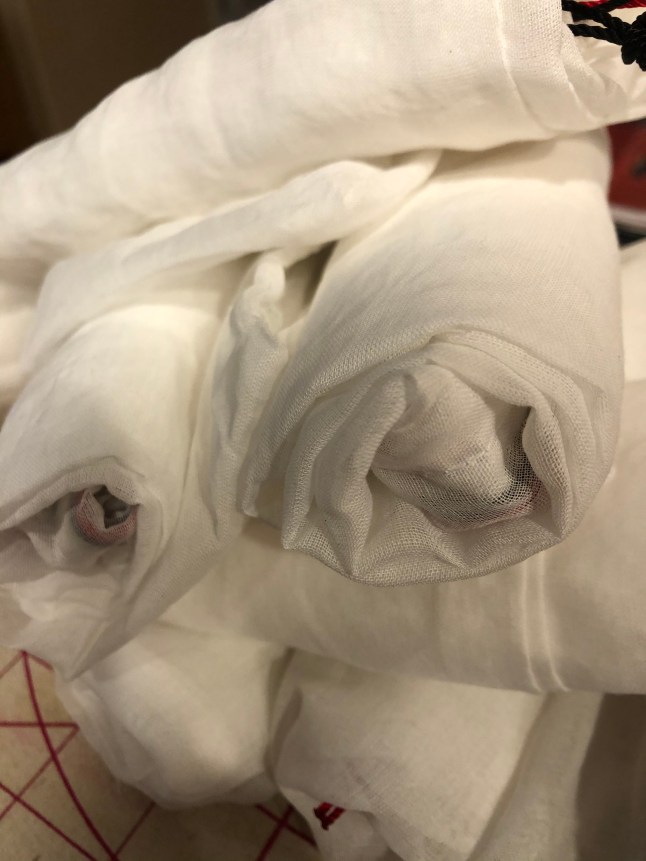
 Decades ago, I made fabric gift bags for my children’s birthday party favors. We still use the versions I made in rip stop nylon for vacation packing and pool visits today. There is a collection of bags we pull out at holiday time to wrap gifts in. I enjoy sewing a few every year to add to the collection or give away.
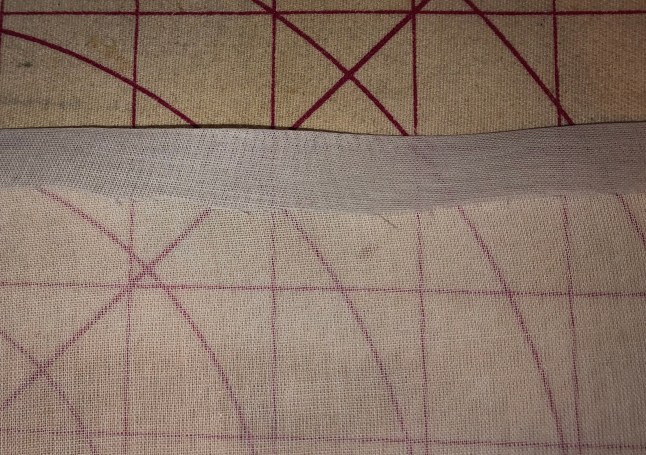


 My earliest memories of Ambrosia were from Thanksgiving, when it was the most delightful part of the meal. According to Wikipedia:


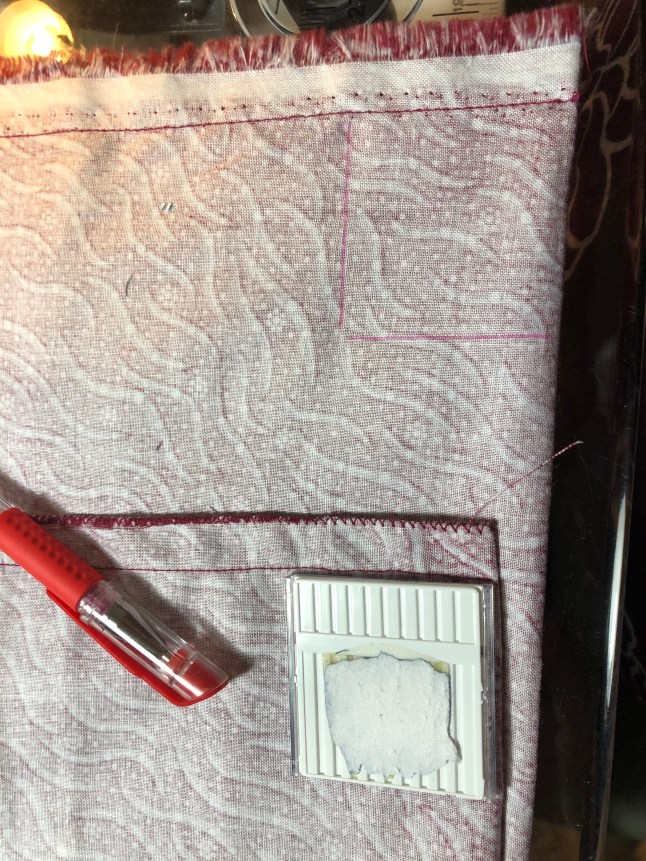
 Those can be pressed before under stitching and pressed before top stitching for a really professional look. Both top stitched pockets below.
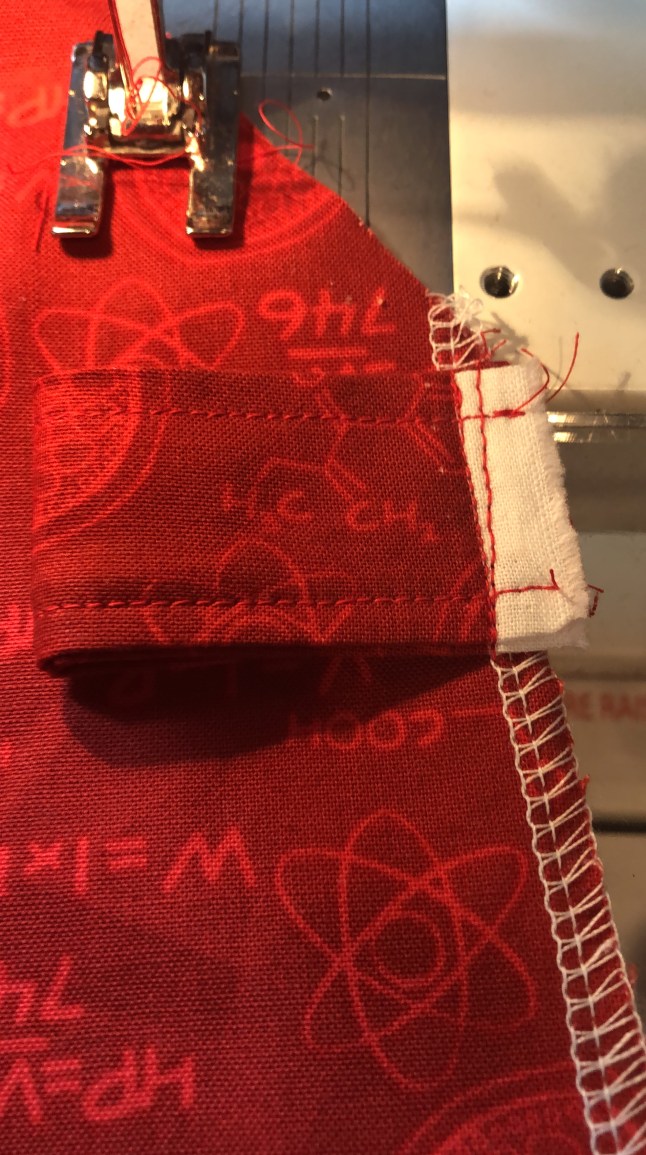
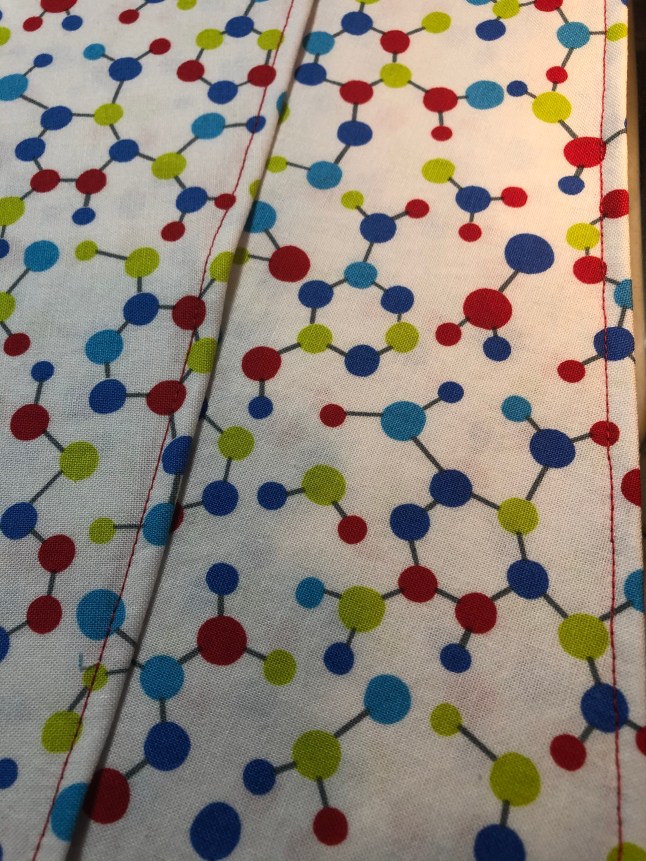 Next stitch the bottom of the pocket to the bottom of the side/back piece. This can be french seamed, sewn and zig zagged, or sewn and serged. Just a single row of serging will need reinforcement here if you plan to put heavy stuff in your pockets. You may notice that I serged across the bottom hem of the outer pocket already. Wasn’t sure which would need white and which would need red serging, so I serged as I went.
  Pin the sides of the pockets so that they are flat with the side/back piece, and stay stitch on the edge of either side of the pocket, so that the layers behave on the next step.
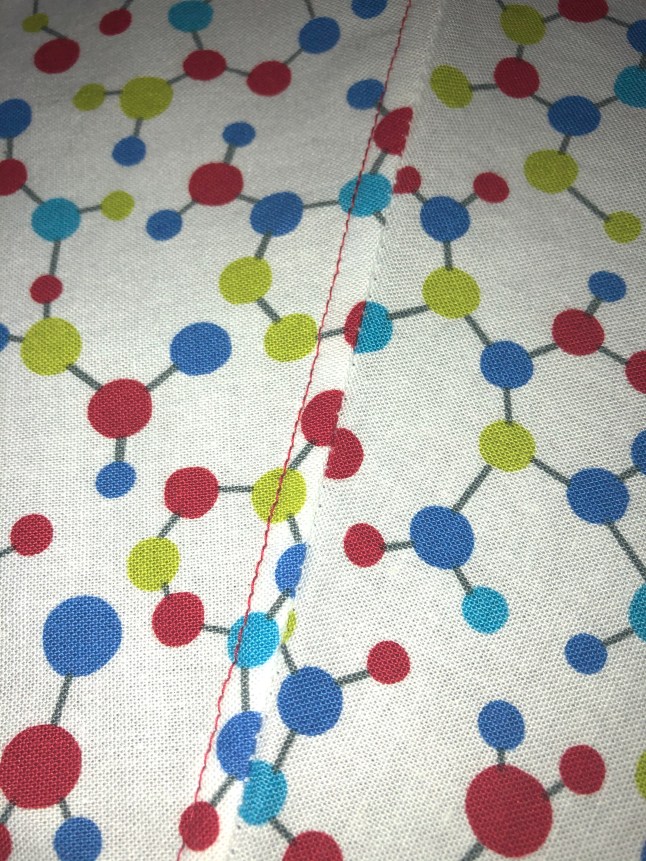
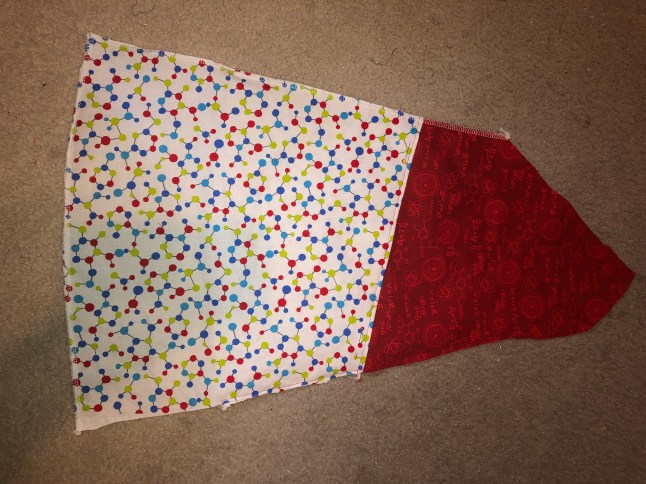 Next comes the tricky part. the curved princess lines of the assemblage above is attached to the center front. You can baste this first on a sewing machine, but I just went for it, and matched up my seams at the hem and serged away (left photo). When I got to the part where the con curve meets the convex pieces, I had to stop (center photo). I had more red fabric than molecules, so I turned my fabric over, and started from the top and serged till I met my previous stitching (right photo). The feed dogs did the easing of the longer piece into the slightly shorter piece.


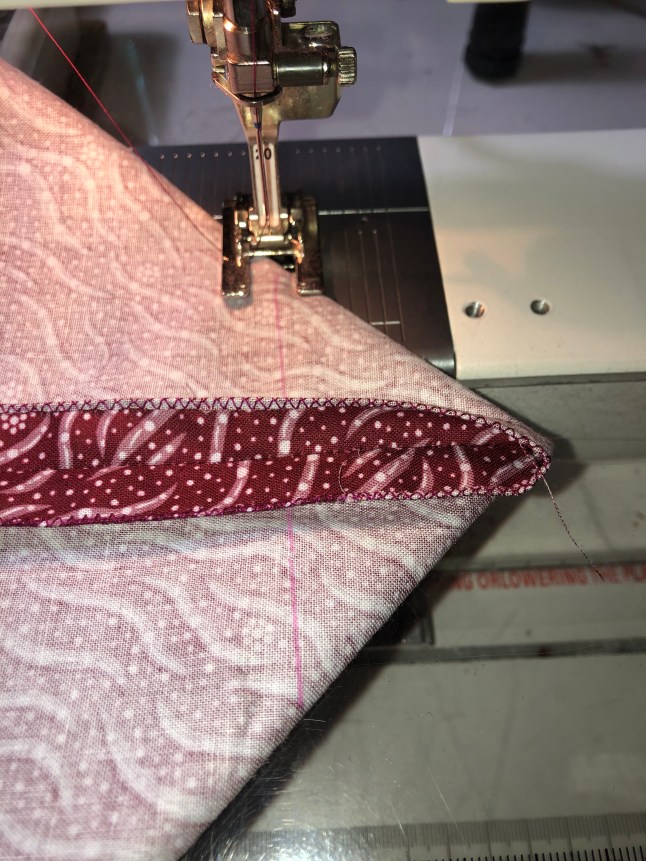
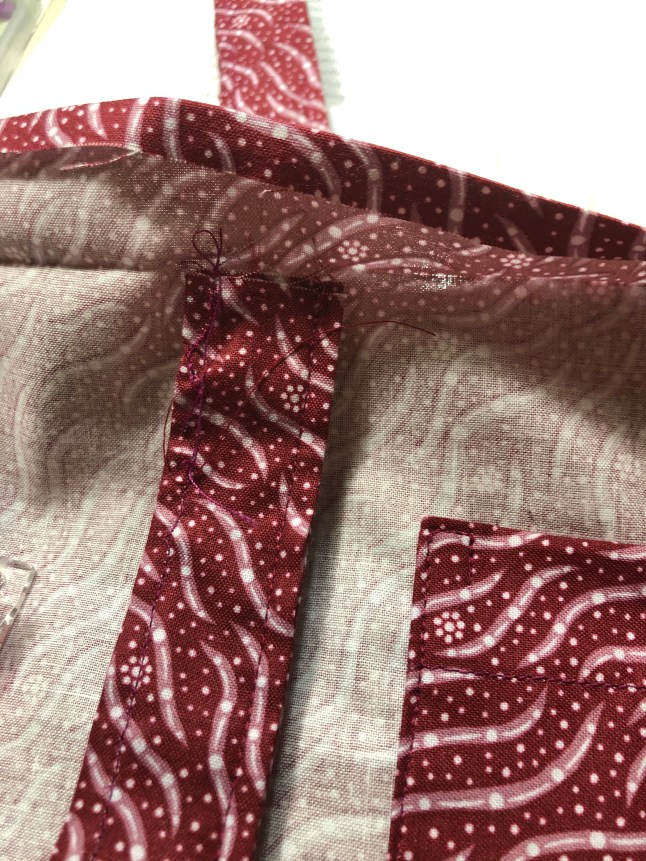
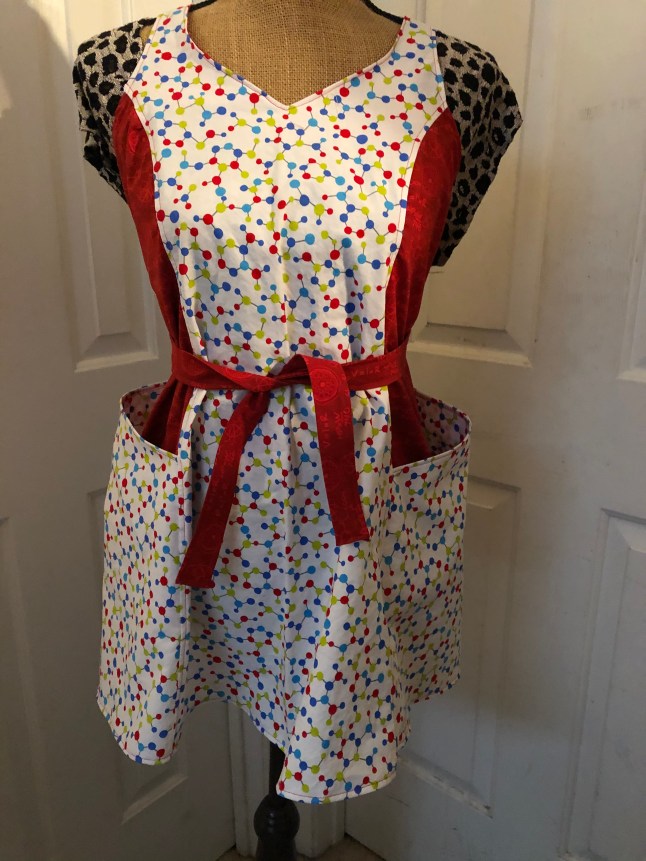
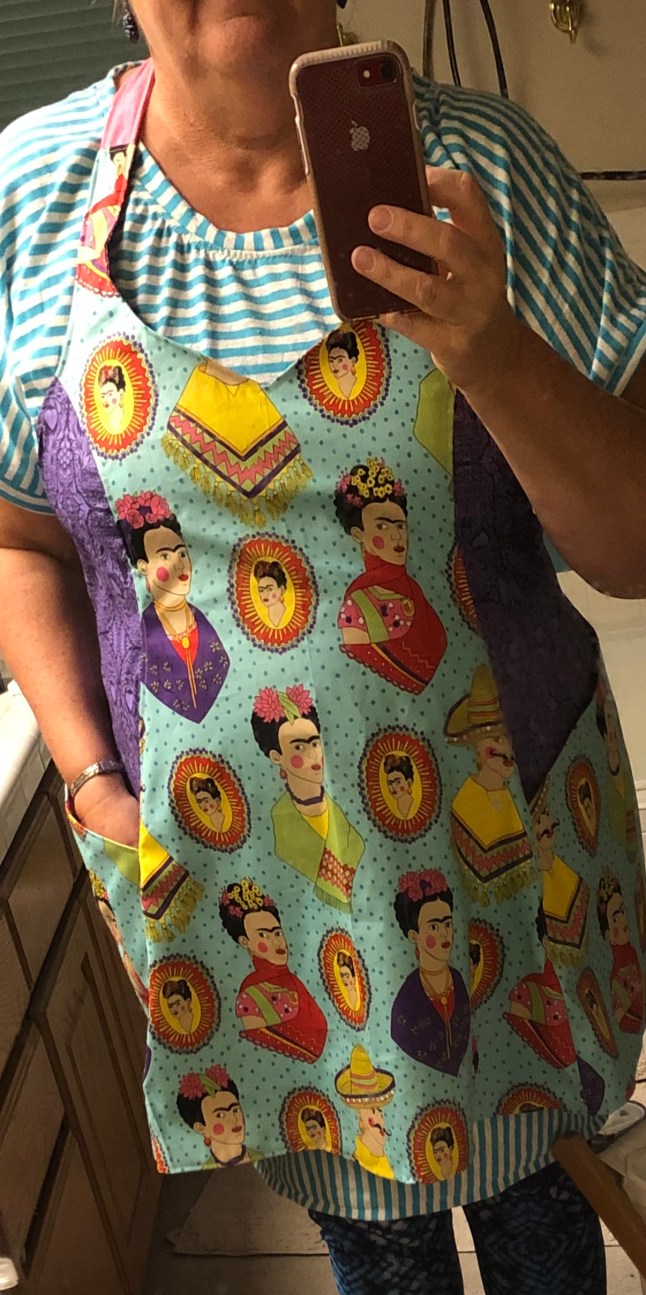
 Hopefully, you can pull on your straps and the apron will turn right side out. If you got a little edge of strap caught up in your seam, like I did, just pull out those few stitches, press, and top stitch close to the edge and no one will be the wiser.


 Just yesterday was my youngest’s birthday. On the phone they lamented that their last good solid tee had seen better days, and that they would be glad of a replacement or two for their birthday, but Christmas would be good too. They specified that they like the shirts with the 3/4 sleeves that are a different color. I remember picking some of these up years ago, and they were favorites forever.

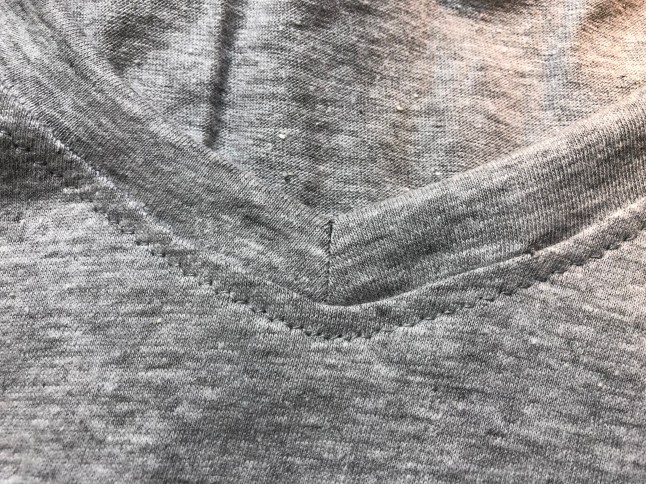
 Here we are with both sides of center front sewn. I used a shorter stitch length (2 on my Bernina). Next step is to flip this assemblage over, and snip into that v on the front of the shirt, just a few threads from your stitching line. After that, fold that band in half so that the center front seams line up. Match up center back of band and shirt, match up quarter marks, and serge around as normal. This is where the underside of the band is caught in the seam!
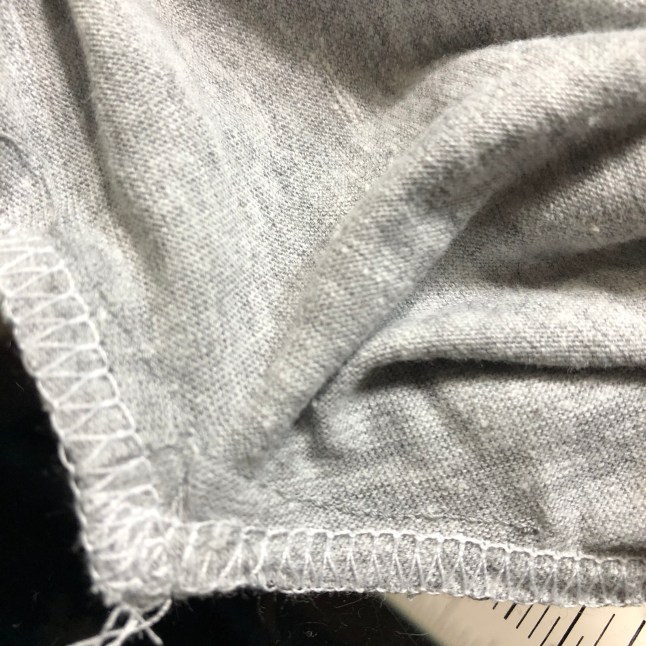 In this photo, you can see that my snip was not exactly center, but it works to spread out the front, I serge from point, around back to point. I might go back and even out the machine stitching line with the serging line so it looks even on the front.
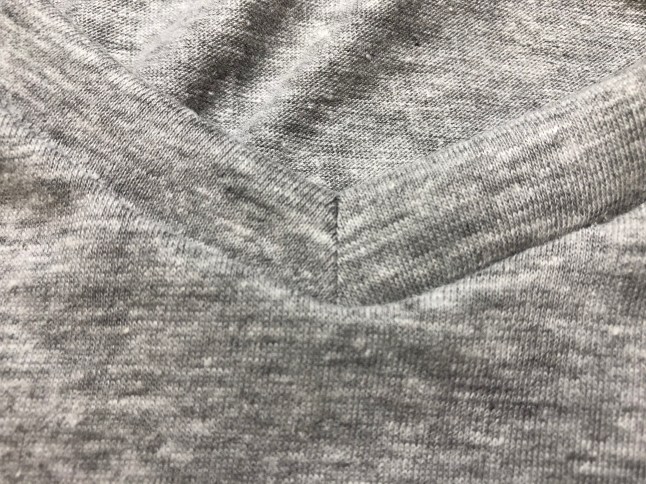 Just a press and a top stitch away from being finished. I love that I can have control over the front side.
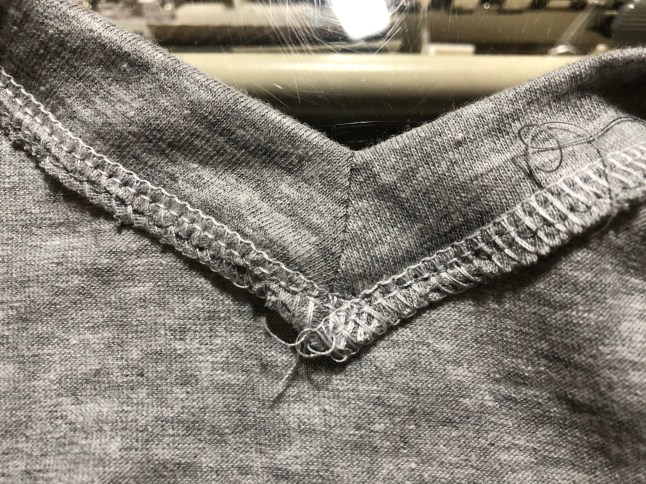 Just a note about the pattern. There are a ton of great raglan patterns out in the PDF world of sewing.


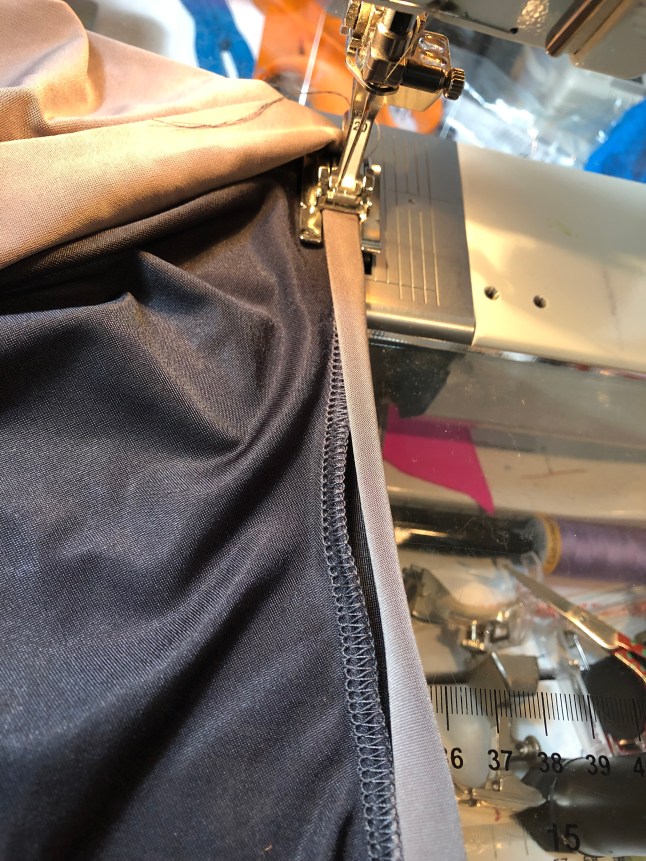
 On our last little jaunt out of town, we were headed west in the car, and I looked over at my husband, who was driving. My heart was happy, cause he was wearing a shirt I made for him. I have more than one serger, but had been practicing my fine finishing of woven seams, with flat felled and french seams.
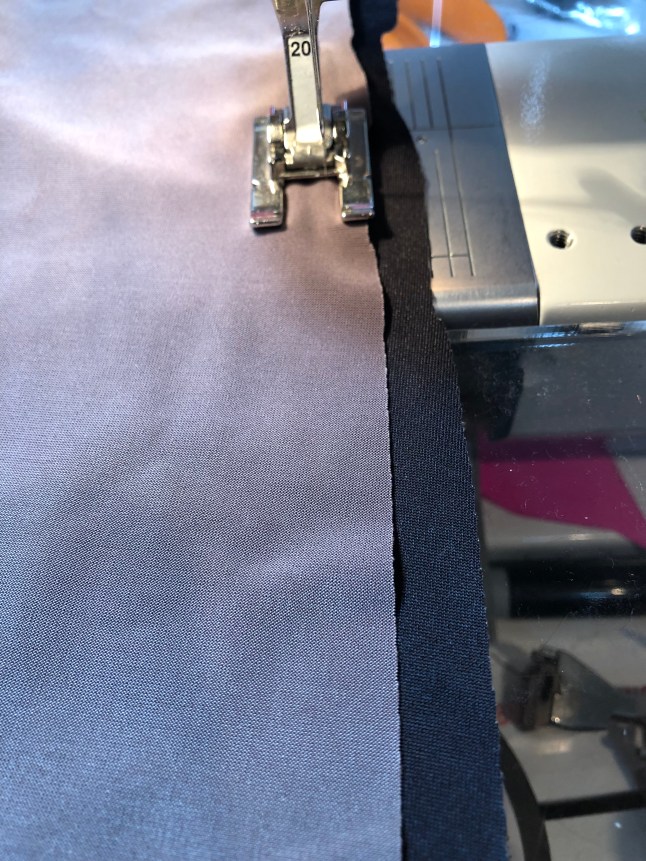
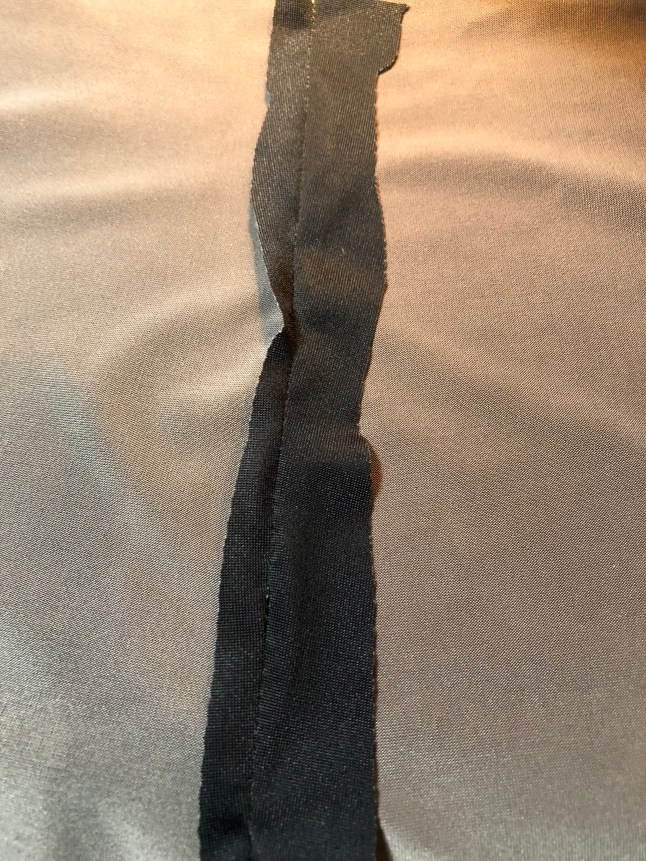 Wrapped the longer seam around the shorter seam, and top stitched that. My #20 foot really comes in handy. I moved the needle on my Bernina 1630 to the left (but not all the way) to make the second seam. And stitched. If this was a woven, I might have pressed that larger seam in half so that the sewing would go easier, but this mystery poly blend was not going anywhere near my iron.
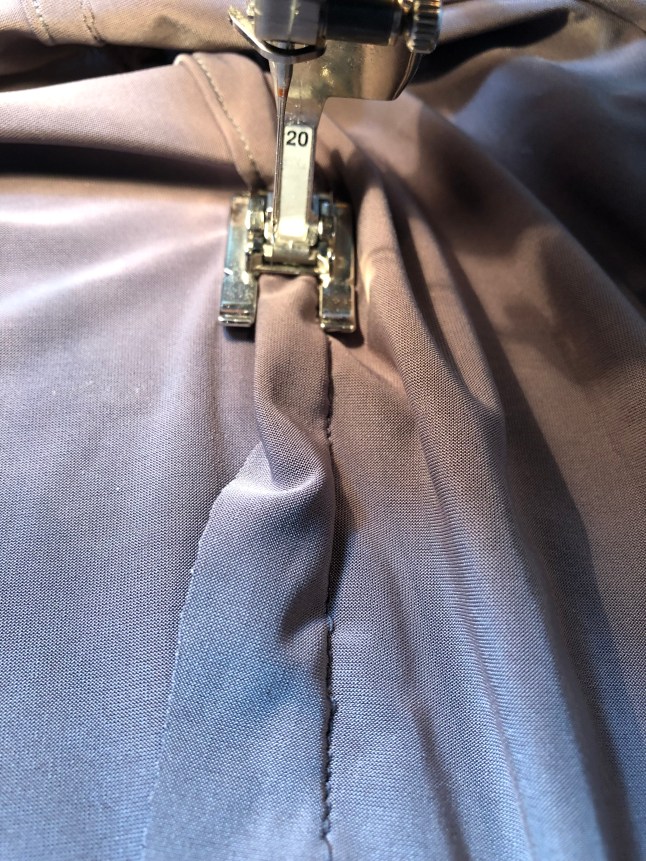 I stitched the shoulder and both side seams like this.
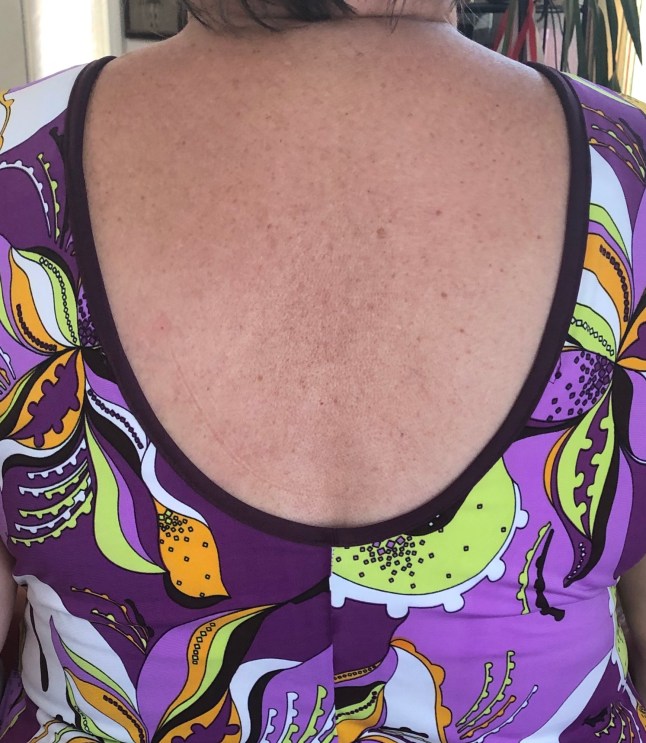
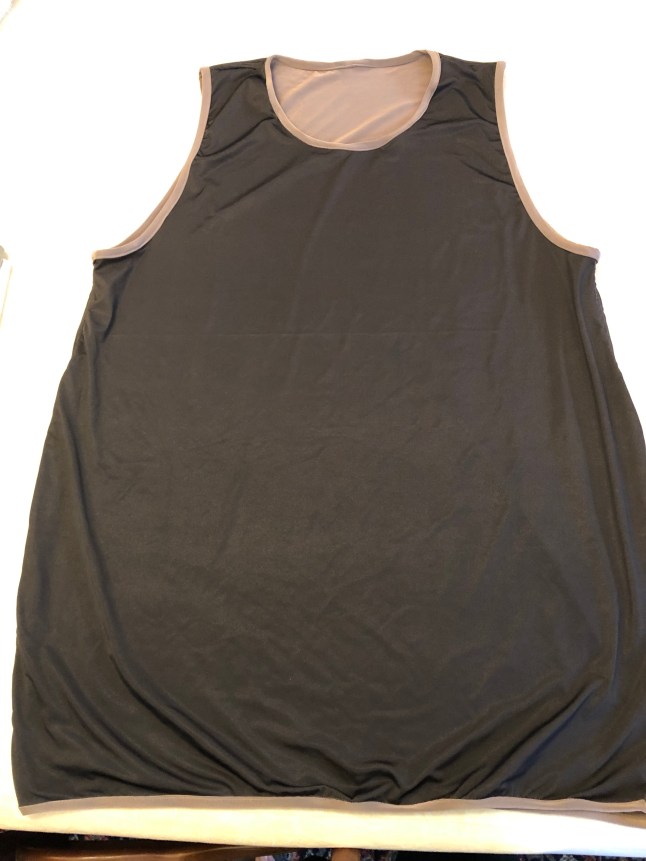
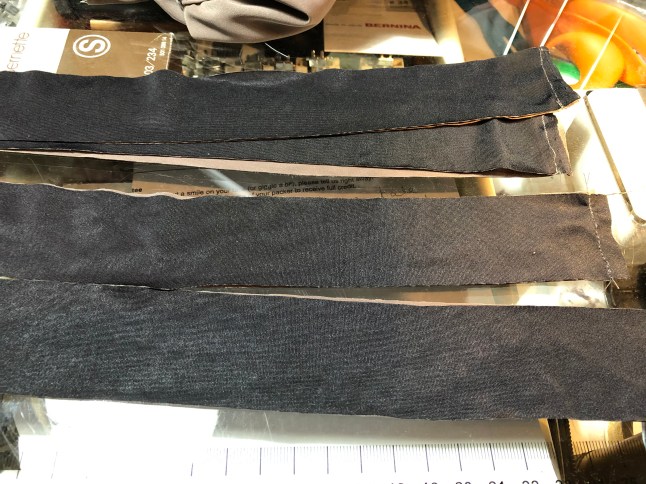 Marked center points, and serged those bands on. In keeping with the reversible theme, I even made a band for the hem.
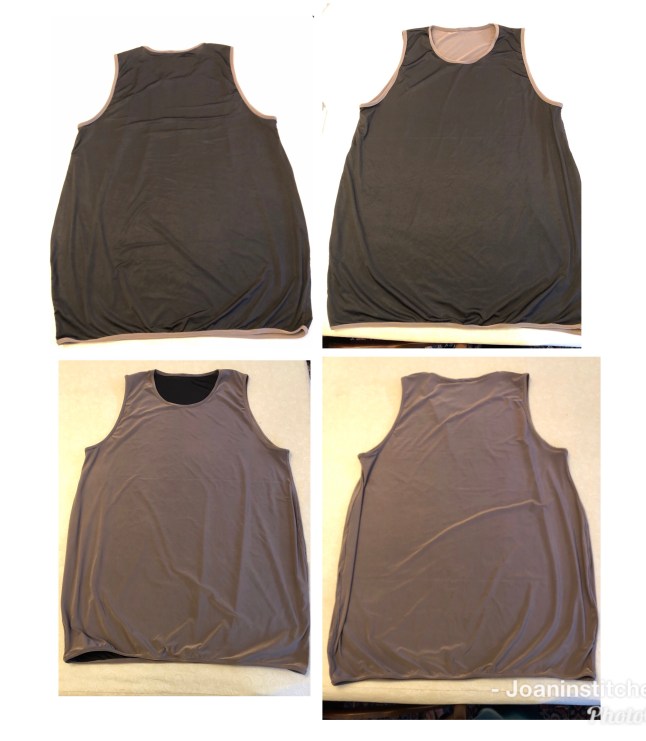
 I grew up with a swimming pool in the back yard.
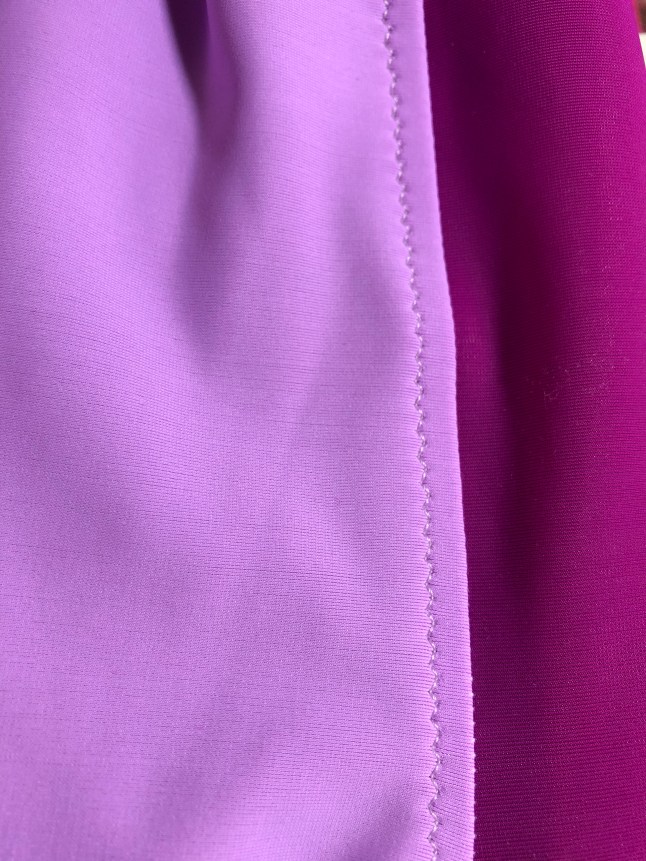
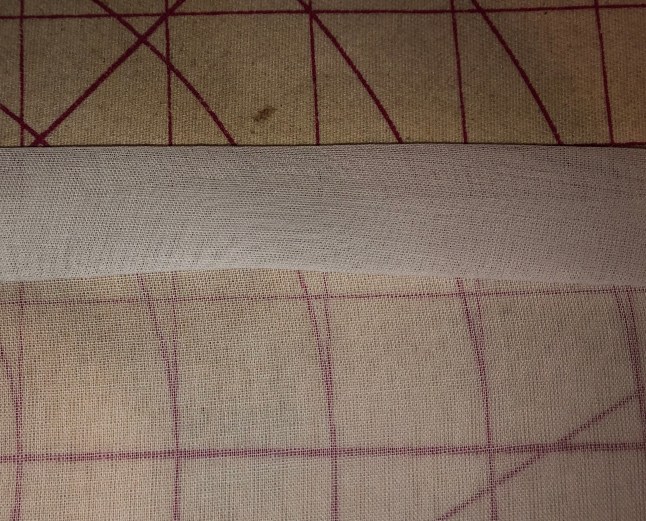
 It was simple enough to figure how much I wanted to go around my under bust, serge a single layer to the same color side, right sides together, and wrap that around my elastic tuck it under and top stitch it to the other side. Best to use bobbin thread to match the fabric underneath, to stitch on the contrasting side, so you can see where to sew!